Definition – Rembrandt lighting is a standard lighting technique that is used in studio portrait photography and cinematograph. This lighting technique is identified by the triangle that is formed under one eye, (this is known as the Rembrandt Patch).
Some examples of when this lighting is being used:
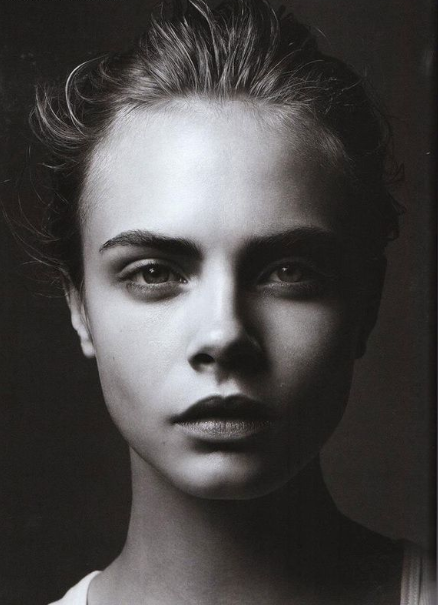
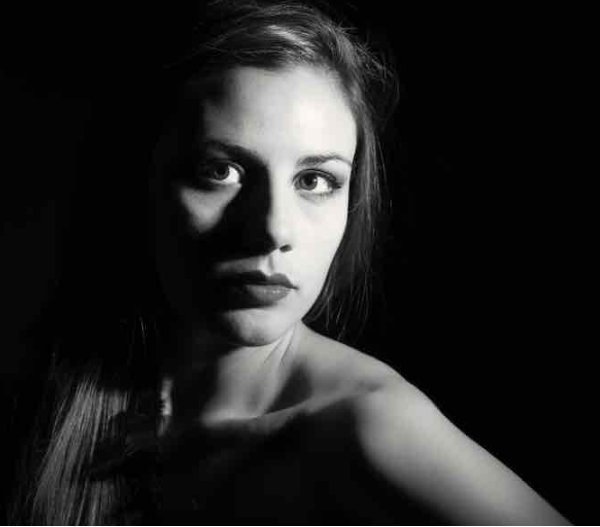
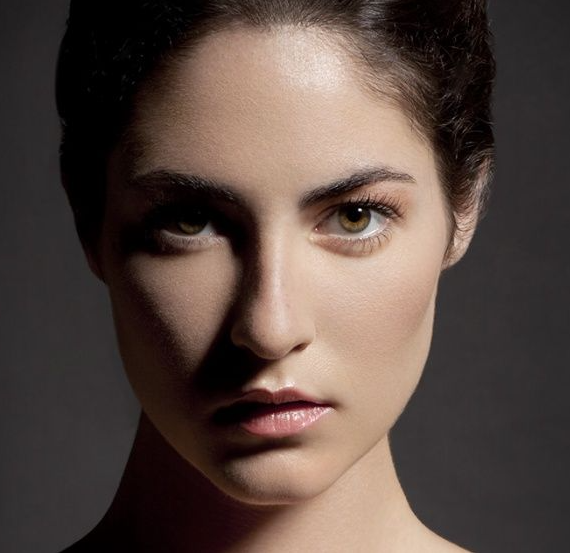

This lighting is used to create a mysterious or moody portrait, it is mostly used for portraits of subjects that have a more round or full face because it creates a slimming affect, however it can be used on anyone.
By using this type of lighting you instantly create shadows and contrast. The triangle of light, that forms under the eye, also adds more emphasis and helps draw attention.
It originates from when a renowned movie director, Cecil B. Demille coined it in Hollywood in the 20th century.
Setup
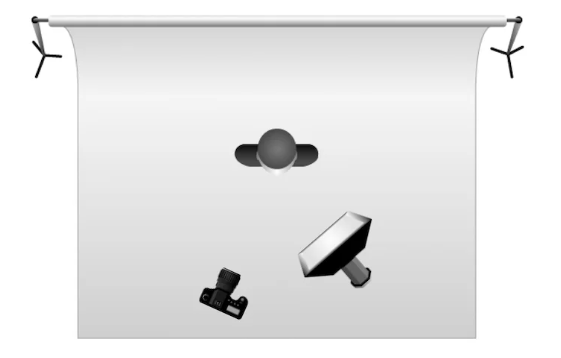
The light – You can create this type of lighting by using a single light source and placing it on a 45 degree from your subject and keeping it around 5ft away. The light should also be around 2ft higher than eye level and slightly angled downwards, the lighting needs to hit the side of the subject’s face that is the farthest from the camera.
The lens – When using the camera you should use a 35mm lens if you’d like a wider point of view which will fit more of the subject’s body in the image, and if you’d like to take a portrait and have a nice depth of field you should use a 50mm lens.
Own response to this type of lighting

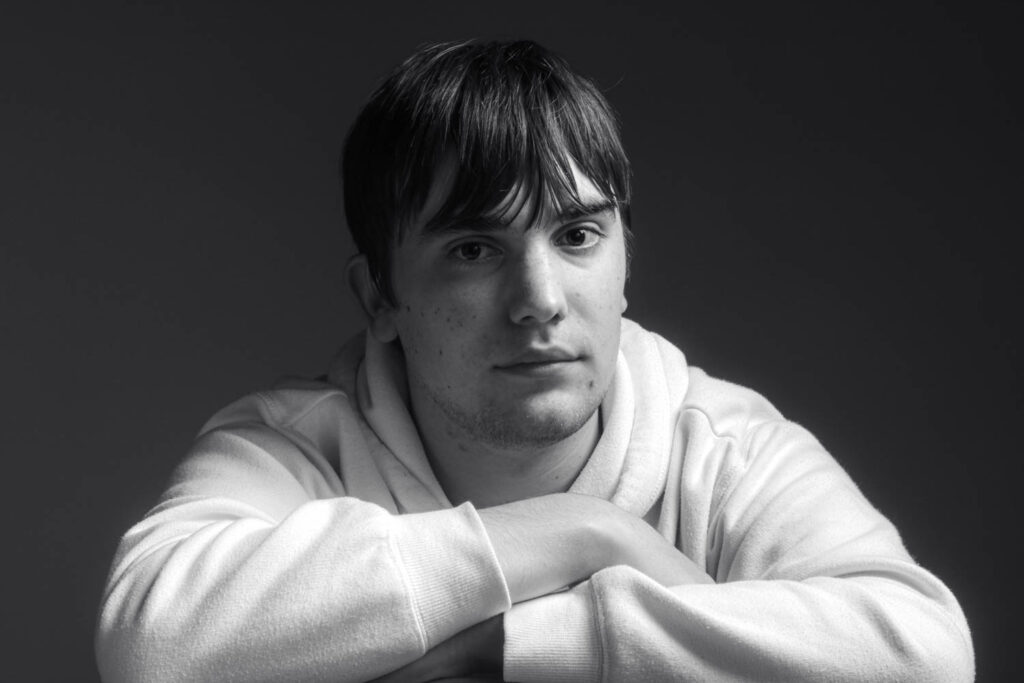

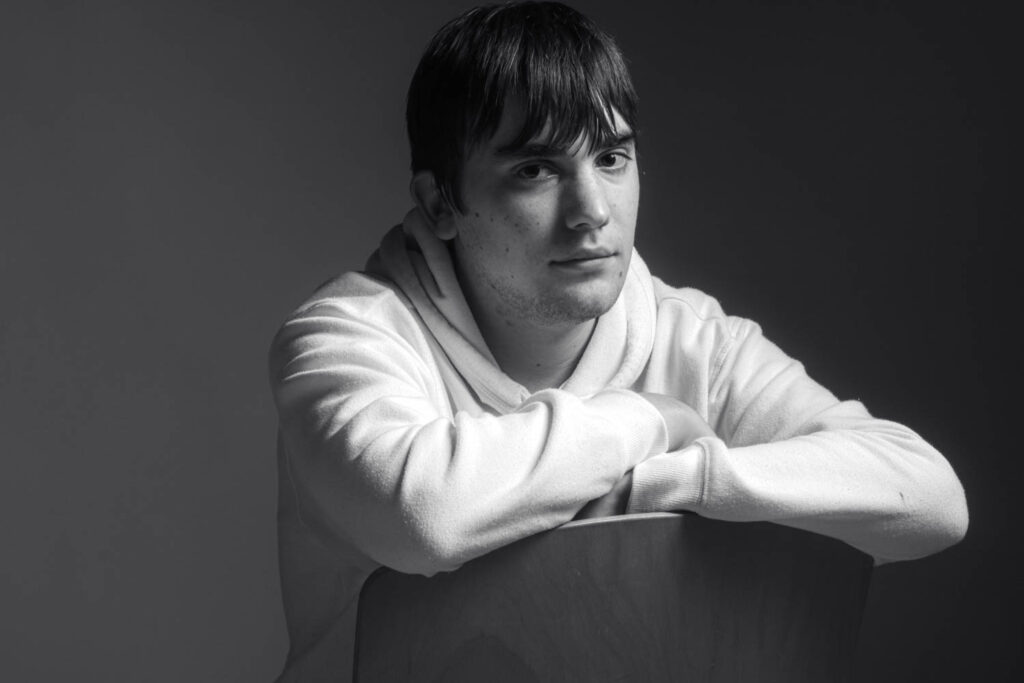
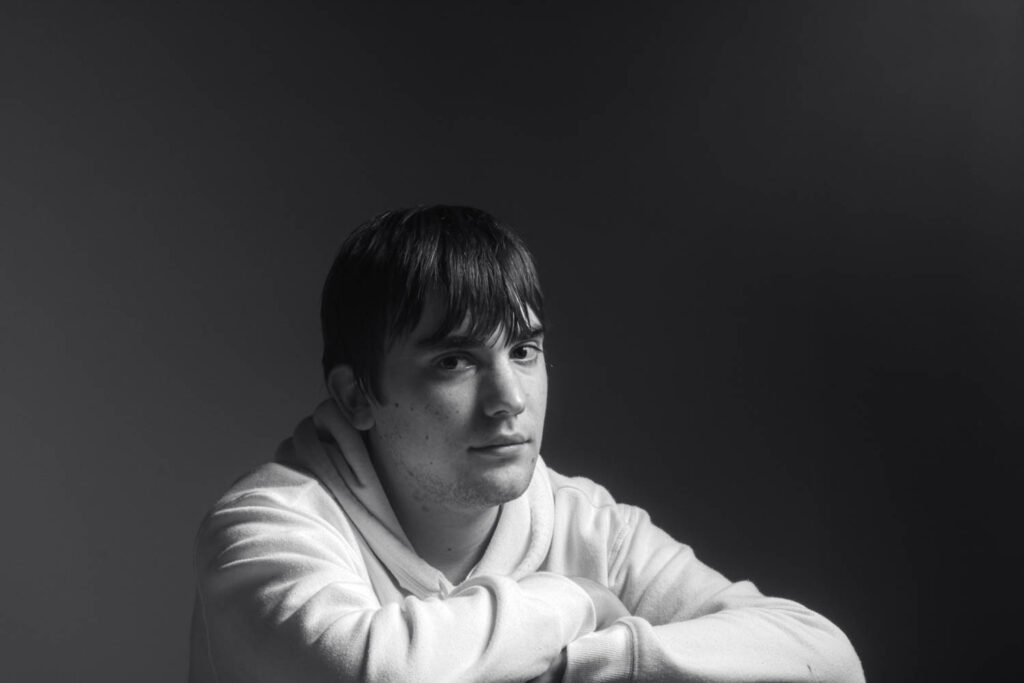
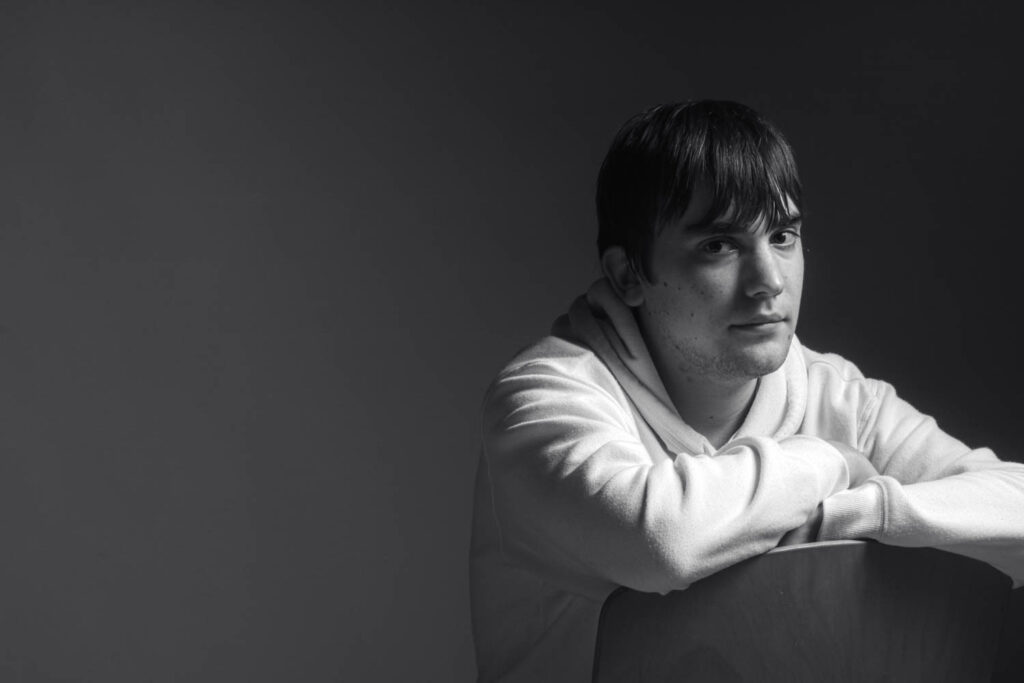

End blog post with your best portrait of Yann and evaluate your use of Rembrandt lighting – make sure you export adjusted and edited images from Lightroom in 1000 pixels and upload onto blog, don’t just rely on snippets/ screen grabs as it doesn’t look as good on the blog