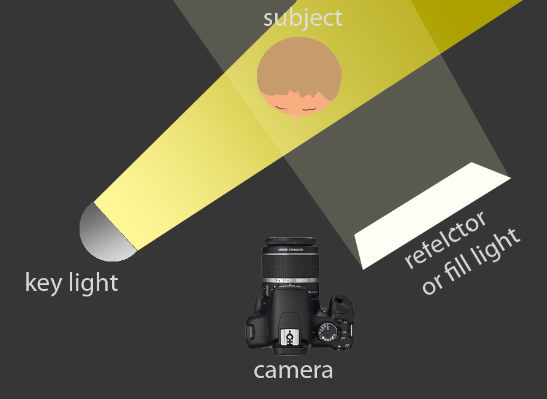
Rembrandt lighting is a technique that was taken from a famous painter in the 1600s, Rembrandt Harmenszoon van Rijn. It’s a popular technique because it creates images that look both dramatic yet natural. This technique is a way of lighting the face so that a small upside-down triangle of light appears just under the models eye, on the less illuminated side of their face. It is a simple, effective photography lighting setup that’s flattering to a wide variety of faces, and is easy to master quickly. It’s possible to achieve this using just your camera and a single light source, which is why its so popular. Rembrandt lighting is a technique utilizing one light and one reflector or two separate lights.
The technique is very popular because it is capable of producing images which appear both natural and compelling with a minimum of equipment. Rembrandt lighting is characterized by an illuminated triangle (also called “Rembrandt patch”
The Rembrandt lighting technique is mostly known for dimension and depth it adds to portraiture. By using it you instantly create shadows and contrast in your photos. It also adds an element of drama, which is effective in photography because it draws the viewer’s attention immediately.
Here are some examples of Rembrandt lighting
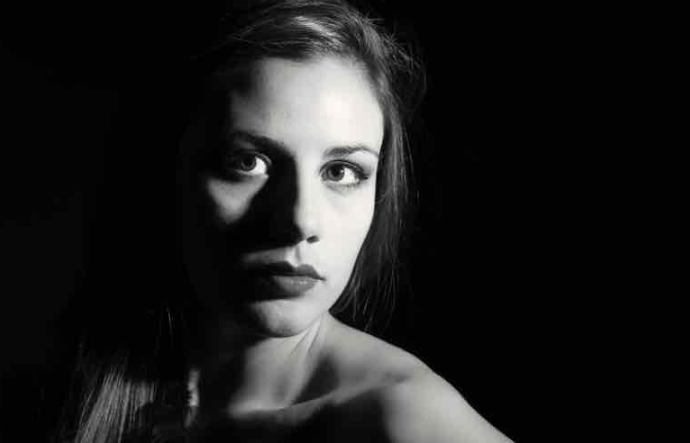
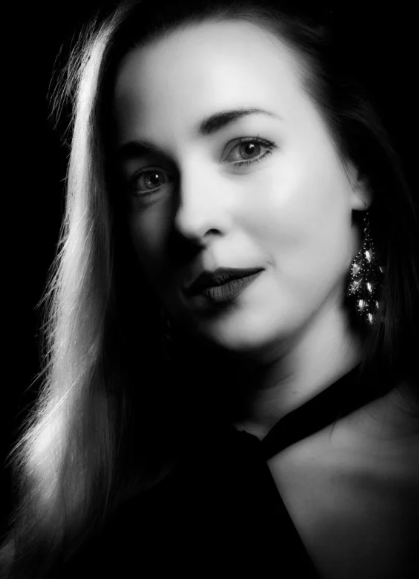
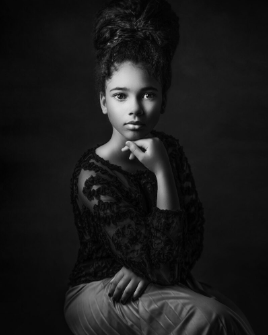
My own photoshoots-
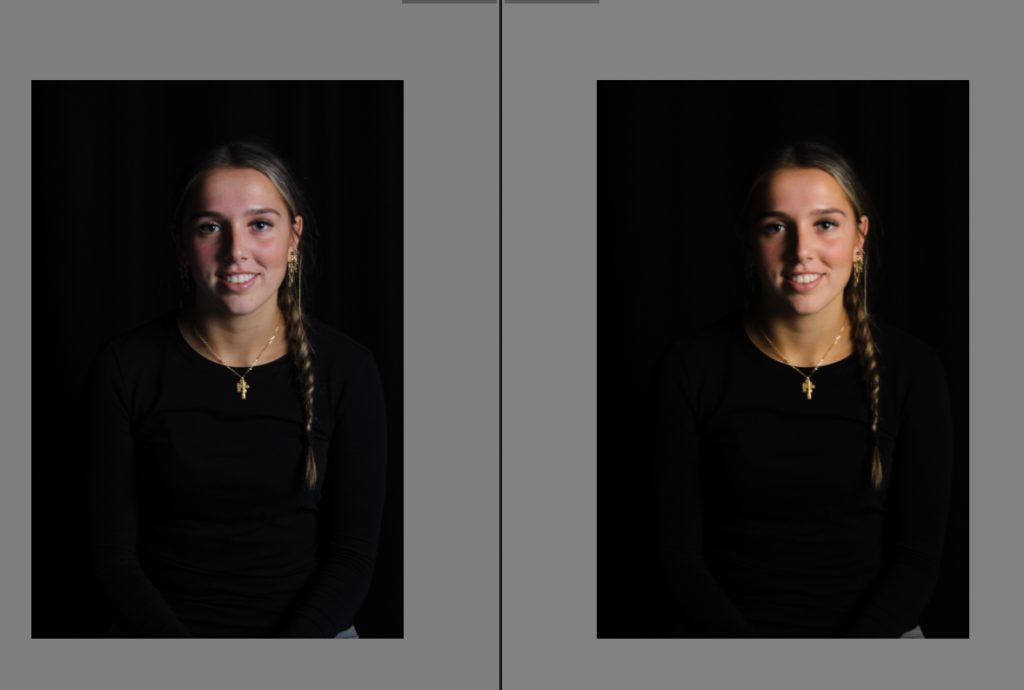
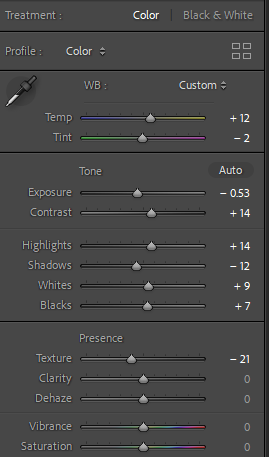
As shown, I firstly increased the temperature to give it a warmer look to make it look less dull and bland to make it more professional, I then decreased the exposure to deepen the upside down triangle leading to it to relate to the Rembrandt lighting. However increased the contrast so the shadow had more depth. I increased the white and highlights so the image had the correct amount of light leading it to be not too dark but with the correct depth of dark shadows to emphasize the triangle. Lastly, decreased the texture so the image looked smoother and more professional, and finally decreased the shadows to emphasize the shadows and Rembrandt’s shadows are emphasized.
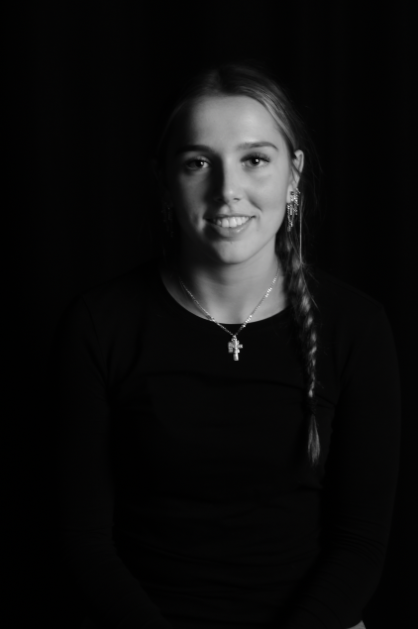
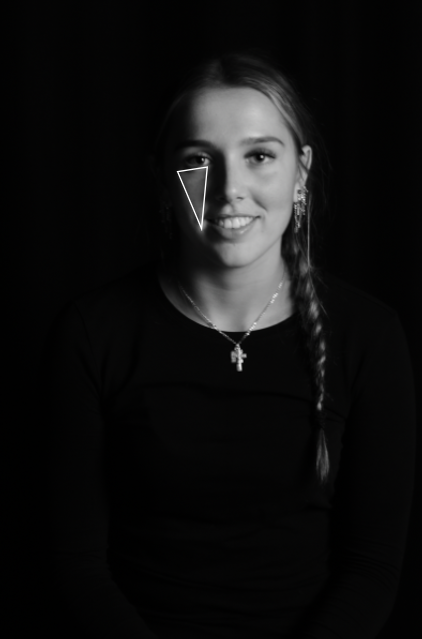
I then put it in black and white so it connected to Rembrandts lighting theme as majority of famous and known photographs are in black and white and also really emphasize the triangle as in colour that is generally more eye catching than the triangle therefore meaning in black and white the triangle is a large factor to only focus on.
Lighting set up-
Light – lighting styles are determined by the position of your light source. Rembrandt lighting is created by the single light source being at a 40 – 45 degree angle and higher than the subject. Both flashlights and continuous lights can be used for this technique.
Lens – a 35mm or 50mm lens will work the best for this technique if your space is at a premium. Or, if you’ re looking at including more of the subject than just the head and shoulders. A 50mm works very nicely for portraits, and will give a nice depth of field if you’re shooting with a shallow aperture. However, a 35mm will give you a wider perspective, meaning you can include more of the background in a photo. However, this is usually not needed in portraits as we want to focus on the subject.
