Headshots – Photoshoots and edits

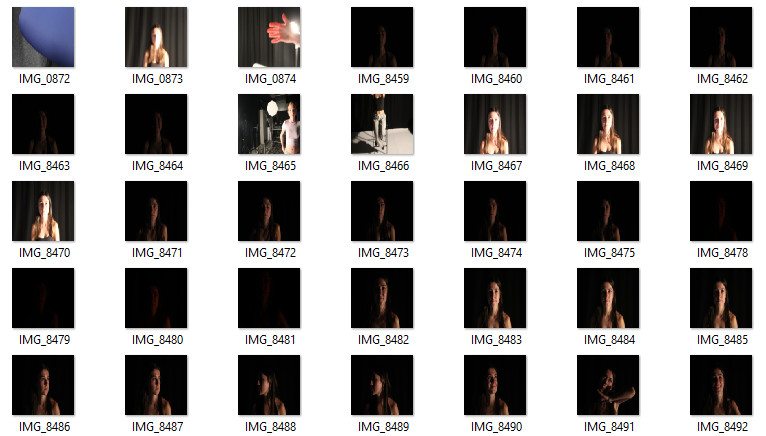
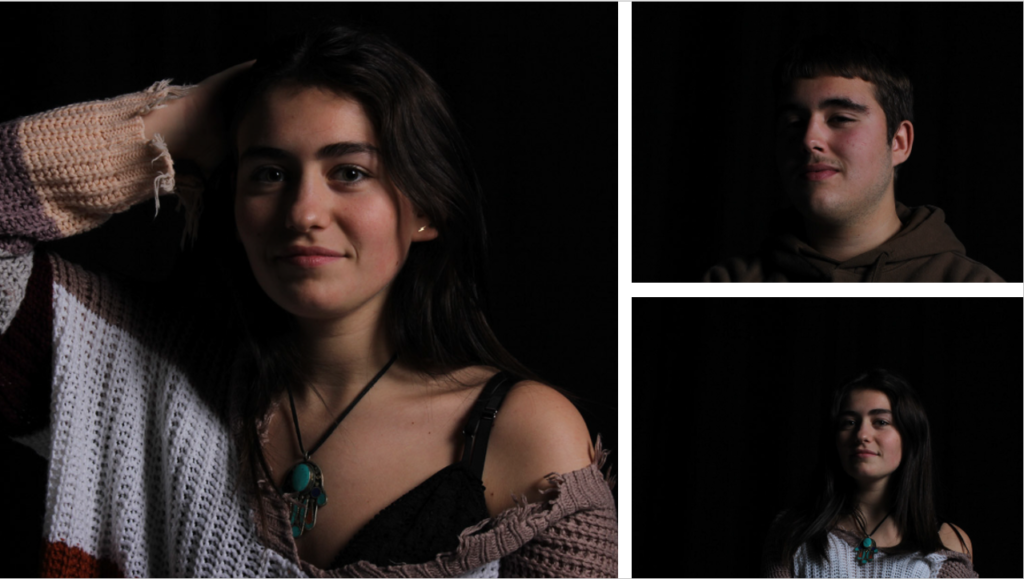
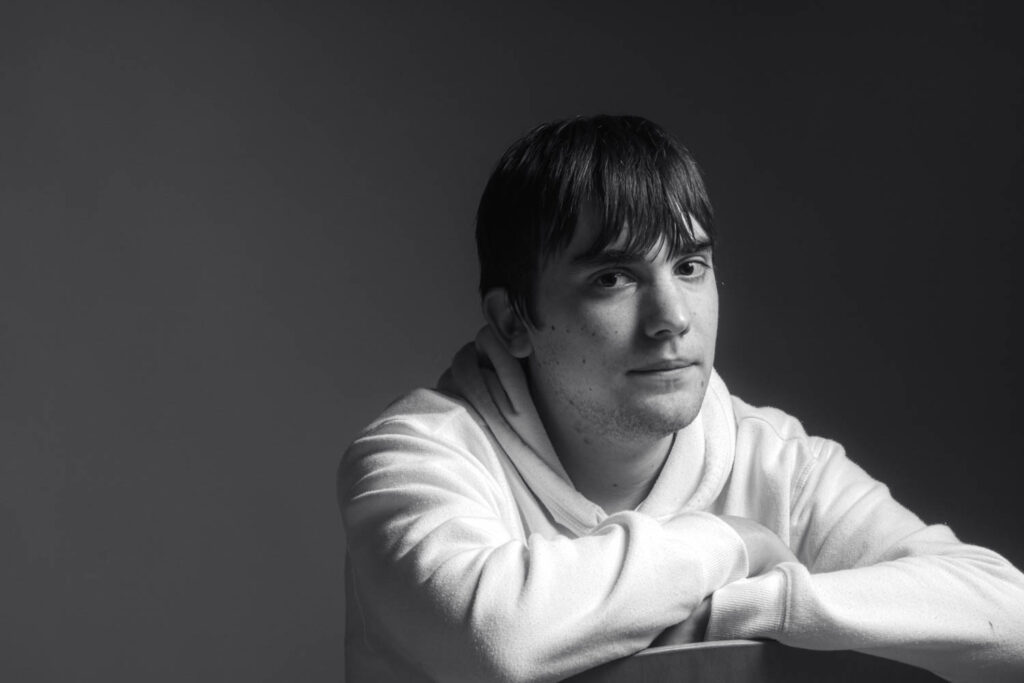
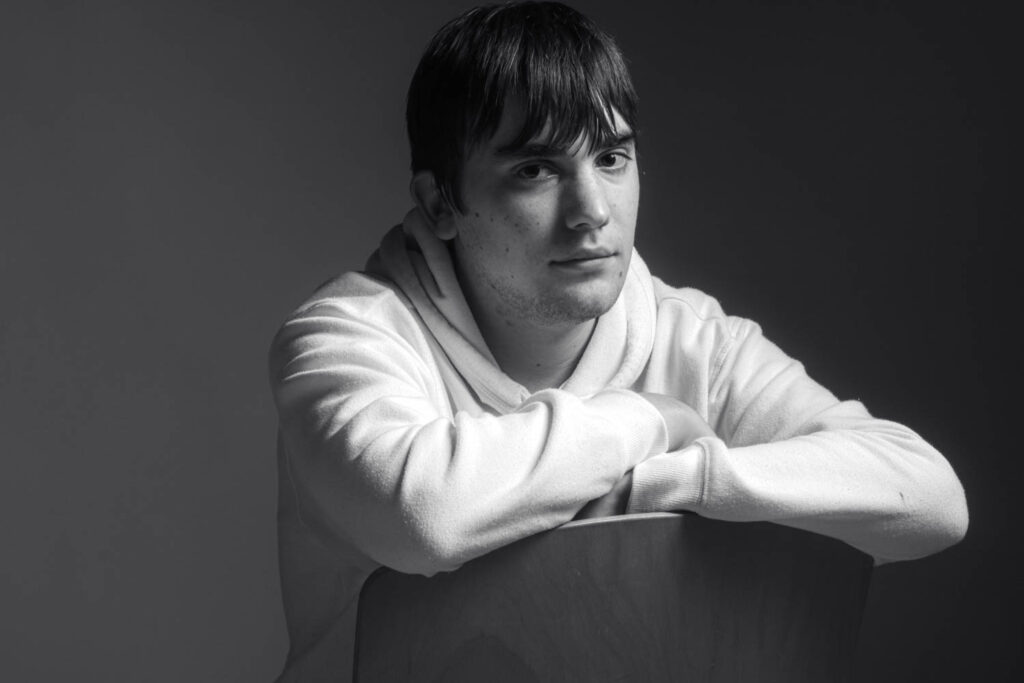
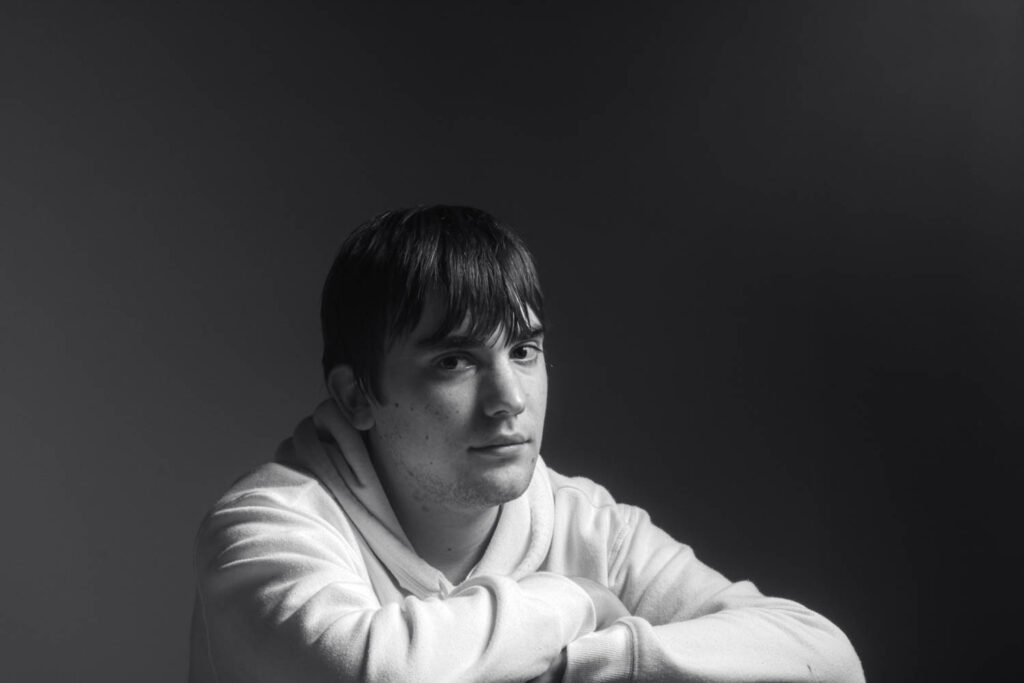
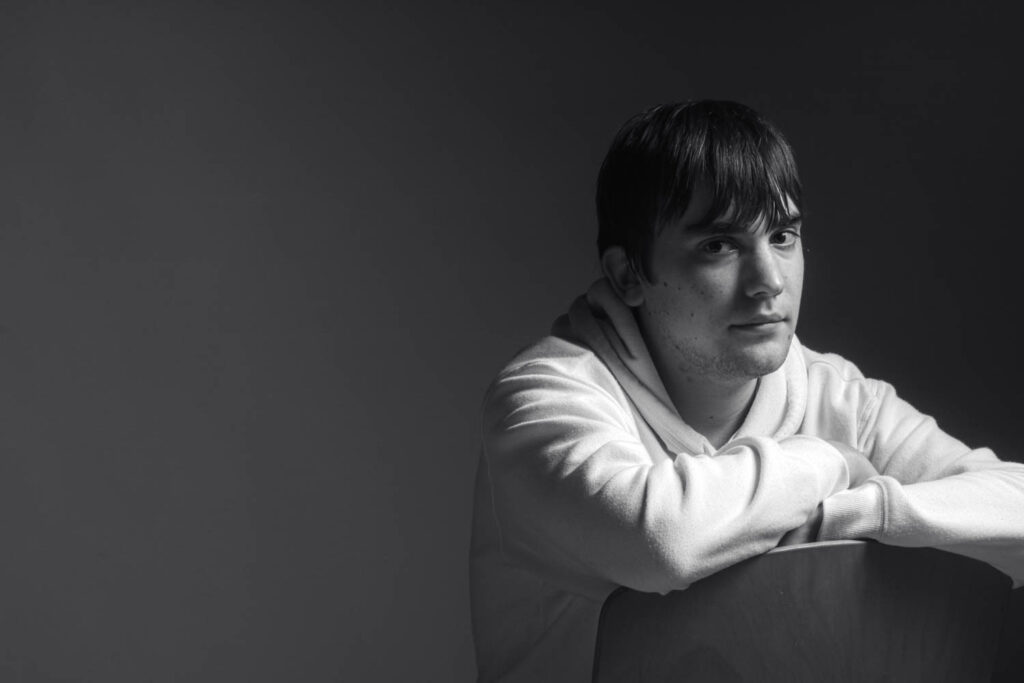
For this photoshoot, I took simple, portrait photographs, which I will be using to show multi-exposure through editing.

Photoshoot 1 –

I gathered a variety of different types of lighting in every few photos, such as ; Chiaruscuro, Rembrandt and butterfly lighting. This is to have different area of light to play around with and explore my editing and colour handling.

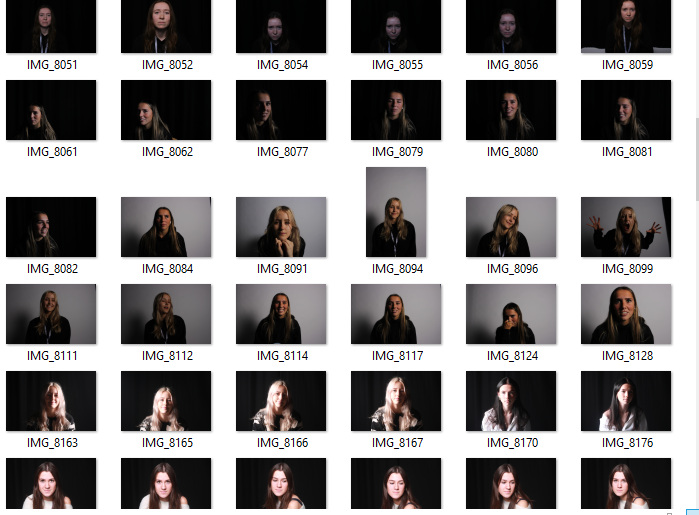
Photoshoot 2 –
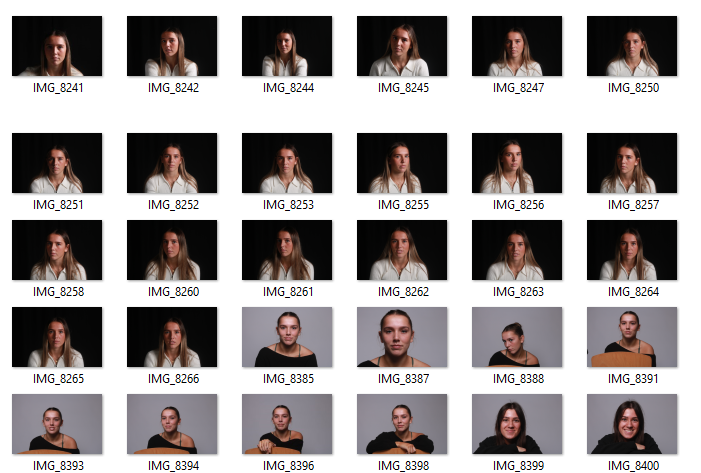
With this second photoshoot, the use of different lighting, would give even more variety of the types of lighting that I had to manipulate.

Edits –
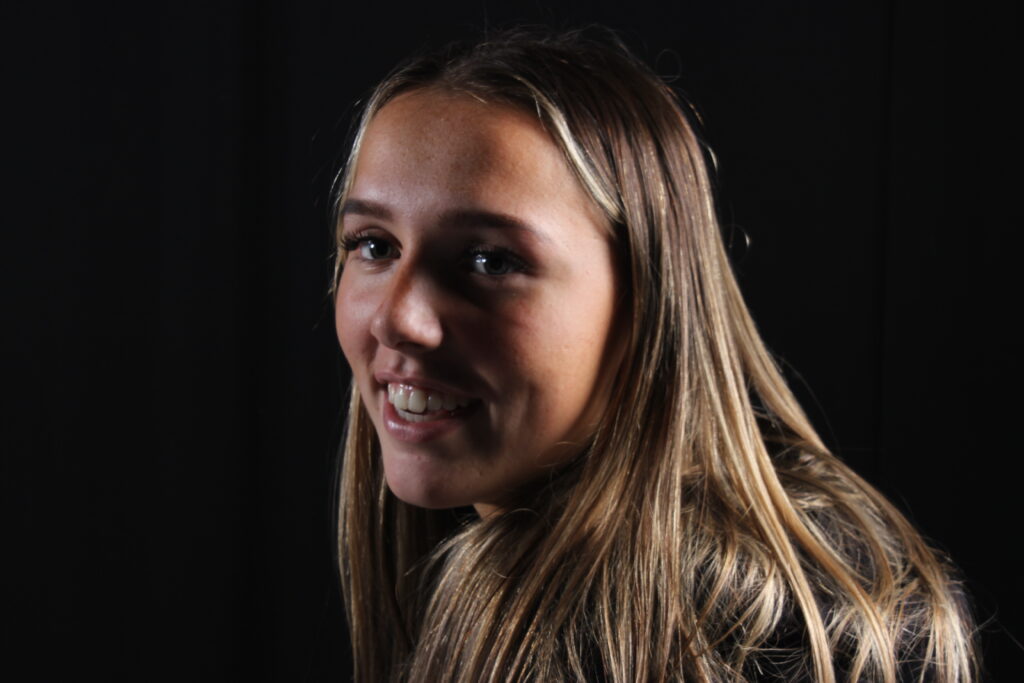
For this edit I was playing around with layers and opacity on my photos. I dragged this photo onto photoshop and duplicated the layers 3 times. Changing the opacity on the original photo to 50%. I slowly enhanced the opacity on each layer from 50% – 60% until I had a mirrored looking edit.
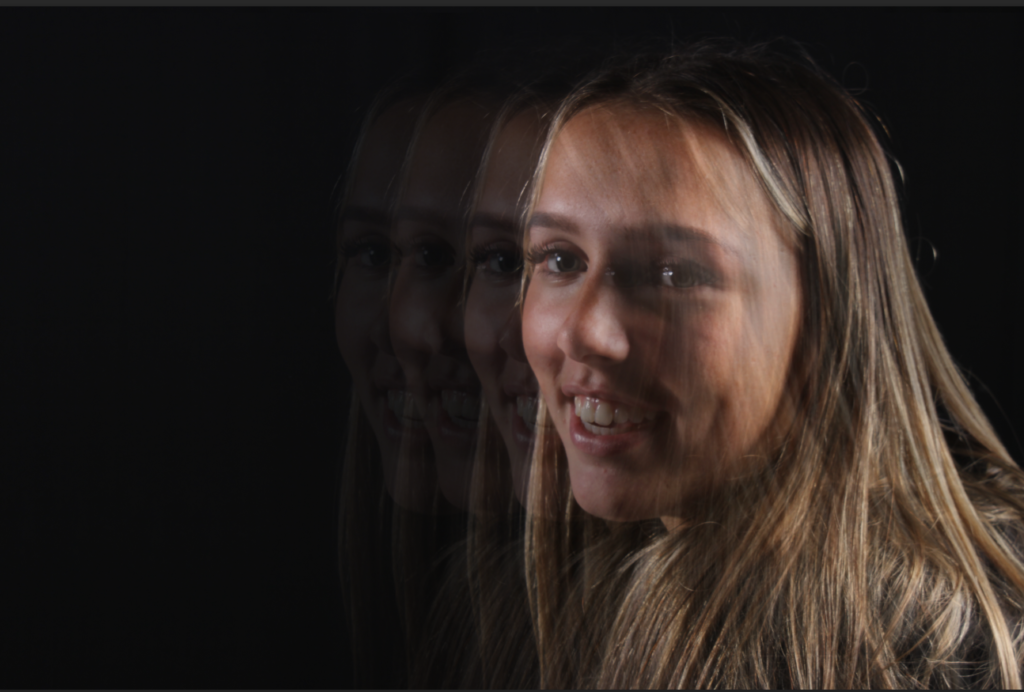
Edit 2 –
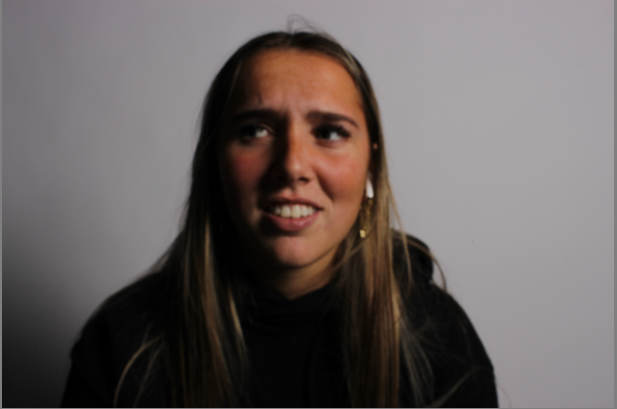
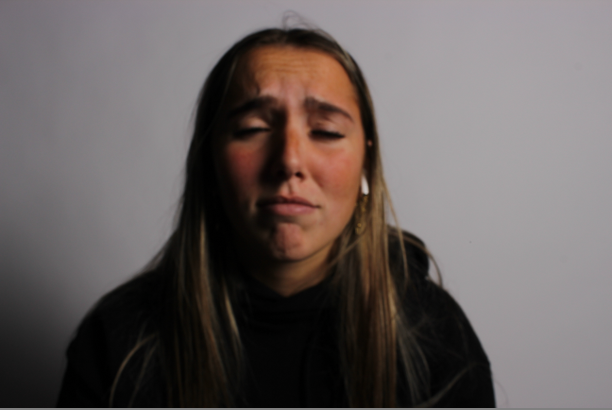
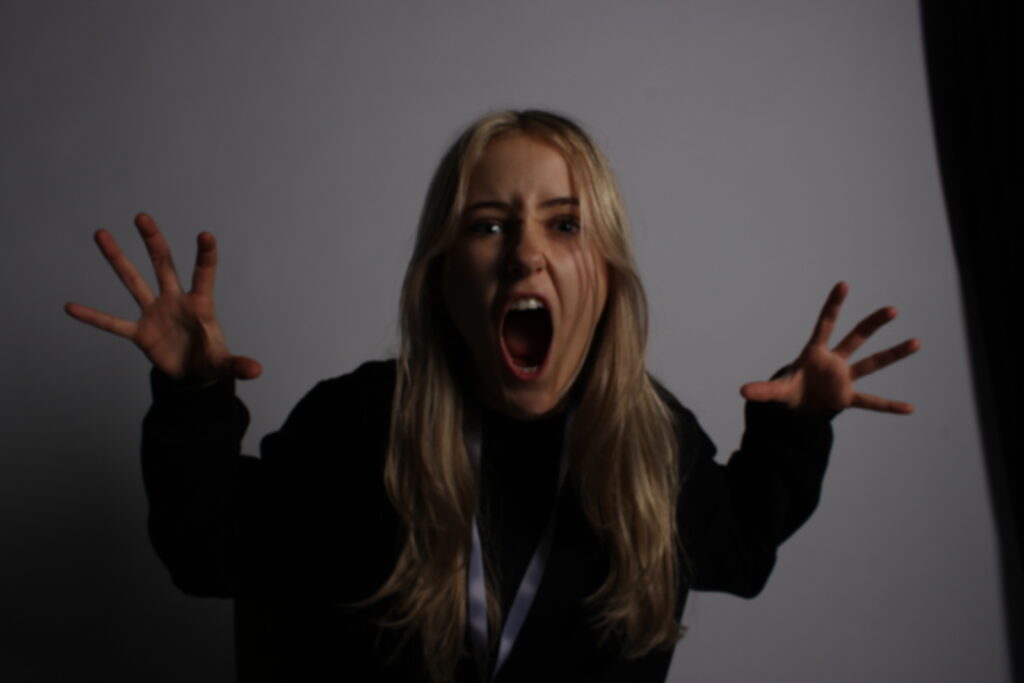
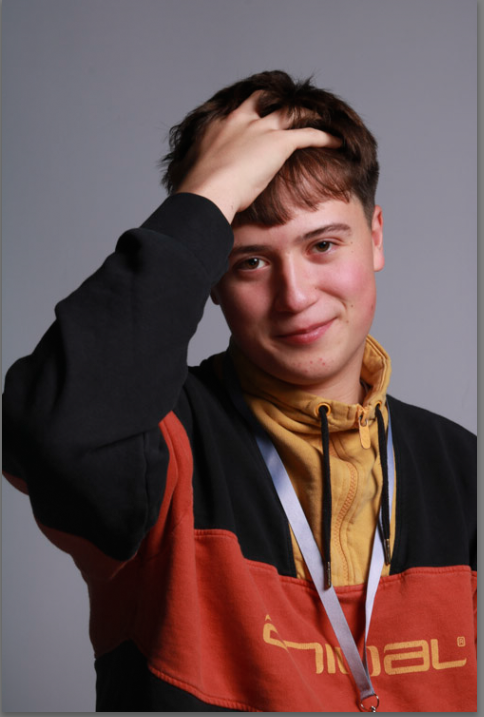
I used these two photos to edit together. I wanted to show a contrast between emotions as well as colours and I thought that could be quite powerful.
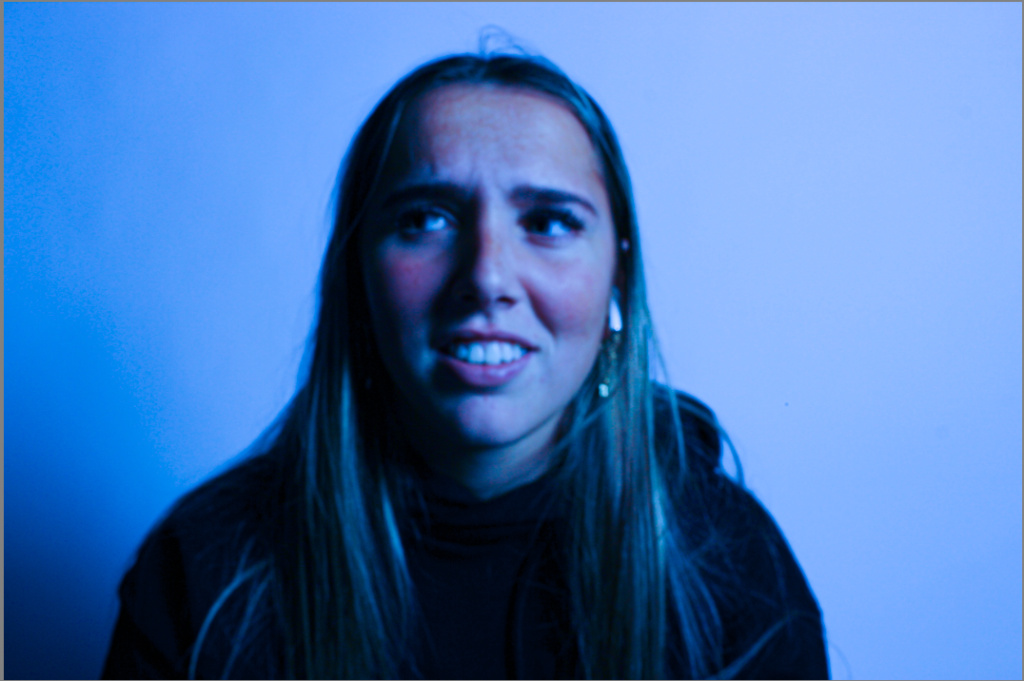
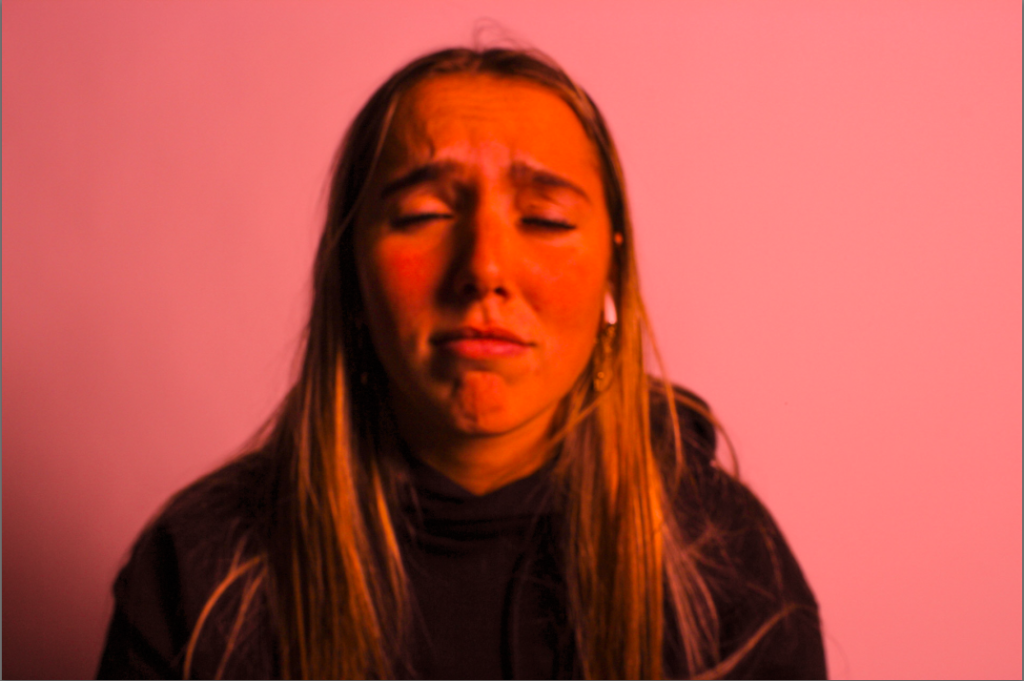
I edited both photos different ends of the colour wheel to show contrast, this I did in Lightroom-classic. Blue to the sad photo, and red to the angry photo. This is the emphasis the stereotypical emotions and the colours that are subdued to them.
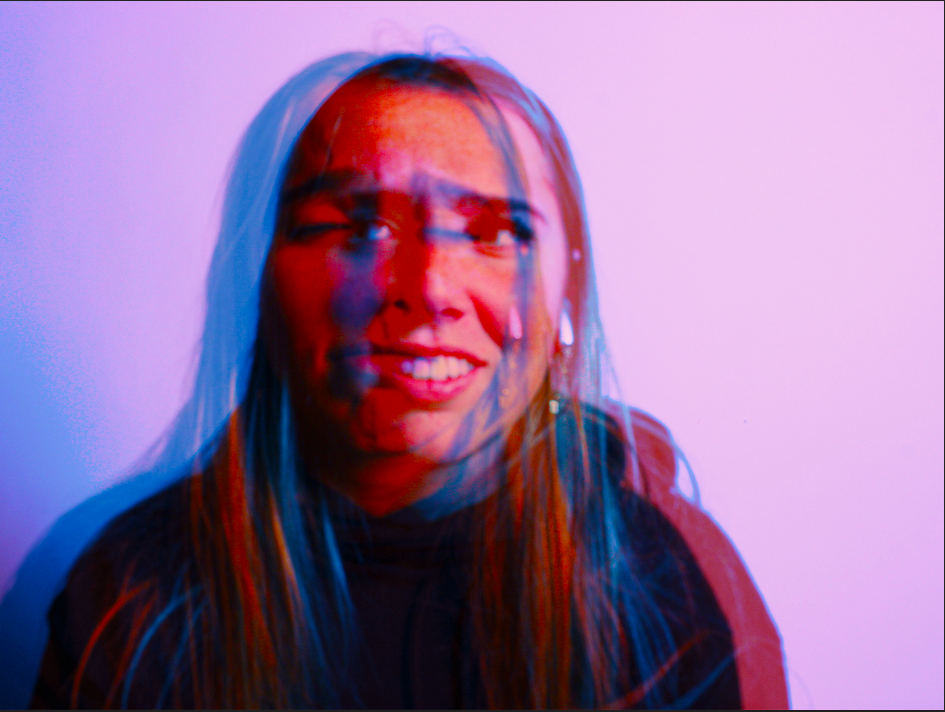
I brought both edited photos from Lightroom Classic and put them in photoshop. I played around with the saturation and vibrancy of both photos getting them to the exact colour that I wanted.

Then placing them on top of each other, I controlled the opacity of the photo on the top bringing it down to 50% so the background went transparent while keeping some of the blue hue on top.

Edit 3 –
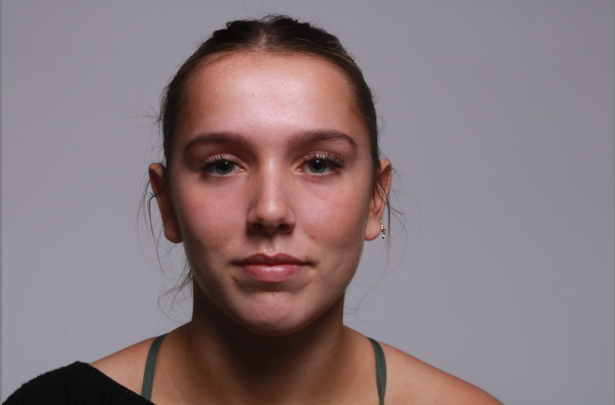
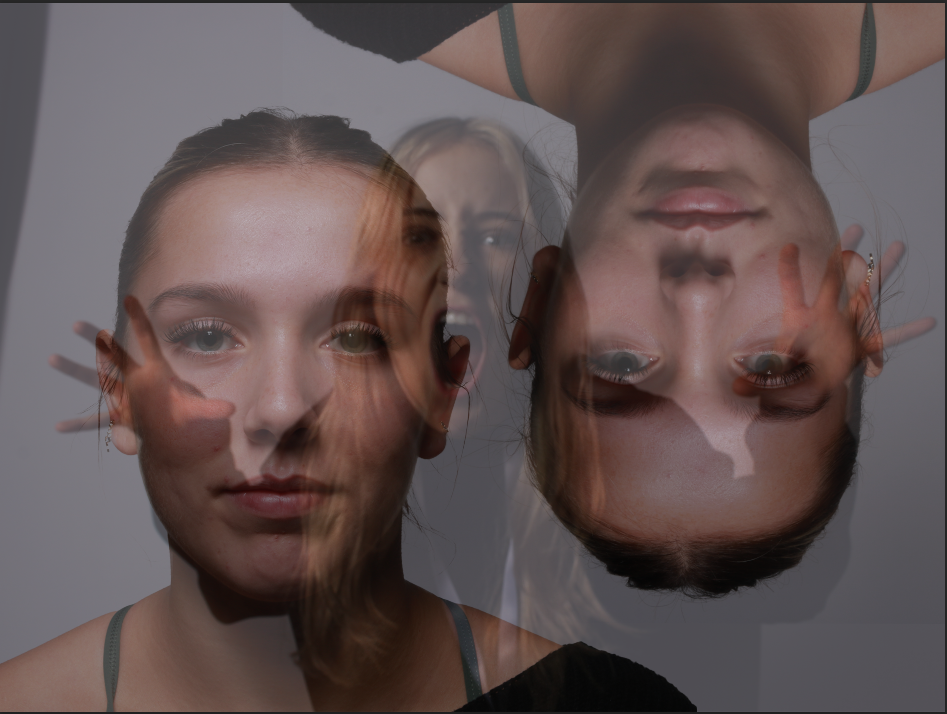
For this edit I wanted to do something similar to the first one but making it slightly more difficult, adding more layers and different ideas.

I dragged the first photo into photoshop and flipped it upside down first of all. Then using the eyedrop tool to match the colour, I coloured the background the same grey hue as the photo. After that was done, I dragged the same photo in again, keeping it the correct way up but moving it across so each subject was in opposite thirds of the photo keeping an inch of space between.

I then cut the background from one of the layers to help not show original background on the photo. When the photo looked smooth, I dragged in the second photo on top keeping it the correct way up, then changing the opacity to 50% to show background of the other photo.
introduction to studio lighting

Studio lighting, Studio lighting is the use of light in a controlled setting, like a studio. Studio lighting is extremely important because it gives photographers control over how lighting affects / interacts with their models or subject, this control allows the photographer to create visually appealing and consistent images by changing things like brightness, direction and shadow. Studio lighting is key for creating professional looking photos in different types of photography especially in portraiture.

Rembrandt Lighting

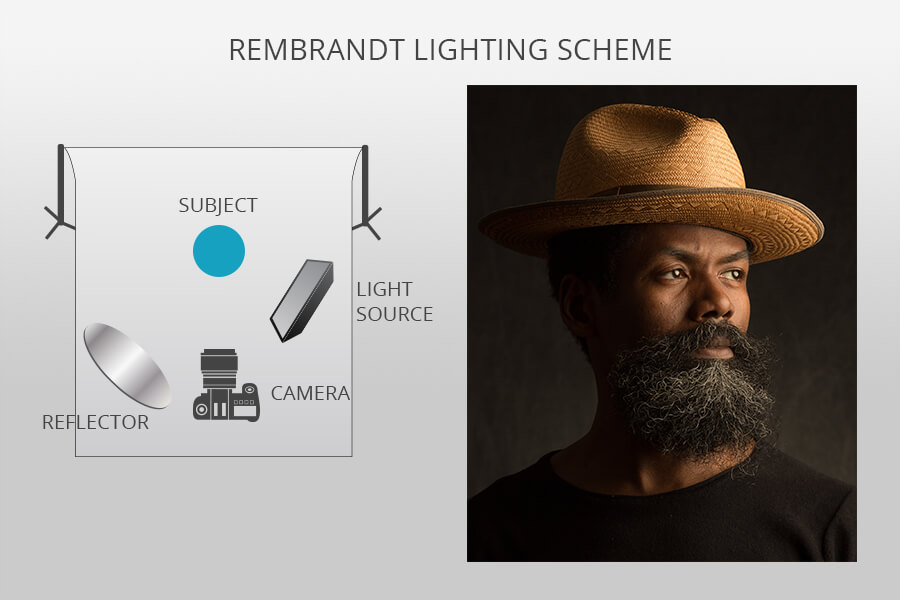
Rembrandt Lighting is a portrait lighting technique which is named after the 17th century Dutch painter: Rembrandt. Rembrandt lighting involves illuminating the models face at a slight angle to create a small triangle highlight on the cheek that is on the other side to the light source. This technique is used a lot in portraiture photography, it is used for its form of adding depth and a dramatic feeling to the models features. To take photos with Rembrandt lighting you need: A light source – studio lights, A reflector and a background – usually blank and basic.

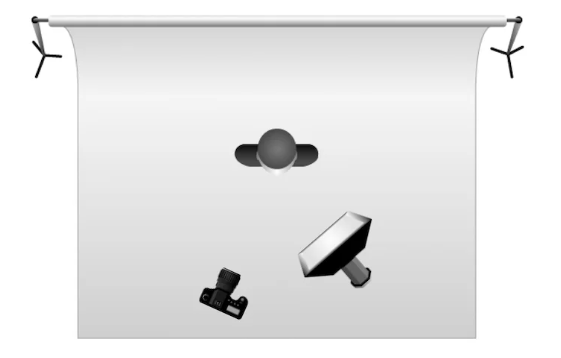
This is the setup for Rembrandt Lighting.

Butterfly Lighting

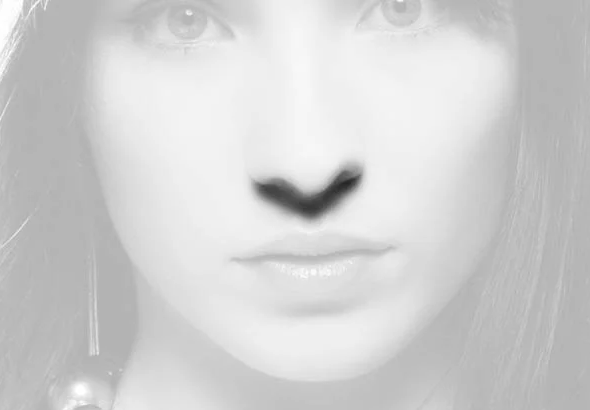
Butterfly lighting is another portrait lighting technique, however in this technique the light source is positioned directly in front of the model and slightly high up, just above their eye level. By the light being above eye level, it creates a symmetrical shadow under the model’s nose, which has the shape of a butterfly shape. Butterfly lighting is also known as paramount lighting because of its history with Hollywood photographer, George Hurrell who used this technique often. Butterfly lighting minimizes shadows and highlights the cheekbones; this technique usually works well when you want a soft look on the model’s face.

This is the setup for Butterfly Lighting.

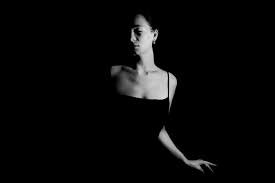
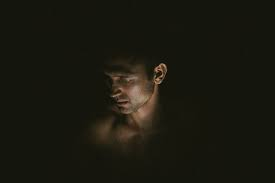
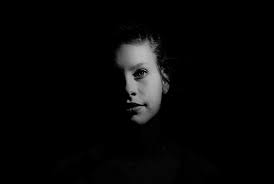
Chiaroscuro Lighting

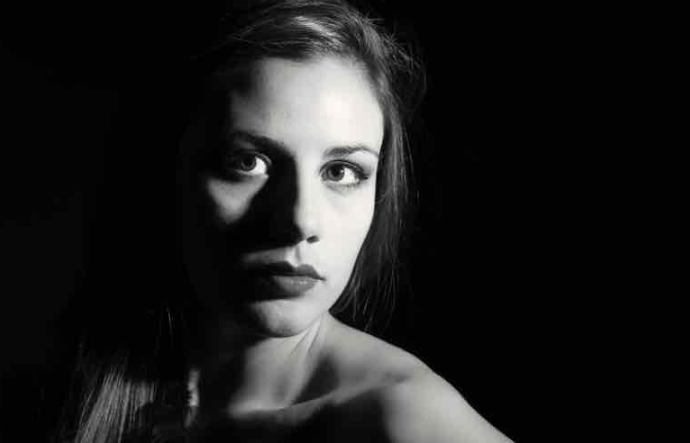
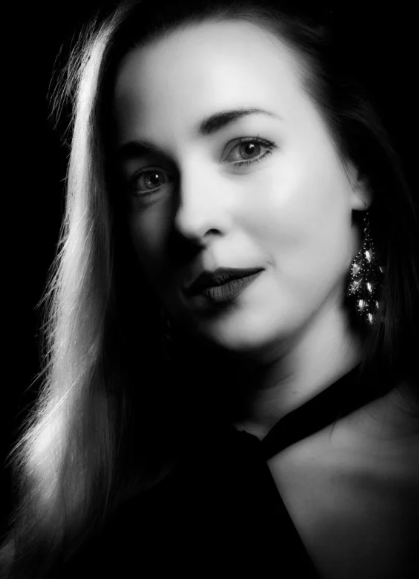
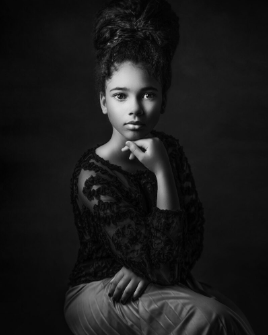
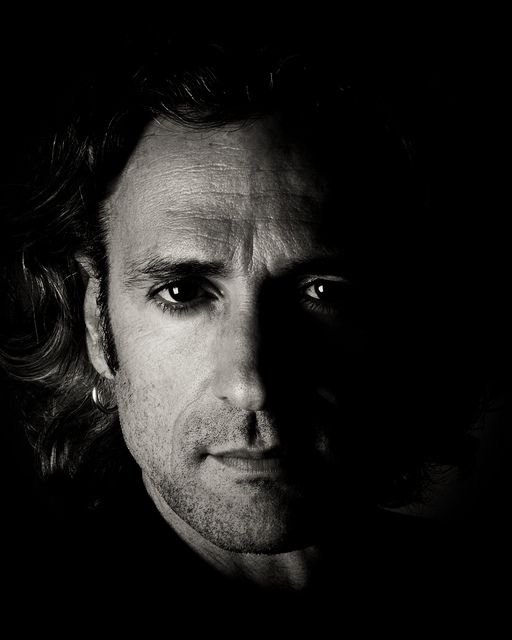
Chiaroscuro lighting in photography is a technique that highlights contrasts between light and dark areas to make a dramatic image. In Chiaroscuro photography, photographers purposefully light up certain parts of the model and leave other parts in shadow, which creates a bold blend between light and darkness. This technique usually highlights form and adds depth to the image. Chiaroscuro lighting involves a lot of work with artificial lighting and playing around with the lighting until it is correct.

This is the setup for Chiaroscuro lighting.

CHIAROSCURO LIGHTING

What is chiaroscuro lighting?

Chiaroscuro lighting is a technique that uses a strong contrast between light and dark arears to create dramatic effects.

Why use chiaroscuro lighting?

Chiaroscuro lighting is often used to create a sense of drama, mood, and depth in art and photography. it can evoke emotions, add visual interest, and enhance the overall composition of an image. By playing with light and shadow, chiaroscuro lighting can create a captivating and dynamic visual experience.

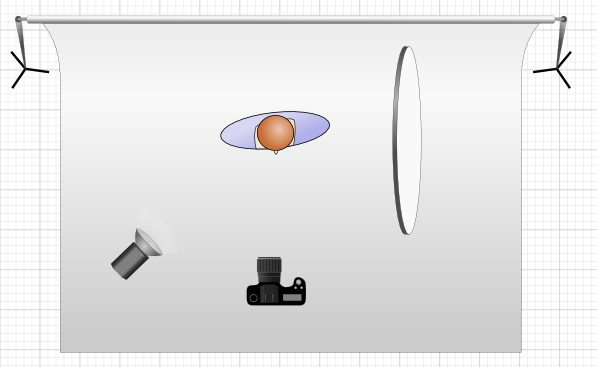
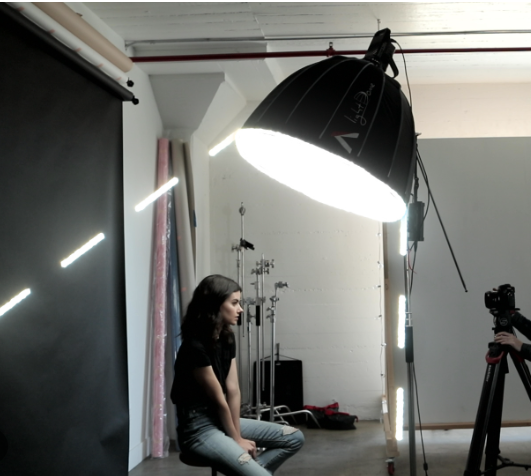
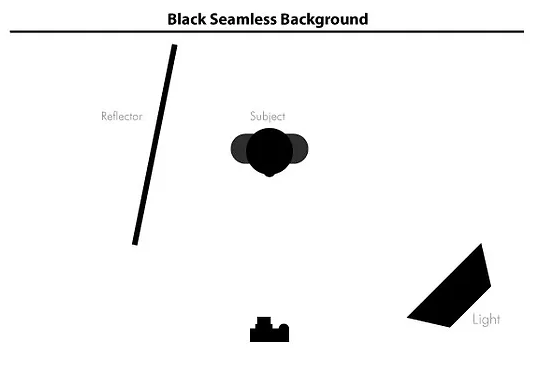
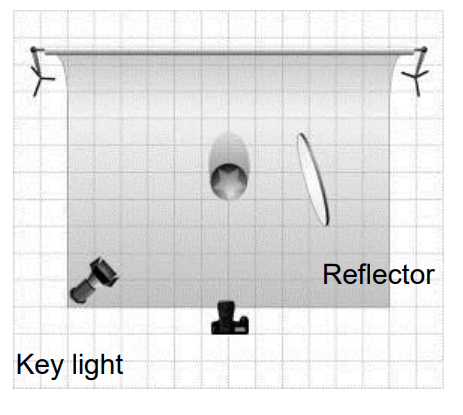
Chiaroscuro lighting set up;

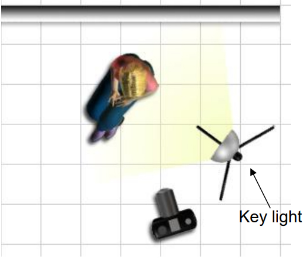
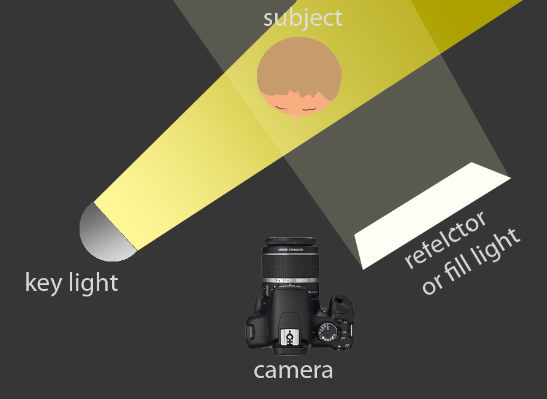
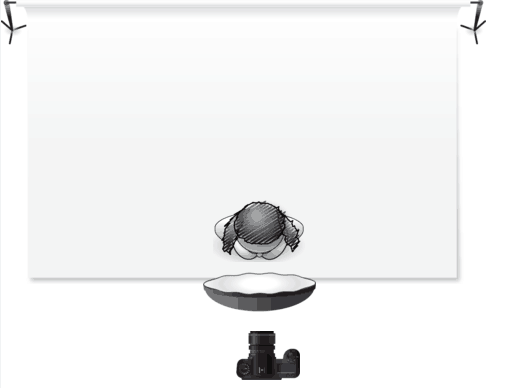
If you don’t have a black seamless background you can make the effect of a black background by turning the light away from the person facing the camera and having the reflector facing the light onto the subjects face, illuminating them.

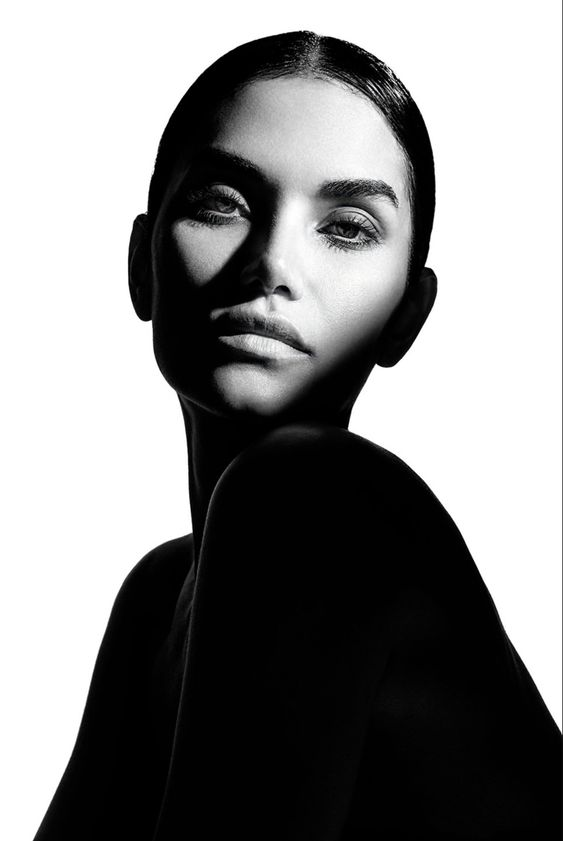
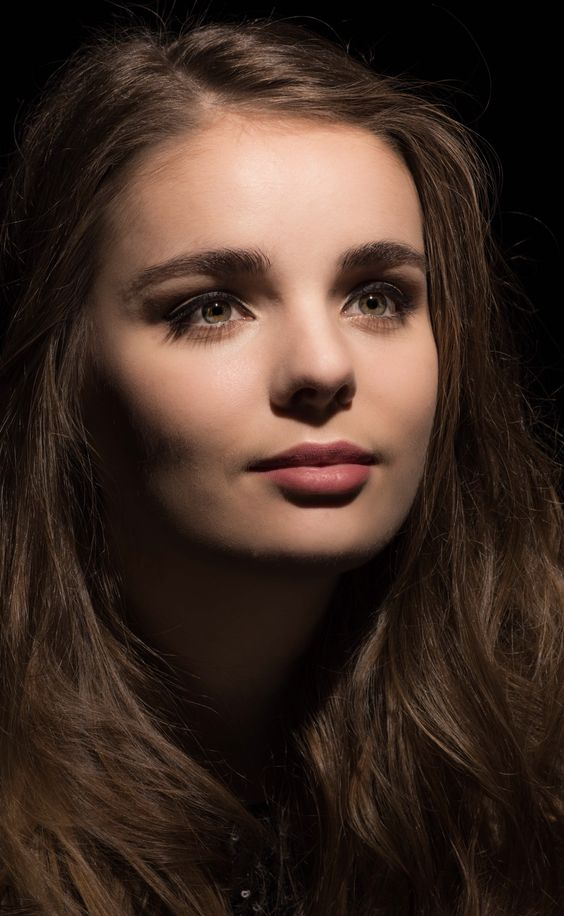
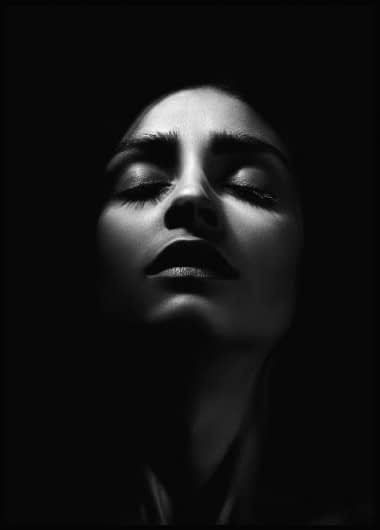
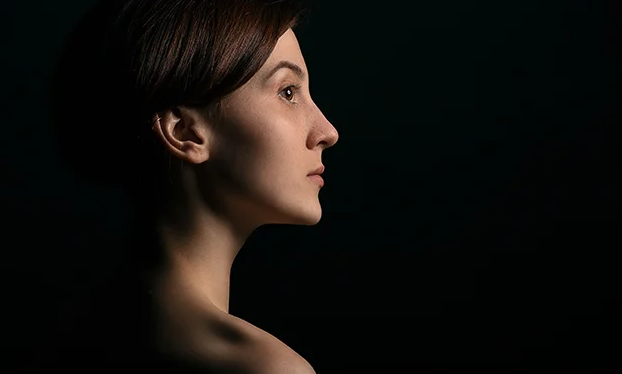
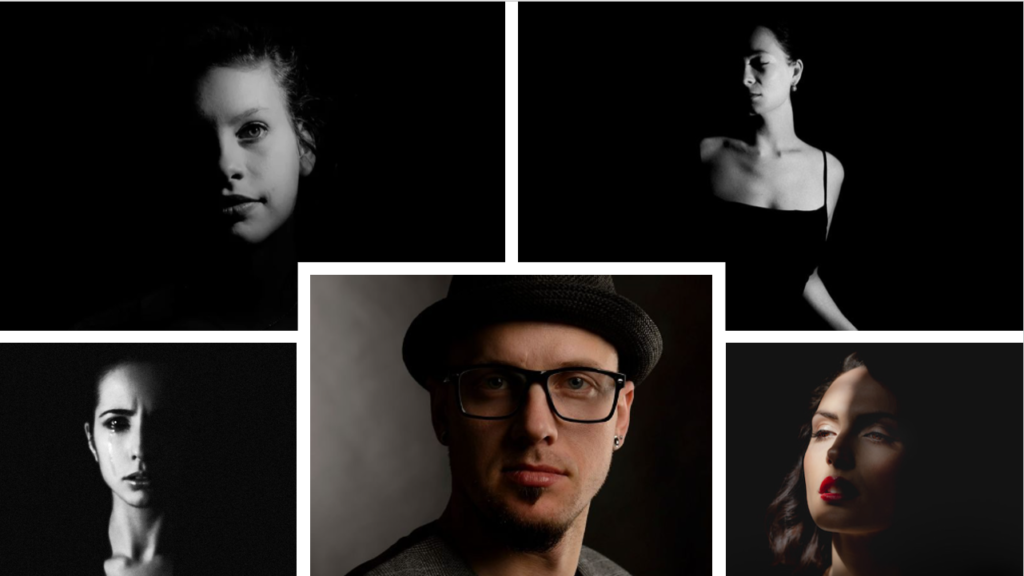
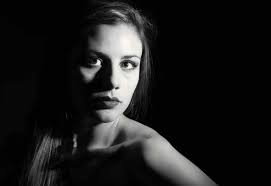
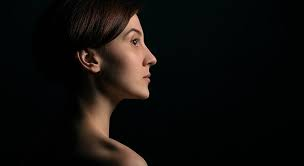
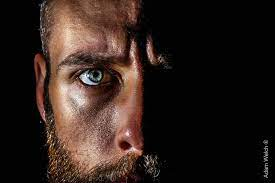
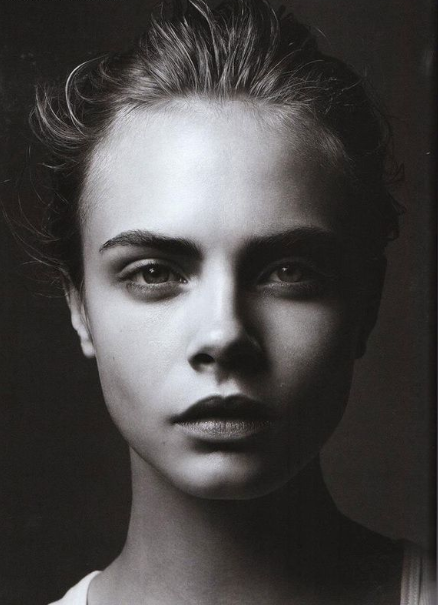
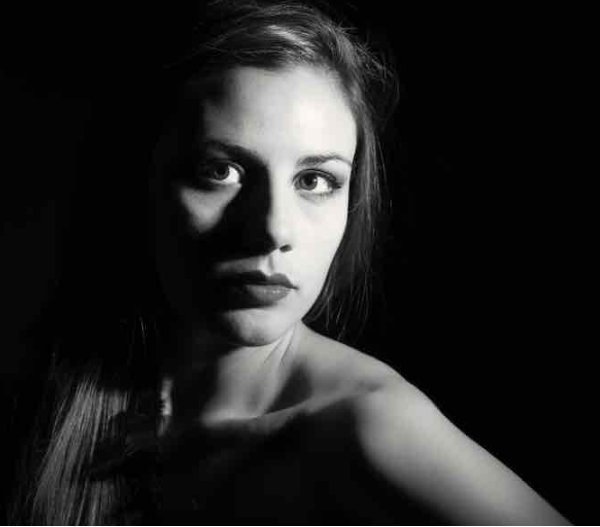
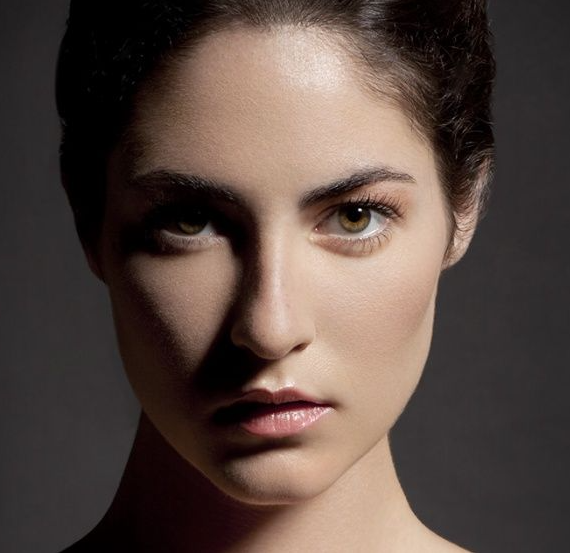
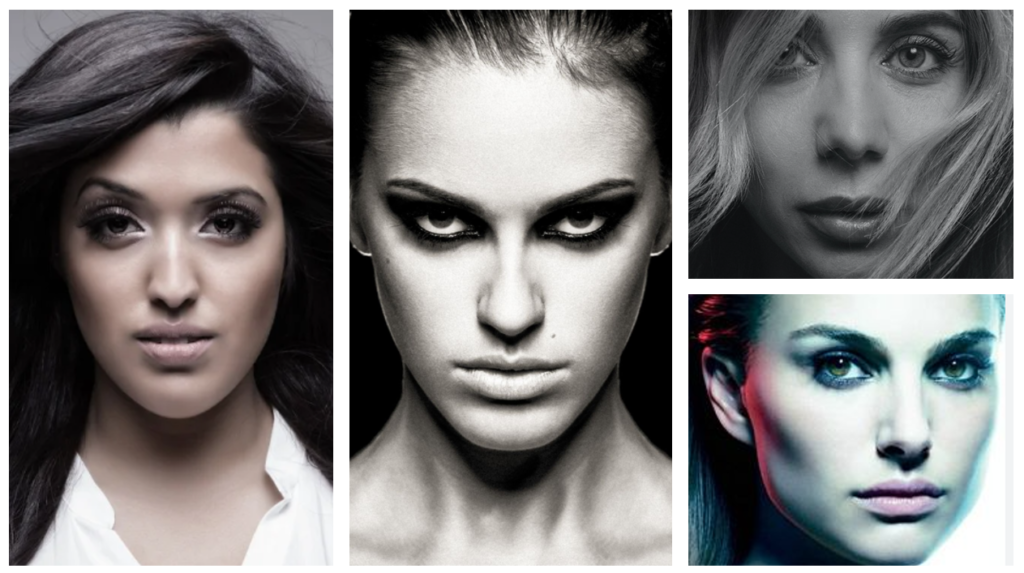
Examples of Chiaroscuro photos;

Examples I took in the studio;

Studio Lighting – CHIAROSCURO

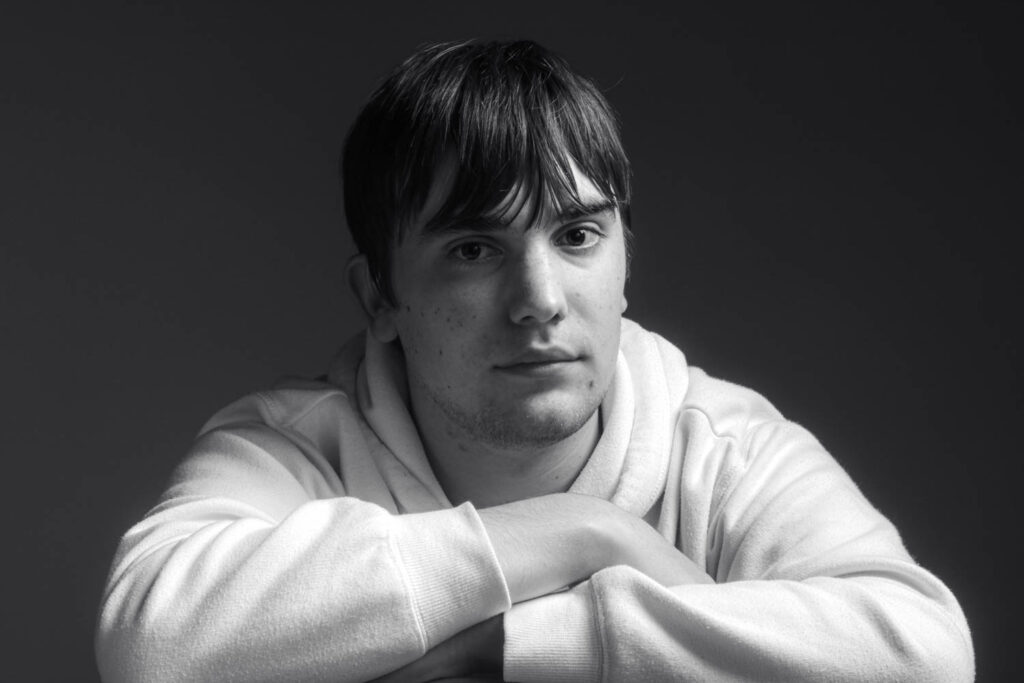
Chiaroscuro lighting is the name of a lighting technique where half of the models face is in the dark and the rest is well lit, creating a bold contrast between each section of the photo. The background is dark while the model is mostly illumined creating a stark contrast and making use of a low key lighting set up. The name chiaroscuro is Italian for light dark, which is fitting for the technique itself.
Why use Chiaroscuro lighting?

Many people use chiaroscuro lighting because they want harshly contrasted photos, creating detailed, intense portraits. The heavy contrast creates a moody atmospheric feel to the shot. It is also great for drawing the viewers eye into the photo, dragging their gaze around each element and change of lighting. Having the changes in lighting within the shot provides depth to the image which is sometimes tricky with portraits making sure the shot is interesting and of a high quality.

History of Chiaroscuro

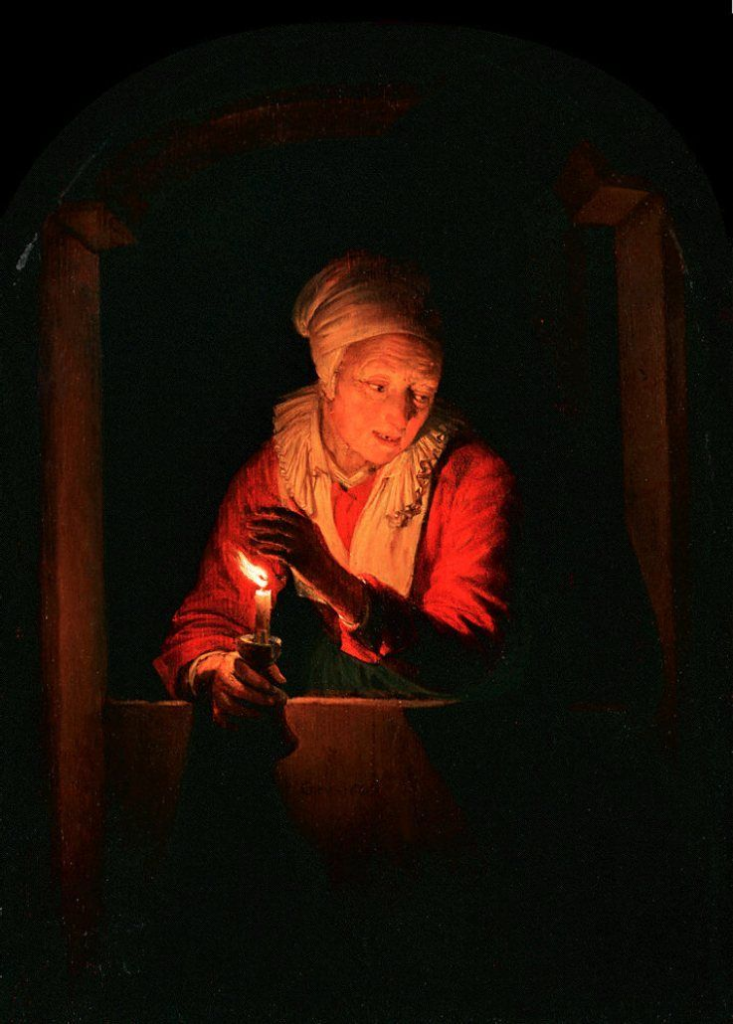
The style first became well know when the Baroque painters used it in any paintings like the one above to give it a dramatic flair. It was then more widely used in 20th century cinematography to emphasis spooky scenes or add further dramatic to the piece. It originally appeared during the Renaissance period explaining where the name, chiaroscuro originated from. As time went on the technique became very popular for the making of ‘Film Noir’ which is French for black film. This was used to describe classy Hollywood crime films, particularly those with a look at moral ambiguity.

How to create Chiaroscuro lighting

To create the harsh lighting, you need to have the light like a flash head on a 45 degree angle to the models face, fairly far away. You can also use a reflector like in the above diagram to create the desired lighting. You will also need to use a black background or backlight your photos, to create the look of the model being in contrast to the dark background or blending in. depending which part of the shot you are looking at.

Rembrandt Lighting

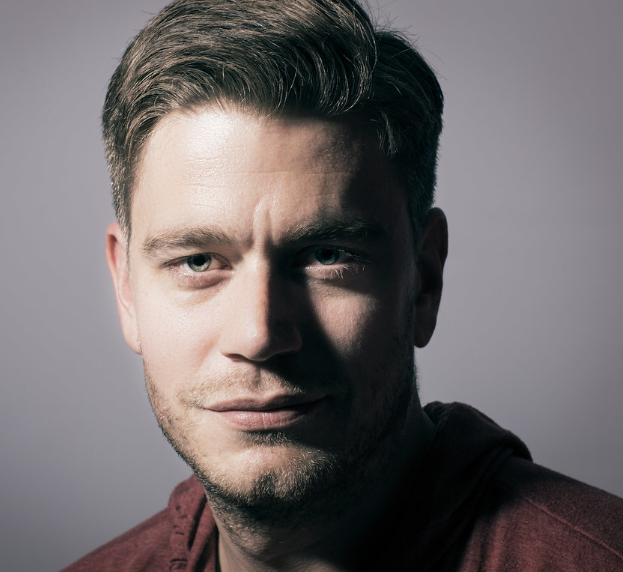
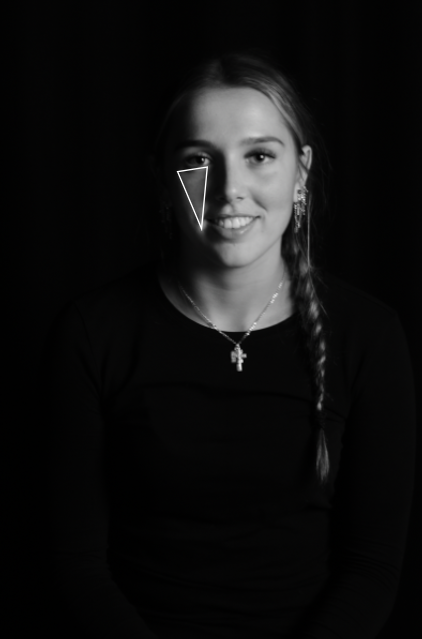
Definition – Rembrandt lighting is a standard lighting technique that is used in studio portrait photography and cinematograph. This lighting technique is identified by the triangle that is formed under one eye, (this is known as the Rembrandt Patch).

Some examples of when this lighting is being used:

This lighting is used to create a mysterious or moody portrait, it is mostly used for portraits of subjects that have a more round or full face because it creates a slimming affect, however it can be used on anyone.

By using this type of lighting you instantly create shadows and contrast. The triangle of light, that forms under the eye, also adds more emphasis and helps draw attention.

It originates from when a renowned movie director, Cecil B. Demille coined it in Hollywood in the 20th century.

Setup

The light – You can create this type of lighting by using a single light source and placing it on a 45 degree from your subject and keeping it around 5ft away. The light should also be around 2ft higher than eye level and slightly angled downwards, the lighting needs to hit the side of the subject’s face that is the farthest from the camera.

The lens – When using the camera you should use a 35mm lens if you’d like a wider point of view which will fit more of the subject’s body in the image, and if you’d like to take a portrait and have a nice depth of field you should use a 50mm lens.

Own response to this type of lighting

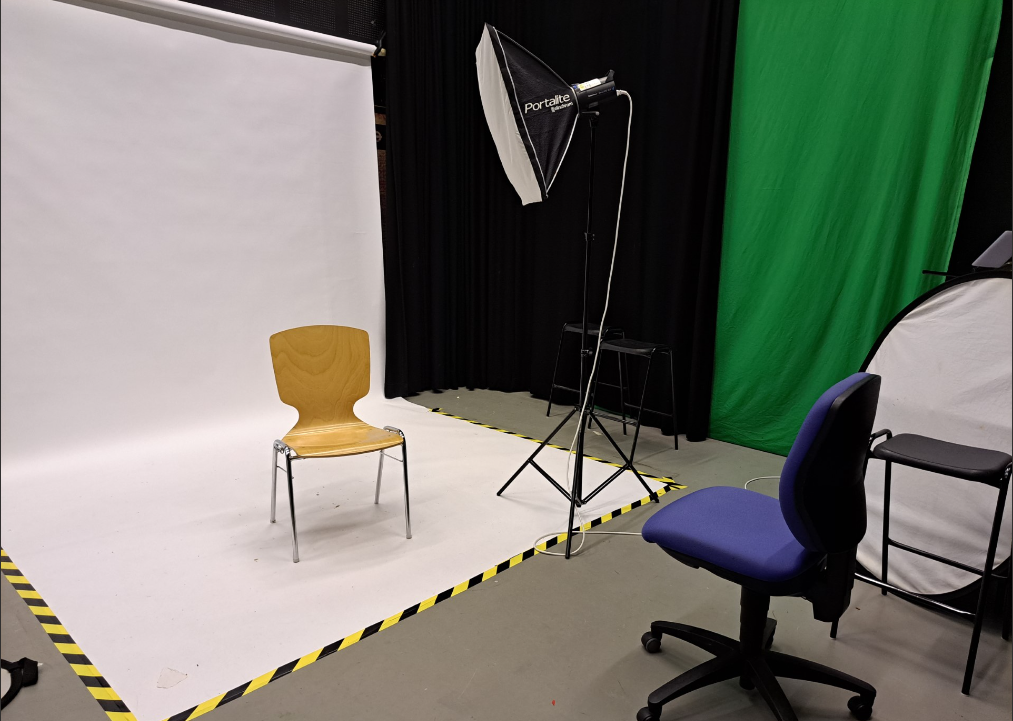
Setup – I have placed the chair/subject and lighting at an angle to create the rembrandt lighting. I then took photos facing my subject straight on.

Butterfly Lighting

What is Butterfly lighting?

Butterfly lighting is a popular lighting technique use in portrait photograph. It involves positing the main light source directly in front of the subject and slightly above their eye level. this creates a small, butterfly- shaped shadow under their nose. Butterfly lighting is known for its flattering and soft illumination. as it helps to minimize shadows and highlight the subjects features. its commonly used in beauty and fashion photography to create a glamorous and elegant look.

Why use butterfly lighting?

Butterfly lighting is often used because it creates a flattering and soft illumination. The positioning of the light source helps to minimize shadows, resulting in a glamourous and elegant look. Its commonly used in beauty and fashion photography to enhance he subjects appearance and create a visually appealing image.

From this photo you can see the clear shadow under the nose that gives butterfly lighting its name.

This is the butterfly lighting set up;

Examples of Butterfly lighting photos;

Examples I took in the studio;

Rembrandt lighting

what is Rembrandt lighting?

Rembrandt lighting came about in the 20th century and was created by film director Cecil B. DeMille, he did this to created much more realistic effects instead of just having your average studio lighting that was pretty generic. this type of lighting became much more common in films and promotional photographs to make them more interesting and eye catching. In conclusion, this sort of lighting is supposed to make a triangle under the eyes with shadows on the subject in the photo.
why use Rembrandt lighting?

when using Rembrandt lighting you can create an eye catching photo as it can create an image that looks natural but could also look dramatic.

Rembrandt can be used with either hard or soft lighting depending on how the photographer wants to portray the subject in the photo.
hard light

soft light

as shown in these two photos there is always a triangle of shadow being created when using the Rembrandt technique.

how to create Rembrandt lighting:

light- for the lighting you are going to need one source about 45 degrees away from them (about five feet) that’s also higher than them to create the technique.

lens- A 35mm to 55mm is the best range when taking a Rembrandt photo as these provide a nice wider point of view capturing more of the subject or it can be more zoomed capturing more detail of the subject (good depth).

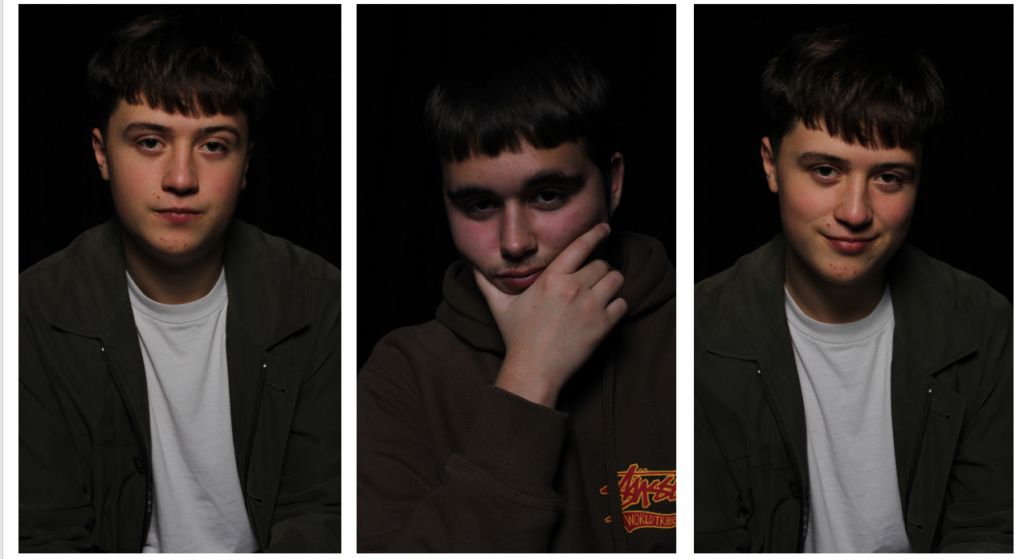
Photos i have created:

Photoshoot environmental portraits

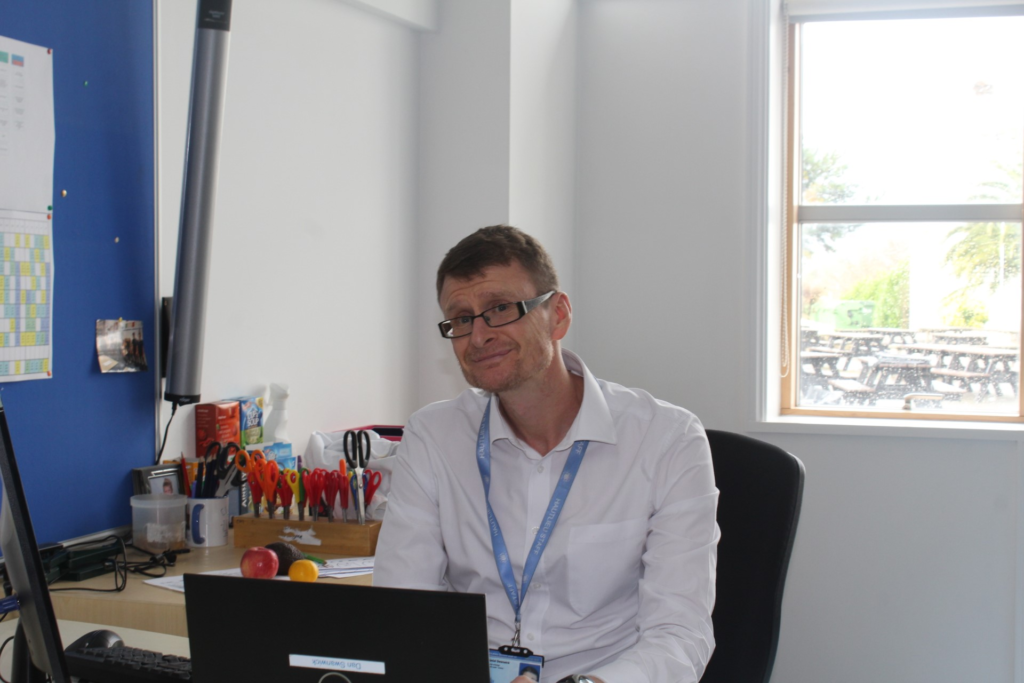
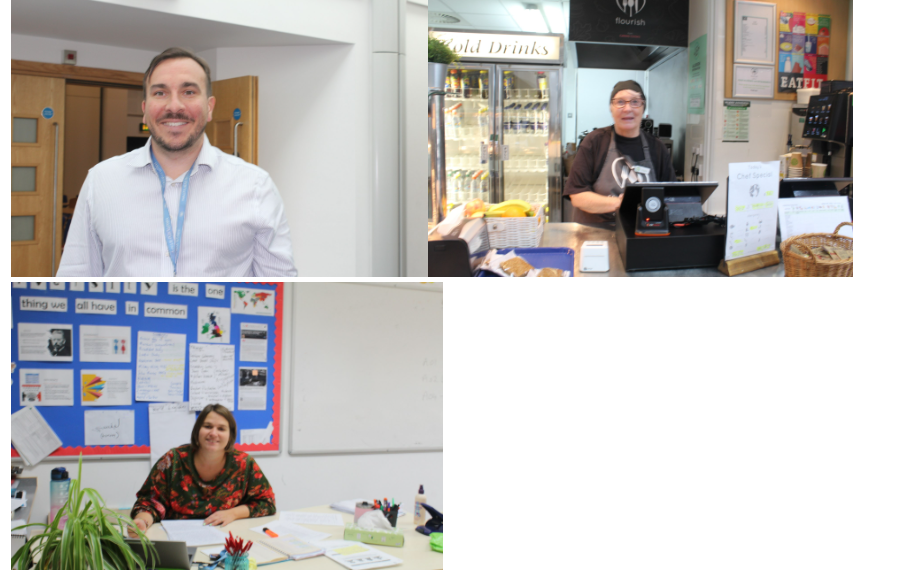
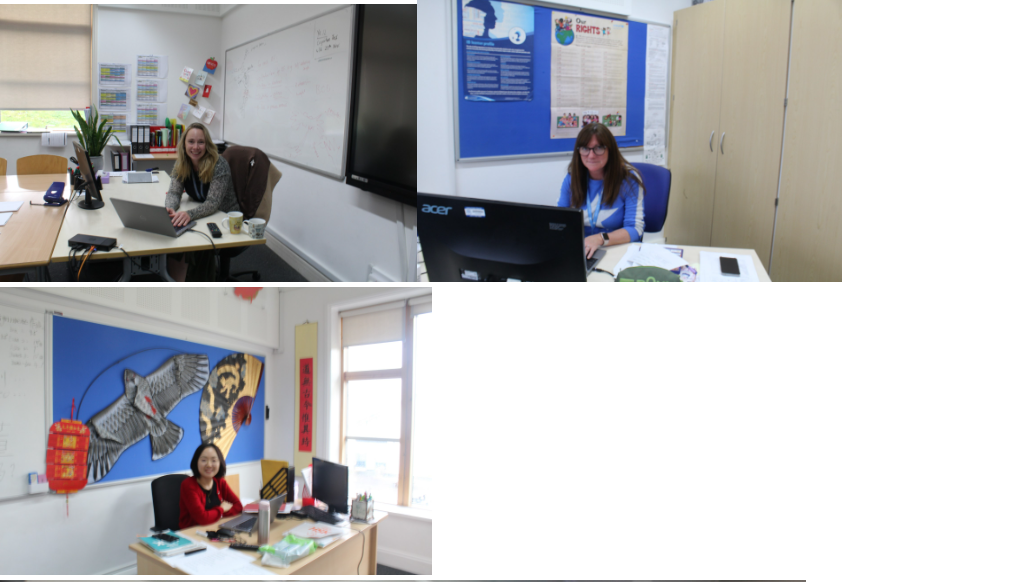
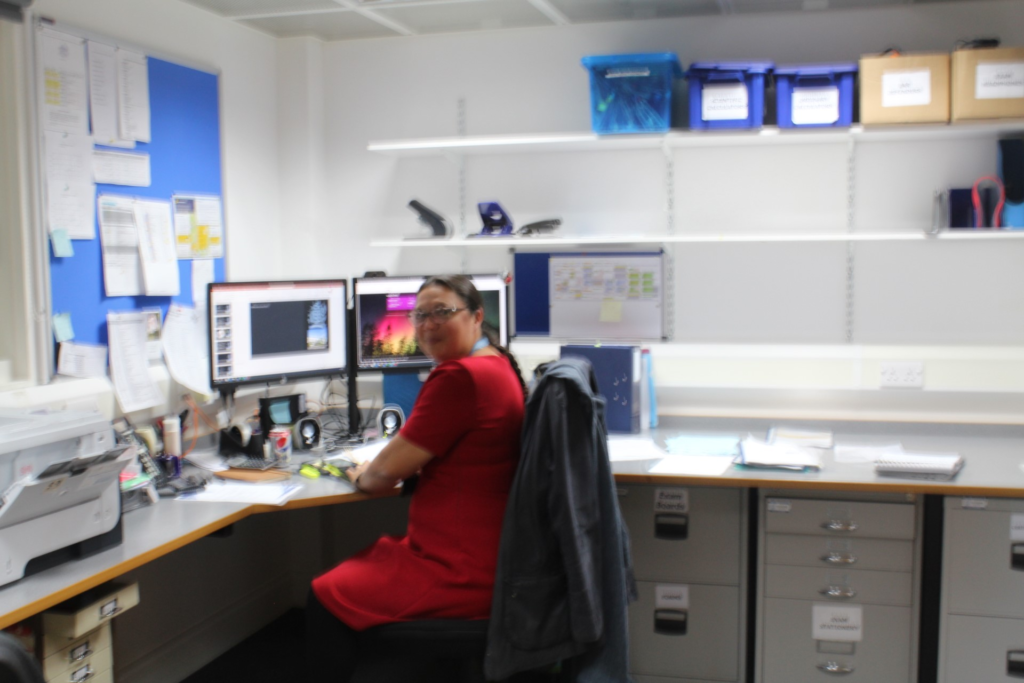
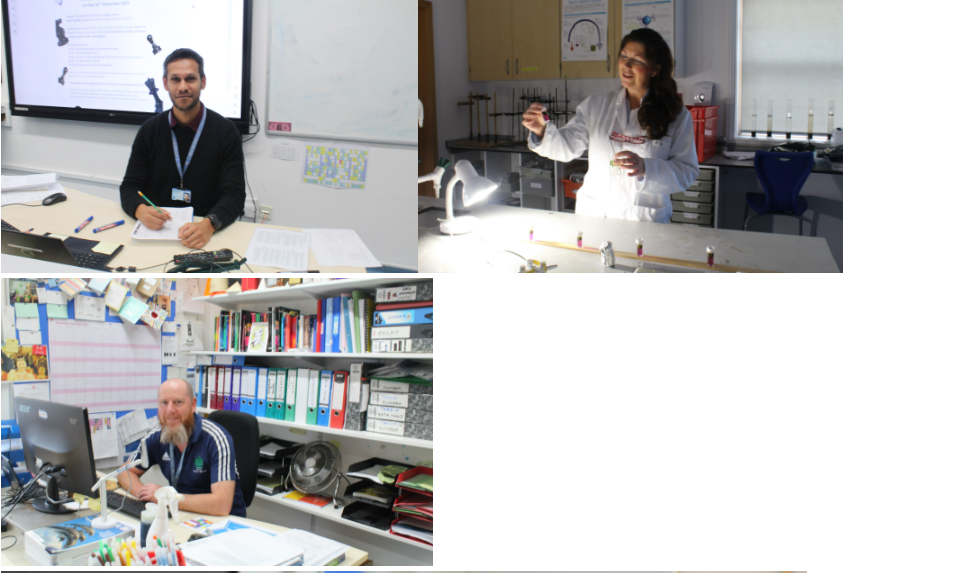
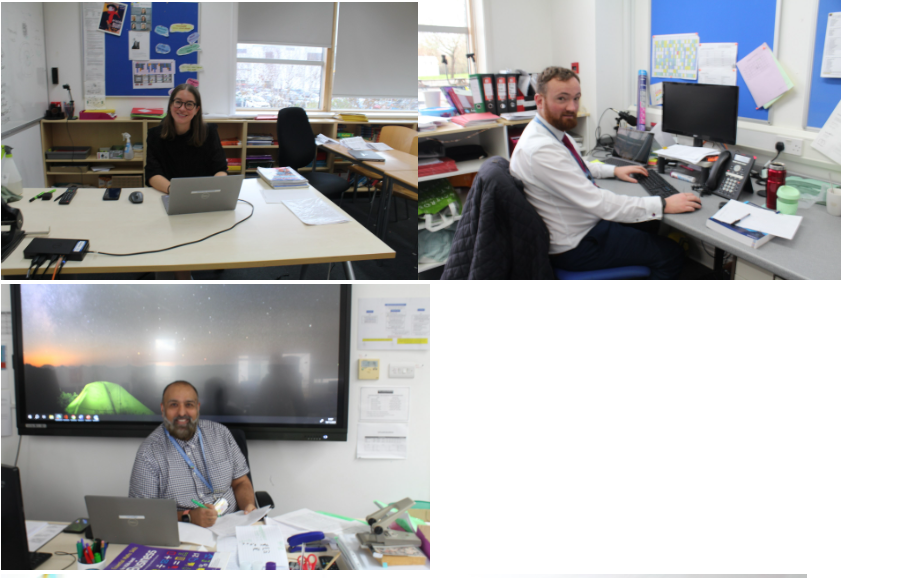
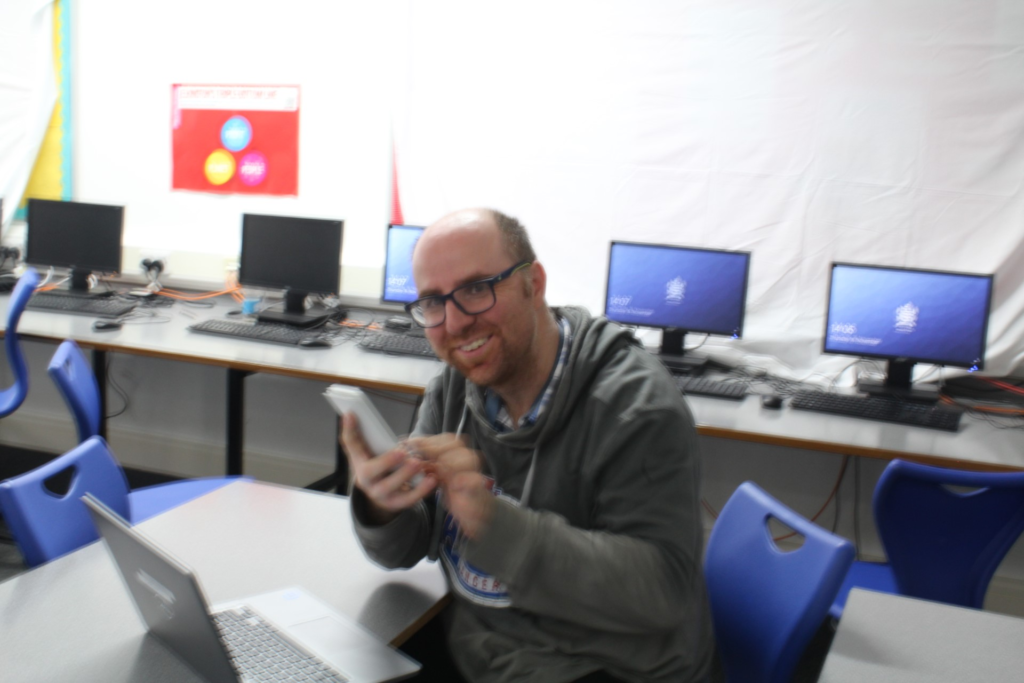
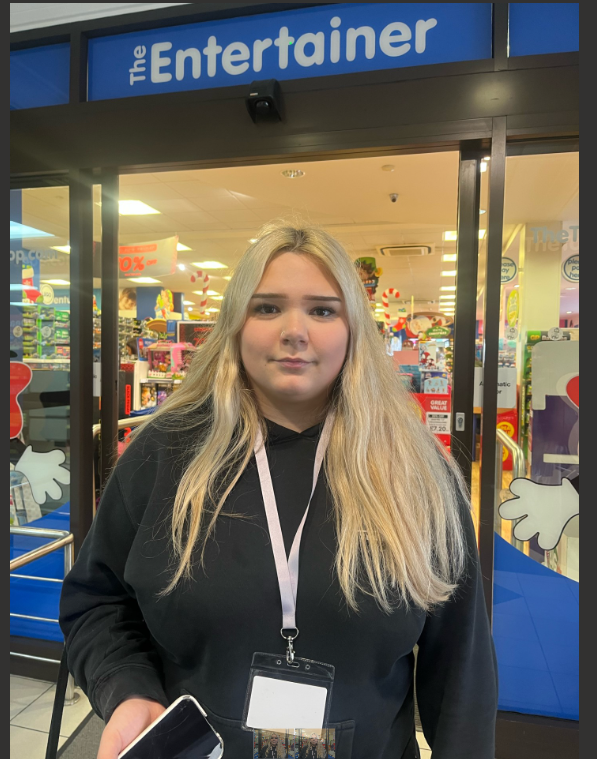
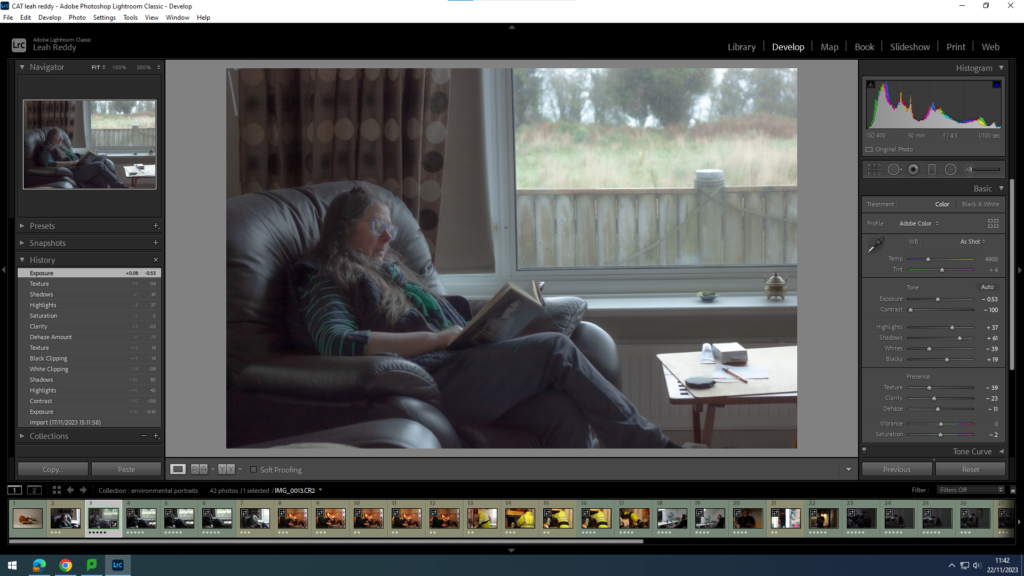
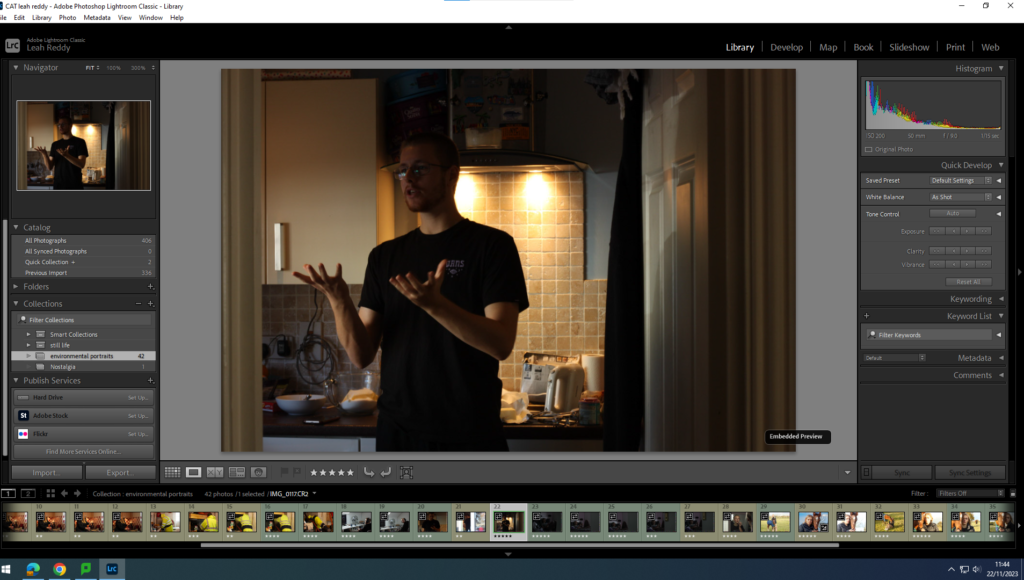
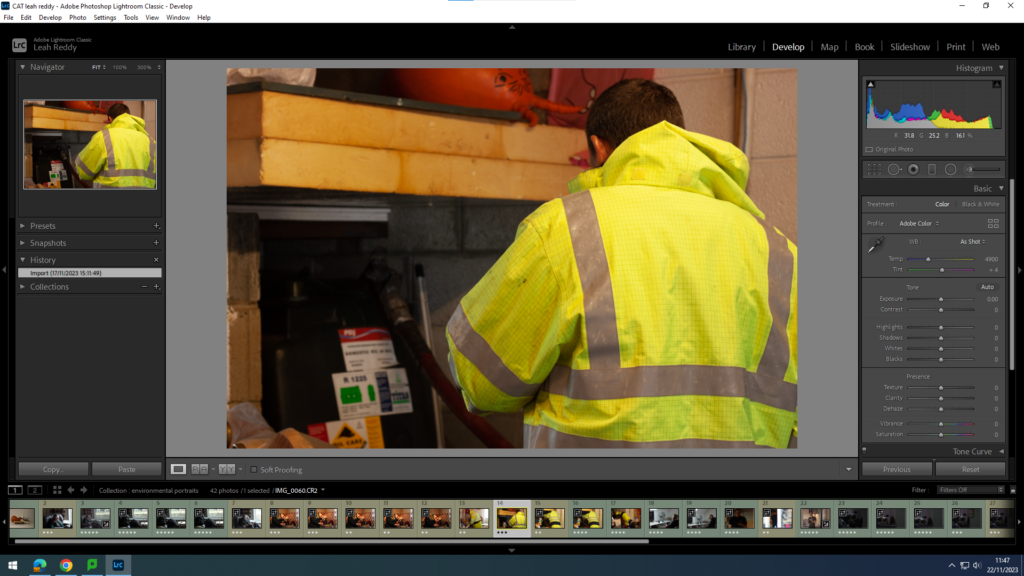
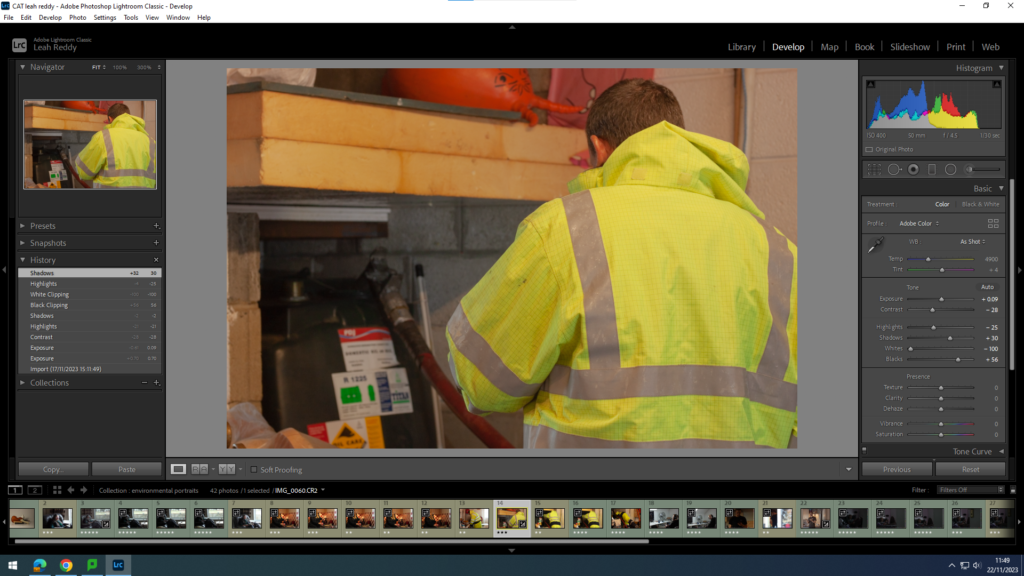
I took these photos of my teachers working. This shows them in their natural place of work, doing what they enjoy. I photographed these teachers because I feel as if I can trust them and know a bit about them therefore it would make sense to photograph them.

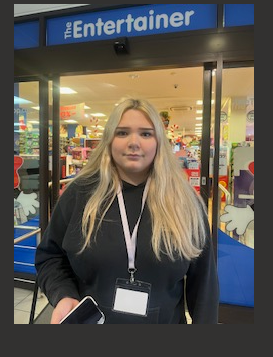
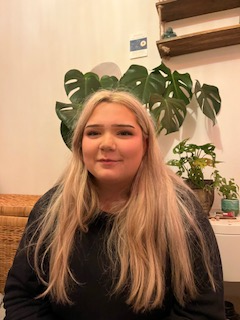
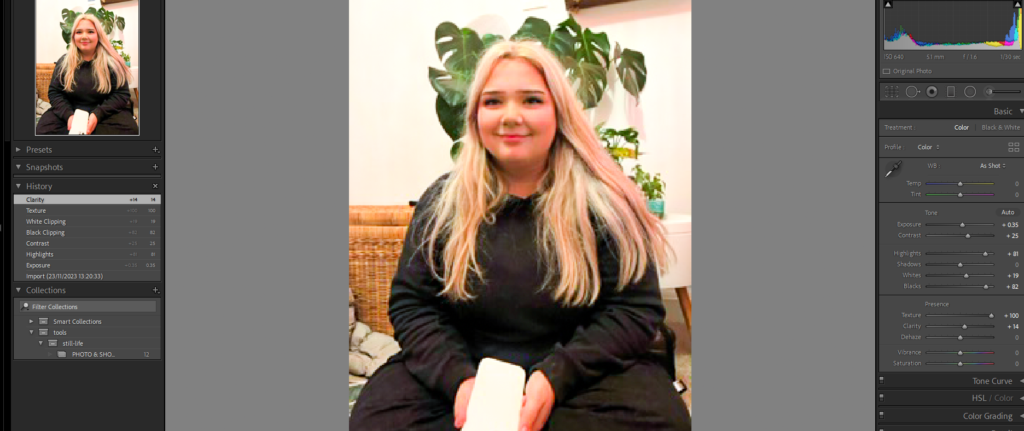
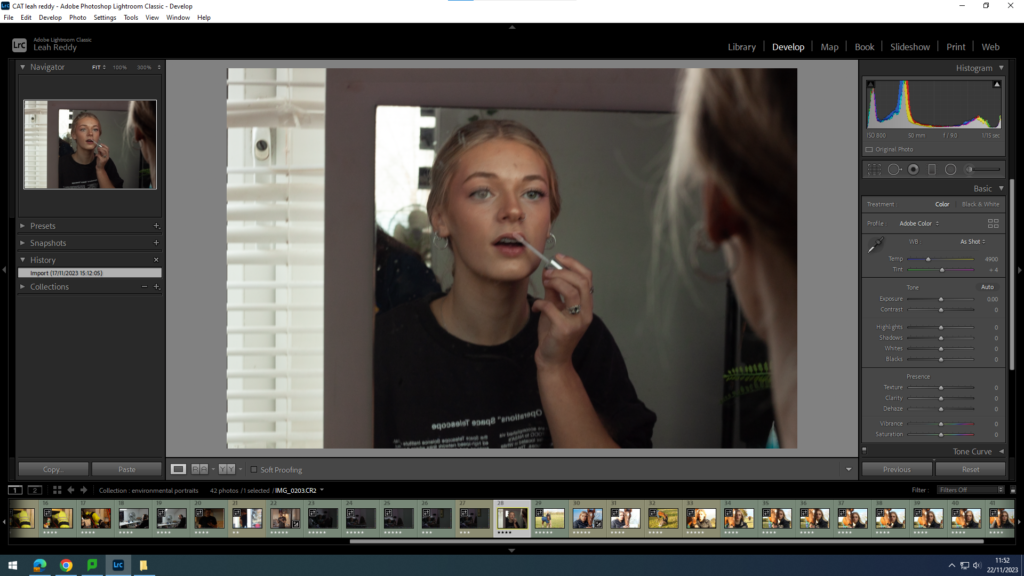
However I also took some of my own photos of my friend, at her work and happy a home enjoying herself.

These photos show a sense of charter and how hard they have worked to be where hey want to be.

 The photo will provide more of a story about the person than a formal portrait would. A portrait of a person in their natural environment adds depth to both them and the location.

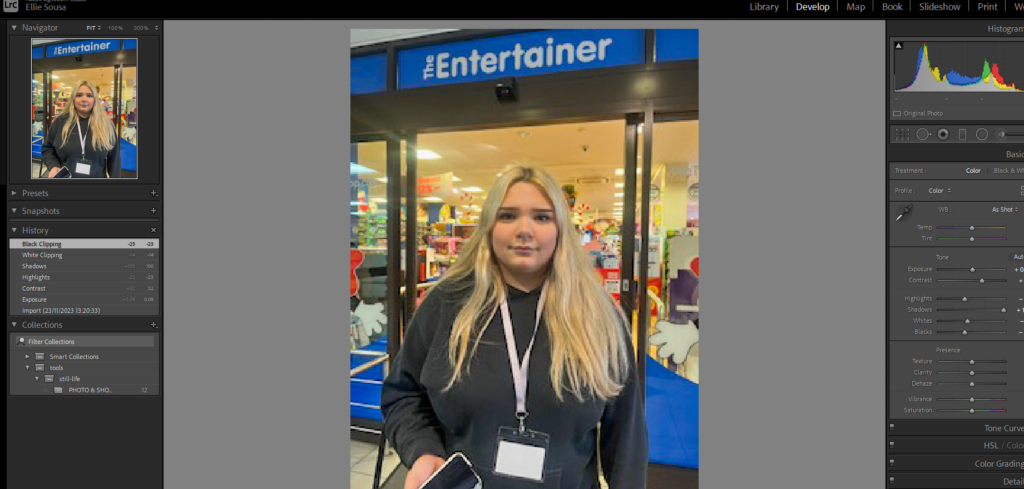
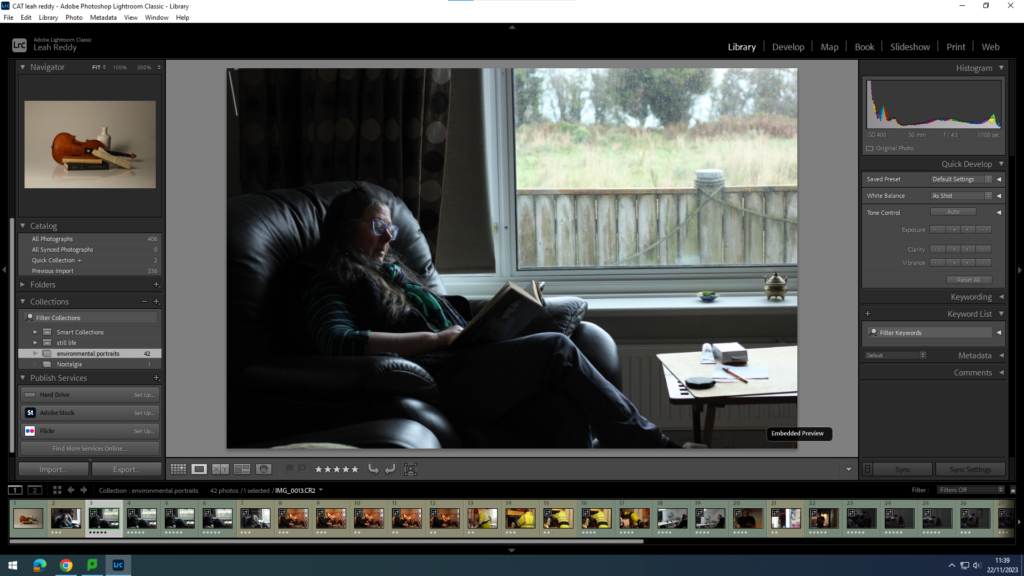
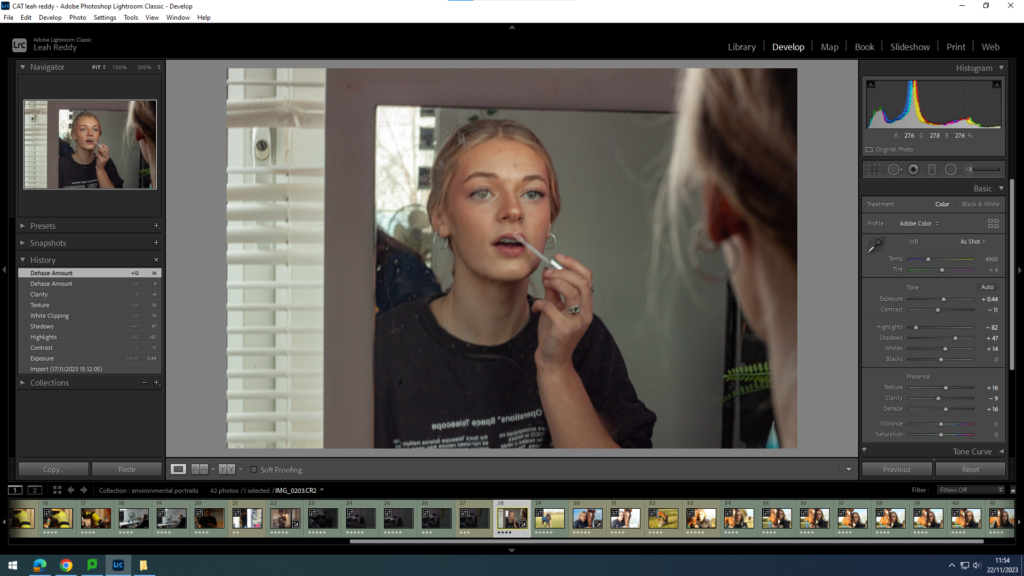
Here are some of the photos after Lightroom…

This image has an empty alt attribute; its file name is image-1051-1024x431.png

To conclude..

For photographers, the responsibility is profound. Photographers not only capture the beauty and tragedy of our world, but also contribute significantly to shaping its future .

Rembrandt Lighting

Rembrandt lighting is a technique that was taken from a famous painter in the 1600s, Rembrandt Harmenszoon van Rijn. It’s a popular technique because it creates images that look both dramatic yet natural. This technique is a way of lighting the face so that a small upside-down triangle of light appears just under the models eye, on the less illuminated side of their face. It is a simple, effective photography lighting setup that’s flattering to a wide variety of faces, and is easy to master quickly. It’s possible to achieve this using just your camera and a single light source, which is why its so popular. Rembrandt lighting is a technique utilizing one light and one reflector or two separate lights

The technique is very popular because it is capable of producing images which appear both natural and compelling with a minimum of equipment. Rembrandt lighting is characterized by an illuminated triangle (also called “Rembrandt patch”

The Rembrandt lighting technique is mostly known for dimension and depth it adds to portraiture. By using it you instantly create shadows and contrast in your photos. It also adds an element of drama, which is effective in photography because it draws the viewer’s attention immediately.

Here are some examples of Rembrandt lighting

My own photoshoots-

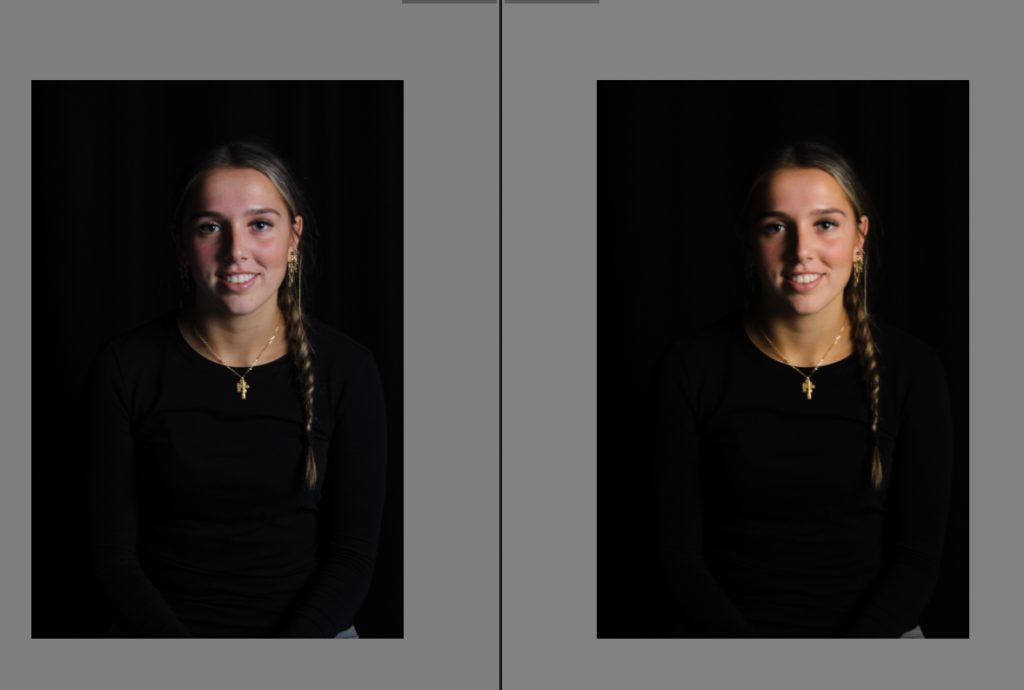
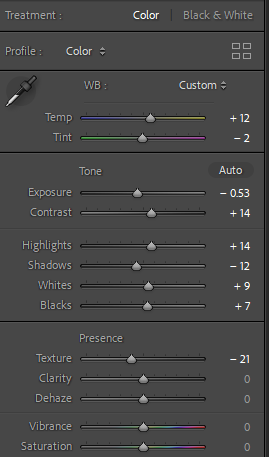
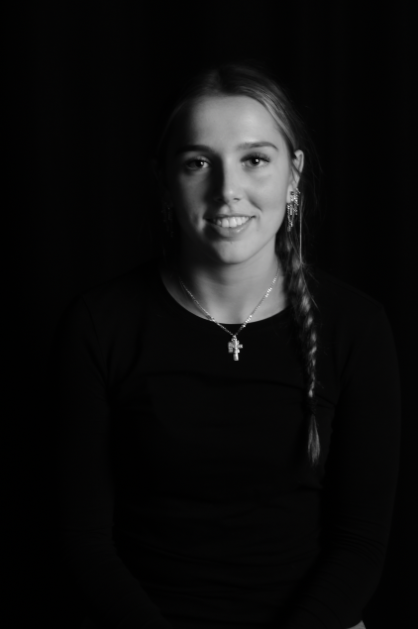
As shown, I firstly increased the temperature to give it a warmer look to make it look less dull and bland to make it more professional, I then decreased the exposure to deepen the upside down triangle leading to it to relate to the Rembrandt lighting. However increased the contrast so the shadow had more depth. I increased the white and highlights so the image had the correct amount of light leading it to be not too dark but with the correct depth of dark shadows to emphasize the triangle. Lastly, decreased the texture so the image looked smoother and more professional, and finally decreased the shadows to emphasize the shadows and Rembrandt’s shadows are emphasized.

I then put it in black and white so it connected to Rembrandts lighting theme as majority of famous and known photographs are in black and white and also really emphasize the triangle as in colour that is generally more eye catching than the triangle therefore meaning in black and white the triangle is a large factor to only focus on.

Lighting set up-

Light – lighting styles are determined by the position of your light source. Rembrandt lighting is created by the single light source being at a 40 – 45 degree angle and higher than the subject. Both flashlights and continuous lights can be used for this technique.

Lens – a 35mm or 50mm lens will work the best for this technique if your space is at a premium. Or, if you’ re looking at including more of the subject than just the head and shoulders. A 50mm works very nicely for portraits, and will give a nice depth of field if you’re shooting with a shallow aperture. However, a 35mm will give you a wider perspective, meaning you can include more of the background in a photo. However, this is usually not needed in portraits as we want to focus on the subject.
Environmental Portraits-edited images

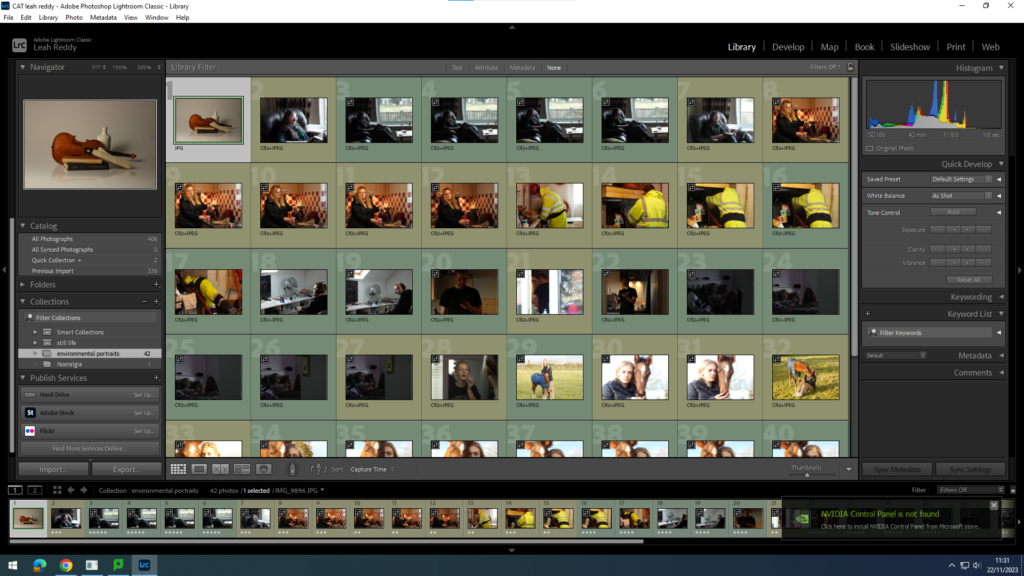
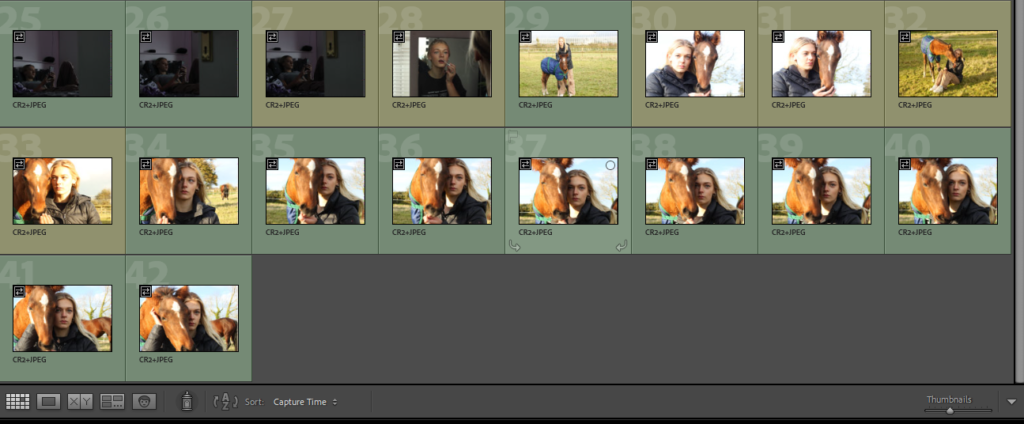
Selected images

Green=good photos.

Yellow=okay photos.

I then edited my top 5 photos.

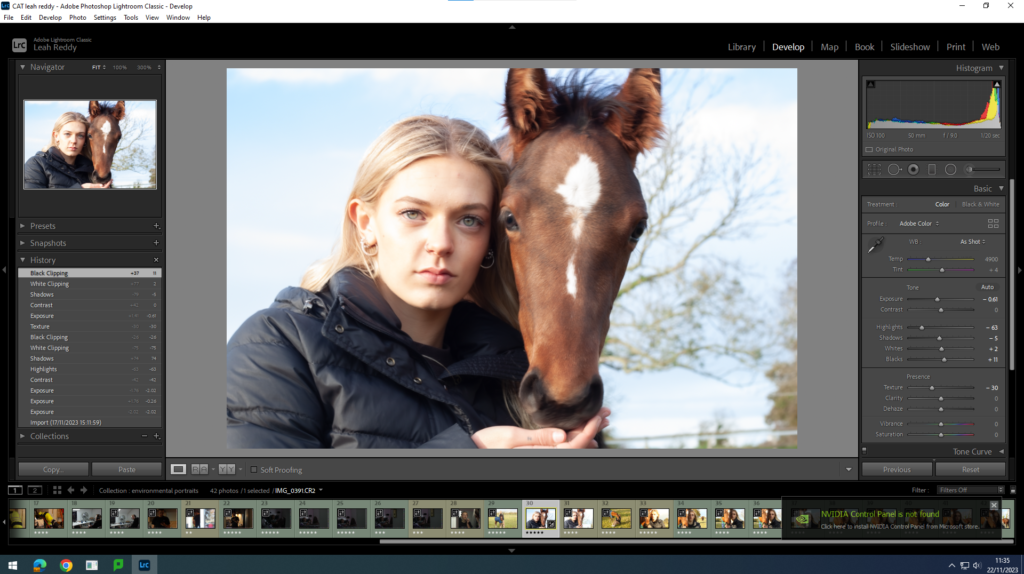
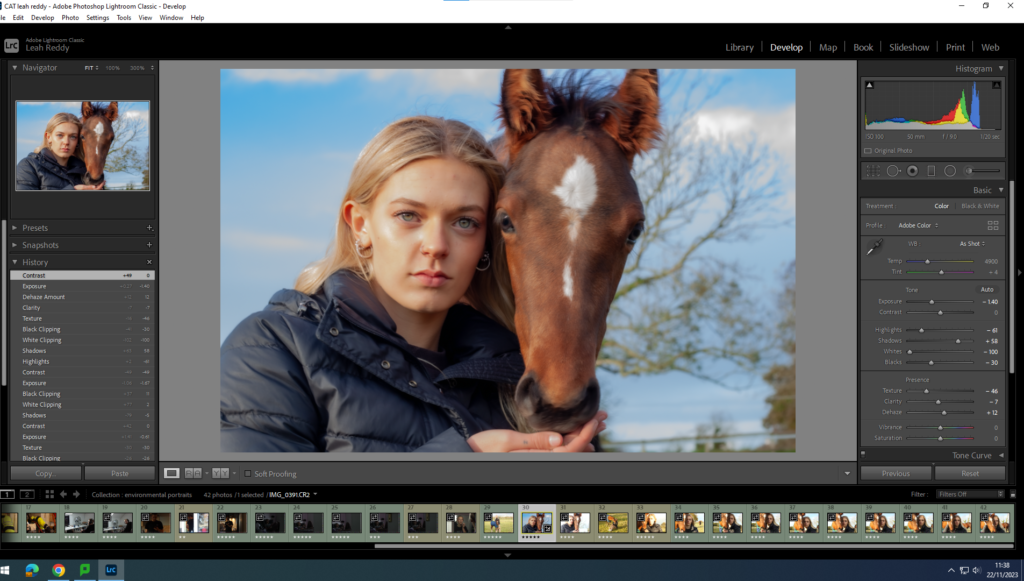
Edited photos

Before

After

Analysis- This is my favourite environmental portrait picture. The lighting compliments the whole picture. I like how she has a subtle glow to her face, but not too much that it makes the picture too white. I also like how the horse is right next to her face as it really represents the environmental portrait task.

Before

After

Analysis- For this picture I lightened it up and smoothed it out. I like the the picture has a soft touch. I also like how the lighting is quite low as it sets a sombre mood.

Before

After

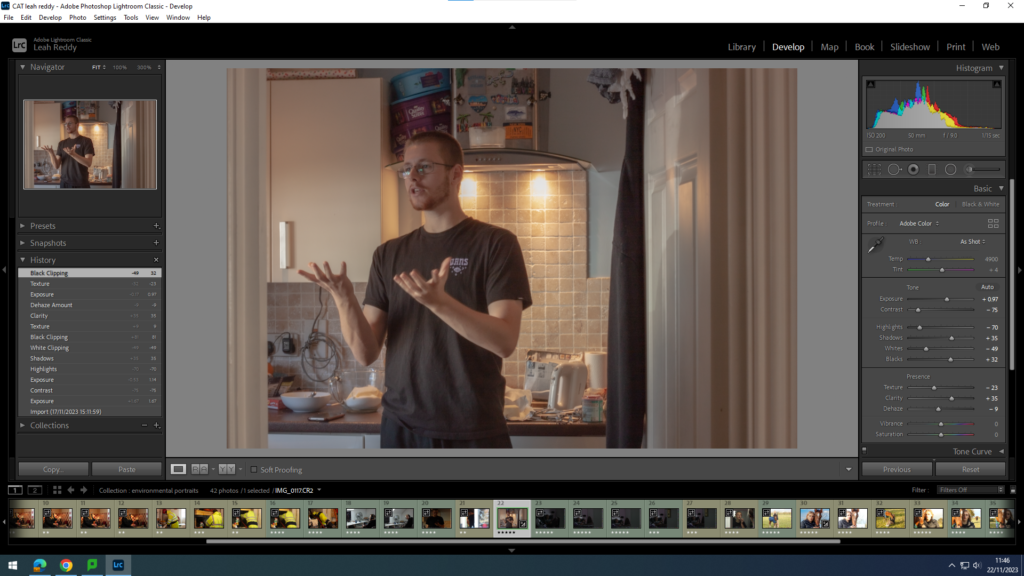
Analysis- This photo shows my brother discussing measurements in the kitchen. I have turned the temp down to make the reflection of the lights less bright. I then put the tint up a fraction to warm the photo up a bit. I also put the exposure up to brighten it up. I moved the contrast down to calm the colours down so it wasn’t so bright.

Before

After

Analysis- I didn’t do much to this photo, but i dragged the whites to the very left to add more detail in to the image. I also moved the blacks all the way to the right to brighten up the darker parts of the photo.
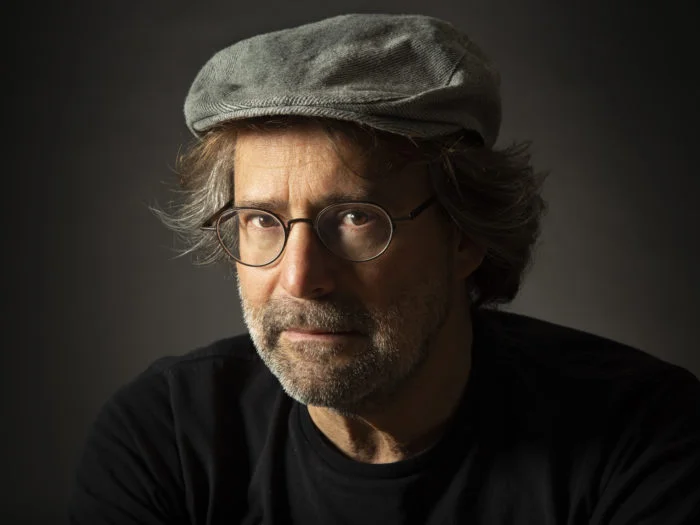
Before

After

Analysis- I put the highlights down and the shadows up to make a nice blend and contrast of the colours on her face.
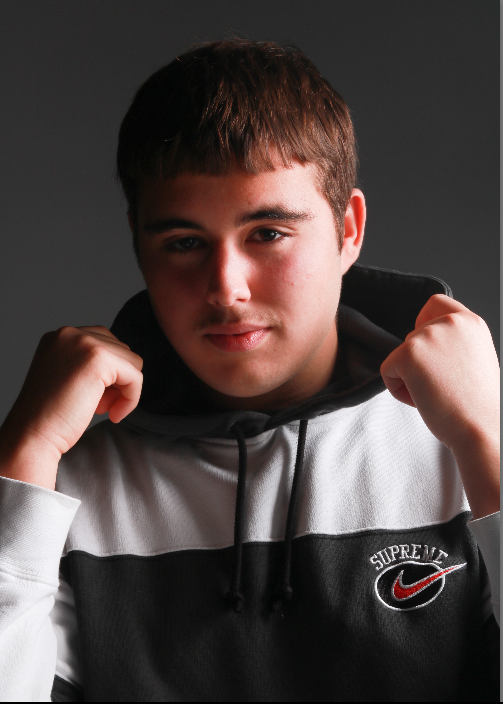
On the side of each edited image, it shows how i have edited them.