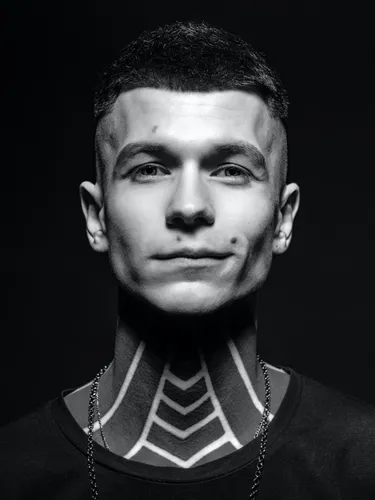
BUTTERFLY LIGHTING
Butterfly lighting is another technique of lighting in portraiture. It gains its name from the dark shadows surrounding the cheekbones on the face alongside the butterfly-shaped shadow underneath the nose. You may also hear it called ‘paramount lighting’ or ‘glamour lighting’ as this can be seen to be used within cinema or fashion magazines for example. This type of lighting is extremely flattering to the face, from the shadows underneath the cheekbones making the apples of the cheeks highlight and stand out more, which explains why it is used in these instances.
Used especially to photograph Hollywood classics, this technique can make the eyes look larger and the subject look slimmer.
The butterfly lighting was first used by Josef von Sternberg in the 1930s. He was a Hollywood director who is most known for his work with Marlene Dietrich. Sternberg used butterfly lighting to create a sense of mystery and allure around Dietrich’s character. This kick started butterfly lighting’s use in portraiture.
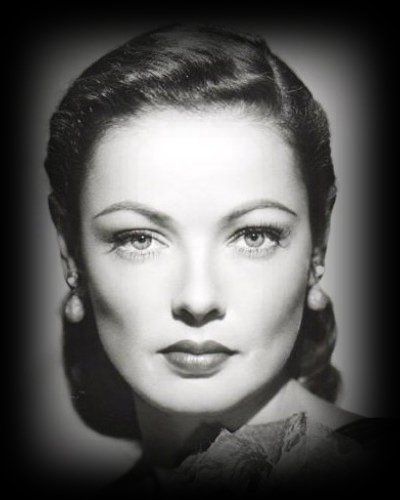
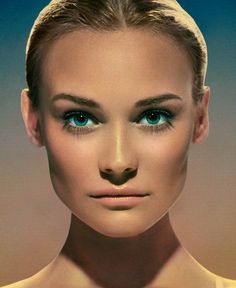
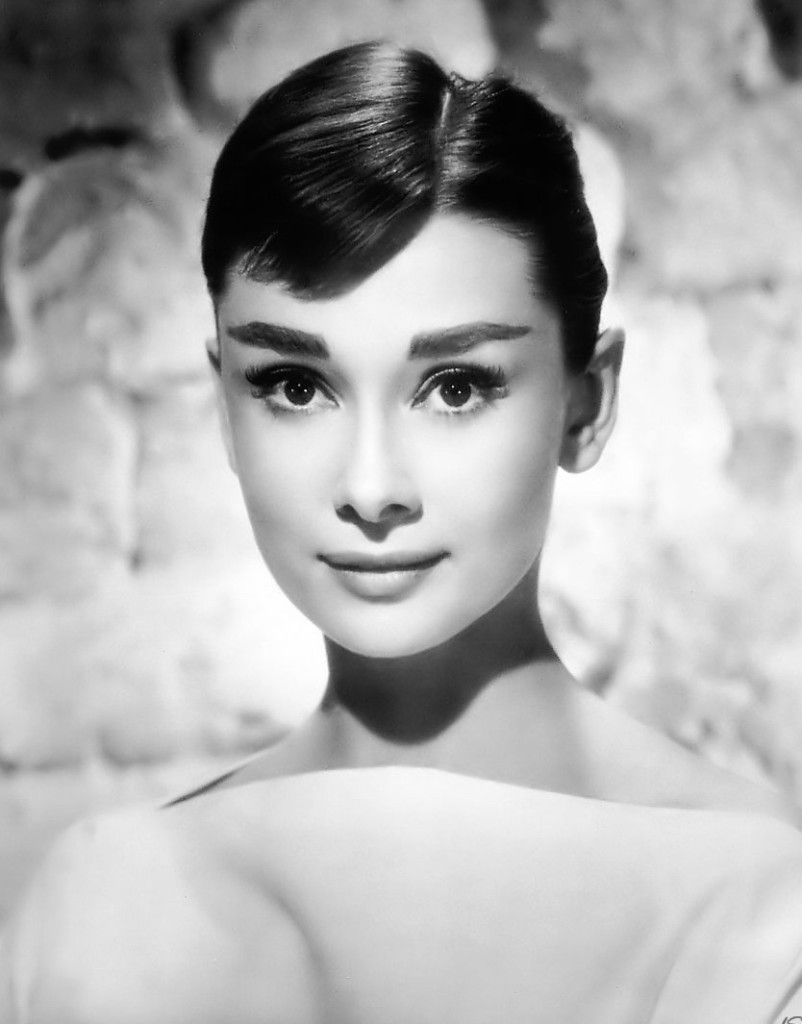
THE SET UP
Butterfly lighting requires a key light that can be a flash unit or continuous. If continuous, it can be artificial or natural. In other words, you can use strobes, speed lights, LEDs or even the sun so it is a very flexible form of lighting. As long as the light is coming from behind the photographer, above the subjects head then it will produce these results. The subject must be towards the light to capture this effect.
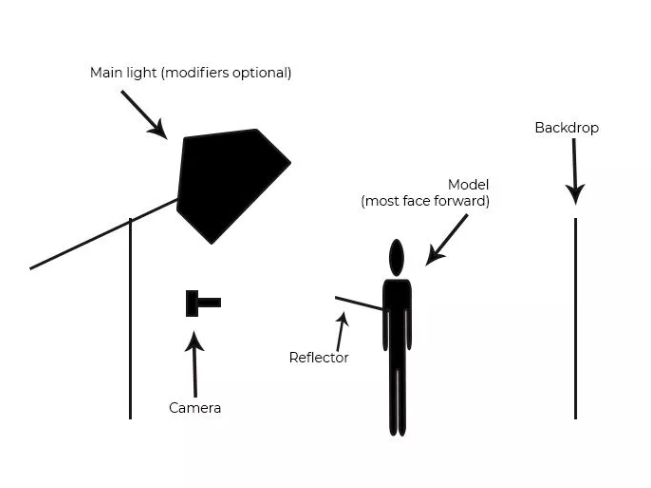
This technique can produce hard or soft light depending on how you want your results. To create soft light, you can use modifiers such as a beauty dish. This distributes the light evenly across the face and smooths the skin alongside any imperfections. Alternatives to this is a soft box or an umbrella. However, if you wish to create hard light you can either leave the light source as it is or even use grid spots to direct it to create different effects to make it even more creative.

Once you have decided what you are aiming for, you can use reflectors in order to bounce the light back up and soften the shadows under the chin/nose so they aren’t extremely harsh. By placing the reflector of your choice under the subjects face, you can identify whether the shadows are still too strong and move it closer, or further away if they are too weak and experiment with it.
The colour of the reflector will achieve different effects as it can change the tone of the subject’s face. For example, a white one will create a neutral tone whilst the gold one will give a warming overcast.
