In photography, lighting is extremely important for every photograph, as it adds a mood to each photo. There are three different common types of lighting, shown below:
Rembrandt Lighting:
Rembrandt lighting is a technique that was taken from a famous painter in the 1600s, Rembrandt Harmenszoon van Rijn. It’s a popular technique because it creates images that look both dramatic yet natural. This technique is a way of lighting the face so that a small upside-down triangle of light appears just under the models eye, on the less illuminated side of their face. It is a simple, effective photography lighting setup that’s flattering to a wide variety of faces, and is easy to master quickly. It’s possible to achieve this using just your camera and a single light source, which is why its so popular.
Examples of Rembrandt lighting:
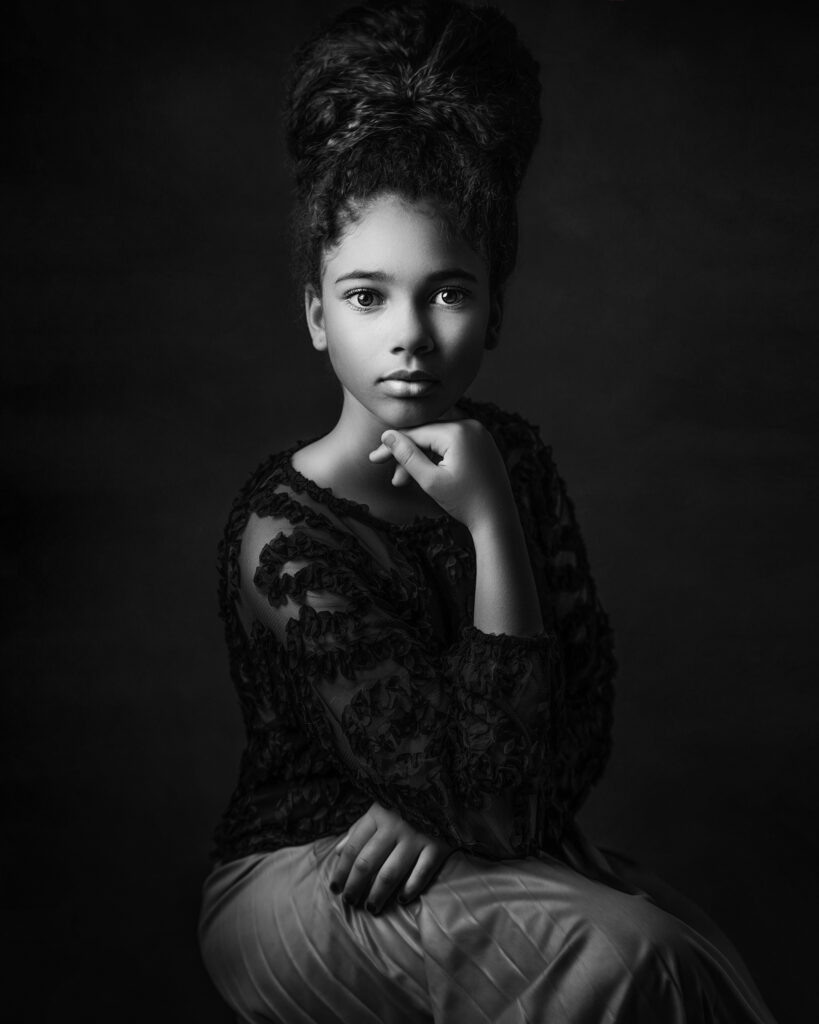
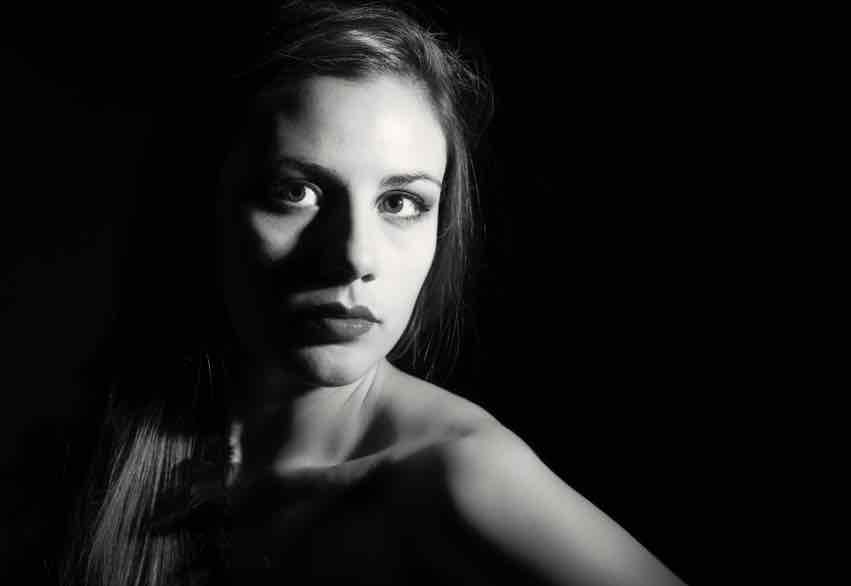
The Rembrandt lighting technique is mostly known for dimension and depth it adds to portraiture. By using it you instantly create shadows and contrast in your photos. It also adds an element of drama, which is effective in photography because it draws the viewer’s attention immediately.
Lighting set up:
Light – lighting styles are determined by the position of your light source. Rembrandt lighting is created by the single light source being at a 40 – 45 degree angle and higher than the subject. Both flashlights and continuous lights can be used for this technique.
Lens – a 35mm or 50mm lens will work the best for this technique if your space is at a premium. Or, if you’ re looking at including more of the subject than just the head and shoulders. A 50mm works very nicely for portraits, and will give a nice depth of field if you’re shooting with a shallow aperture. However, a 35mm will give you a wider perspective, meaning you can include more of the background in a photo. However, this is usually not needed in portraits as we want to focus on the subject.
Butterfly Lighting:
Butterfly lighting is a lighting pattern used in portrait photography where the key light is placed above and pointing down on the subject’s face. This creates a dramatic shadow under the nose and chin that looks like a butterfly. One of the most famous photographers to use butterfly lighting was George Hurrell, who was known for his dramatic portraits of Hollywood stars, and since, the technique has grown more popular.
Examples of butterfly lighting:
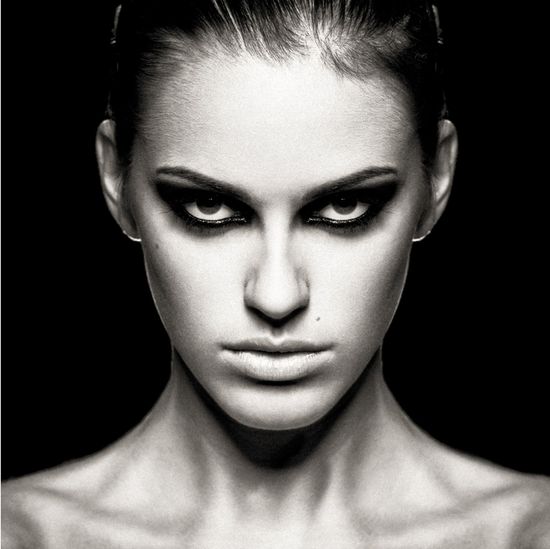
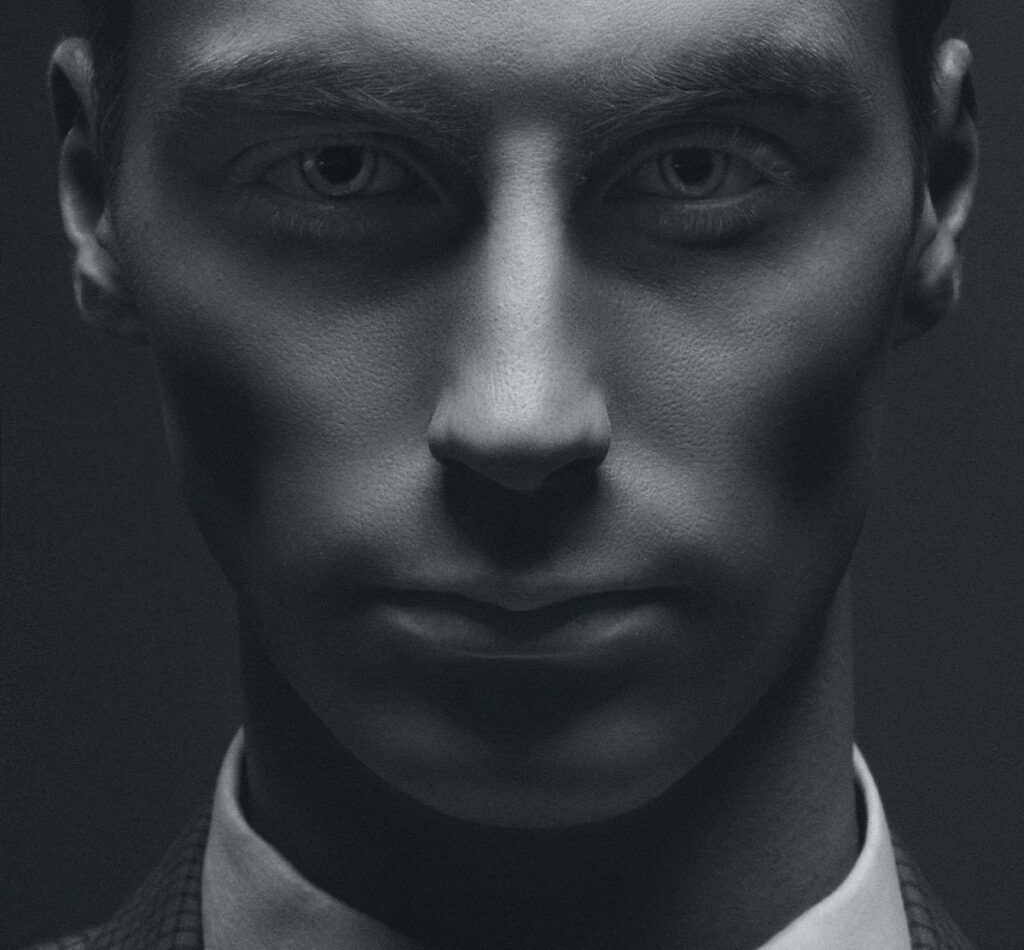
Butterfly lighting is primarily used in a studio setting. It is named “butterfly” because of the butterfly shaped shadow that it creates just under the models nose. This occurs because of the lighting in the shot, comes from above the models head. Butterfly lighting is mostly used for portraits, as it is flattering on everybody.
Lighting set up:
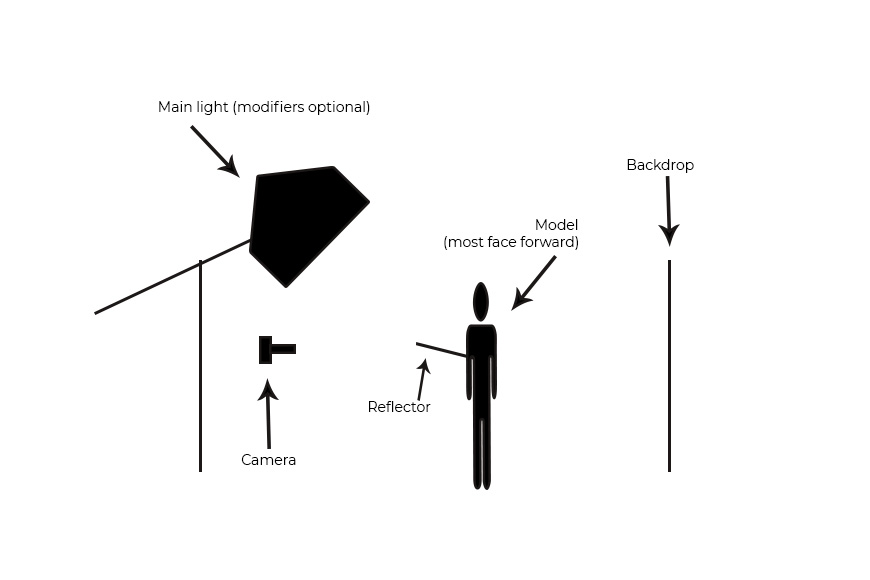
Light – Butterfly lighting requires a key light that can be a flash unit, or continuous. If continuous, it can be artificial or natural, meaning you have a lot more choice in which lighting you think would benefit your photos a lot more. Butterfly lighting can be varied, soft or hard depending on the objective of the image.
Lens – The most popular lens used for butterfly lighting is between a 50 – 85mm lens. This helps the photo because it allows a larger depth of field.
Chiaroscuro lighting:
Chiaroscuro lighting is a high-contrasting light technique that utilises a low-key lighting set up to achieve contrast between the subject and the dark background. Window light is the most accessible for this technique, as it focuses on only half of the models face being seen. By using window light, the photographer is able to enhance the exposure to avoid any distraction in the background of the photo. This helps keep the spotlight on the model. The window must be the only source of light when using this technique, if there is other background lighting then the focus will drift from the model into the background.
Examples of Chiaroscuro lighting:
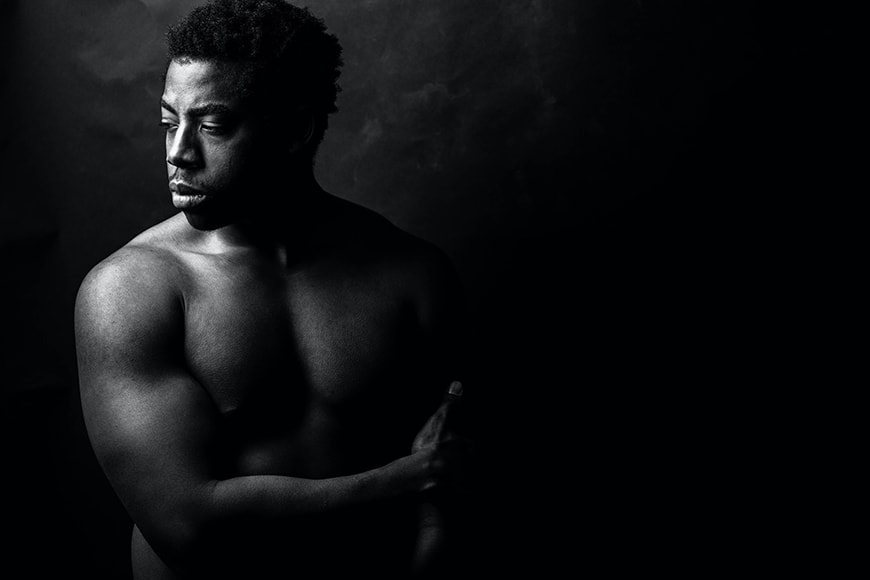
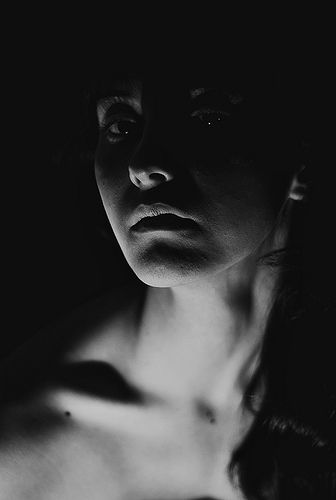
This technique is mainly used in film to create striking images or evoke a certain feeling. The contrast between light and shade can help frame a subject more effectively. Drawing viewers eyes to things they would not usually focus on in the image.
Lighting set up:
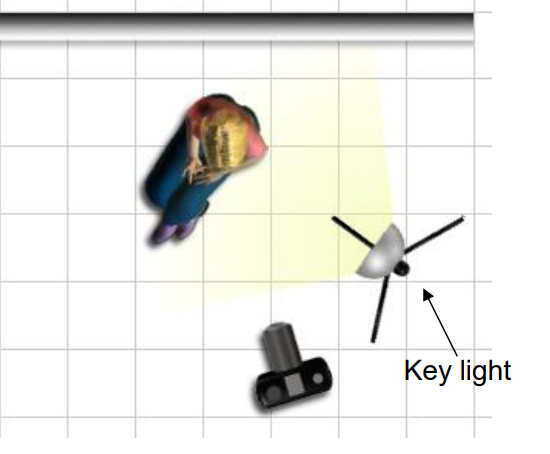
Light – Chiaroscuro mainly uses one key light, and a variation using a reflector which helps deepen the contrast between the shadows.
