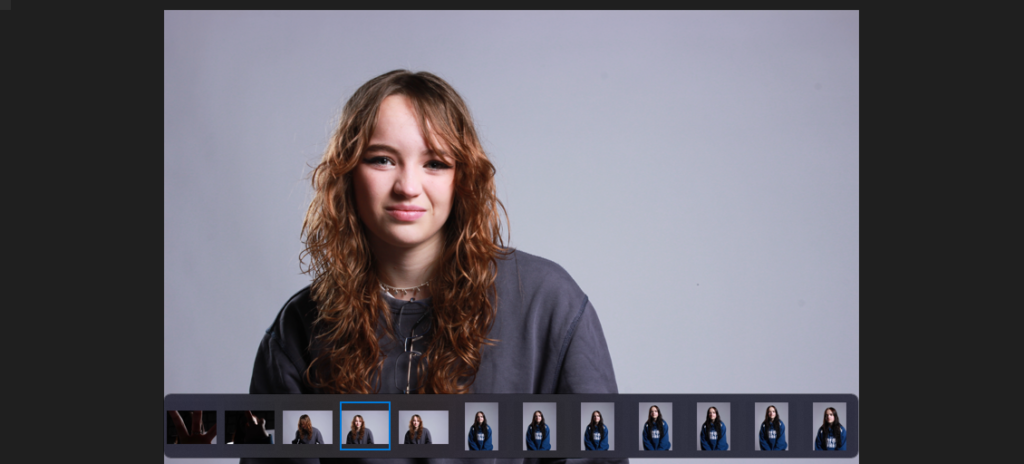
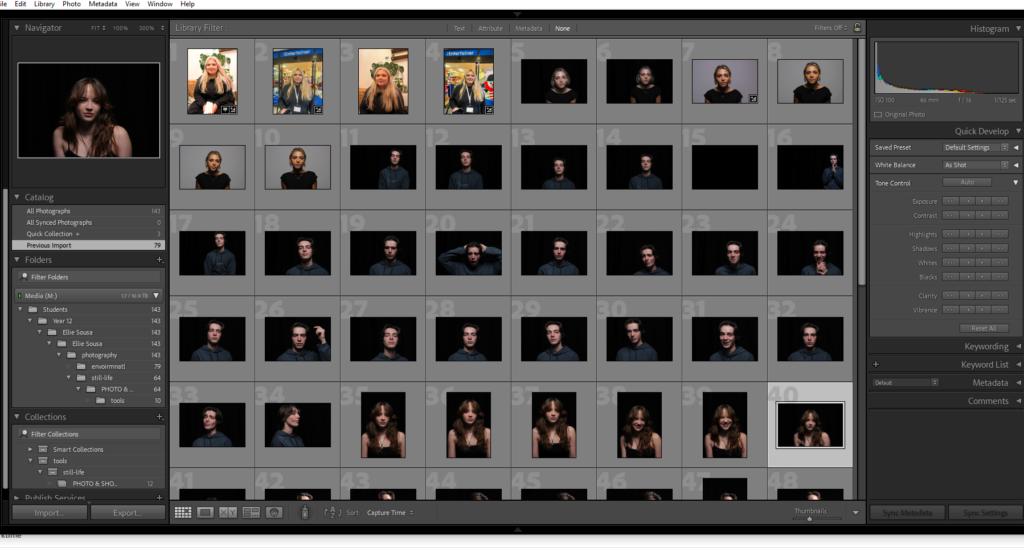
Photoshoot- Edits
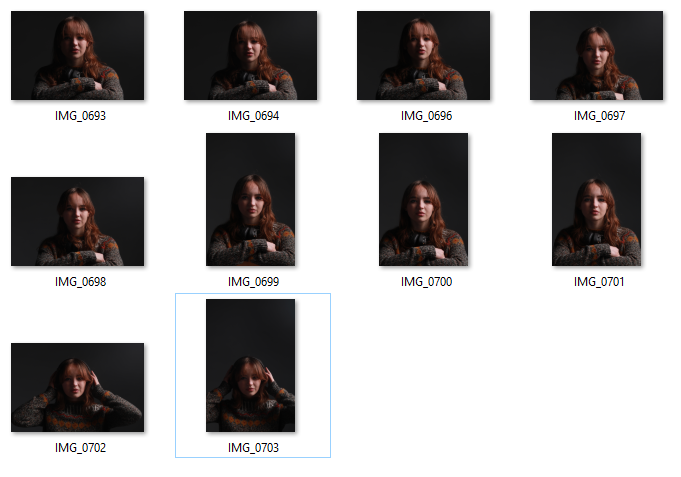
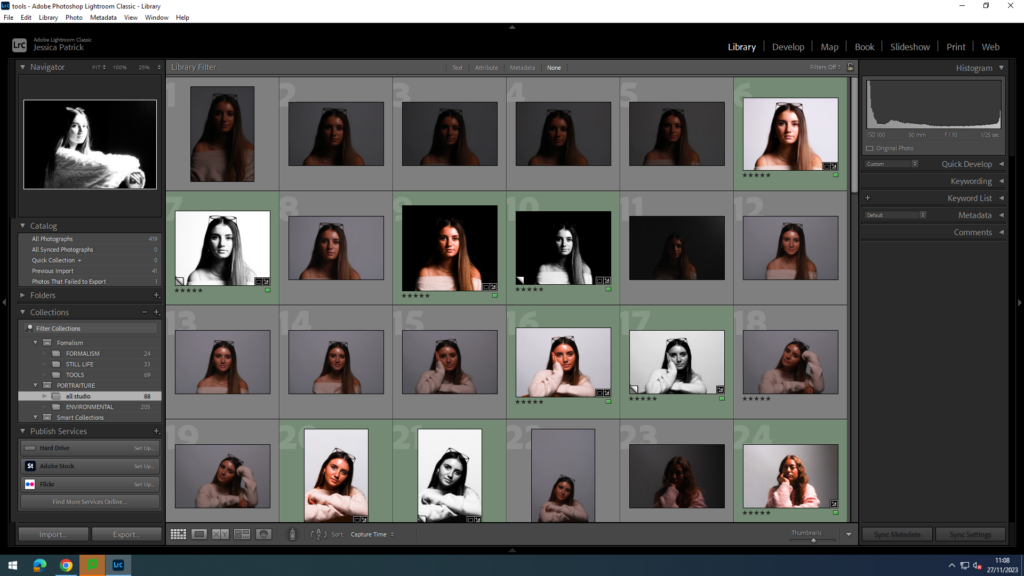
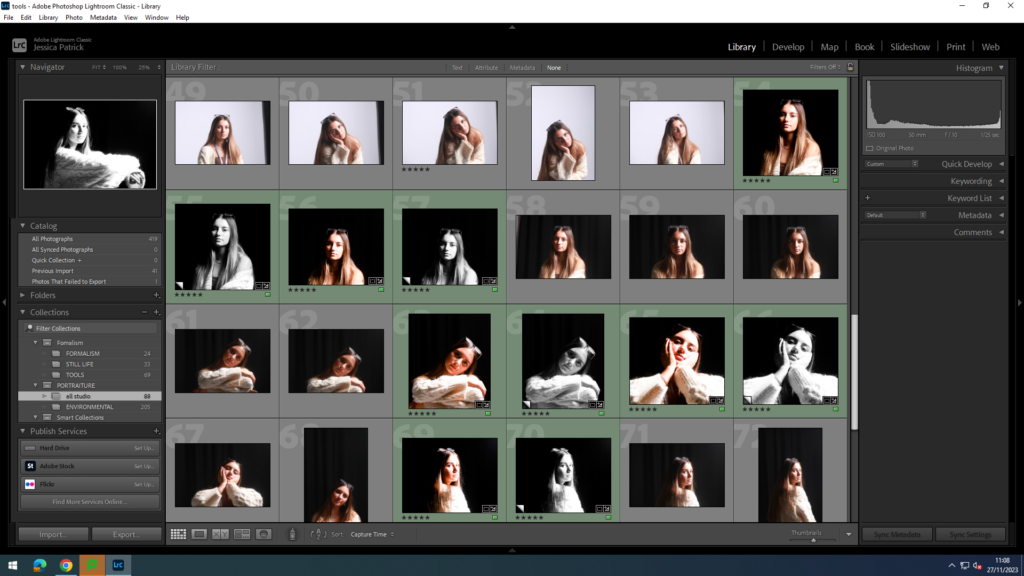
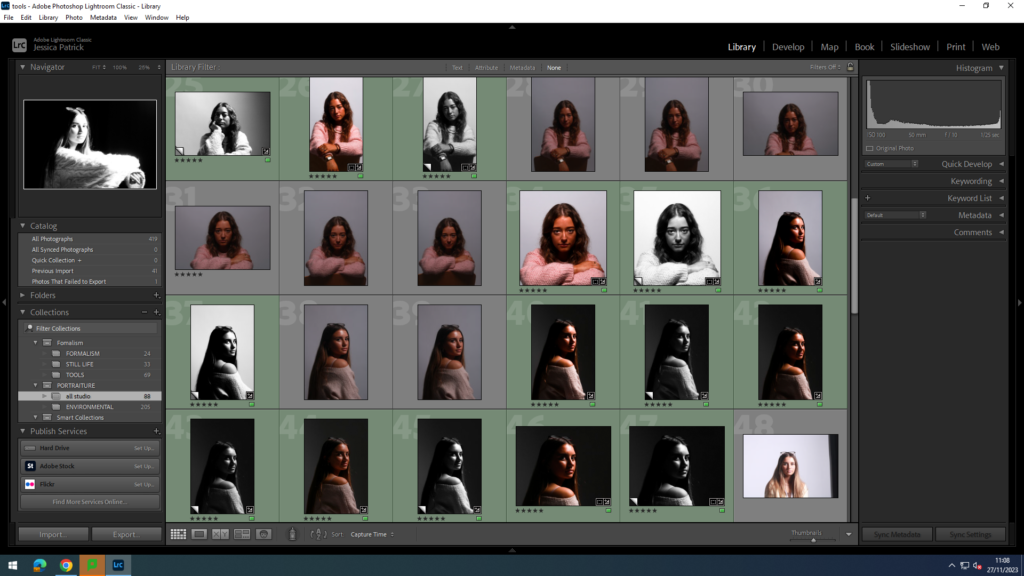
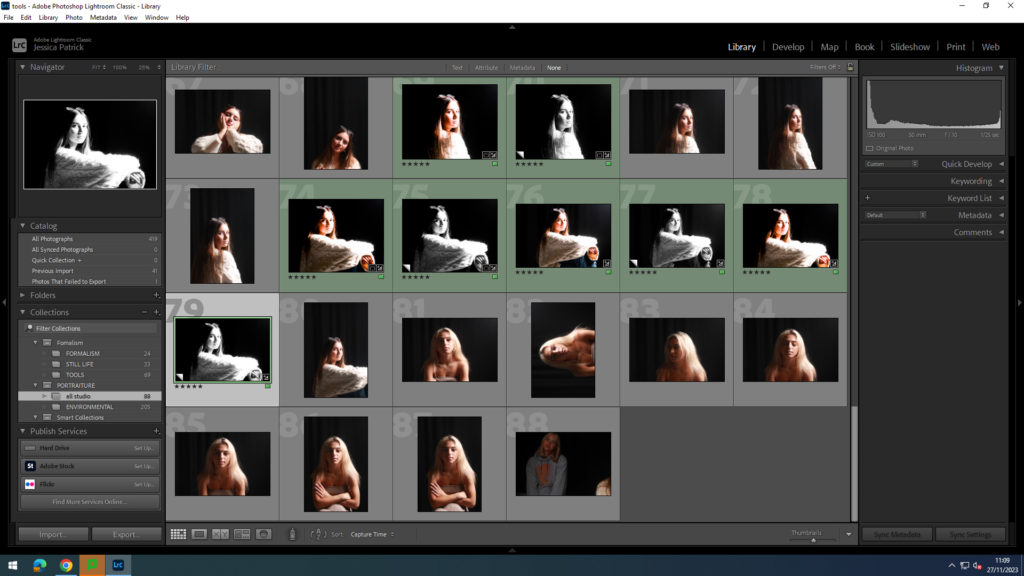
The photographs that are highlighted green are the photos I have chosen to edit, because they have the best poses and composition. They also display the different types of lighting the most effectively and well, so it is easy to tell which lighting was used for each of these photographs.


Chiaroscuro Lighting
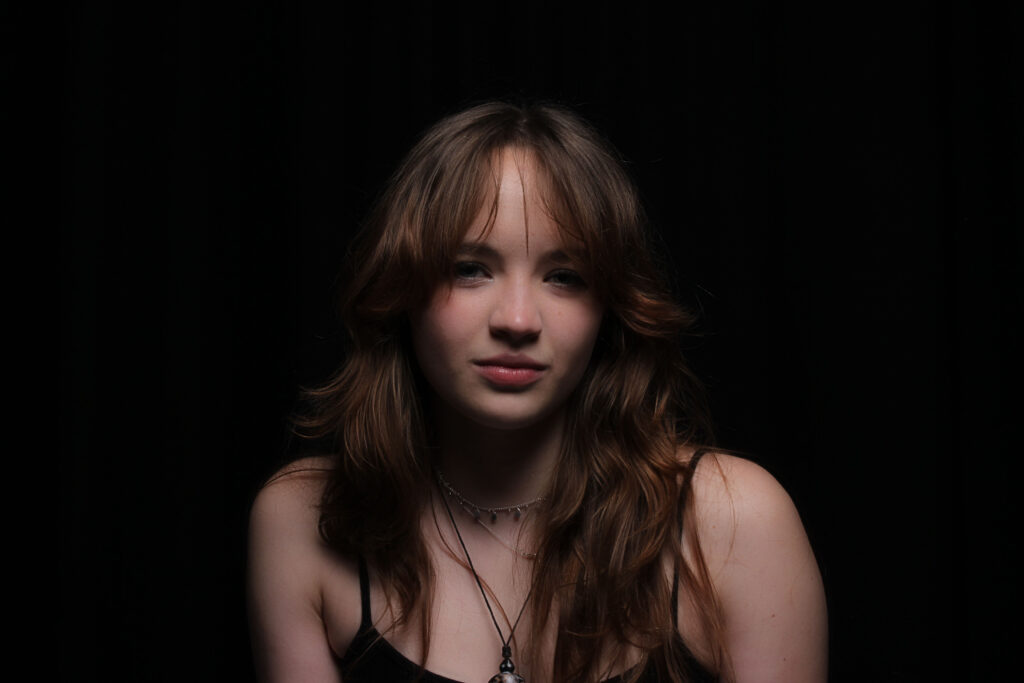
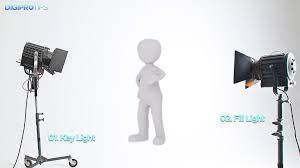
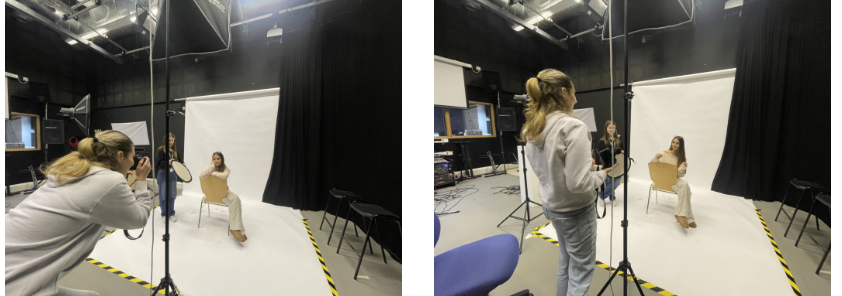
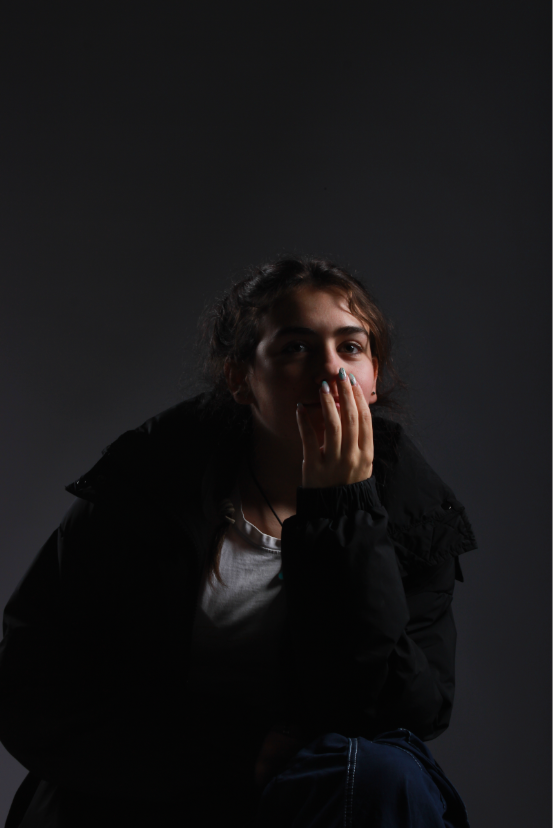
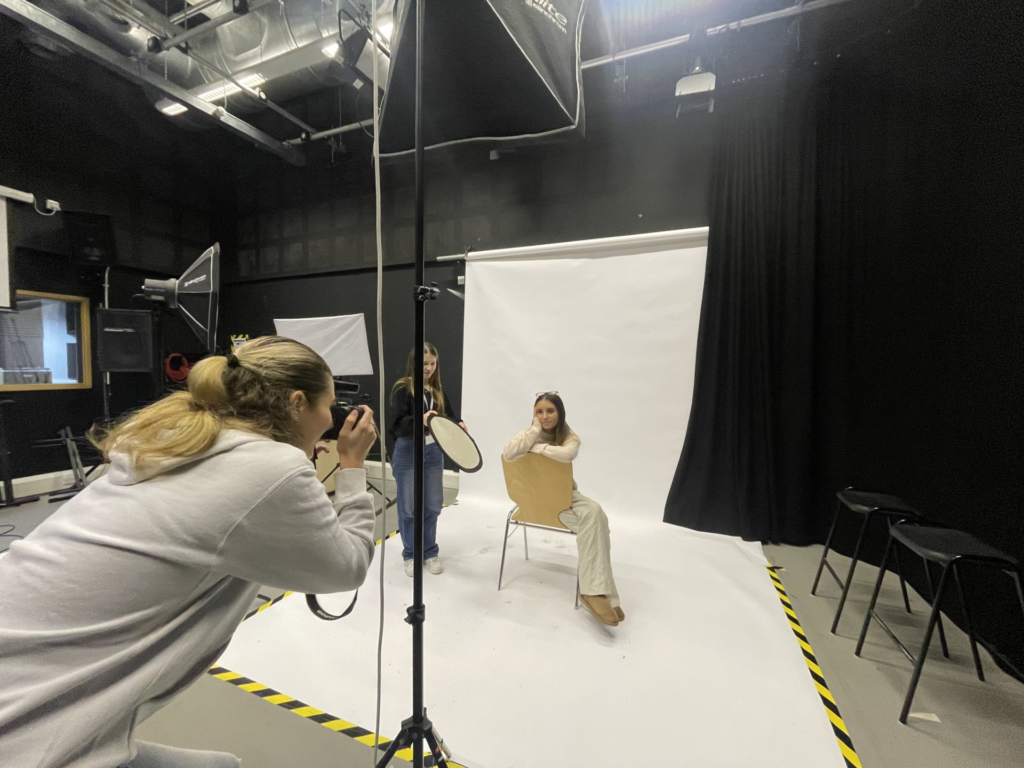
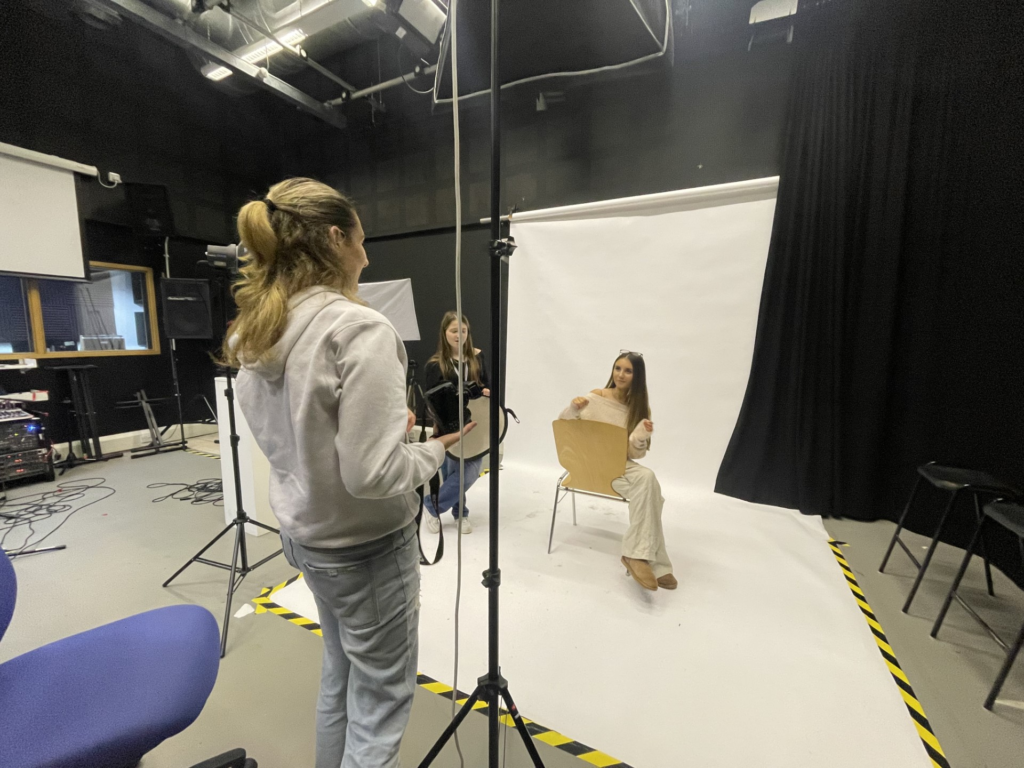
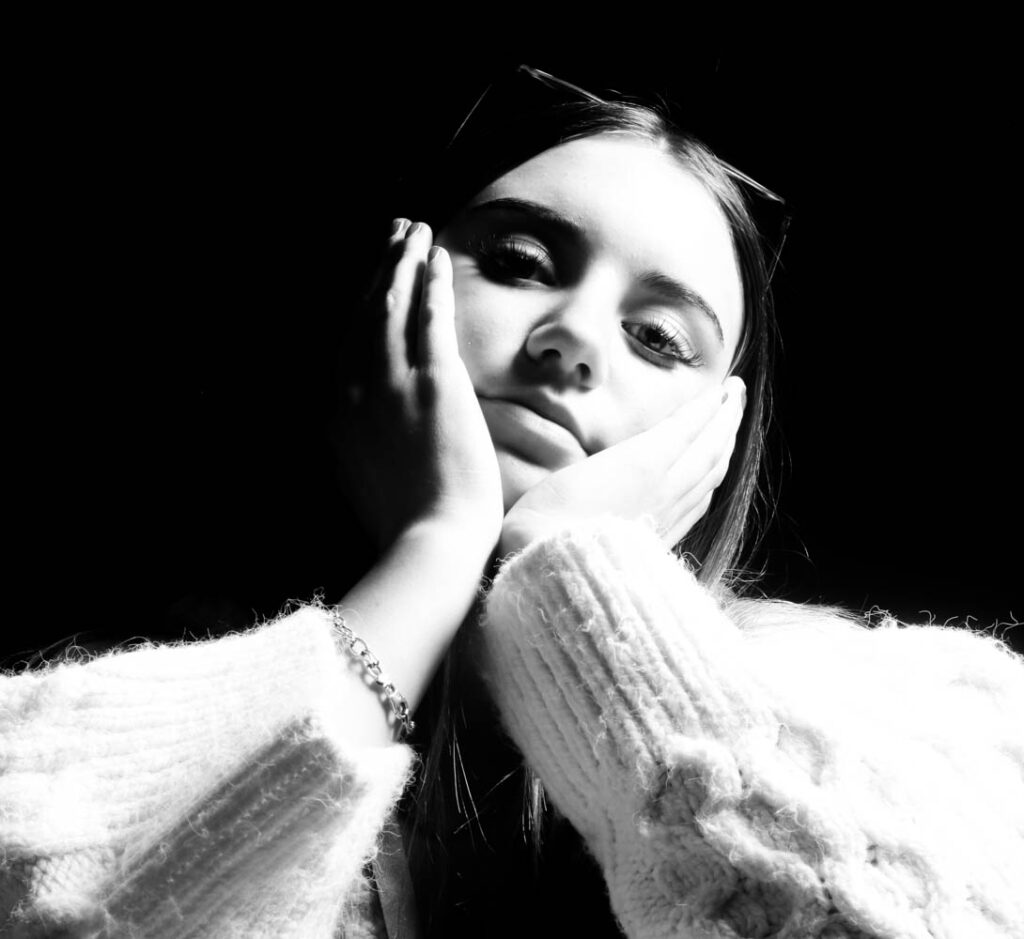
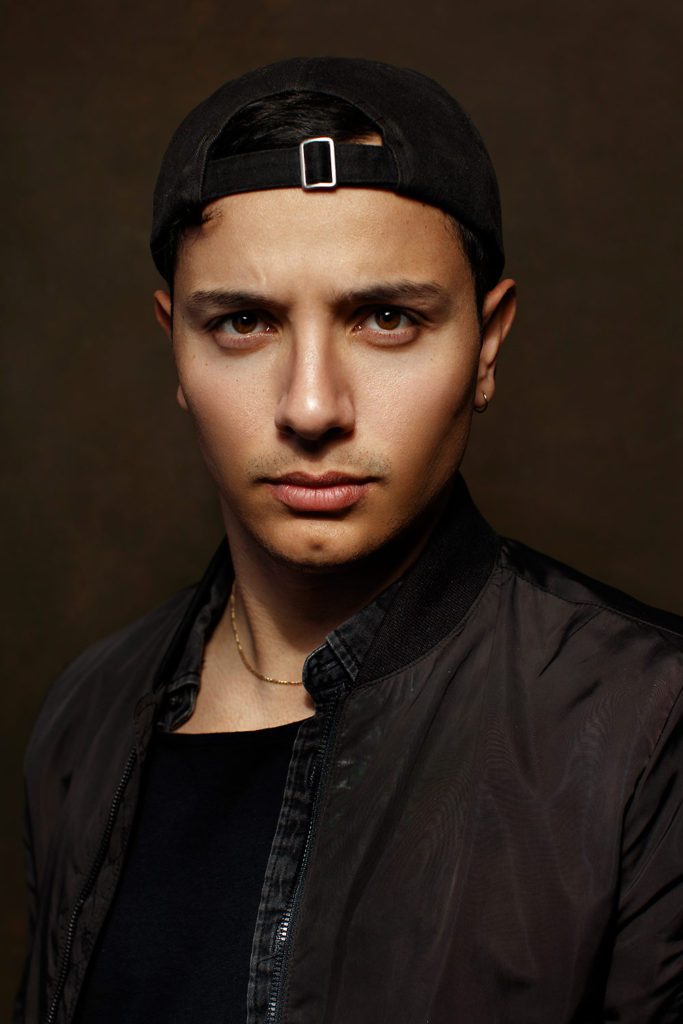
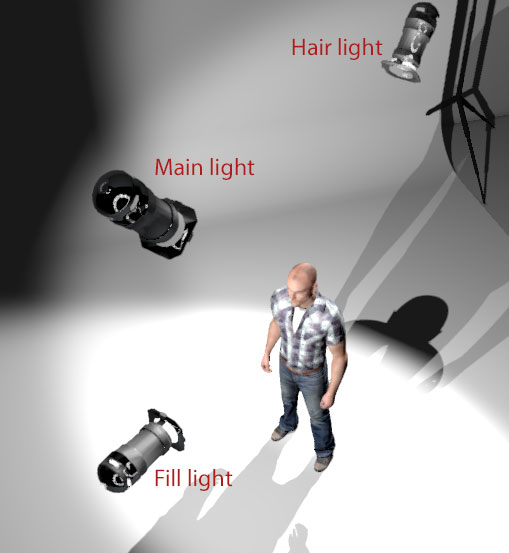
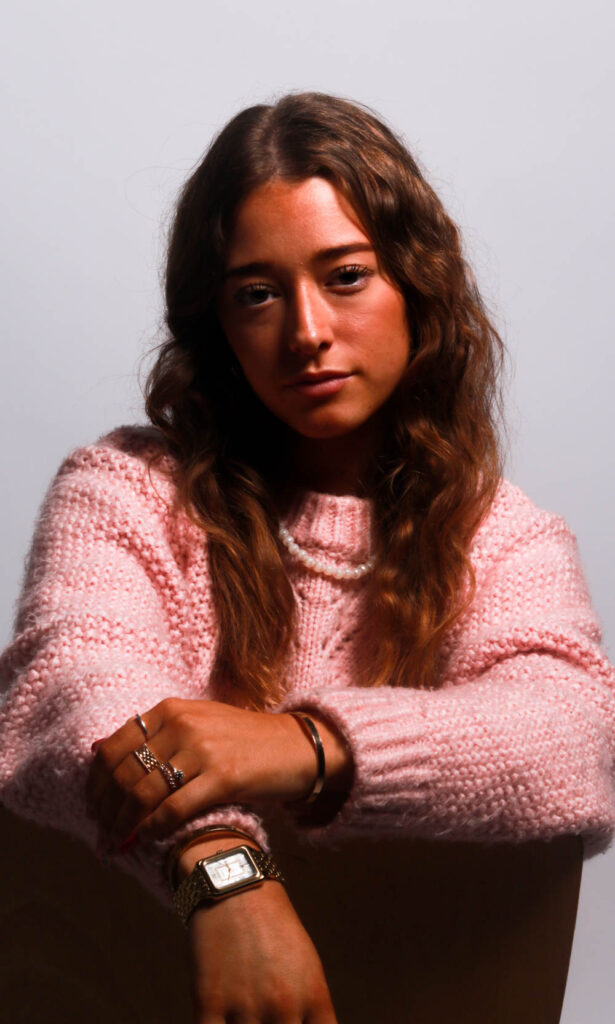
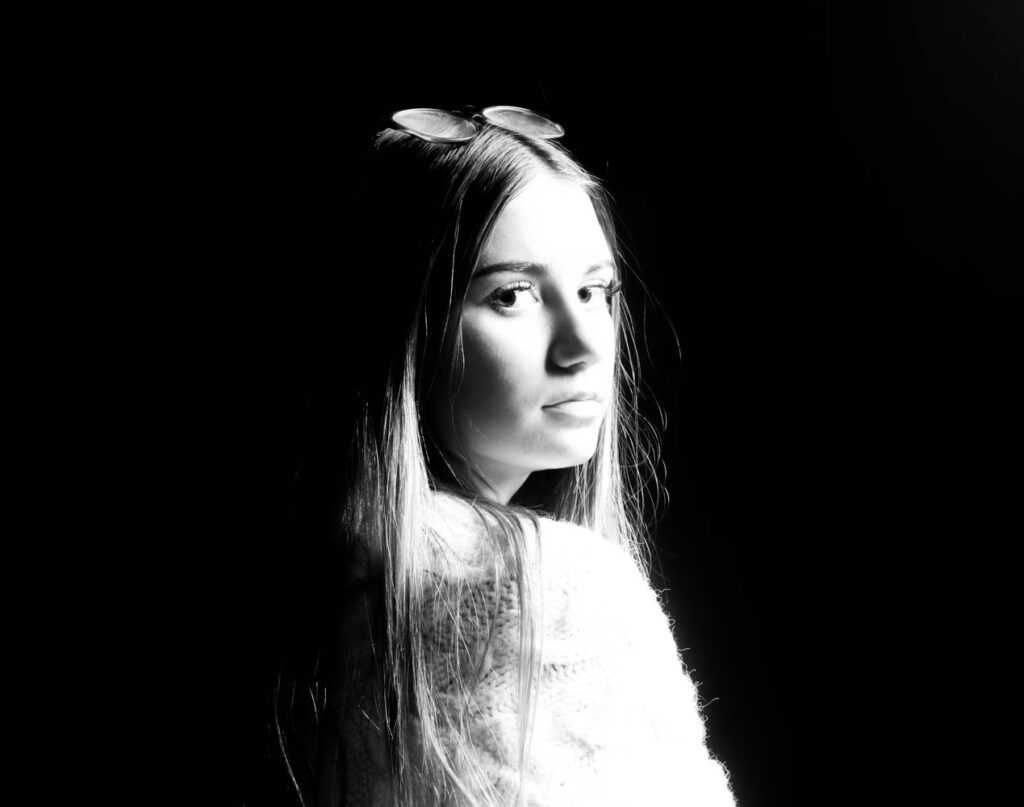
Chiaroscuro lighting, which is also known as split lighting shows a split of the lighting, where there is half dark and hark light. This is how you recognise Chiaroscuro Lighting. The set up, which was used is shown below;
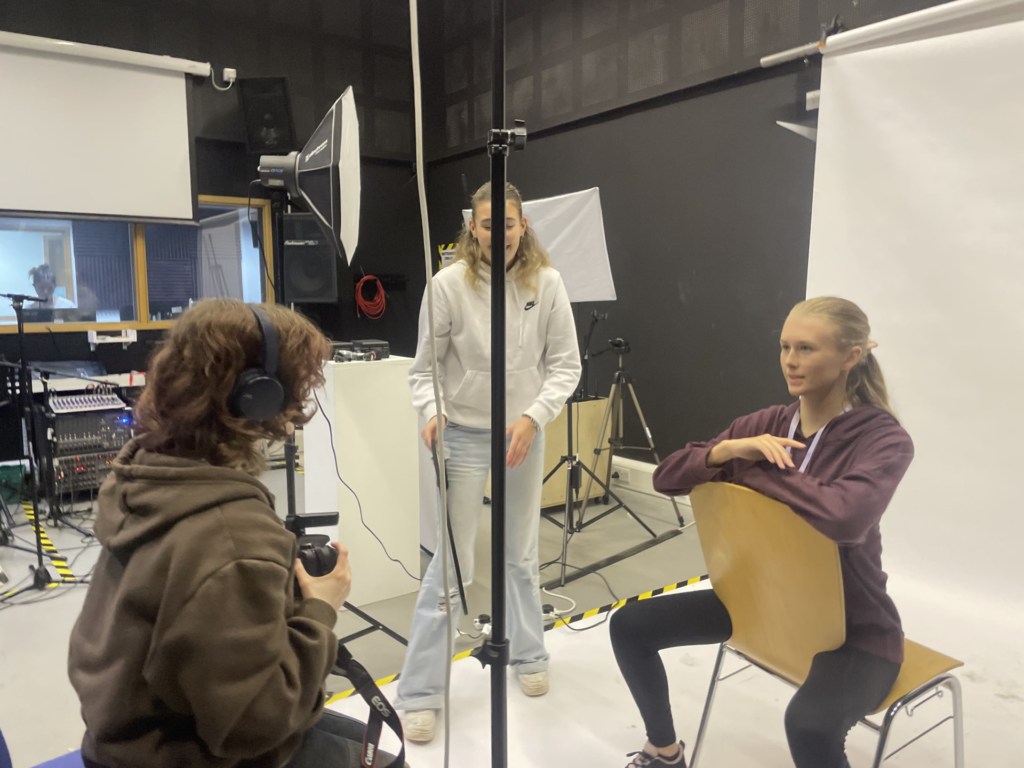
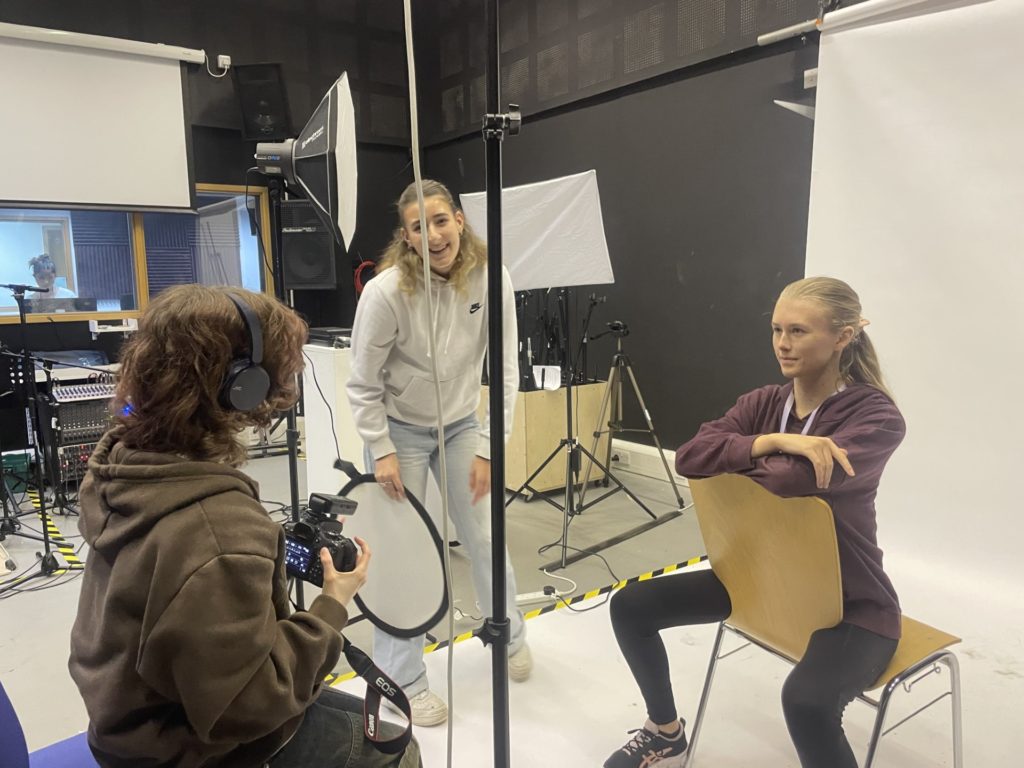
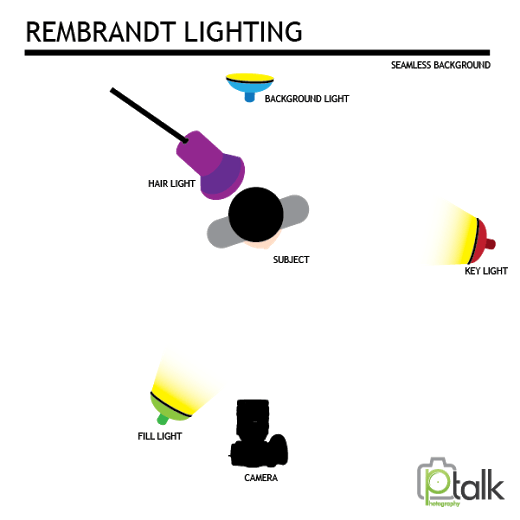
The light was positioned at the side of the model and camera and was angled on a 45 degree angle, to face the model. The light was about 2 feet higher than the model and slightly tilted down, to shine onto the model. The camera was also positioned on a 45 degree angle to face the model, or directly in front of the model at the same level. The reflector is then positioned under, or to the side of the model on an angle, so the light reflects of it into the models eyes, to make them brighter and more visible.
Edits
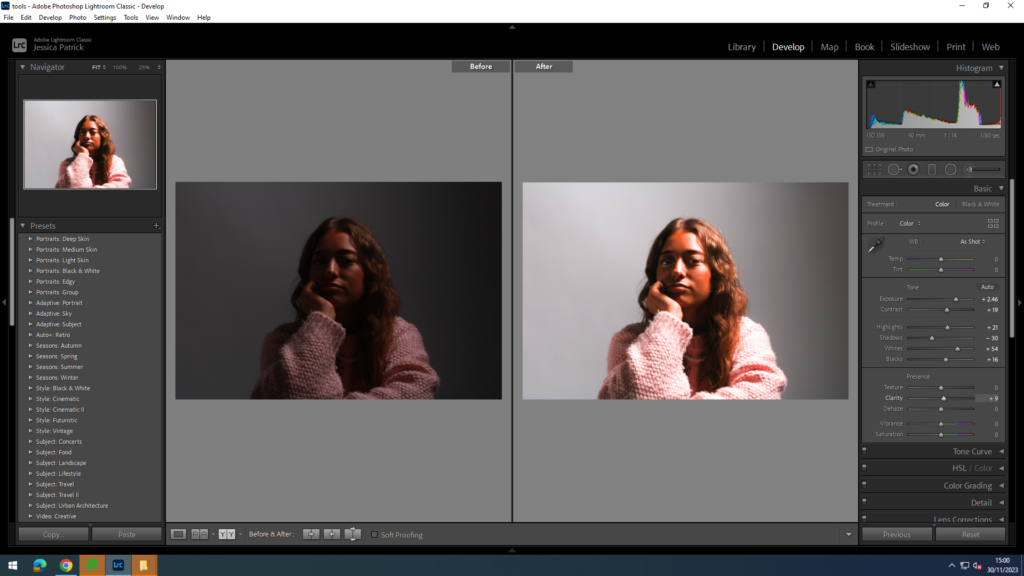
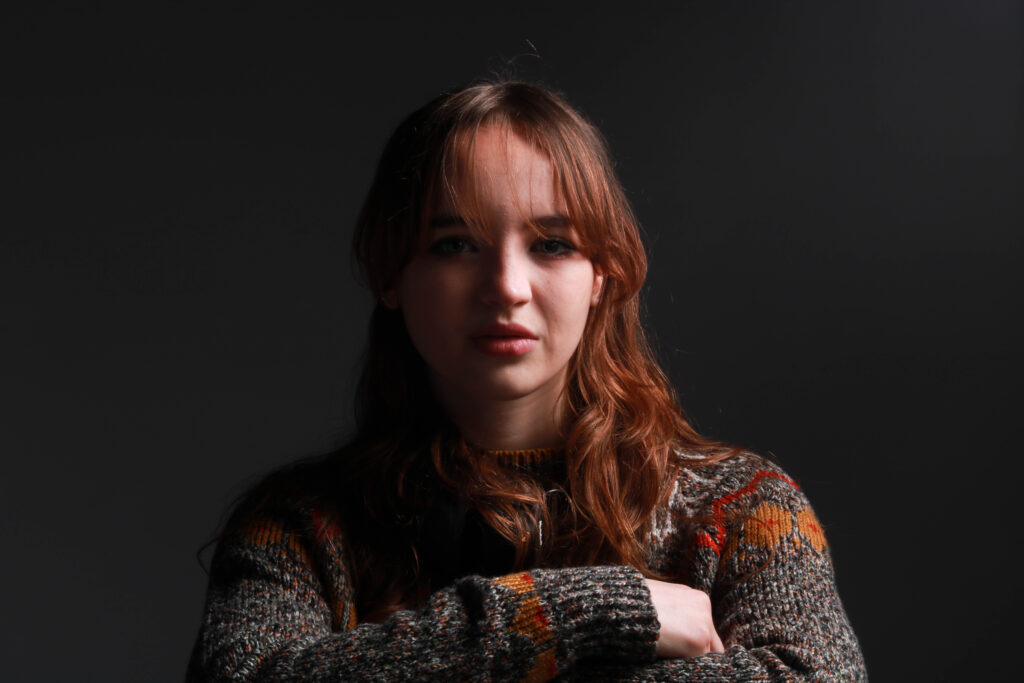
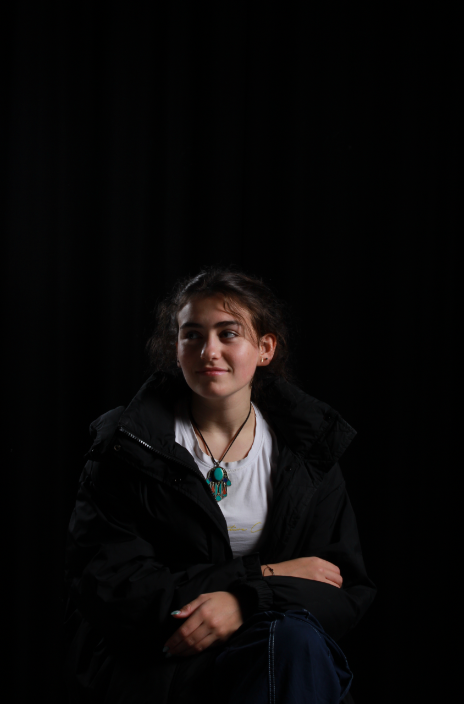
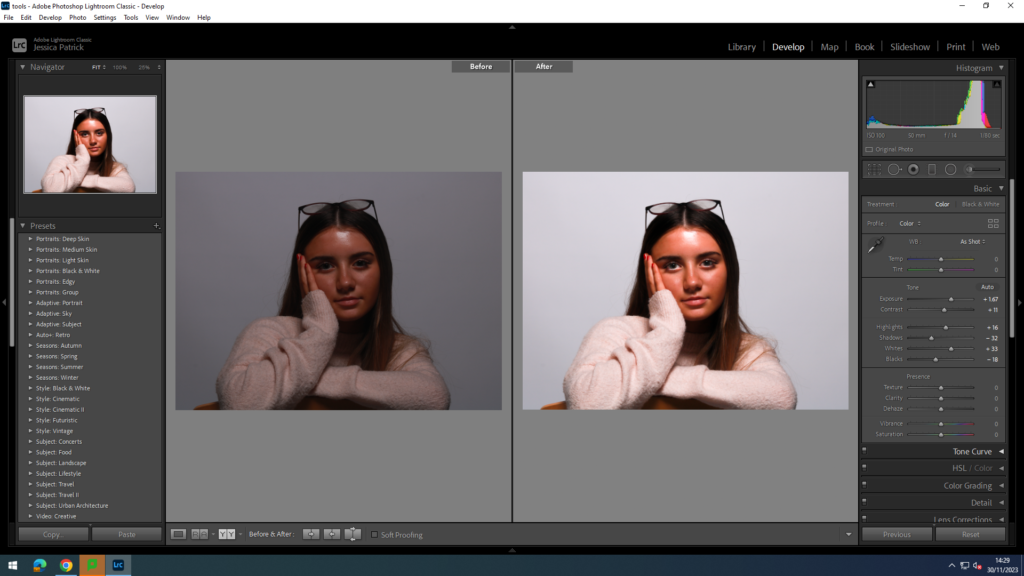
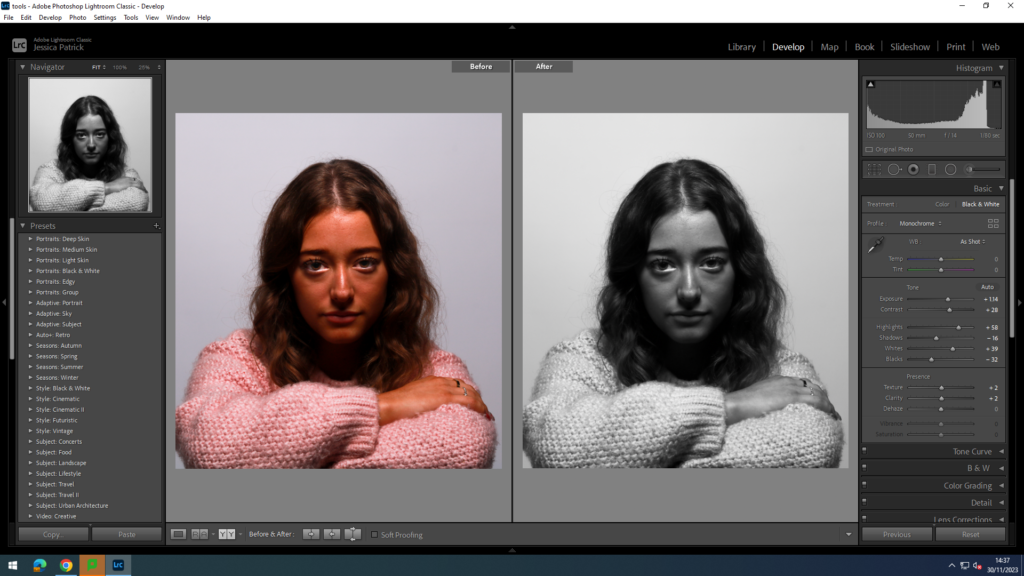
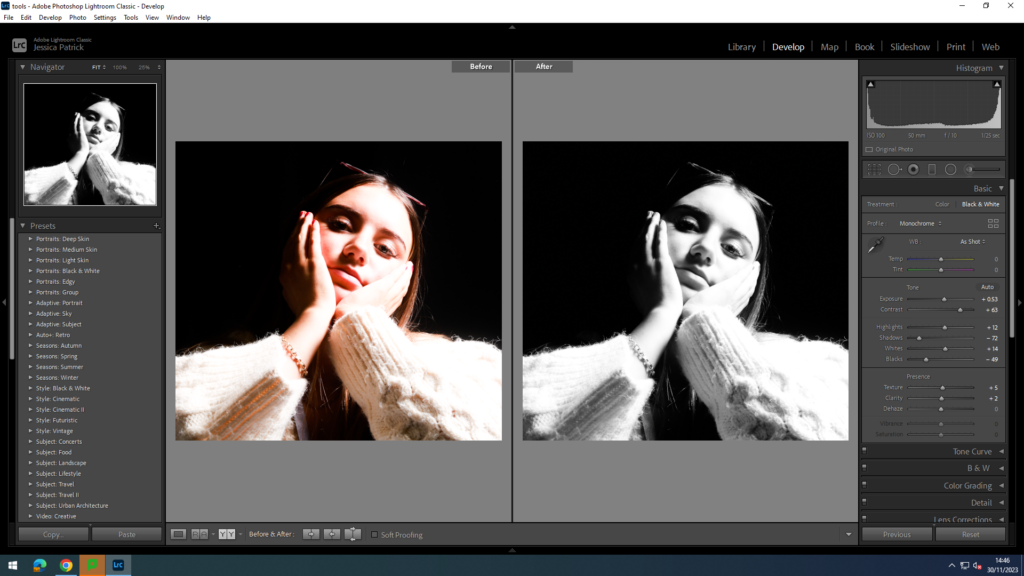
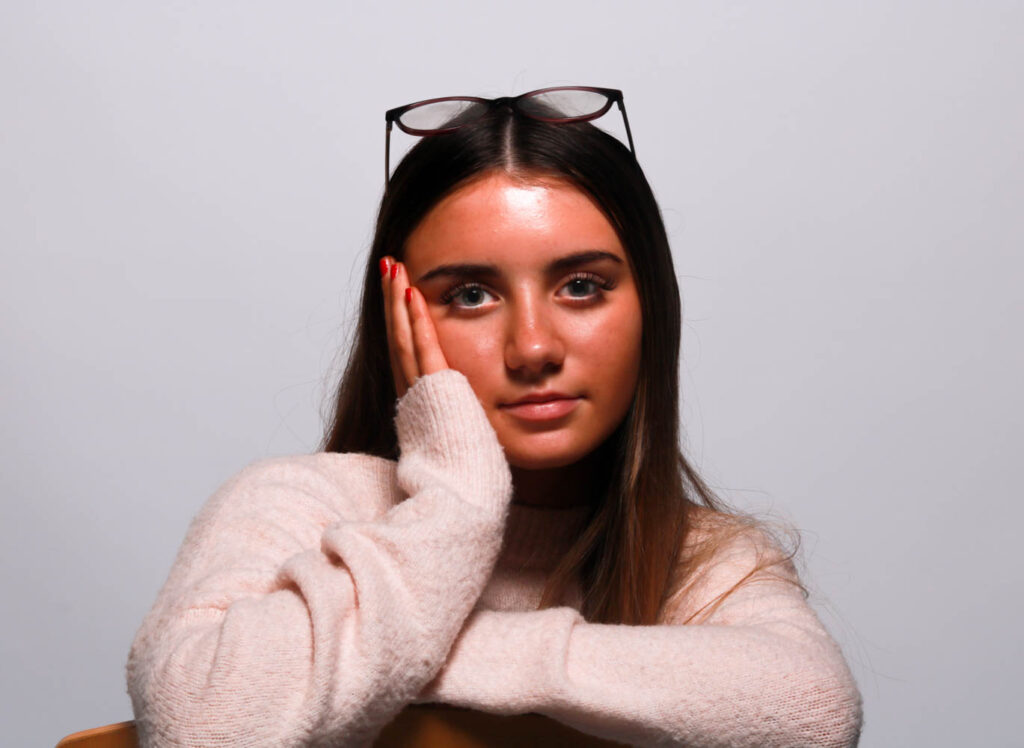
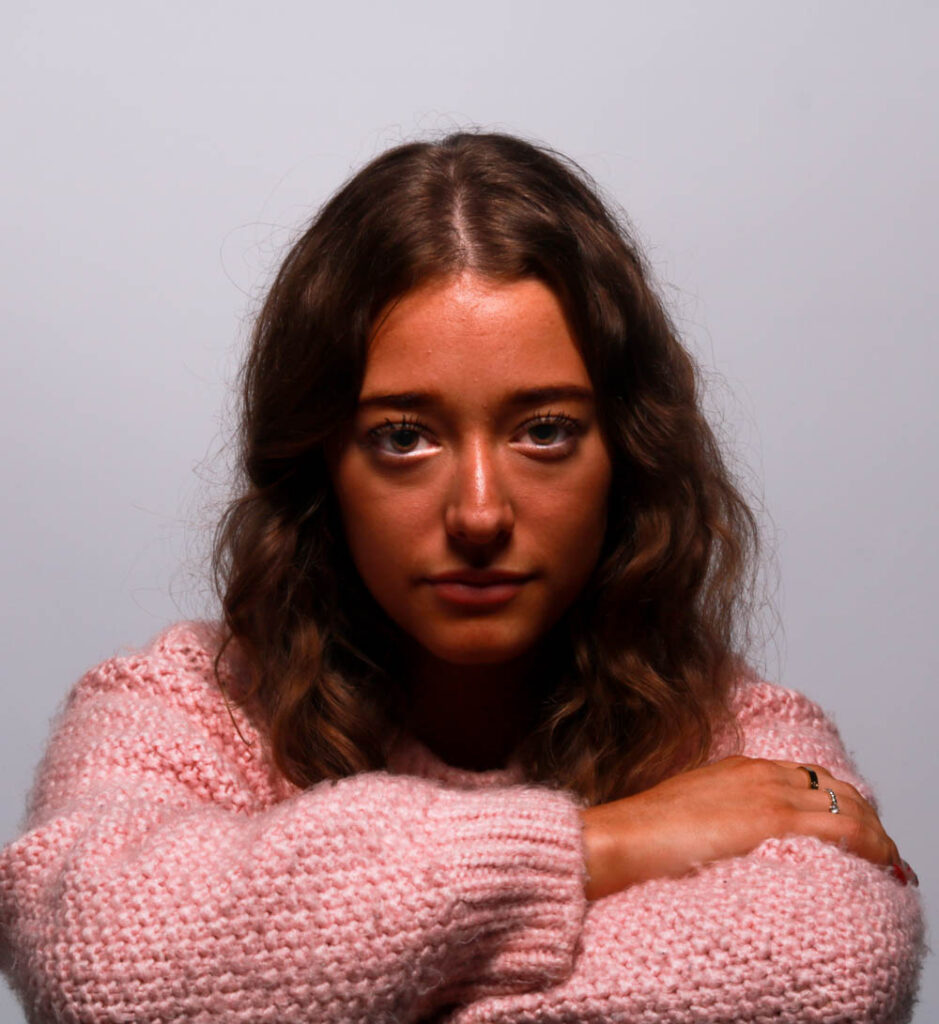
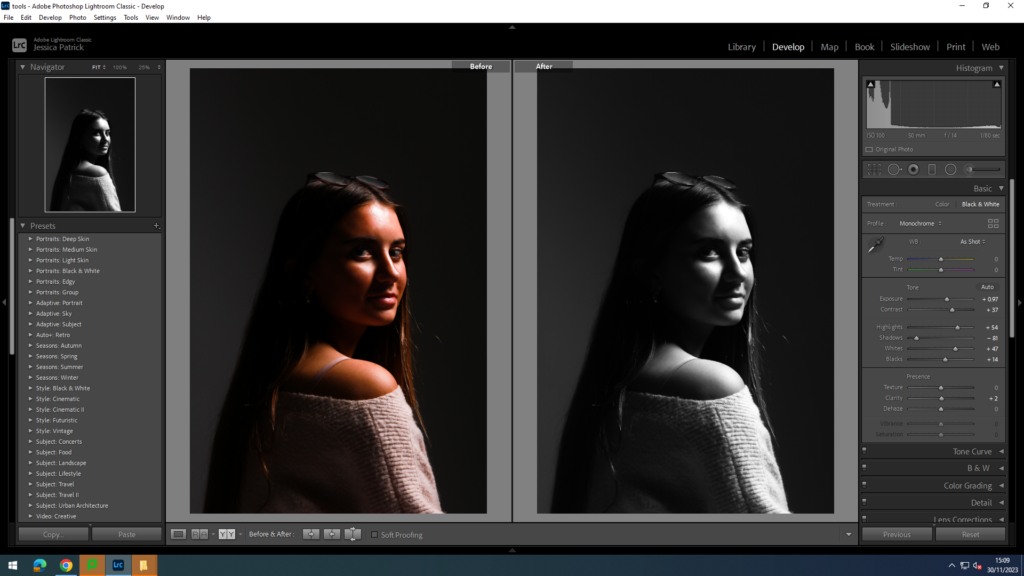
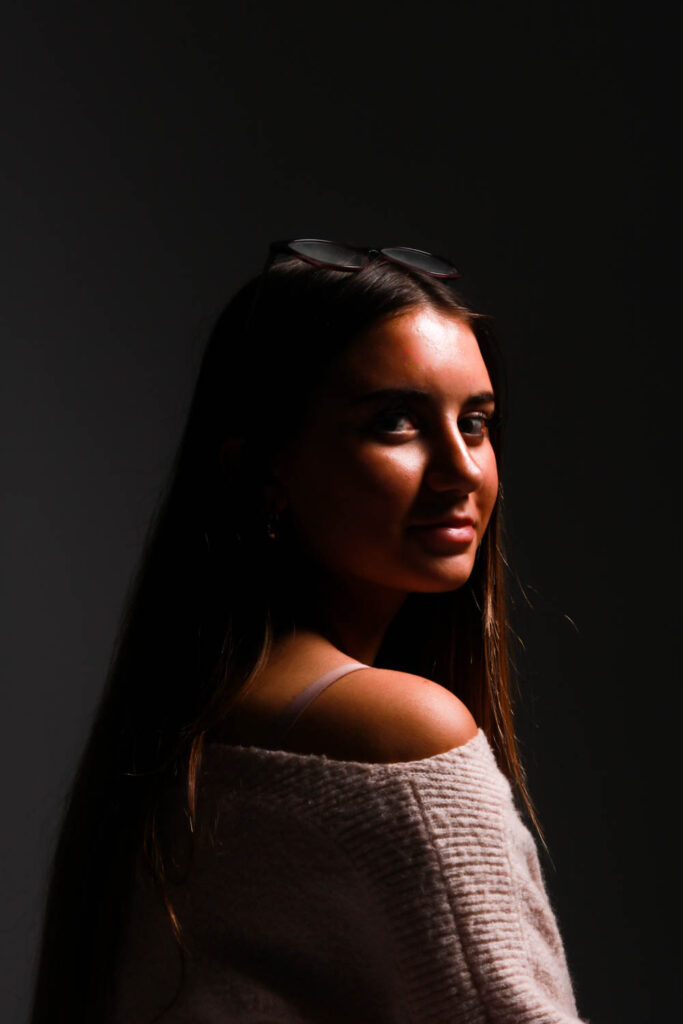
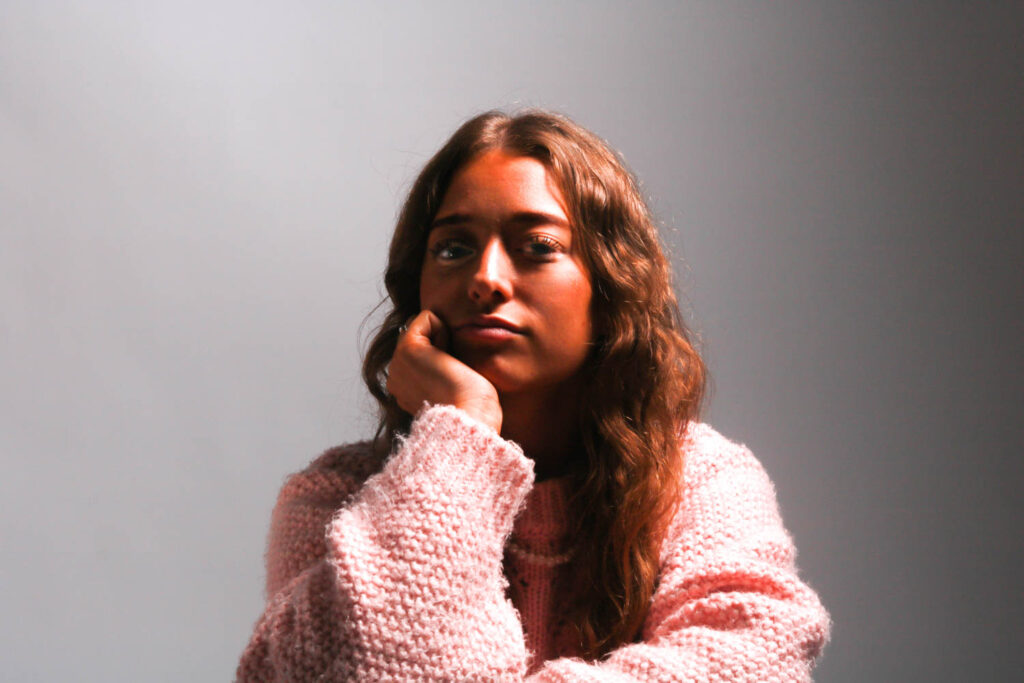
I edited this photo to make it brighter, so the model would stand out more and so the background would be brighter. I did this by increasing the exposure, contrast, whites, highlights, blacks and clarity, while decreasing the shadows. I also used a brightening tool on Lightroom to brighten up the models eyes and used a correction tool on Lightroom to get rid of any blemishes on the models skin, hair etc.
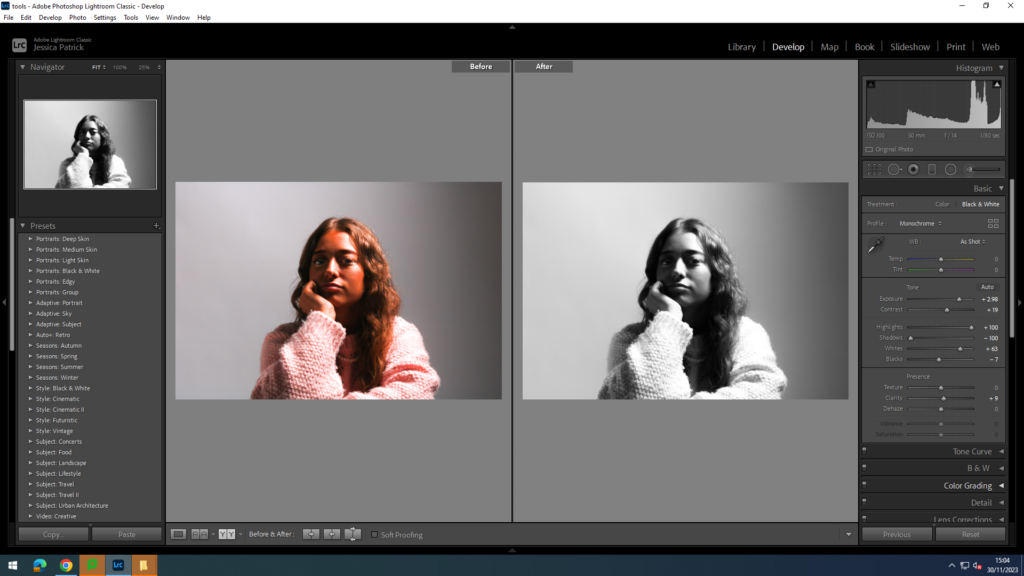
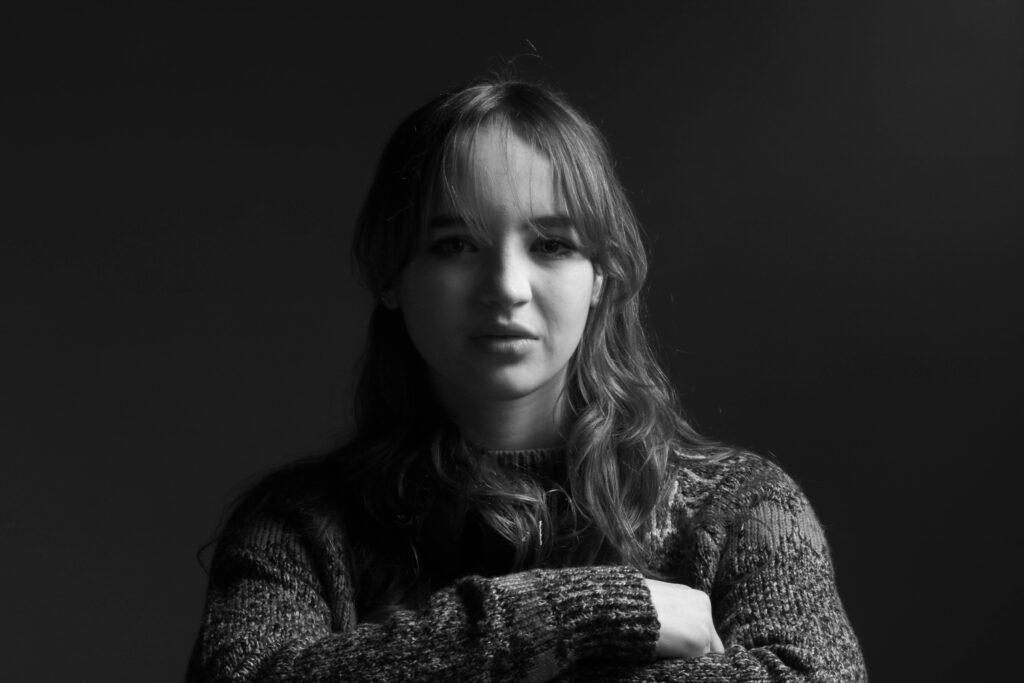
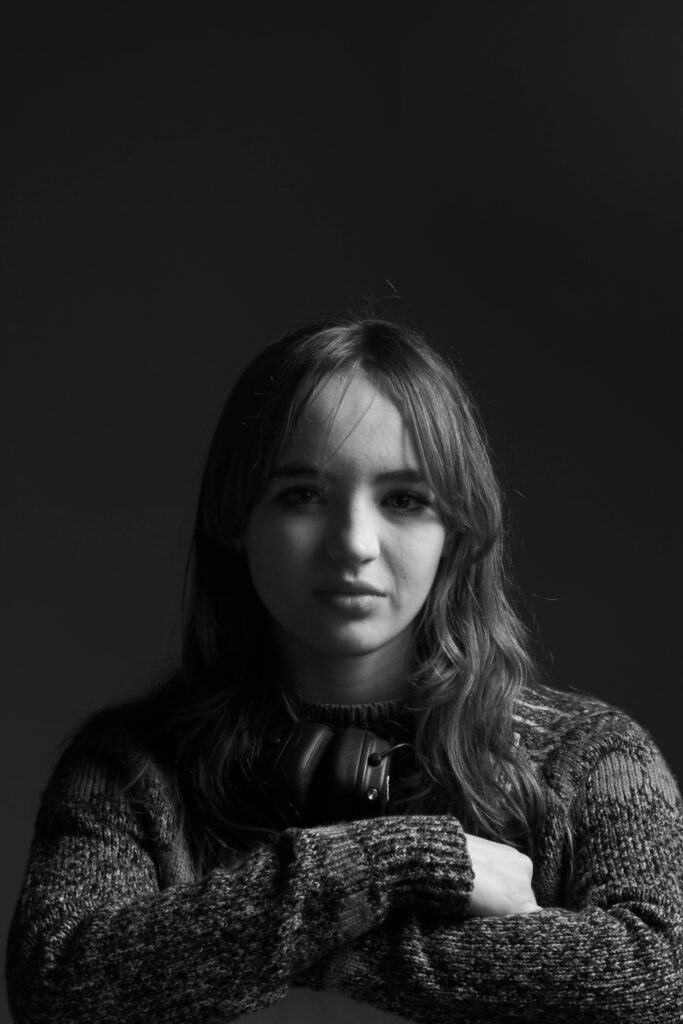
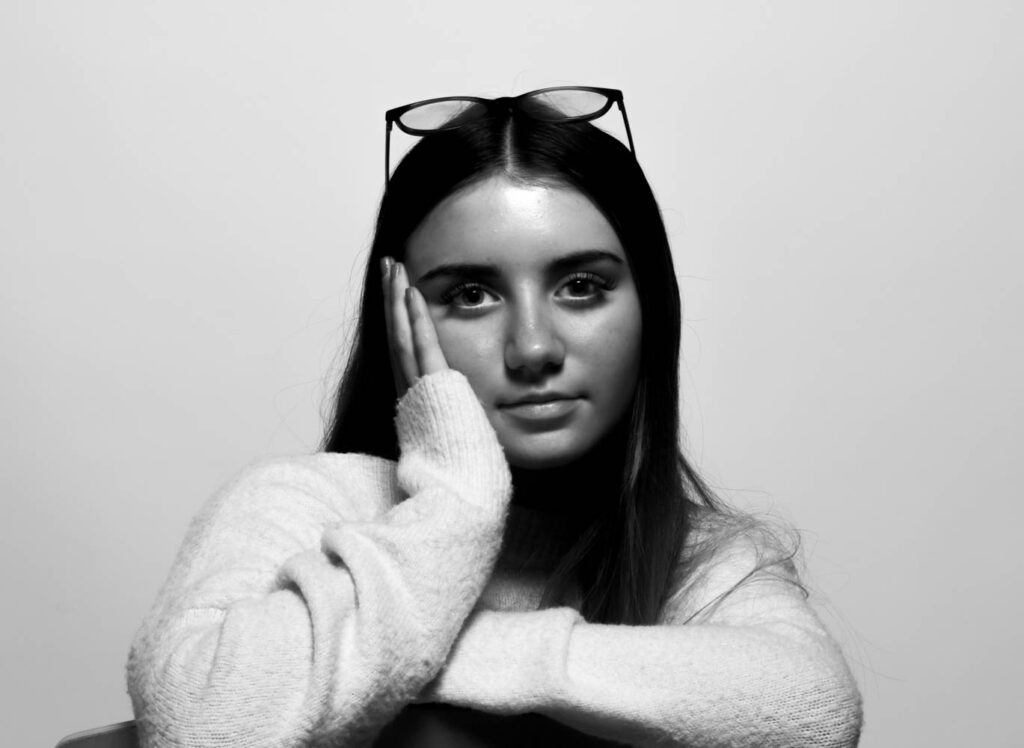
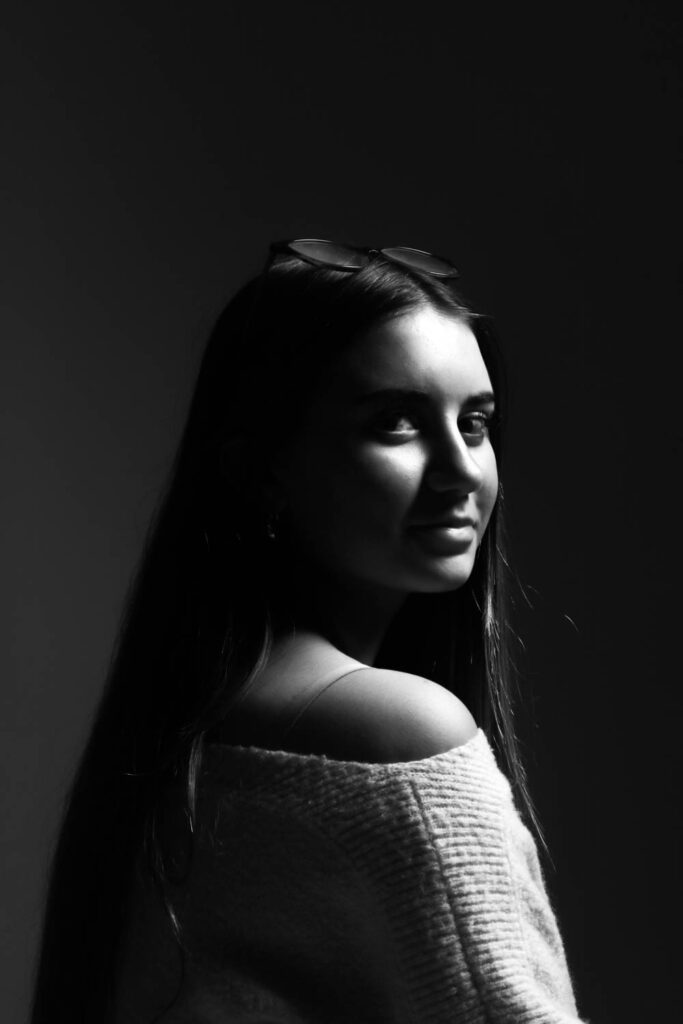
I then made a virtual copy of the edited photo and edited it again to make black and white version, to really help show that split lighting of dark and light.
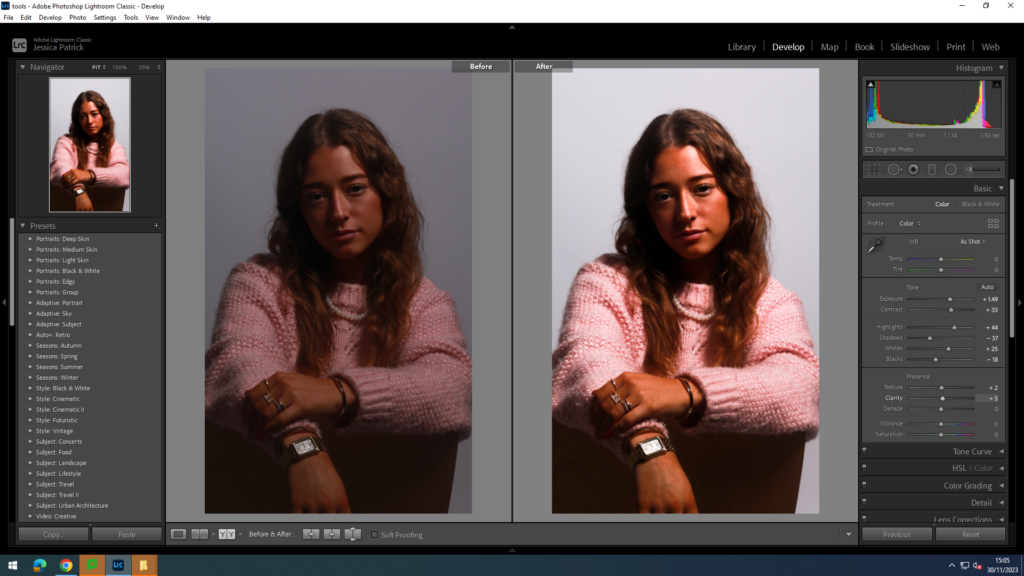
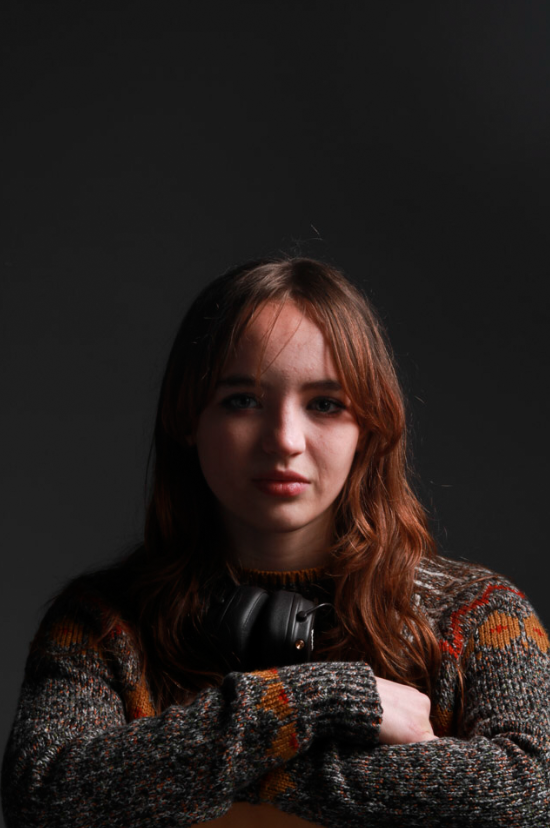
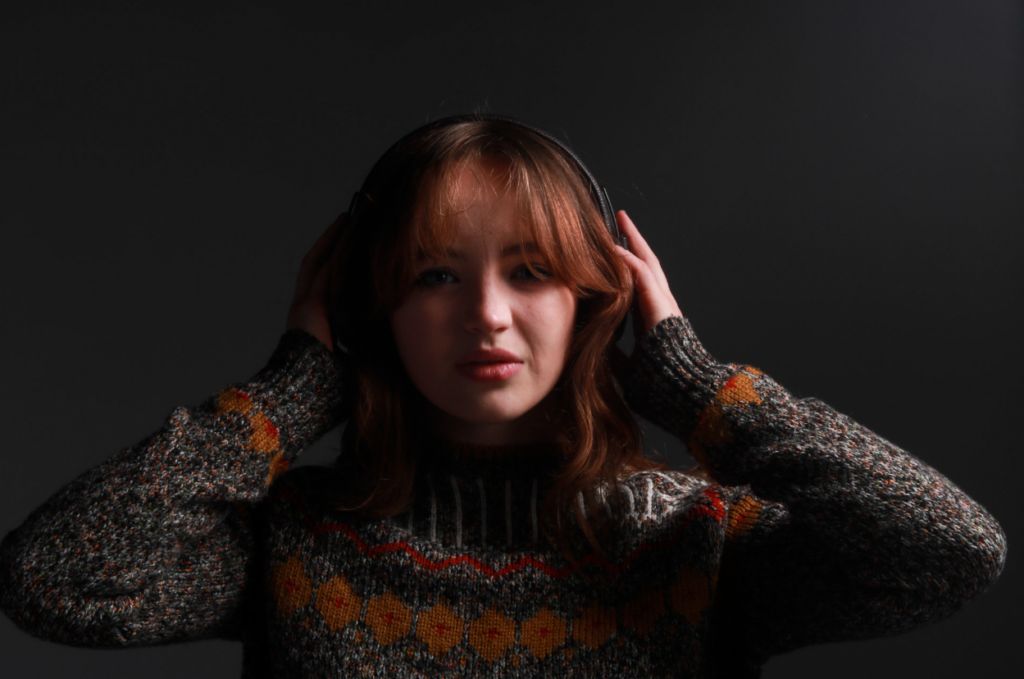
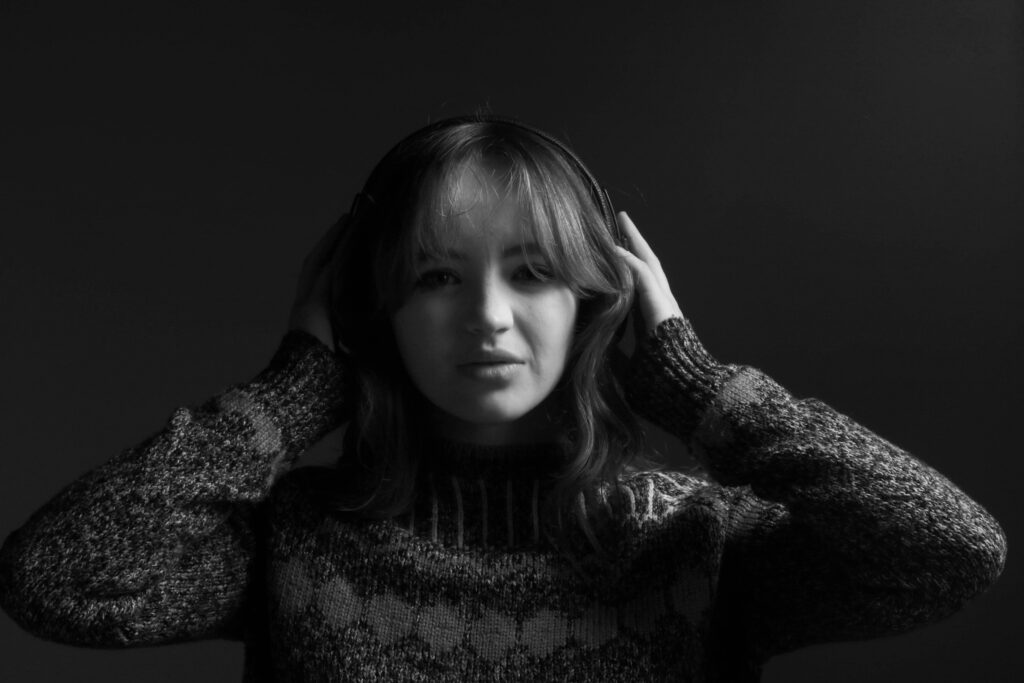
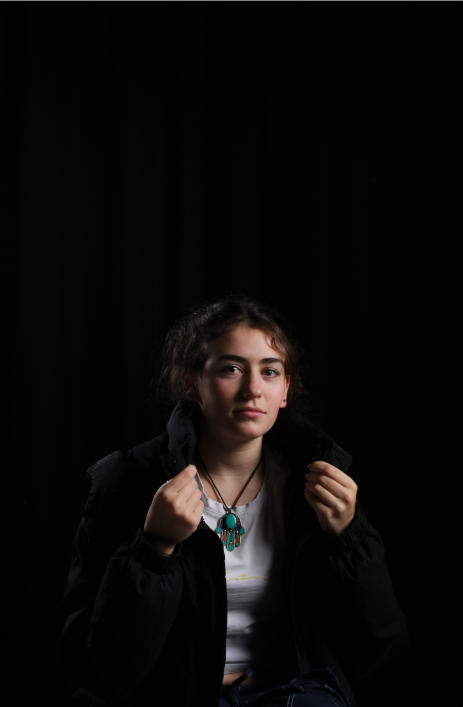
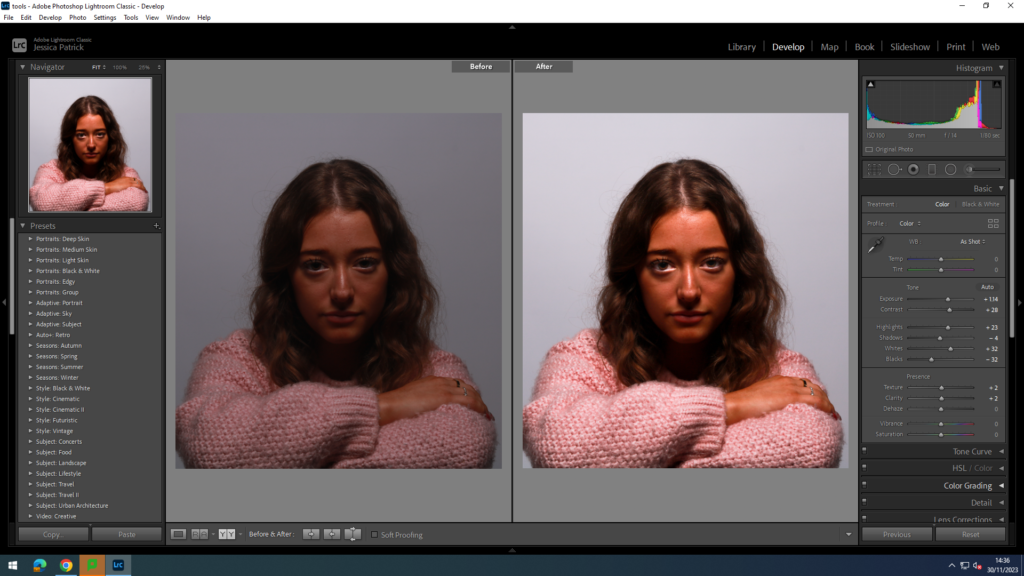
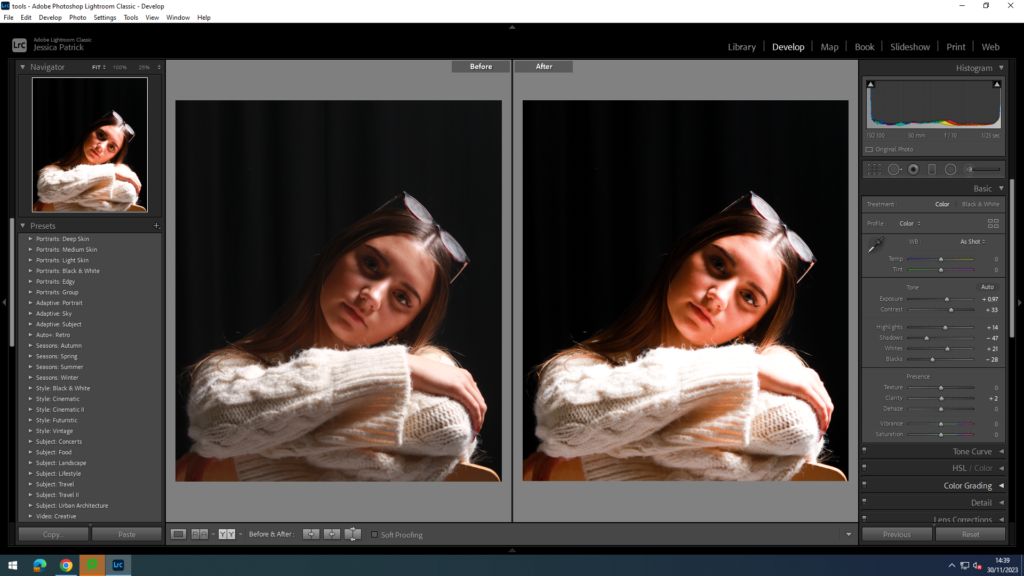
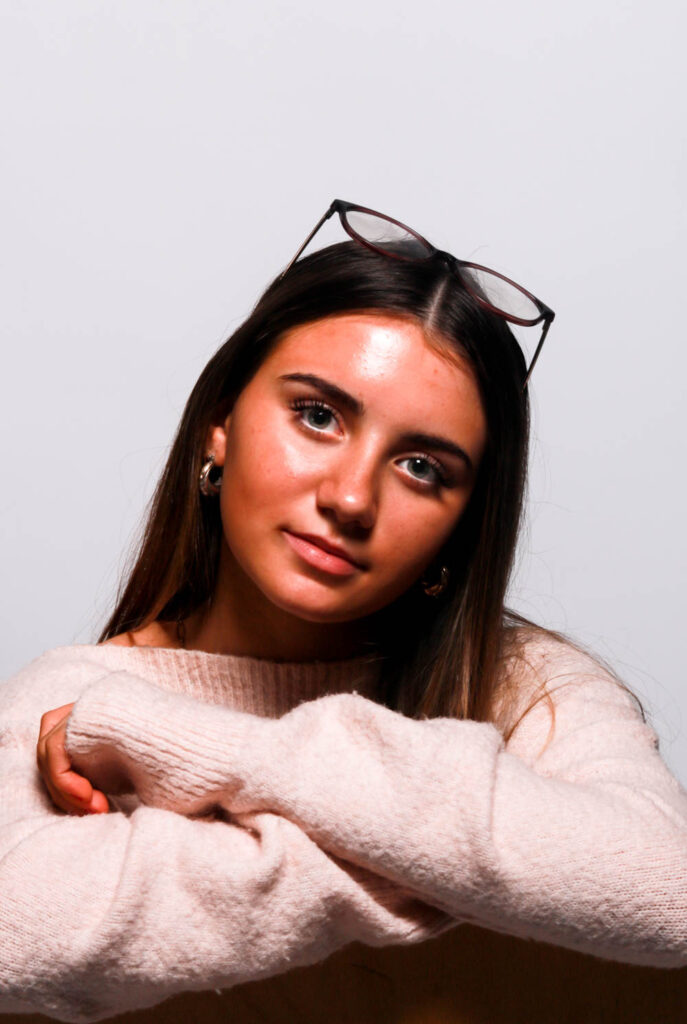
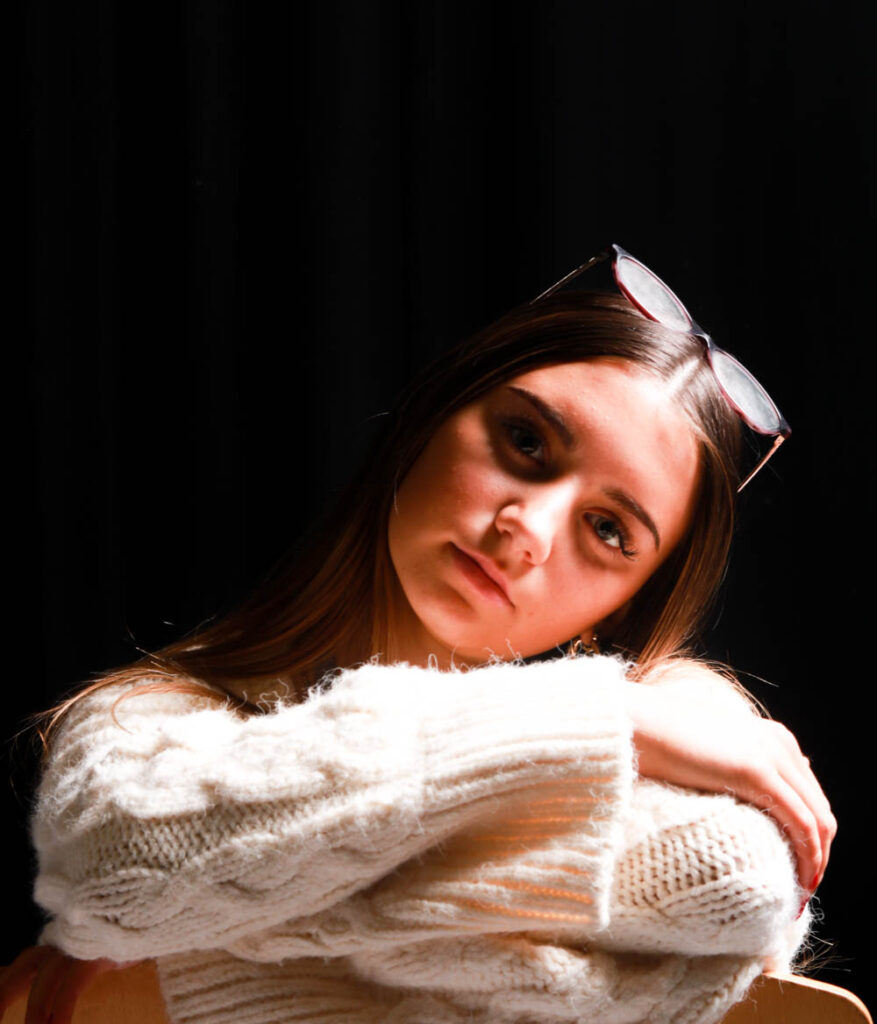
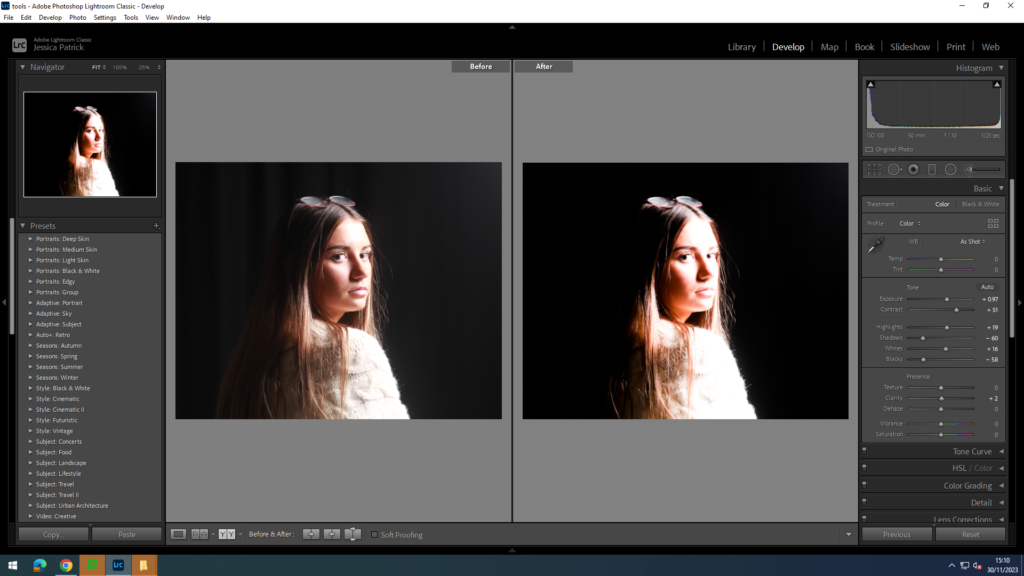
I edited this photo to make it brighter and more vibrant, so the model and her accessories would stand out more. I did this by increasing the exposure, contrast, whites, highlights, texture and clarity, while decreasing the shadows and blacks. I also used a brightening tool on Lightroom to brighten up the models eyes and used a correction tool on Lightroom to get rid of any blemishes on the models skin, hair etc.
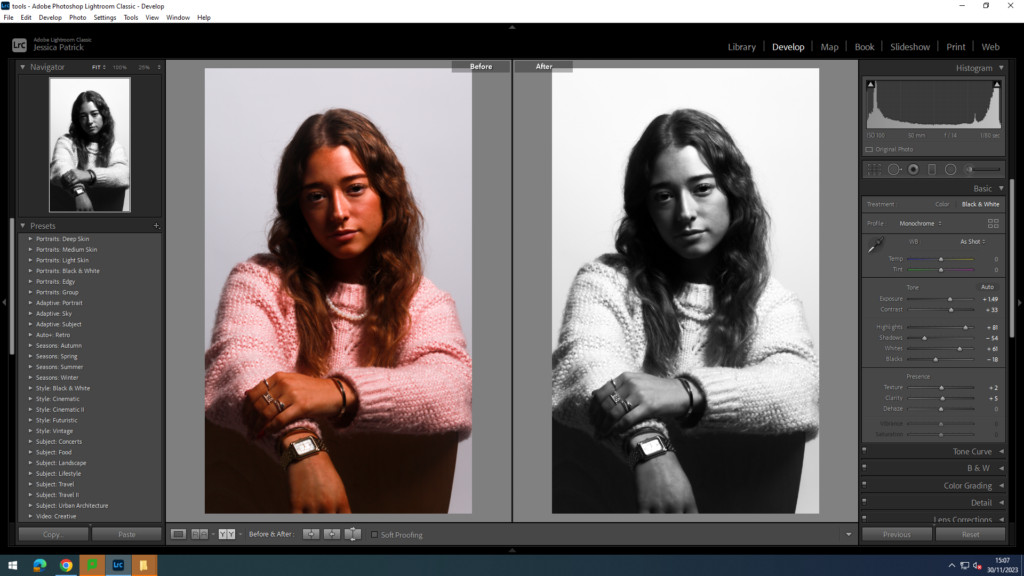
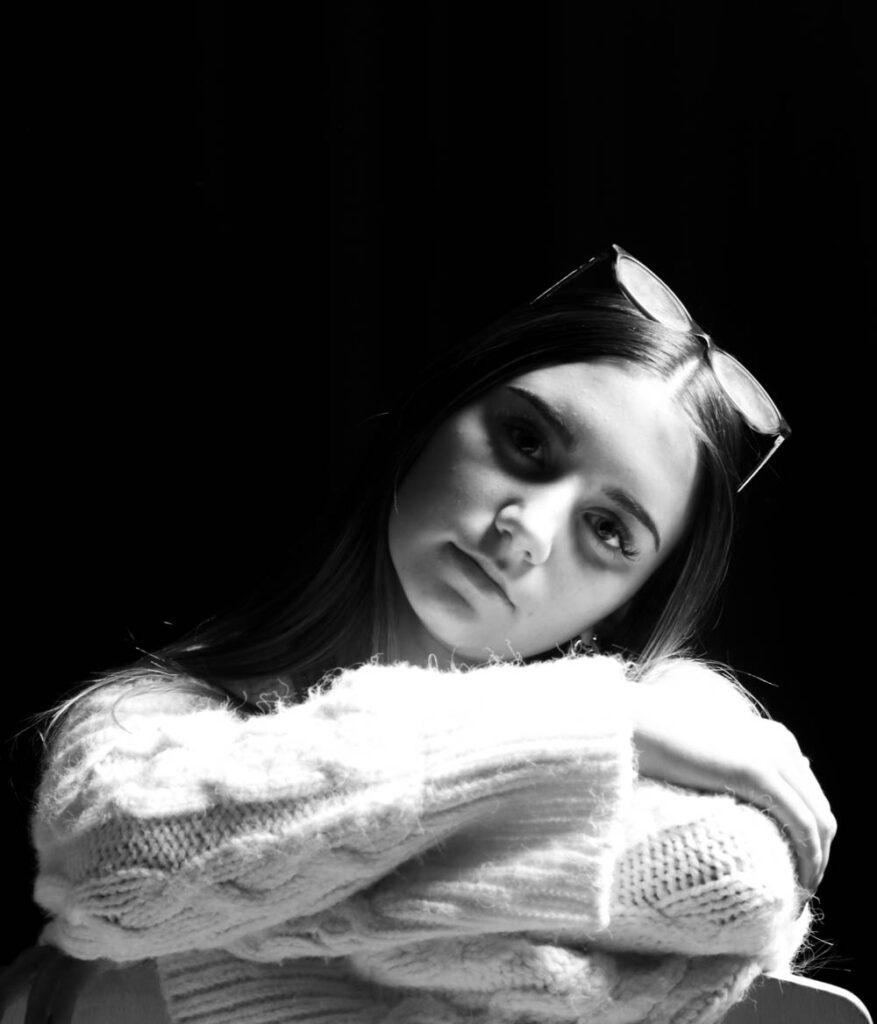
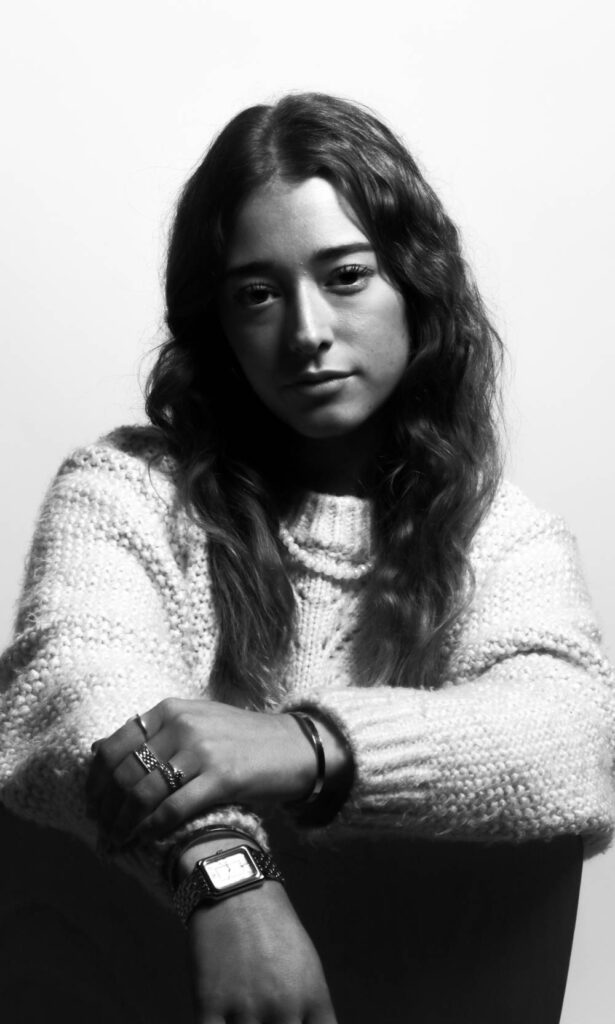
I then also made a virtual copy of the edited photo and edited it again, so I could create a black and white version.
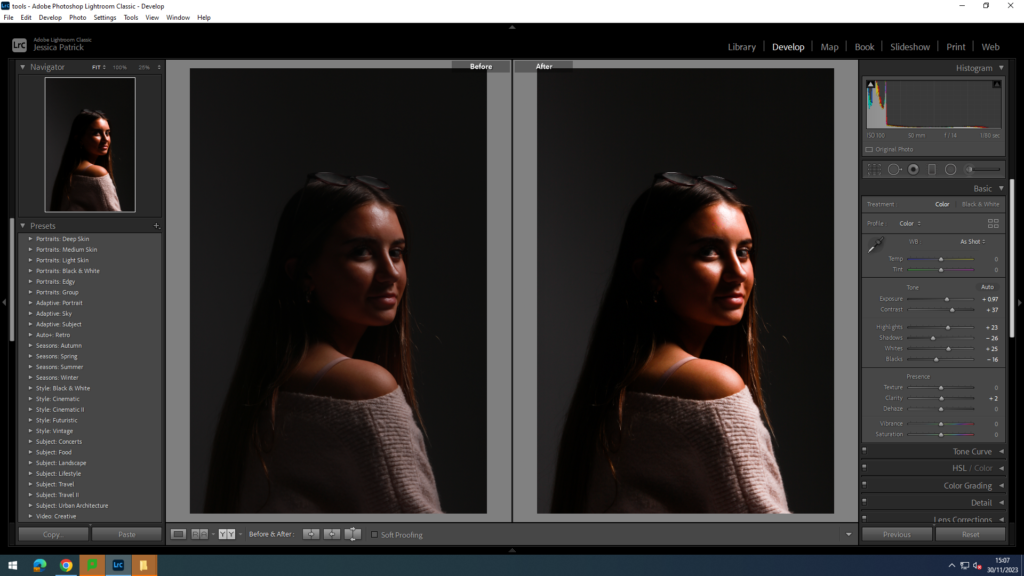
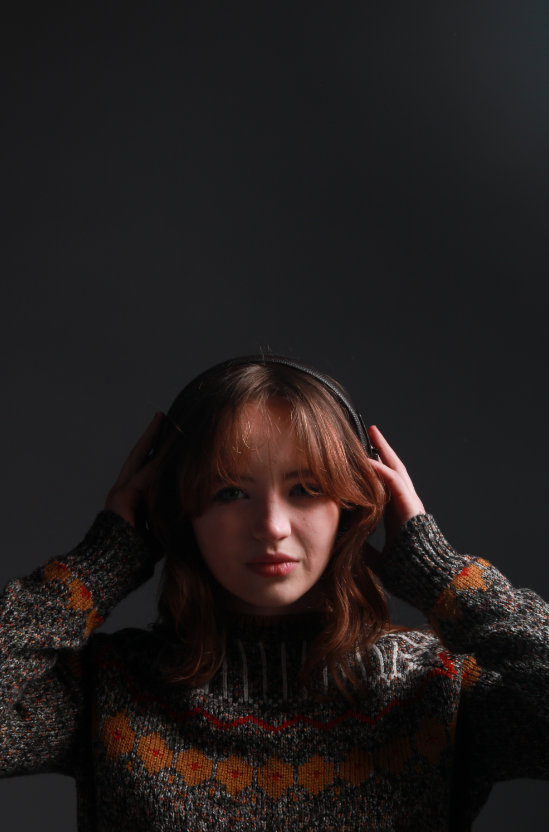
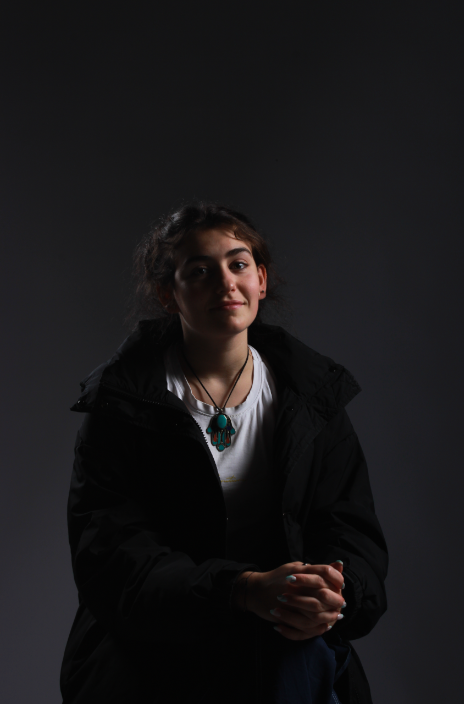
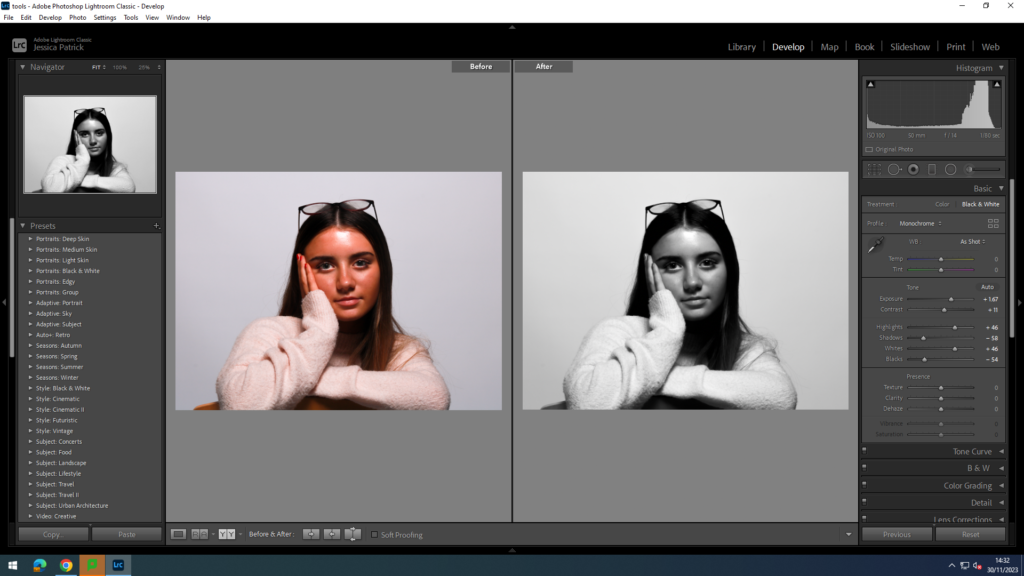
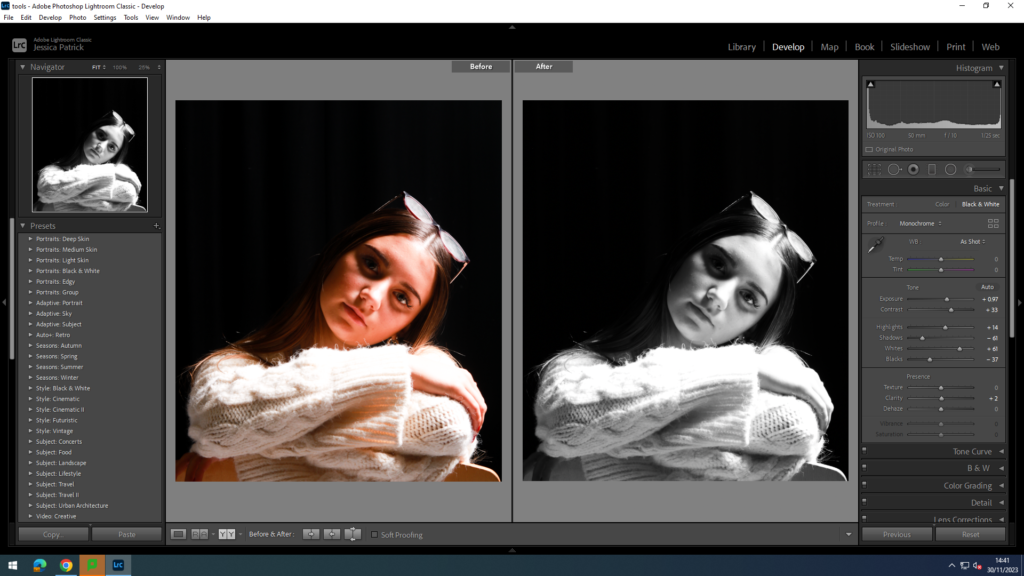
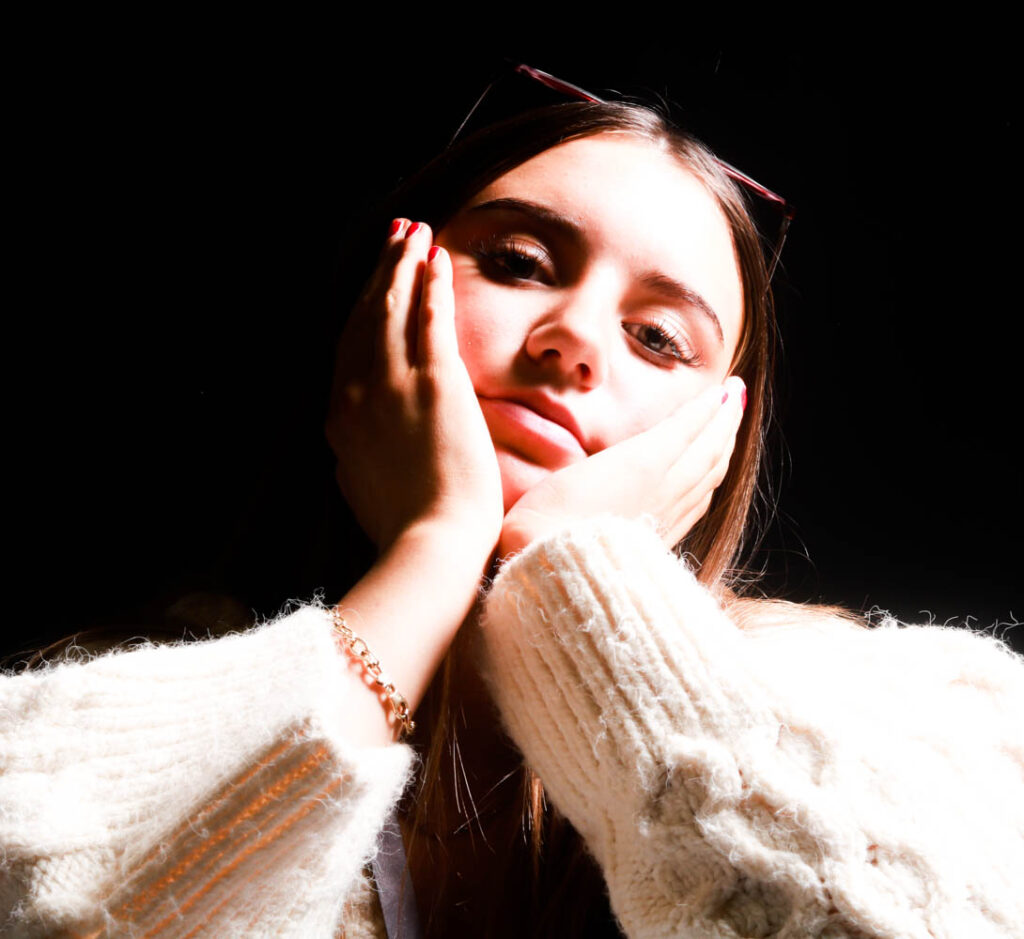
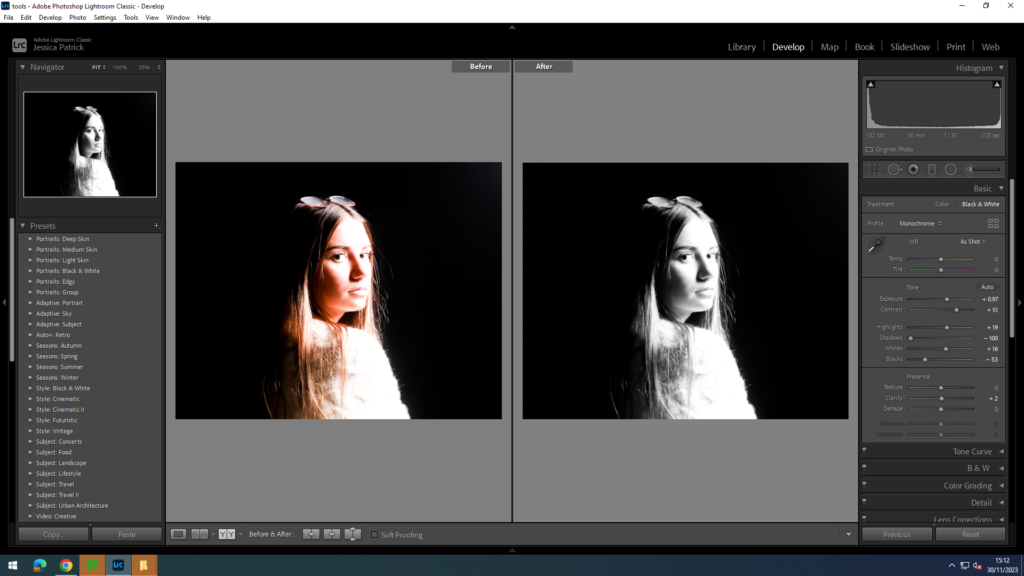
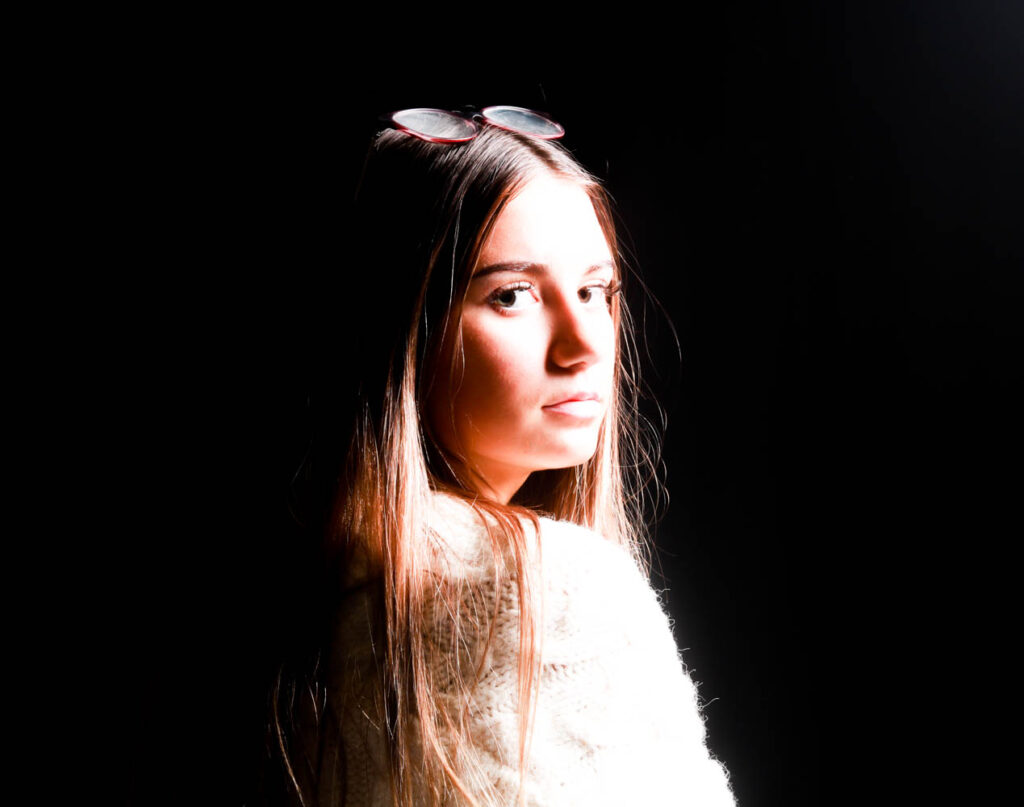
I edited this photo to bring more highlights and light onto the models face, so that it has more contrast, with the dark and light split lighting. I did this by increasing the exposure, contrast, highlights, whites and clarity, while decreasing the shadows and blacks. I also used a brightening tool on Lightroom to brighten up the models eyes and used a correction tool on Lightroom to get rid of any blemishes on the models skin, hair etc.
I then made a virtual copy and edited it again to make a black and white version, so it has more of a contrast between the light and dark and so it shows different tones.
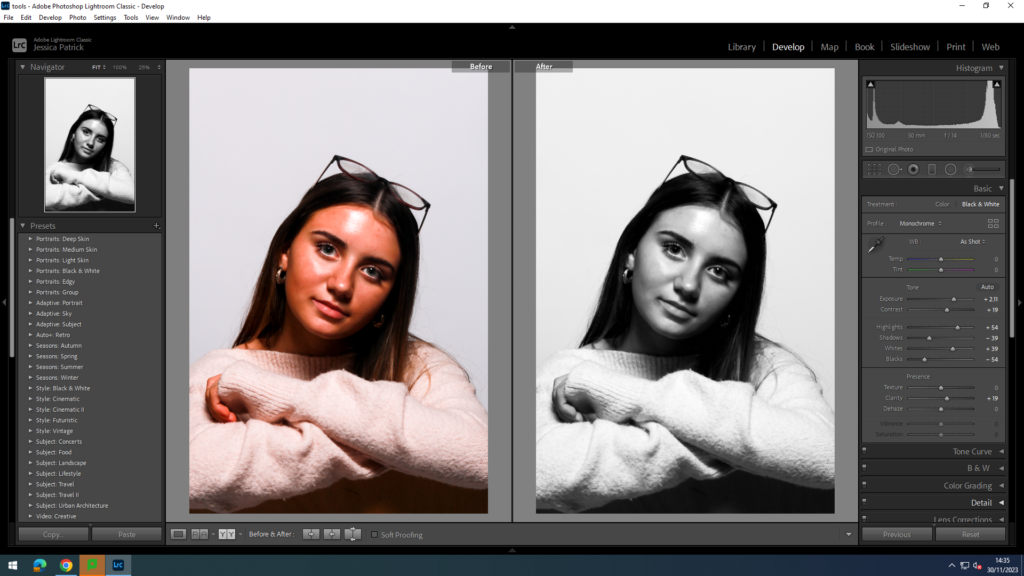
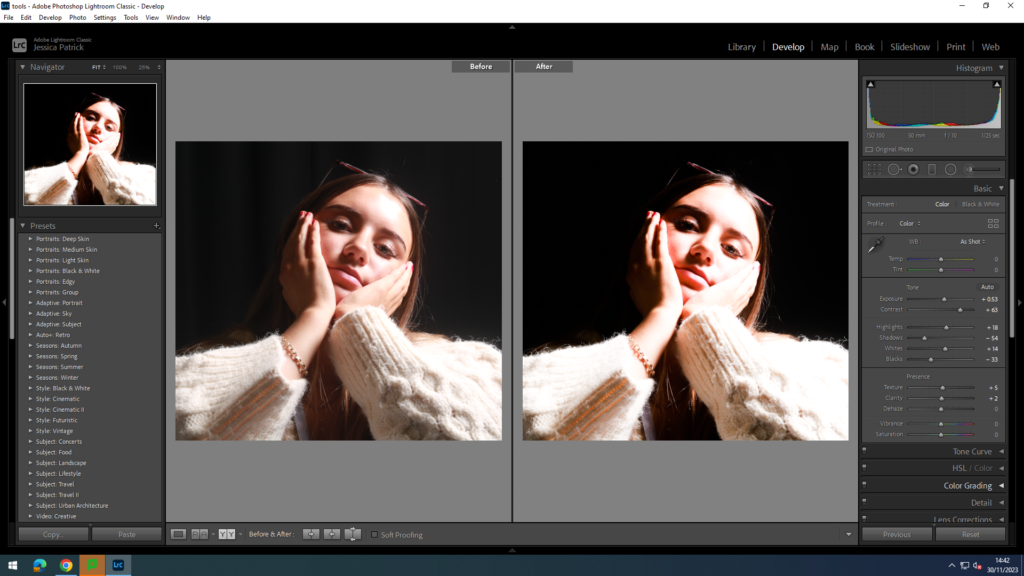
I edited this photo to bring more highlights onto the models face and to make it lighter, so it enhances the contrast between the light and dark. I also thinks this gives the photograph a different mood. I did this by increasing the exposure, contrast, highlights, whites and clarity, while decreasing the blacks and shadows. I also used a brightening tool on Lightroom to brighten up the models eyes and used a correction tool on Lightroom to get rid of any blemishes on the models skin, hair etc.
I then made a virtual copy of the edited photo and made a black and white version.
For all my Chiaroscuro photographs the camera settings were;
Aperture: f/10
Shutter Speed: 1/25 seconds
ISO: ISO-100
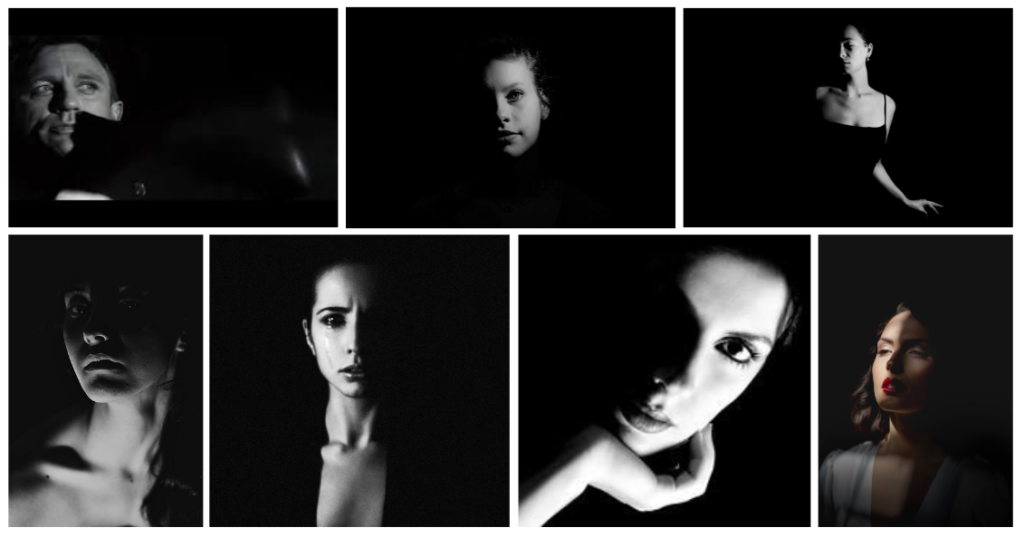
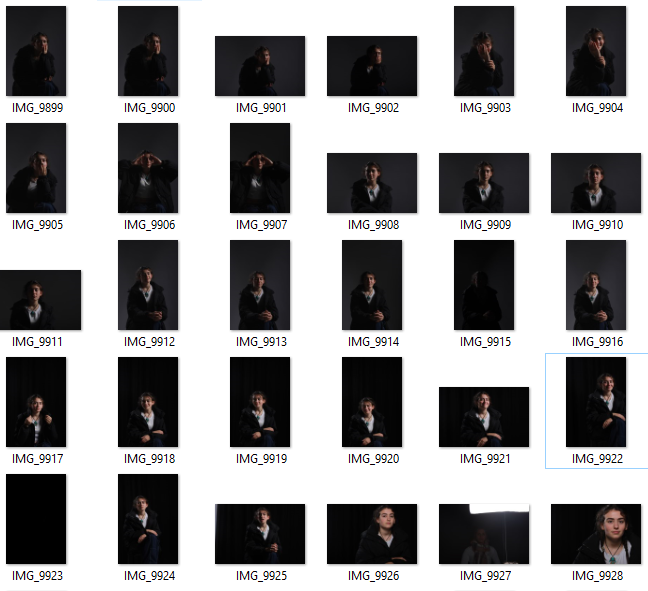
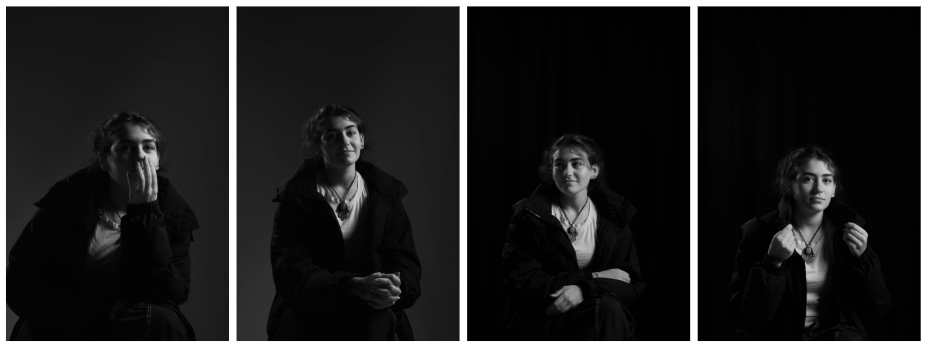
Top 8 Chiaroscuro Lighting photographs

Conclusion
In conclusion, I think this photoshoot went well, as I understood the lighting technique and managed to achieve portraits using this lighting technique, because I was able to set up the studio correctly for the different types of lighting. I also experimented with different backgrounds, such as black or white backgrounds, to give the photograph a different mood. I was also able to direct my models to try different poses and to sit at different angles or facing different ways. This helped change the mood of the photographs. I also experimented a lot with my editing skills, as I used a brightening tool on Lightroom to brighten up my models eyes, so they would be more visible and stand out more. Furthermore, I also used a correction tool on Lightroom to correct or get rid of any blemishes on my models skin, hair etc. I then also experimented with making my photos black and white, so it would give a complete new portrait and a complete new mood.