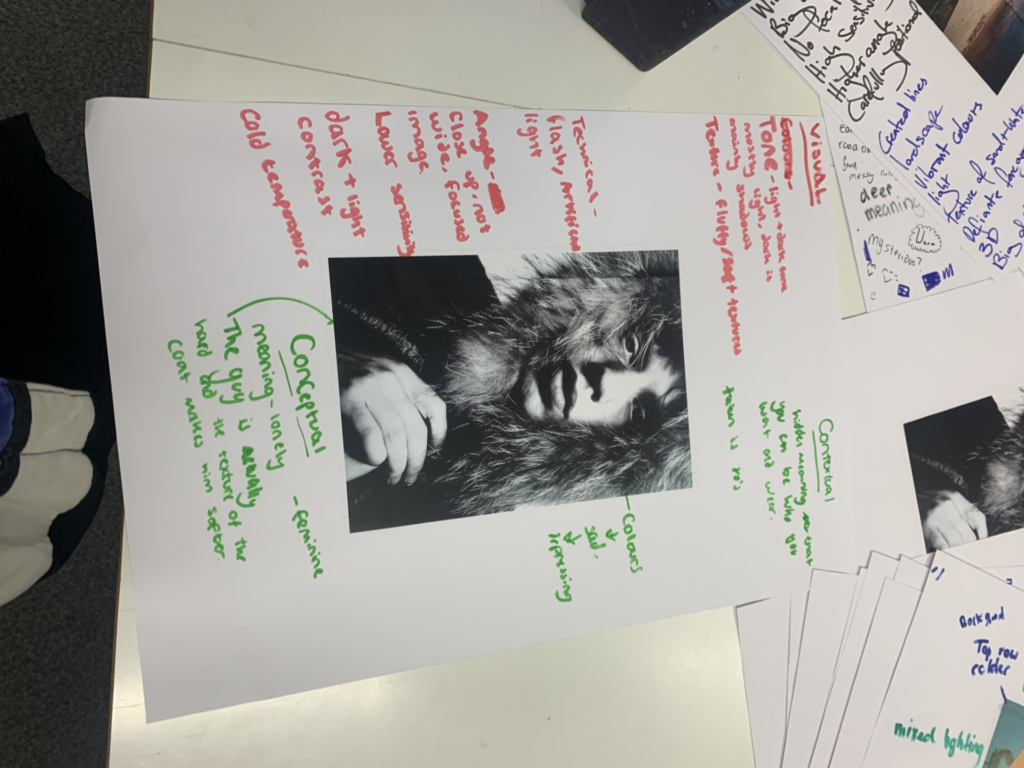
Formalism

What is formalism?

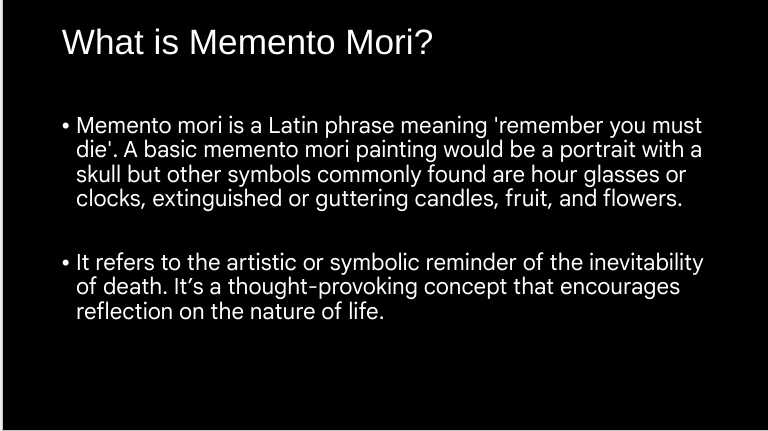
formalism is an approach to art that focuses on the formal elements, like colour, shape, and composition. It emphasises the aesthetic qualities of artwork.

The seven basic elements to Photography

Line

In photography, the basic element of a line refers to the visible lines or edges within an image. lines can be straight or curved, horizontal or vertical, and they can create a sense of movement or lead the viewers eye through the photo.
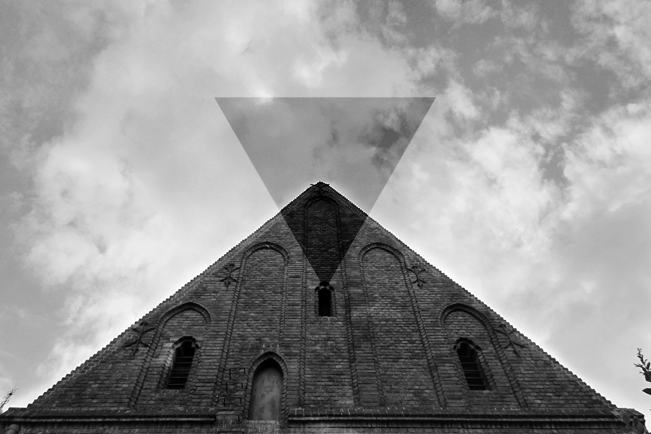
lines in photography can have many affects on the viewer’s emotion. In this photo the mix of diagonal lines creating two triangles is giving a dangerous, dynamism and tension.
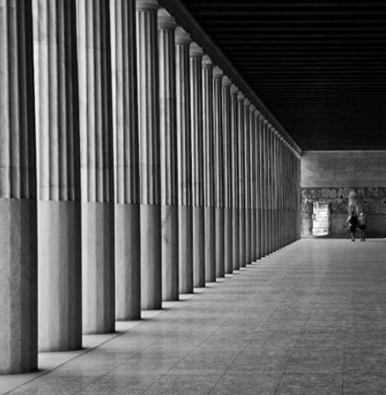
On the other hand in this photo there are vertical lines can evoke a sense of strength or height. and in this photo it clearly shows both.

Shape

in photography shape refers to the visual form or outline of objects within an image. It can be geometric, organic, or abstract.
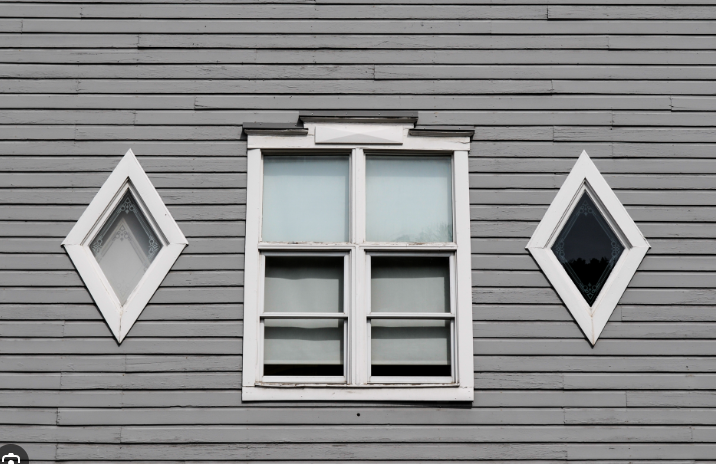
because this photo has more geometric shapes, it creates a sense of stability and order. they are also a little more abstract geometric shapes which can evoke a sense of mystery and curiosity to the viewer.

Form

The basic element of forms refers to the three-dimensional appearance of object captured in a photo. It adds depth, volume, and texture to the image, making it more lifelike and tangible. Form can be conveyed through light and shadow, perspective, and the arrangement of objects in the frame. It helps create a sense of realism and presence.
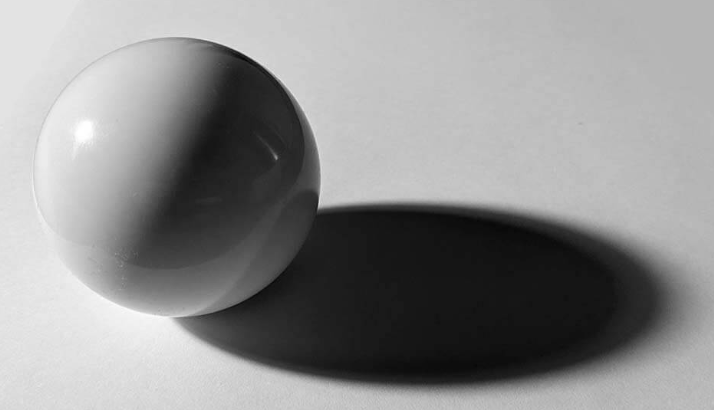
form can have a profound impact on people, it adds depth and dimension, making the image more engaging and immersive. This image creates a tactical experience as peoples may feel drawn to the textures and shadows detail captured.

Texture

Texture refers to the visual and tactile quality of surfaces captured in an image. it adds depth and dimension, allowing viewers to perceive the texture of different objects or subjects, texture can range from smooth and soft to rough and gritty, and it can greatly enhance the overall visual impact of a photograph. By highlighting the texture, photographers can create a more immersive and engaging experience for the viewer.
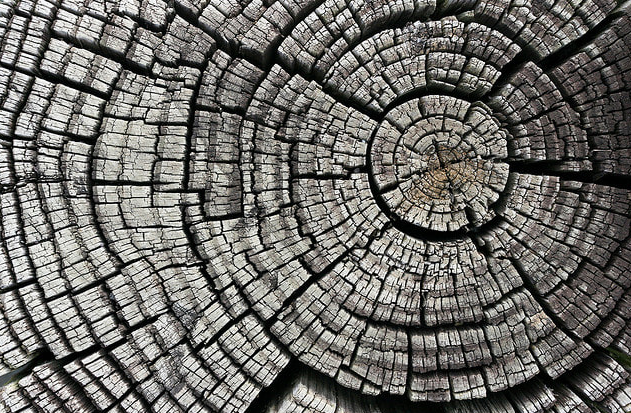
Texture really can effect viewers emotions, as in this picture there is rough and bumpy texture from all the lines in the wood that one would almost be able to feel, a rough texture like this photo can create a sense of ruggedness or intensity.

Colour

Colours are a vital role in photography. They can covey different moods and emotions.
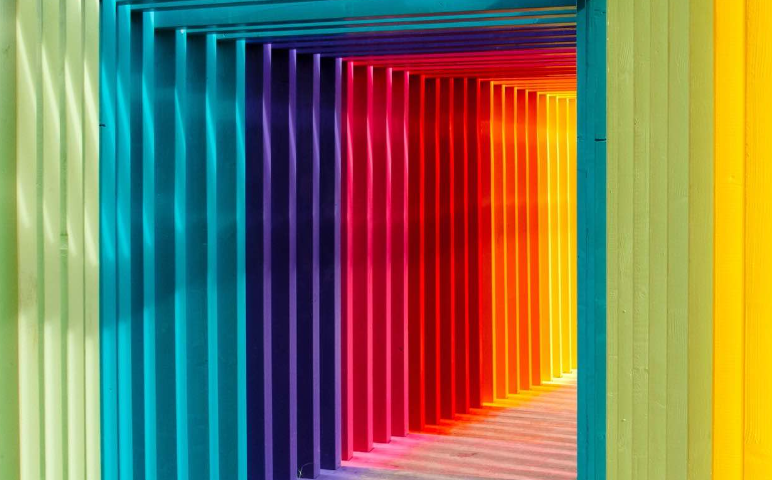
The warm bright colours in this photo like the red and yellow can evoke feelings of energy and happiness, and even though there are cooler colours they are bright and give a feeling of calmness but peaceful and happy.

Size

Size refers to the relative proportions and scale of objects within a composition. size in photography is relative and can be an illusion.
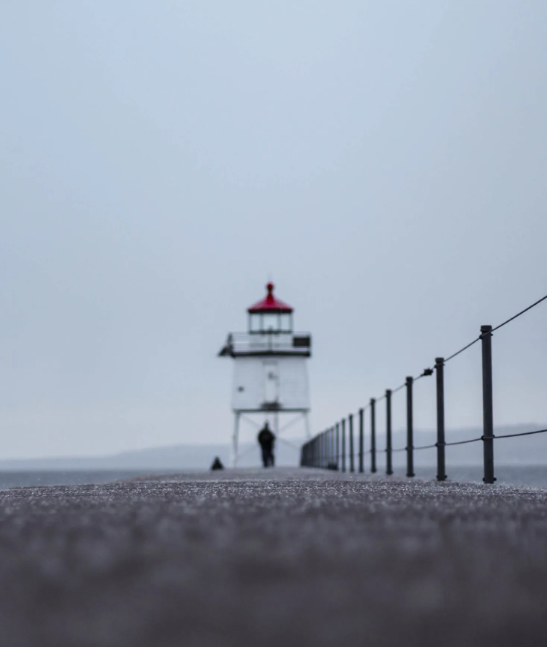
it creates a sense of depth, and can convey a certain mood. for example in this photo there is man angled to look small compared to the massive lighthouse behind him as well as the railings. it gives an effect of intimacy or vulnerability while the large objects evoke commanding attention.

Depth

Depth refers to the perception of distance and three-dimensional in an image. It adds a sense of space and can a photo feel more immersive. Techniques like using a wide aperture to create shallow depth of field or including foreground, middle ground, and background elements can enhance the sense of depth in a photograph.
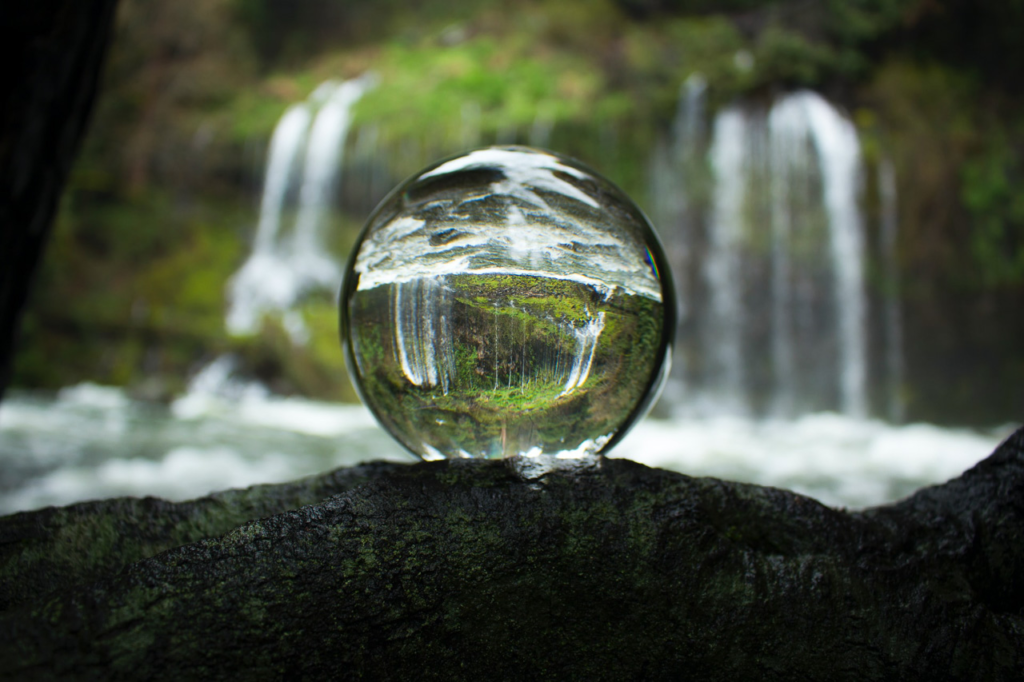
depth in photography can make viewers feel like they are part of a scene, creating a sense of immersion and realism. it can also add visual interest and make the image more dynamic, drawing the viewers eye into the different layers of the composition. By creating a sense of depth, photography can evoke emotions such as wonder, curiosity, and a feeling of being transported to another pace, which i think this photo fits well.

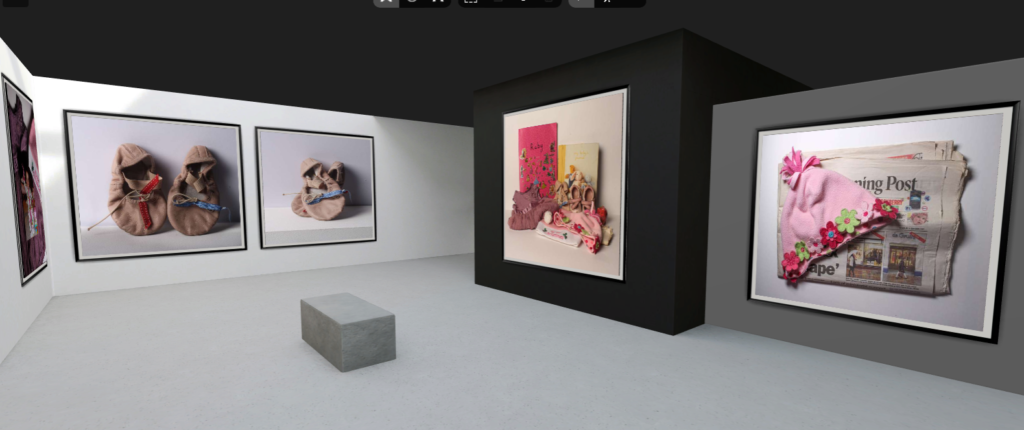
Virtual Gallery of Project – Still Life

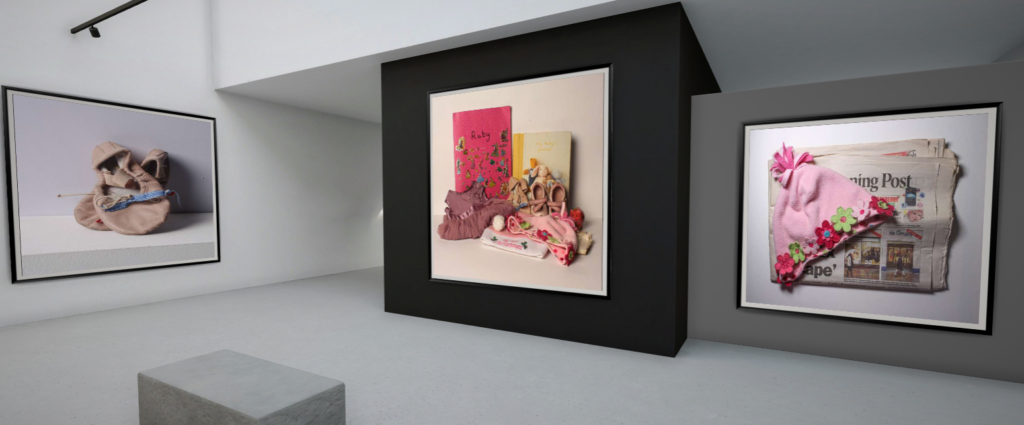
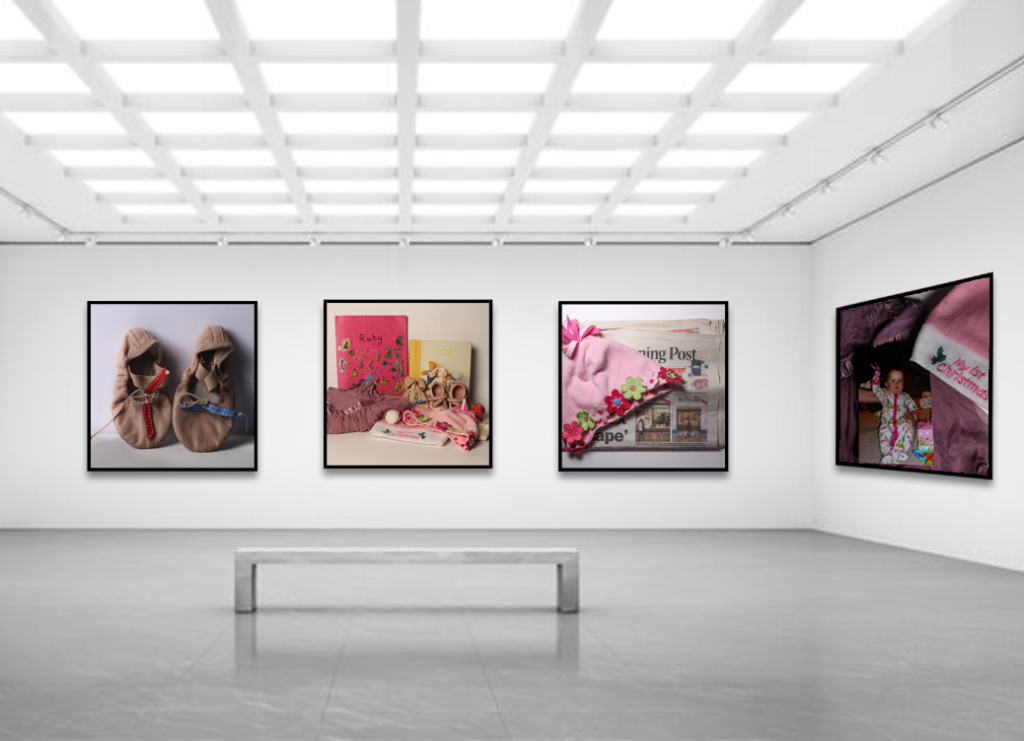
My Nostalgia Photos Art Gallery

Artsteps

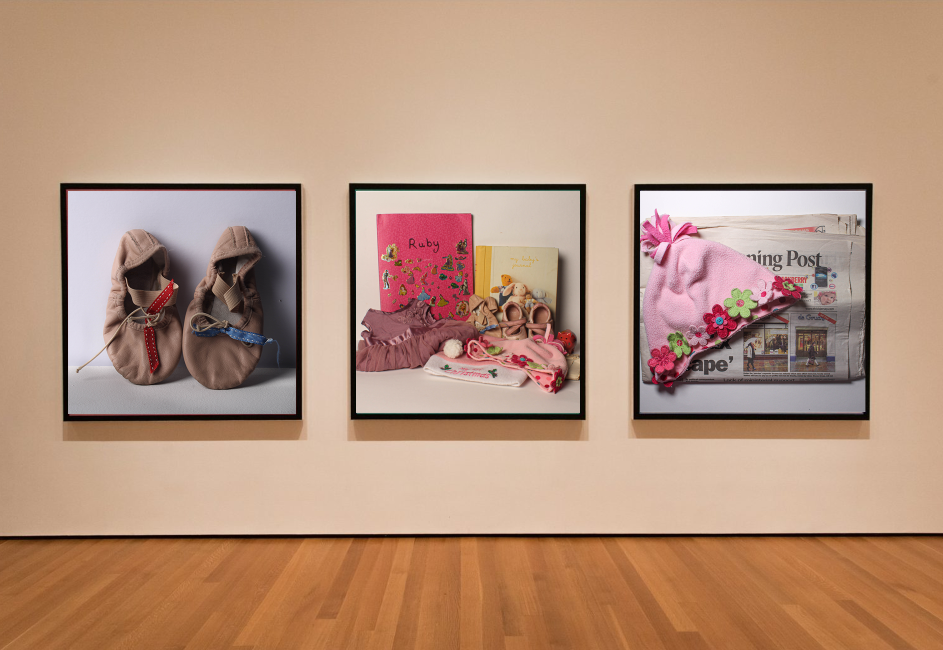
Photoshop

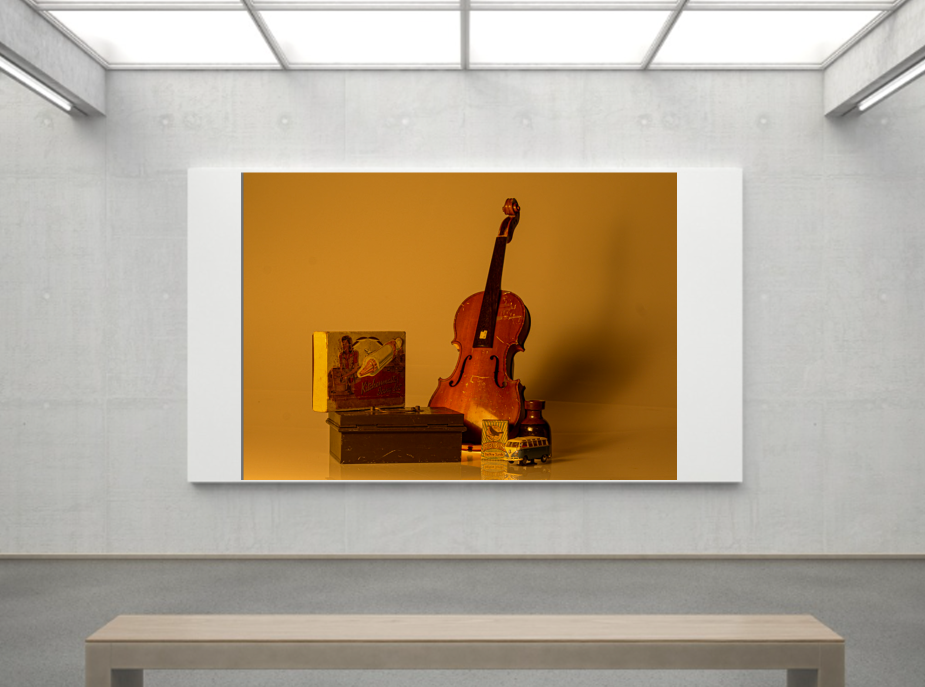
I created the illusion that the far right image is on the wall by selecting the image and adjusting the perspective and skewing it. I then added frames and a shadow to each image by selecting it then below the layers there is a little fx, I selected that and then added a stroke and drop shadow.
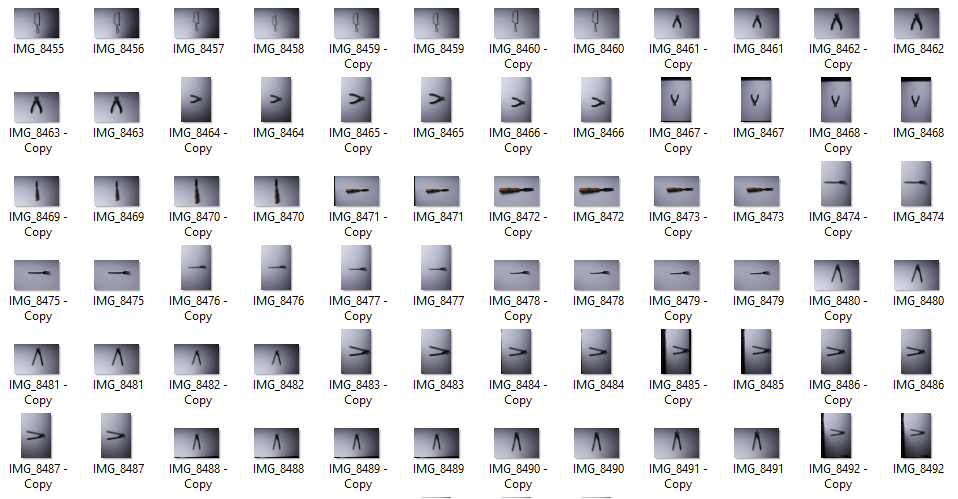
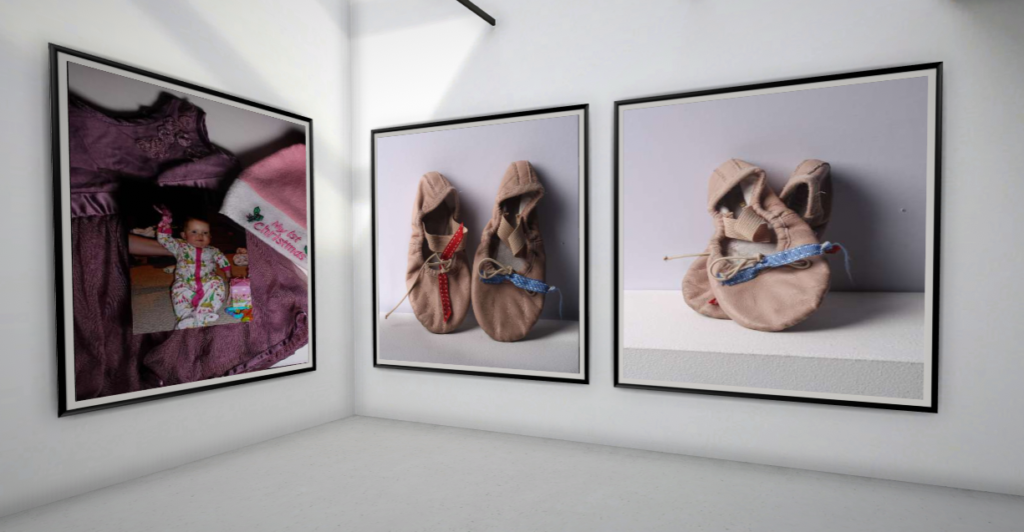
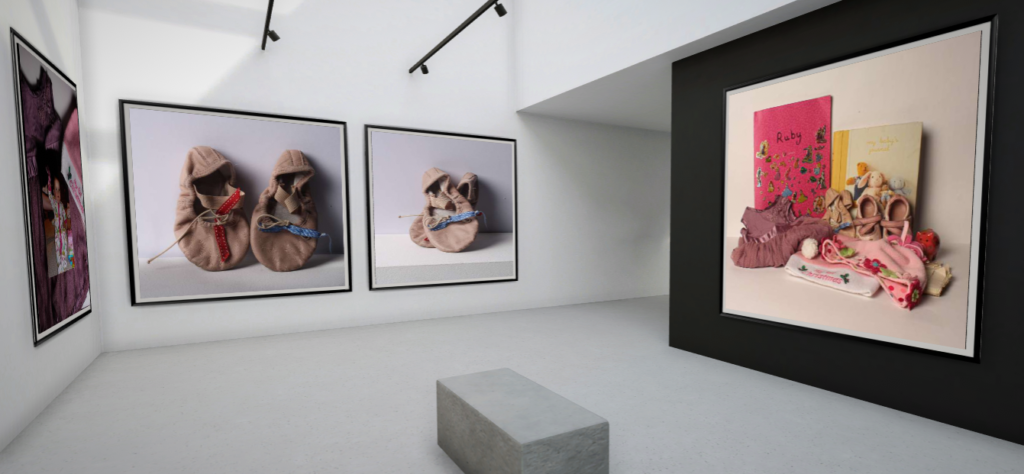
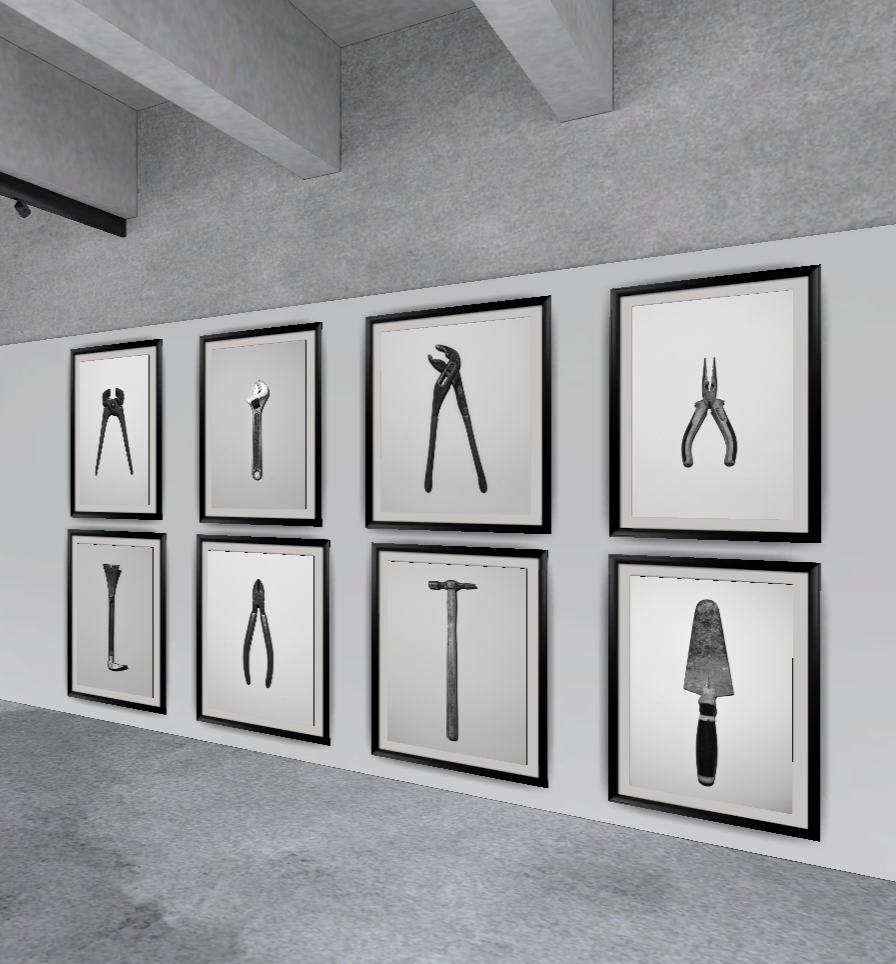
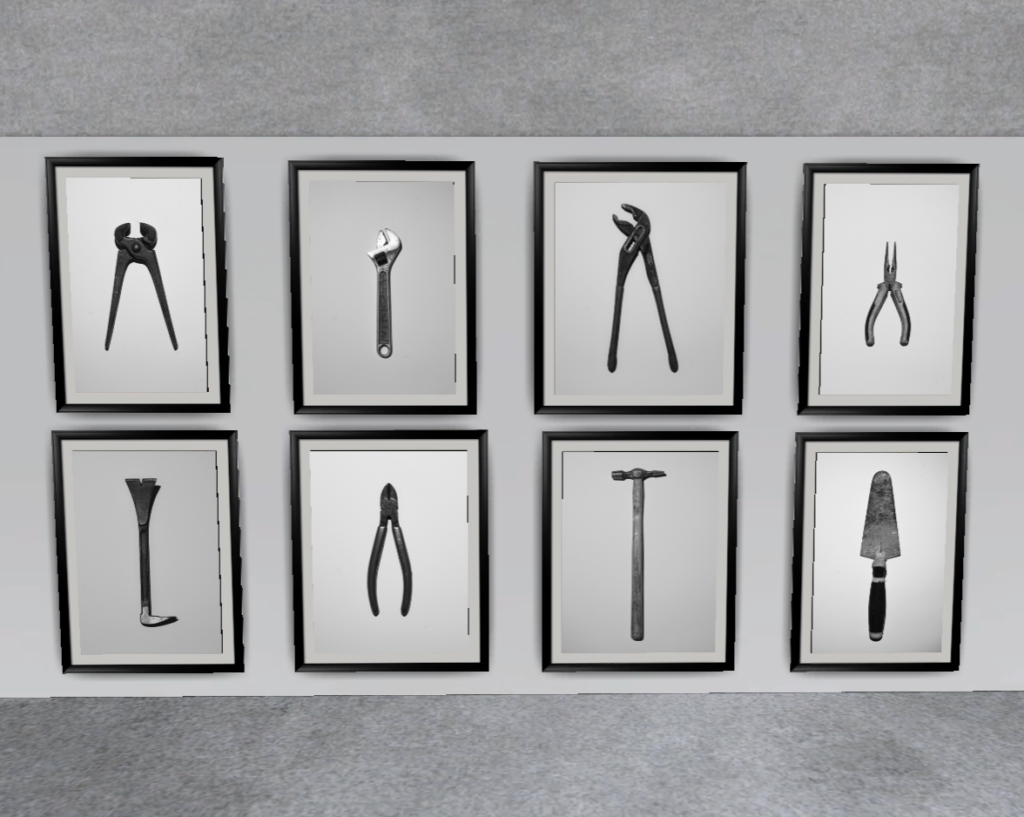
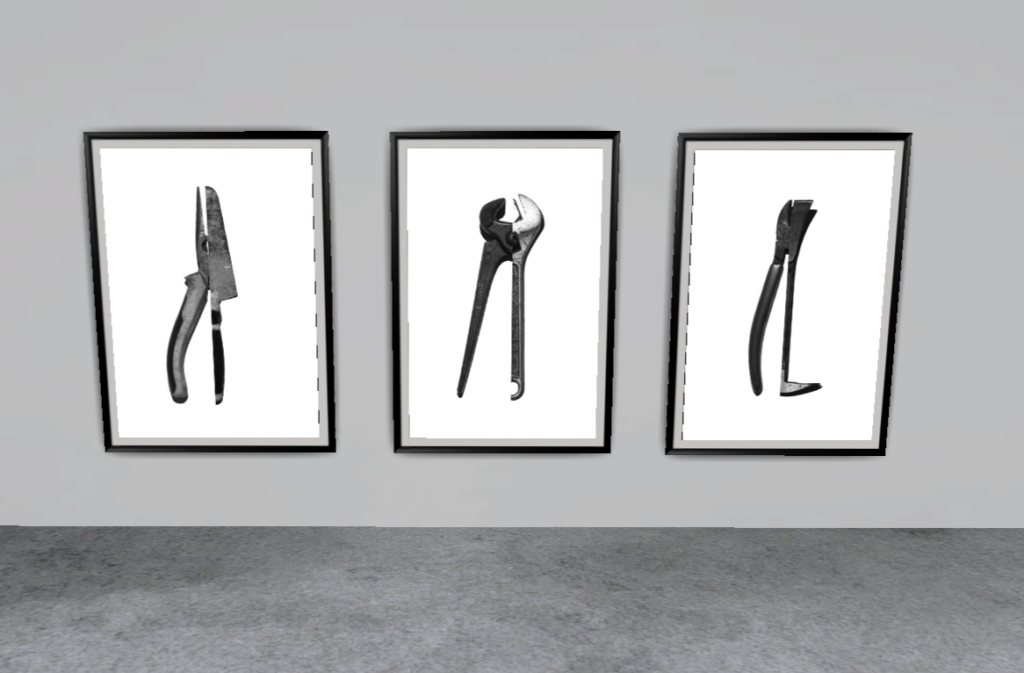
My Single Object Photos Art Gallery

Artsteps

Still life Gallery And Evaluation

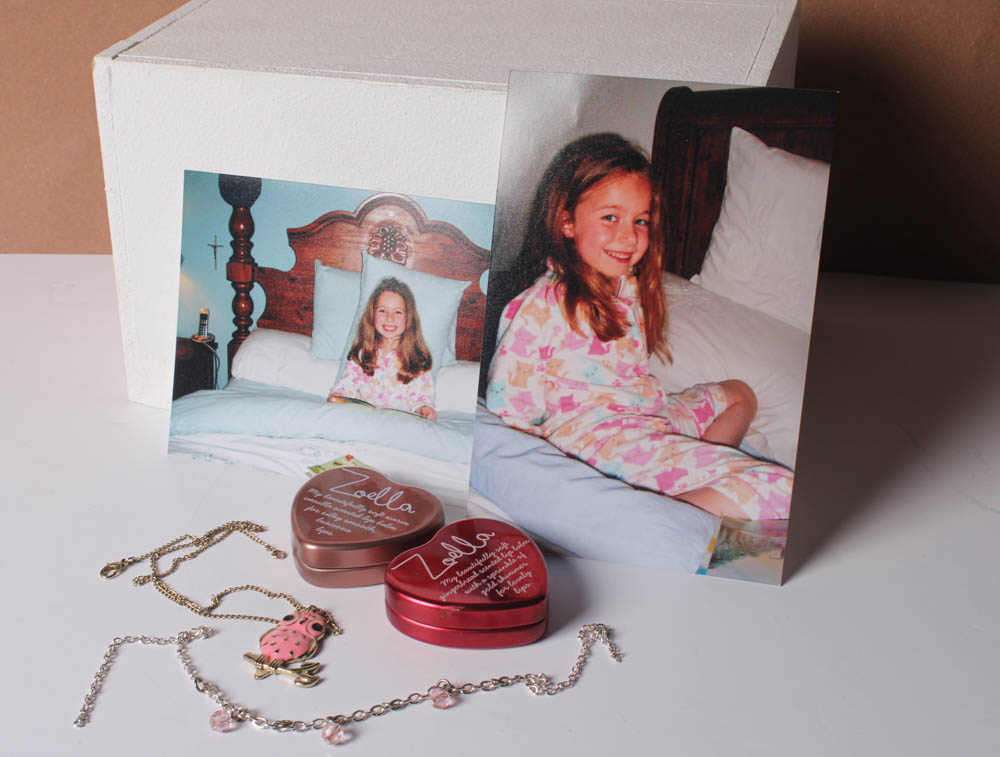
This is my still life final photo that I picked because i liked it the most, my task was to show nostalgia and different symbolises from objects I had in the classroom, I took this same photo a few times and tried editing it differently with cooler colours but after that I decided that for these objects the warmer colours and more texture gave the right effect that I was going for.

Overall this topic was not my favorite as i dont find taking photos of objects that exciting but as my first photoshoot i did quite like the photos i took and edited.

Edited Still Life Images

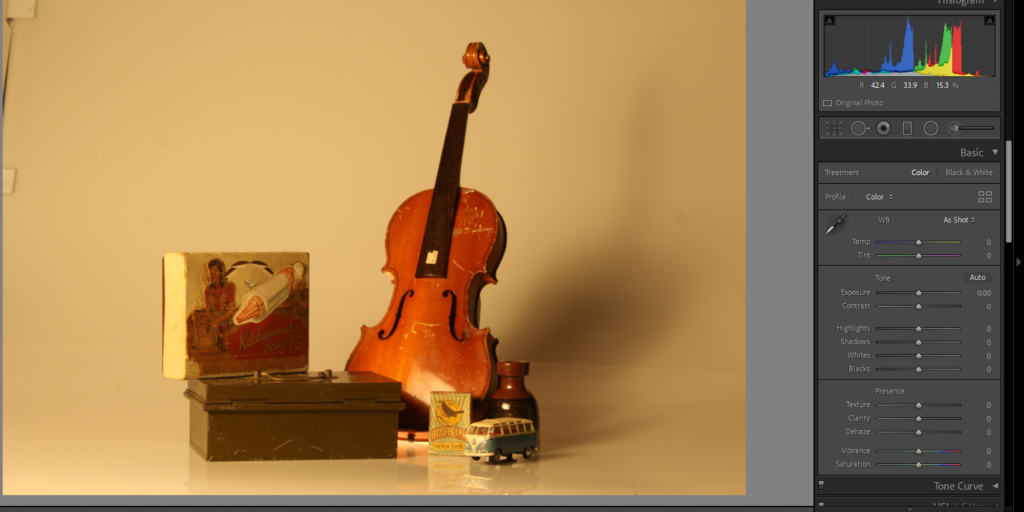
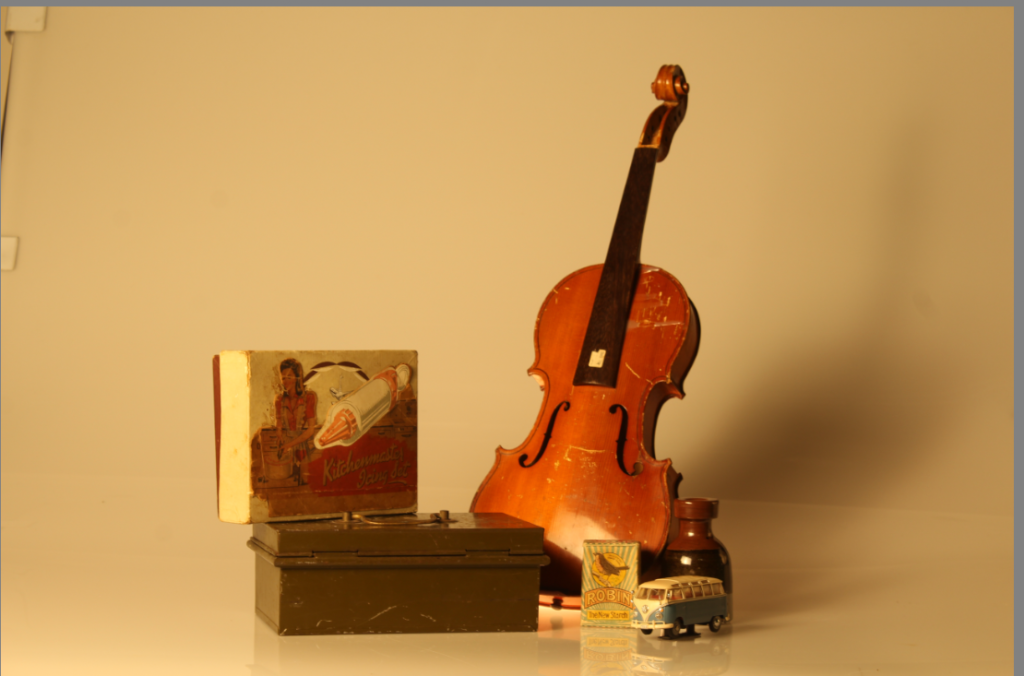
This image I took for still life, this is completely unedited on adobe light room. The only way it looks like how it does is from lighting I controlled in the studio

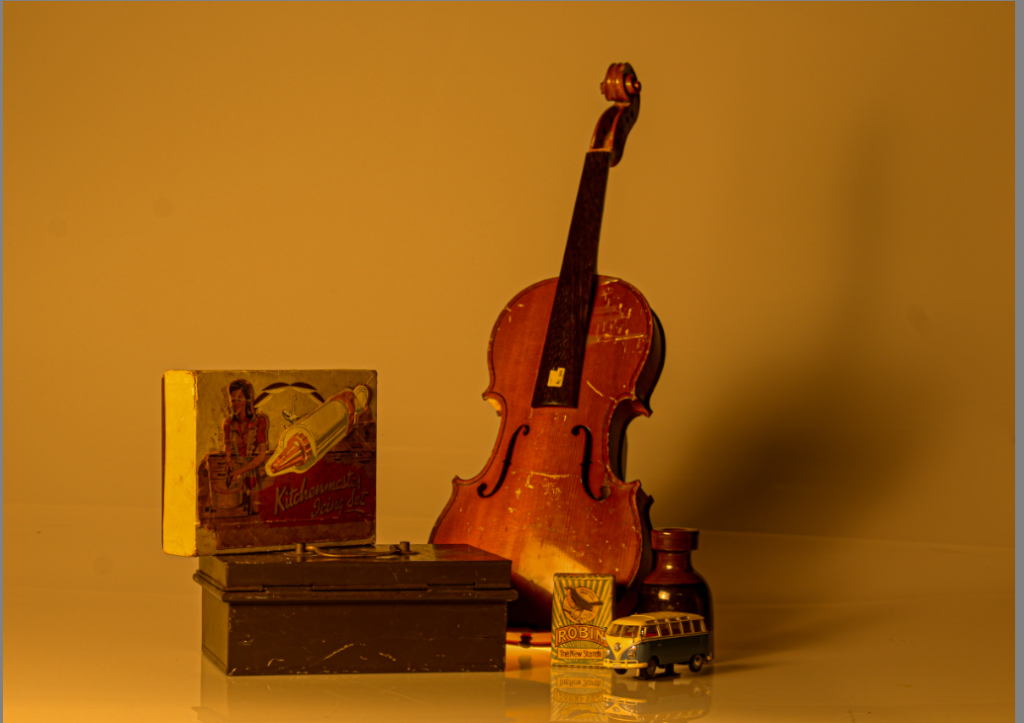
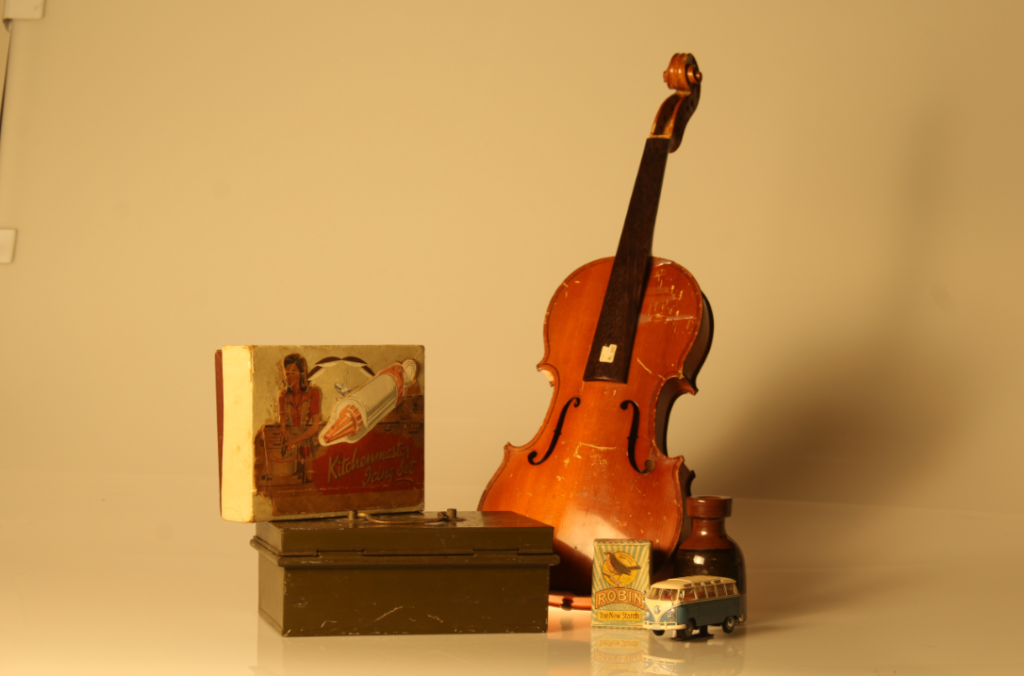
This was the finished product I do still believe there is work and more editing to make it perfect.

How I edited .

I firstly cropped the sides of the photo because you could see some of the side from the infinity light and I didn’t want  that.

Then I warmed the temperature of the picture to +35 to give it the warmer yellow and orange colouring to go with the aesthetic.

After that I added a tint of +30 to darken it but still have it that warm tone but make sure everything was tinted with that.

I lowered the exposure to -140 as I thought  making it darker would look better because I got inspiration off over still life photos and when it was darker it not only matched the aesthetic but just matched the emotion drawn out of it and the story.
 
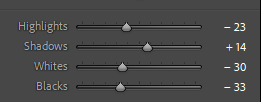
When it came to change shadows, highlights, blacks and whites, I mainly got rid of the whites and highlights not completely because I didn’t just want a black photo but just so the shadows and darker nit really stood out to deepen the story.

For texture I put it on +100 I love being able to see all the detail in every scratch and bump on all the objects I think it shows an antique, worn look.

I took more of these photos with the same objects because I still think there is room for improvement with my last edited one I thought with this one I might try and do thing differently to see if I prefer.

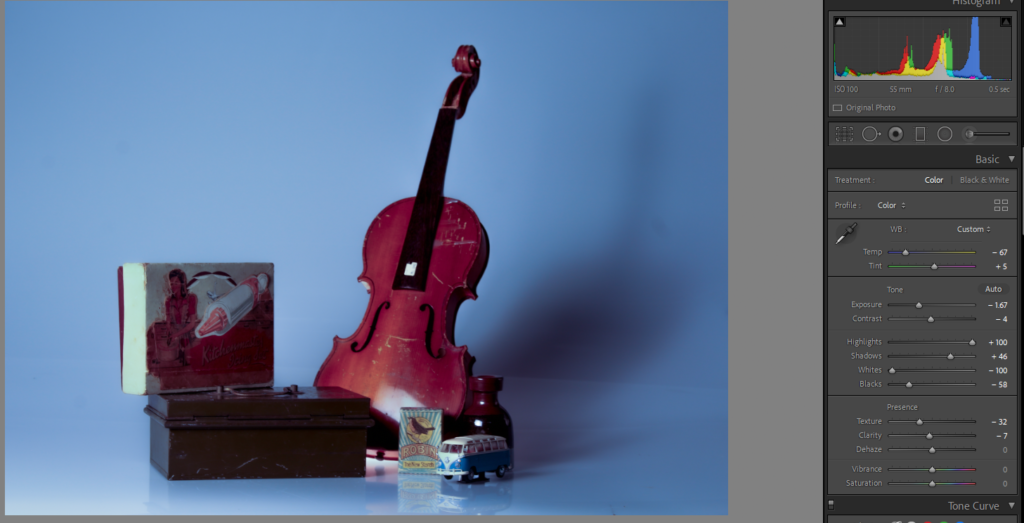
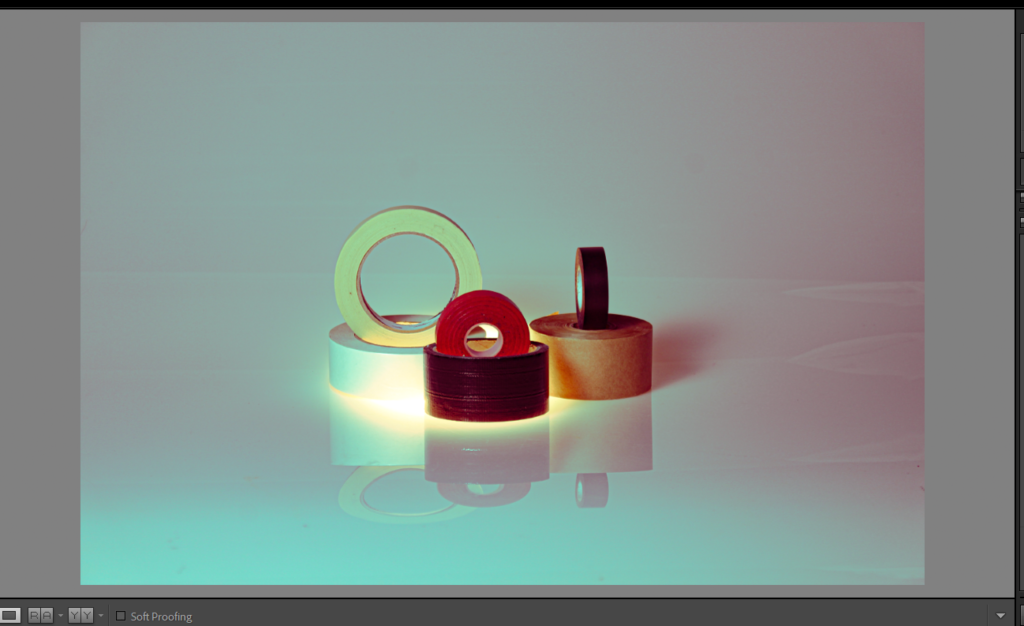
when editing this one I went for the opposite and did cooler tones to see a different story I could tell with the same objects.

firstly I changed the temp -67 as it gives a cooler blue colour and makes it look colder which already starts the affect i am going for.

I didn’t change the tint because it would add to much of a bright unnatural colour when I wanted a natural cold look to tell a story of death and continue an empty lonely vibe when a bright green would not do that.

i lowered the exposure so it is less bright and continues that darker lighting, because it continues the affect

As you can see I put the highlights up to 100 as i really wanted you to be able to see where the light in shining from adding the effect of the shadows behind the objects but making the shadows bigger and darker by putting the shadows to 46 as it makes them look larger then the object and adds to the emotion and depth of the image that I was going for. It also links me back into nostalgia in a way if you are looking at it like the shadows is an older version looking down on the childhood that made them who they are yet they left it behind.

The whites and blacks are similar because I didn’t want the photo to genuinely be too light or dark and be overtaken by a completely different look.

Still life Photoshoot

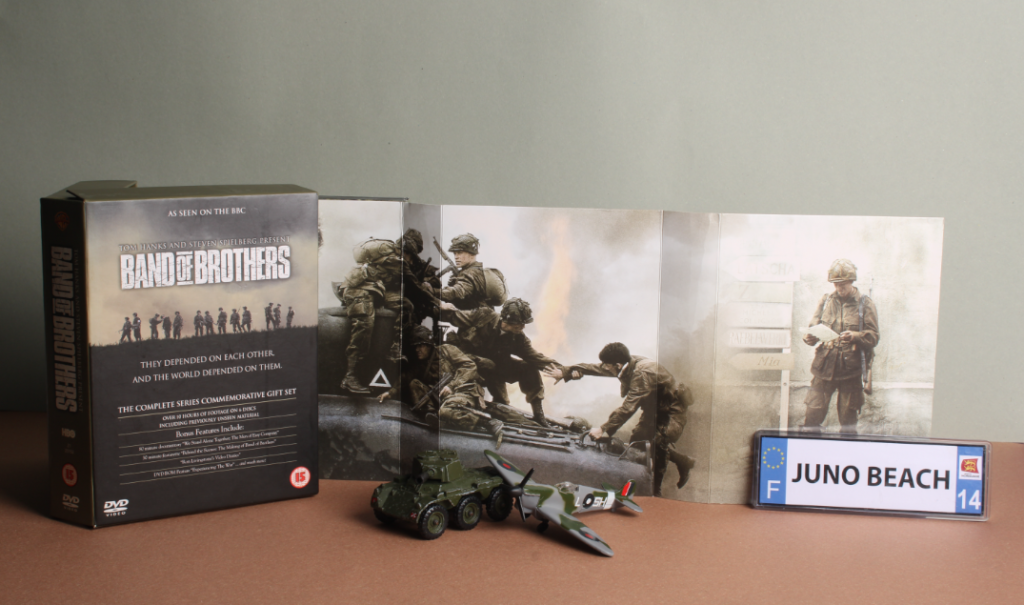
In this photoshoot it was a collection of home objects brought in or from school with different lightings and experiments to tell a story

These photos told a story of a war time on Juno beach.

These photos were taken from objects at school with a different colouring and symbolism.

i took these photos by placing them in the middle of the infinity light, then turned all the main lights off but kept the still standing light on and made it a warmer colouring to go with the aesthetic of the antique objects.

For the camera I put the around f/16 which is high because I don’t need to blur the background as it is plain already. A low shutter speed because the objects are still, it doesn’t need a high shutter speed.

these are my selected photos as I thought they were the best out of the ones I took and were ready to be edited.

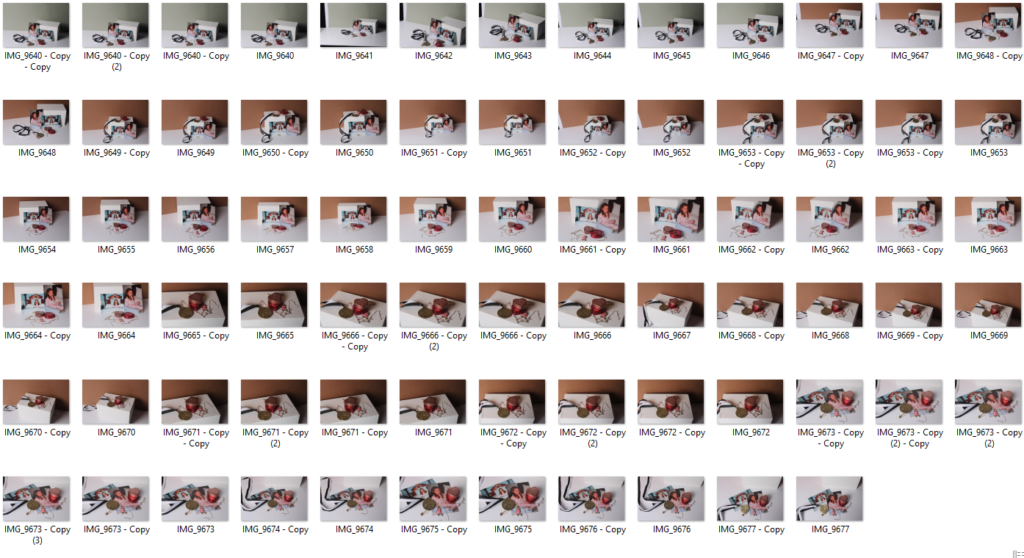
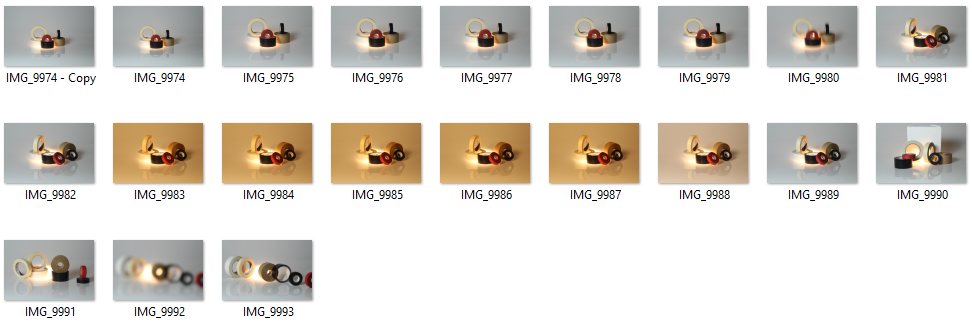
Still Life Photoshoot – Contact sheet

I took these photos of my own objects, that had a memory and meaning behind them. I experimented using the camera from different angles, birds eye-view, and straight on. This created interesting formations, with different focal points catching your attention in different parts of the photo. I used different light settings and back drops which emphasised the nostalgia theme as well as my objects.

Final Images

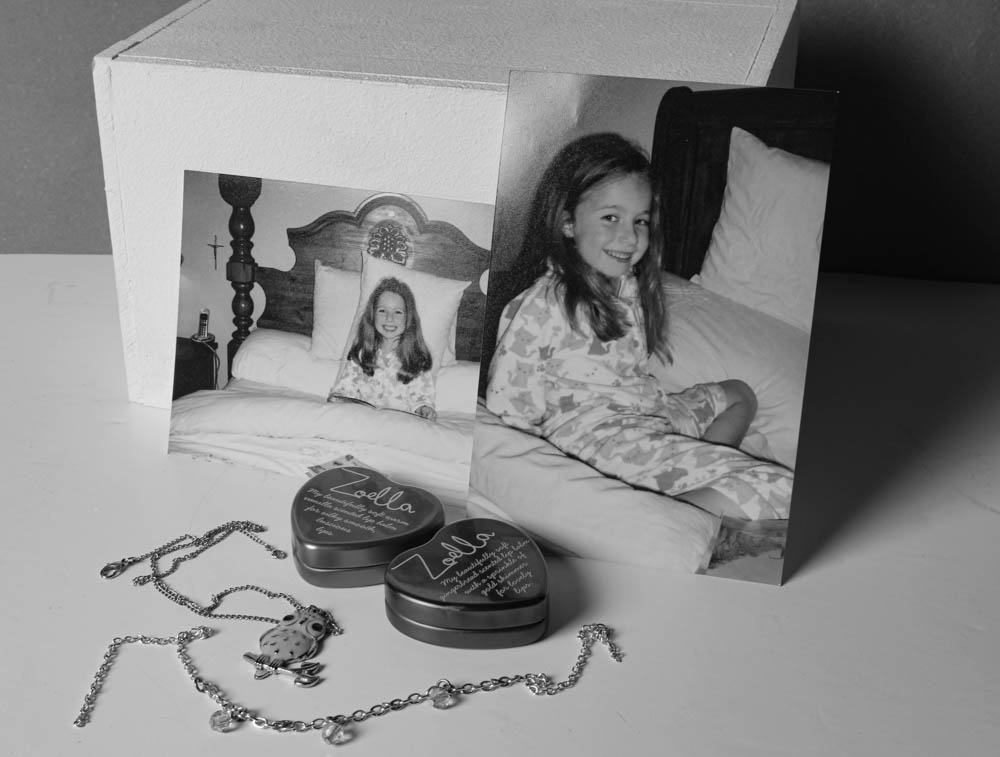
This is my final image, experimented with different edits to create the ‘nostalgic’ theme. I chose different angled objects which added interesting textures, while also creating the unique arrangement like the still life photographers did.

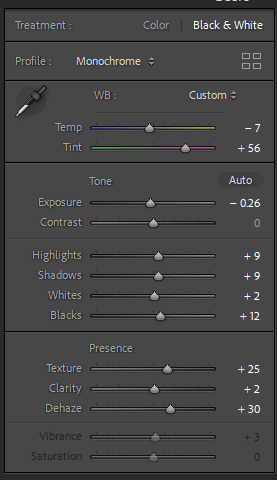
Here I turned the photo in black and white as I think this straight away makes the photo a lot more interesting, as it creates more depth and structure to the photo. As you can see, I have experimented with different features where I could really highlight the objects, creating a lot of depth which made different shadows and tones on certain areas which weren’t shown as clear when in colour.

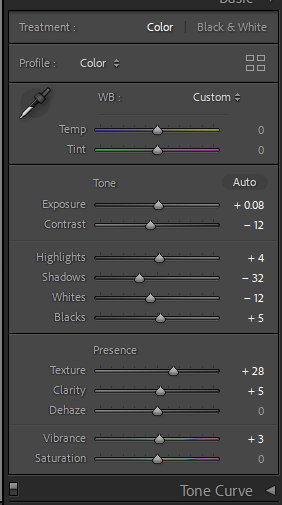
Editing on Light Room

For this photoshoot, I experimented using different light settings where I achieved warmer and cooler effects on the objects. I experimented with different layouts which created interesting compositions and angles, which enhanced the objects. I was inspired by different angled, unique placed objects from the still life photos, to experiment with different formations of my own objects.

This was one of my final images that I edited on light-room. I thought the more straight-on photos engaged you in a different way compared to the more angled ones, as this created interesting depth. Also, the way I positioned the objects added to the depth because it draws you in closer leading your eye to the more of the formation of the objects. I experimented with exposure and various tones that helped engage the viewer, as well as creating an old but new look that links to the theme ‘nostalgia’.