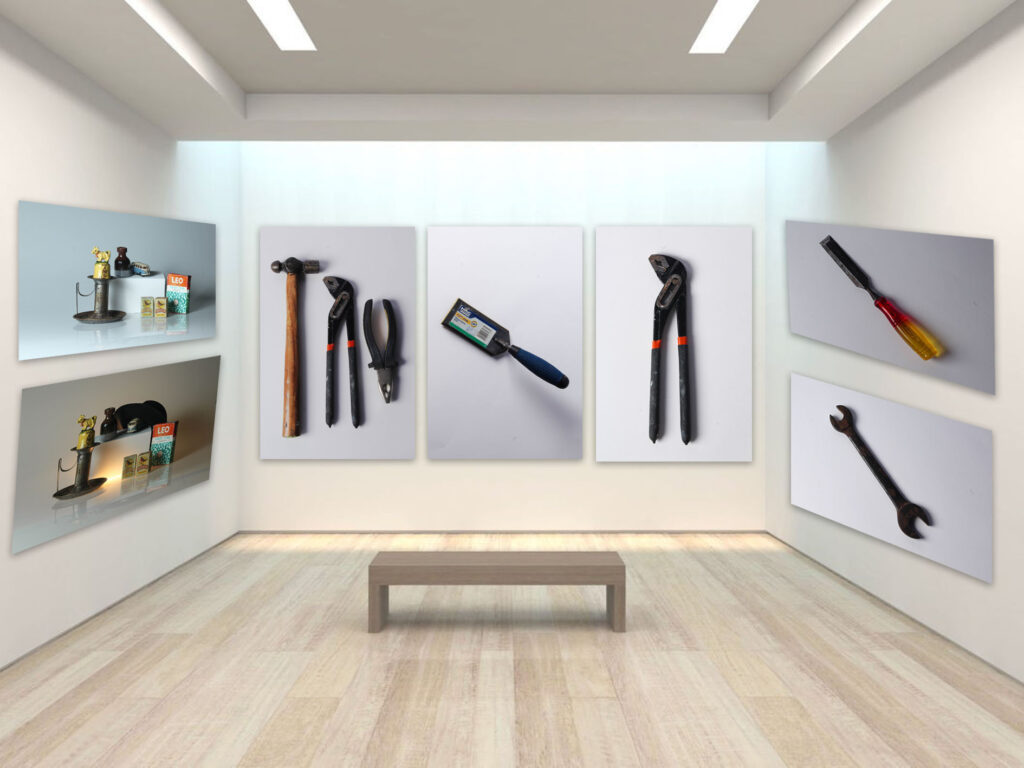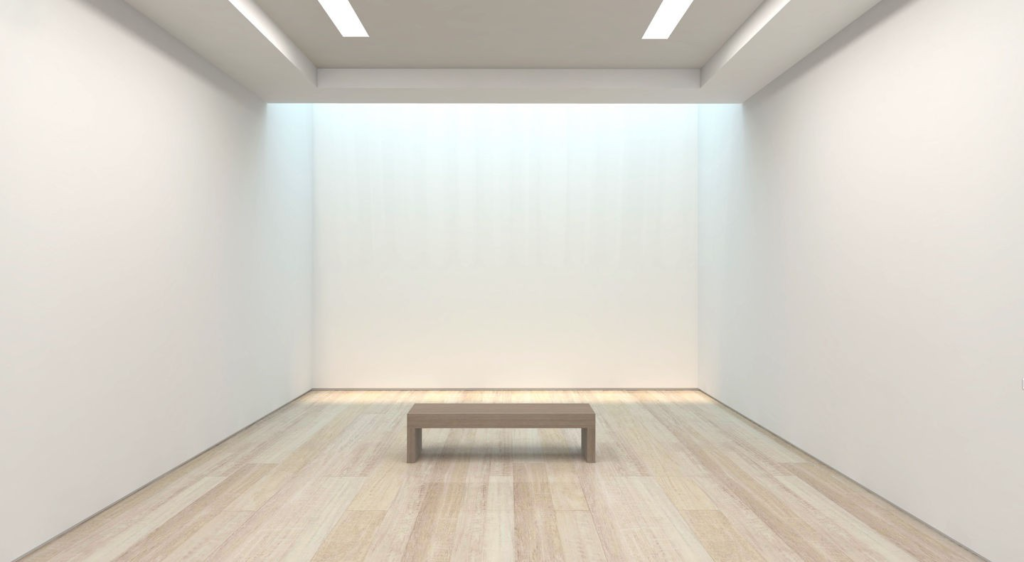
In order to make my photo gallery, I used photoshop. However, I first had to get my images from Lightroom into photoshop. I did this by exporting them into a document in which I could then open up on photoshop and access my photos. After I had exported them, I then opened up photoshop and pressed file new in order to get a blank, white page. I then went onto google and searched up ‘gallery space’, making sure to press tool, size and large in order to make sure the images had high resolution.

I chose to use this gallery space. I then copied and pasted it onto photoshop, making sure to use Ctrl t in order to make the image fill up the whole page. Next, I selected one of my photographs I had taken previously and opened it up on photoshop. Then, I dragged the image onto the gallery space and pressed Ctrl t to shrink it to a suitable size. However, when I wanted to place an image on the side walls I had to use the transform tool then select perspective in order to make it look like it is actually attached to the wall and make my final gallery look more realistic.
Finally, to complete my photo gallery I decided to add a drop shadow to each of my images to make them stand out compared to the wall and appear more three dimensional. I did this by going onto the layer with the tool I wanted to add a shadow to then right clicked on it and press blending options. I then experimented with different sizes, spreads and distances. These are the final sizes I chose:

Overall, I like how my photo gallery came out as I think it is a creative way to present my images and gives you a sort of sense of how it would look like in a real life setting. However, one improvement I would make to my photo gallery is I would add more of my still life images to the other side wall as at the moment there are a lot more tools than still life objects, giving my final gallery an unproportionate feel to it. Additionally, I could also make a photo gallery for only tools and only still life images.
