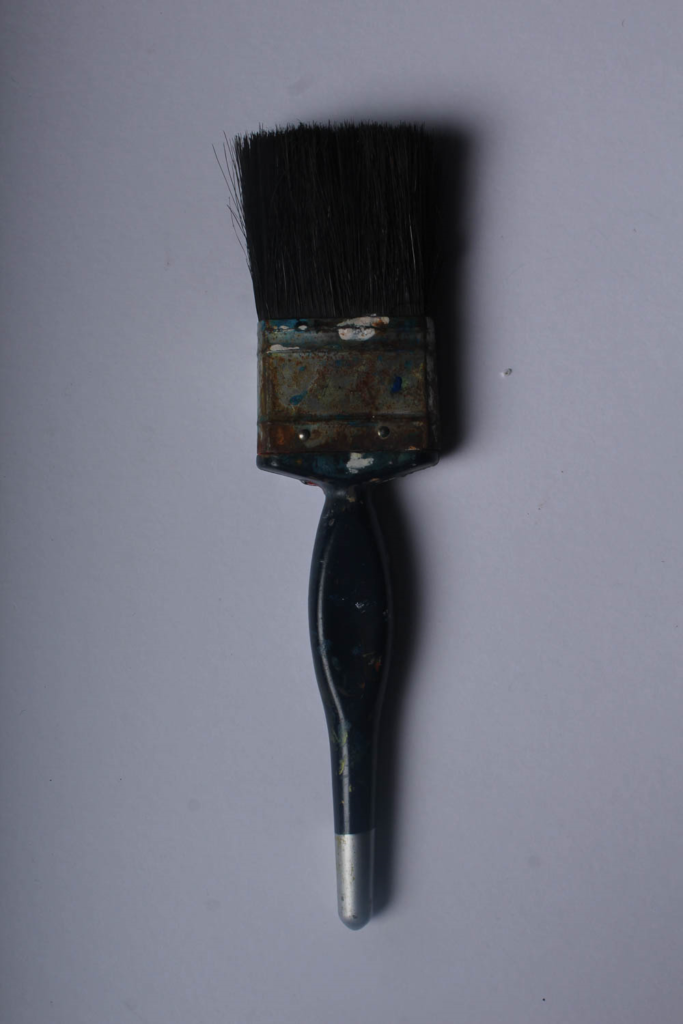
My original photo:

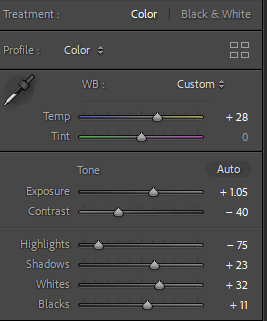
My editing Process:

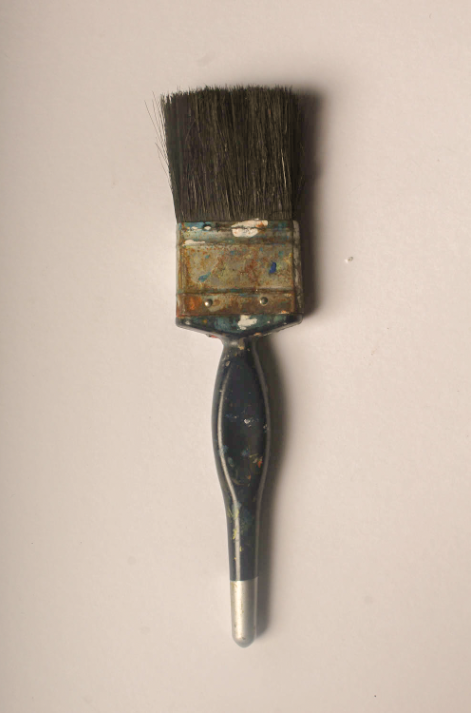
My photo after editing:

To achieve this photo, I went down to the studio and completed my camera set up in order for my photo to reach its full potential. I placed my tools onto a plain neutral piece of card which allows the brush to be the focus point in the image. The angle of my camera was placed at a birds-eye view, because it looks similar to Walker Evans’ photos, and gives the photo a sense of uniqueness.
Finally, I chose one of my best images that I had put a green flag on and rated it 5 stars. This technique is useful because it makes it easier for me to decide which photos I want to use and which ones I can retake / not use. I then cropped the image so there was less background around the paintbrush, and I edited the saturation of the photo because our artist inspiration Walker Evans often has his photos in low saturation for a dull effect.

Evie : you are still missing some key blog posts here.
You must aim to present blog posts in an order that is logical yet creative, shows a development of ideas and finally a resolution.
Follow the 10 Step Process and create multiple blog posts for each unit to ensure you tackle all Assessment Objectives thoroughly :
Mood-board, definition and introduction (AO1)
Mind-map of ideas (AO1)
Artist References / Case Studies (must include image analysis) (AO1)
Photo-shoot Action Plan (AO3)
Multiple Photoshoots + contact sheets (AO3)
Image Selection, sub selection, review and refine ideas (AO2)
Image Editing/ manipulation / experimentation (AO2)
Presentation of final outcomes (AO4)
Compare and contrast your work to your artist reference(AO1)
Evaluation and Critique (AO1+AO4)