
For this photoshoot I used a range of different tools that were provided to me. These included:
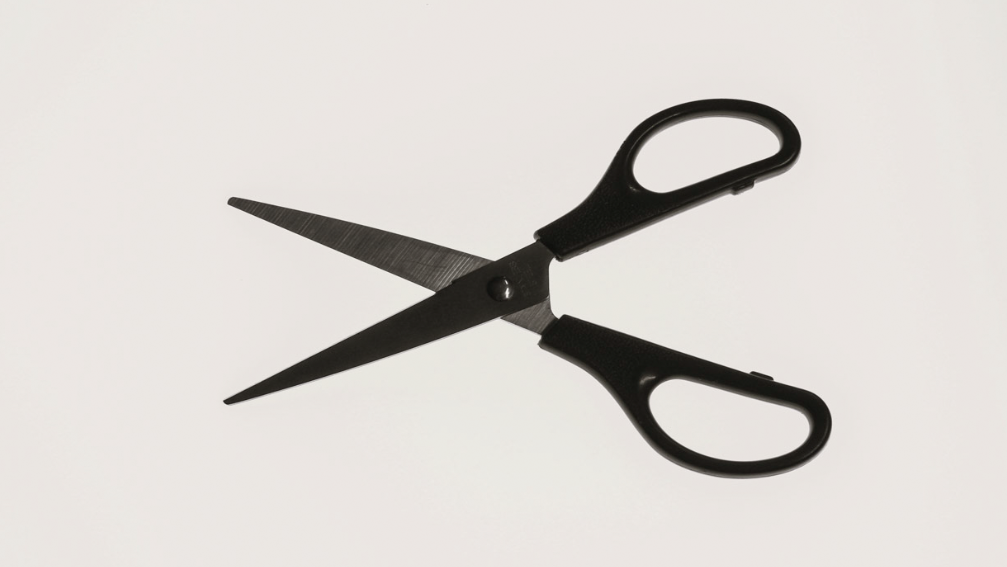
- Scissors
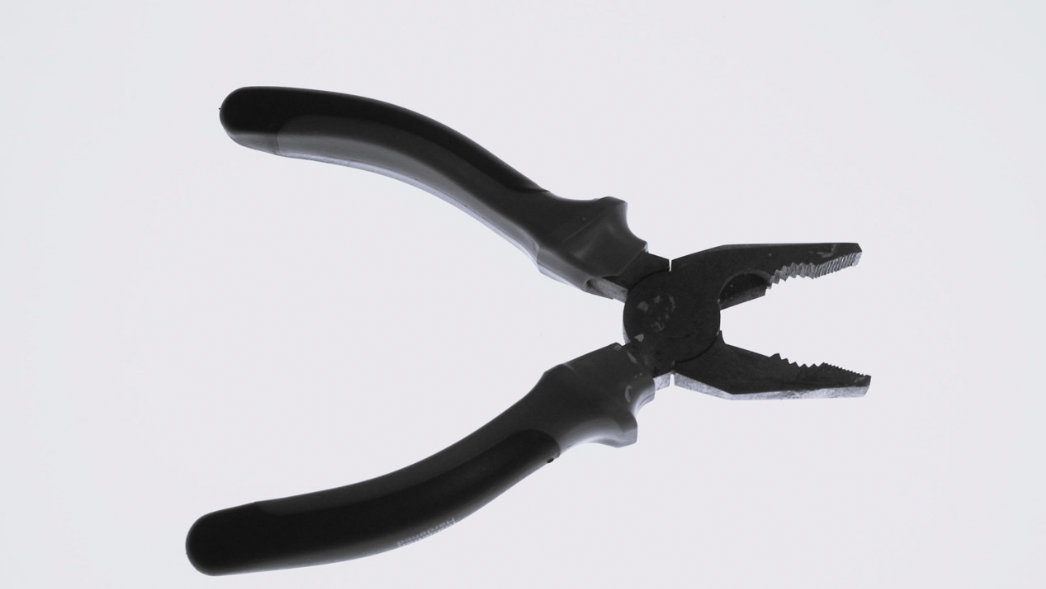
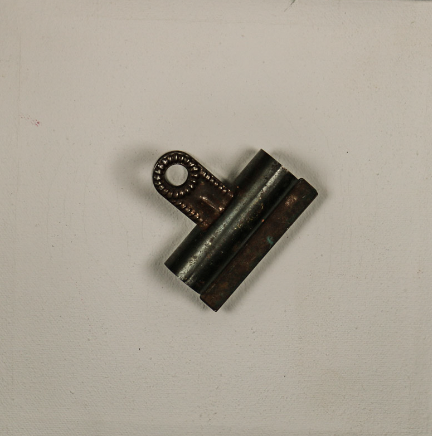
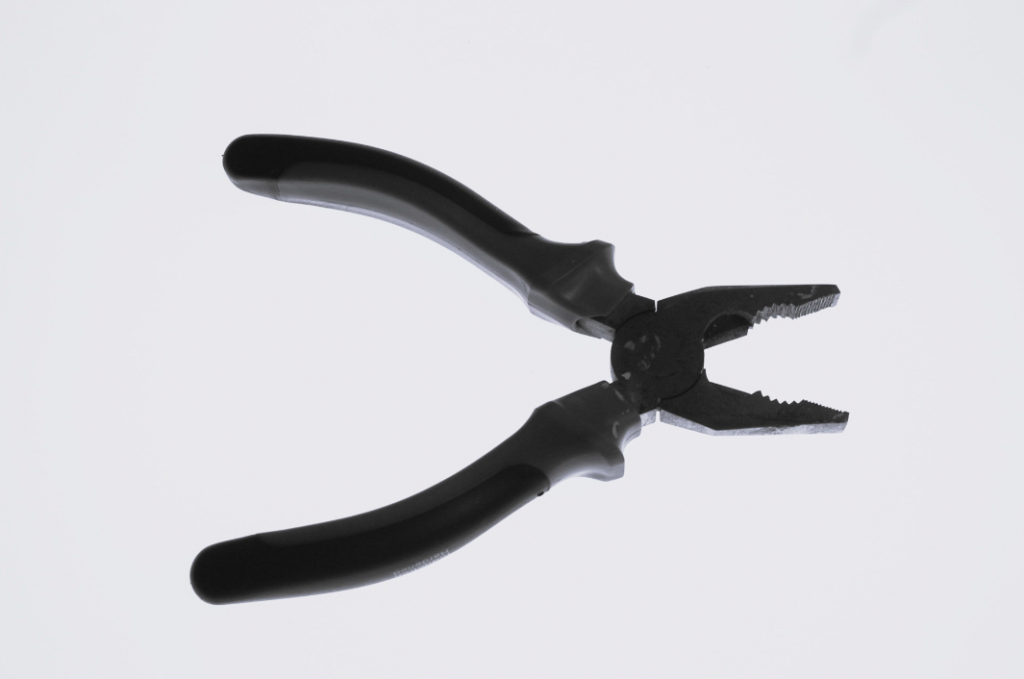
- Pliers
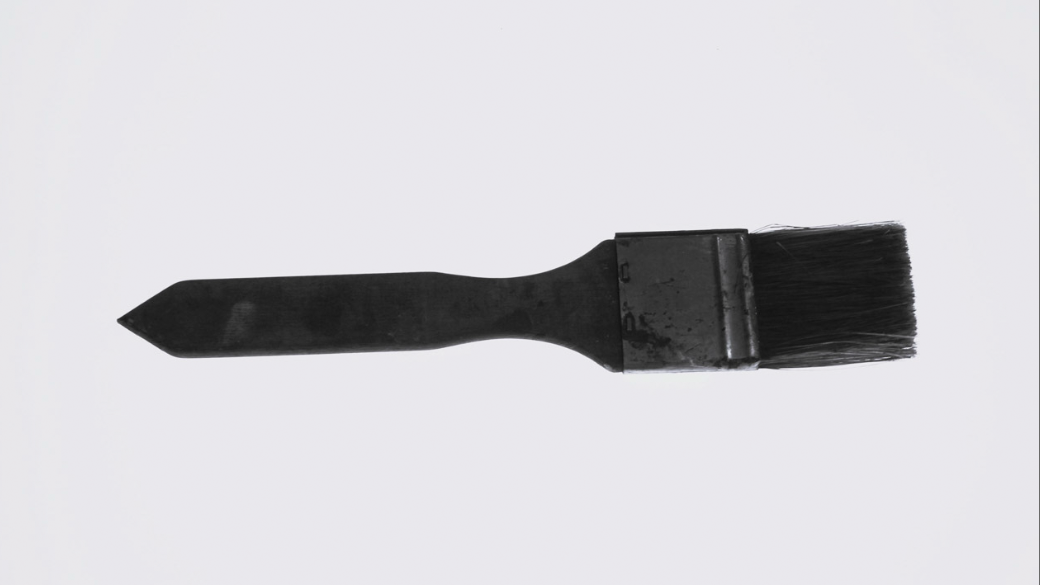
- Paintbrushes
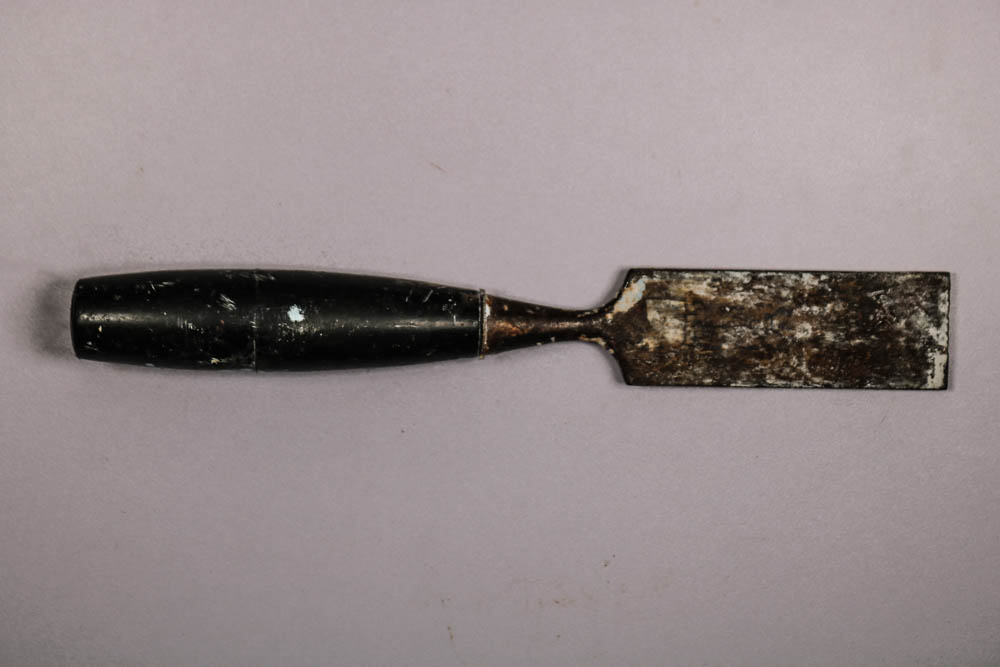
- Cutlery
Most of my photos were taken in the studio using a white background with the camera angled at a Birdseye view. 3 of my photos were also taken using a light box in the classroom and a ladder to create enough height to get the Birdseye view.
My photos have been edited to black and white to make it more inspired by the artist.
Contact sheet of all my photos:
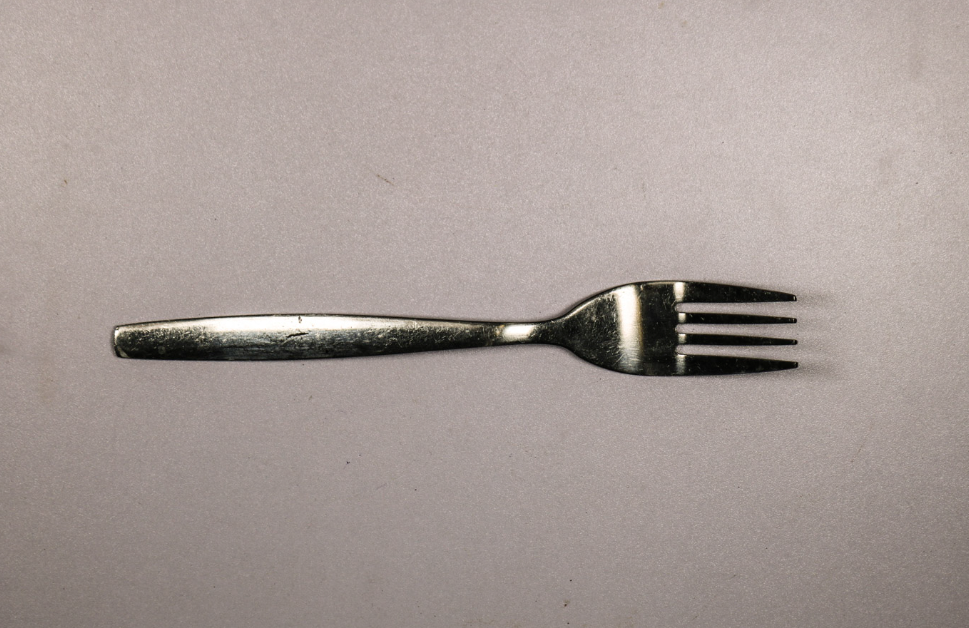
Photos from Front View:
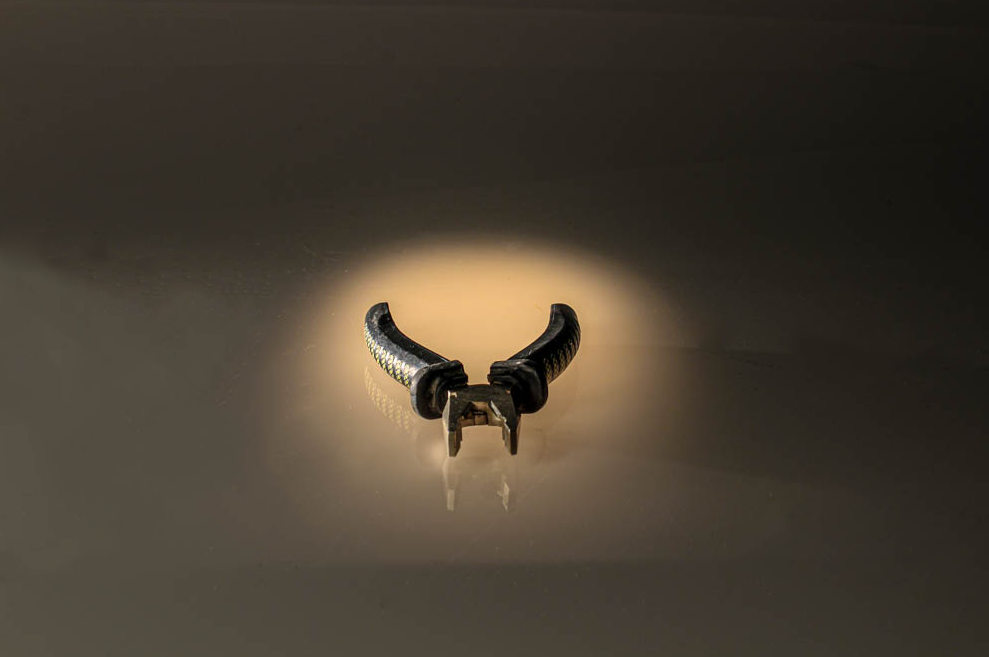
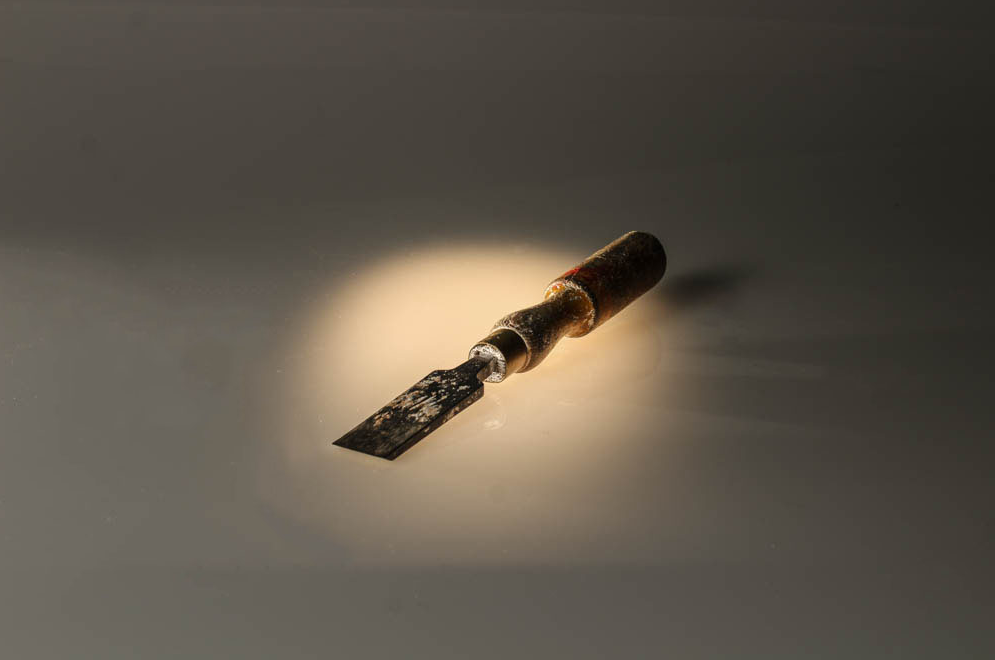
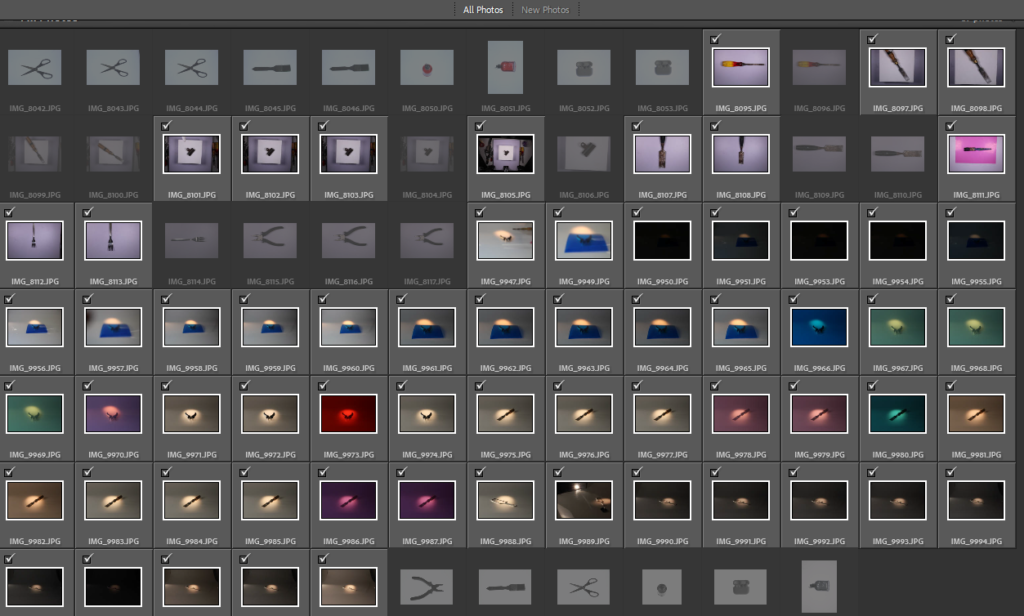
These photos were taken with a simple warm toned light and back light to make the object stand out. I lowered the brightness on these photos and increased the clarity for better quality. I used the spot like behind the surface to allow the light to make the object stand out. I made sure the object was centred in the light and that it was not off-centred.
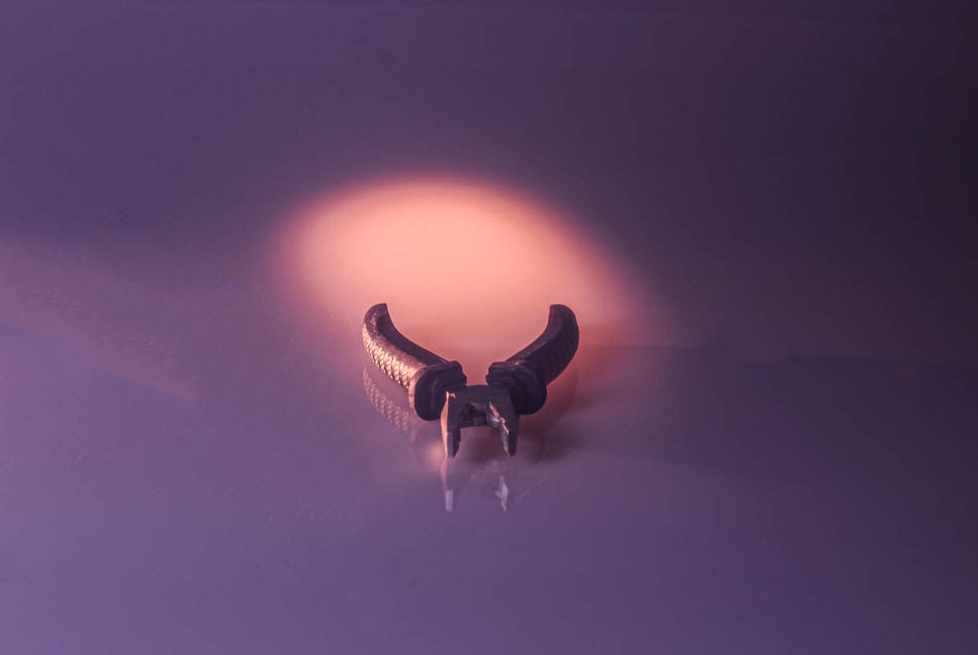
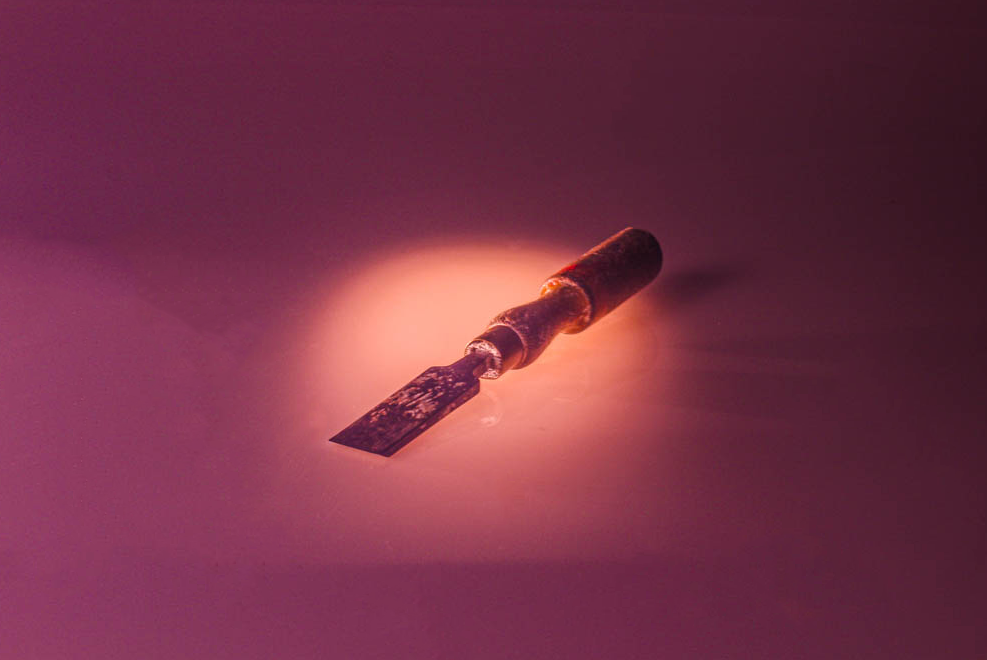
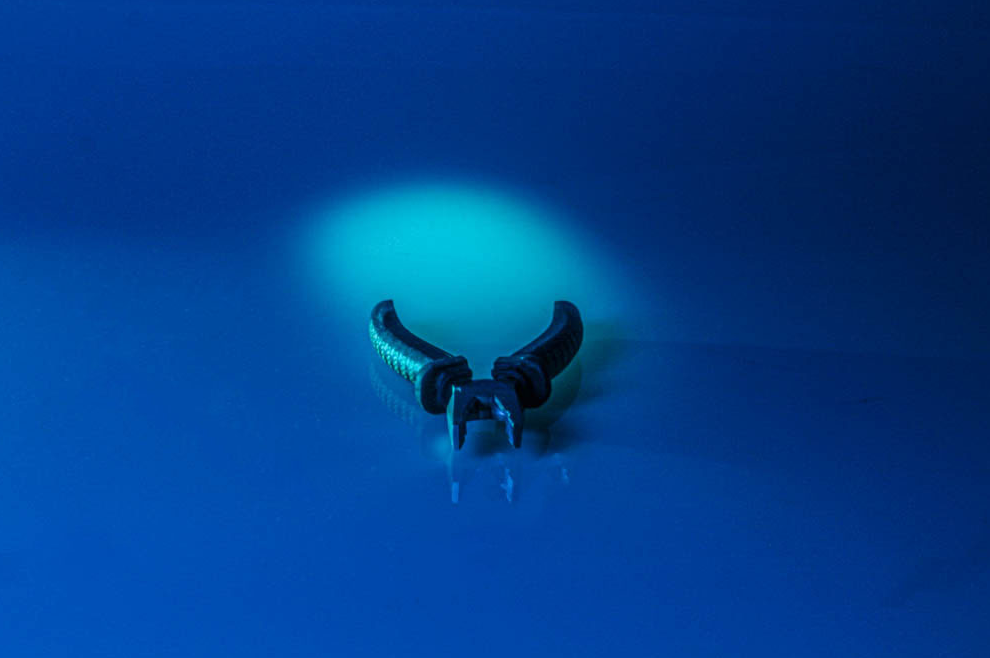
These photos were taken using coloured transparent card that was held over the camera lenses to create the desired colour. I like these because they differ and are unique from the standard natural colours photos. To edit these I either increased or decreased the brightness and I made sure it had more clarity. in some, I also upped the vibrancy. I use the spot healing brush tool on photoshop to erase any marks on the camera or scratches on the surface that my object was on.
The images above were all taken in the Studio
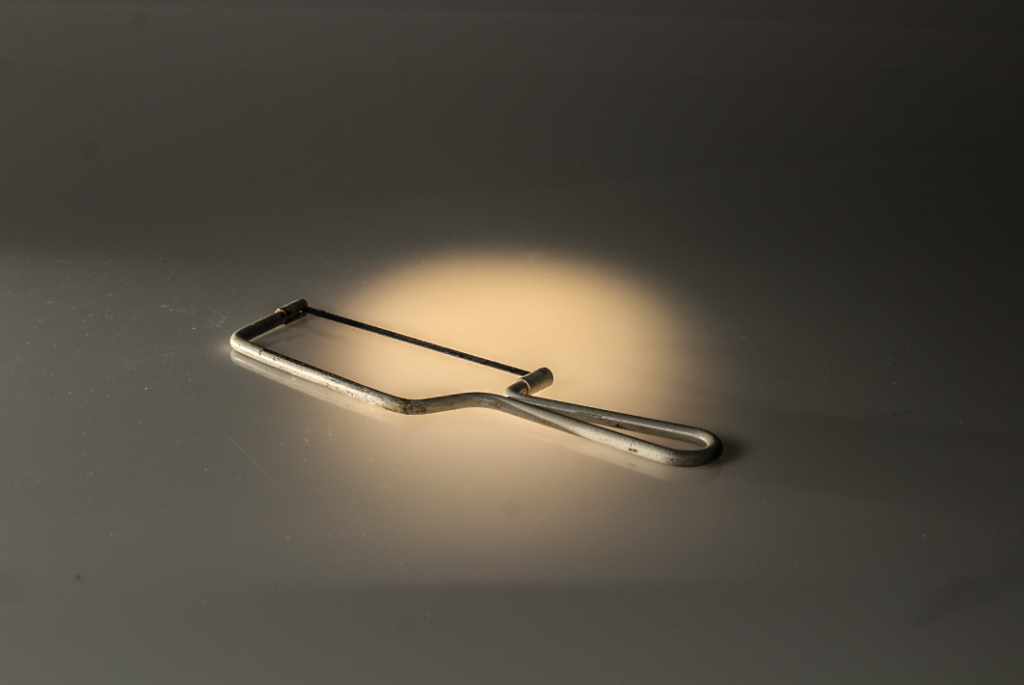
Photos at Birds-Eye View
These 3 images above were taken using a light box. I like these images however I think I should’ve experimented using colours more and not just kept the plain white background. I like the light box as it makes the objects stand out and its also an easy but affective outcome. I decided to make these 3 images black and white like the artist tended to do as well.
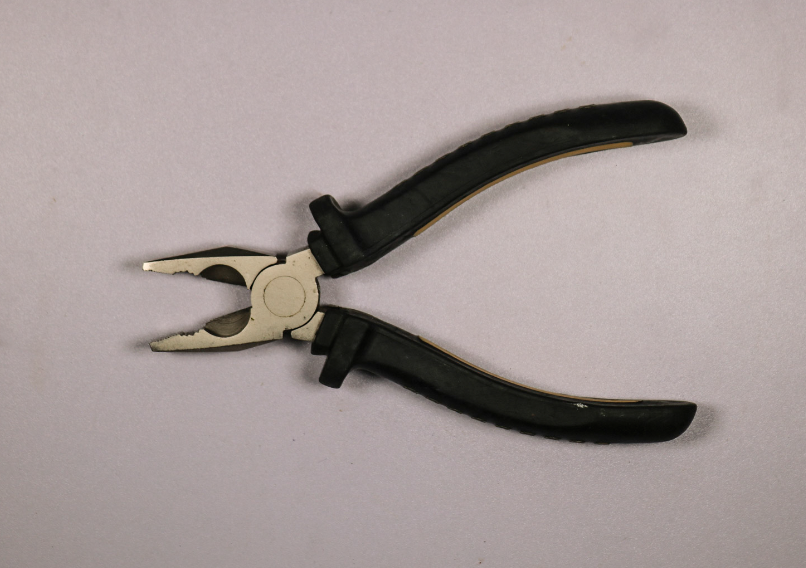
For these photos, the background of the photo made it produce a purplish tone to the photograph. To fix this I simply pressed auto on the white balance to make it more white than purple.
My Favourite photos
Camera settings: Taken on Canon Camera, F-Stop=f/5.6, Exposure setting= 1/60 second, ISO Speed= ISO-200, Exposure bias= 0, Focal length 38mm, No flash
Camera settings: Taken on Canon Camera, F-Stop= f/8, Exposure Time 1/8 second, ISO-Speed= ISO-100, Exposure bias 0, Focal length 35mm, No Flash
–
Though these photos are very different, they are both my favourite shoots. I think this is because I prefer the white/brighter backgrounds on the first image to contrast with my objects as the other background turned out with a purple tint which I didn’t particularly like. The second image was taken at a different angle and not Birdseye view. I still like this image because my group made sure to make the backlight sit directly under the object to give it a spotlight. in addition to this, I like the amount of clarity this photo has.
To edit my photos, I only simply changed the exposure by lowering it, as on my camera the outcome of the photos was quite bright and it did not look good. If needed, I also adjusted the clarity and vibrancy.