What is still life?
Still life is a style of photography/art where you take photos of inanimate objects such as flowers, fruits, vegetables and more. Still life has captured the imagination of photographers from the early 19th century to the present day. It is a tradition full of lavish, exotic and sometimes dark arrangements, rich with symbolic depth and meaning. Throughout its long history, still life has taken many forms, from the decorative frescoes of antiquity to the high art of the Renaissance. Traditionally, a still life is a collection of inanimate objects arranged as the subject of a composition.

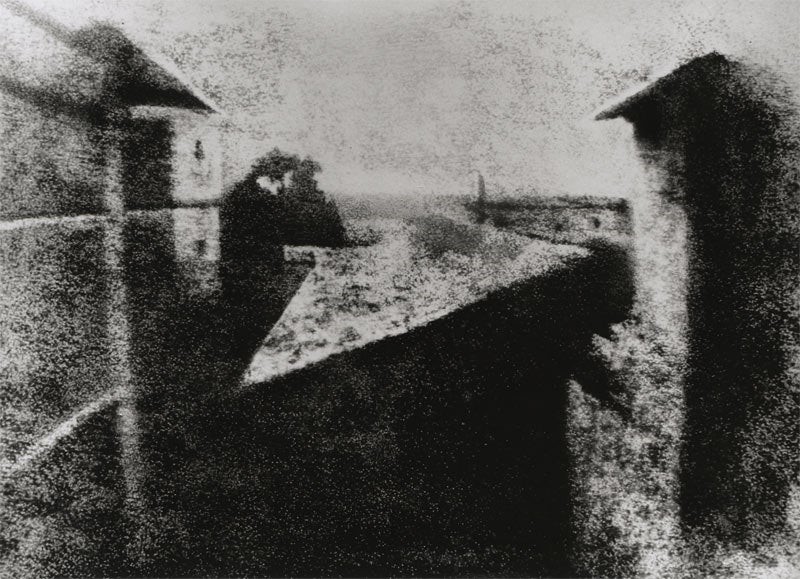
The first still life:
It is thought that Italian Early Renaissance painter Jacopo de Barbari made the first still life panel painting in 1504, but it was not until the seventeenth century in Northern Europe that the genre fully came into its own.

Paulette Tavormina (still life photographer)
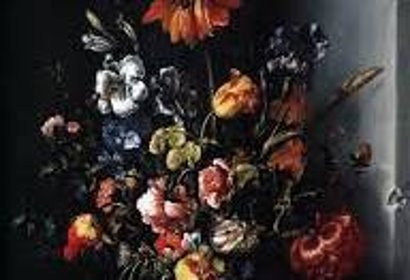
Paulette Tavormina is an American fine-art photographer who lives and works in New York City. Tavormina is best known for her series, Natura Morta, which features photographic imagery inspired by 17th century Dutch, Spanish and Italian Old Master still life painters. Tavormina’s photographs usually consist of flowers, fruit, and expensive objects such as pearls.


This photo has expensive objects laid out such as pearls. It also has old coins in it which suggests the photographer is attempting to make the photo seem as if it was taken from a while ago. Objects such as the pearls would’ve been very expensive back then which shows this would’ve been a rich persons belongings.

There are also hydrangeas included in the photo which are also expensive to this day. This is because of the difficult cultivation process of these flowers, this makes them one of the most expensive flowers in the world.

Paulette Tavormina’s bright flowers in her photographs really cause her work to stand out much more, they are the main focus of attention in her photographs. This then causes you to see the other objects such as the old photos and the pearls. these objects suggest that the photo is made to look like it has been taken years ago.
Jacob Vosmaer
Still life is not only a genre in photography but also in art, Jacob Vosmaer is an example of a still life artist. Vosmaer (1584-1641) was a Dutch golden age painter He started his career as a landscape specialist, but switched to flowers, which brought him more success. He visited Italy as a young man and returned to Delft in 1608 at the age of 24, where he remained and became a respected citizen.

My first photoshoot


Best photos:


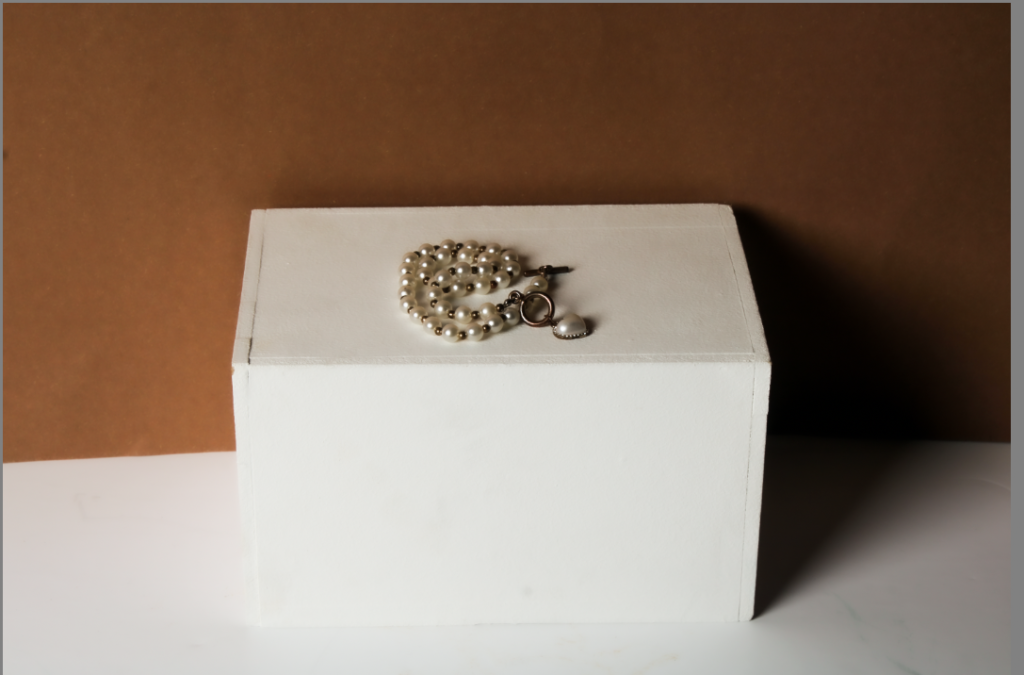
My most successful photos were mainly the ones of the pearl necklace. However to make them even better I will use adobe lightroom.
Editing:

To start my edit I adjusted the tint of the photo as it was a bit too warm. i then moved onto the tone and adjusted the highlights which caused the pearls to stand out even more. Next I decreased the texture of the photo which has given it a soft appearance which I think looks really good. I didn’t do much to the vibrancy and saturation as there are not many colours in my photo.

I then cropped the photo but decided that it would look better in black and white.

To make it black and white I decreased the saturation however I didn’t make it completely black and white as I still wanted the photo to have some warmth to it.

Final photo:

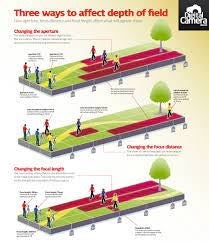
Finally I cropped the photo slightly to remove the dark line on the top of the photo and the white line at the bottom. I really like this photo due to the way the pearls look with the highlights on them. To take the photo I used a fast shutter speed as I wanted the photo to be clear and sharp. I used artificial lighting which was created by a large light which enhanced the highlights of the pearls on the necklace. I used a deep depth of field as I didn’t want any areas of the photo to appear blurred.
Edit 2:

For my next photo I wanted to focus on giving the image texture so I increased the texture as well as the contrast to create sharper and cleaner lines. I decreased the vibrancy which caused the photo to appear much darker than it originally did.
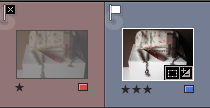
Before:
After:

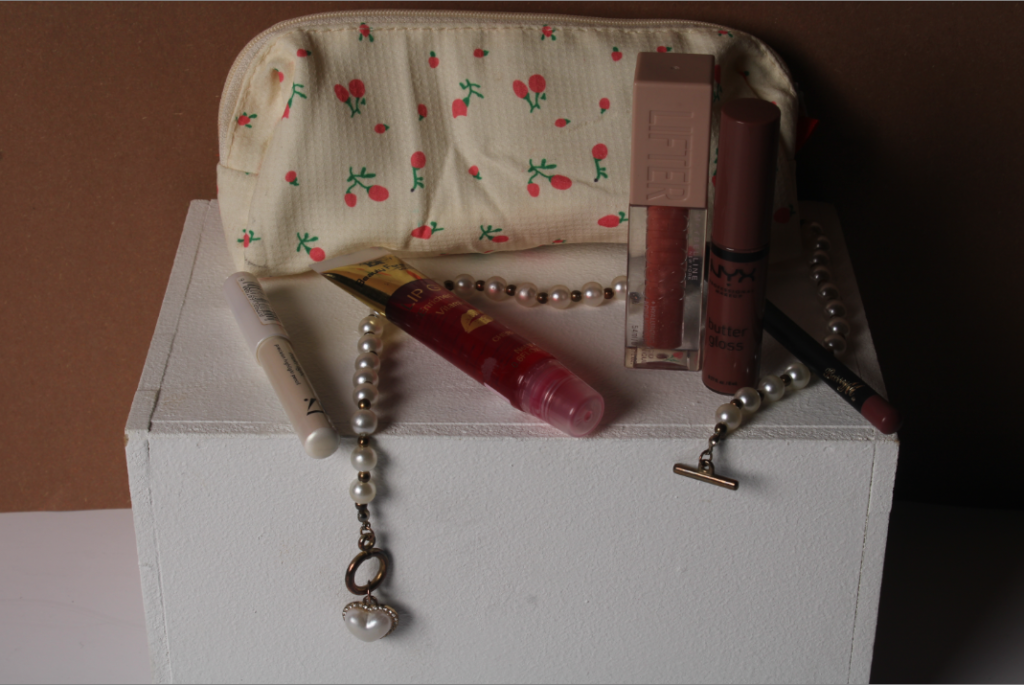
Final photo:

This photo has much more texture in comparison to my first edited photo which I like especially on the case in the back you can clearly see the texture of it. I also like how one side of the photo has more shading and darker areas in comparison to the other side which looks much brighter. I used a fast shutter speed for this photo as I wanted it to be clear. I also used a deep depth of field and I wanted all the objects to be in focus.