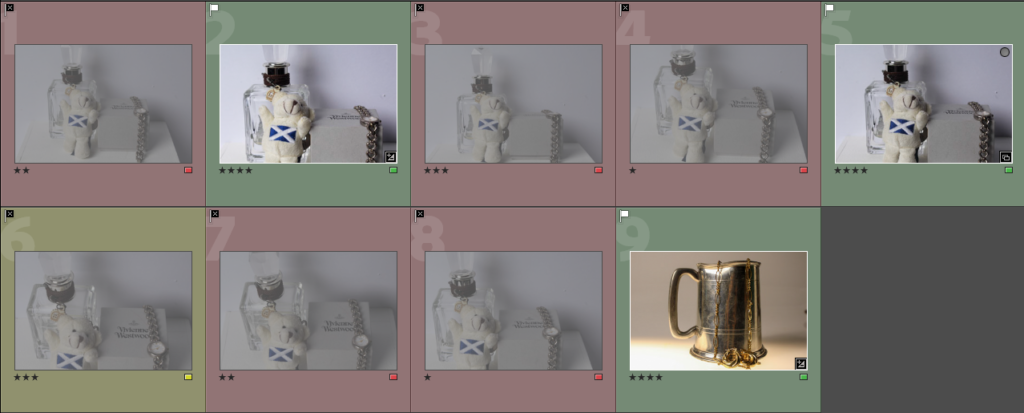
I colour-coded, rated and flagged my first photoshoot down to my best and worst images. Then I edited my favourites to make the details in them more emphasized.


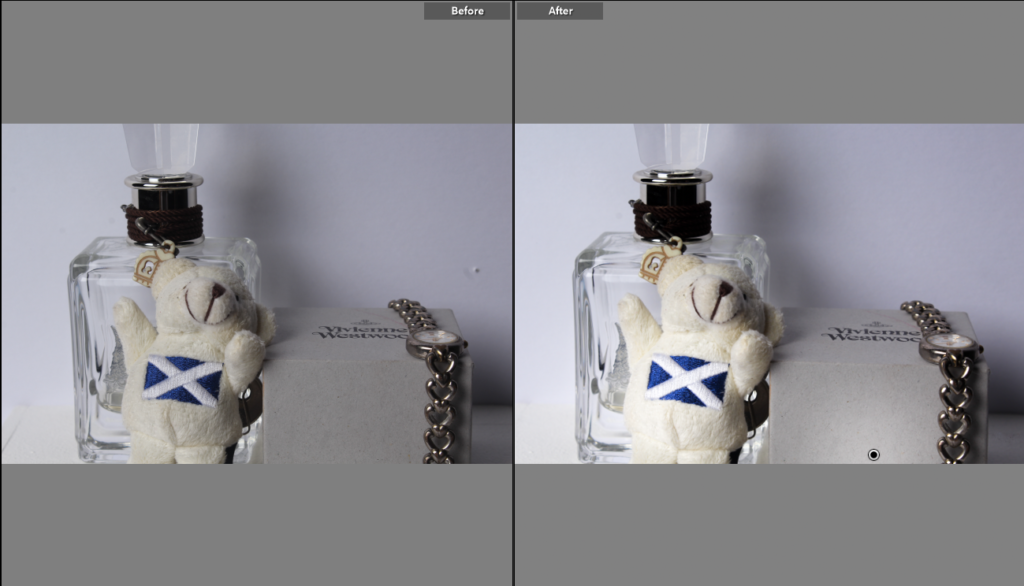
I increased the exposure on this image to make the main focal points brighter and catch the viewers eye. I used the flashlight to create a cool toned image and then enhanced it when editing to make it a cooler temperature. I highlighted certain areas to make them stand out more.
- Aperture = f/11
- Shutter speed = 1/125 sec
- ISO = 100
- Focal length = 53 mm

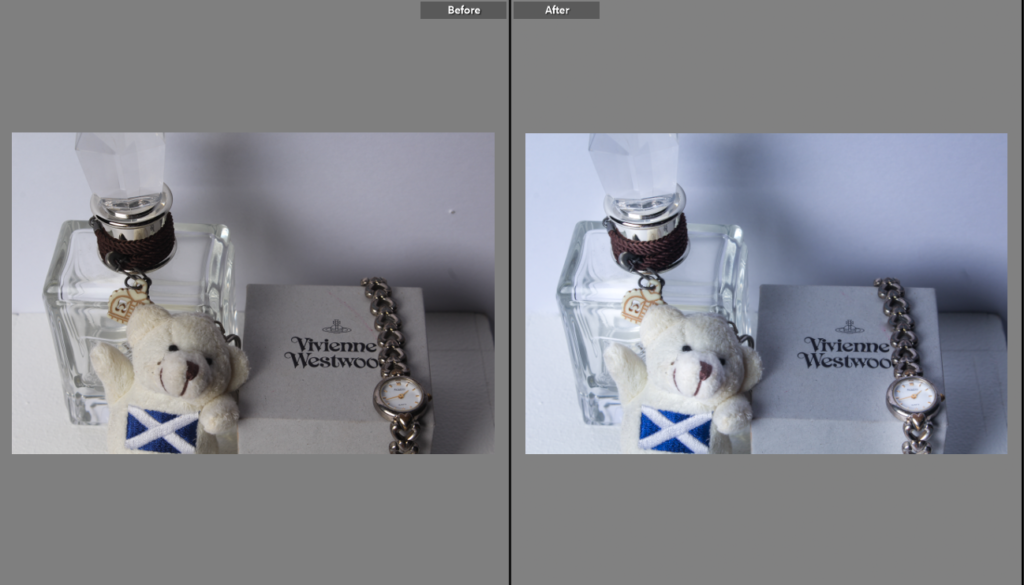
I changed the angle in this image to create a birds eye view. I touched up any imperfections that I could find and changed the temperature again to create a cooler toned image. I highlighted certain objects to make them attract the eye more.
- Aperture = f/11
- Shutter speed = 1/125 sec
- ISO = 100
- Focal length = 53 mm

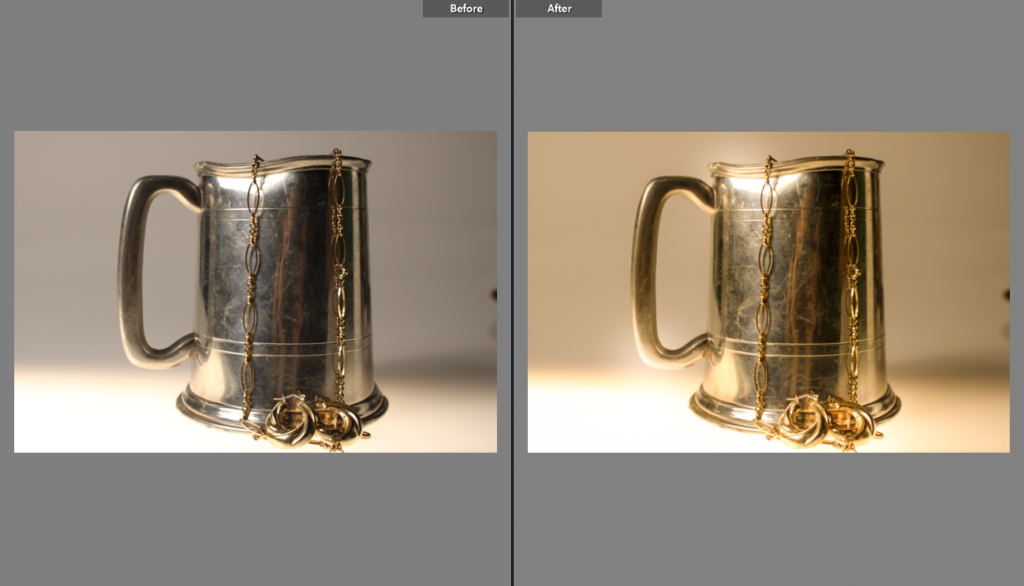
In this image, I used some of my own jewellery that I wear everyday. I increased the temperature of the image to make it warmer because I felt that it would complement the gold more and make it brighter. I highlighted the parts that reflected the light to enhance them more.
- Aperture = f/5.6
- Shutter speed = 1/40 sec
- ISO = 400
- Focal length = 29mm

Katie, a quality blogpost that clearly demonstrates how you have edited your still-life images, I particularly like that you have included camera settings. To further improve, it would be good if you analysed your best image with reference to Formalism and formal elements using photo-literacy matrix
https://www.photopedagogy.com/photo-literacy.html
If you have made more still-life images, either multiple objects or single objects make similar blog posts as above.
Good work!