First Photoshoot:

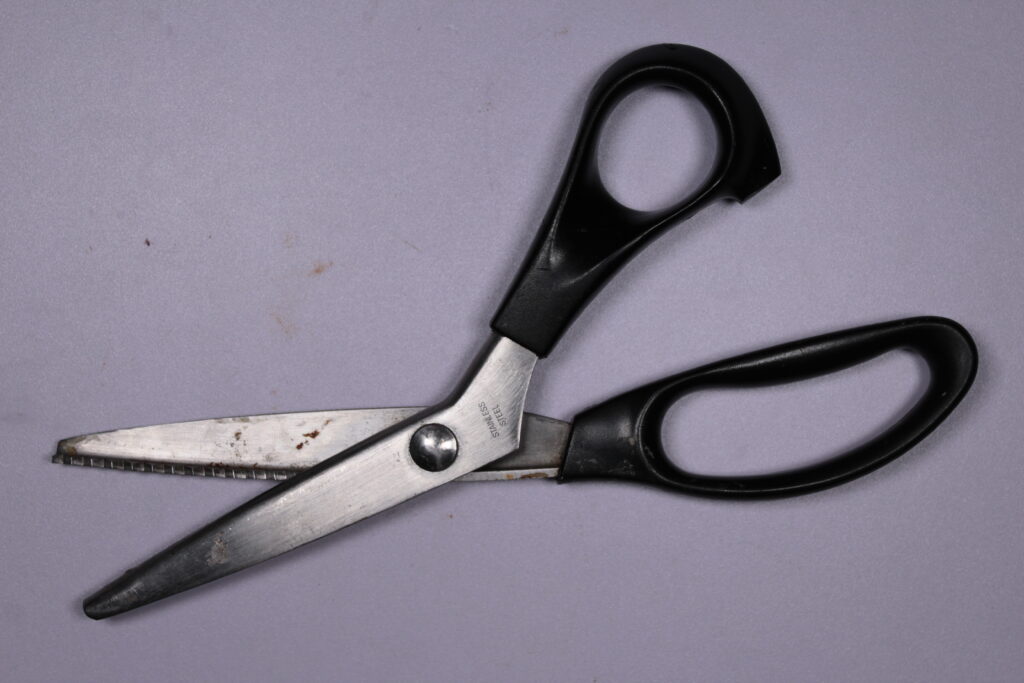
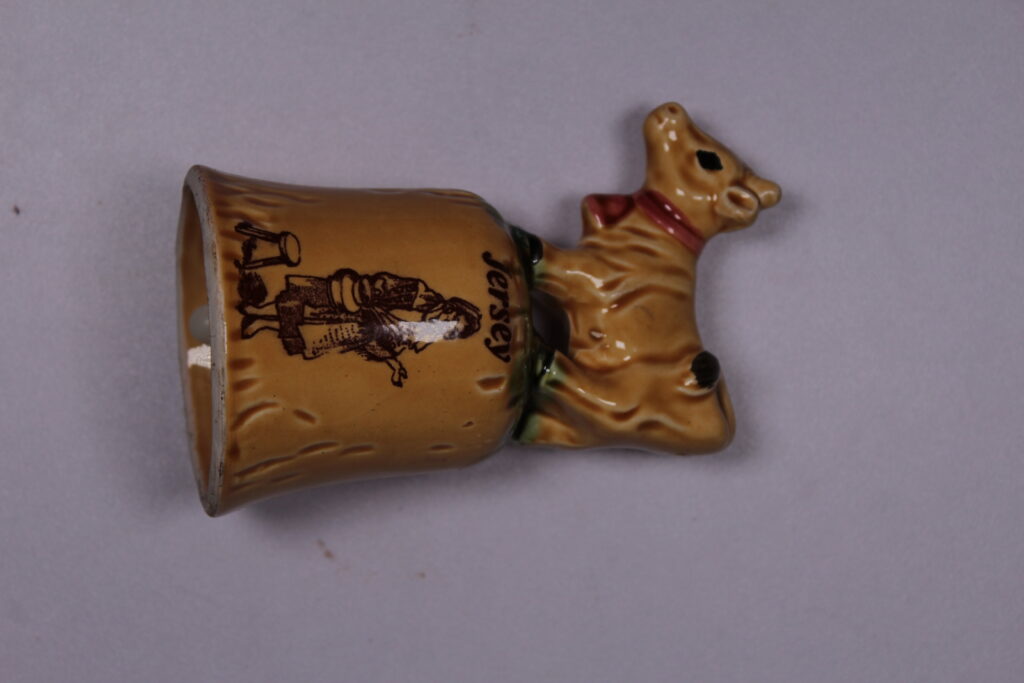
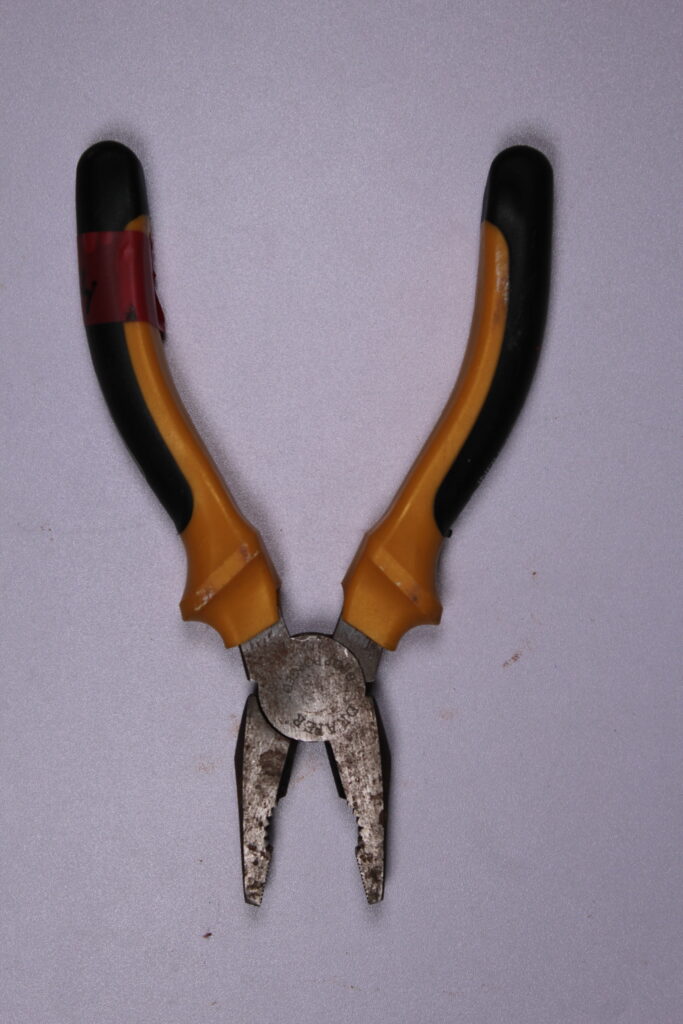
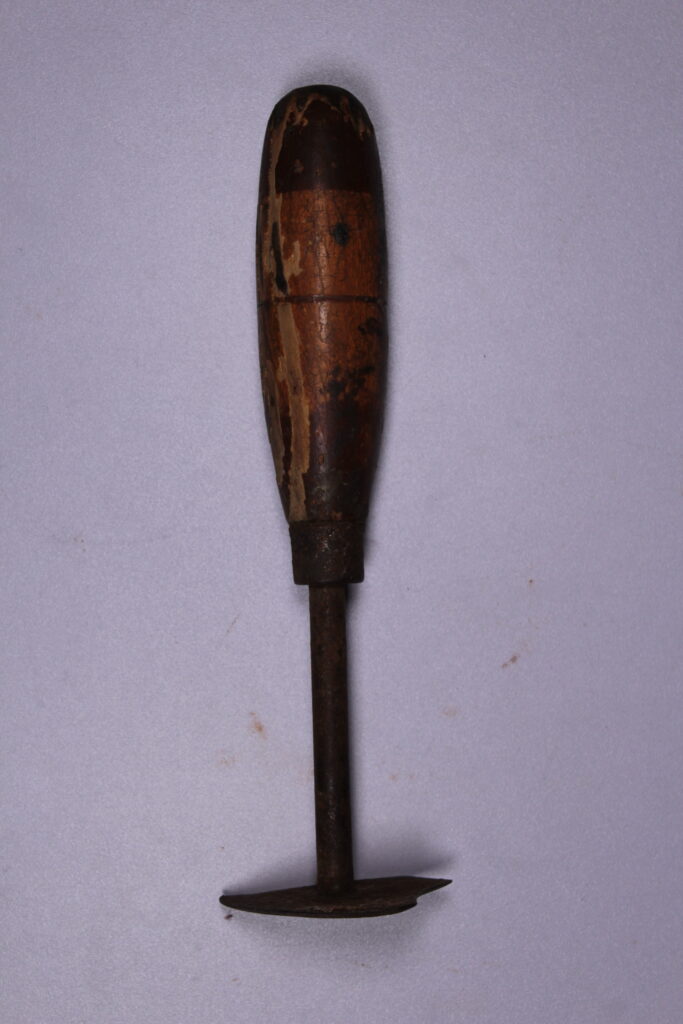
In this photoshoot, I collected objects such as tools like Walker Evans. I ensured each one was of a specific shape or a different colour from the others so that every other photograph from this photoshoot looked different. I also took lighting as a big factor in the photo shoot as I believe in the photoshoot lighting was a big contributor to how the photo shoot turned out as it was important for it to be brightened up.
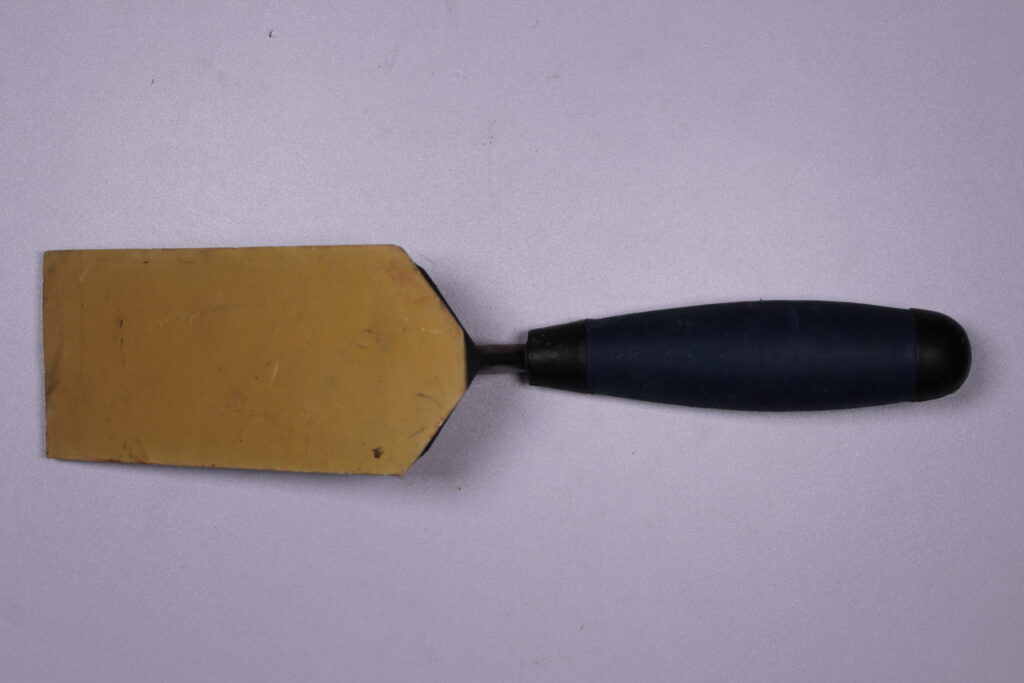
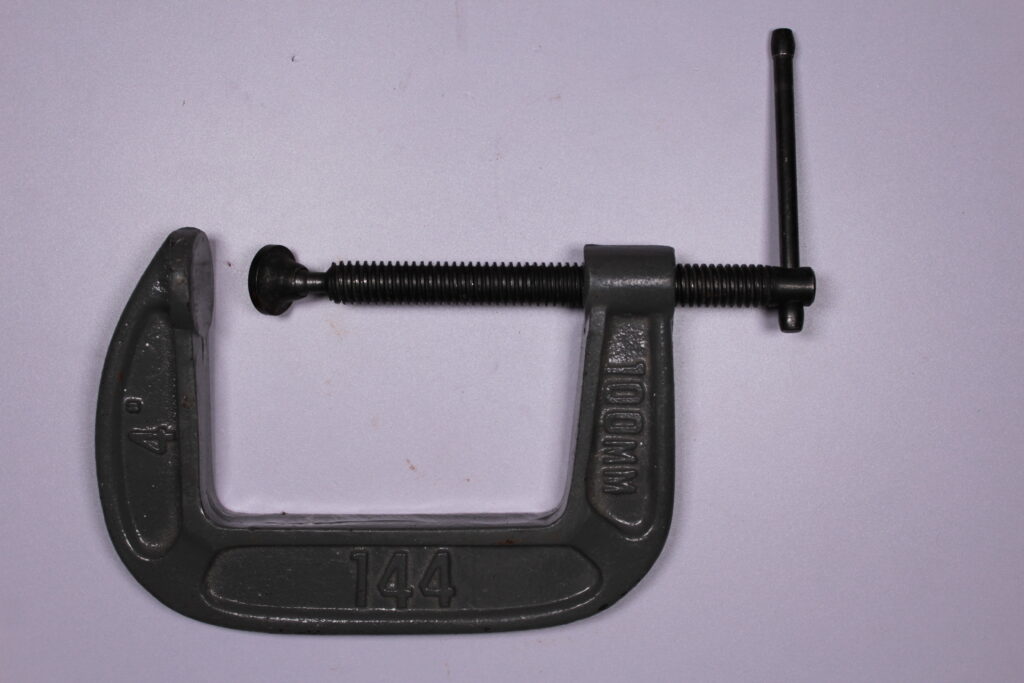
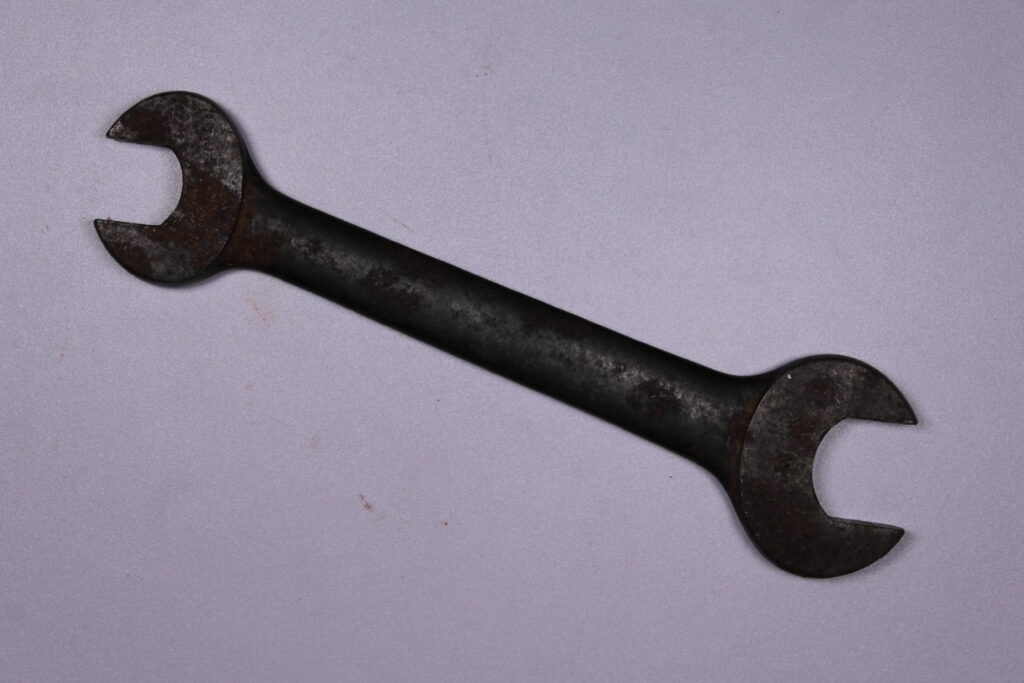
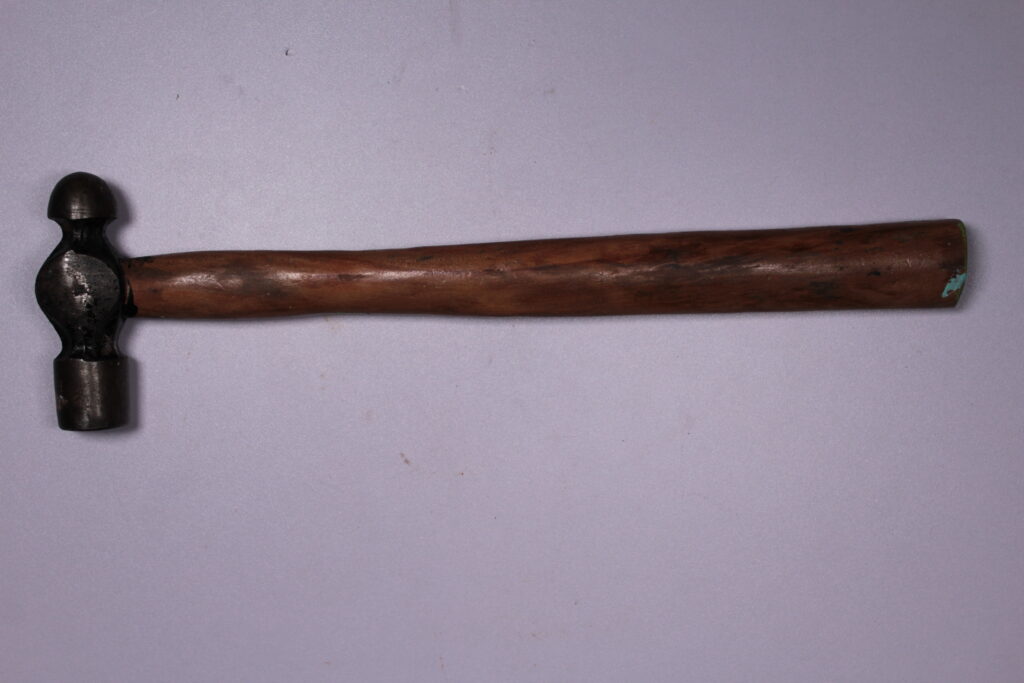
Development Photoshoot 2 Contact Sheet: Using multiple objects
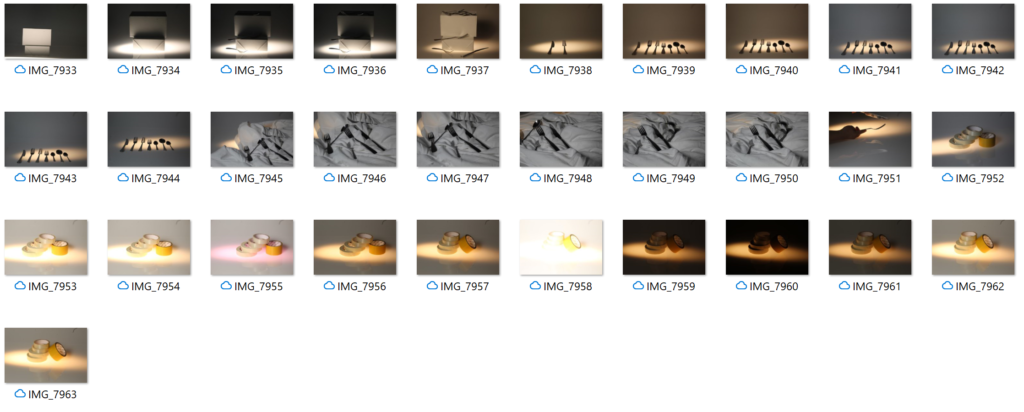
In this photoshoot, I experimented with different textures, and layers and thought about how I could potentially rotate and position multiple objects similarly to the artists (Walker Evan and “Beauties of the Common Tool”).
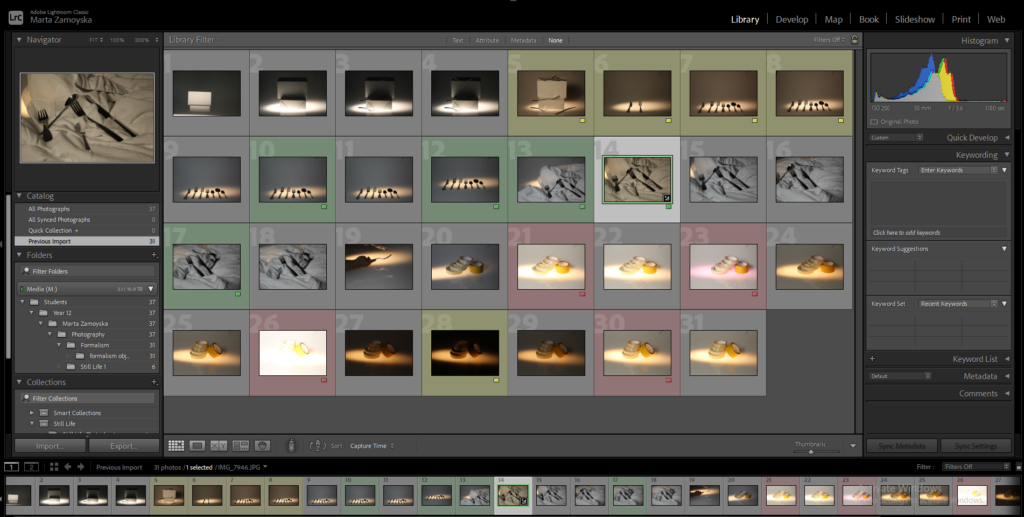
I played around with the cutlery with different backgrounds and different textures. In this photoshoot, the photographs didn’t turn out as well as I wanted to therefore I decided to experiment with the same silverware and other objects in another photoshoot. What I would improve in the net photoshoot is the angle of the camera lens to make it look inspired by the photographer Walker Evans with his silver tools.
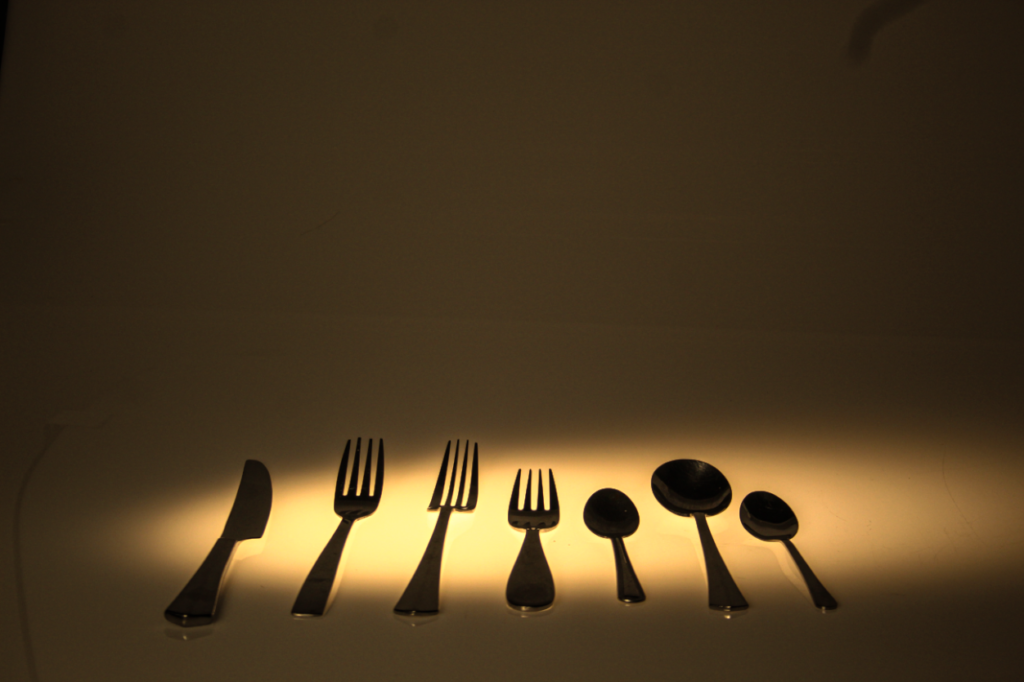
In this photograph, the camera is positioned at a low angle to add perspective to the silverware. I like the outlook of the photograph and how the strong shadows and artificial lighting creates a clear silhouette of the silverware.
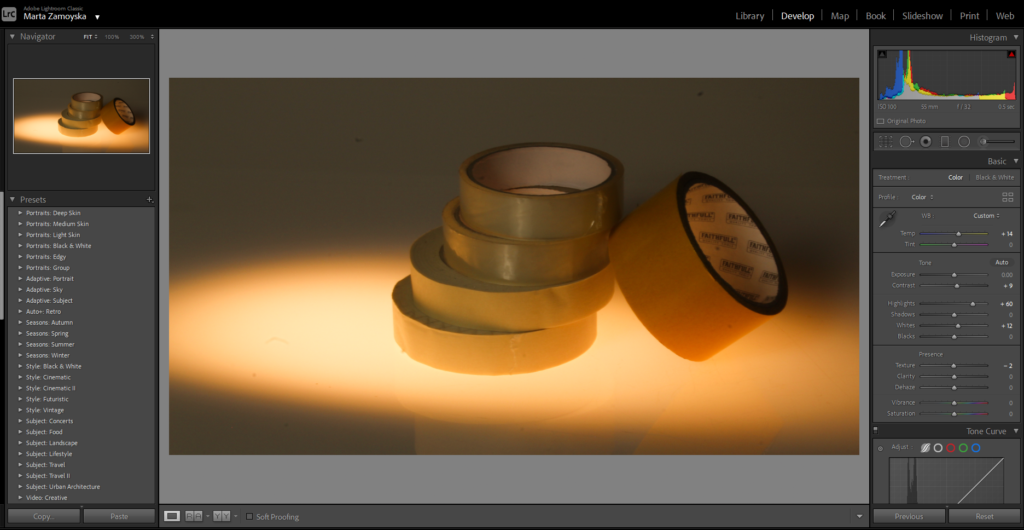
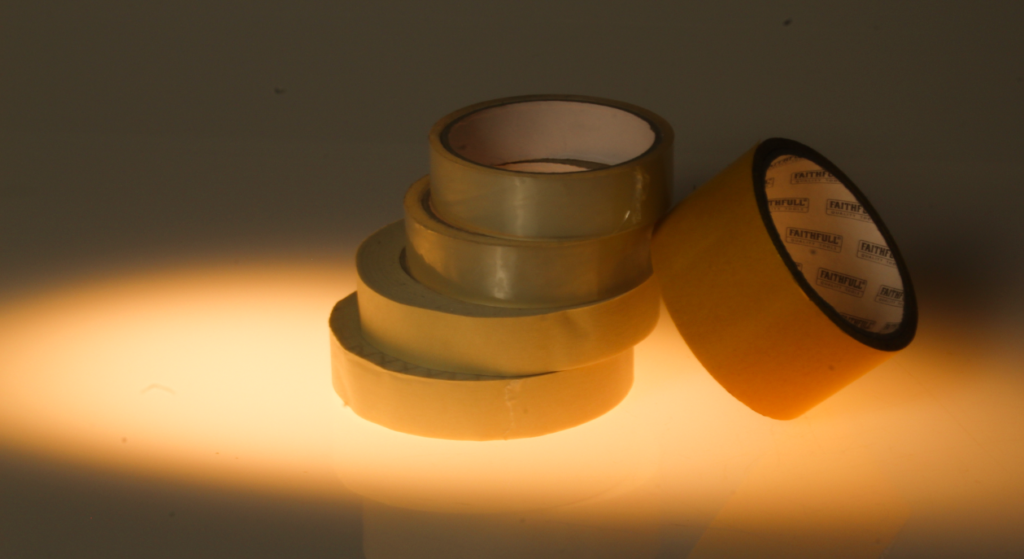
In this particular photograph, I wanted to crop out the odd black dots around the edges of the photograph and I wanted the different tonalities of the photograph to be around in different areas so I decided to make beneath the tape a light point.
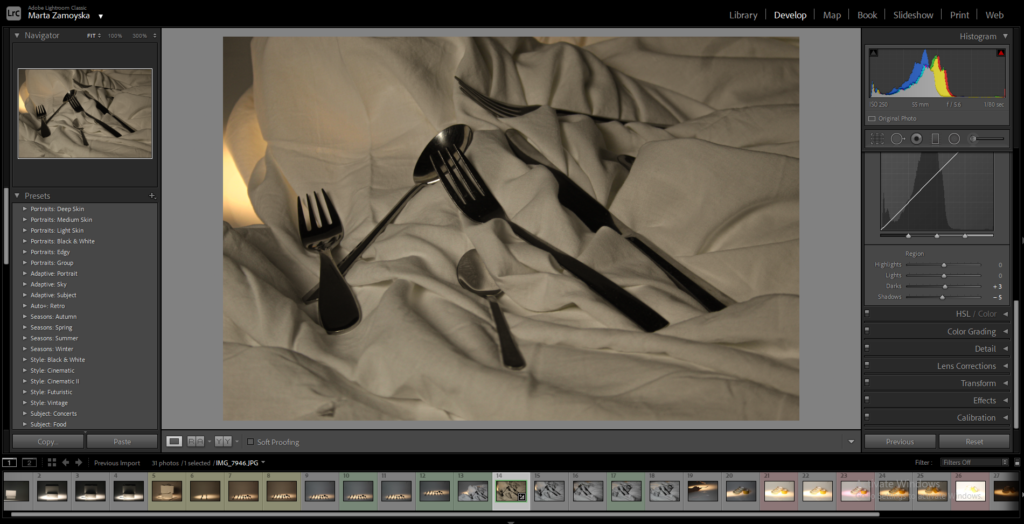
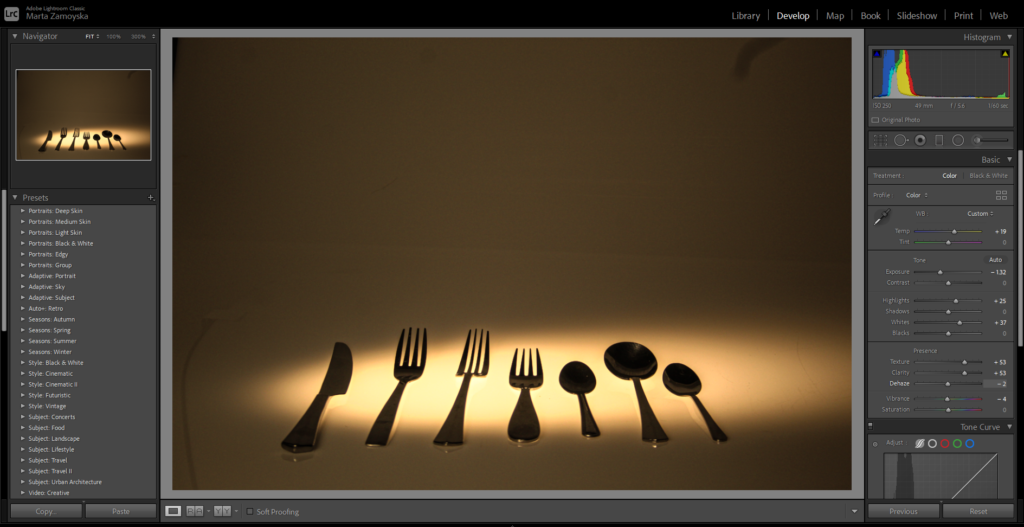
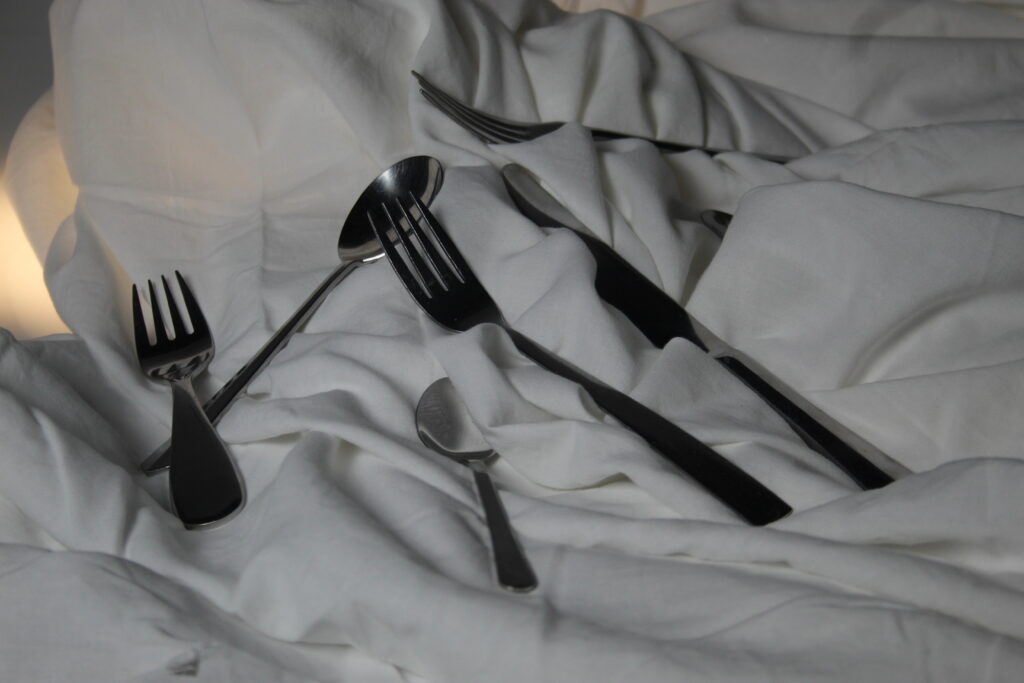
The photograph below is presented as the one presented above (editing process). To create the specific shadows and depth in the photograph consisted of narrowing down the exposure, and shadows and dehazing the photograph. I increased the temperature (warm) and the highlights of the photograph so that the highlights are illuminated and the images is bolder and has more depth.
Third Photoshoot:

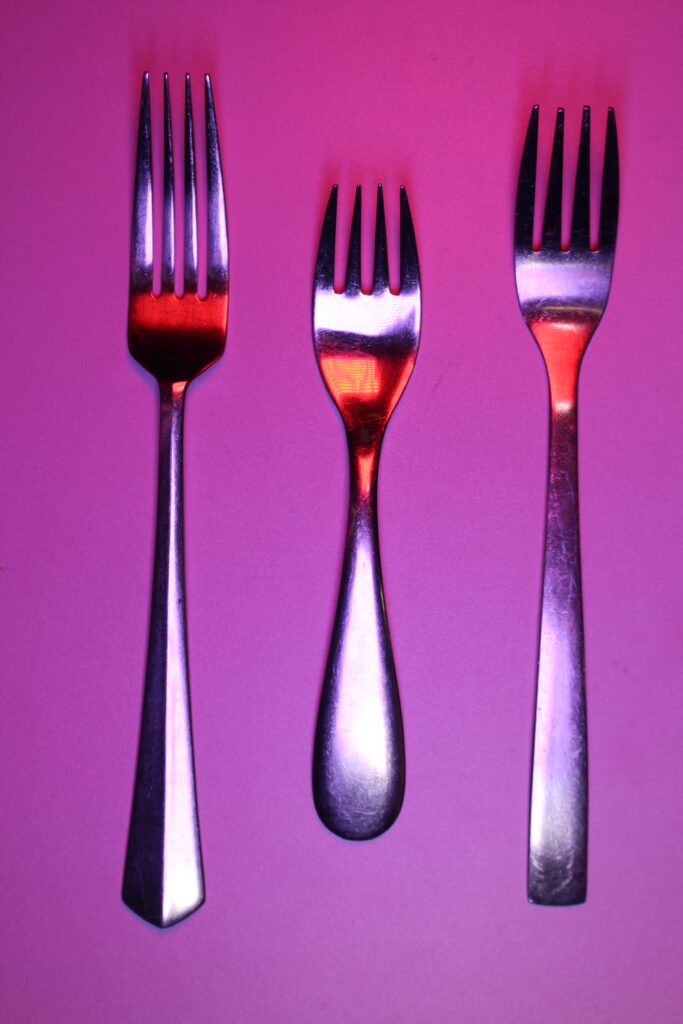
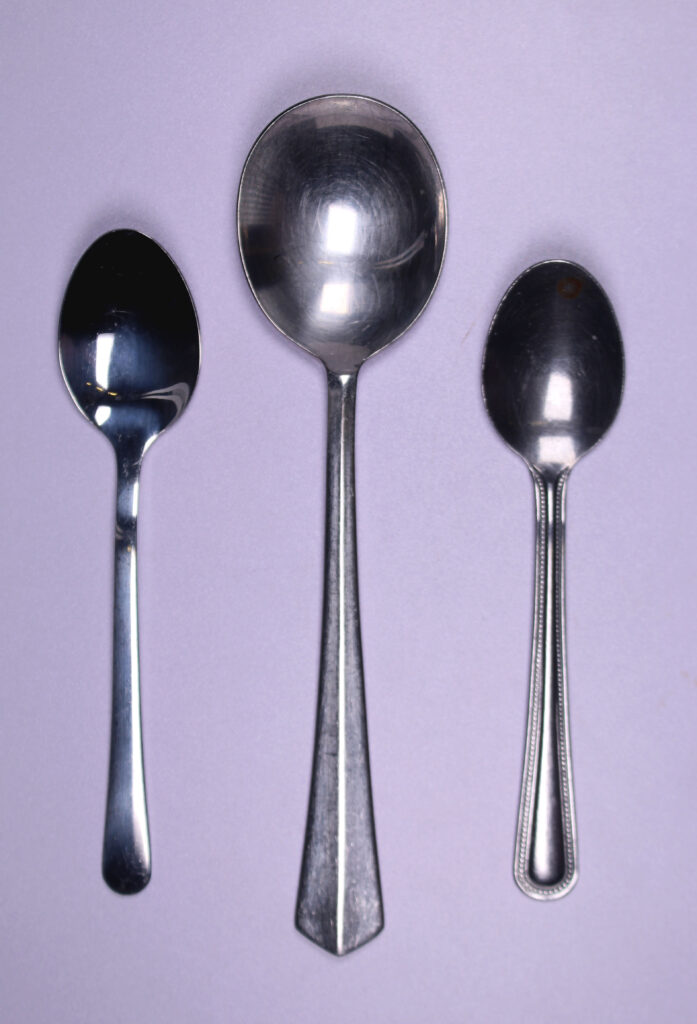
Similar to the work of Walker Evans, the shadows are not visible in these photos and the objects are taken from a face-on angle. The camera settings used for this particular photograph on the top was taken at a 43mm range of depth on the lens, at a f/6.3 aperture and at a 1/100 sec shutter speed. The photograph was also set at an ISO 100 meaning that the camera lens’ sensitivity to light was slightly lower than the much higher settings.
This could have an effect on the outcome of the photograph as the red and purple glossy overlay could mean that if the settings are high then the outcome of the silver ware will look too light and pastel therefore having the shadows and outline of an objects increased the result looks increasingly better and advanced.
In the second photograph on the bottom, the camera settings are set at a manual mode of the lens 47mm and an aperture of f/6.3. The photograph has a shutter speed of 1/100 sec and an ISO of 100.
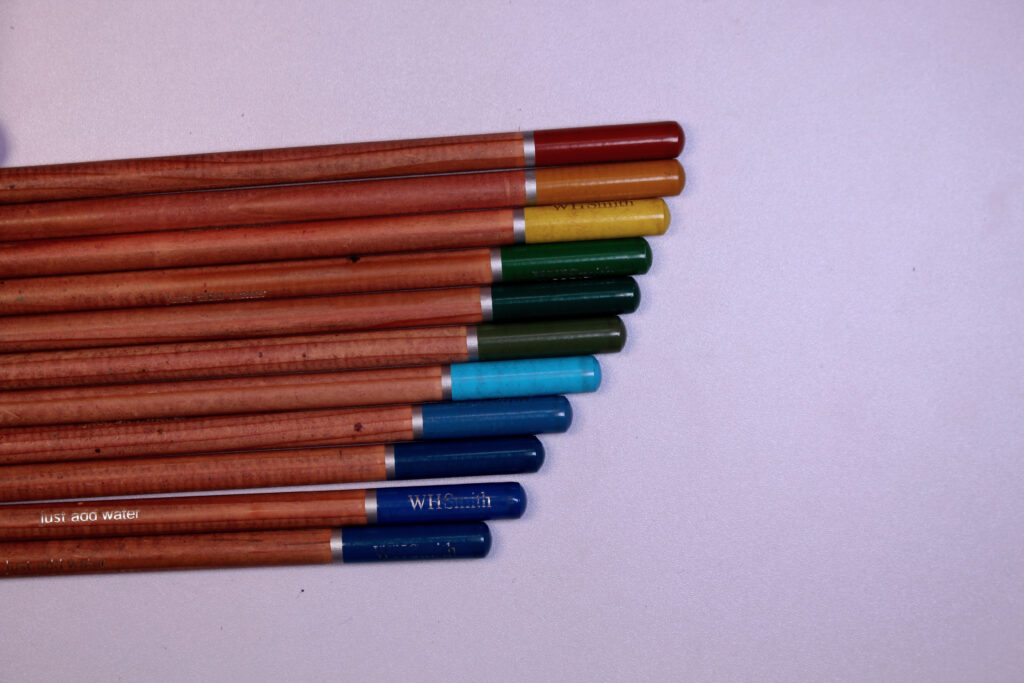
In this photograph, I tried to bolder the shadows/highlights and the exposure levels so that the contrasting colours can look striking and look brighter than all the other colours. The camera settings used manually to create this photograph were: a 55mm lens close-up, an aperture of f/6.3, a shutter speed of 1/100 sec, an ISO of 10 and no flash as the image itself does not have many shadows and darker areas therefore does not require the additional light.
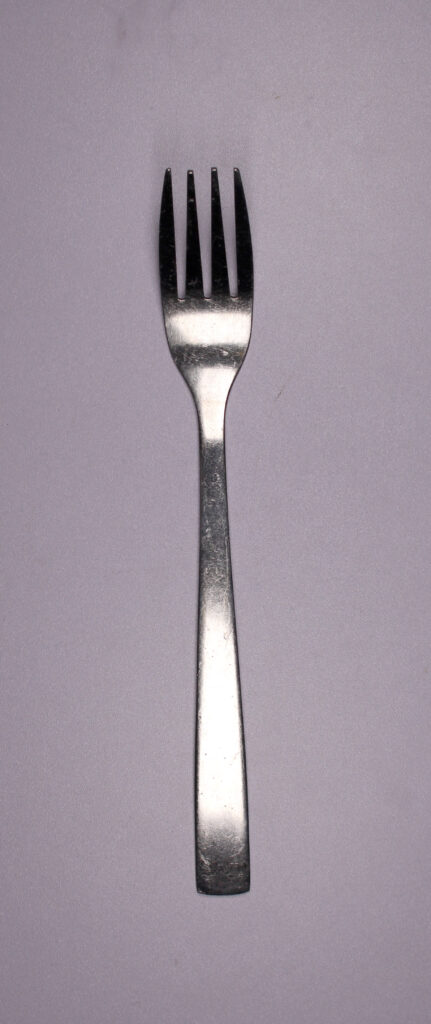
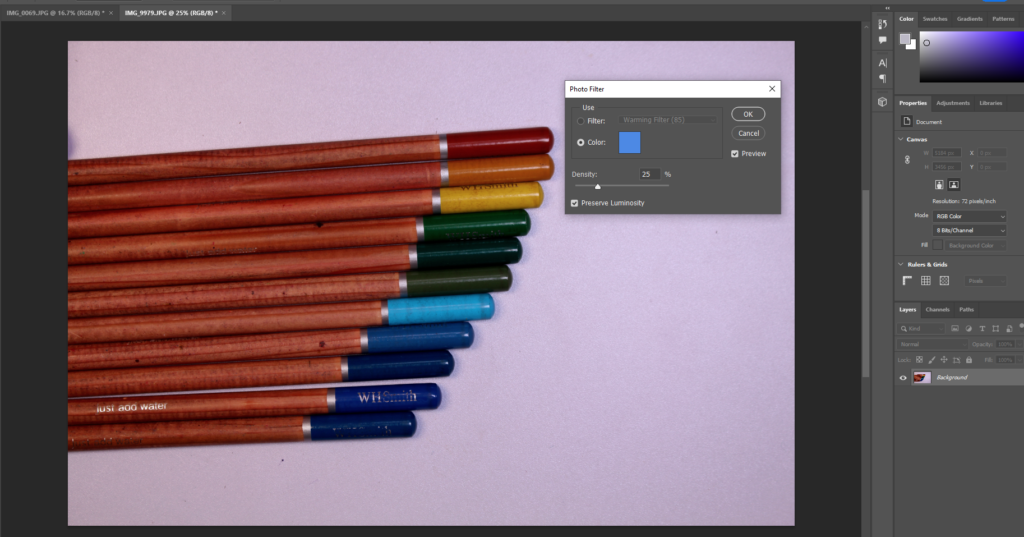
This print screen demonstrated the editing process changing the photo filter to a cooler undertone, I chose to do this as it represents the cooler-toned colouring pencils. It may also link to a story/ feeling/ theme of nostalgia as the colouring pencils may be remembered as a thing that was used when you were younger/ a child so that cool undertone of the blues may represent that sadness/ memory and thought of the past.

Try to make sure that your photoshoots are direct responses to your research. For example, after researching Walker Evans’ single object photos, you should take your own photos of single objects, using white backgrounds and editing to be greyscale.
You can develop these ideas ideas and get more creative with shadows, lighting and multiple objects later on.