
In today’s lesson we were experimenting with a Virtual Camera and adjusting the Shutter speed, ISO and Aperture to see how the photos would look.
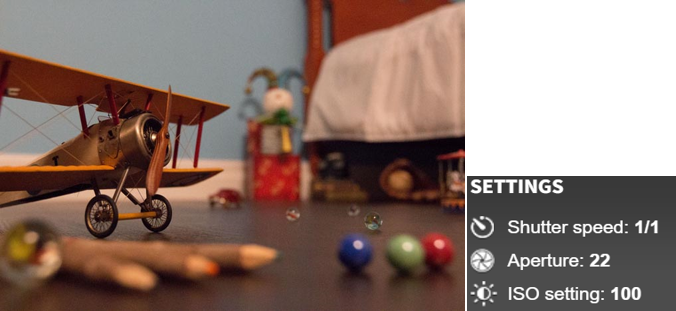
In the photo above I used a lower shutter speed to clearly see the propellers on the plane and experimented with the exposure and depth of field, so the aeroplane is in focus.
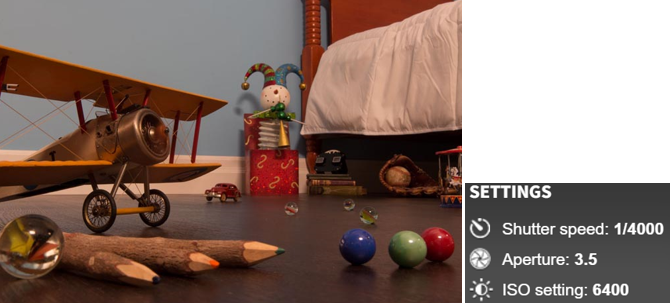
In the photo above I used a higher shutter speed which makes the blades on the propeller look blurry and adjusted the exposure to make the light in the photo look better.
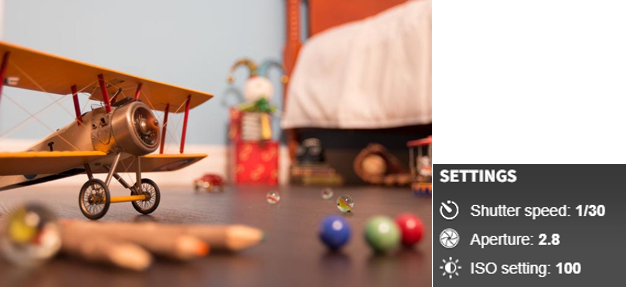
In the photo above I was experimenting with lowering the Aperture which makes only the aeroplane be in focus.
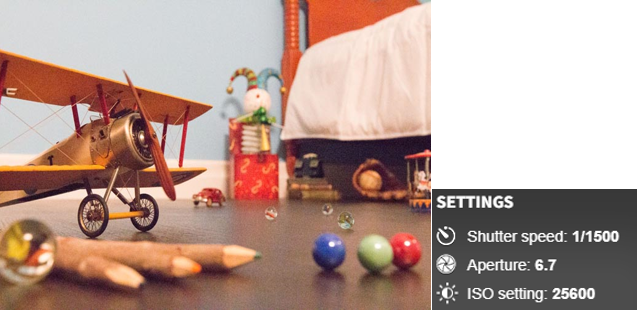
In the photo above I significantly increased the ISO and increased the shutter speed to help expose the photo. The result made the photo look a bit grainy.
Yann, a quality blog post with good layout using text and images to demonstrate knowledge and understanding of still-life photography. Grade = B-grade.
Overall, you have have be more productive and publish more blog posts frequently. See Go4School tracking sheet for more details of individual work missing – you will receive and email tomorrow Monday 9 Oct