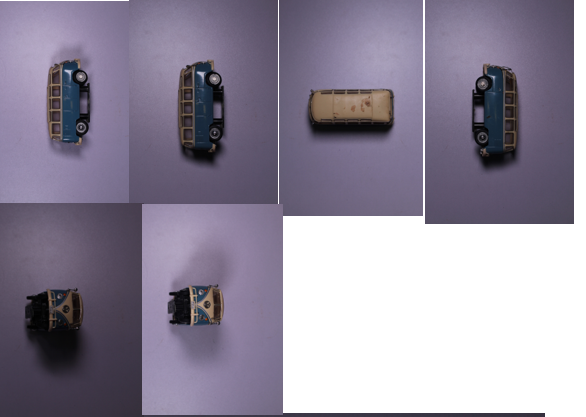
first photoshoot :

For this photoshoot I wanted to use inspiration from Walker Evans and how he photographs single objects using different lighting and shadows.
As you can see the quality of some of the photos are not the best but that is going to happen with every photoshoot. I changed the perspective of the photo after every few I took just to give some variation.
The lighting was also changed as well as lighting techniques to give different shadows and ‘feelings’ to each photo.
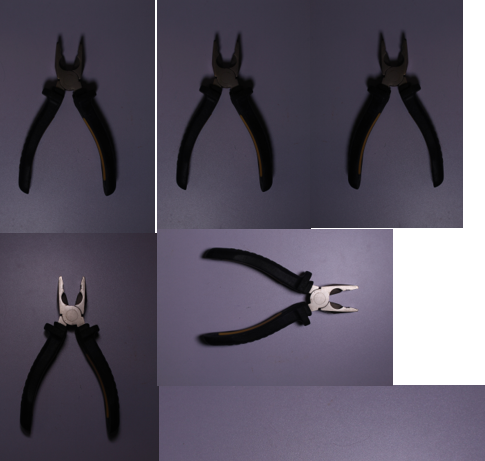
second photoshoot :

This photoshoot was not very successful. The lighting and angles were not good or flattering and the photo quality was a bit dodgy too.
With the last photo in the shoot I tried too change the lighting slightly to make the photo brighter and more clear but overall, the photos were not great.
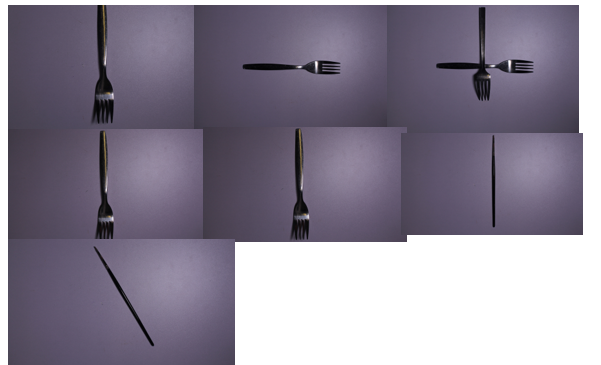
third photoshoot :

For this photoshoot, I managed to get the lighting a bit better and include in one of the photos, more then one object to give the photo dimension.
I like the shadows created and the almost glass like look to the metal that was created through the lighting. I focused again on the inspiration from Walker Evans for the single object photos, changing the perspective and placement of the objects.
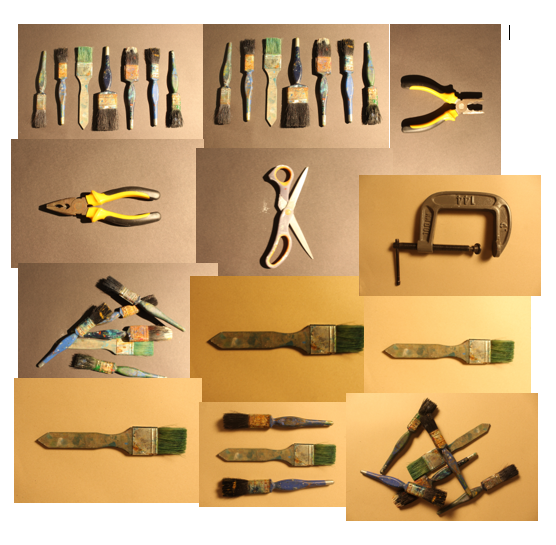
fourth photoshoot :

This final photoshoot was the most successful. The lighting was working perfectly for the type of photos I wanted and the two different backgrounds used gave a kind of contrast to the paintbrushes and other objects I used.
I used two different perspectives for this photoshoot:
- birds eye view
- free hand photo
The birds eye view was used with a set of equipment to hold the camera above to get a clear, stable photo, while the free hand photos are seen as more ‘ wobbly ‘ and ‘ unstable ‘.
The use of free hand doesn’t change the quality of the photos however if I used the equipment the photos would have been to a better standard.
My use of warm lighting accentuated the idea of the tools being worn down and obviously used.
