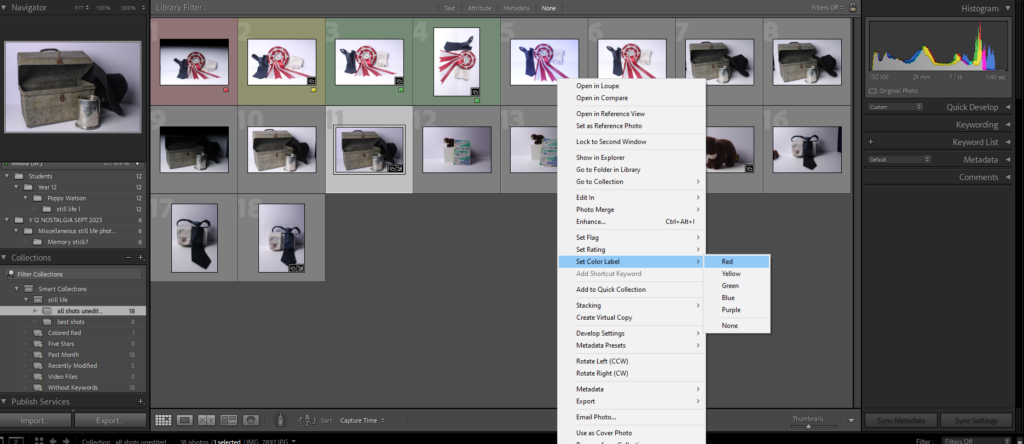
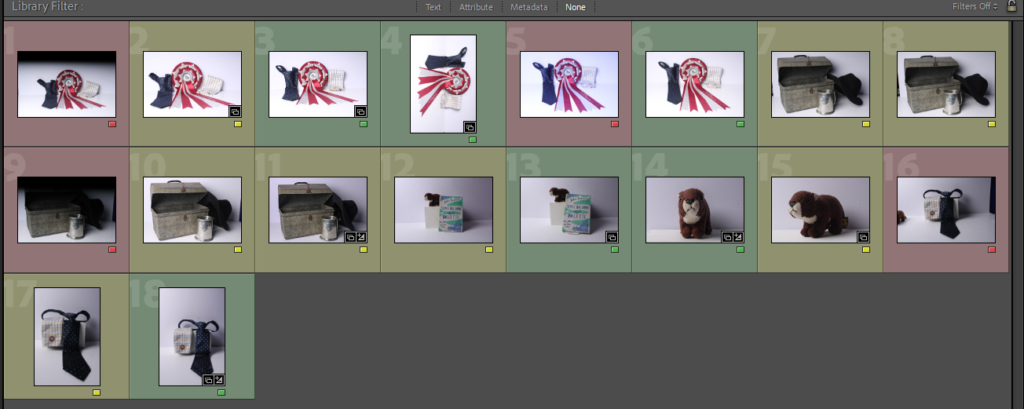
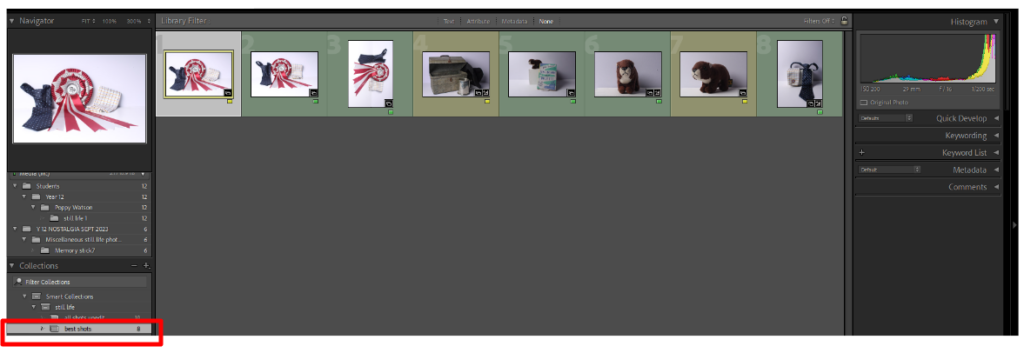
I used Lightroom classic to go through all my photos and started by colour labelling my photos to make a rough idea of which photos are better than the others, this then allowed me to make a best shots unedited folder. I used the idea of green for the best shots and red for the shots that I don’t like.
First Shot
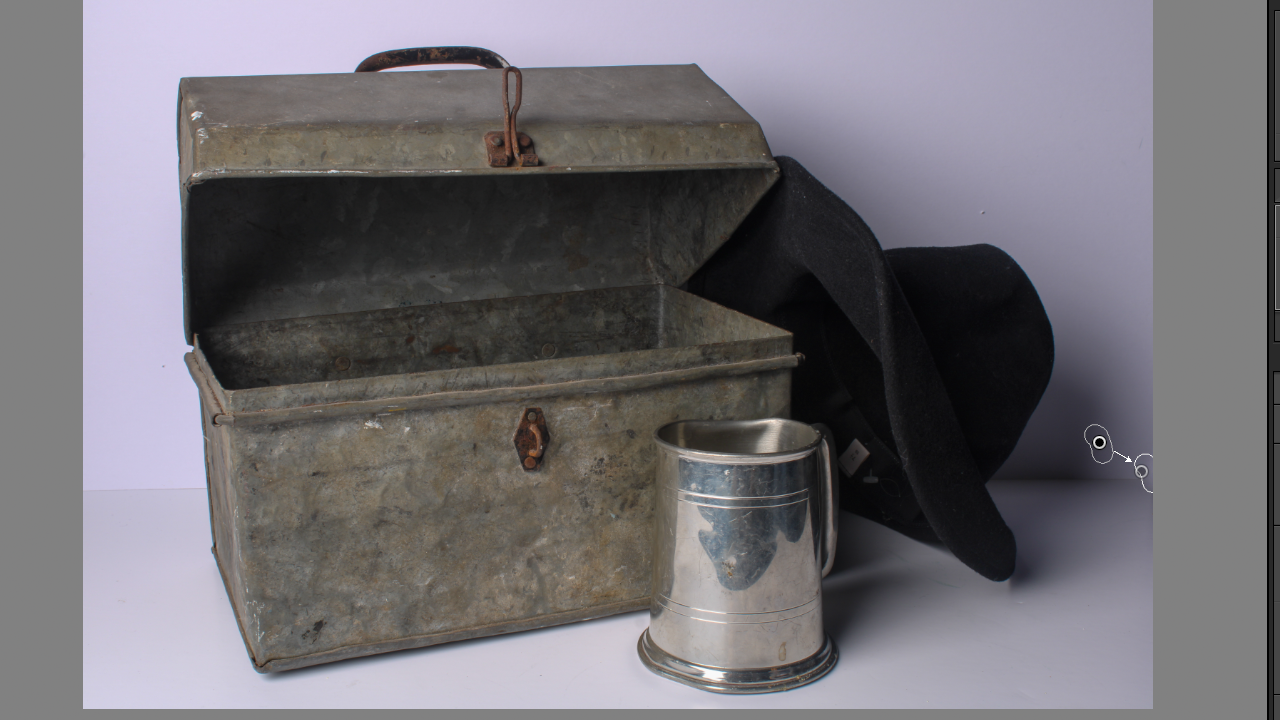
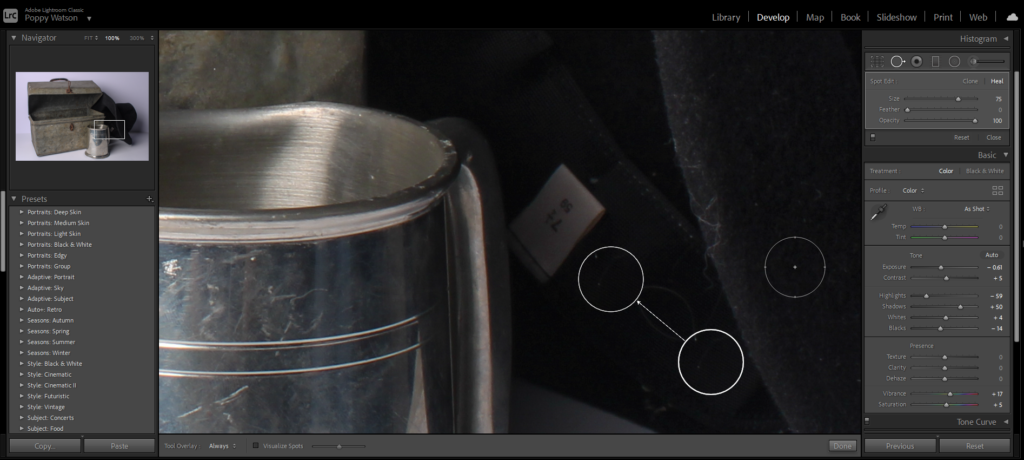
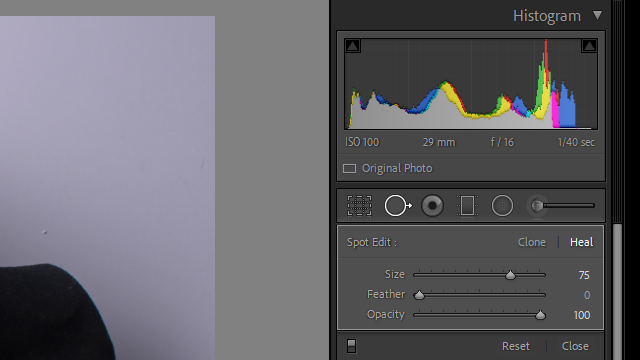
I then started to edit the best shots, I started by using the spot heal tool to remove any thigs I felt took away from the overall image liked the price tag on the hat and flecks of dust on the background.
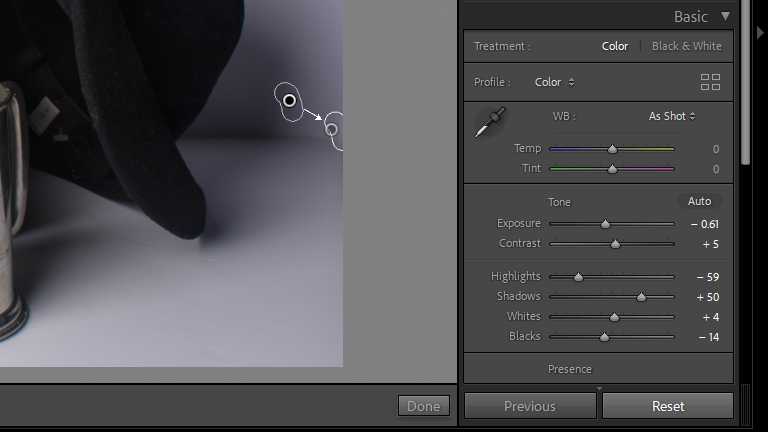
After that I started to adjust the colouring on each image, as I used neutral lighting on most of my shots it made it easier to edit and manipulate the image to how I wanted it to look.
Second Shot
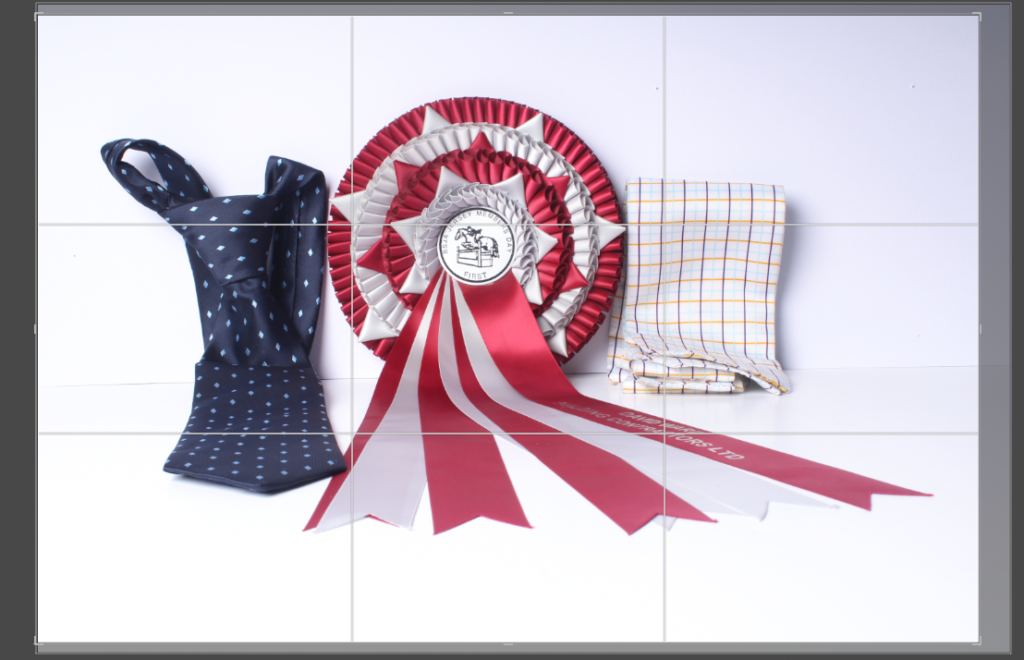
This image needed cropping so I used the cropped grid tool to centre the subject.
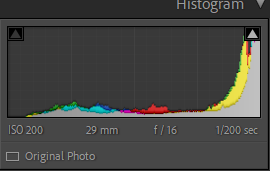
These were the settings for this shot. At the time these worked well on the actual taking of the photos. However with flash box lighting the image looked slightly washed out so I then went onto edit the saturation and exposure.
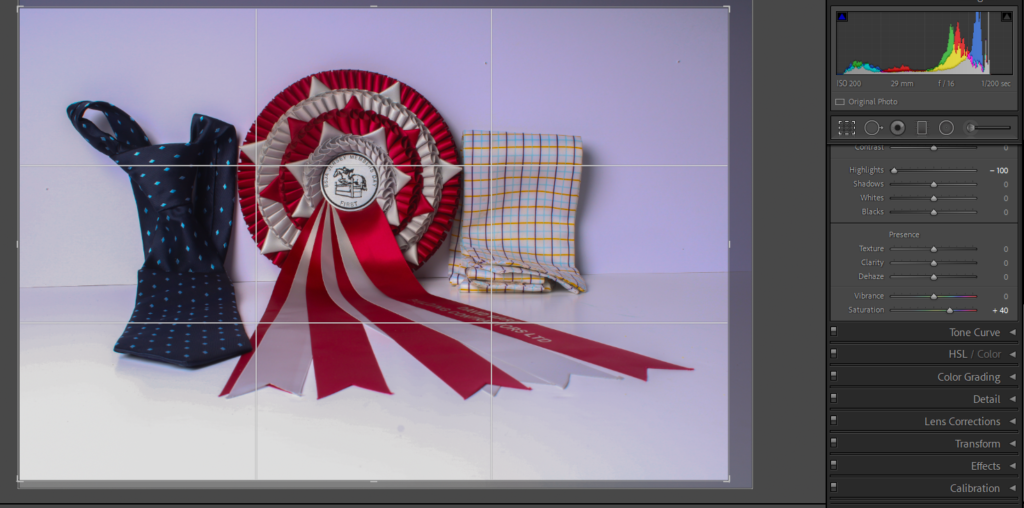
As seen above I increased the saturation by +40 which while leading to a purple tint on the upper half of the photo, when I then decreased the highlights to -100 it made the colours of the tie, stock and red in the rosette brighter and a more accurate representation of the actual colours. I also think this makes the photo have a more nostalgic feel as the bright colours remind me of my childhood and the excitement of winning.
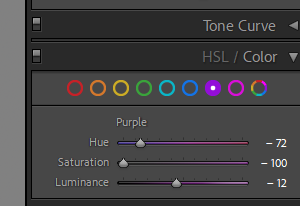
I then felt the purple tint was too much so I then used the colour selections to change the purple levels in the photo drawing the image back to the original lighting with no purple tint but with the more prominent colours in the tie and stock.
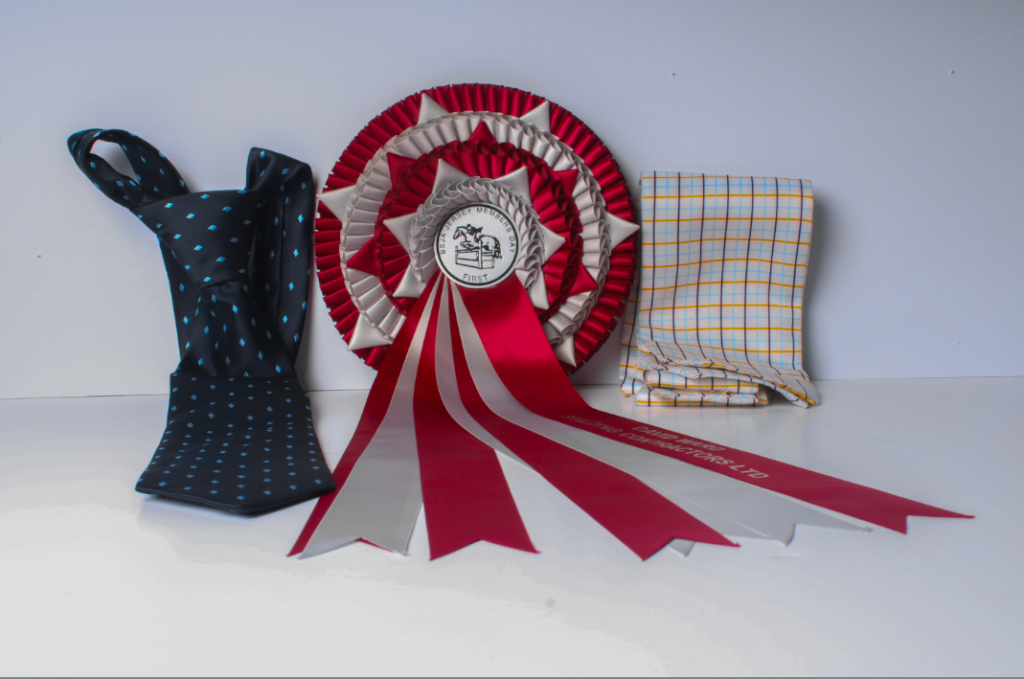
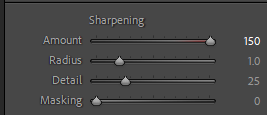
I then felt the image edges were very soft and I wanted the details of the ribbon and the lines in the stock to be sharp against the background.
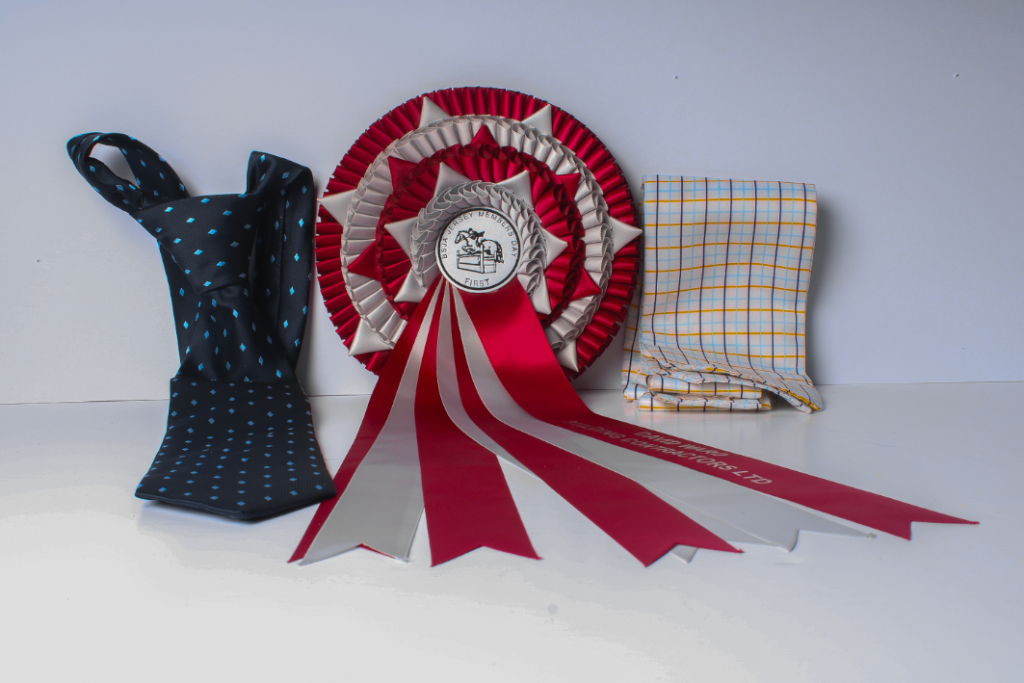
This is my final image, overall I the editing has greatly improved the image. The composition of the original shot was already well composed, however I felt the lighting needed work. This could also have been done while taking the photo via flash lighting set up I used however I also felt I could benefit the image with editing. Vibrancy is a common connection between nostalgia and the things/ photos that create it, so I felt not only did the editing help the general photo but also gave the photo a further nostalgic feel.

The next step I had was to add different objects to the shoot to create a story slightly less personal to me and instead working on what I have researched. By using ‘old fashioned’ objects I think it gives a great story and insight into history. I looked at the lines created, the patterns and following the rules that an odd number of objects always looks better than an even.
First Shot
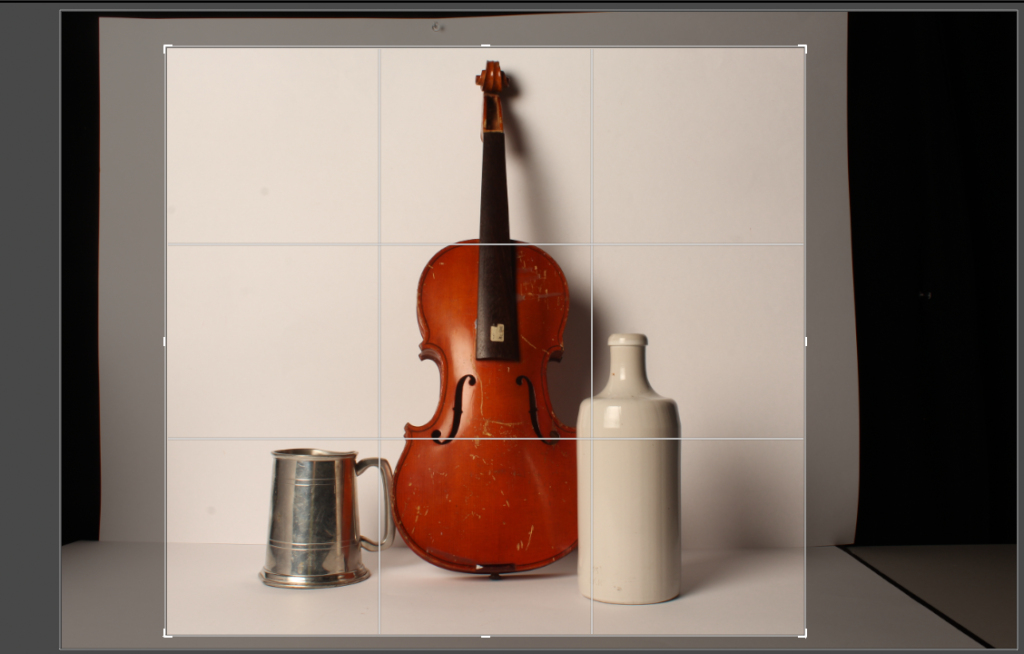
The first editing step was to cropping this image, I wanted to centre the objects as while taking the shot I made sure the violin was in the middle of the shot as it has height, leading the viewer around the shots composition.
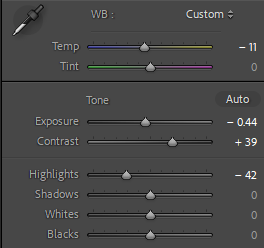
The temperature of the image is cooler now I have adjusted it downwards, this is to benefit the lighting as it quite neutral before hand so the cooler tint brings out the colour and shadows.
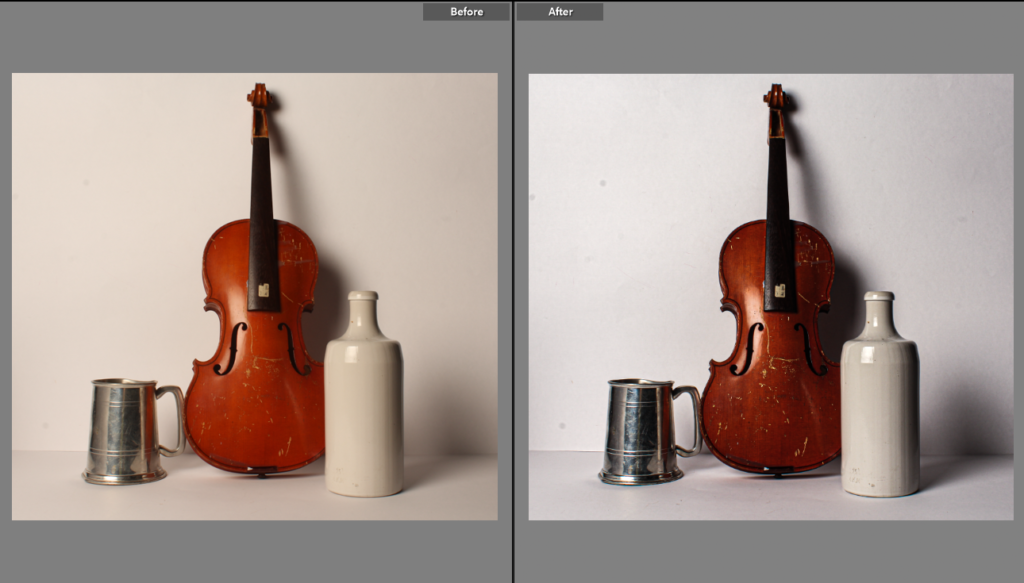
The before and after (starting from after cropping was done) Overall the editing has greatly improved the image, looking at the the artists I have looked at I noted the cool tones and textured images, so to recreate this through photography I added texture on the texture sliders.
Second Shot
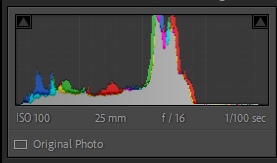
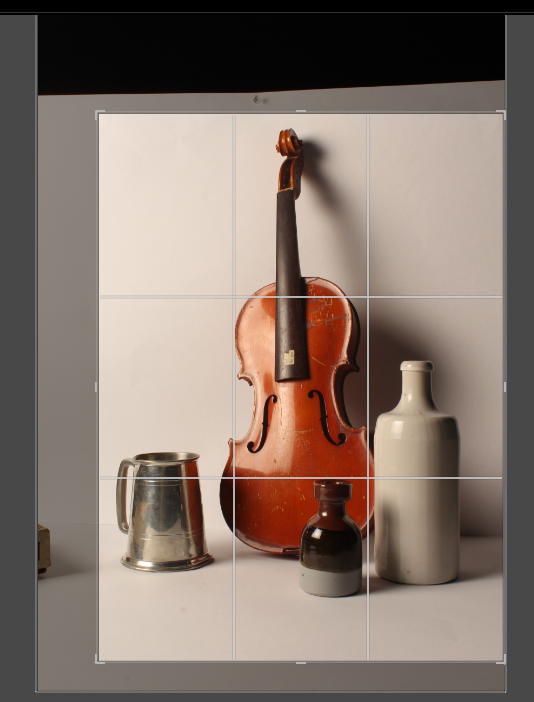
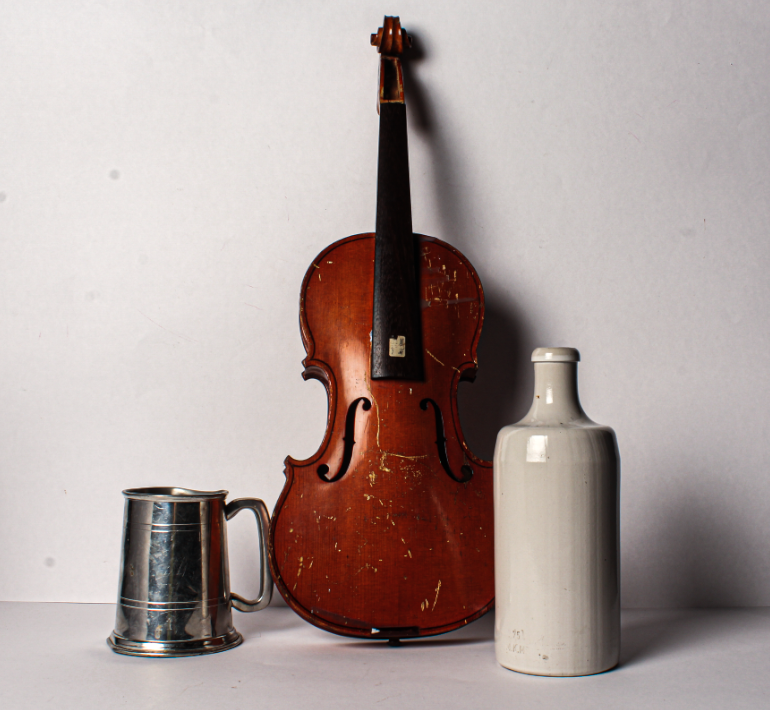
Again I started by cropping the photo down as it was on an angle as I needed to use a bigger field in my photo to start with to allow the lighting to be in the photo.
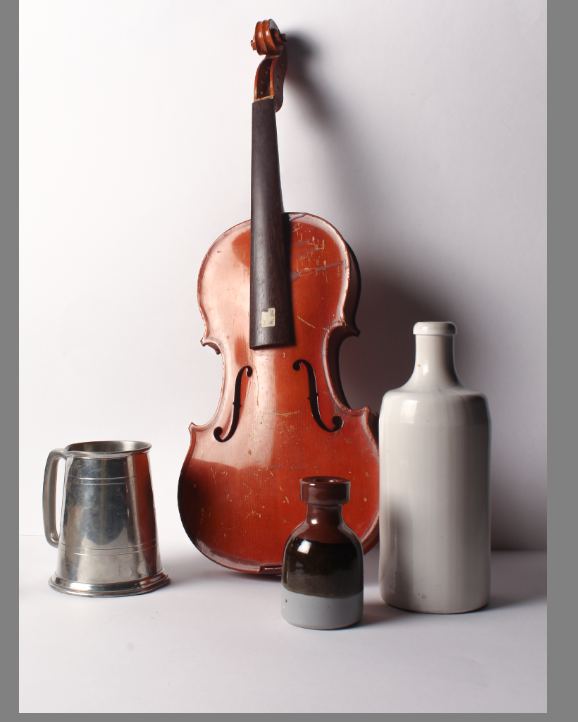
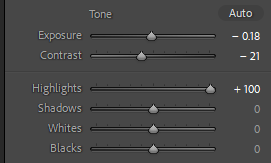
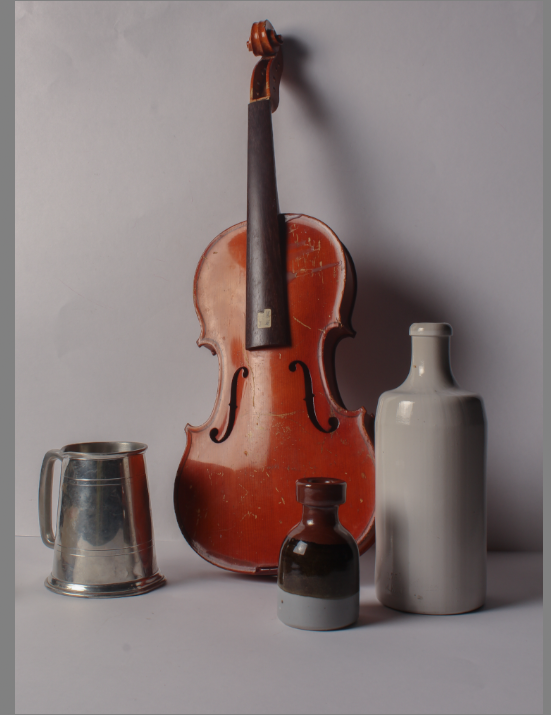
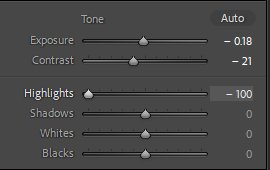
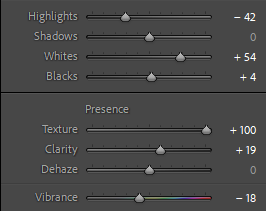
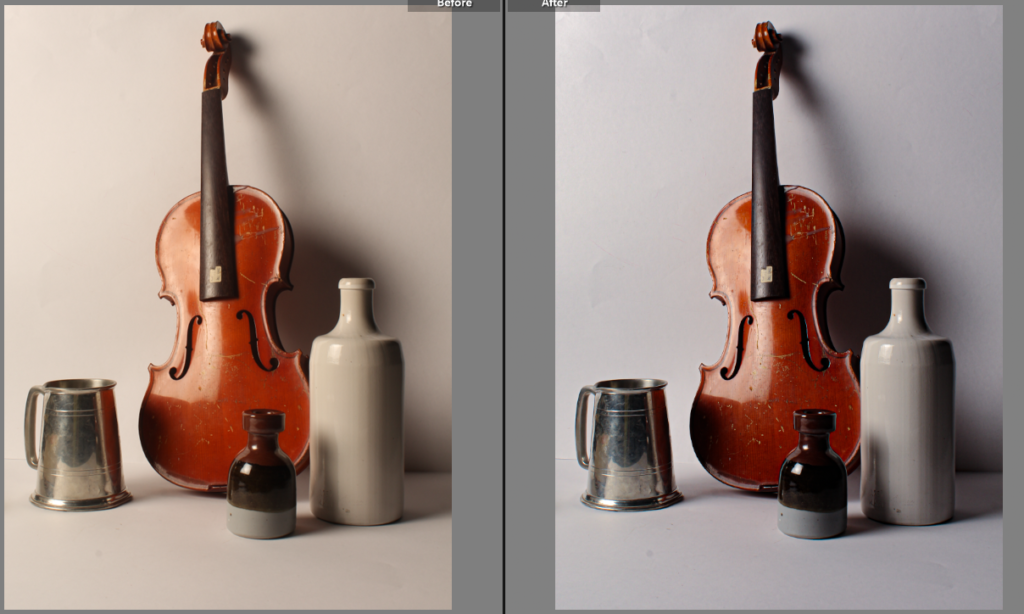
This set of images shows my process within editing the photos, I start by changing the highlights, once a lot higher and once a lot lower. Now comparing the images I much prefer the highlights being higher as the clarity and definition of the shapes within the photo is immensely better. Saying this I do like the idea of having a grey toned background as I think it adds to the overall image.
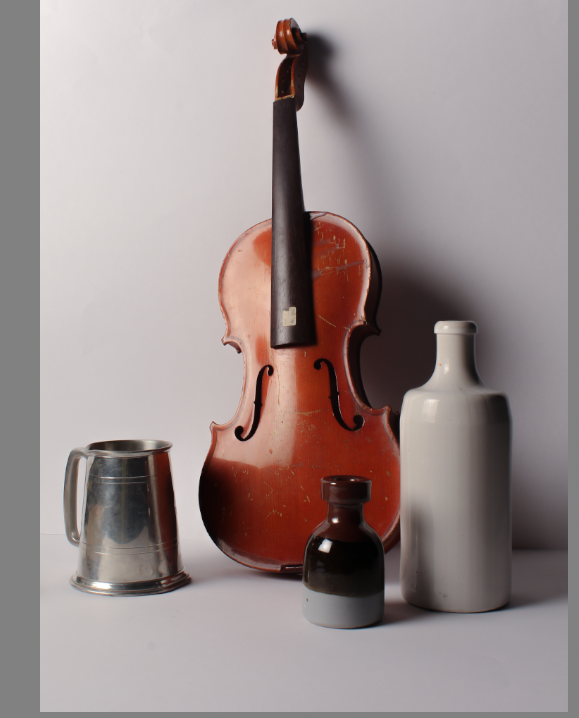

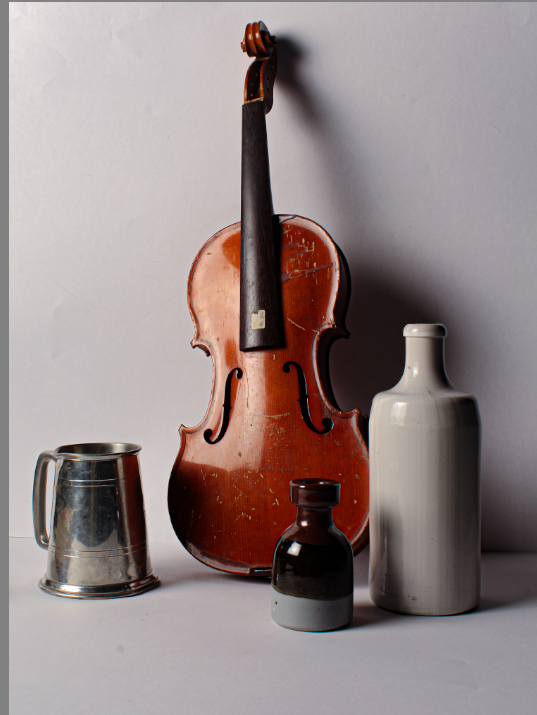
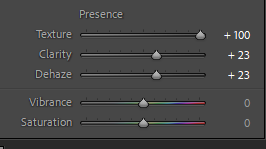
Following on from my previous edited image, I chose to increase the texture allowing things like the wood grain in the violin to be seen. By choosing not to adjust the vibrancy or the saturation I kept the image fairly true to life within its colouring, showing I used my lighting correctly and set up my camera well.
Third Shot
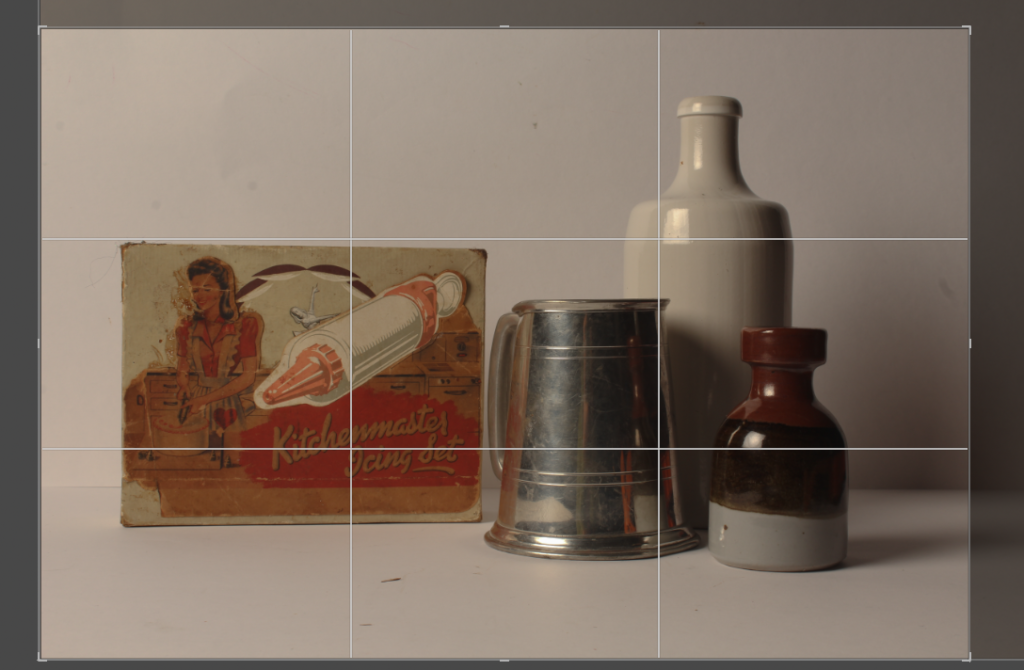
Again I started by cropping the photo to make sure the subjects were centred well. This is particularly important in still life works as it is all about the composition of shot.
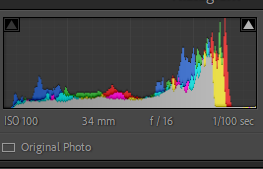
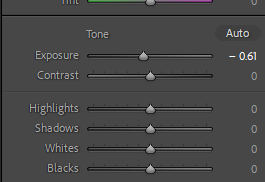
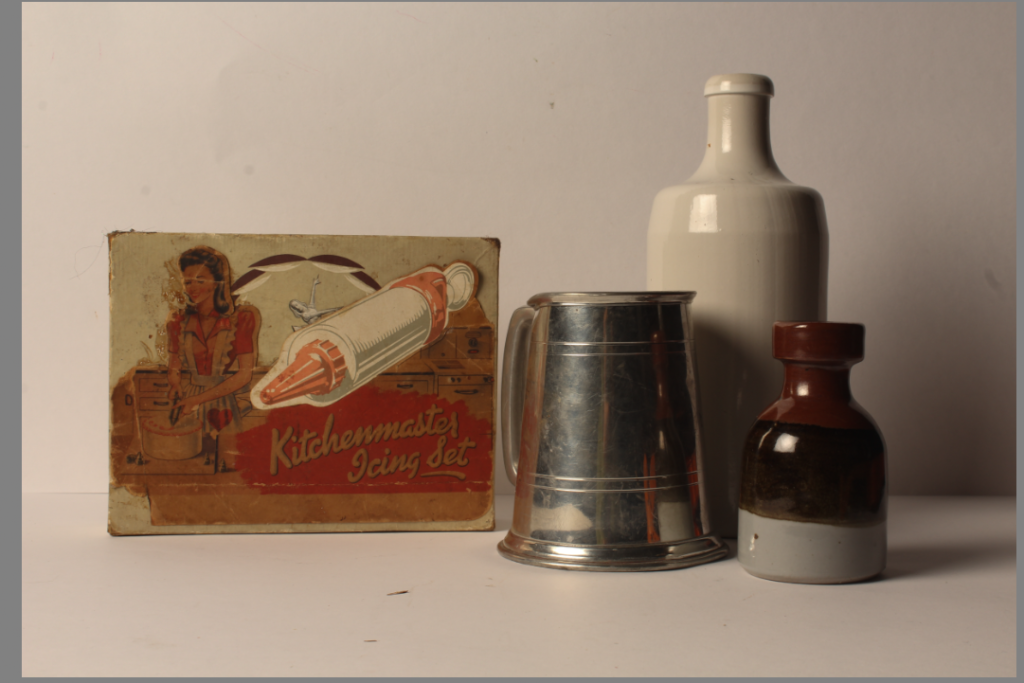
Choosing to next adjust the exposure to bring out the colours and level out the image slightly. I will probably go onto change it again but it is a great starting point for this shot.
.
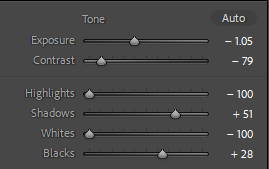
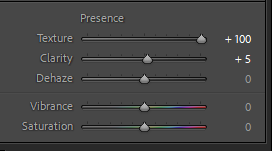
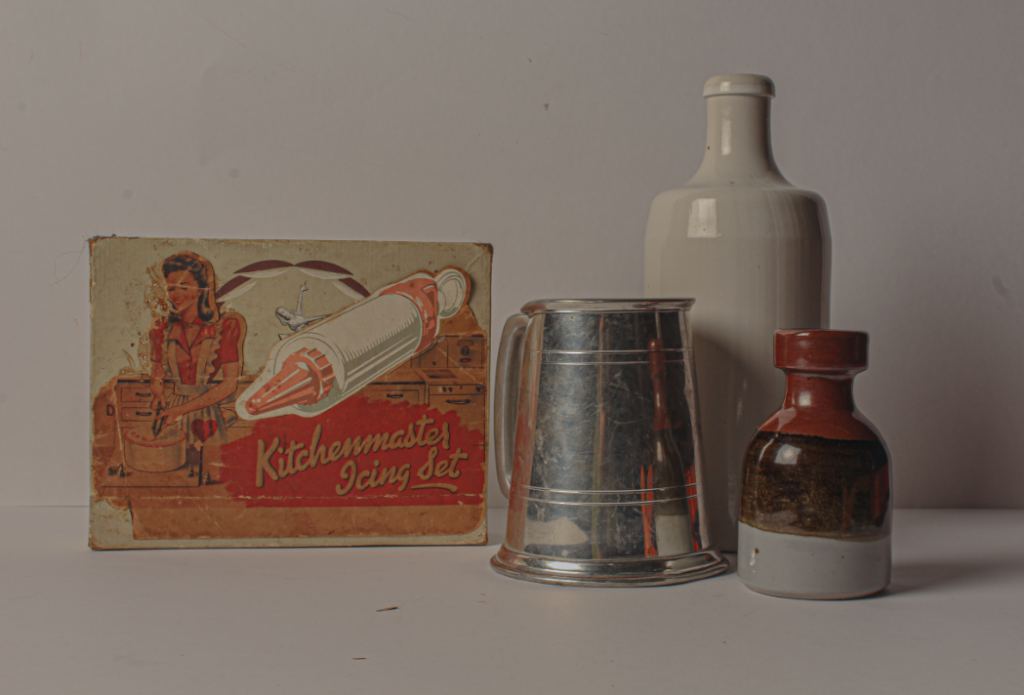
This is the image after adjusting the rest of the tone and presence sliders. I chose lift the orange tones in the shot, pulling both ends of the photo together. Texture is something I also increased as I like how the age can be seen in the tankard and icing set.
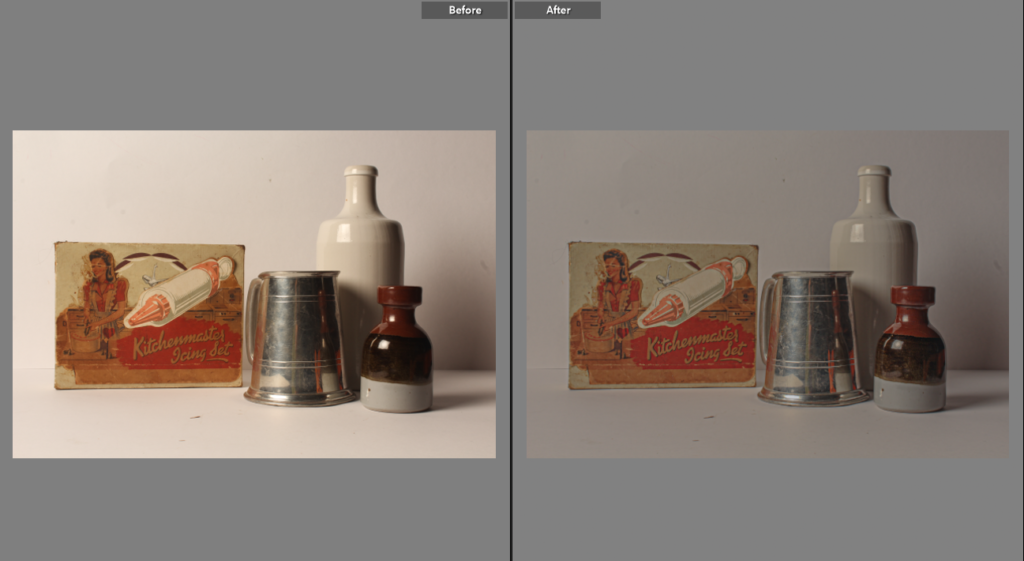
This is a before and after (without cropping) of the final image. The obvious differences are that the background is darker, this nicely complements the increased texture. The objects stand out more with their more true to life colourings brought out by the reduced highlights and increased black depth. The photo appears more intriguing to the viewer as the textures and better detail can be seen in the image, which is vital with a small depth of field and non contextual background.

Lovely photos well done. You can also expand this by showing various different editing options (black and white / sepia / colour) etc. Then selecting your preferred outcome.
https://hautlieucreative.co.uk/photo25al/2023/09/27/additional-editing/