For this photo I increased the aperture by a lot, Because of this the photo doesn’t have enough light and disables the natural colours and light in the photo. it makes the photo really dull and lifeless. It also gives the photo a ghost like tone to it which is no good. However the wide depth of field is perfect as my subject and background are both in focus.

In this photo, I decreased the aperture which made the photo over exposed and stripped the colours from the photo. it really highlighted the whites in the photo and hide the colours from the photo. This photo has a shallowe depth of field which means that some parts are much more sharper than other parts in the photo. This photo also has a lack of movement which can be improved by increasing the shutter speed.

For this photo I decreased the shutter speed which made the photo over exposed and stripped the colours from the photo. it really highlighted the whites in the photo and hide the colours from the photo. The photo has a shallowed depth of field which means that some parts are much more sharper than other parts in the photo. This photo also has a lack of movement which can be improved by increasing the shutter speed.
For this picture I increased the shutter speed by a lot which made the white in the photo very apparent and overly exposed which made the picture washed out. The photo has a shallowed depth of field which means that some parts are much more sharper than other parts in the photo. In such slow shutter speed I need to have something to steady the camera to prevent the photo from not capturing any type of movement.

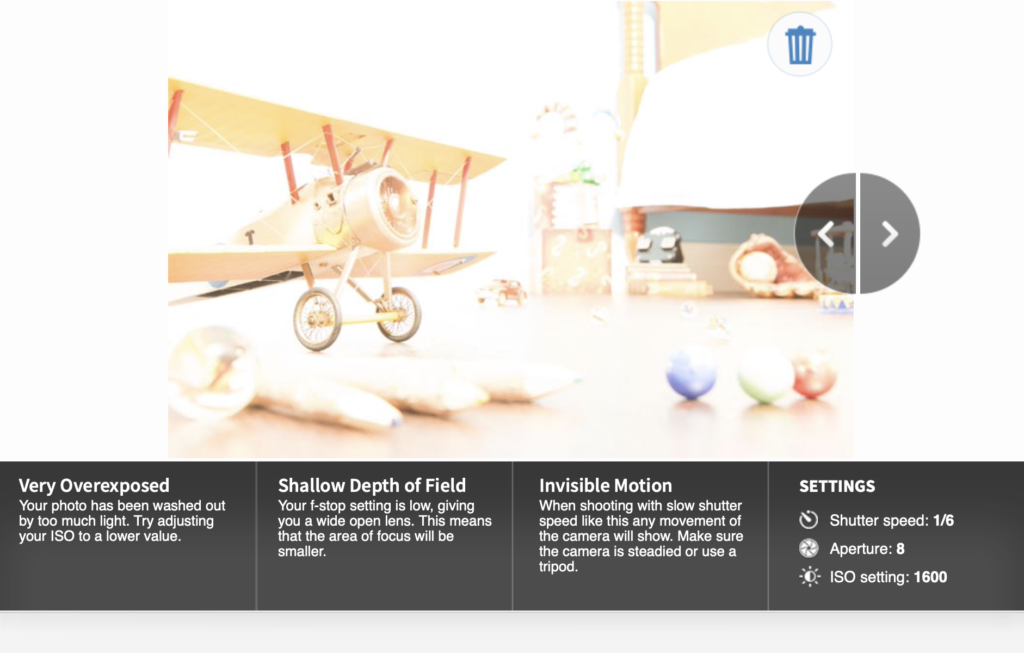
For this photo, I increased the ISO by a lot which made the photo very overexposed and extremely white washed. In this photo it has shallowed depth of field but instead of sharpening some parts of the photo it isolated the subject from the background. The shutter speed needs to be decreased so that it doesn’t make the photo ghost like.

For this photo I decreased the ISO which made the photo very underexposed and made the photo very ‘dead’ like. There wasn’t enough light in the photo to actually show the details of the background and in general objects. Because this photo has a shallowed depth of field it gives a wide open lens which means that the area of focus will be smaller therefore not showing enough details. In such slow shutter speed I need to have something to steady the camera to prevent the photo from not capturing any type of movement.
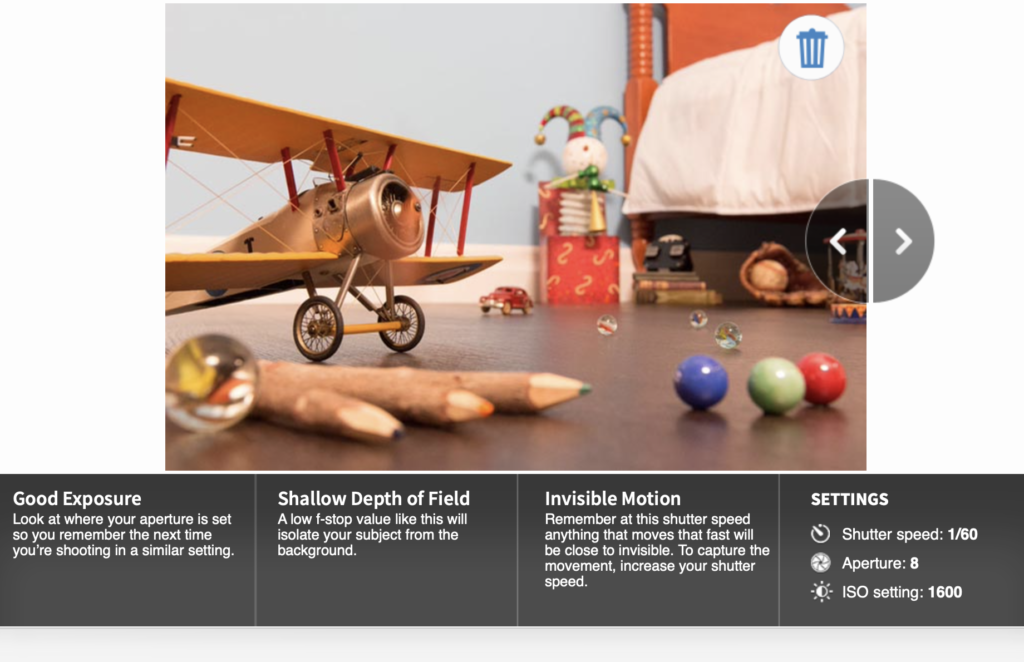
For this photo I left the aperture on 8 kept the shutter speed at 1/60 so quite balanced, and I kept the ISO setting balanced too (1600). The aperture gave the photo good exposure, the ISO setting gave it isolated my subject from the background so need to be improved and then the shutter speed needs to be increased to capture more movement.

For this photo, I kept the aperture the same as the photo above (8) but increased the shutter speed (1/180) and ISO (6400). With a slow shutter speed I need to have something to steady the camera to prevent the photo from not capturing any type of movement. The photo has a shallow depth of Field so which makes the area of focus smaller so it the ISO needs to be decreased.

For this photo decreased the shutter speed (1/250) kept the aperture the same as above (8) and kept the ISO setting the same as the photo above (6400). The ISO gives the photo good exposure. The aperture gives the photo a shallowed depth of field which make the subject the centre of attention and the background not as relevant which is okay so aperture will stay like that. The shutter speed is set at a good speed because it captures some movement.
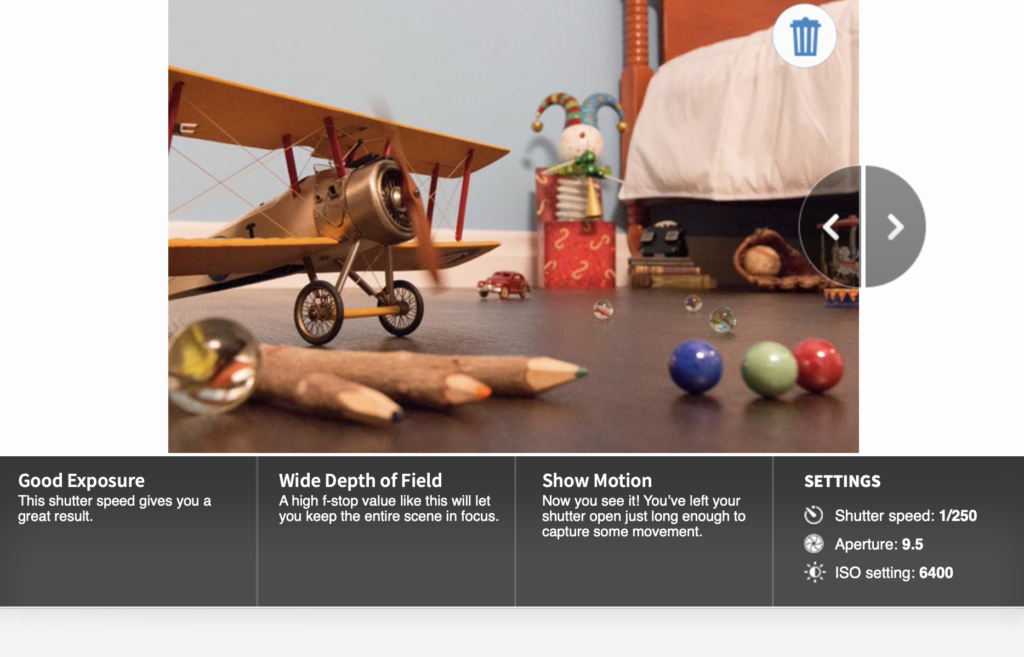
For this photo I managed to perfect every single setting which made the photo perfect. I decreased the shutter speed at 1/250, the aperture at 9.5 so I increased aperture which I thought wouldn’t help but actually helped a lot, and I increased the ISO setting to 6400. Decreasing the shutter speed to 1/250 helped capture lots of the movement without making the movement too blurry. Increasing the aperture to 9.5 helped give the photo a wide depth of field which helped keep the entire scene in focus. Increasing the ISO setting to 6400 helped give the photo the enough amount of light, darks, shade, highlights and colour. I think this picture looks great.
ALL THE STUDIO SET UPS AND LIGHTING ARRANGEMENTS THAT WE HAD AVAILABLE.
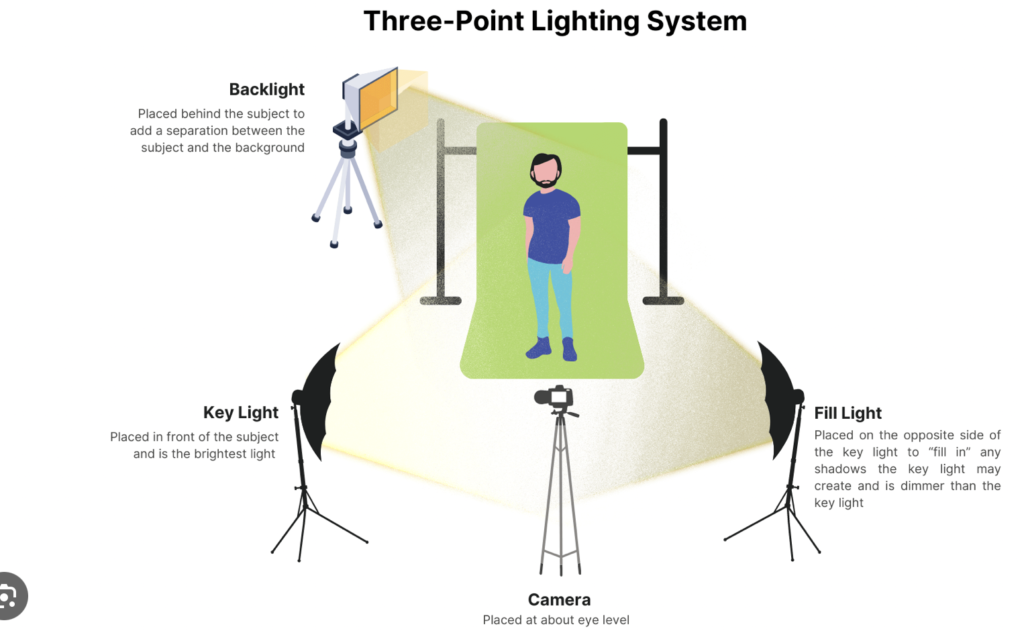
1,2,3 point lighting
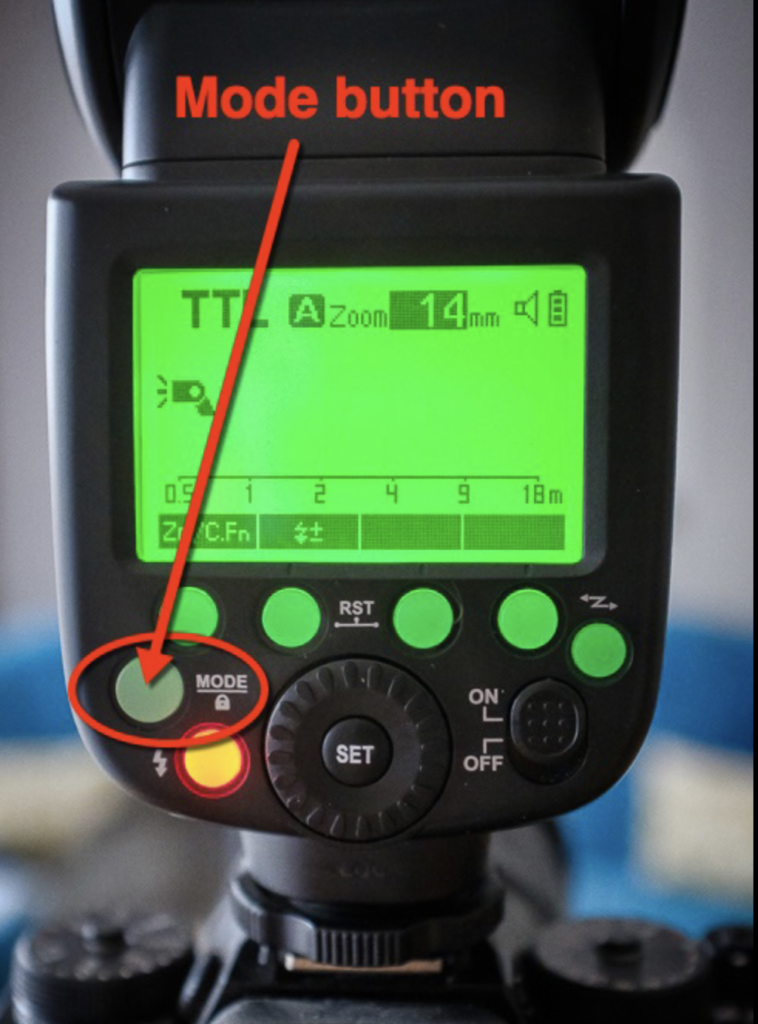
flash setting
Static / continuous lighting

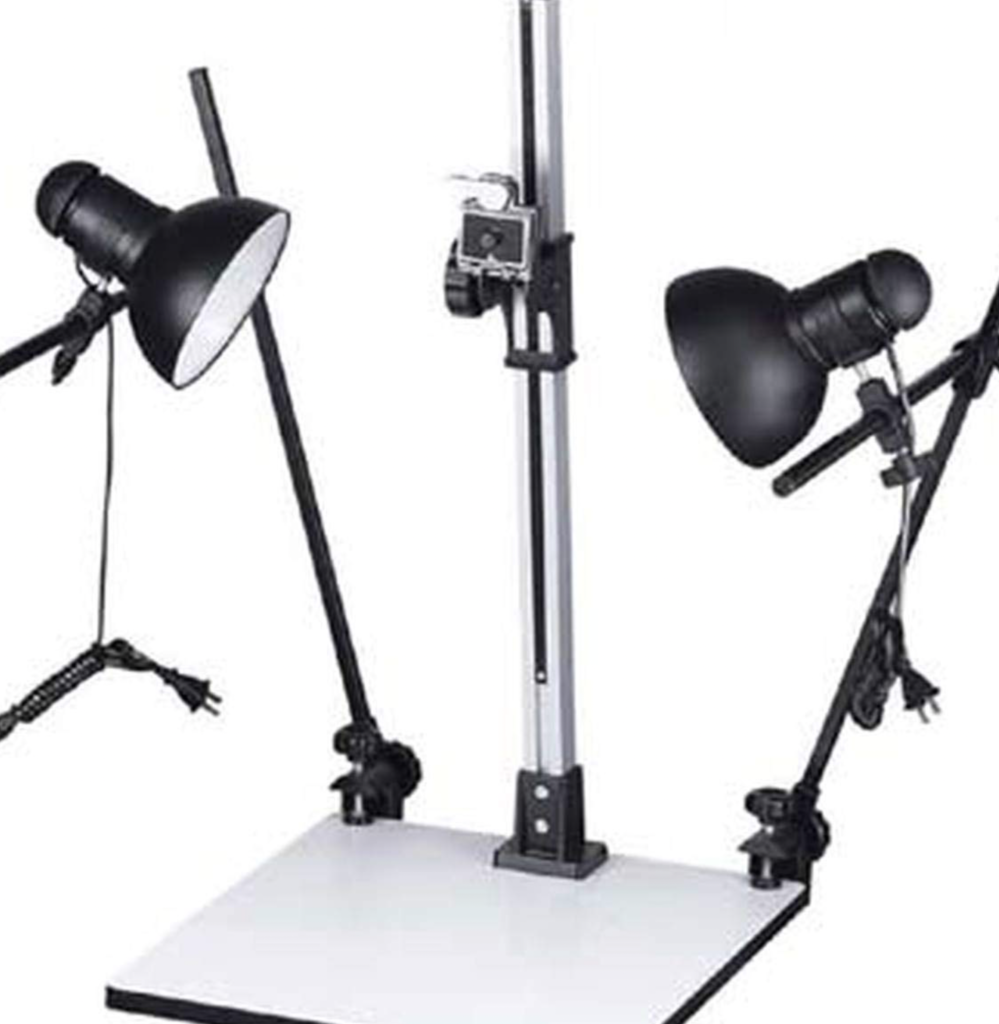
Copy-stand
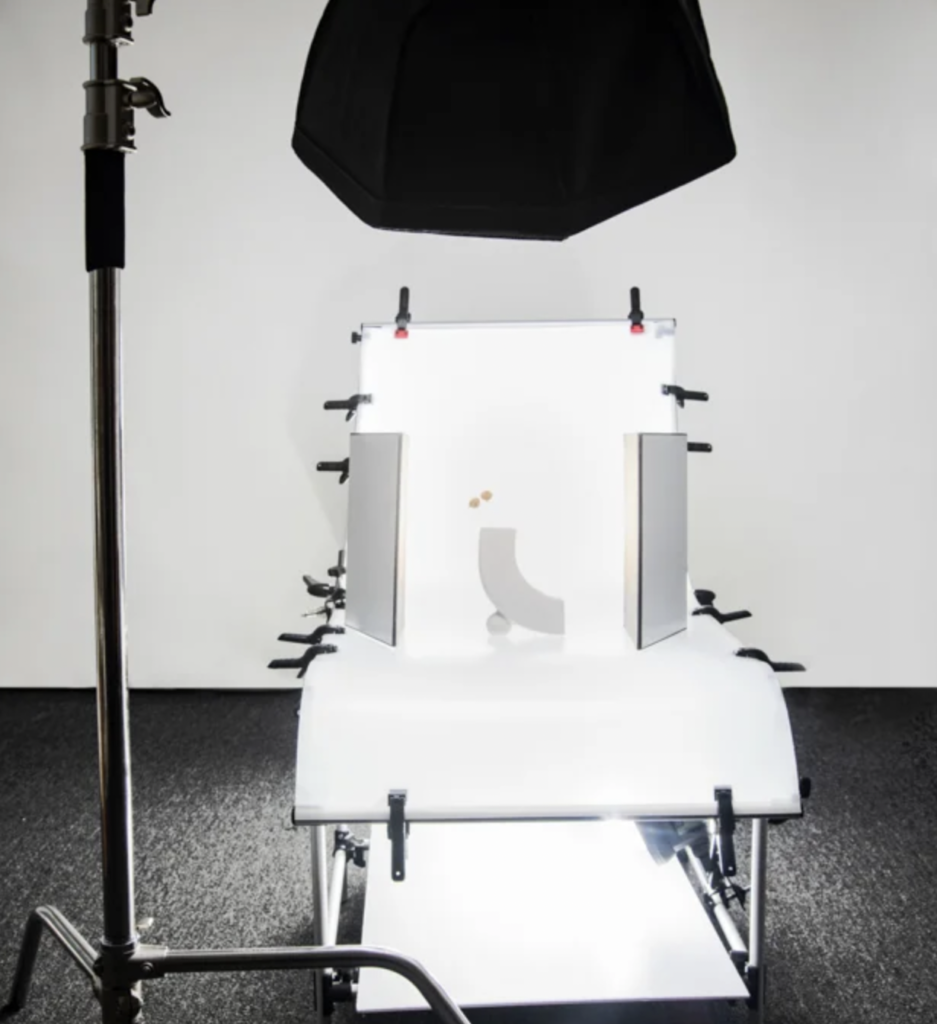
Infinity Screen
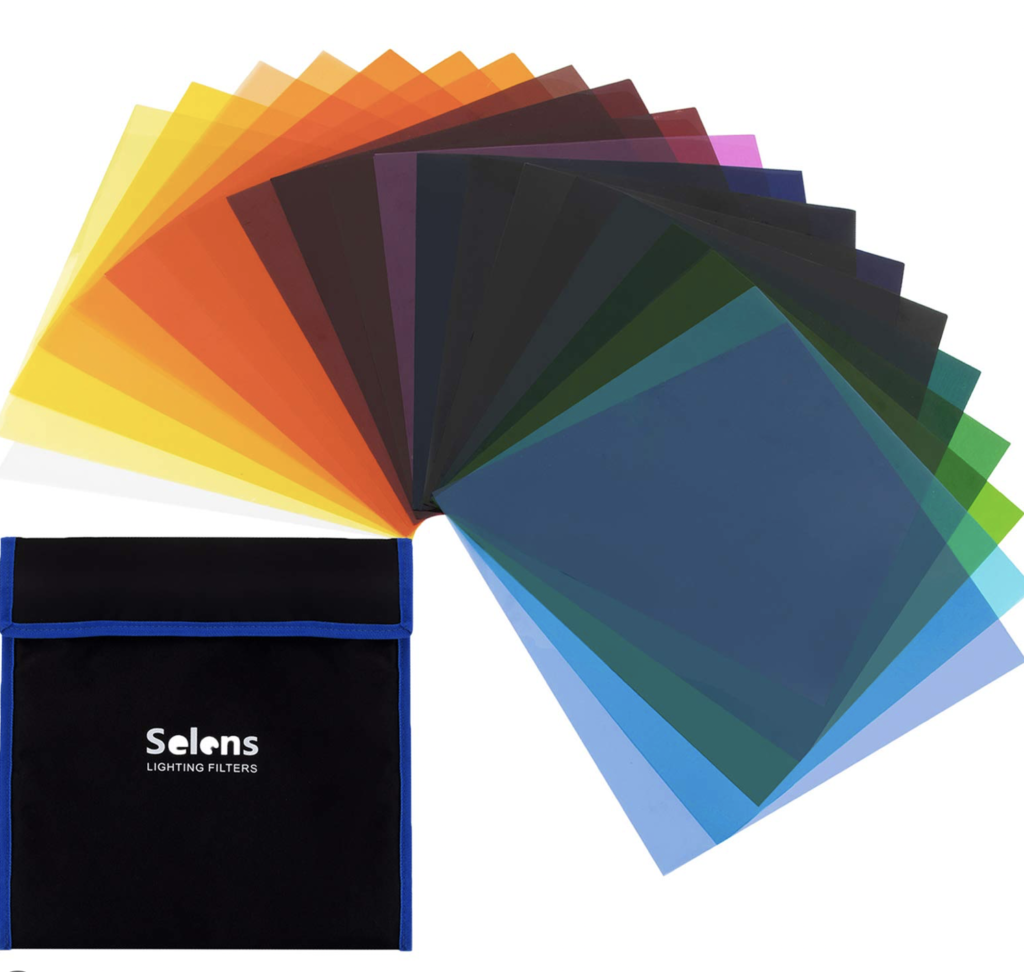
Coloured gels / filters
ACTUAL CAMERA USED (canon 1300 D)

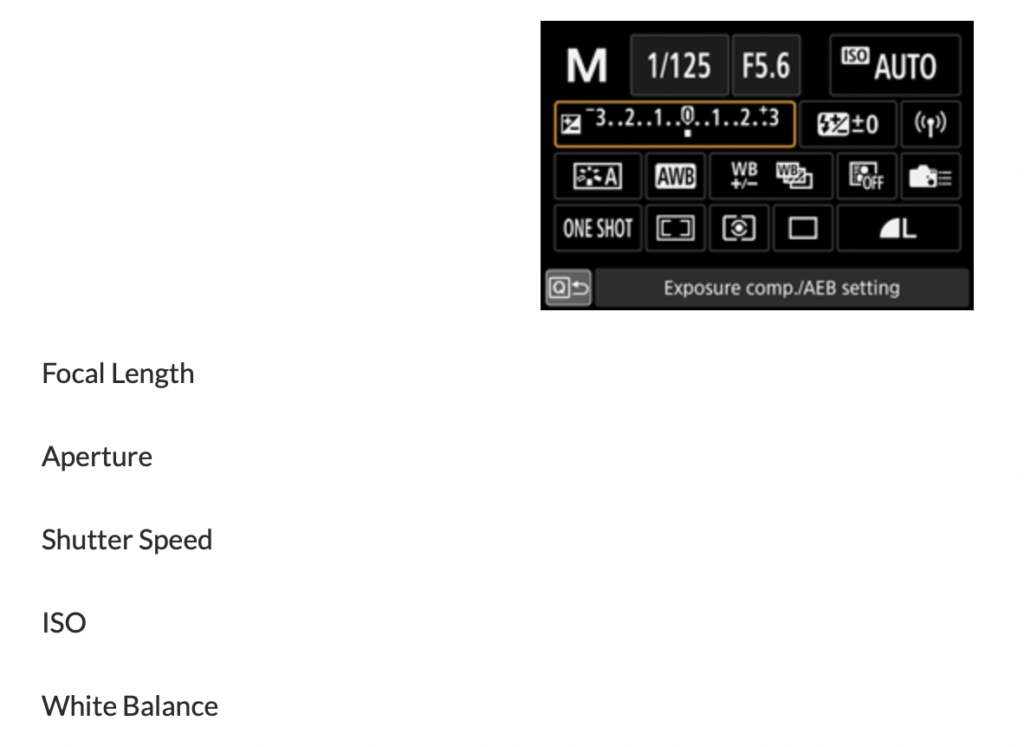
CAMERA SETTING AND EXPOSURE VALUES