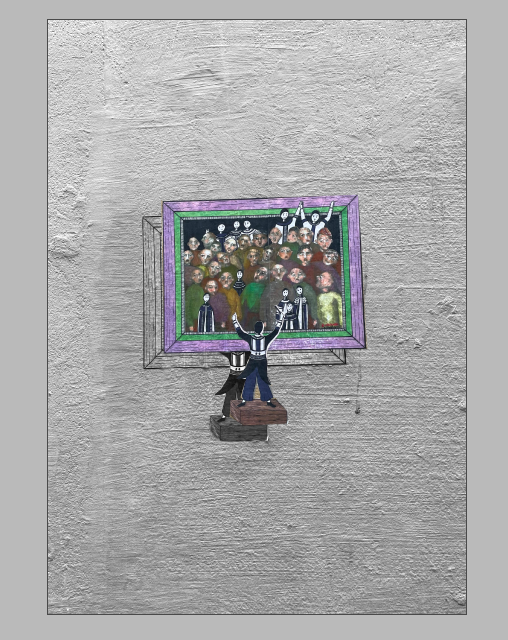
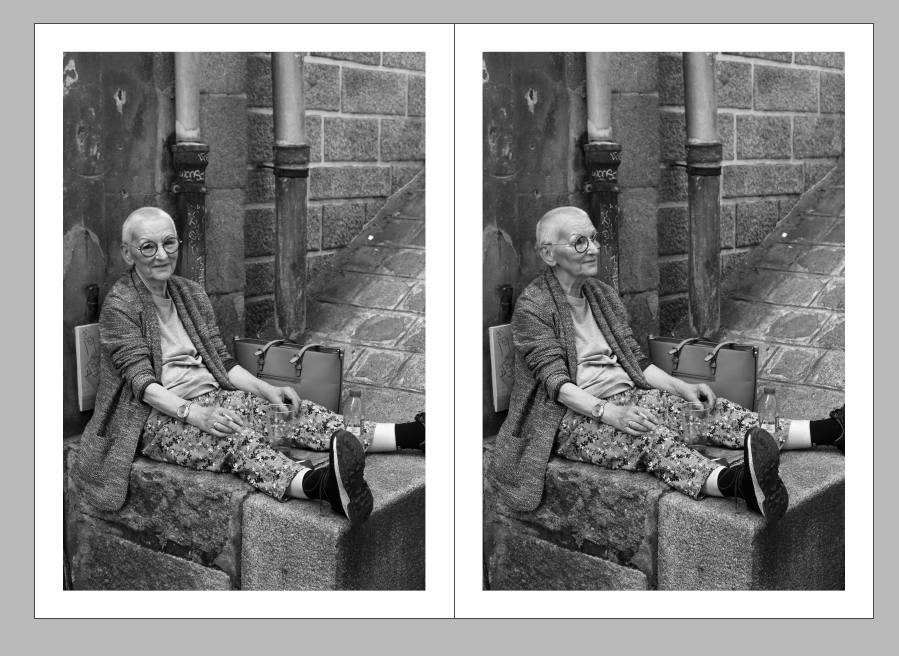
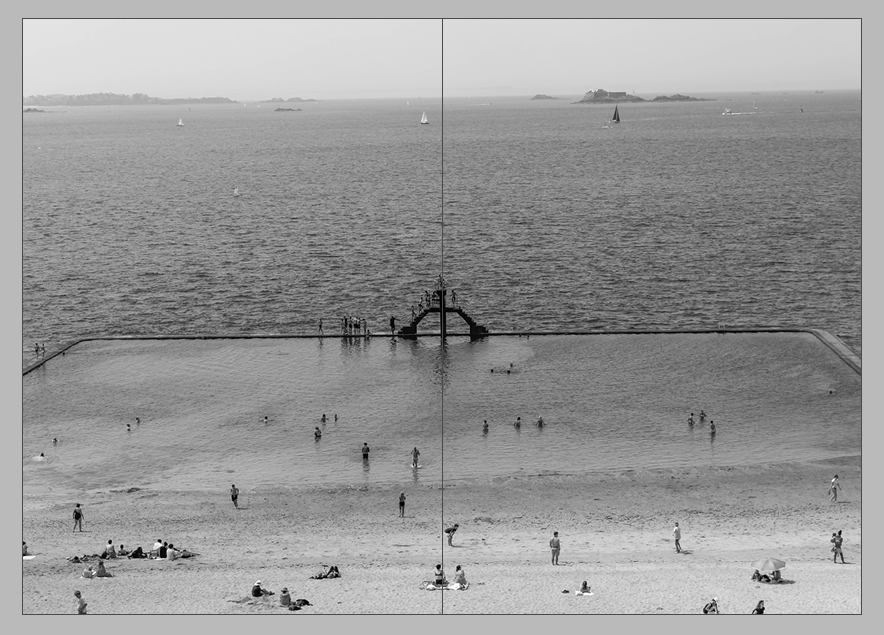
Zine Design & Layout
Audio Editing
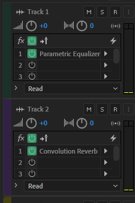
Using Adobe Audition, I created soundscapes for our Elizabeth Castle film, one with sound of the sea and the other with sounds you may have heard in the bunkers during the German Occupation including a german radio.

I made these using the multitrack function, adding and editing different audio files to make the soundscape sound the best it can.
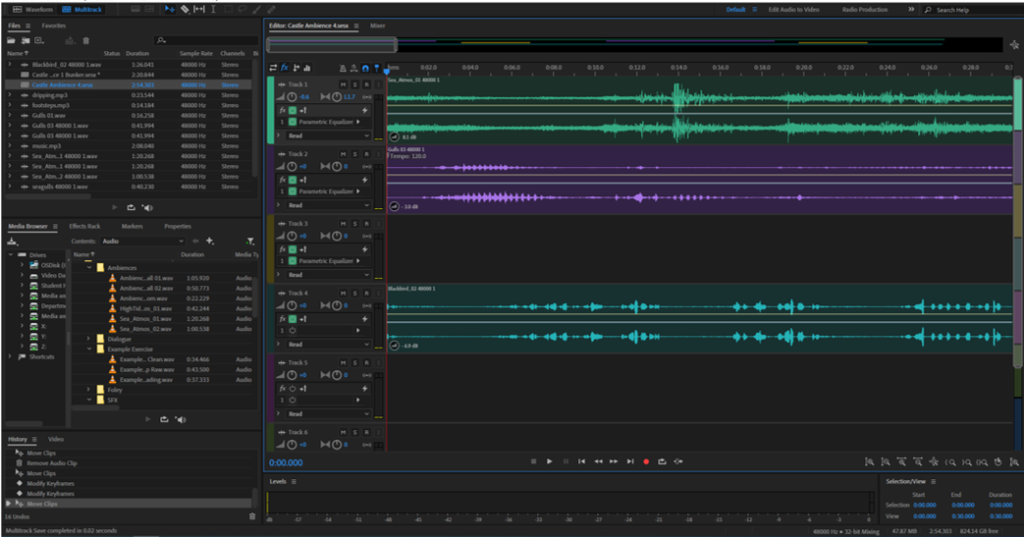
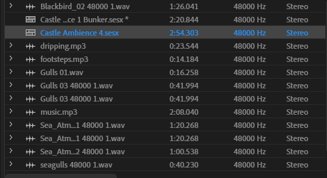
All the different audio files used are stored in the files section or the “bin”, then being dragged over to the mixer to create the soundscape.
To change audio volume and add effects to each sound file I used Parametric Equalizer (PEQ) and Convolution Reverb, I did this especially in the bunker soundscape to make it more eerie and echoed.
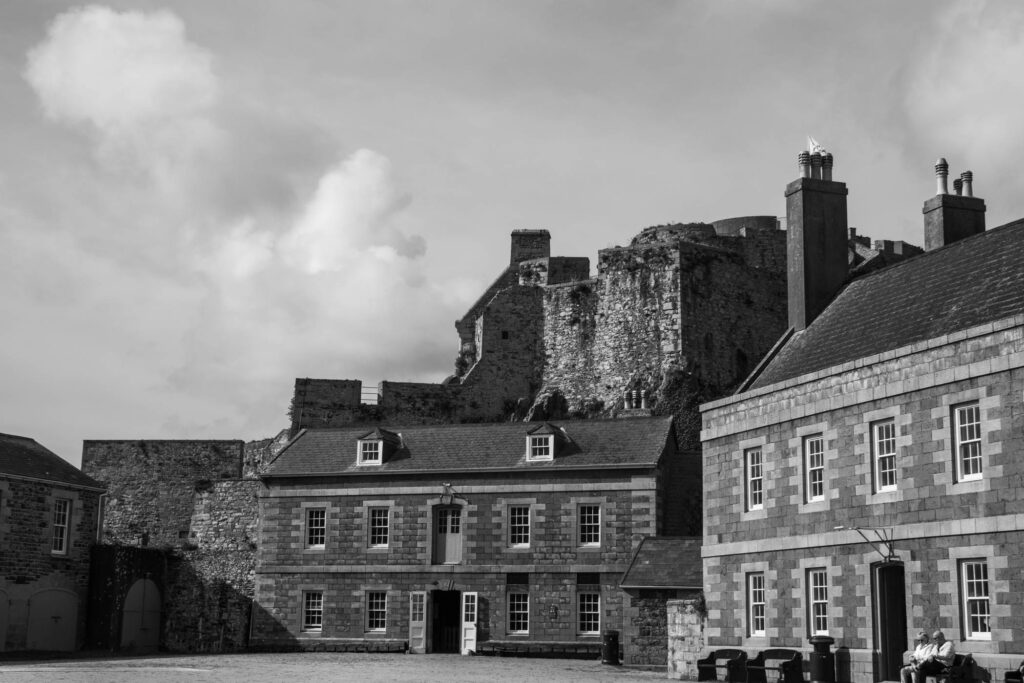
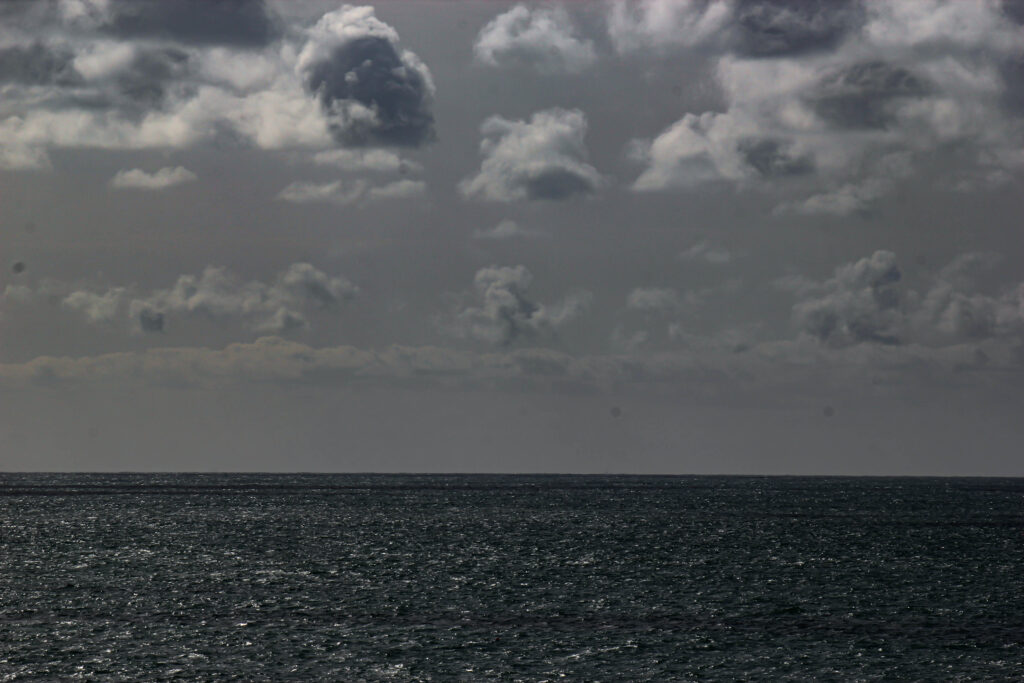
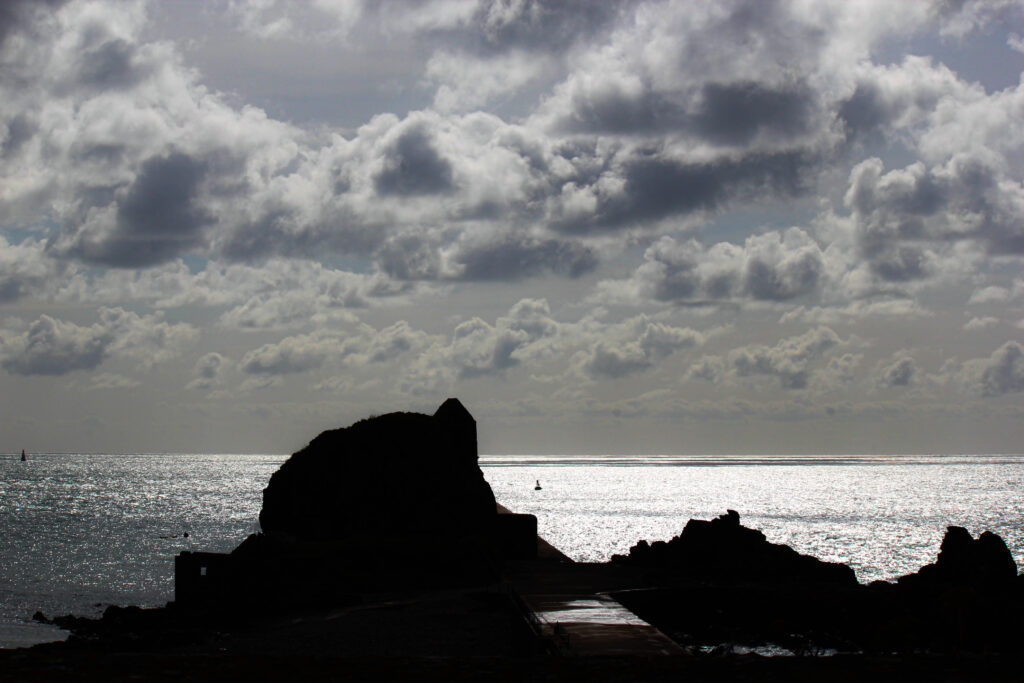
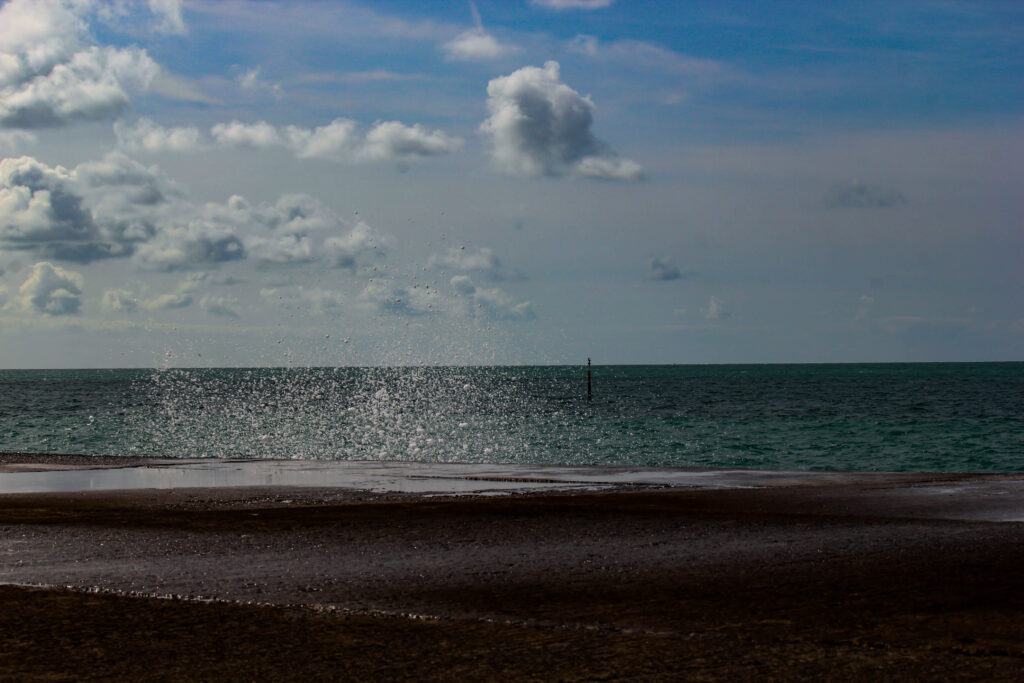
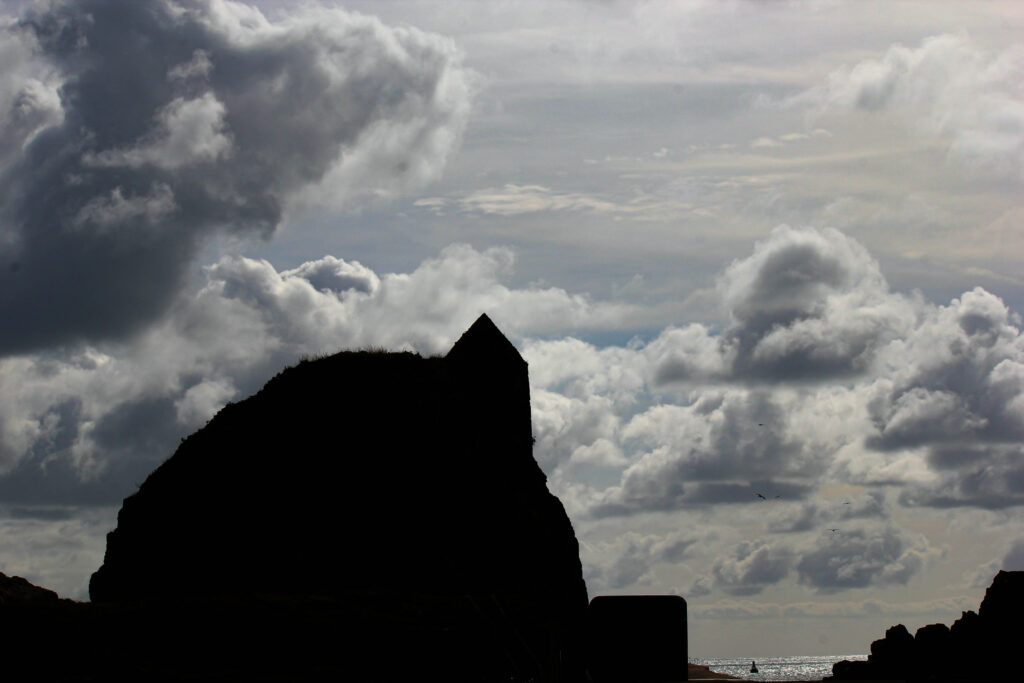
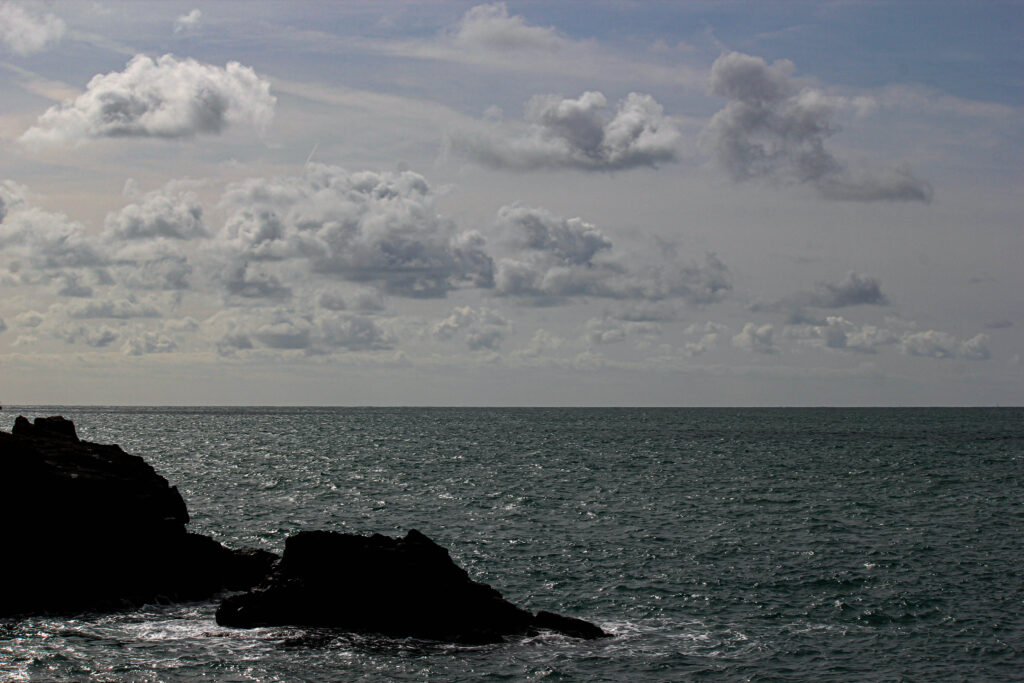
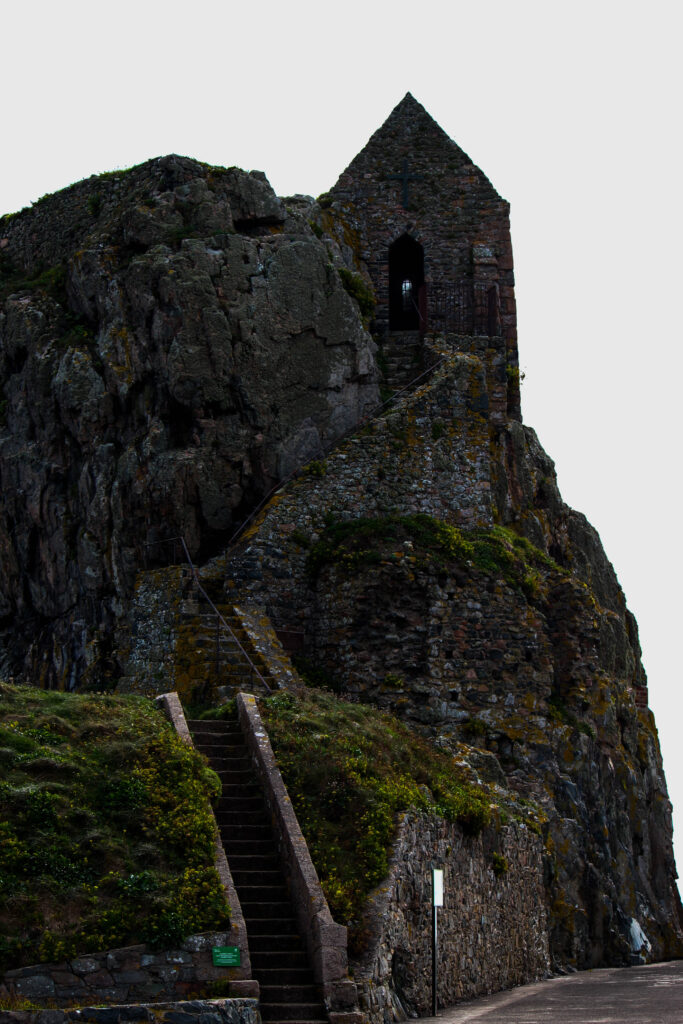
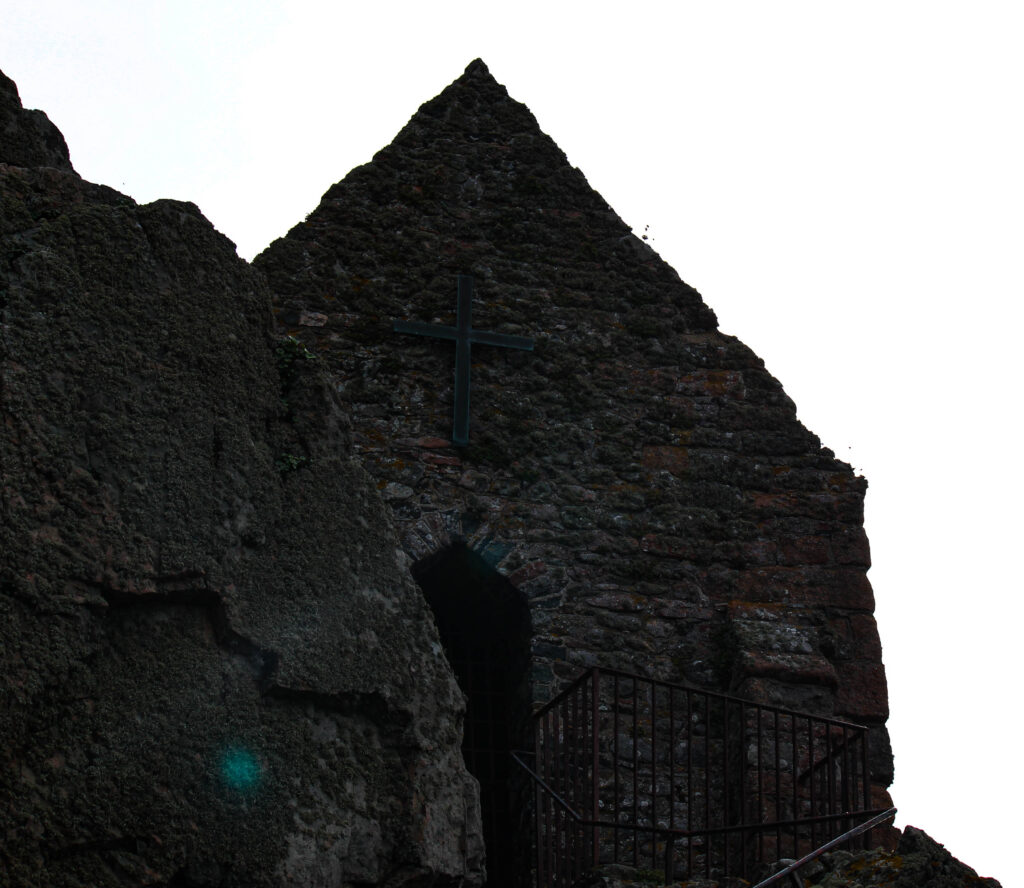
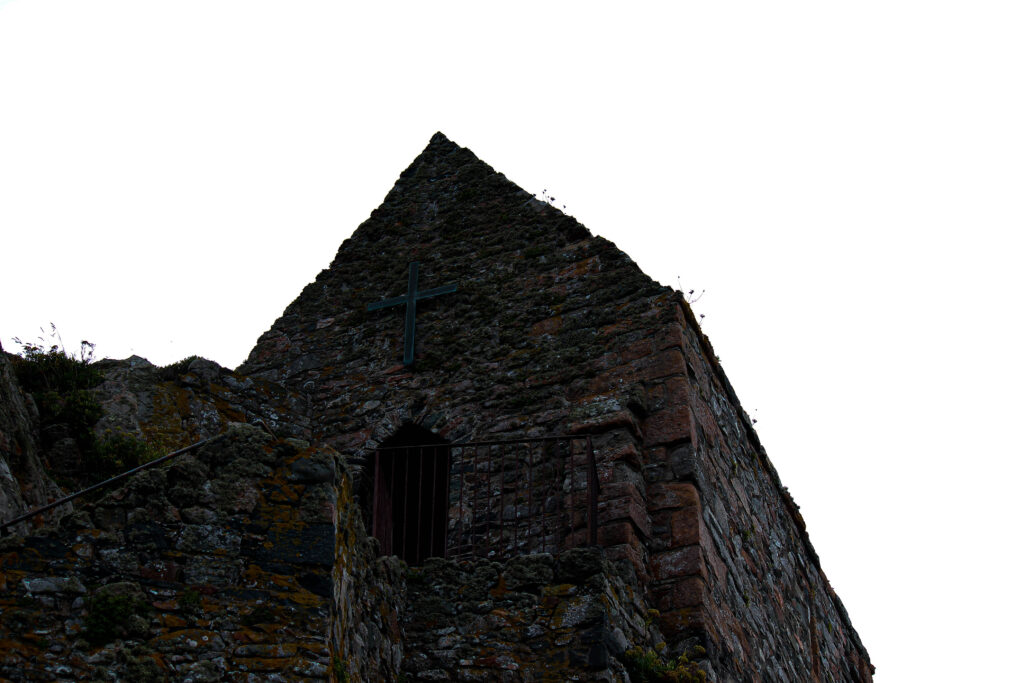
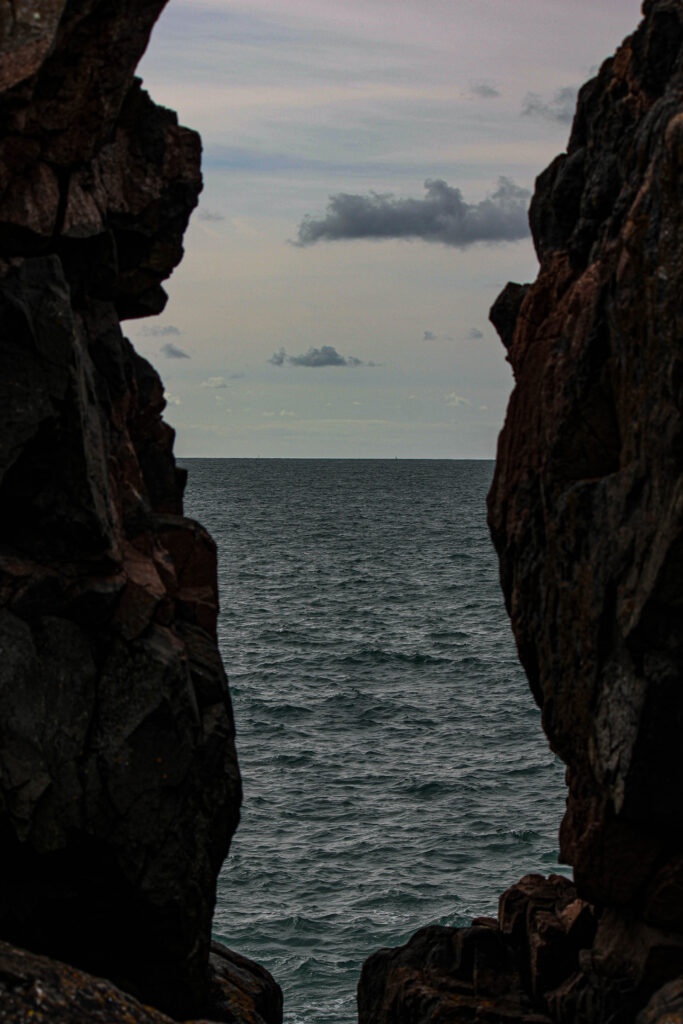
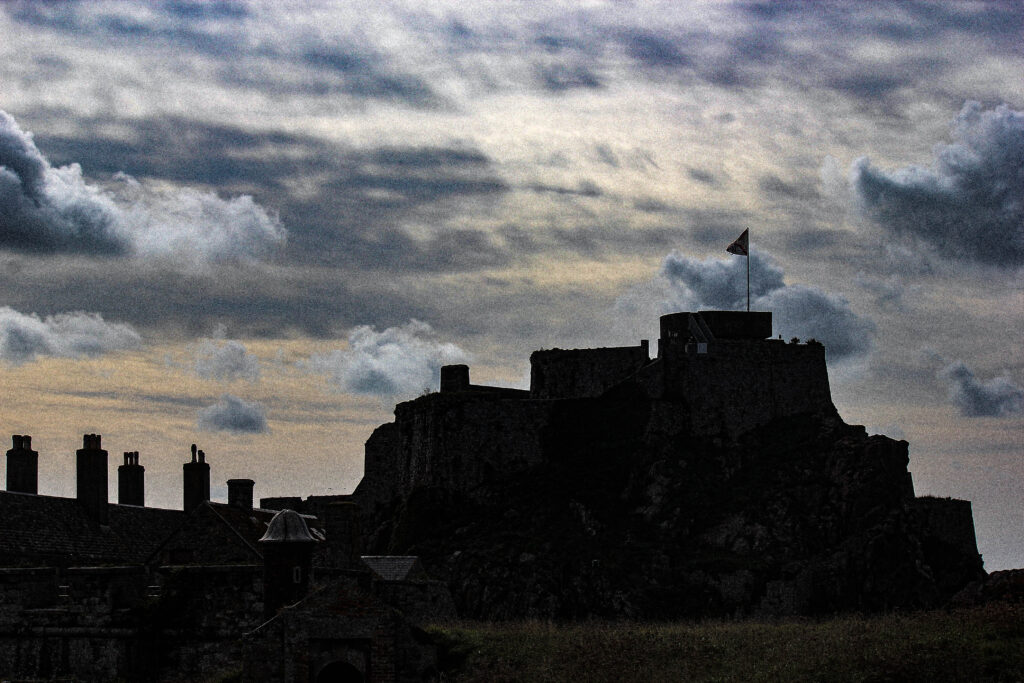
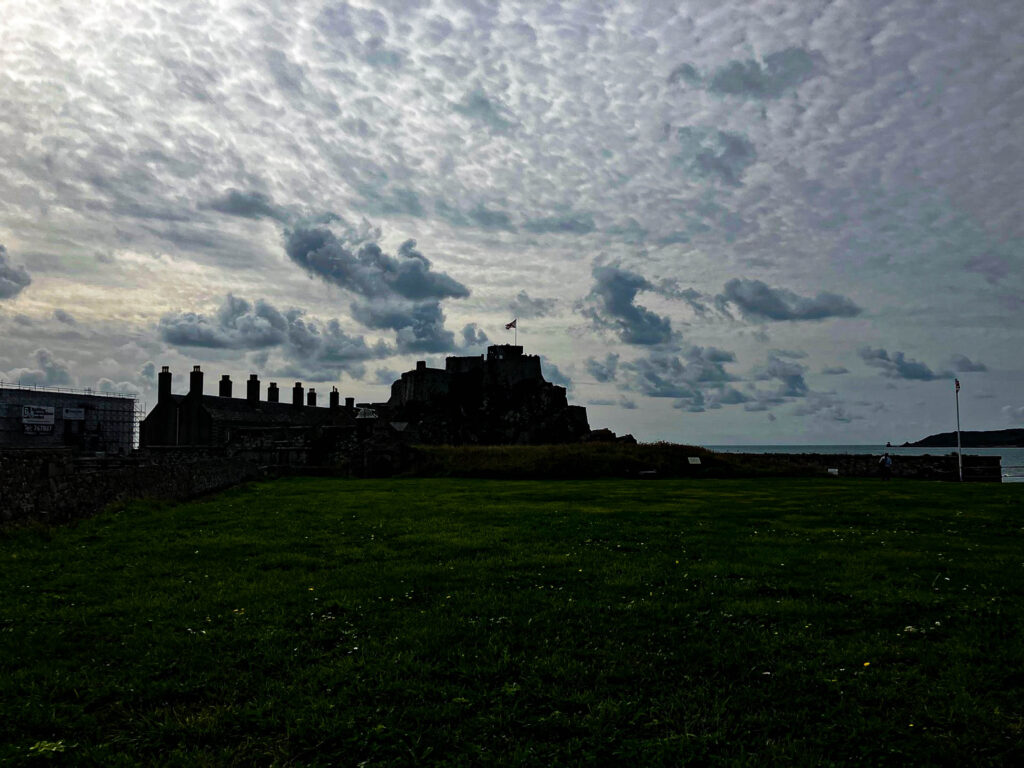
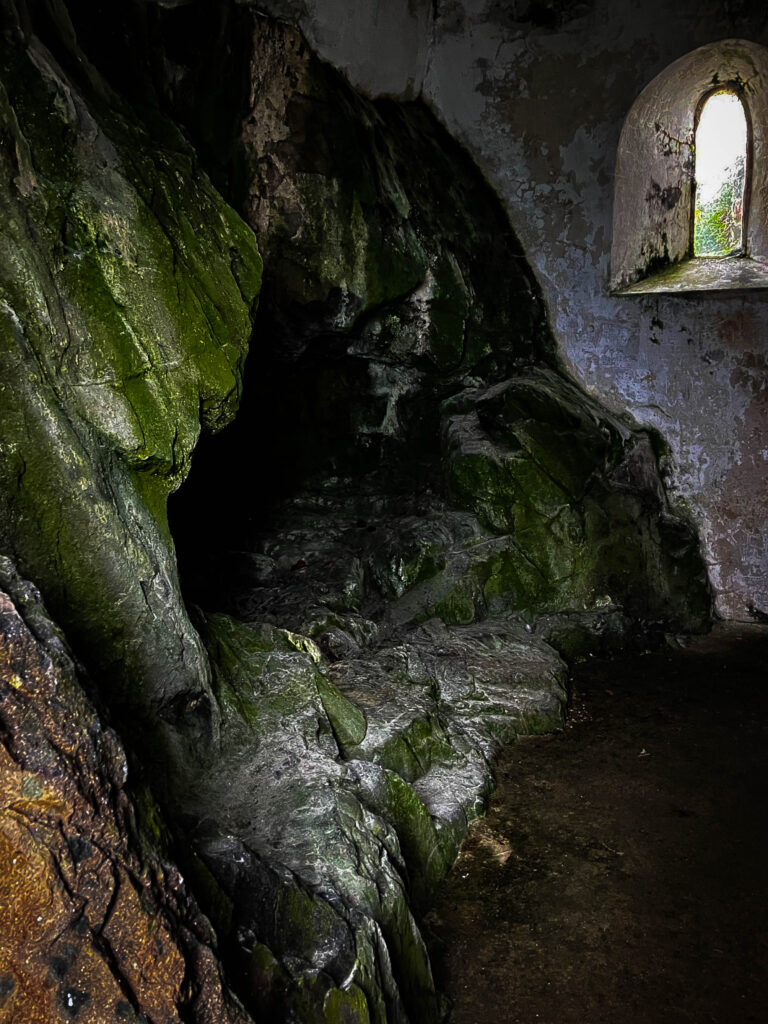
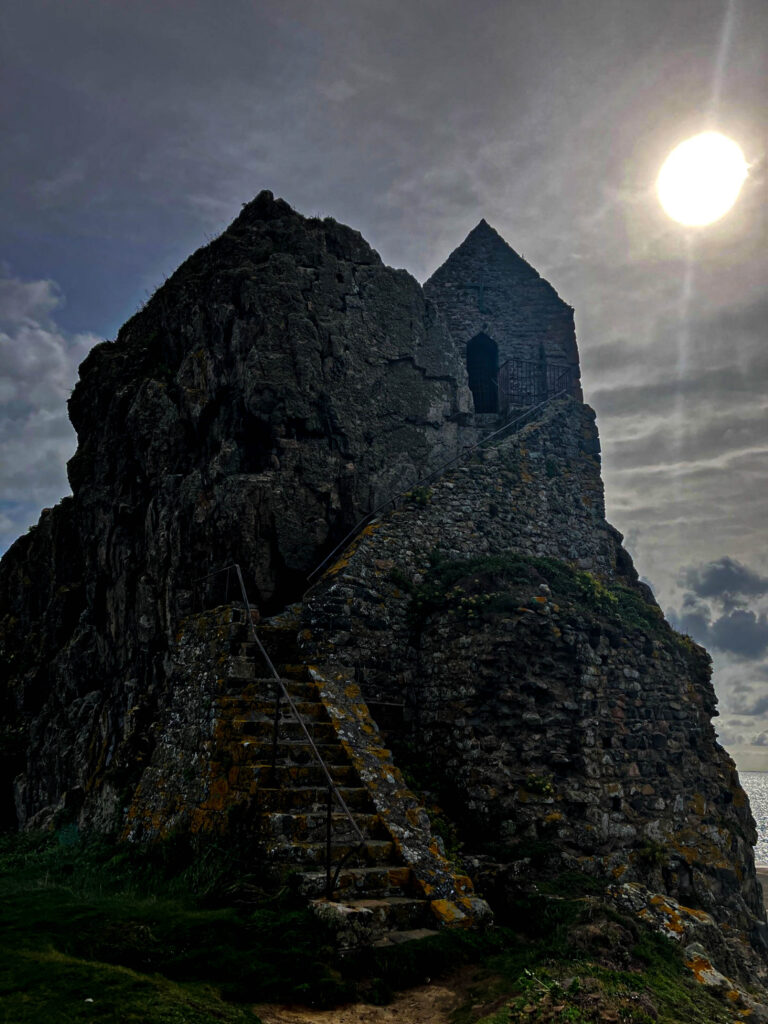
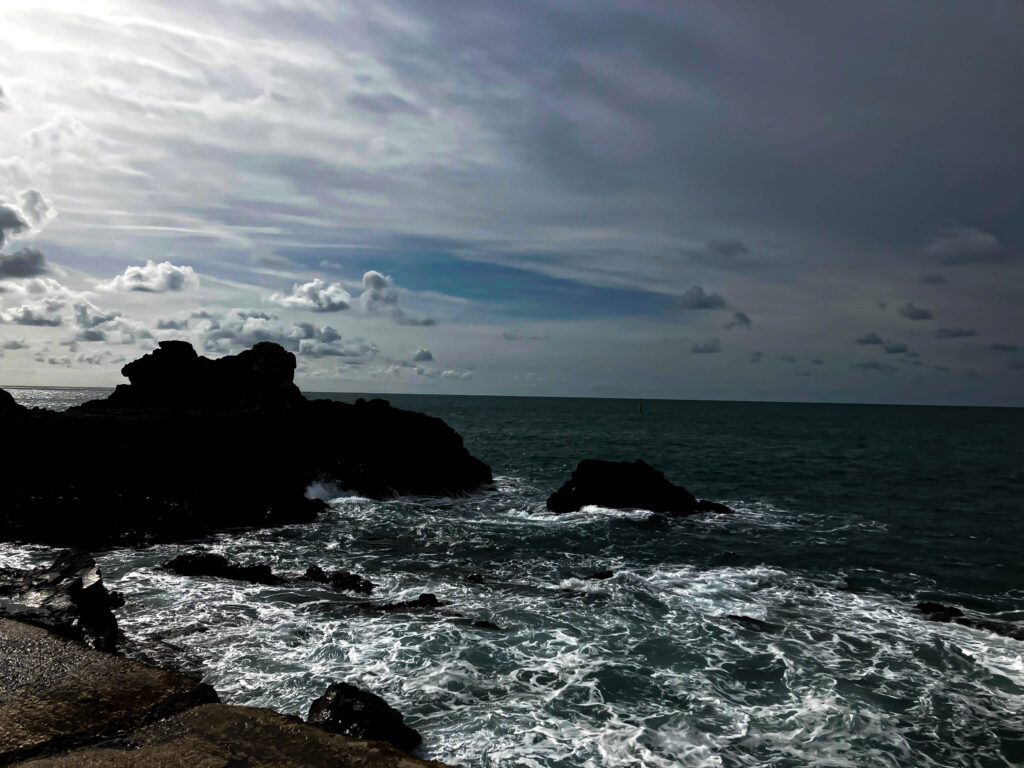
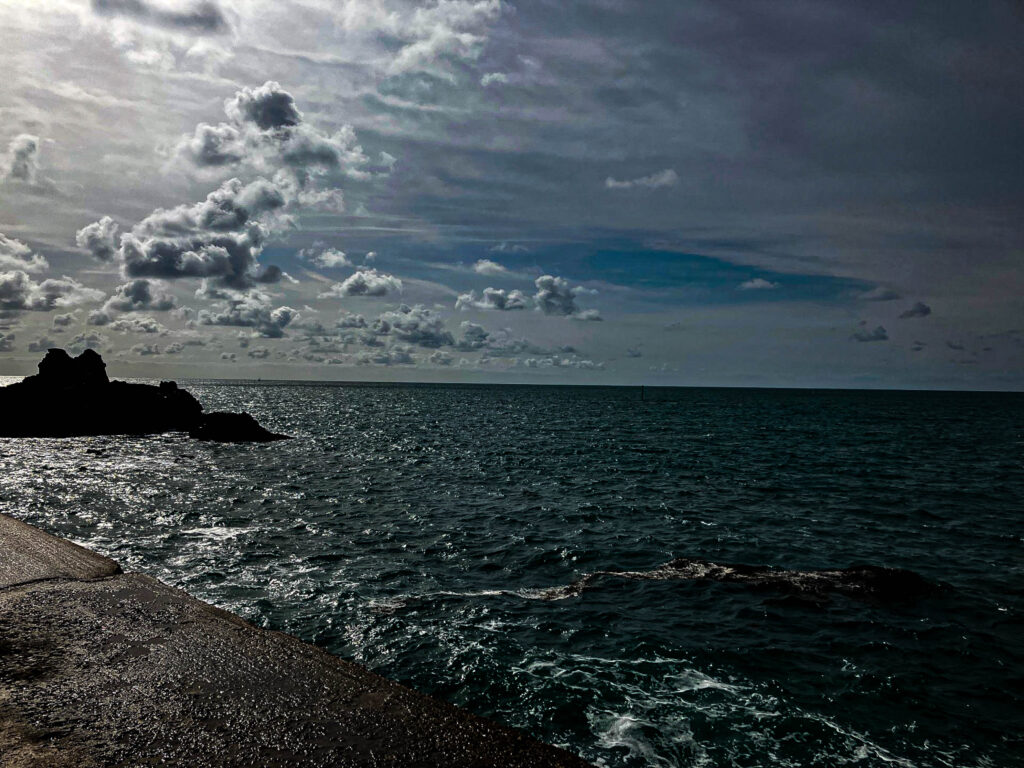
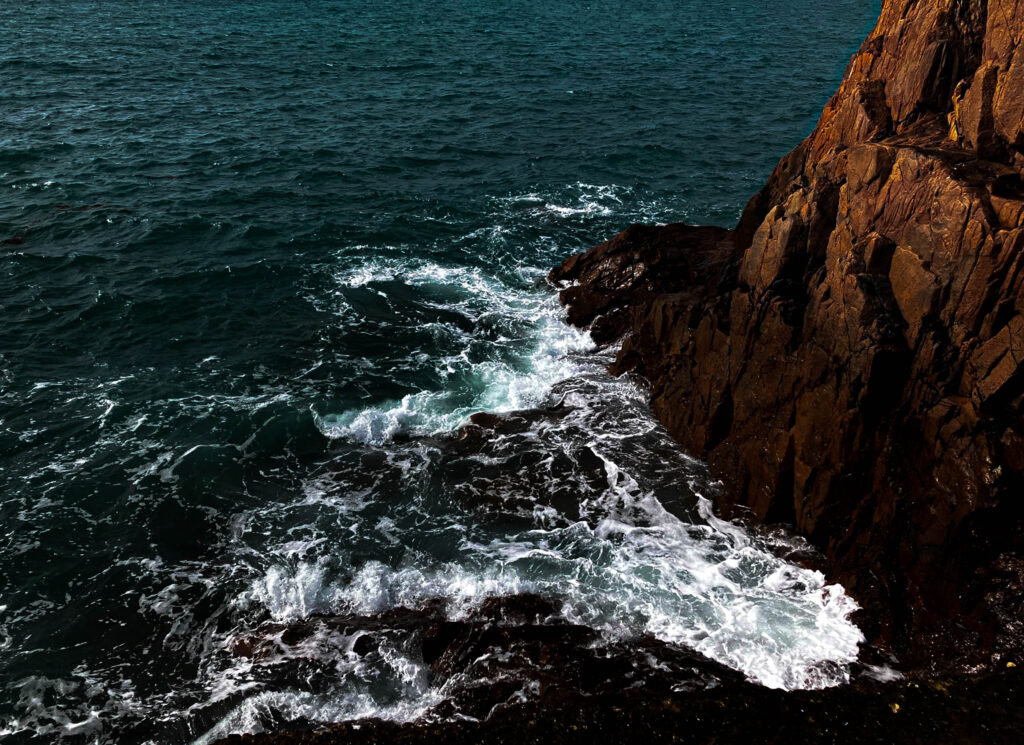
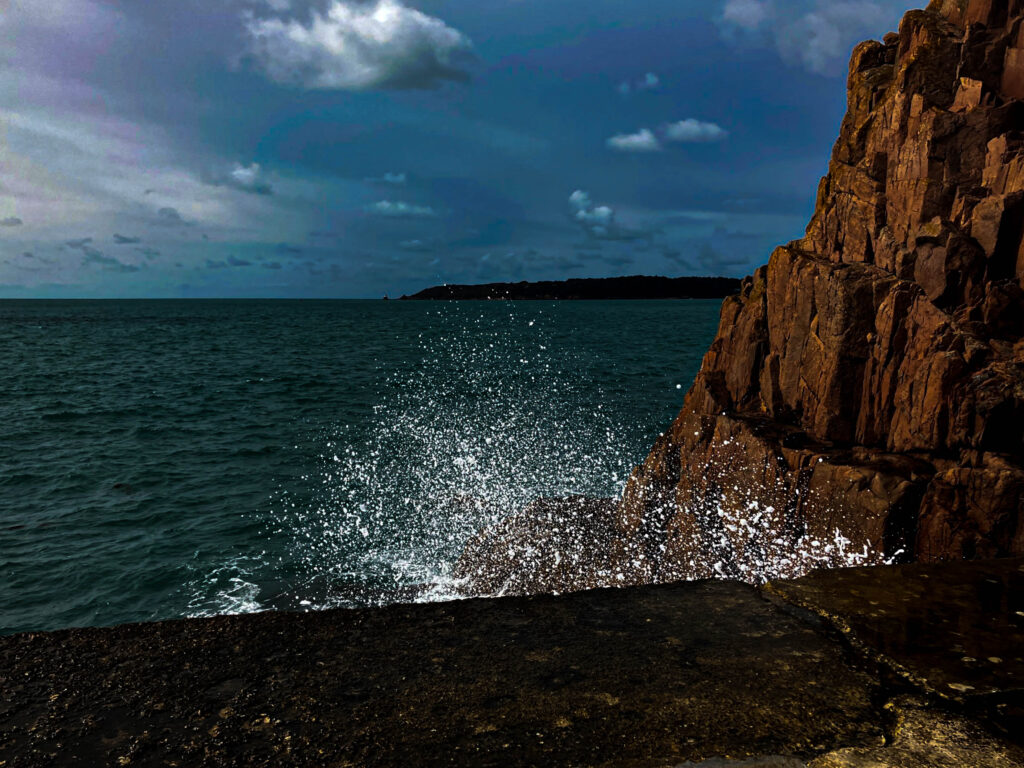
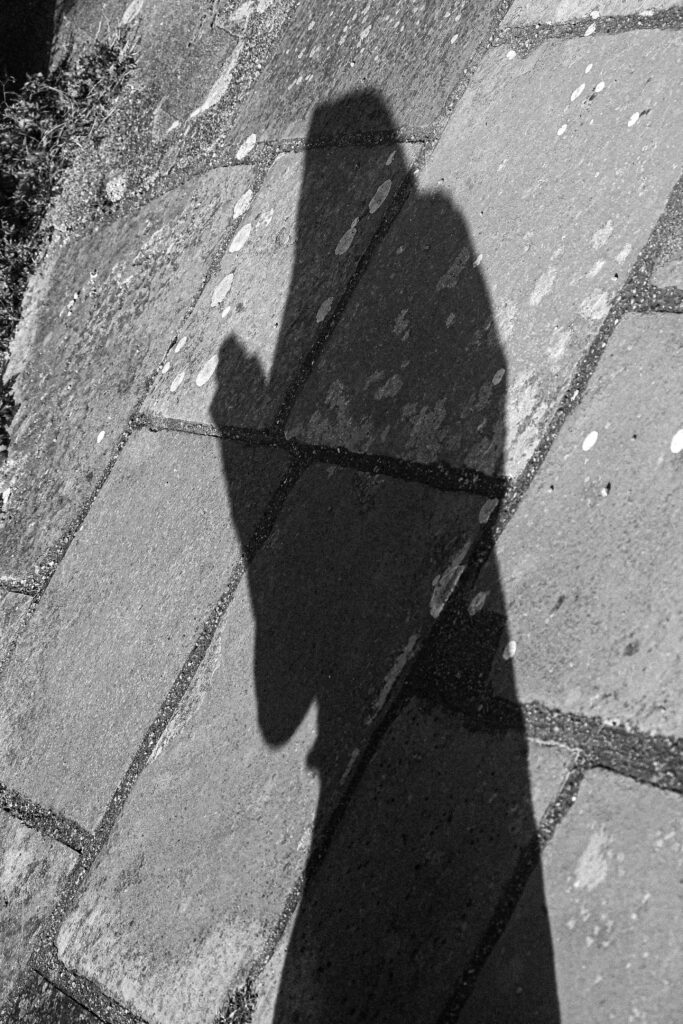
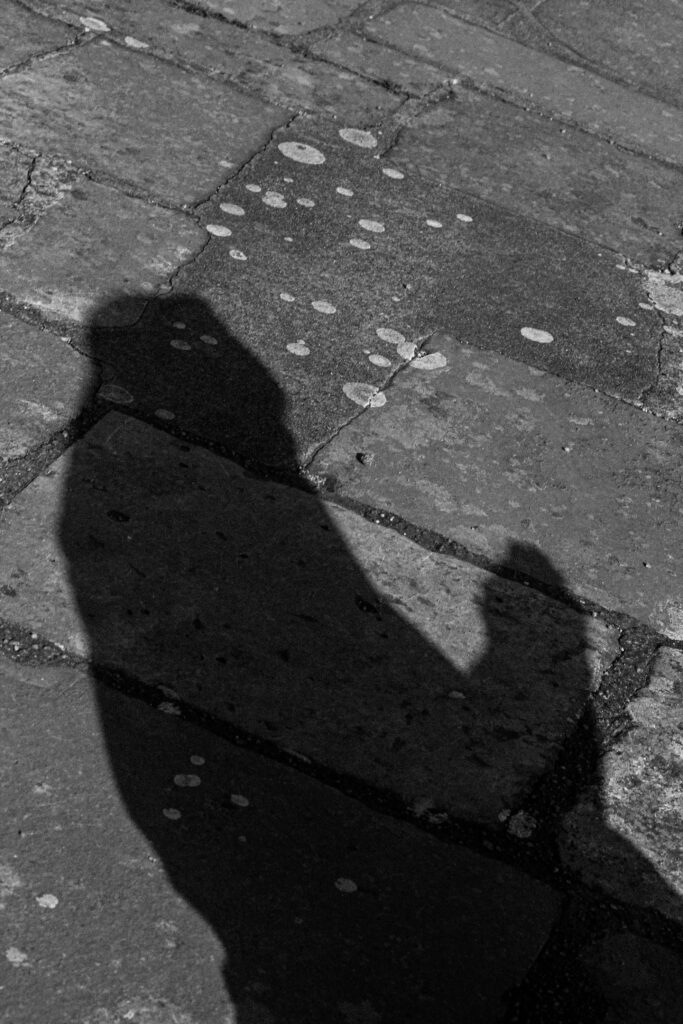
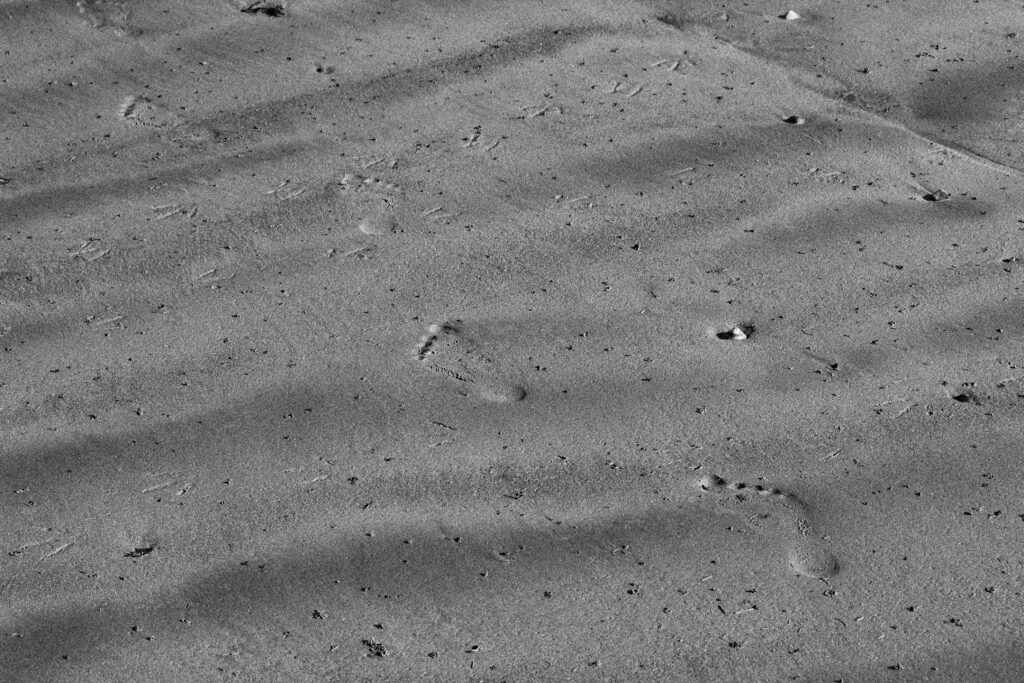
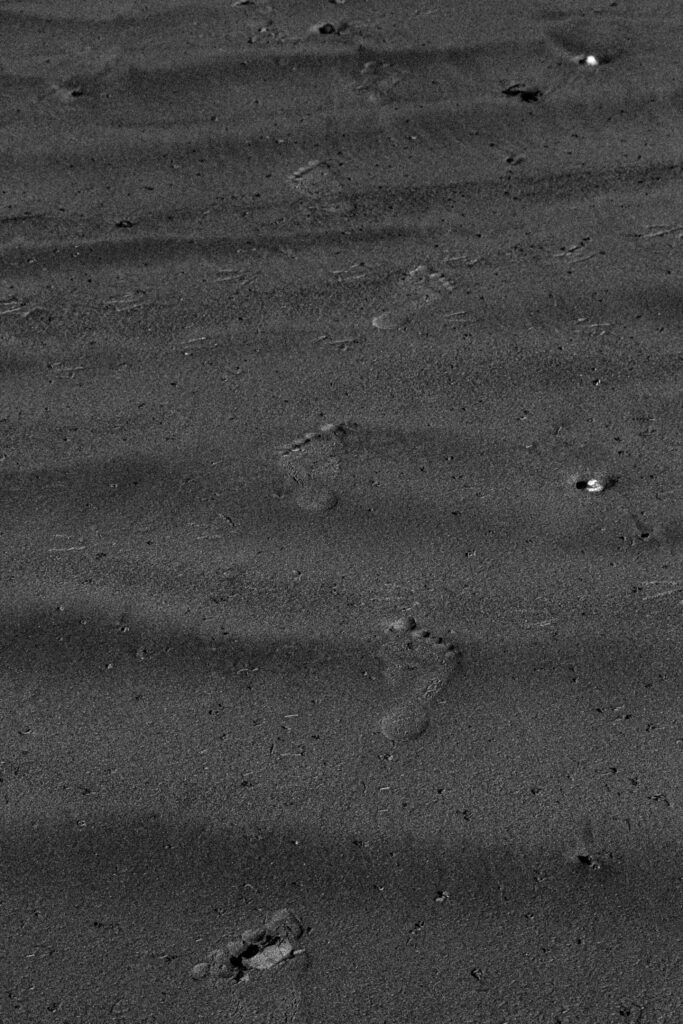
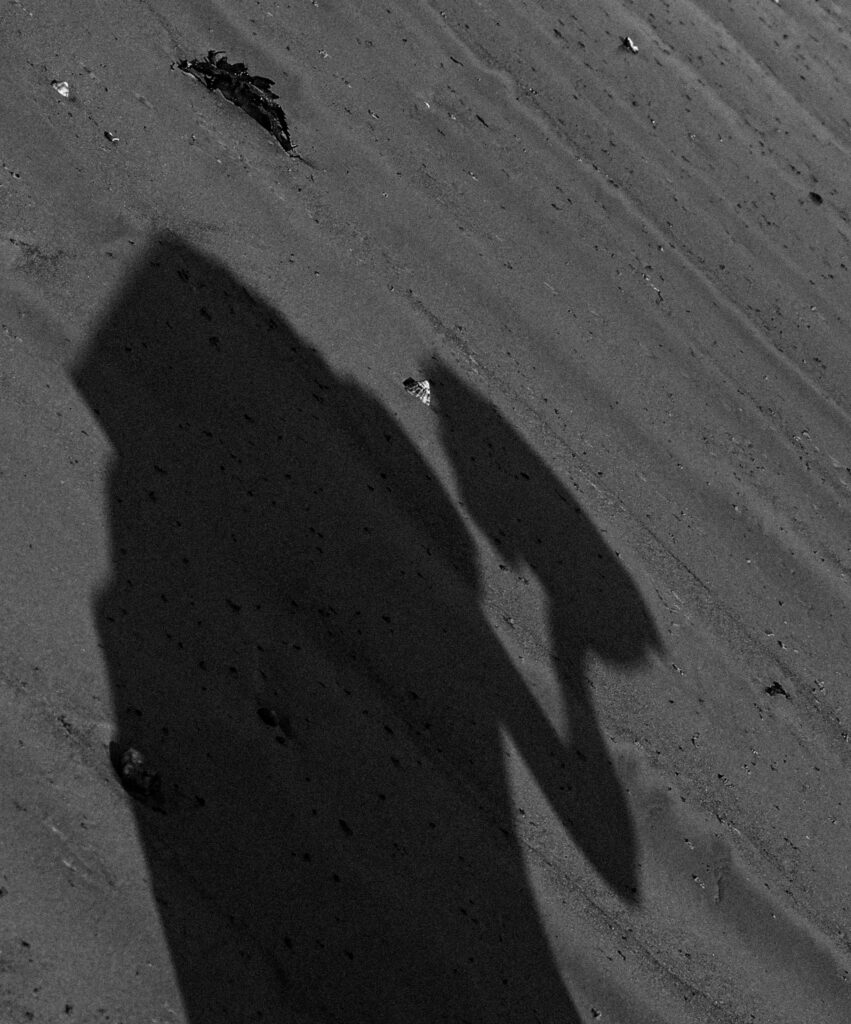
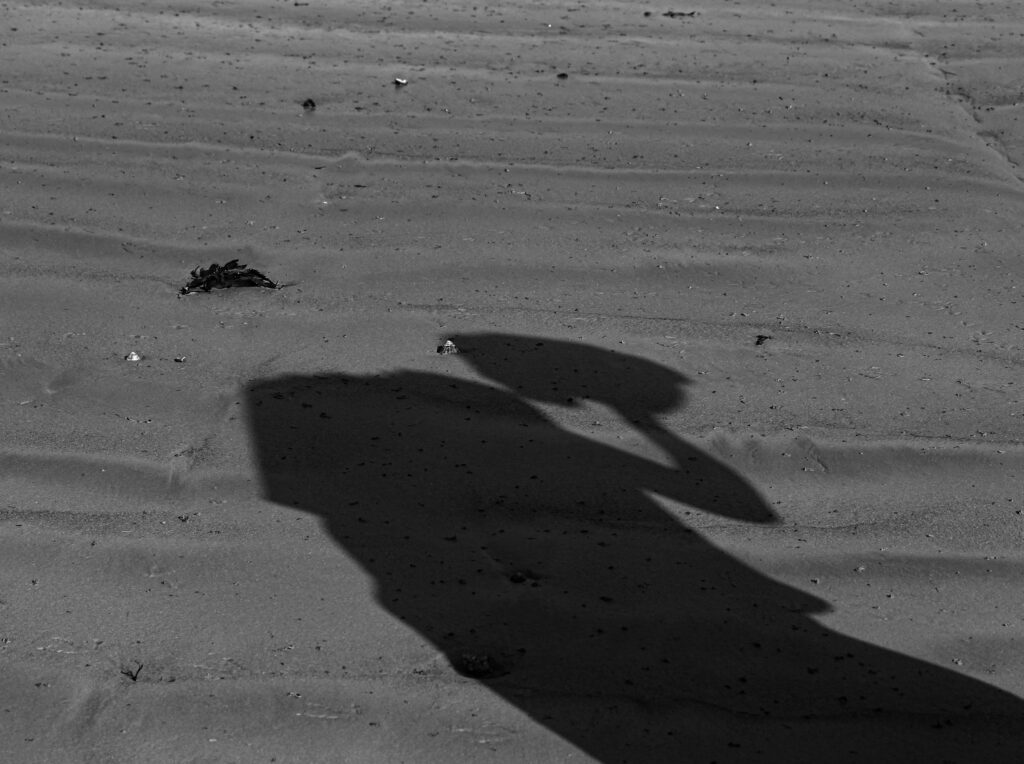
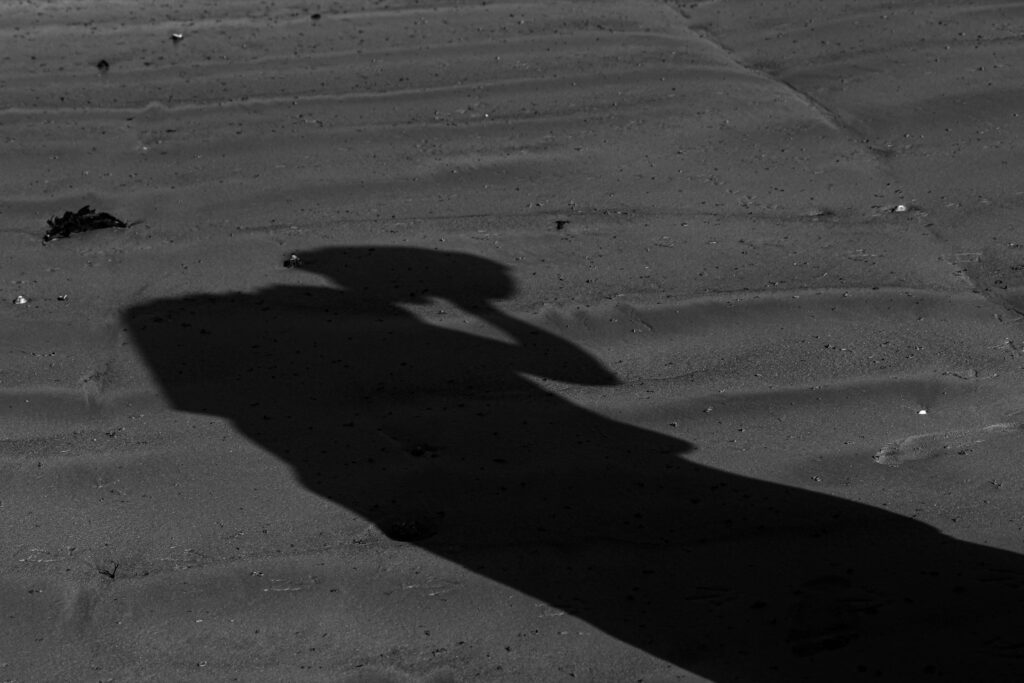
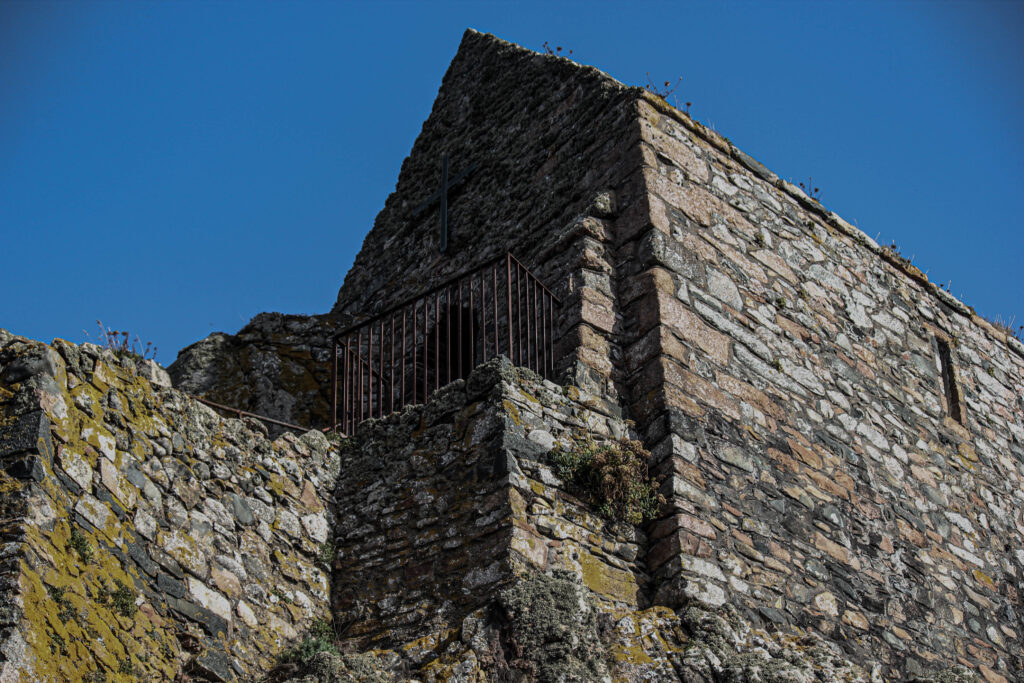
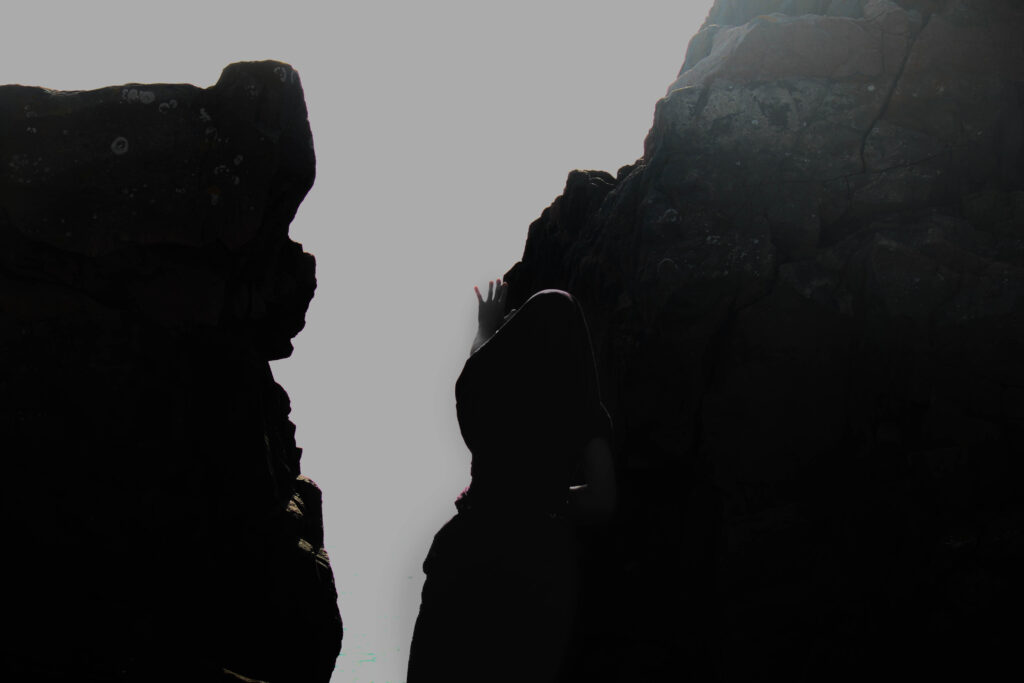
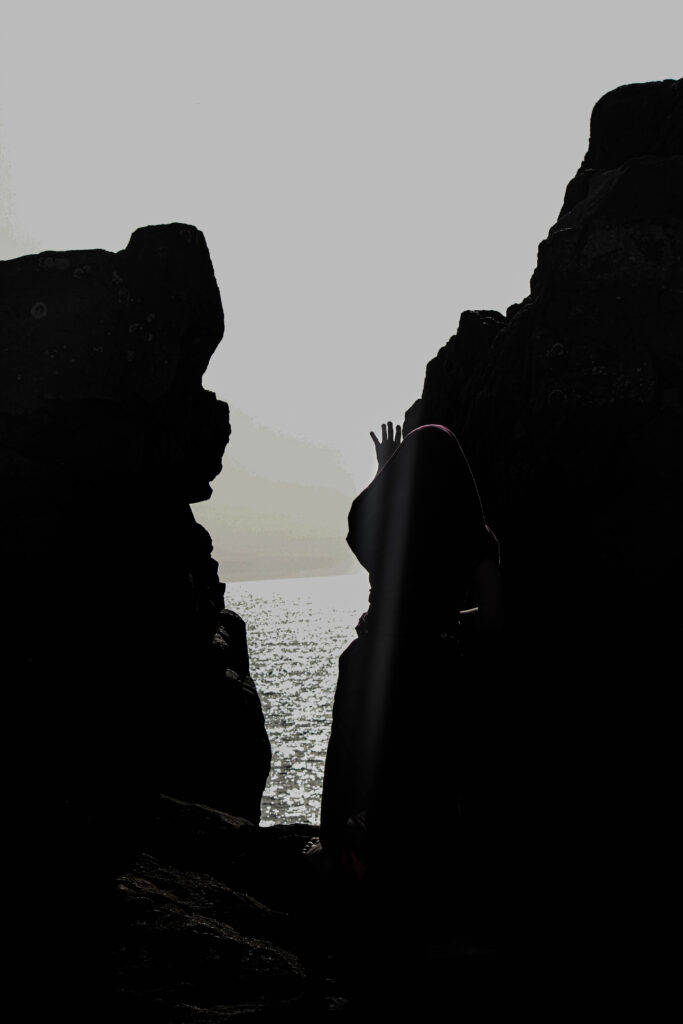
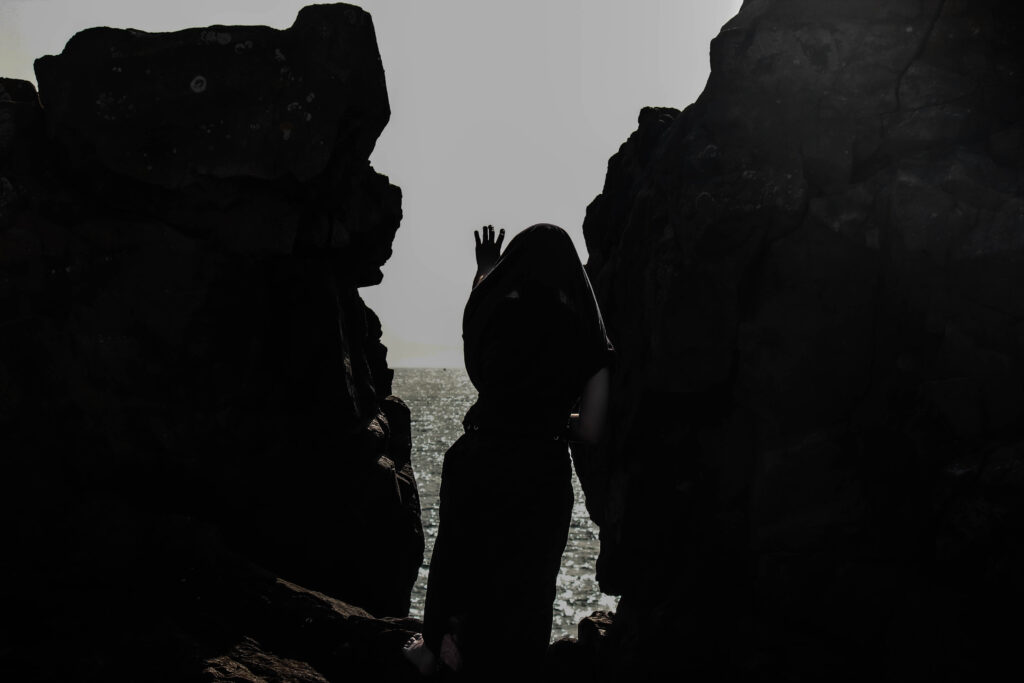
Elizabeth castle photos
Images
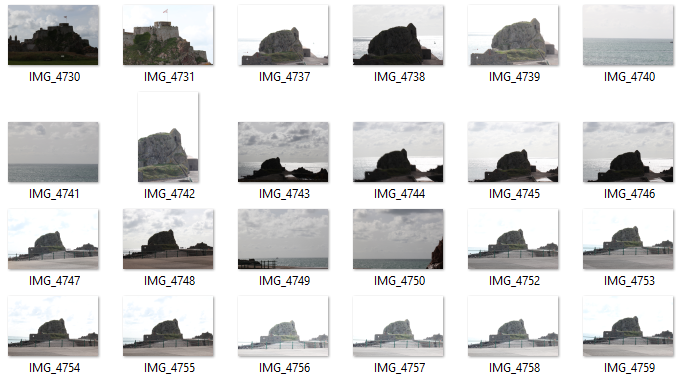
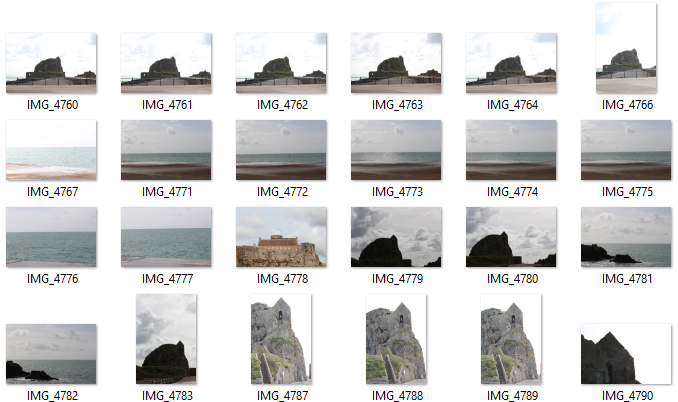
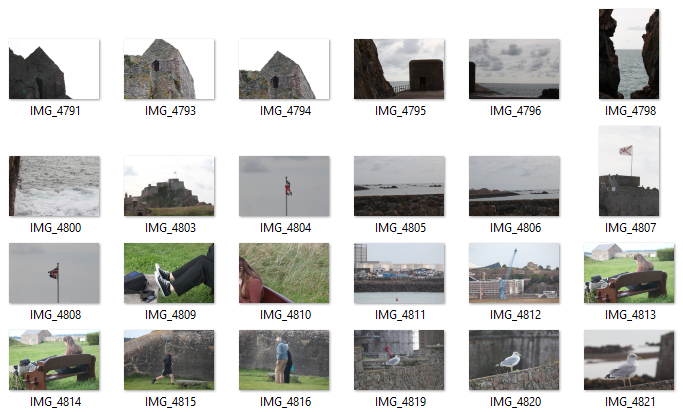
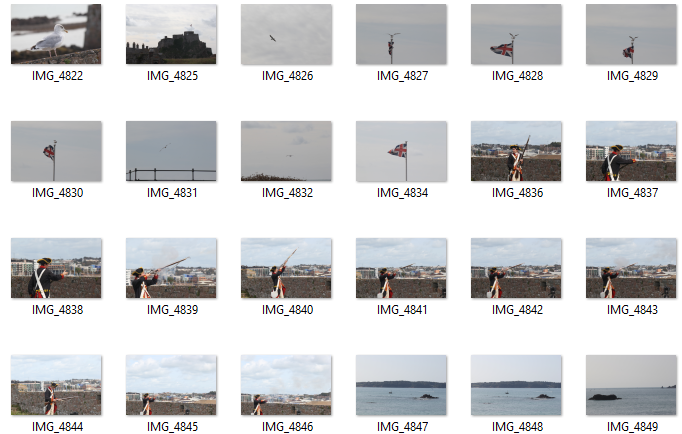
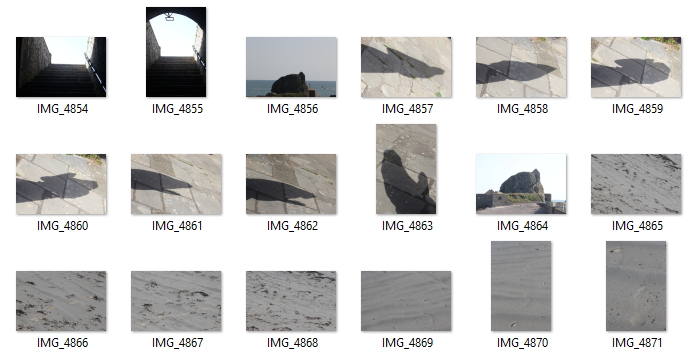
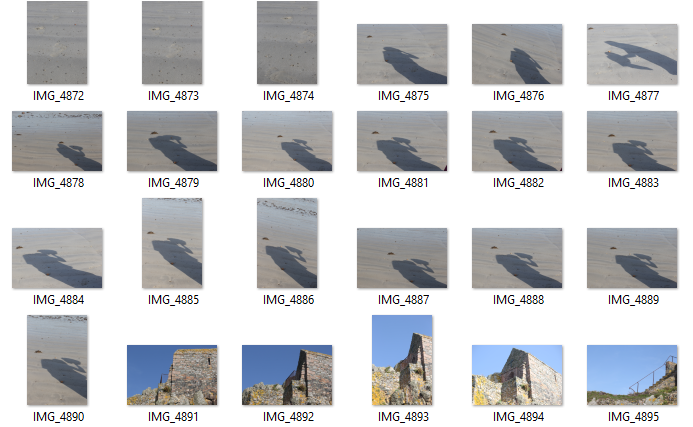
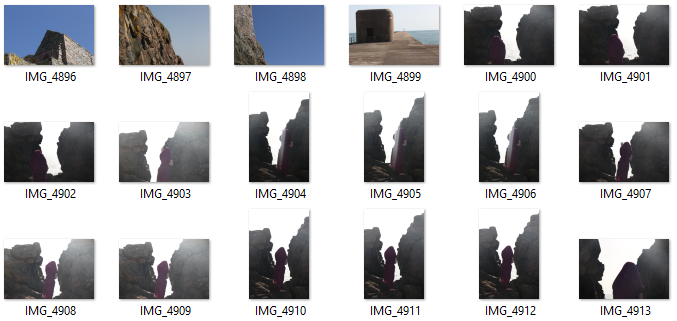
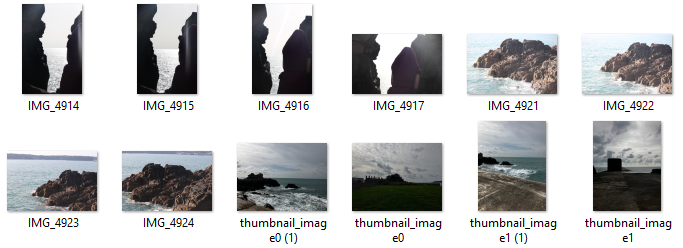
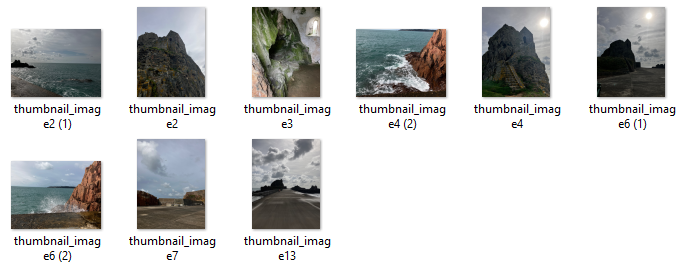
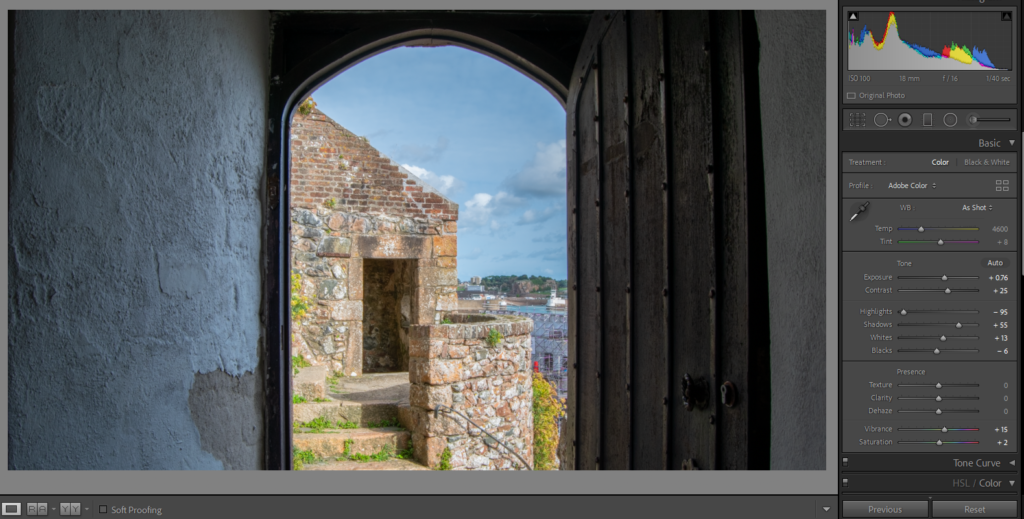
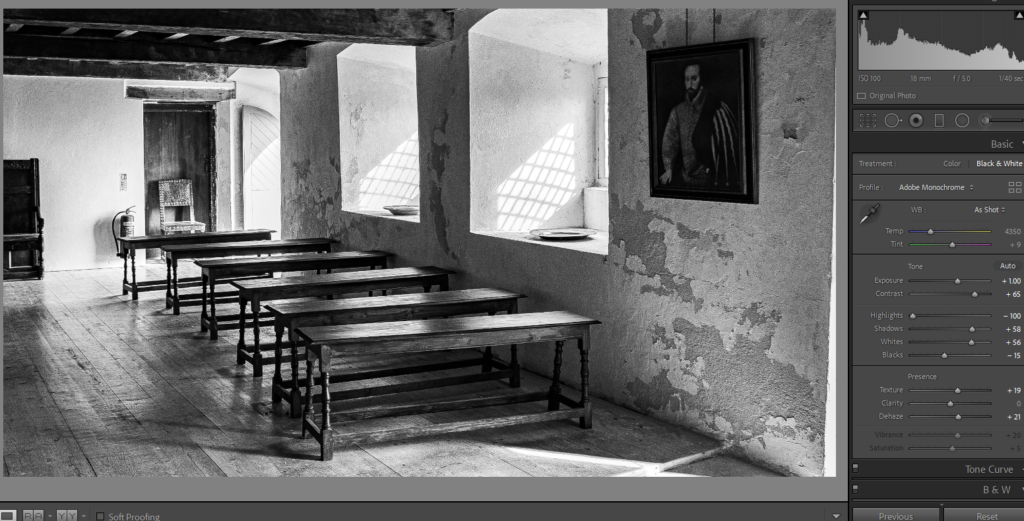
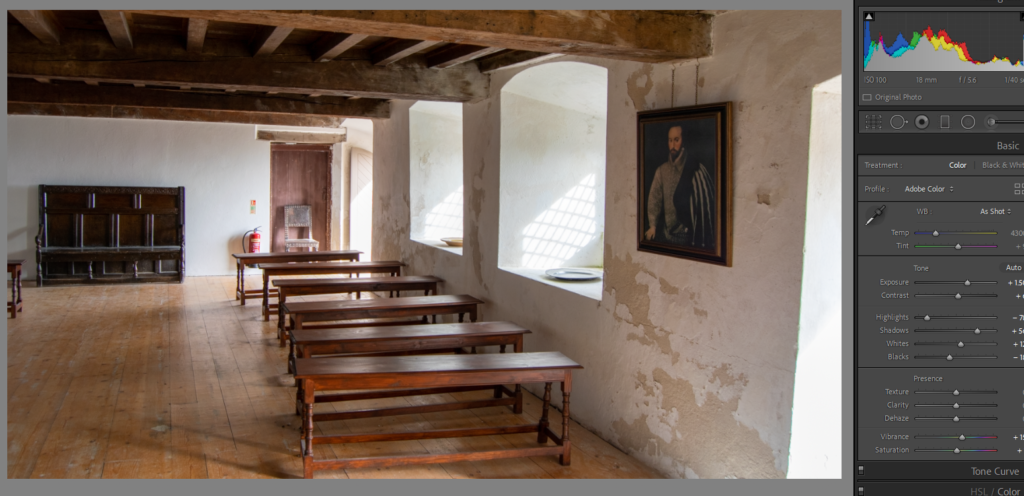
Edits from Lightroom
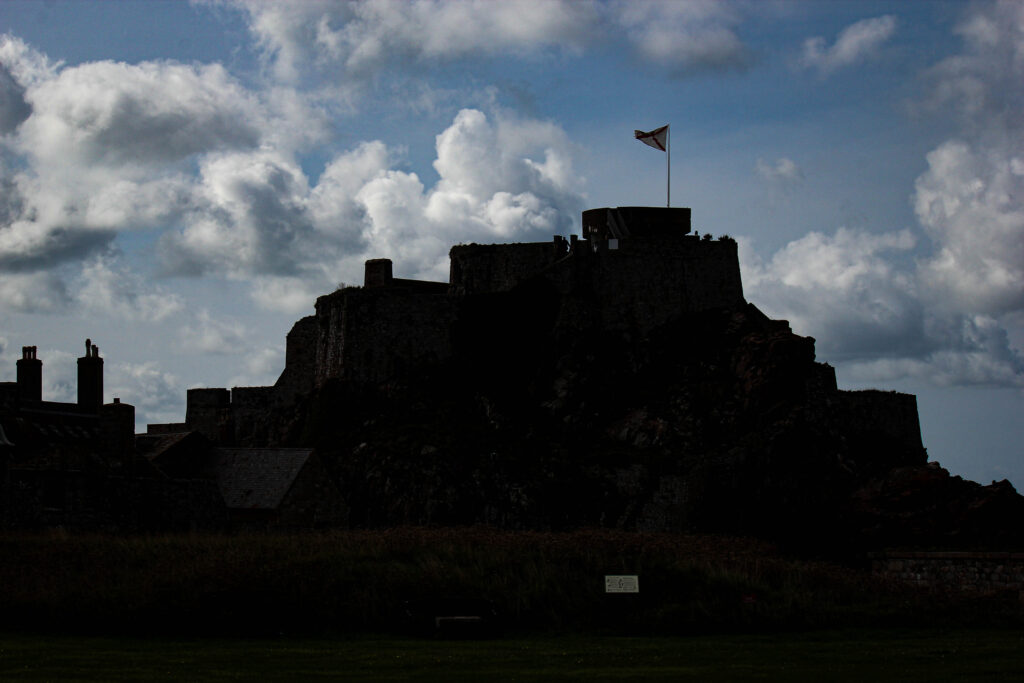
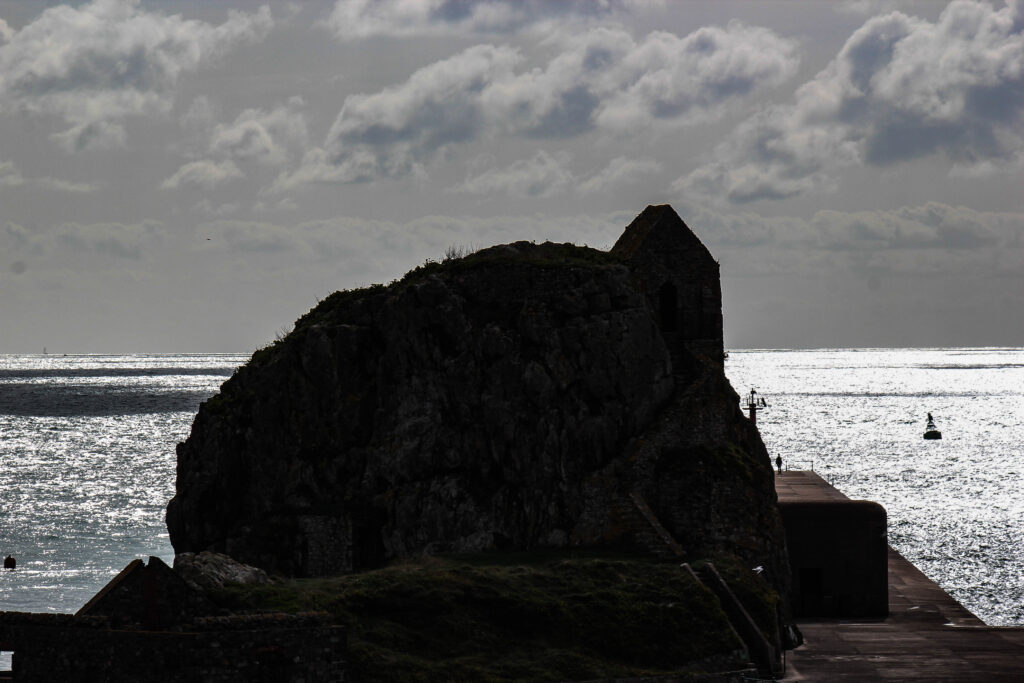
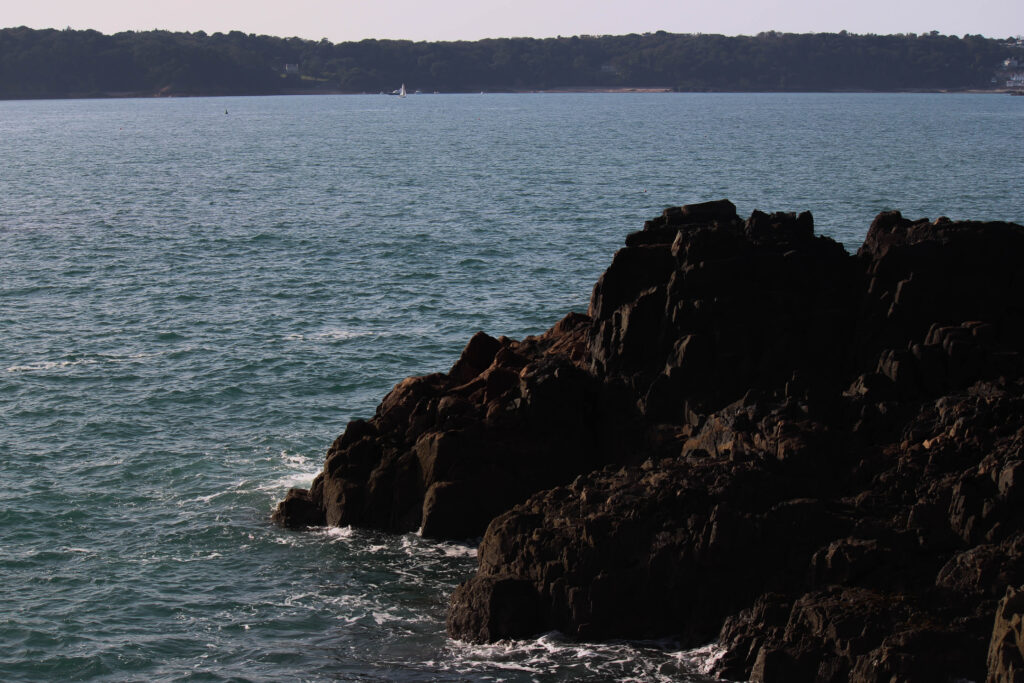
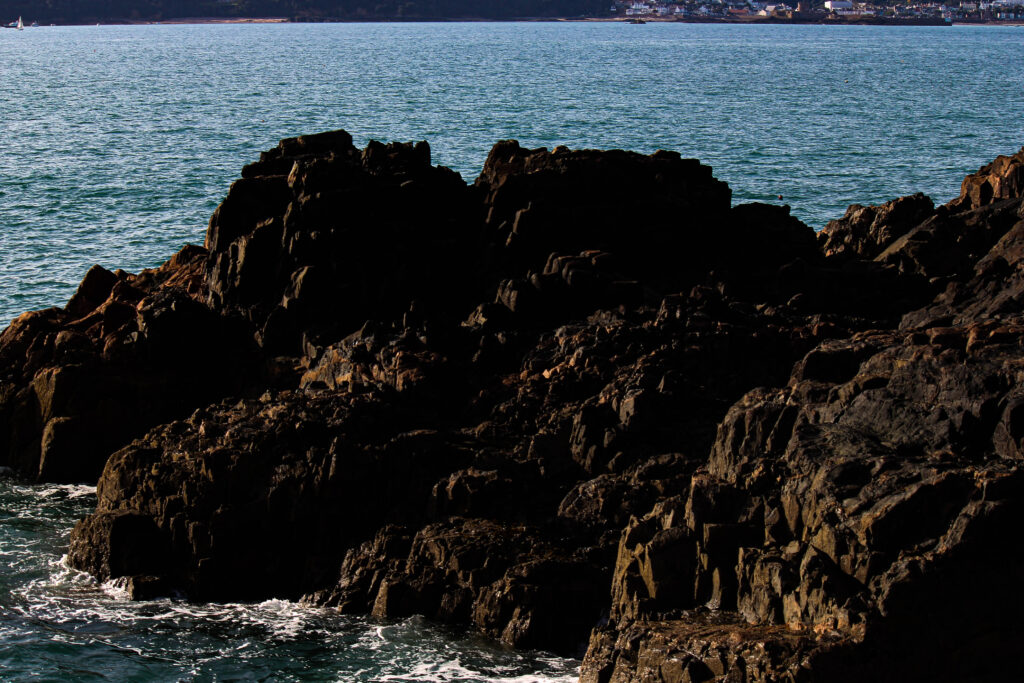
VIDEO EDITING
Lightroom:
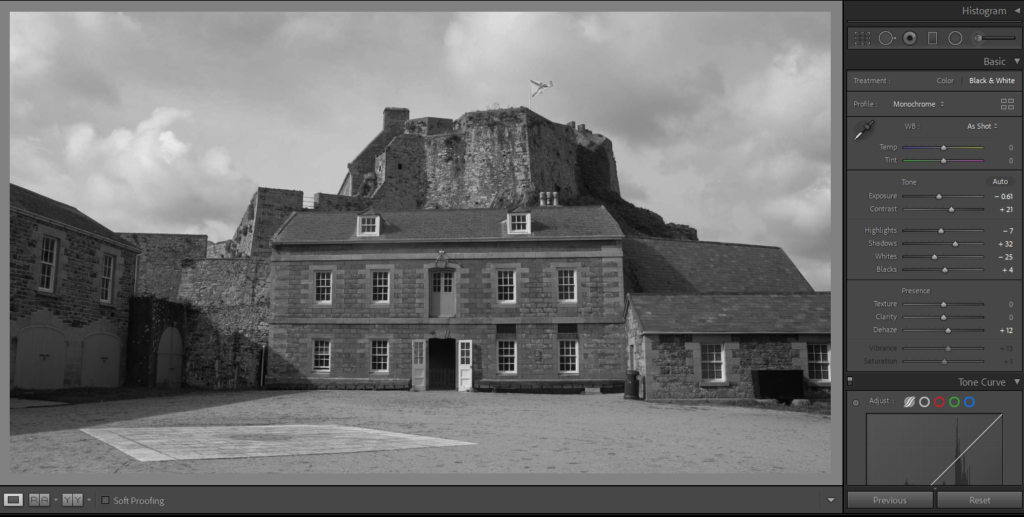
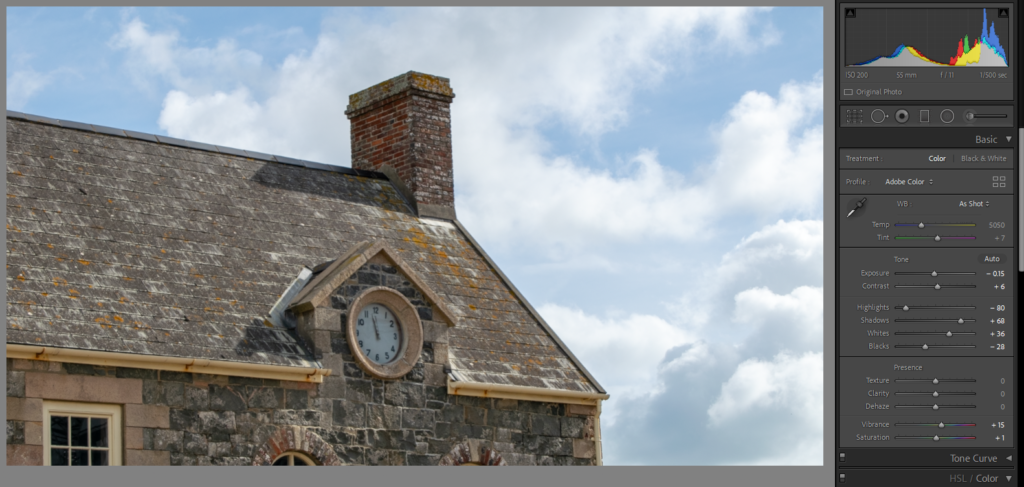
To edit all of our photos, we used Lightroom where we could enhance all of the features to create a mood within each image. We also used Lightroom to resize the images for adobe premiere.
Adobe Premiere:

Premiere Pro is designed for a video editor’s post-production workflow. It’s equipped with a suite of powerful editing tools for content creators and filmmakers to organize and edit video files as well as to enhance and fine-tune audio and image quality.
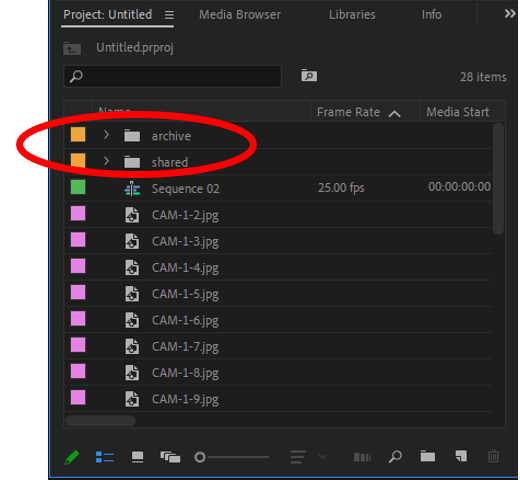
Due to out short film only being still images, I started by importing all of the final edits into Adobe Premiere Pro. II created sub folders for my images so it would be easier to find my images.
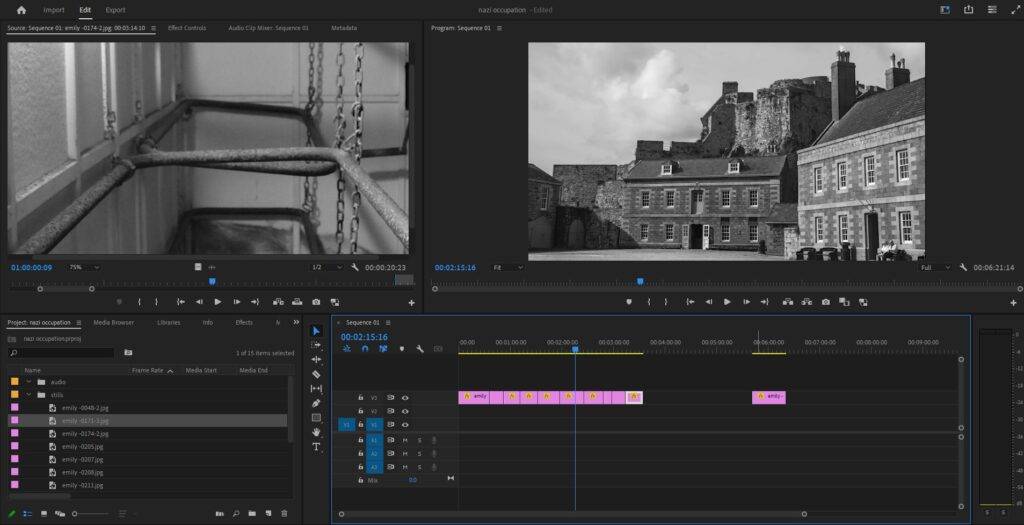
When importing all of the images into Adobe Premiere, each image was zoomed in, therefore we had to scale every image to the right size. we could also use the scale to crop out part of the image we do not want in the short film.

I created transitions between each image to allow all the photos to flow together. I did this by adding key frames. I opened up the top bar and on each image a would add four key frames. The first two would be on a inclining angle where as the last two would be on a declining angle, this creates a fade between each frame.
Adobe Audition:
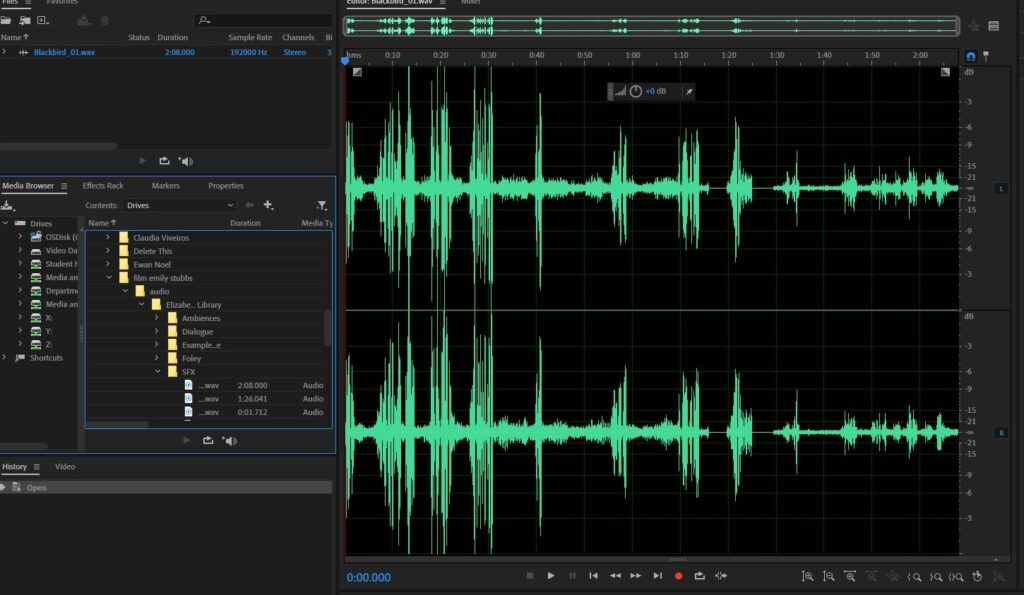
During the lesson where we were being taught how to use adobe audition, we learnt how to cancel out background noise and add in sound effects. the audio was collected from our visit to Elizabeth castle. My aim is to enhance the audio to make it clear while ensuring it fits in with the Nazi Occupation theme.
Film
For our Film on Elizabeth castle I took on the role of producing the audio. I did this by using Adobe Audition and taking online sounds from various websites such as
https://freesound.org
https://www.zapsplat.com
https://sound-effects.bbcrewind.co.uk
https://soundbible.com
https://www.freesoundeffects.com
First of all I combined 4 different sounds together and adjusted them for when I wanted them to appear on the audio.
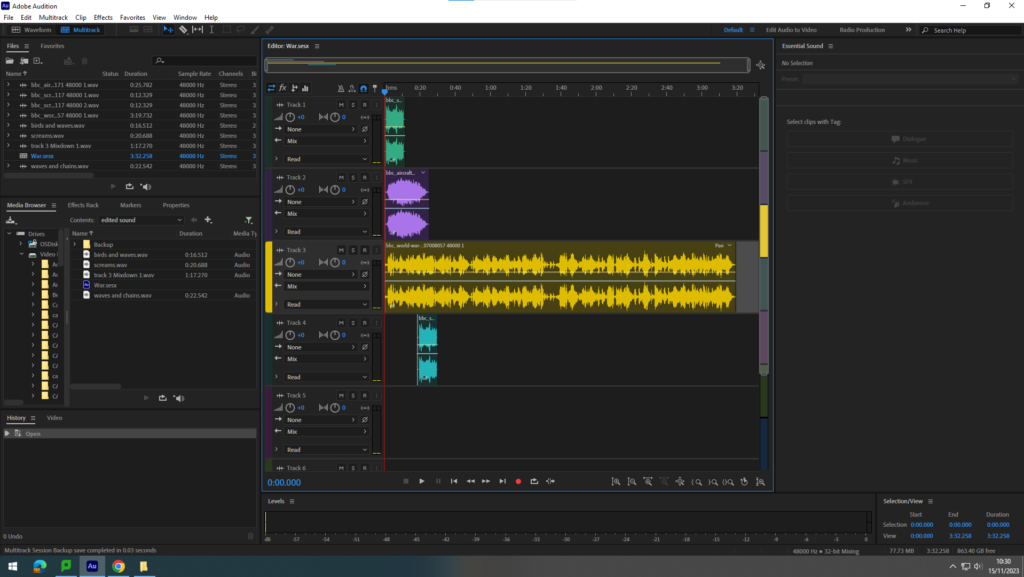
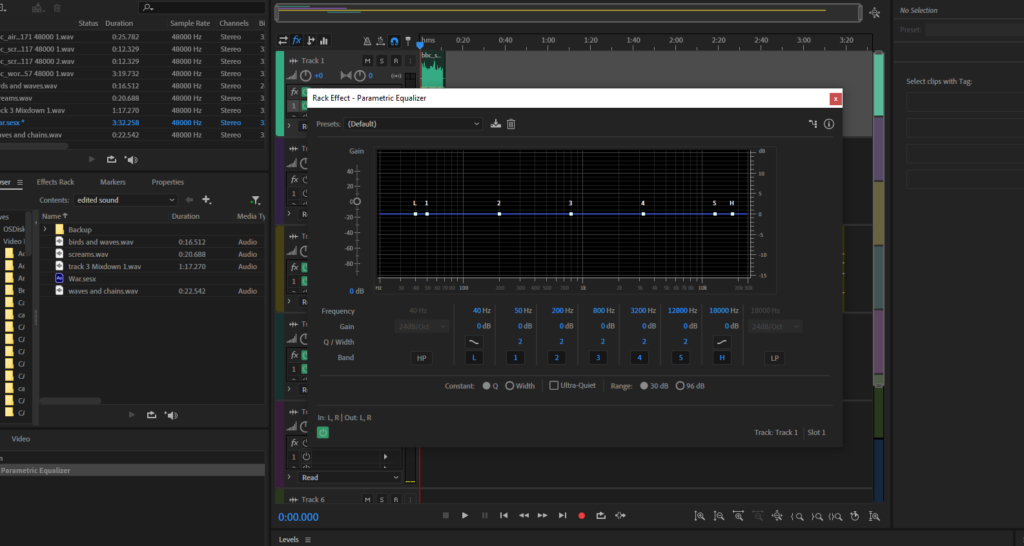
To adjust the frequency of the different sounds I went on to filter and EQ and then pressed Parametric equalizer.
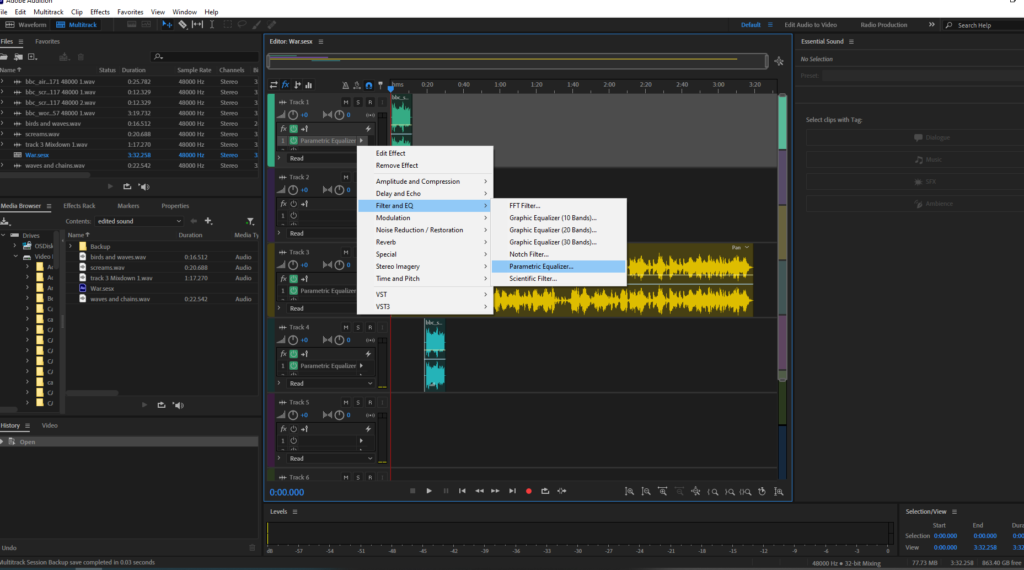
Which I was then able to change the sharpness and dullness of the different areas on each track
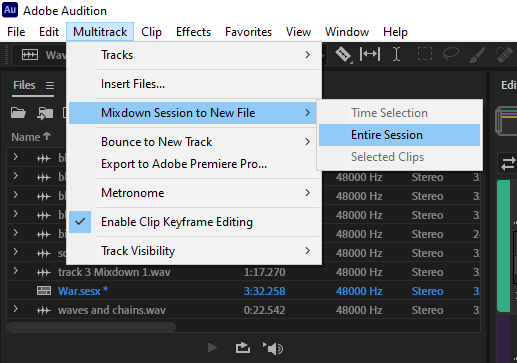
When I was happy with the results I went onto Multitrack, Mixdown session to new file and then entire session.
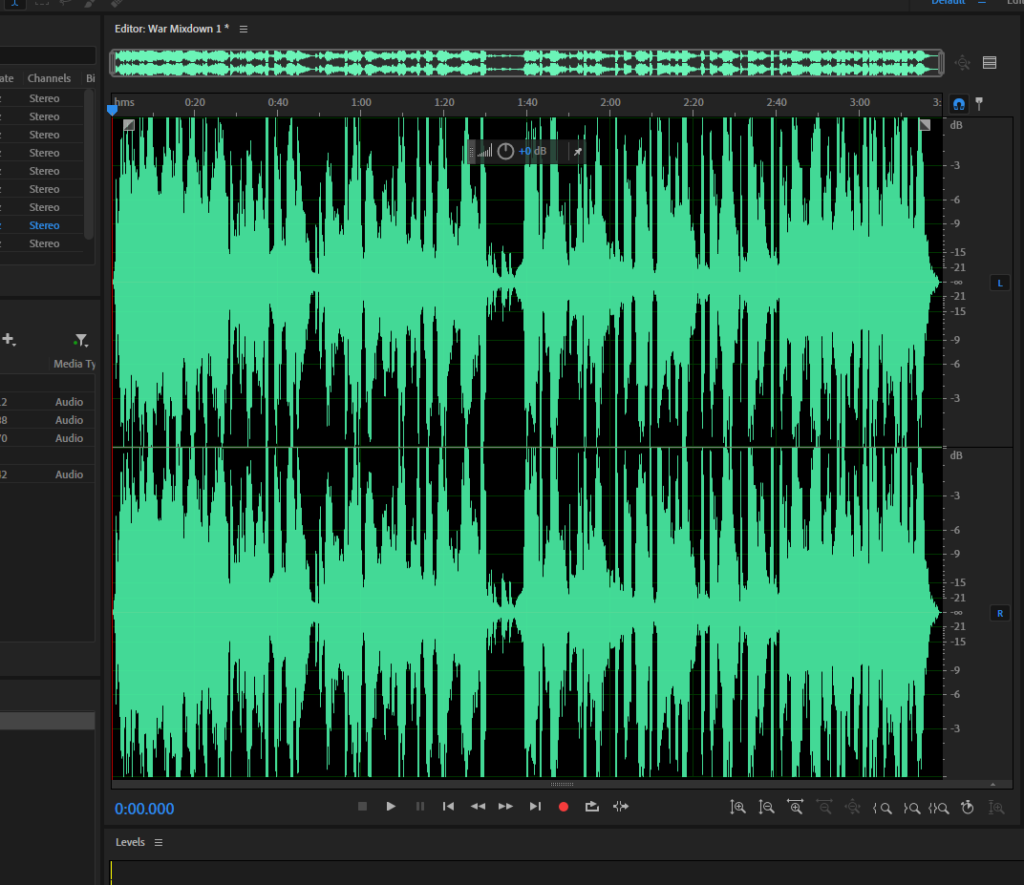
This then merges all of the tracks into one consistent audio.
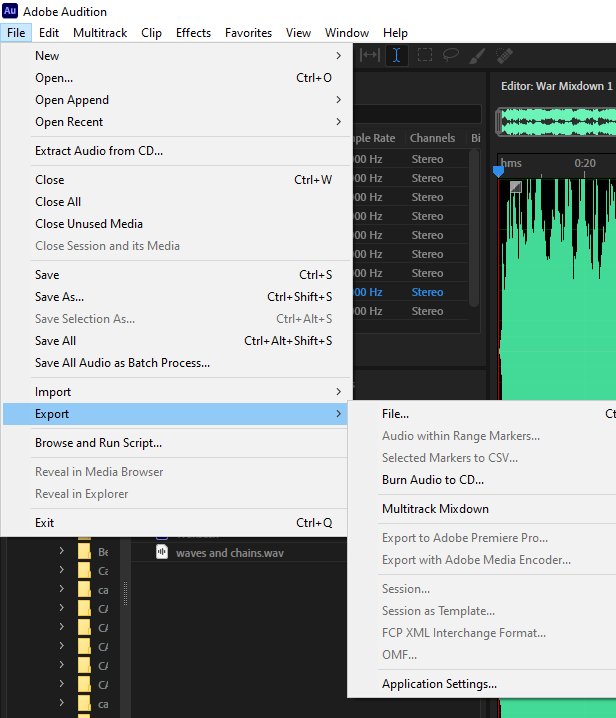
When I was finally happy and finished with the results I exported the audio onto my video data drive and made a new folder called “Edited audio”
For our film I made 3 Different audios with a variety of sounds that consisted of war sounds, metal chains, waves, screams and others. In overview at first I was concerned about doing the audio as I was new to the app and had no experience creating different sounds. After Sam came in for the second time to explain the app in more detail I eventually became more comfortable with it and overall enjoyed experimenting within the app and adding different tracks to produce a singular audio.
Adobe Premier

Adobe Premier is the software we are using to create out film project it is the editing soft wear, we fist started by importing all of our video clips into the app.
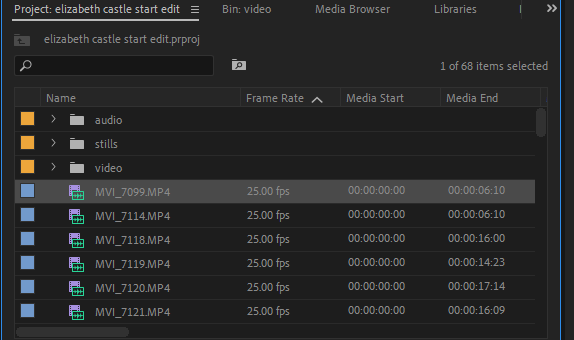
Once i imported all the videos i then dragged them onto the editing platform where i began to cut and shorten the videos to the parts we wanted to include on the final outcome.

The next step was to unlink the audio from the video witch separates the original audio of the video from the video its self which allows me to either delete the sound or edit it with our video we deleted the sound as the quality of the sound shot on the camera wasn’t good so we collected and recorded sounds on a recording machine and edited it all ourselves we then exported it onto a hard drive and them placed it onto our video in an order/ way which fit6 the video as a whole.

I went through each video cutting it down in length and selecting the parts which we liked into one continuous line meaning we only had the part witch we wanted in it I used this by using the cutting tool were it deletes the part which you don’t want out of the sequence.
Paris – Day 1
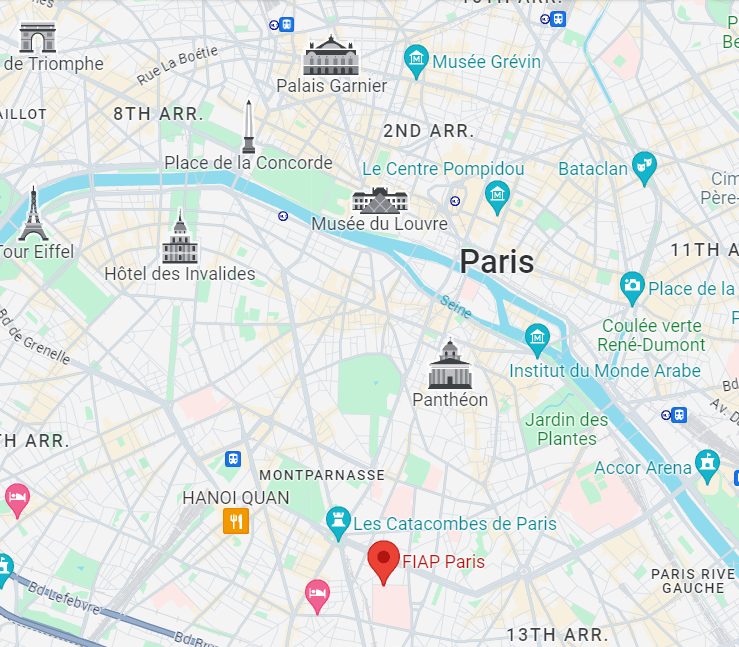
A few hours after arriving at the accommodation at FIAP Paris, we took the metro up to the river Seine, where we walked around various iconic landmarks along the river, namely the Louvre museum. Whilst on this walk, I decided to bring my camera with me to do a photoshoot of the landscape and buildings that we passed, as I thought it would be a good chance to develop my skills in night photography. I’ve started looking at how settings such as ISO can impact the quality of an image, especially at night, so I wanted to focus primarily on using a lower ISO to achieve a higher quality image that captures as much as possible in the frame.
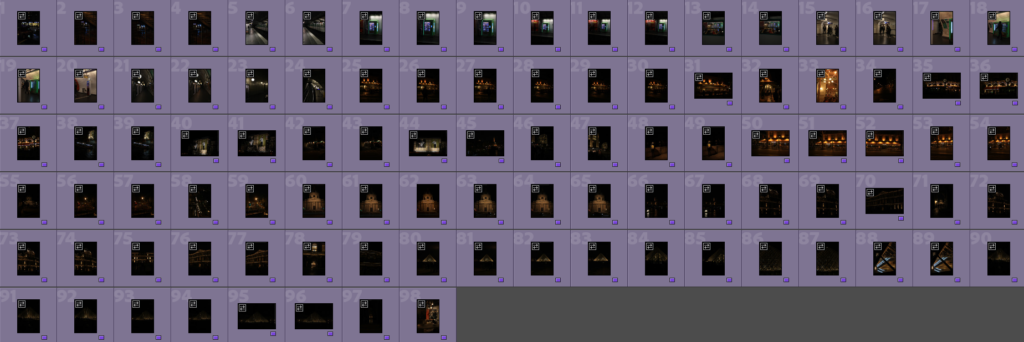

I took hundreds of images on the first night, some of which I had to unfortunately delete a lot of to save storage space on my SD card. I still kept a few hundred, which I sorted through and removed the ones with poor focus, low quality, or ones where I felt the composition was extremely weak. Eventually I was left with around 40 images that I believed were good enough to edit for a final image.
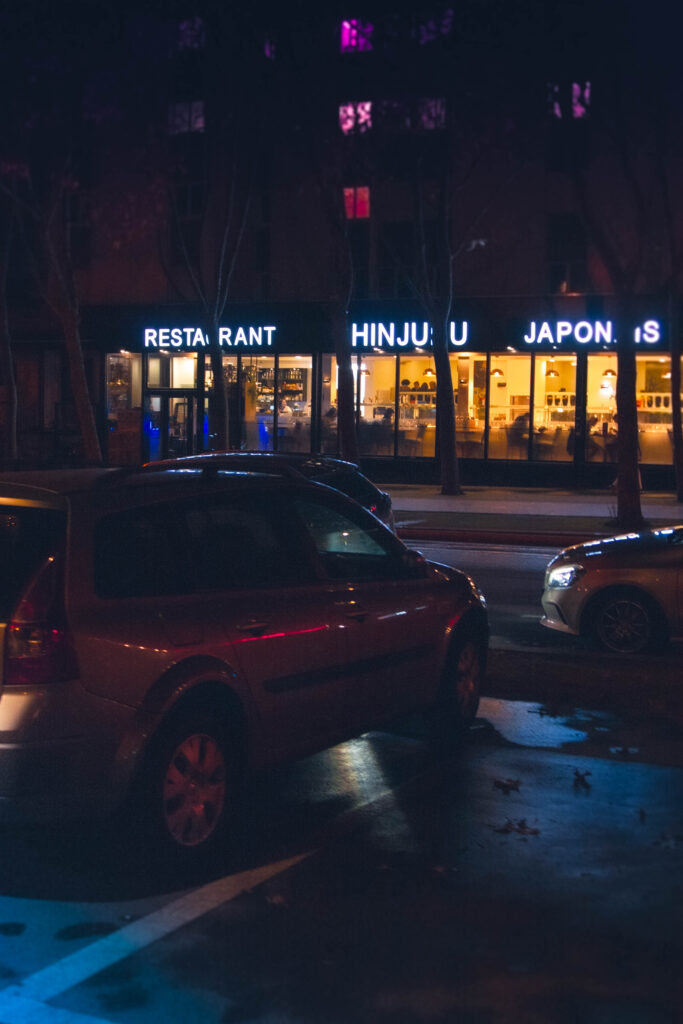
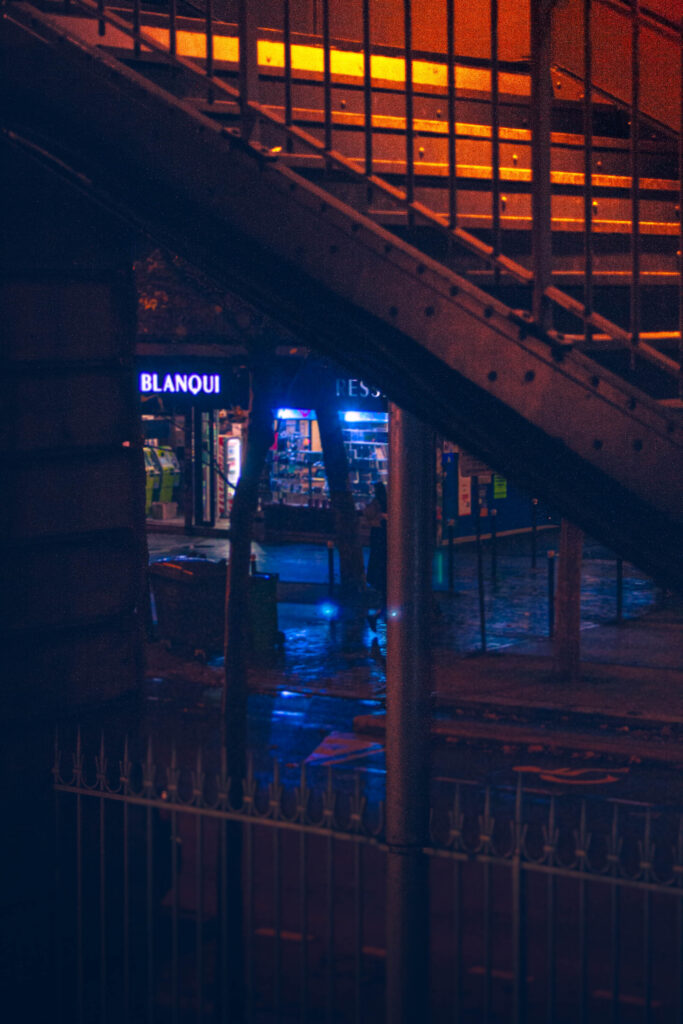
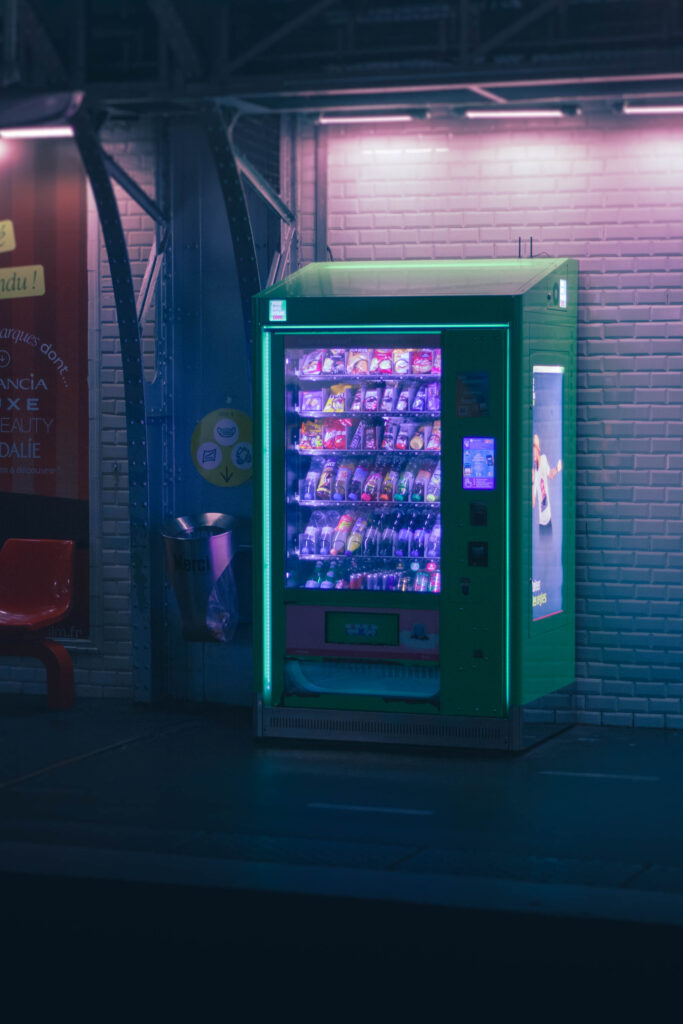
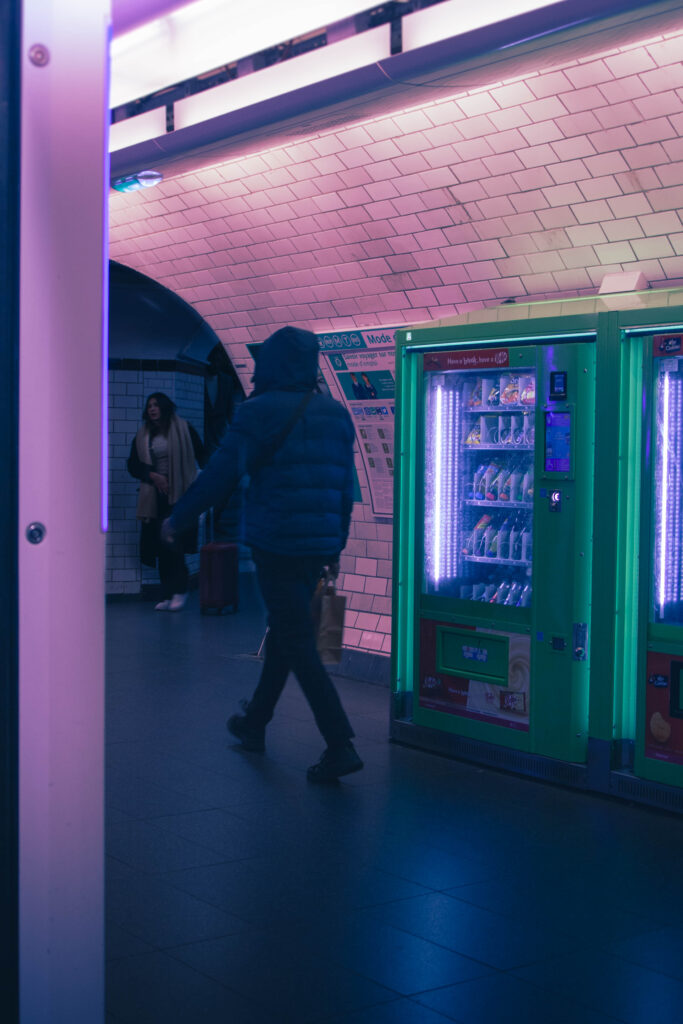
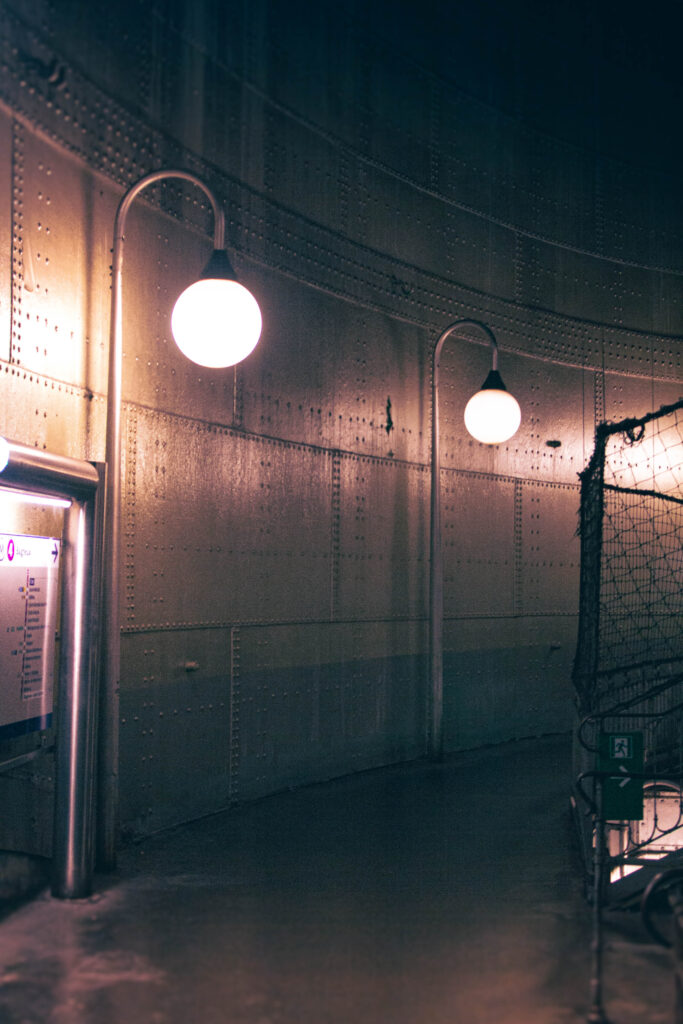
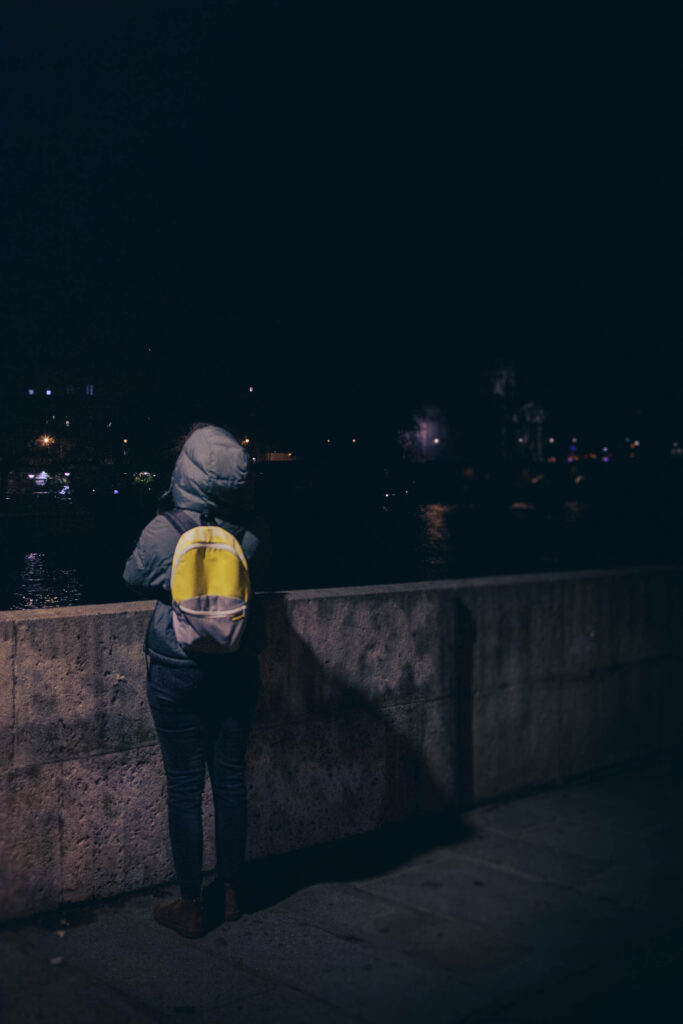
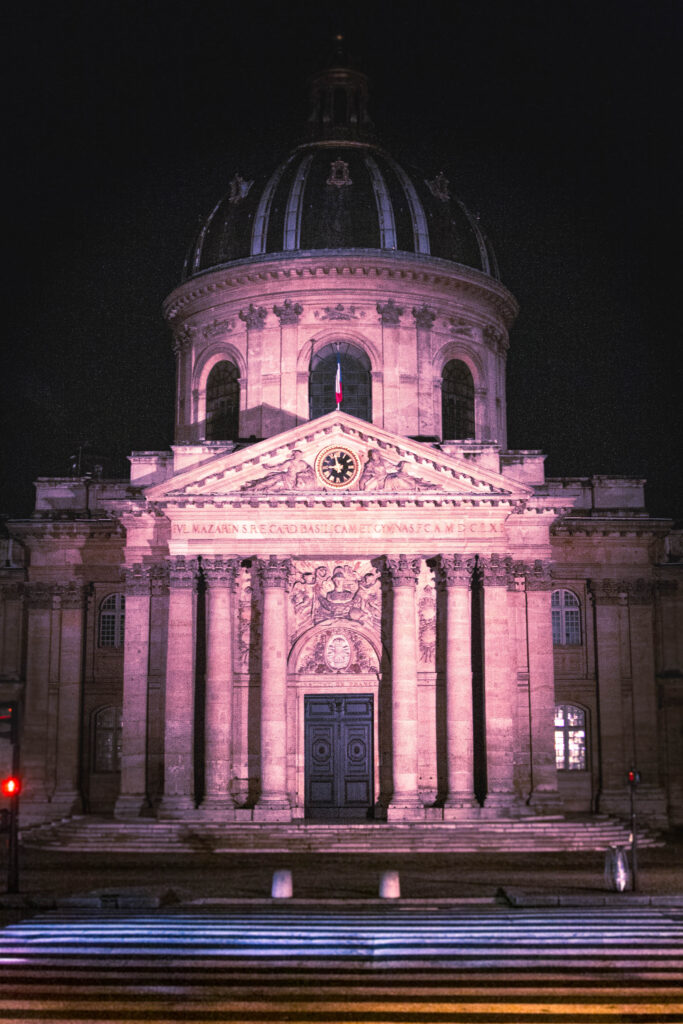
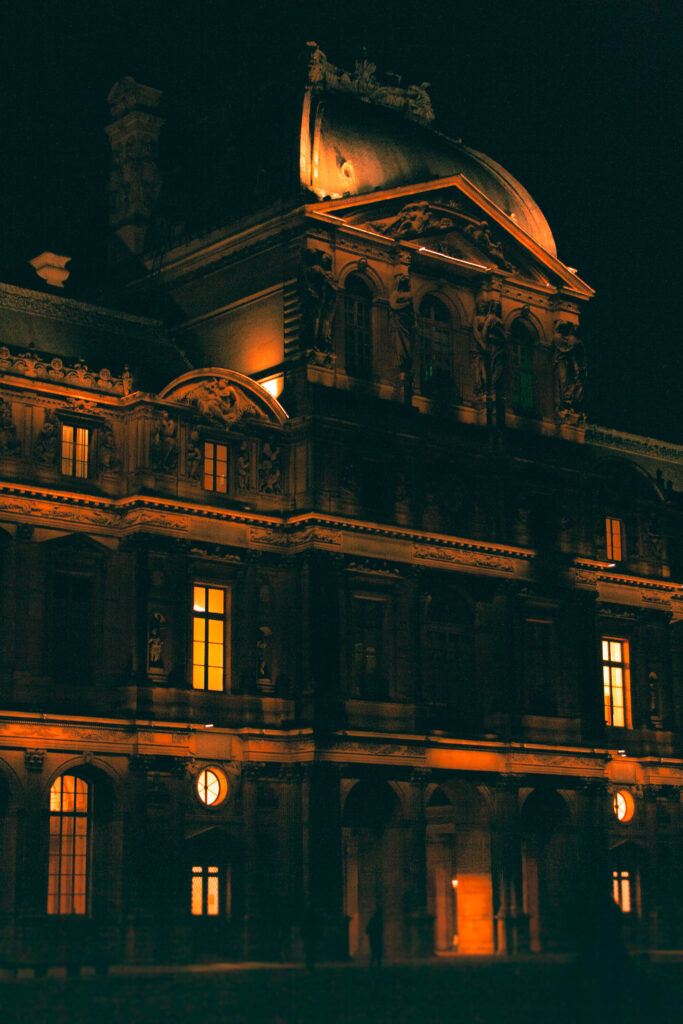
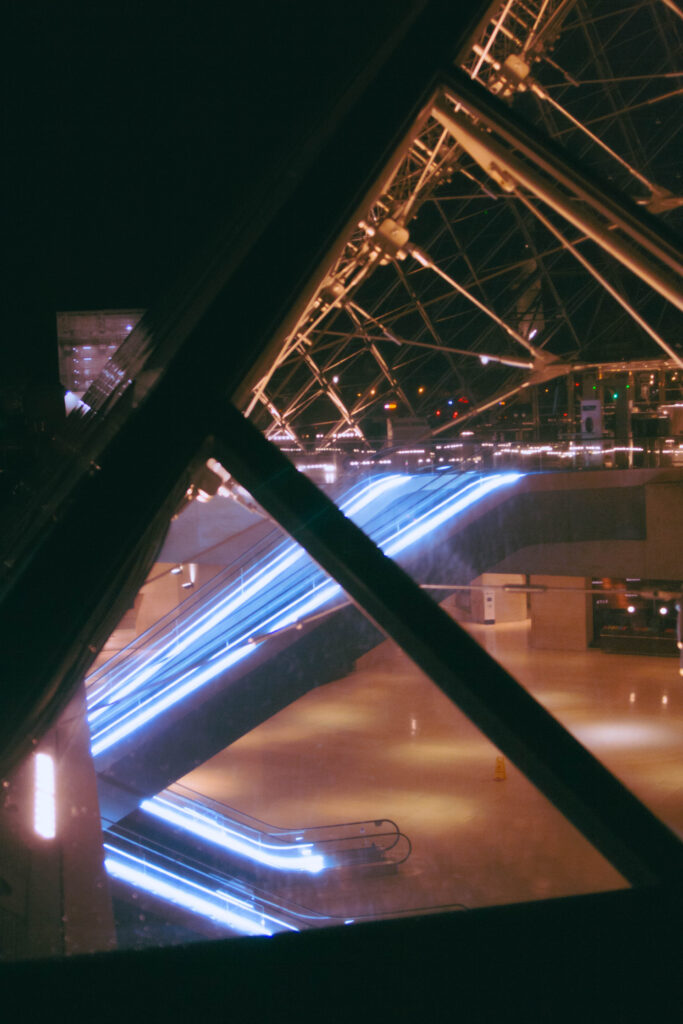
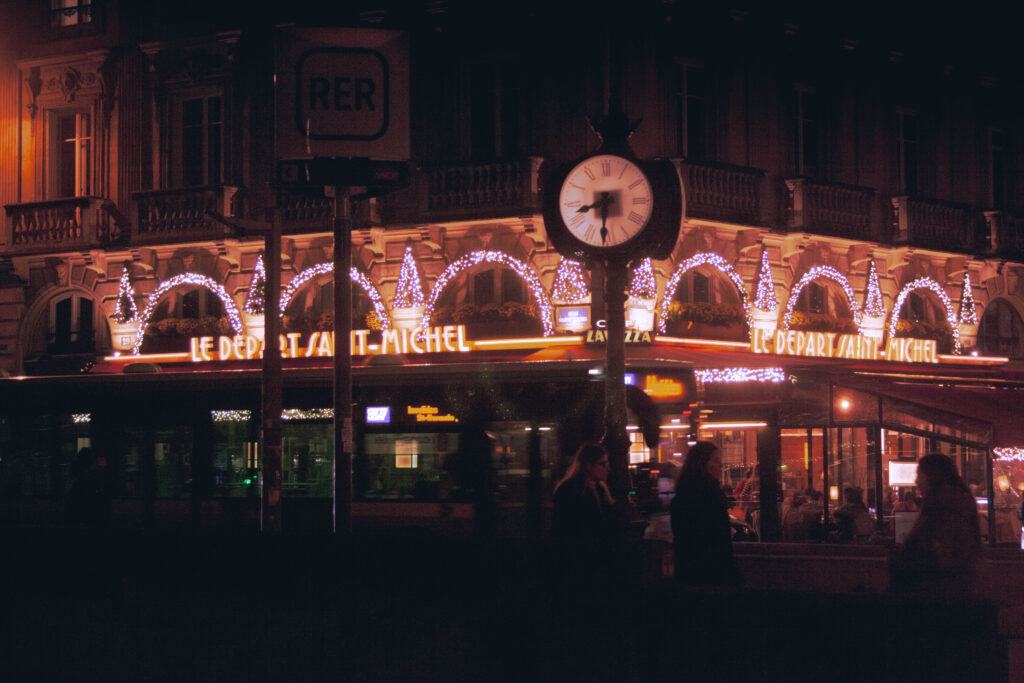
These 10 images were my final images from the first night, which I feel all have strong compositions when it comes to leading lines, focal points, and colour palettes. I’m really proud with how they turned out, especially with my experimentation with ISO in low-light settings such as in most of these photographs. Considering the small ISO range that my camera has, and the limitations of this, I think I did the best job I could for this shoot, but I’d like to see how I can improve this in the future without upgrading to something more expensive.
Film editing process

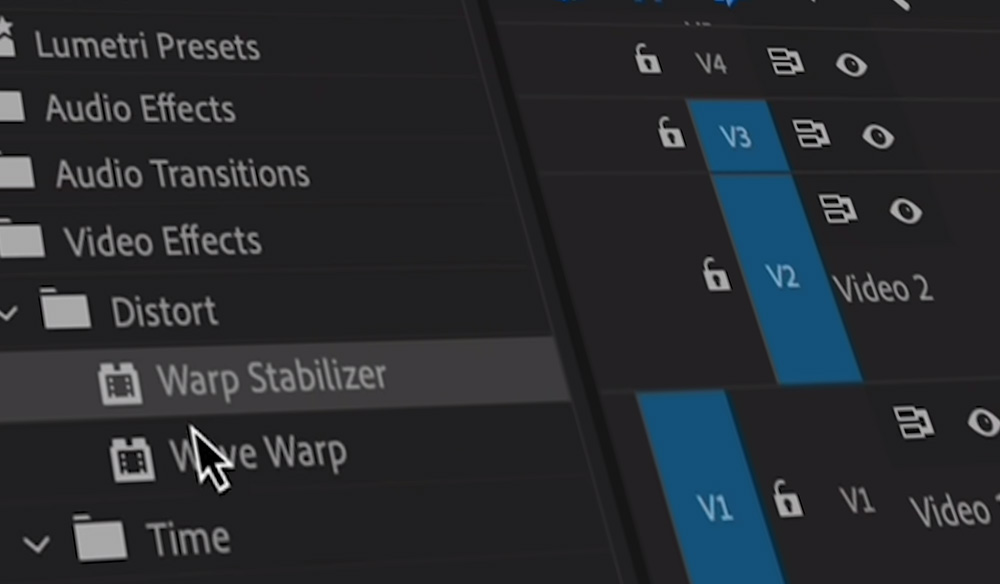
Megan was in charge of the editing process of the film as I was editing the sound. “The process for editing the film and putting the clips in order so they could tell a story took quite a long time. I had never used Adobe Premier Pro before so it was a challenge to get to know the basics of editing. However, once I understood how the app worked, it became easier”. We started off by selecting our best clips and images that we wanted to feature in our film. When selecting the images, we considered the composition, mise-en-scene, lighting, focus, and stability of the image. Before putting the still images into the Adobe Premier Pro Megan had to size them in Lightroom Classic to fit the film size that Premiere requires. Once we had both agreed on the order we wanted the clips and images, Megan edited the lighting and colour. Some of the clips were shaky because they weren’t filmed on a tripod. To fix this Megan had to use a tool called ‘warp stabiliser’ which analysed the video and made it more stable. When doing this, Megan had to be careful with how much was on the clip, because too much would cause an unrealistic movement.
She then moved onto putting the letter we chose from the Jersey Archives over the film which was a challenging process.
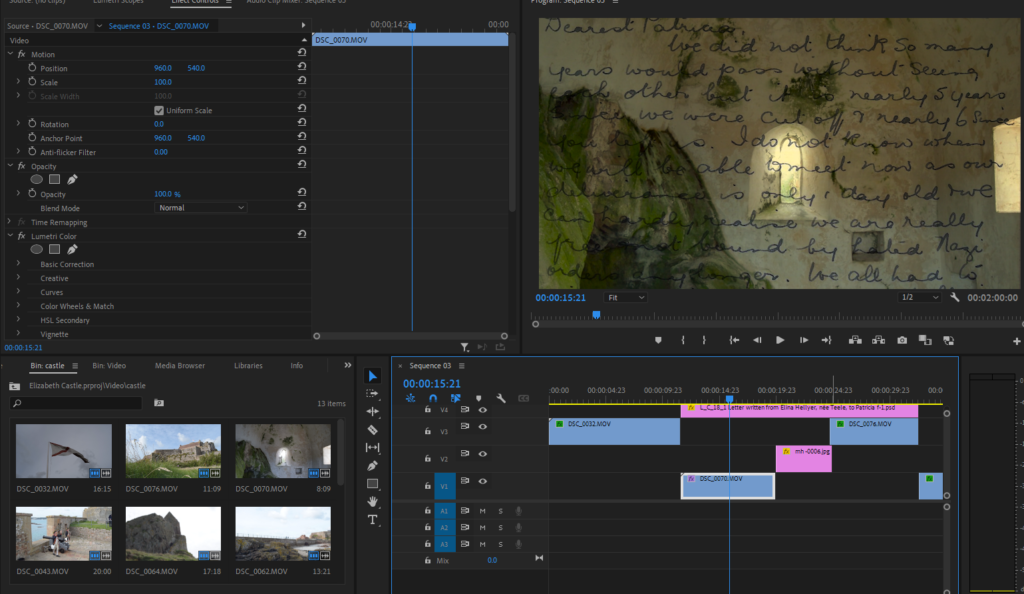

Megan chose the starting point and marked it, then the finishing point on the ‘positioning’ section. She selected this for the amount of time I wanted the image on the screen, the shorter it was on the faster it would scroll so she lengthened the clip to make it scroll slower. We had someone read the letter out so Megan had to have the letter scroll at reading pace.
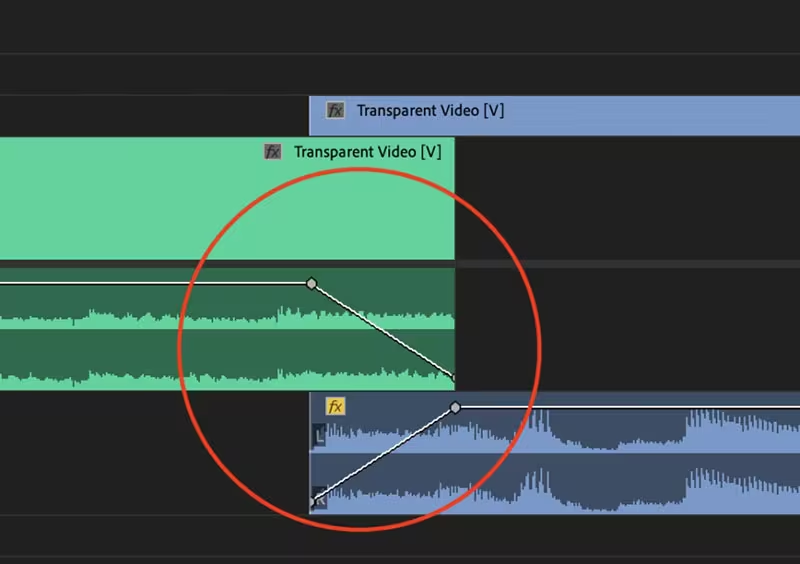
Once she had got the speed right, and the first two pages of the letter that we chose in, she moved onto fading each clip into each other. Megan chose to do this after inserting the letter because the fades could effect how the opacity is presented. She used the basic fade by enlarging the clip, marking two points, and dragging the fade down.
To get the Title of the film Megan used Photoshop. She cropped the letter to get ‘Dearest Patricia’ and then added it in to Premier. Once it was in Premier she could blend it in, she did this by putting Blend Mode as ‘Multiply’ which removed the yellow background. Finally she used ‘dip to white/ black’ to fade it in and out.
For the end credits Megan used one of Premier’s premade designs to credit who directed, filmed sound, edited clips, sound and who was the voice of the letter.
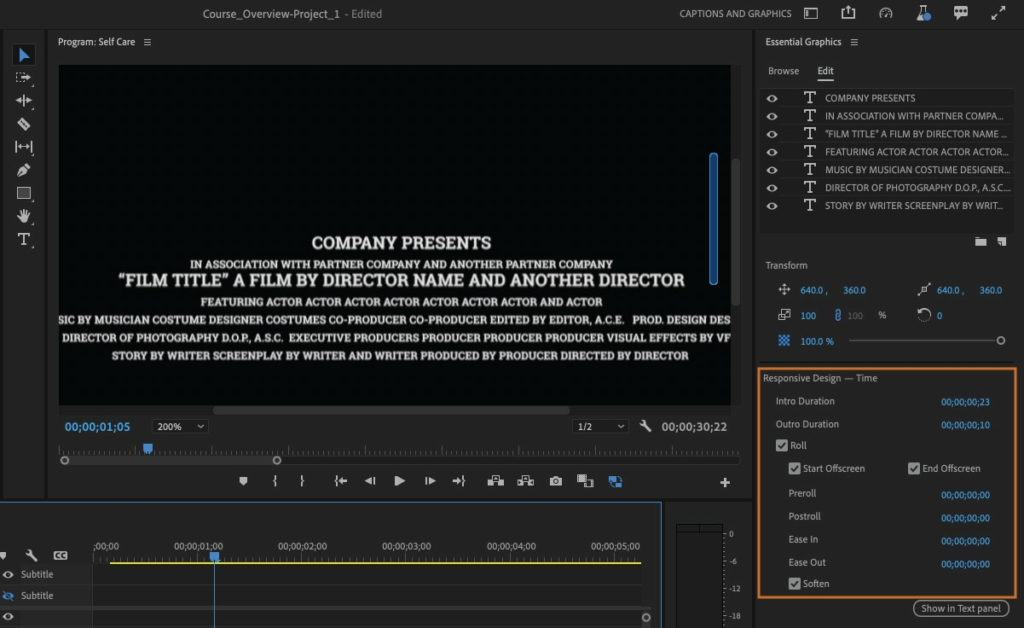
EDITING STILL/ MOVING IMAGES FOR OUR FILM

Still Images: We wanted to make sure we had a variety of images in our film such as colour images and black and white images to represent the change from the past to the present. When editing the still images, Megan made sure to give the black and white images a lot of depth as the letter is going to be scrolling over the images, so they needed to have a lot of darks and lights to stay distinct. She used Adobe Lightroom Classic to edit these.
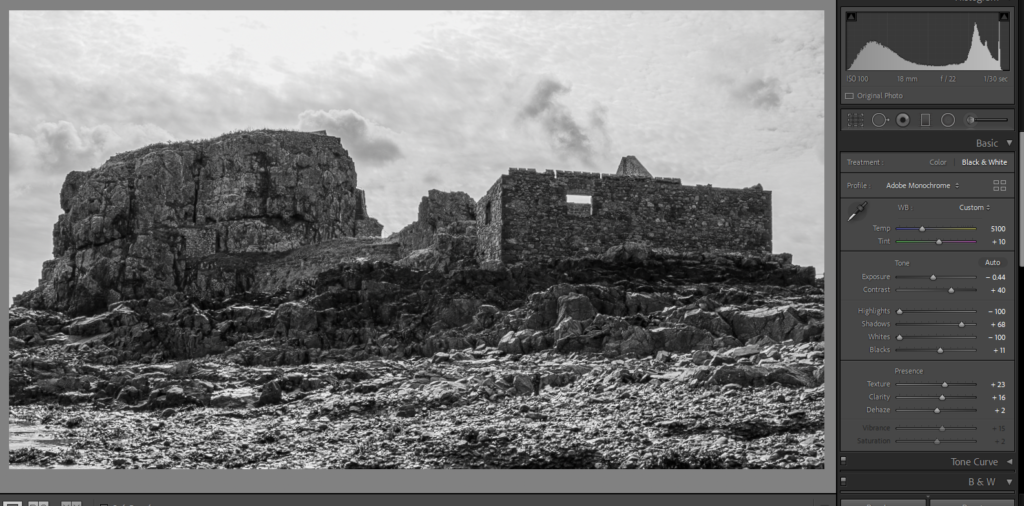
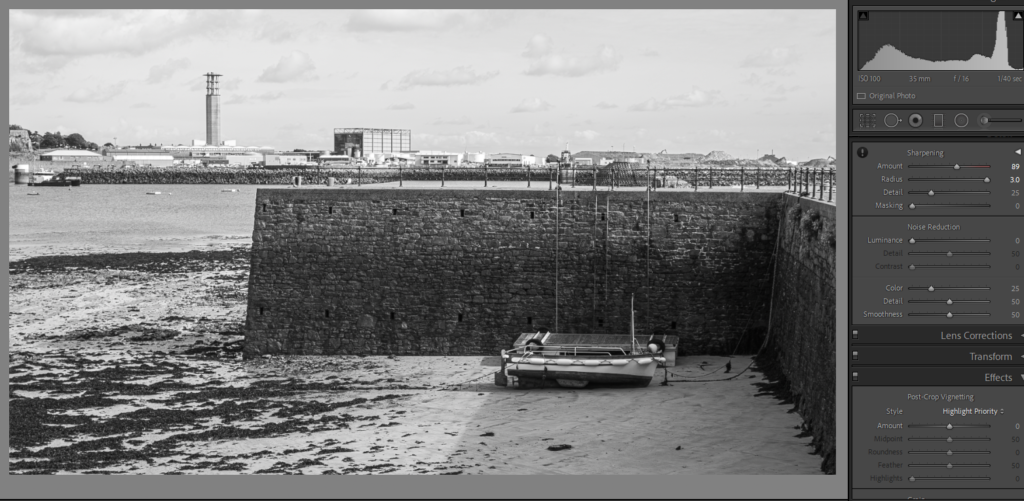
Editing the video:

When editing the videos, Megan changed the setting to ‘colour’ to enable her to get the basic editing tools to edit the colour and light.
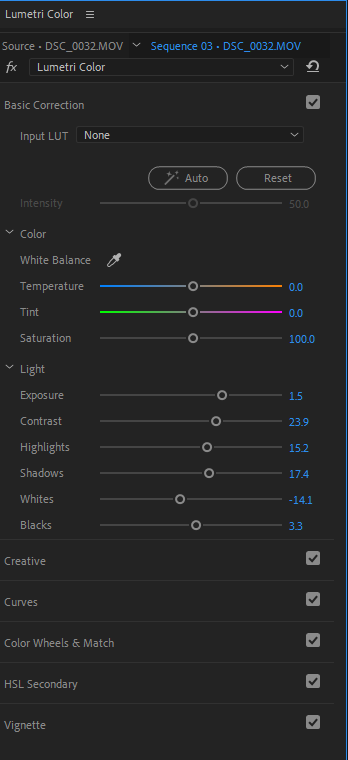
She mainly focused on the ‘Basic correction’ to achieve this.
