
YOUR PHOTOGRAPHY CONTROLLED CONDITIONS
Jan 23rd + 24th + 25th (7 hours per student)
Groups 12A + 12B / Periods 1-5 breaks as normal
- Select, edit and arrange final images – ANTHROPOCENE
- Complete all relevant and supporting blog posts
- Add final images to print folder INCLUDING RURAL / URBAN IMAGERY
THEN…
- Frame up / mount all available prints
- Review blog and make improvements
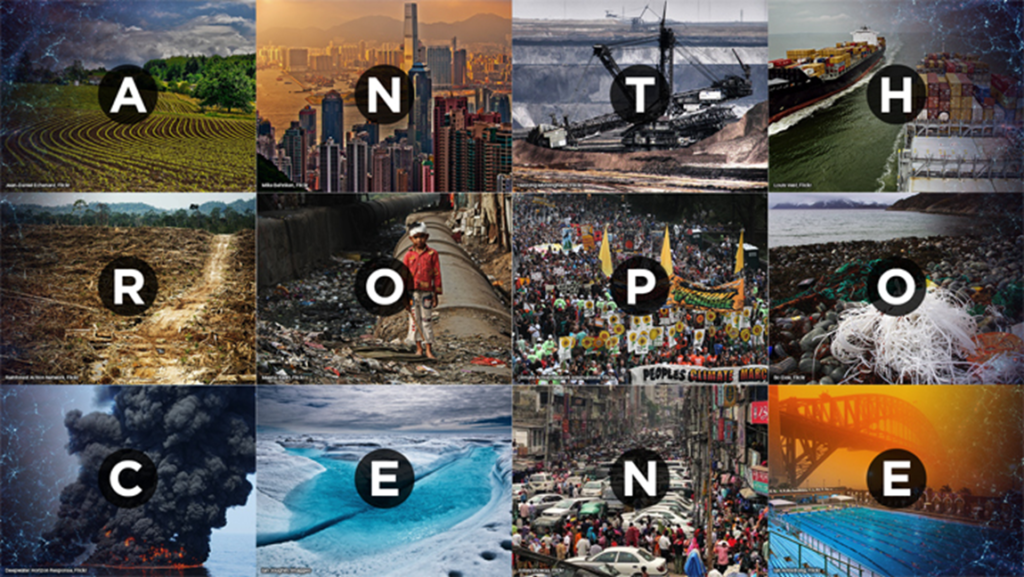
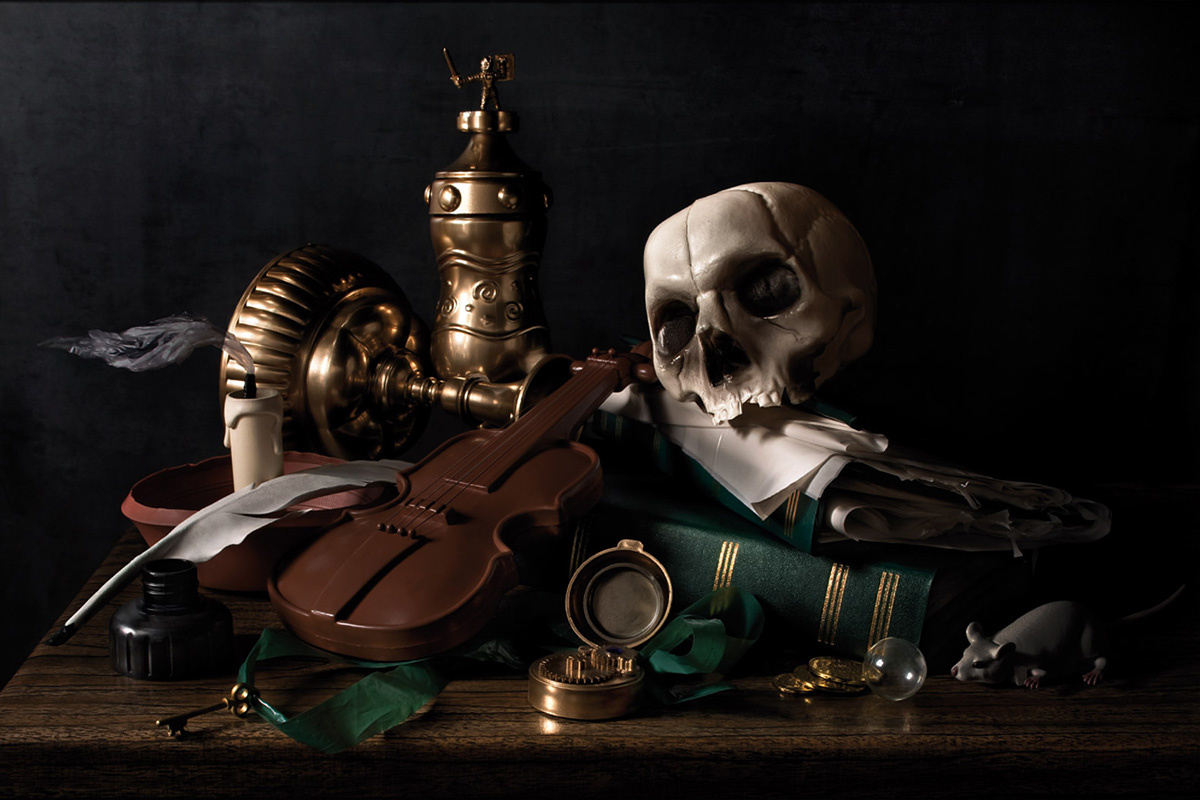
“ANTHROPOCENE”
This is a mini-unit to help you explore further opportunities with your landscape photography. We will spend time looking closely at this and discussing ideas with you…
ANTHROPOCENE
- What is Anthropocene?
- How and why are photographers exploring this concept?
- Use your skills and knowledge to date to tackle and approach this theme. ie: abstract, portraiture, identity, landscape, studio based photography etc. – YOU DECIDE!
The Anthropocene defines Earth’s most recent geologic time period as being human-influenced, or anthropogenic, based on overwhelming global evidence that atmospheric, geologic, hydrologic, biospheric and other earth system processes are now altered by humans.
The word combines the root “anthropo”, meaning “human” with the root “-cene”, the standard suffix for “epoch” in geologic time.
DISCUSS
Now watch this and discuss / compare the way in which various photographers have responded to this theme…
Blog Posts to make : CHECKLIST
- Define “Anthropocene” and explain what it is.
2. Add a mindmap and moodboard of images, ideas and trigger points on your chosen genre ie: portraiture, studio (object or portraiture), abstract, landscape etc. You should aim to include a range of data, statistics, information, maps, documents, policies, pledges etc at this point to show a wide range of research methods and justification…
3. Choose two photographers that you feel explore Anthropocene through your chosen genre of photography that interest you and create a CASE STUDY on both and then compare them using a writing structure to help you. https://hautlieucreative.co.uk/photo22al/2020/08/21/the-formal-elements/
(These photographers should directly influence your final outcomes re : MOCK EXAM)
Make sure you describe in detail:
- Why have you chosen this artist?
- What interest you about their work?
- How does the work relate to the theme of Anthropocene?
- What are you going to do as a response to their work?
4. Organise and carry out your photo-shoots !!! You MUST complete a minimum of 2 PHOTO-SHOOTS (100-200 photos) in readiness for the mock exam itself. Responding to the theme of Anthropocene in your chosen genre.
5. Edit, select and develop your photographs and post contact sheets.
6. Produce a comparative analysis between one of your photographs and an image of one of your chosen photographers – discuss similarities and differences.
7. Develop your ideas through your images by editing, making decisions, reviewing and refining – selecting your collection of images or image as your final response to Anthropocene.
Your final outcome could be an image, a collection of images, an altered landscape, a small zine, an exhibition in a virtual gallery, a projected image etc, etc.
8. Ensure your write an evaluation that comments on your original intentions (what you set out to do) and how your realised those intentions. Is your outcome successful? Comment on strengths and successes.
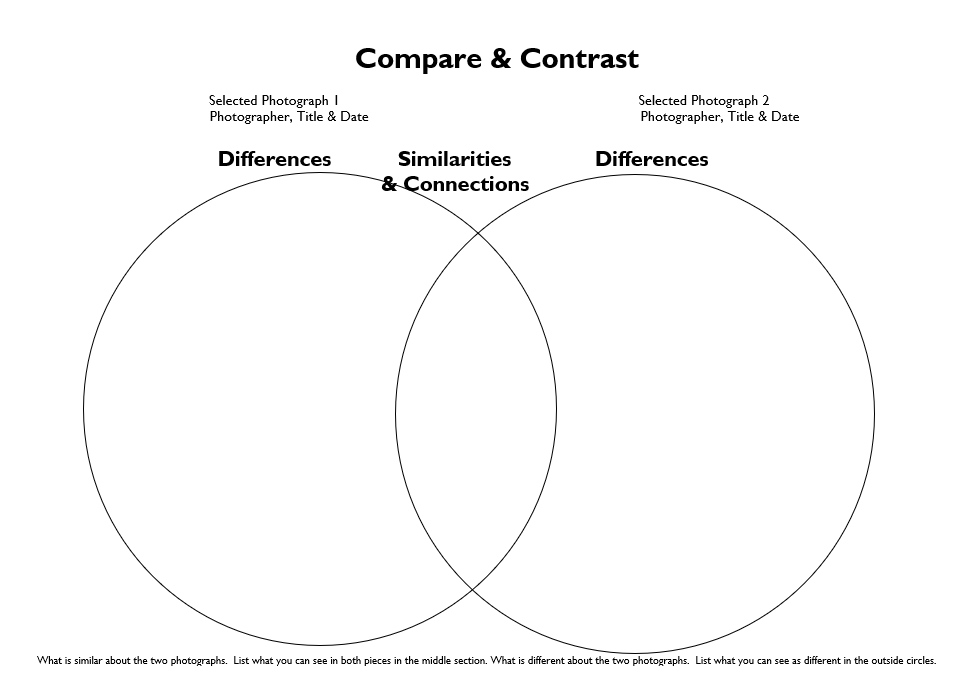
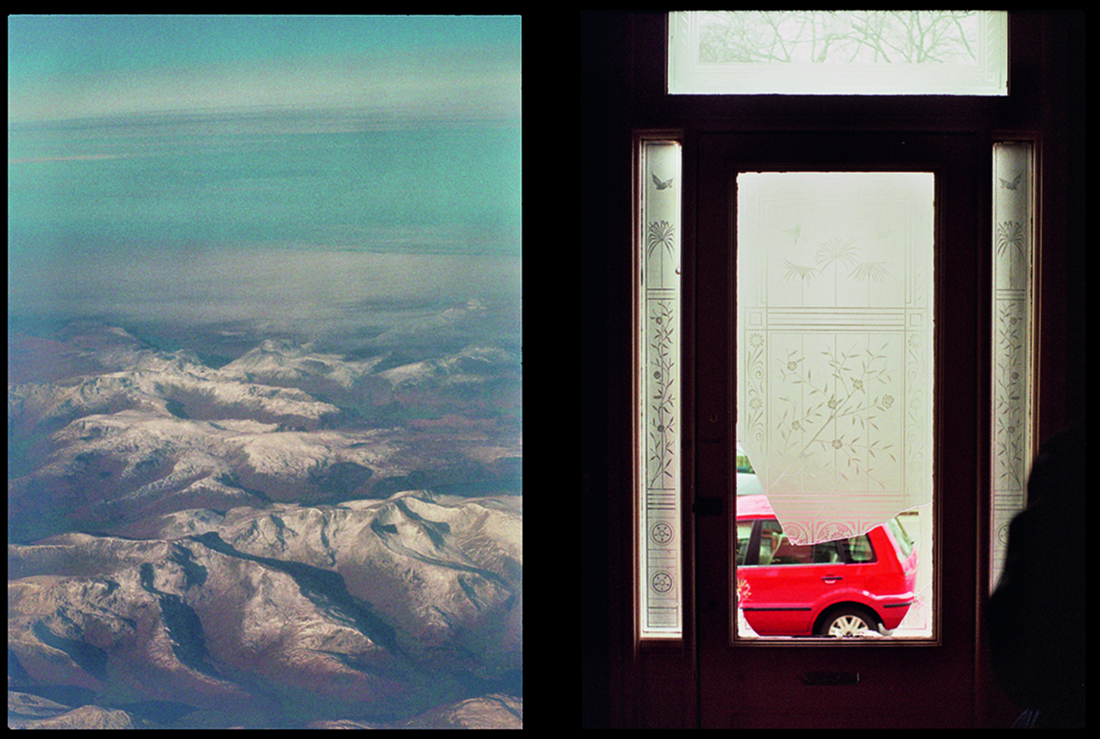
Task : Constructed Seascapes
Take a look at these photographic images (click on each image to expand):
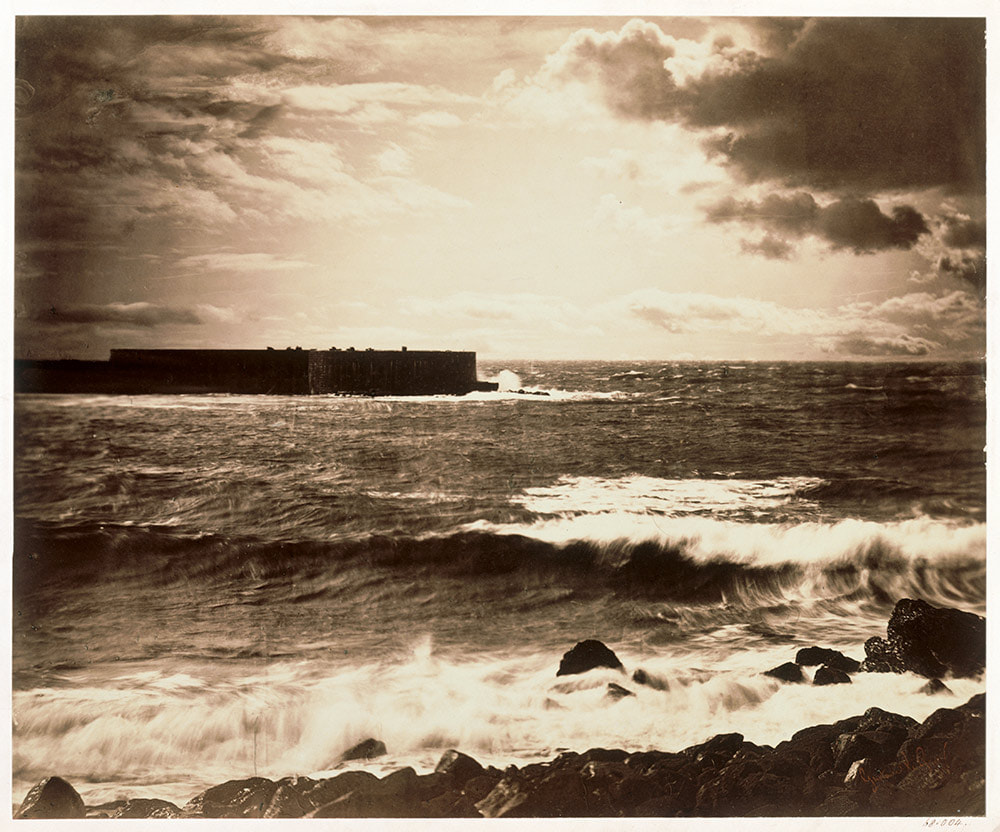
GUSTAVE LE GRAY – THE GREAT WAVE, 1857. ALBUMEN PRINT FROM COLLODION-ON-GLASS NEGATIVE.
- Both could be described as landscape pictures. What kinds of landscapes do they describe?
- What similarities do you notice about these two pictures?
- What differences do you notice?
- What words/phrases best describe each of these landscapes?
- In which of these landscapes would you prefer to live?
A bit of research…
Read the following descriptions about the making of these images:
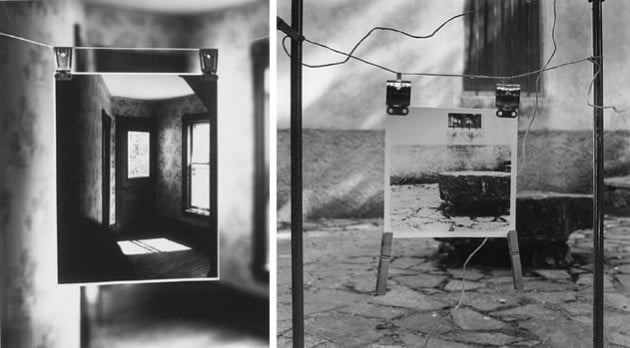
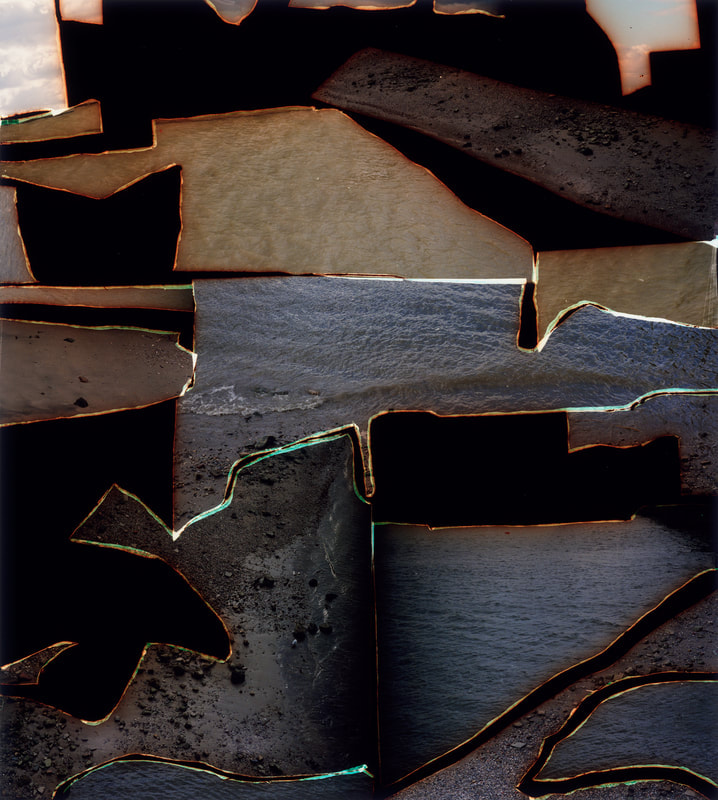
| Gustave Le Gray – The Great Wave, 1857 | Dafna Talmor – from Constructed Landscapes II |
| ‘The Great Wave’, the most dramatic of his seascapes, combines Le Gray’s technical mastery with expressive grandeur […] At the horizon, the clouds are cut off where they meet the sea. This indicates the join between two separate negatives […]Most photographers found it impossible to achieve proper exposure for both landscape and sky in a single picture. This usually meant sacrificing the sky, which was then over-exposed. Le Gray’s innovation was to print some of the seascapes from two separate negatives – one exposed for the sea, the other for the sky – on a single sheet of paper. | This ongoing body of work consists of staged landscapes made of collaged and montaged colour negatives shot across different locations, merged and transformed through the act of slicing and splicing […] ‘Constructed Landscapes’ references early Pictorialist processes of combination printing as well as Modernist experiments with film […] the work also engages with contemporary discourses on manipulation, the analogue/digital divide and the effects these have on photography’s status. |
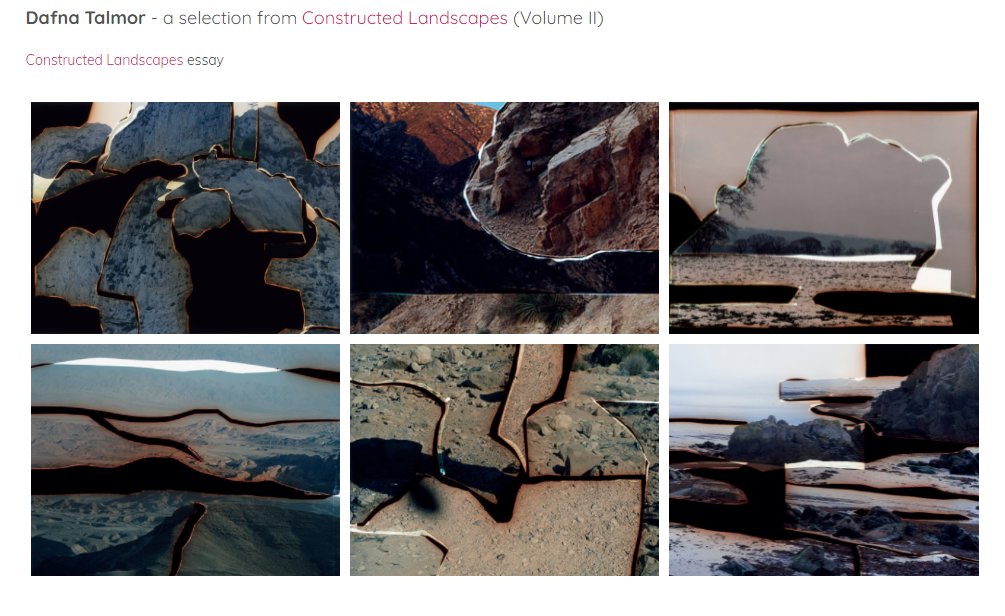
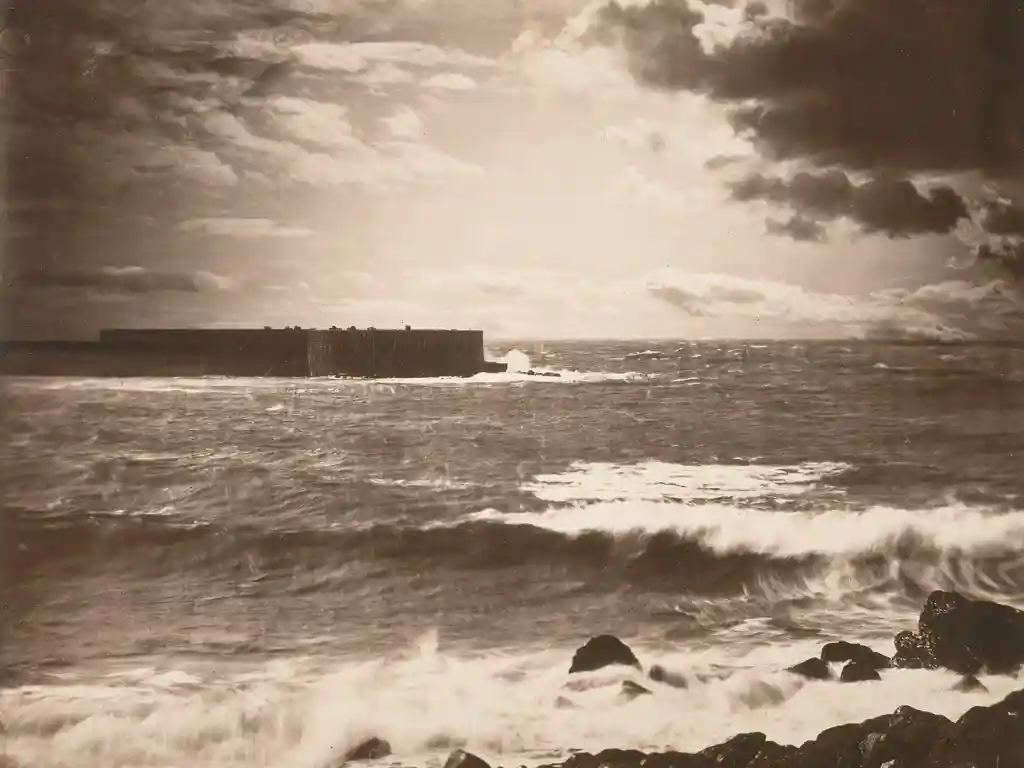
Illustration: Gustave le Gray
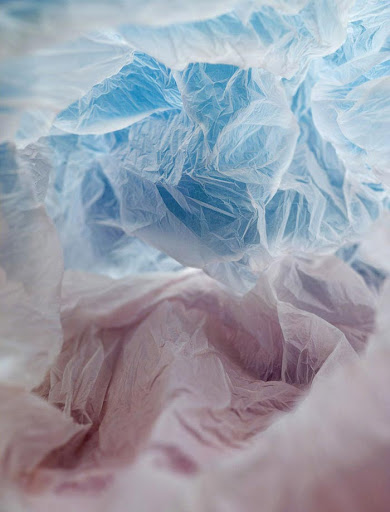
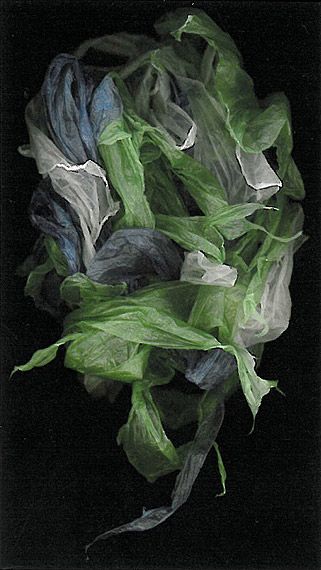
Think about creating landscapes that relates to your commentary, possibly Vilde Rolfsen’s work on Plastic Bag Landscapes…
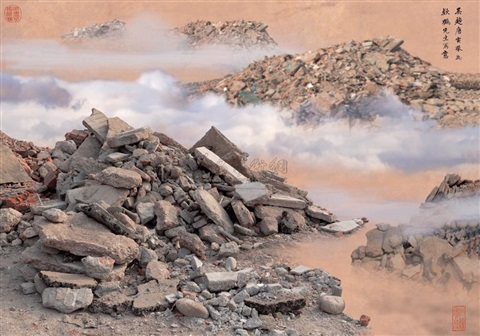
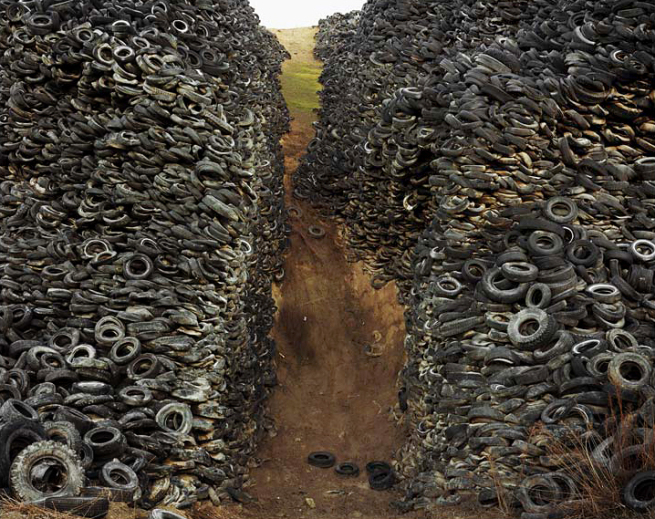
or Yao Lau, who creates contaminated landscapes using landfill sites and mounds of derelict rubble.
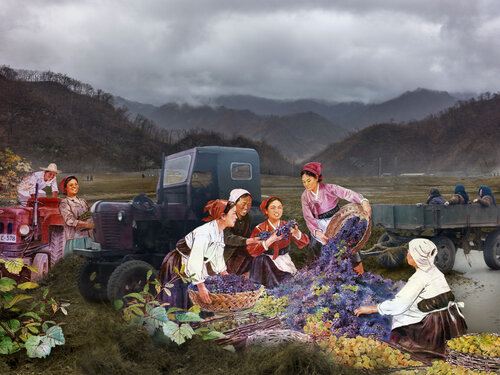
…or Alice Weilinga and her adapted images of North Korea and the contrast of the “the dream” versus the reality of working life in an oppressive state
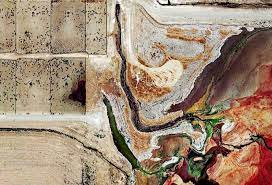
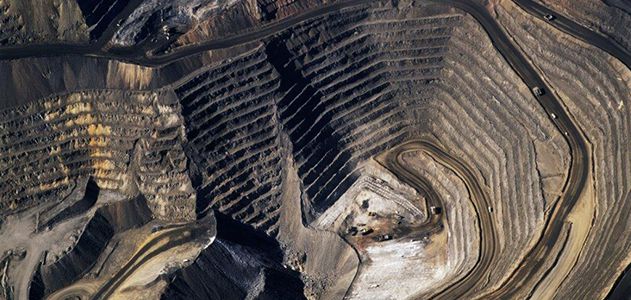
Industrial-scale US cattle farms captured by satellite imagery. These images, discovered by Henner while researching satellite photographs of oil fields, look more like post-apocalyptic wastelands than acreage in America’s heartland.
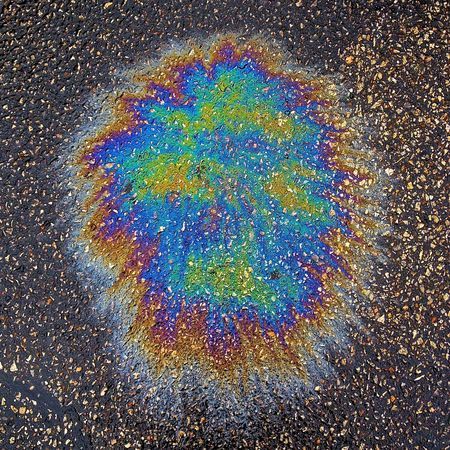
CLIMATE CHANGE > ANTHROPOCENE
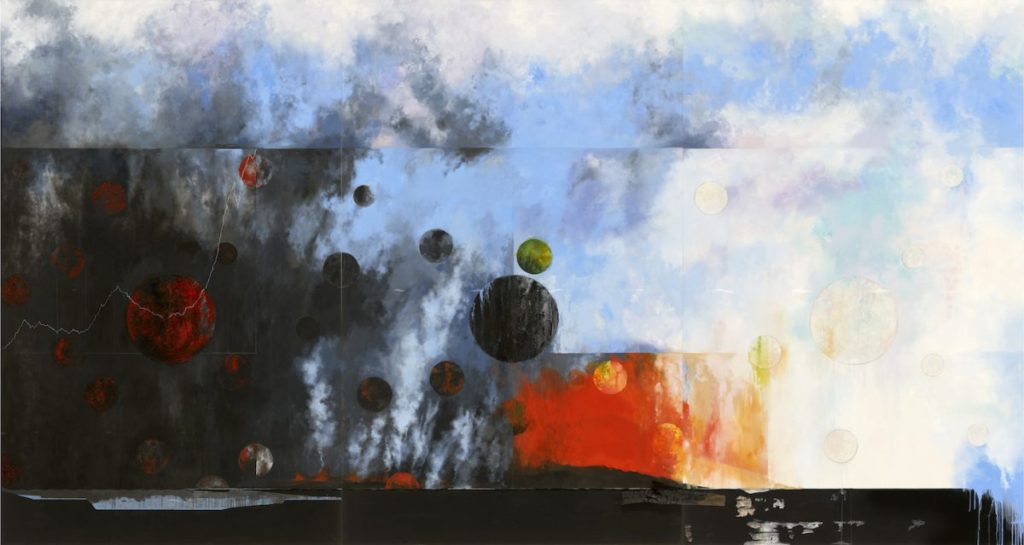
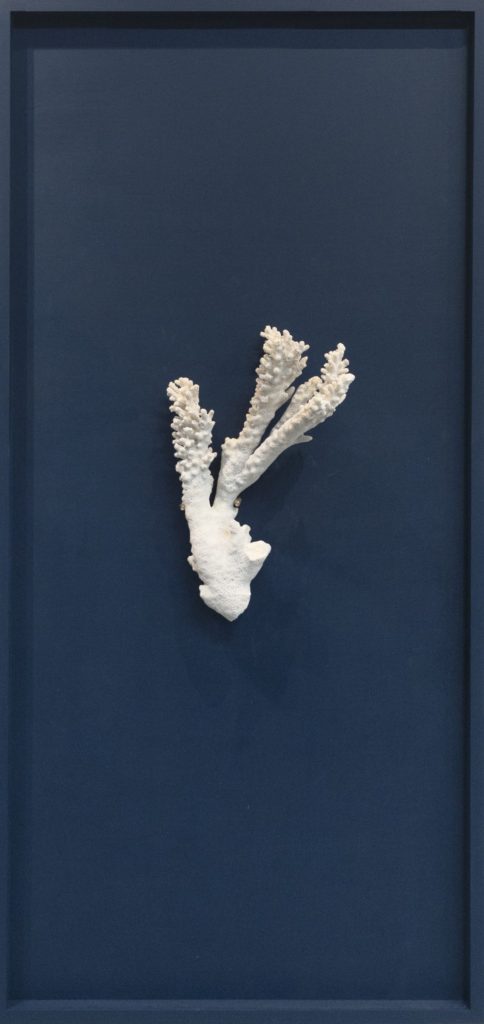
Diane Burko: Read a review Visualizing Climate Change through Abstract Expressionism of Burko new exhibition Seeing Climate Change. Her work is compared with Abstract Expressionistic painters such as Barnett Newman and Clifford Still and sublime paintings by J.M.W. Turner.
Diane Burko’s images of melting glaciers and dying coral reefs are not just pictorially impressive; they have strong emotional impact. (Carter Ratcliffe)
As a photographer how would you respond to climate change? Can a study of the environment and landscape of Jersey be an inspiration for a Personal Study?
For comparison, see work by photographers; Stephane Couturier and his series Melting Point or Urban Archaeology
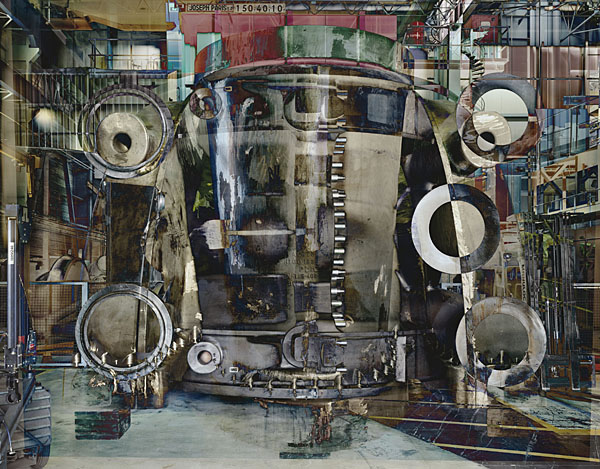
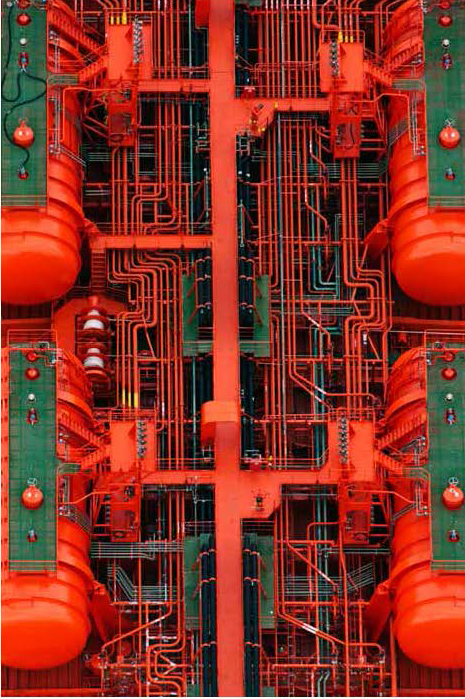
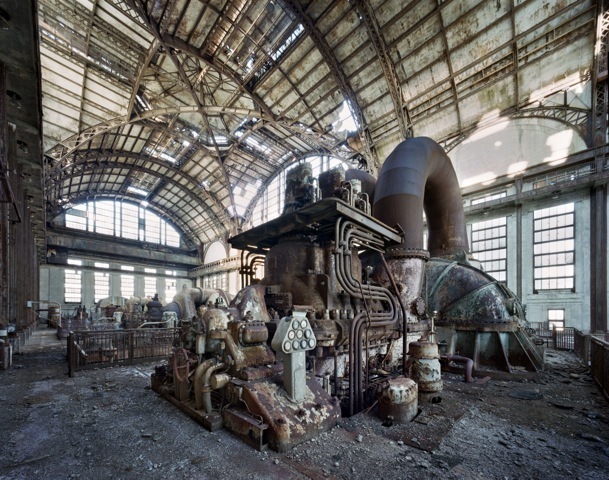
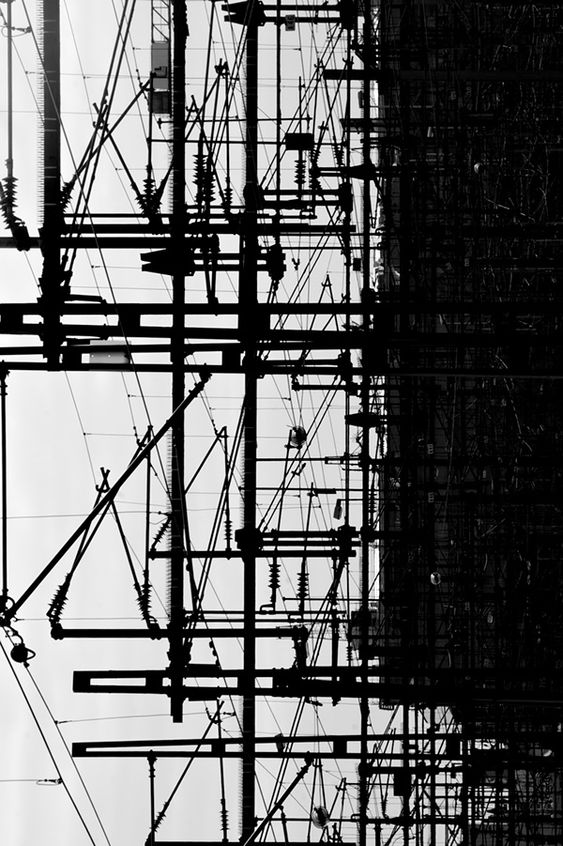
Other photographers exploring ANTHROPOCENE
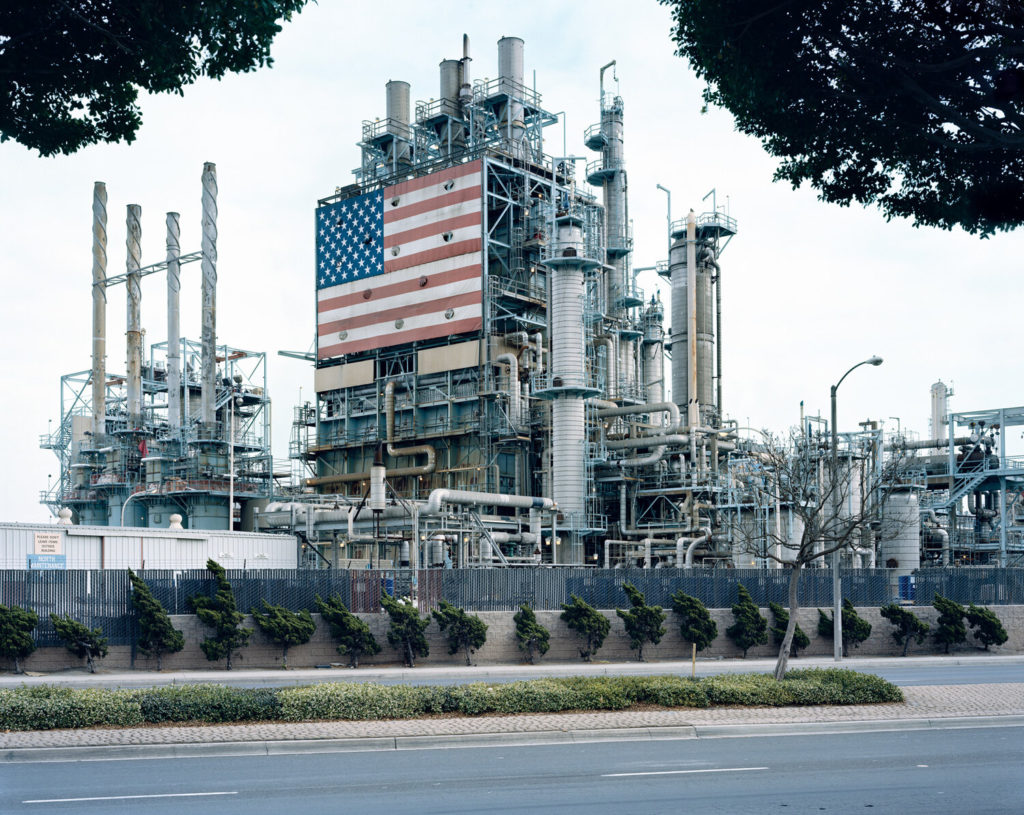
Edward Burtynsky (Oil, Quarries, Water, Mines, Anthropocene), Mitch Epstein (American Power), Vera Lutter (Body of Work), Michael Wolff (Architecture of Density), Philippe Chancel (Fukushima), Robert Adams (Turning Back), Edgar Martins (The Diminishing Present), Gideon Mendel (Drowning World, Scorched Surfaces), Yao Lu (New Mountain and Water), Emily Allchurch (Jersey born artist based in London)
Study latest issue: Photography+ Environment #14 from Photoworks that looks at the role of the photographer in documenting and confronting climate catastrophe. To explore this question, each writer and artist invites us to think about the relationship between photography and climate change, and between the photographer and their environment
Links to inspirational artists and ideas…
https://www.lensculture.com/articles/ingrid-weyland-topographies-of-fragility
https://www.lensculture.com/articles/julie-hamel-altered-negatives
https://www.lensculture.com/articles/william-eggleston-the-outlands
https://www.lensculture.com/solo-exhibition/peter-franck-lost-found-and-seen
https://www.lensculture.com/articles/sara-cuce-memory-of-the-eyes
https://www.lensculture.com/articles/tobias-kruse-deponie-landfill
https://www.lensculture.com/articles/charlotta-hauksdottir-a-sense-of-place
https://www.lensculture.com/articles/ohad-matalon-across-a-dark-land
https://www.lensculture.com/articles/the-most-fantastic-the-most-fantastic-rocks
Some other suggestions for you to look at…
- Edward Burtynsky…nature transformed through industry
- George Marazakis…humanity’s effect on Earth
- Sebastiao Salgado…documentary photographer and photojournalist, respect for nature while also sensitive to the socio-economic conditions that impact human being
- J. Henry Fair…uses pictures to tell stories about people and things that affect people.
- David Maisel…radically human-altered environments.
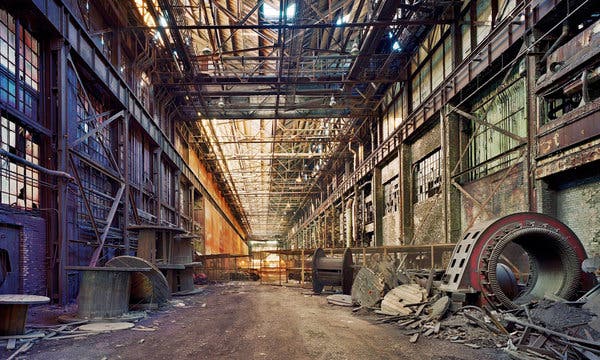
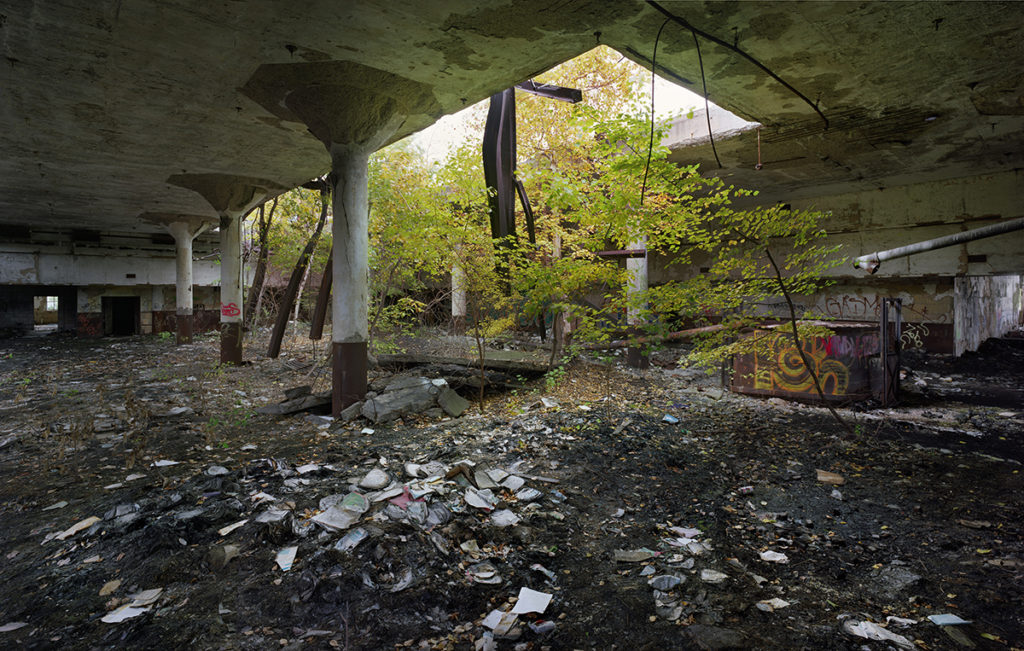
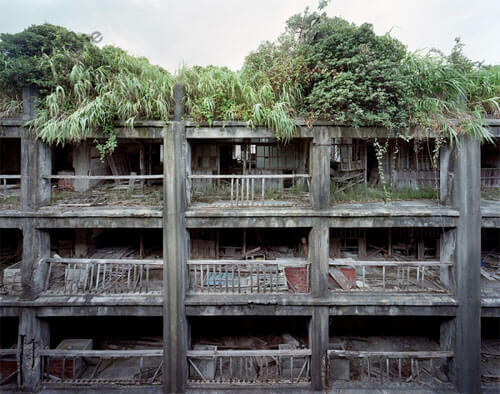
- Camilo Jose Vergara…documentation of American slums and decaying urban environments.
- Andrew Moore…the effect of time on the natural and built landscapes.
- Yves Marchand & Romain Meffre….modern ruins.
- Yao Lu… contaminated landscapes – created from landfills and mounds of derelict rubble.
- David T. Hanson… waste land.
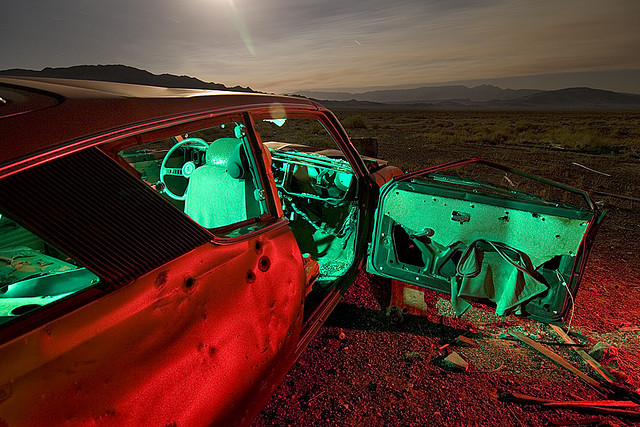
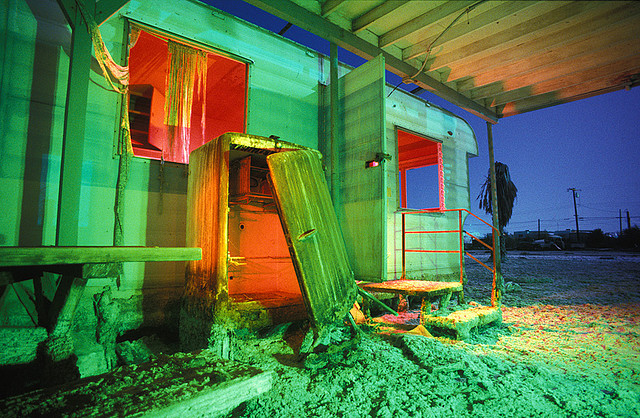
- Troy Paiva…”Urban Explorer” investigating the ruins of “Lost America”.

Obviously, you can also use past photographers we have looked at throughout the landscape unit, especially industrial and urban landscape photographers. (see below)
- Alexander Apostol
- Bernd & Hilla Becher
- Donovan Wylie
- Edward Burntsky
- Frank Breuer
- Gerry Johansson
- Joel Sternfeld
- Josef Schultz
- Lewis Baltz
- Noemie Goudal
- Darren Regan Harvey
- Keith Arnatt
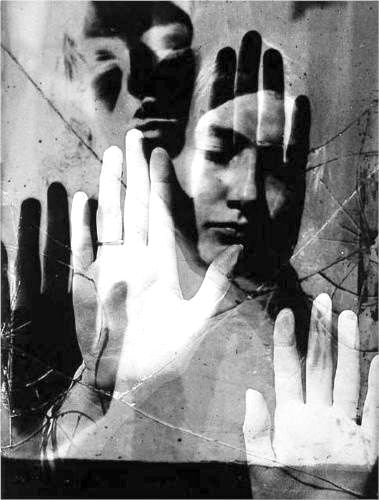
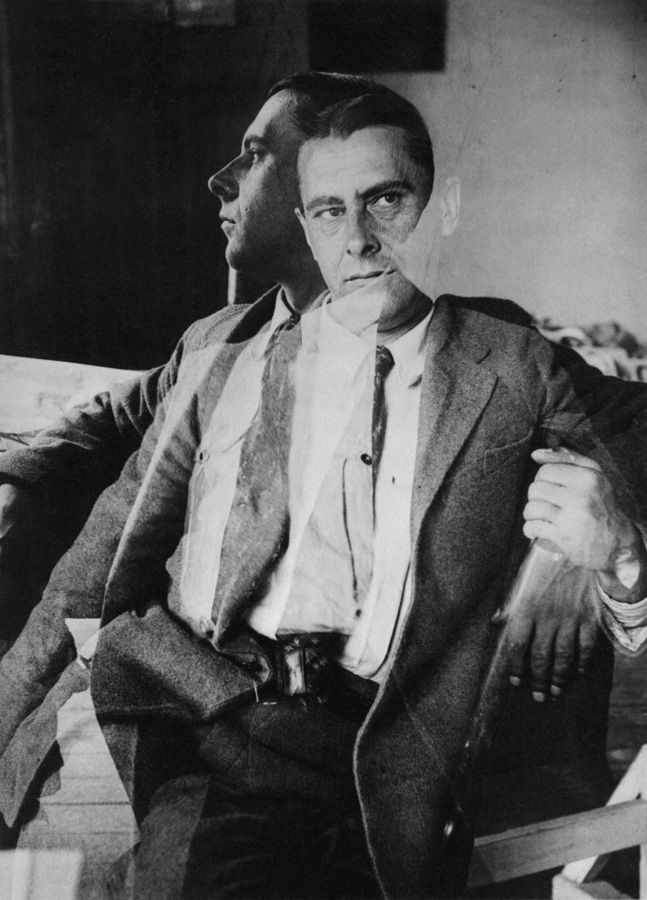
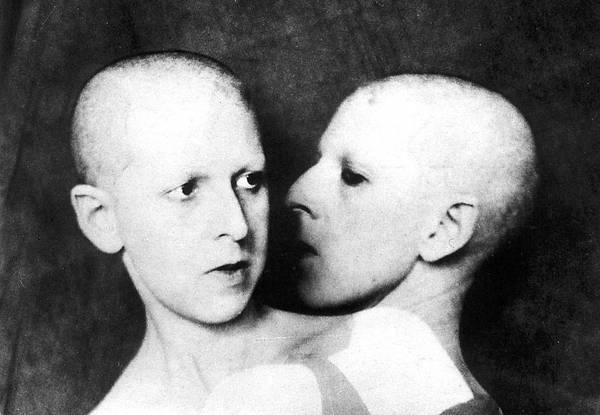
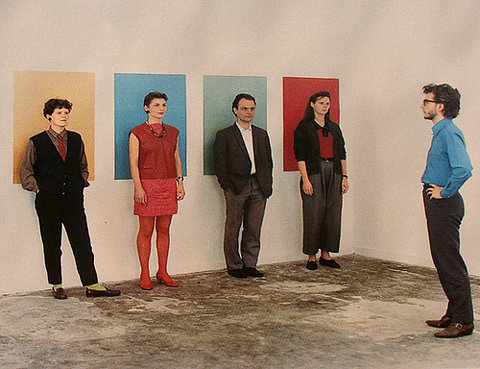
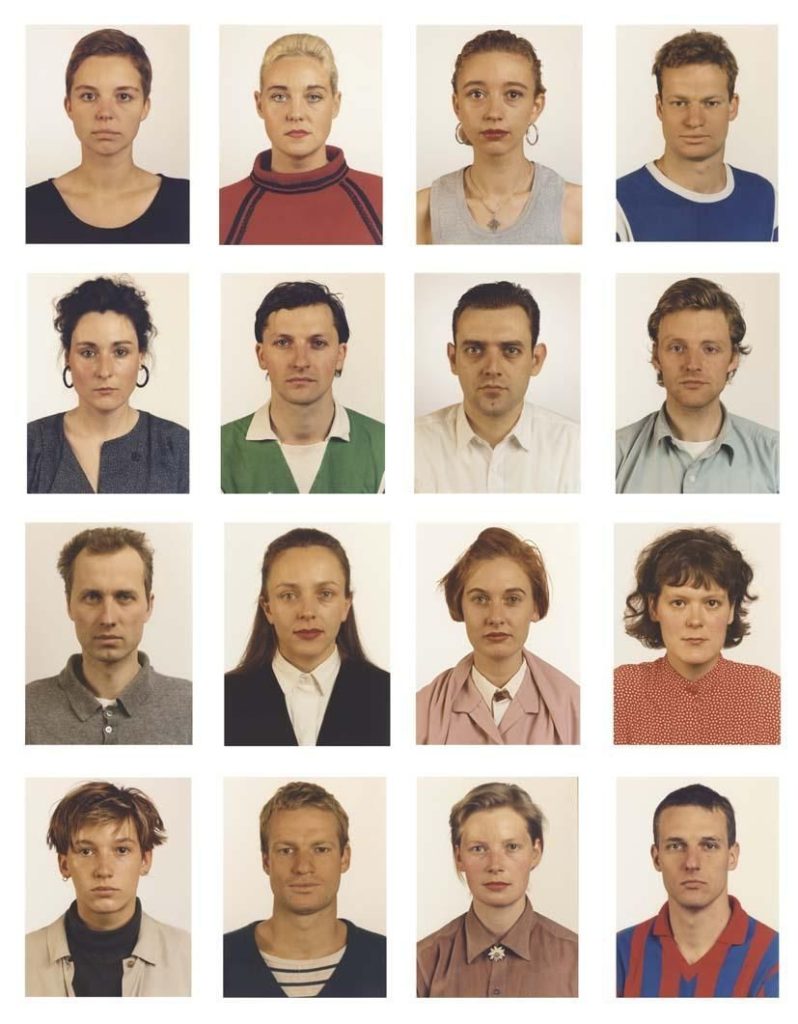
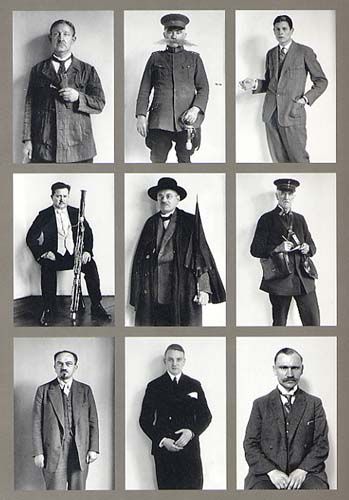
ABSTRACT Approaches
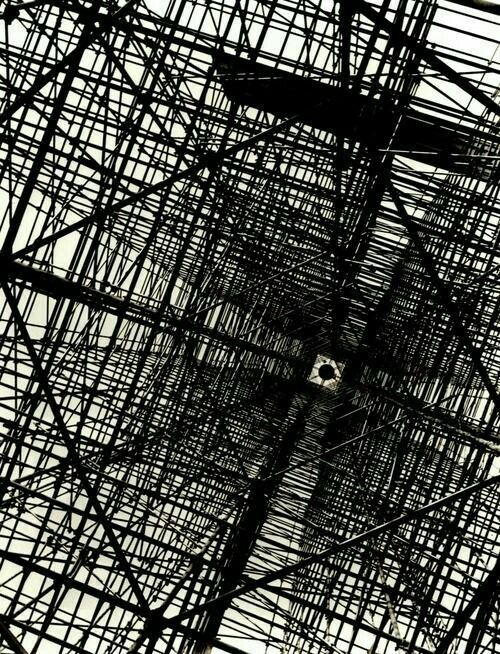

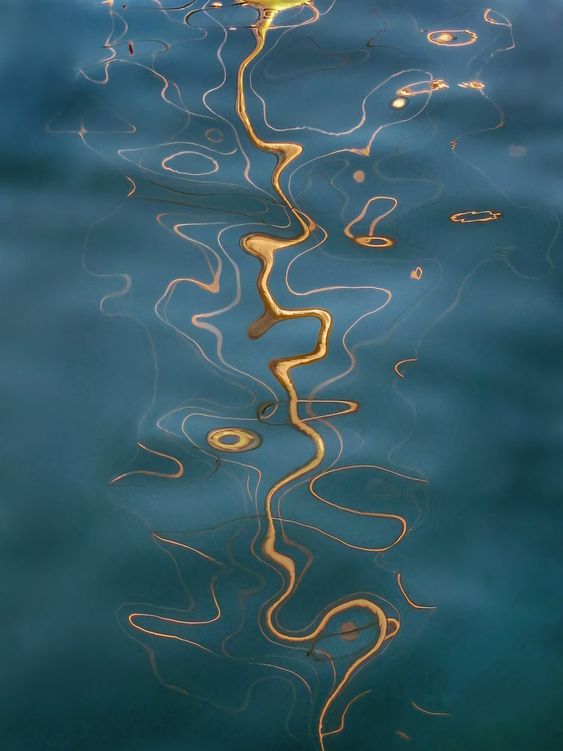
You may focus on and wish to respond through the genre of abstract photography. Look back to the photographers from your first unit or discover new ones. Below are just some images to help you to engage in the topic.
OBJECT – studio lighting
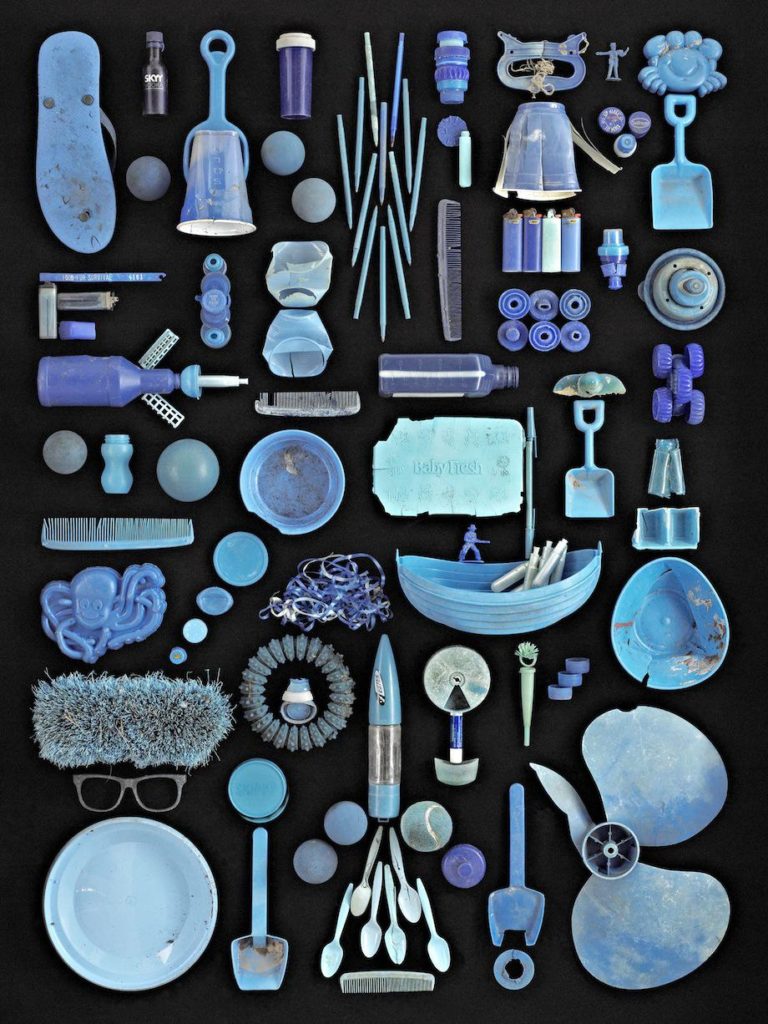
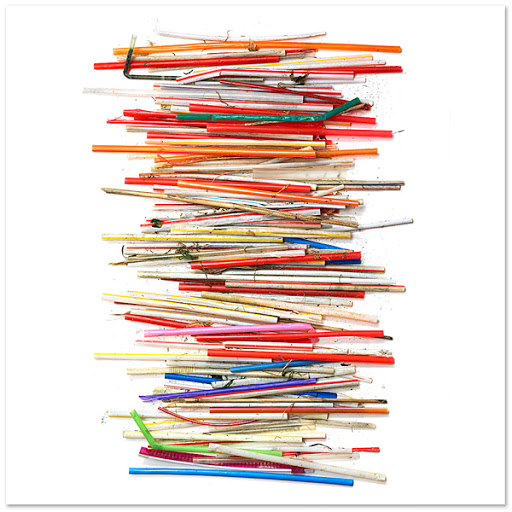
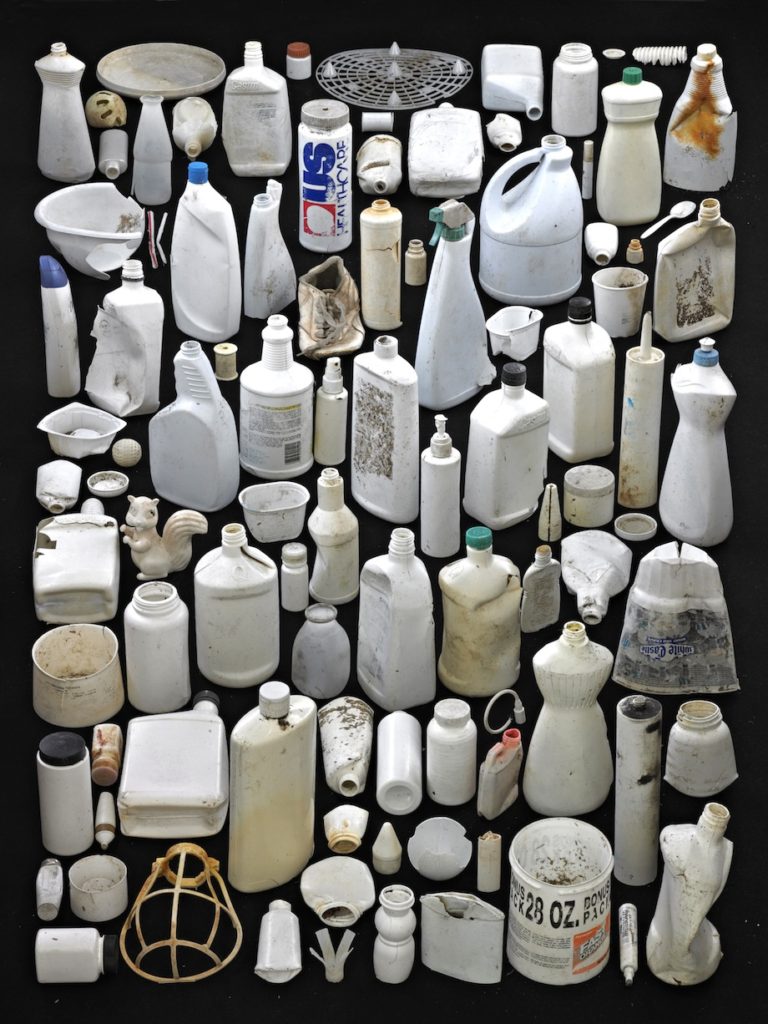
You can also use your skills to produce an object based project. Looking at how objects might reflect the theme of Anthropocene. ie: single use plastics, disposable objects, waste, rubbish etc.
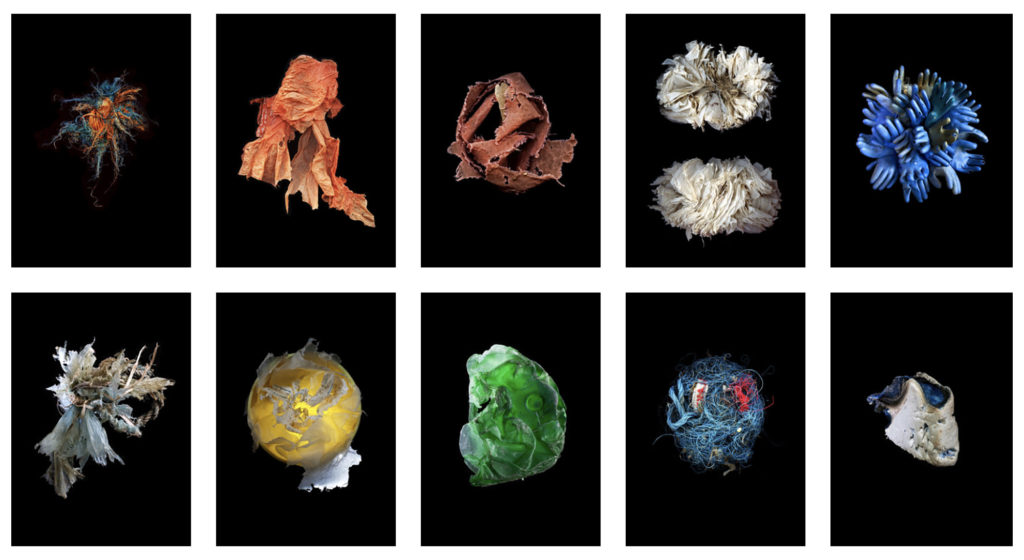
Barry Rosenthal – collection of discarded plastic objects.
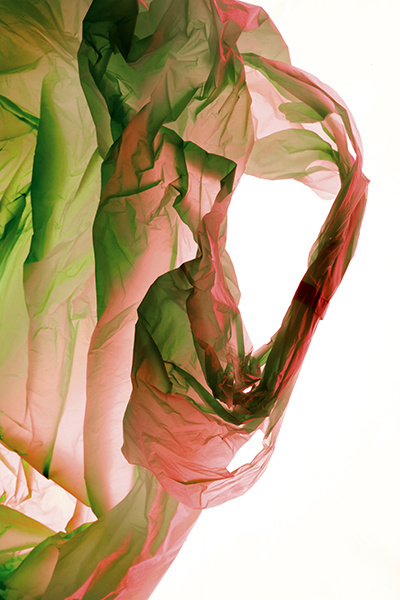
Naomi White – plastic bags.
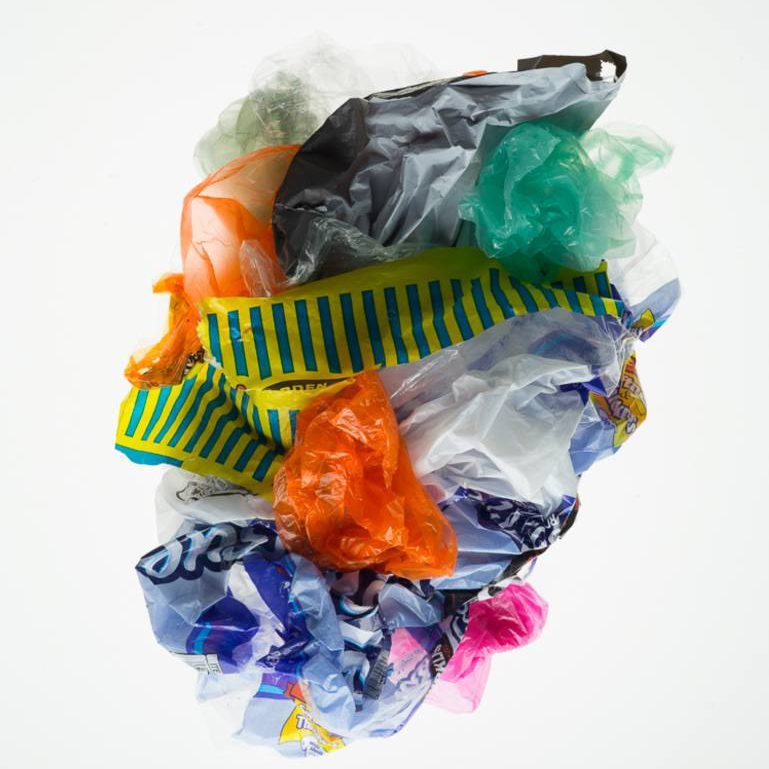
Sophie Thomas – found, discarded plastics/rubbish.
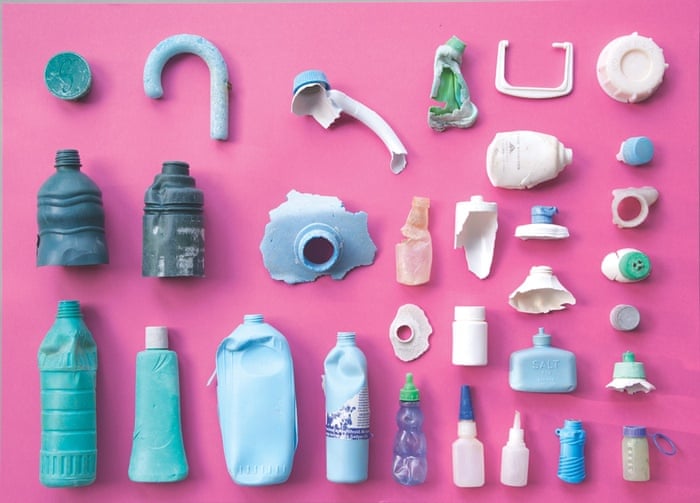
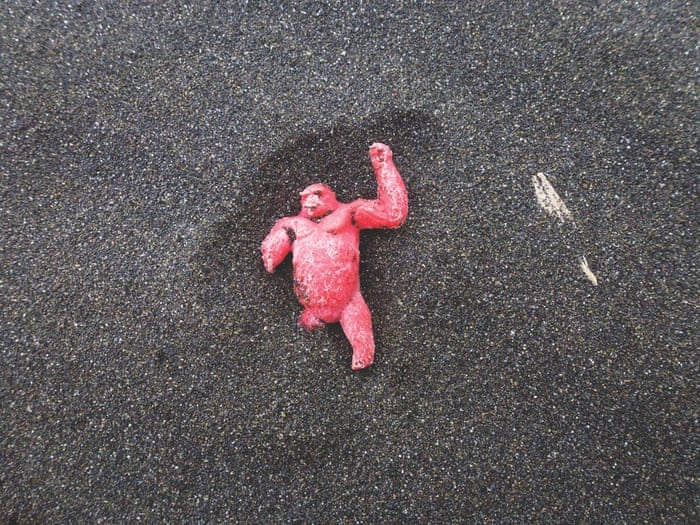
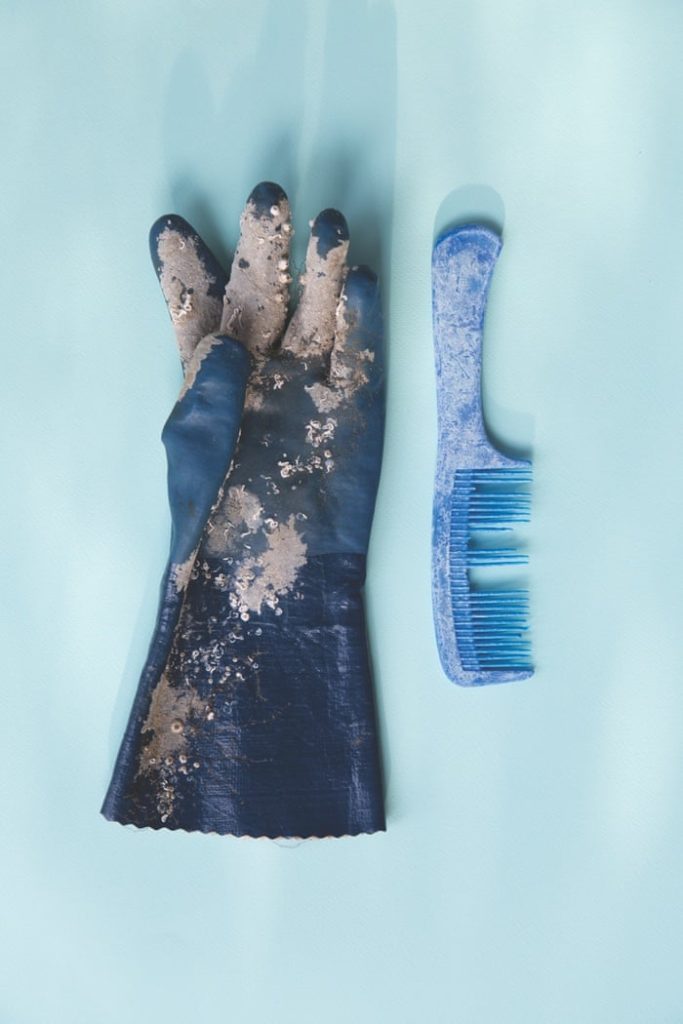
Steven Gallagher – plastic bag topology photography
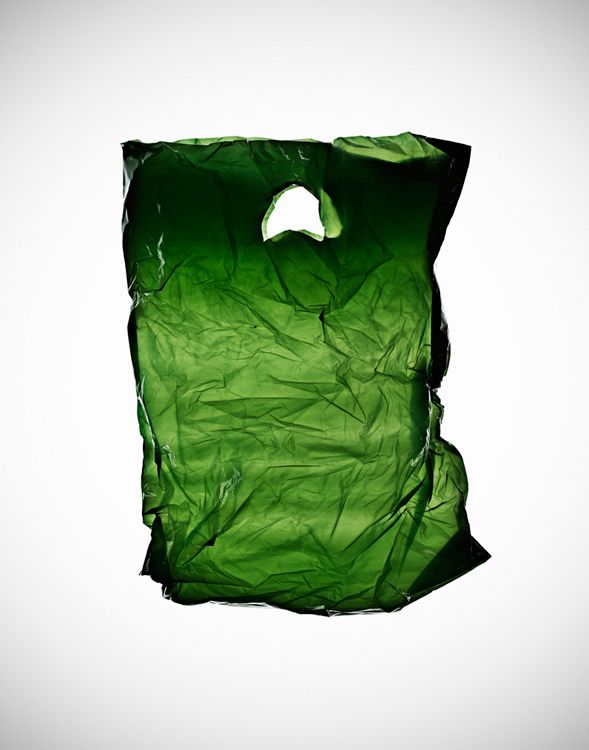
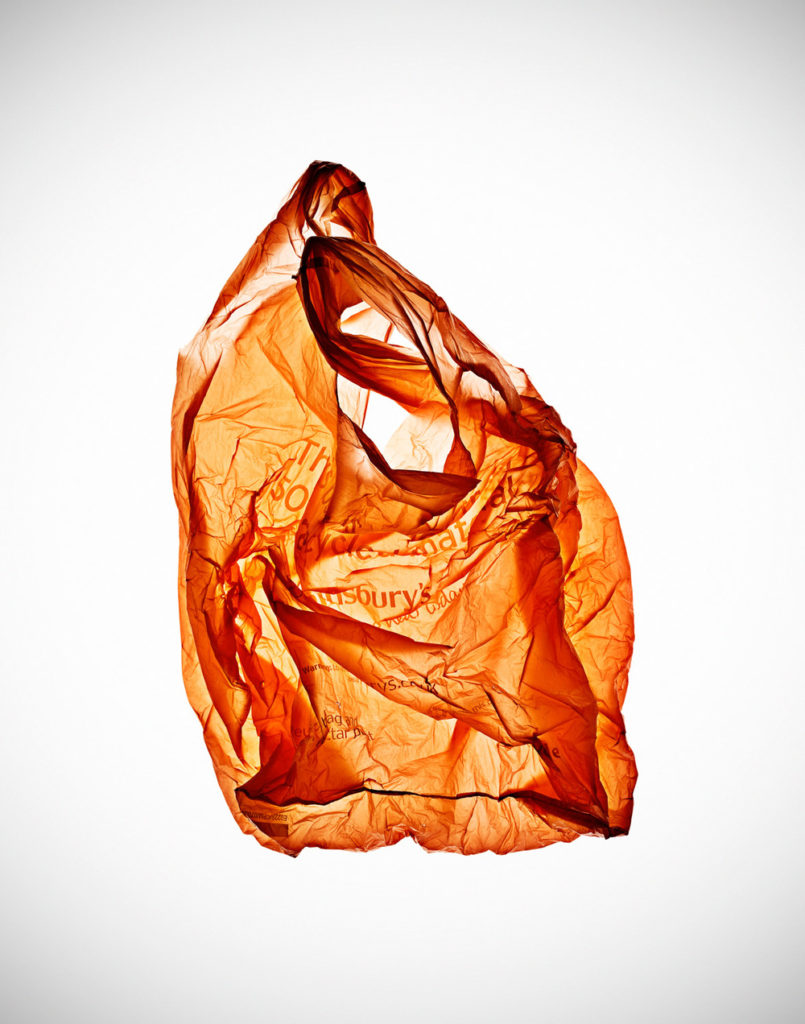
Mandy Baker – marine plastic debris

THINK
What and where are you going to photograph and how you are going to take your images!!
Is it out and about, indoors, setting up your own lighting, collecting objects, photographing people, looking for abstract imagery etc.
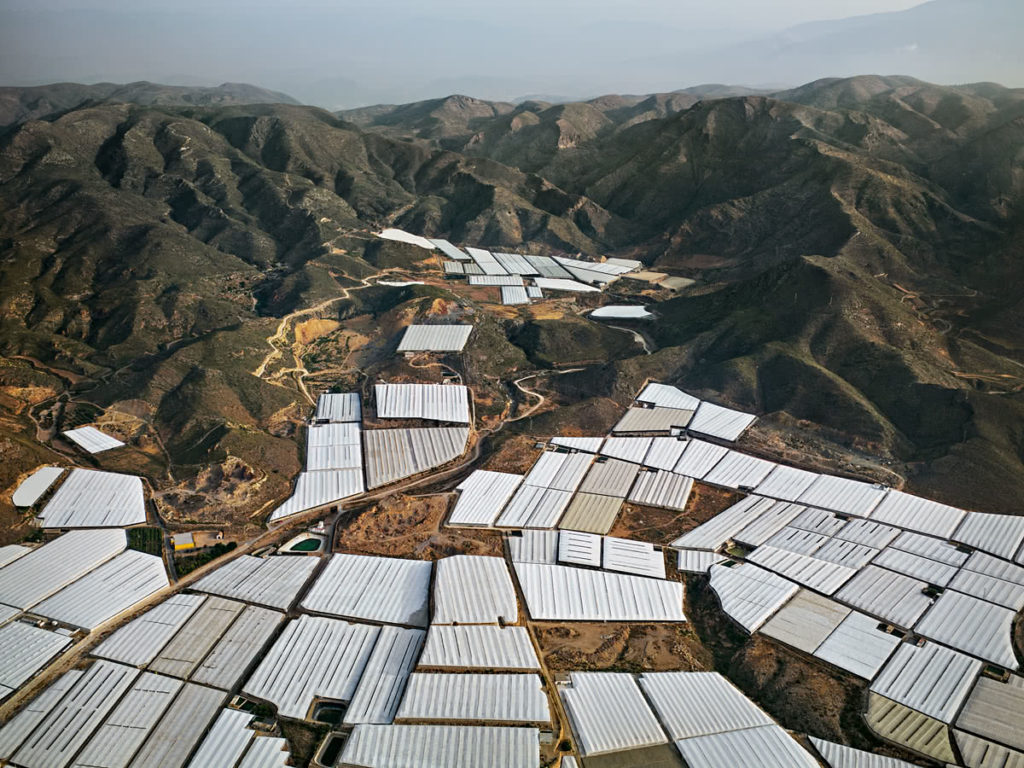
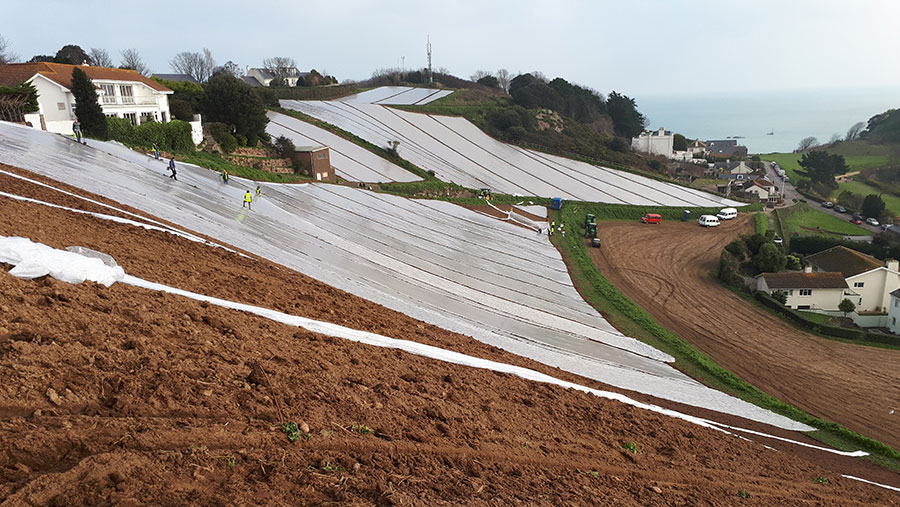
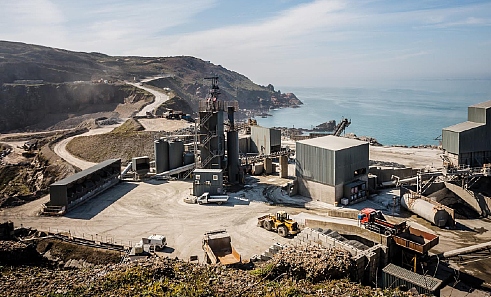
Contacting Ronez quarry and gaining access to take photographs? Explore the industrial areas around La Collette – power station, recycling centre? The impact of farming on the land – plastic sheeting, poly tunnels etc, etc. Collecting washed up plastics from the beach. Asking family and friends to photograph them etc.
WHAT do you want to visually comment on?
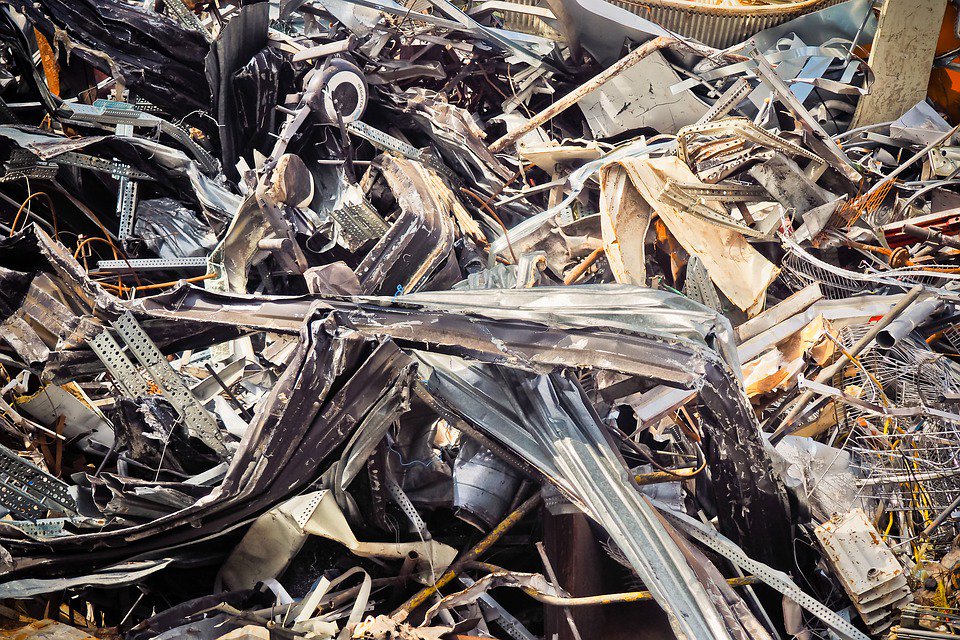
•Plastics •Open cast mining •Urbanisation (concrete jungle) •Deforestation •Mass Wastage •Non Recycling •Disposable Society (‘throw away’) •Land Erosion •Climate change •Over population •Poverty (social divides) Rich/Poor •Climate change •Ozone layer •Natural Resources (fossil fuels – oil/coal etc) •Industrialisation – POLLUTION air, ocean, light etc.
YOUR POLITICAL STANCE
You may decide that you want to make a statement on the current situation in Jersey. Take images that may evoke discussions to do with over population, the housing crisis, social divides (rich/poor), securing National Park land etc, etc.
Below are helpful links:
The period during which human activity has been the dominant influence on climate and the environment.
The IMPACT humans have had on the PLANET.
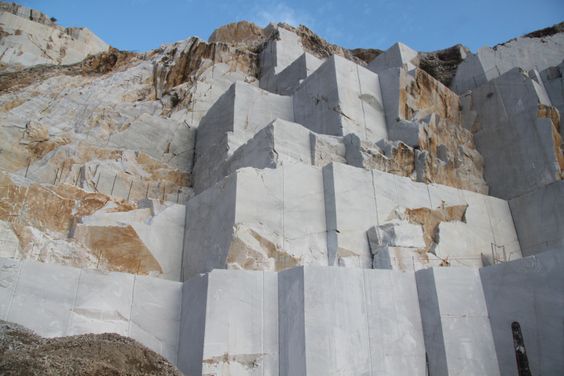
Where in Jersey is it anthropogenic?
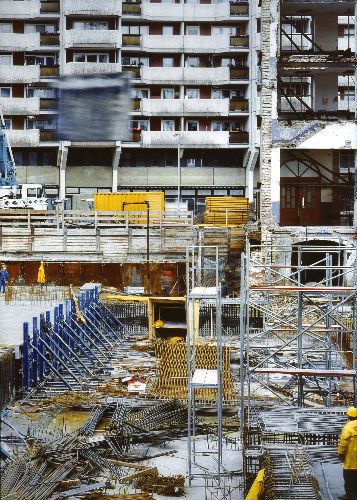
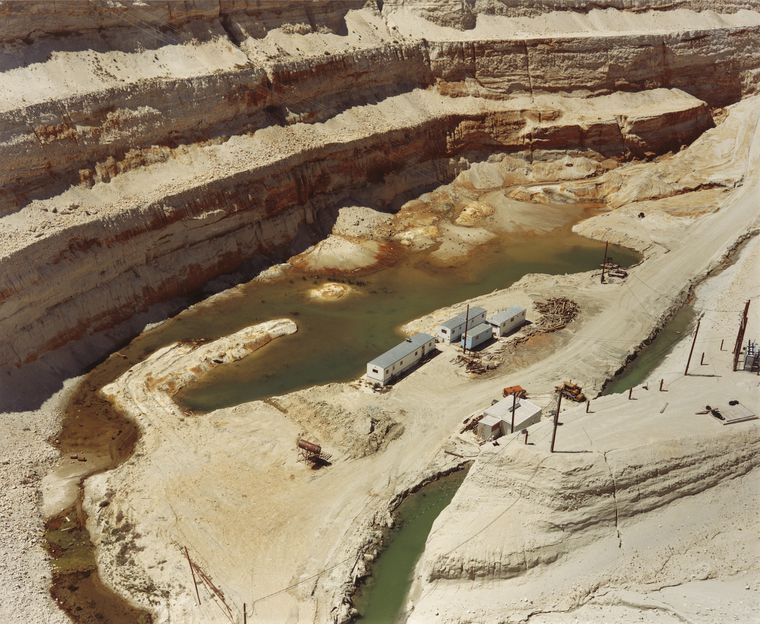
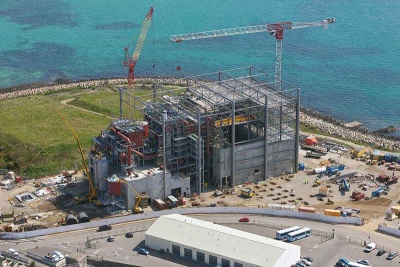
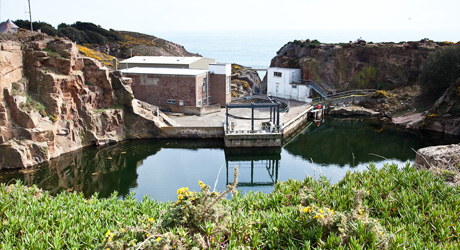
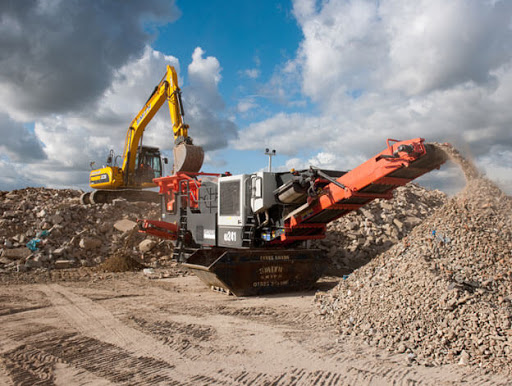
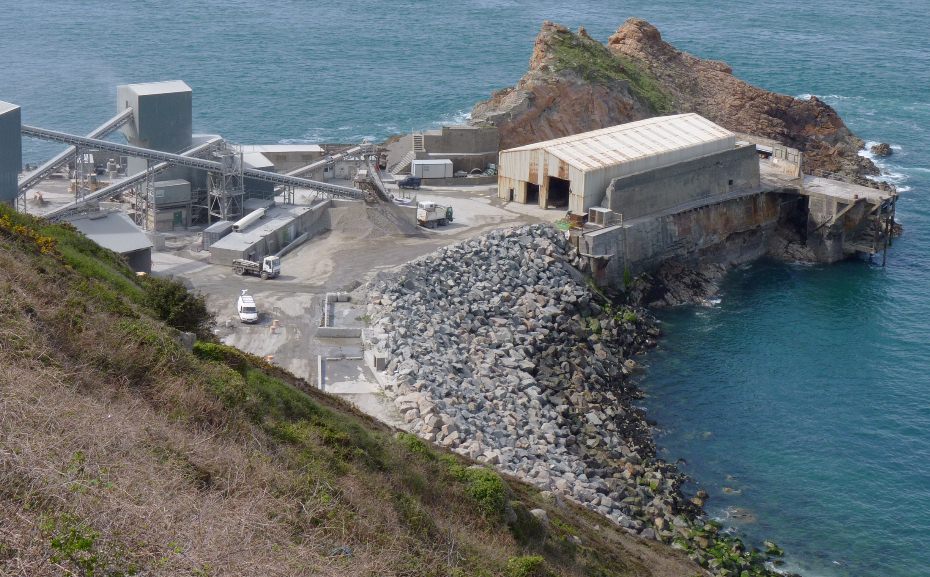
- Open Cast Mining – Quarries: Ronez, St Peters Valley, Sand Quarry St. Ouens
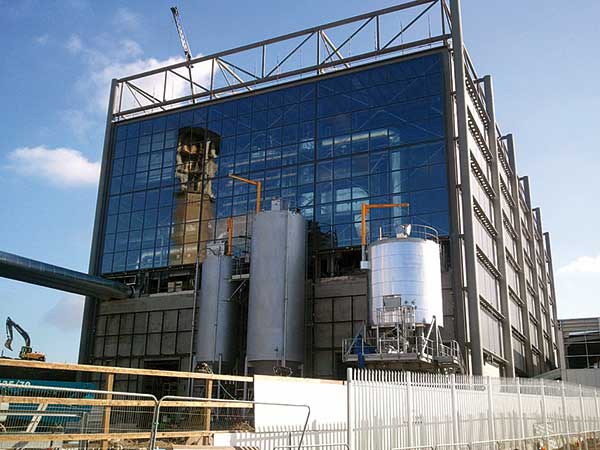
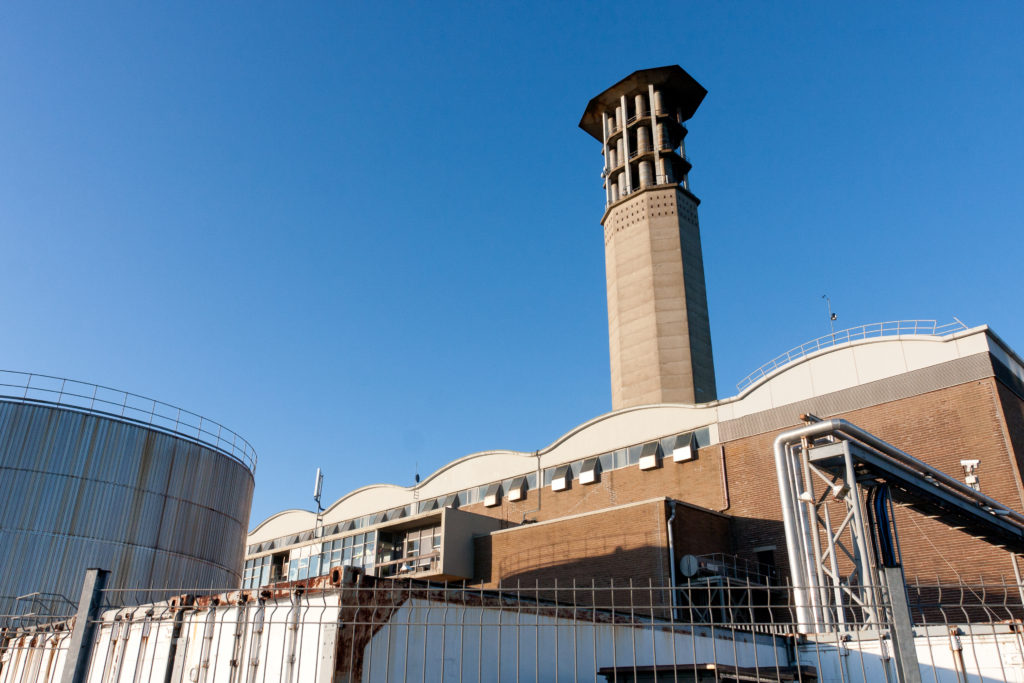
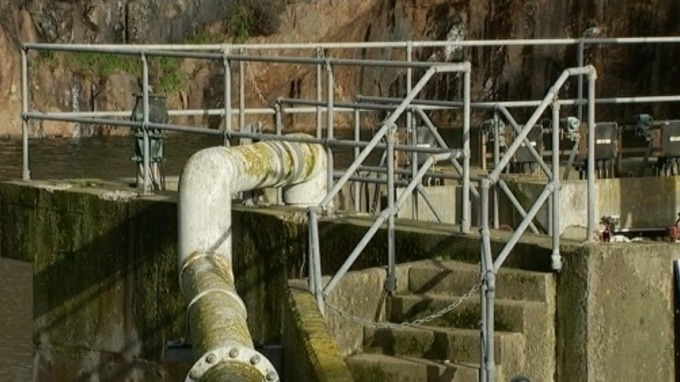
- Power Stations – La Collette, Bellozane Sewage Treatment
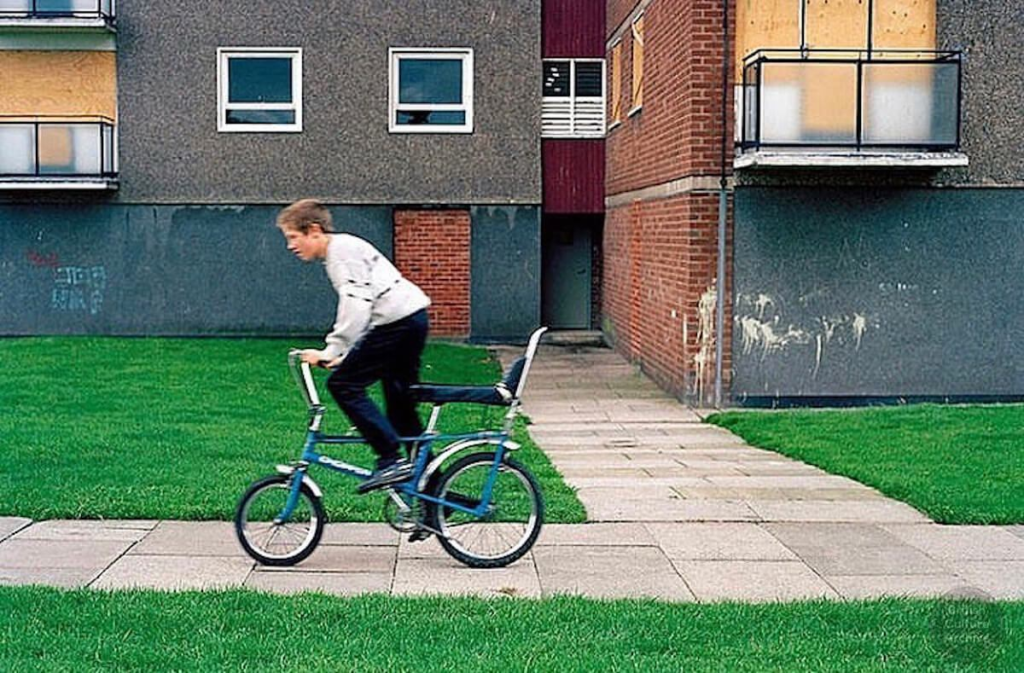
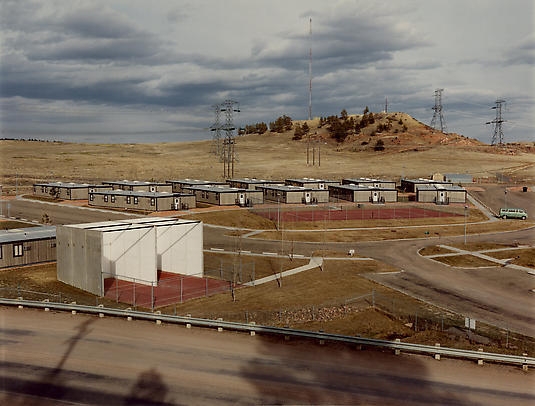
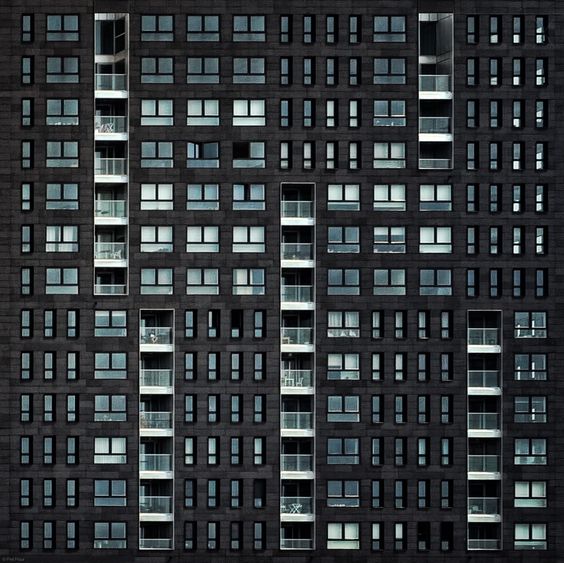
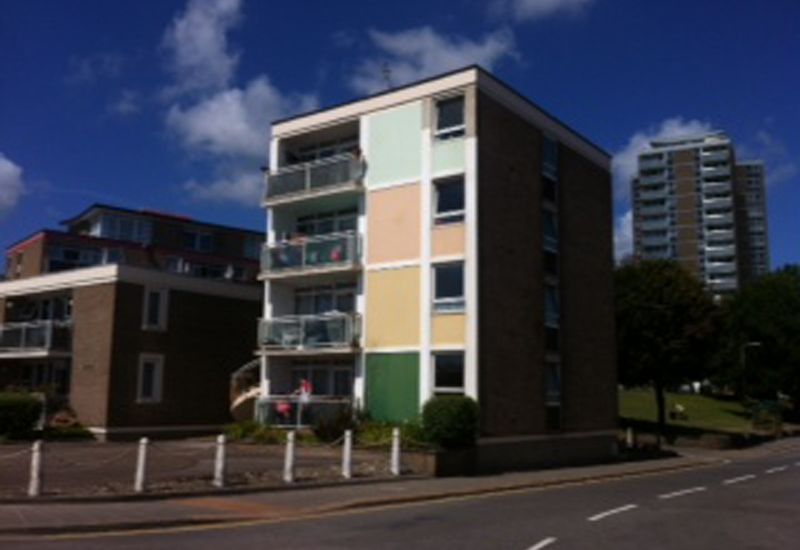
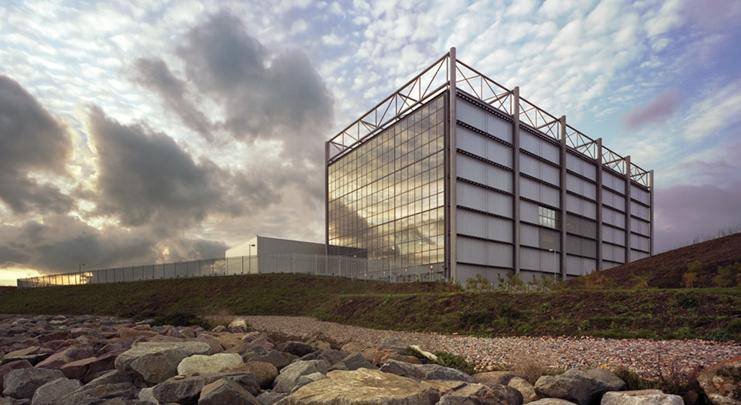
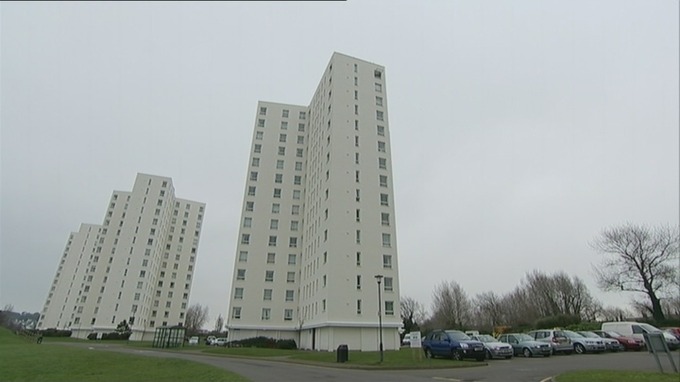
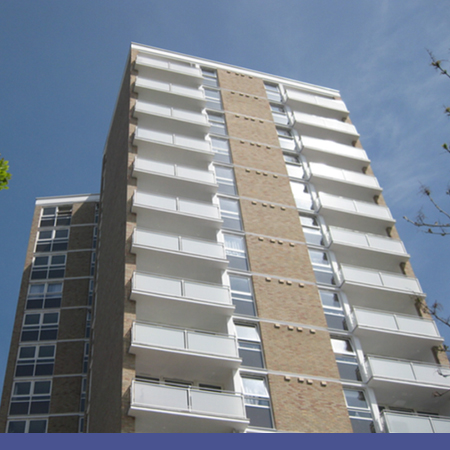
- Urbanisation – St Helier: Grands Vaux, Le Marais Flats, Le Squez etc.
- Mass Wastage – La Collette recycling centre
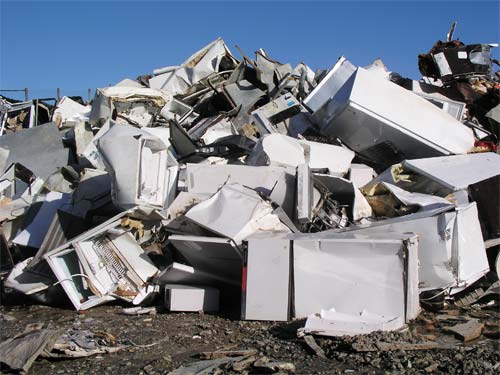
- Disposable Society – La Collette recycling centre – refrigerator mountains etc
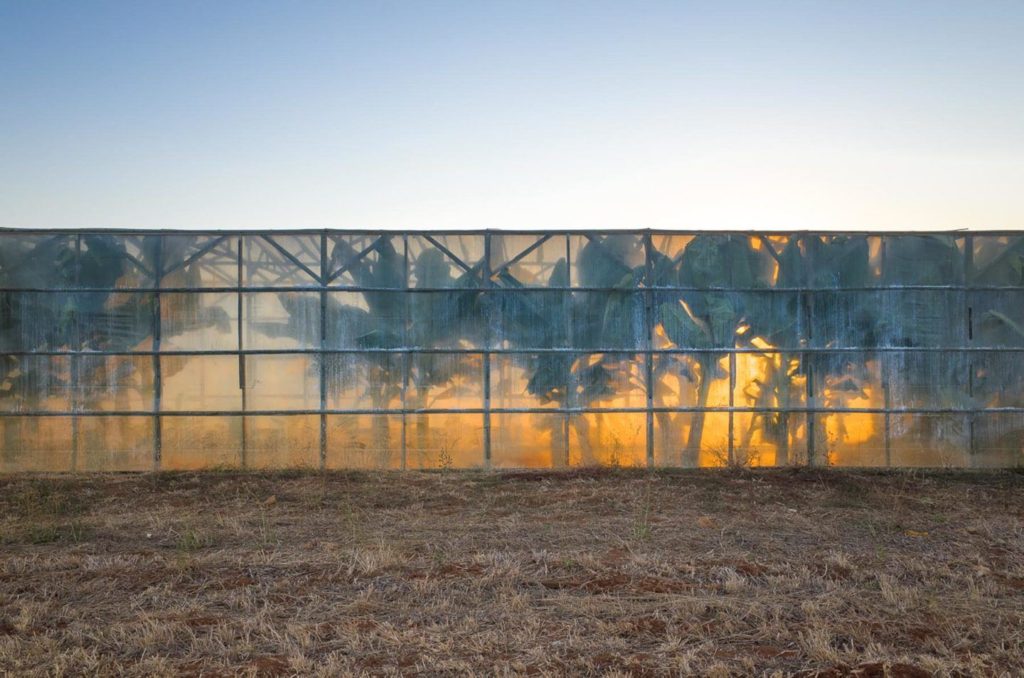
- Land Erosion – farming industry: poly tunnels, packing sheds, plastic covered fields etc. Old Glass Houses
- Over Population – poverty/social divides: Social Housing sites. Car Parks, traffic etc.
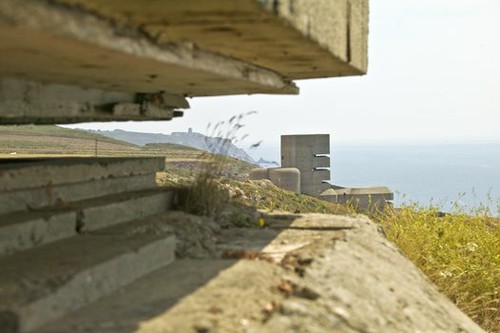
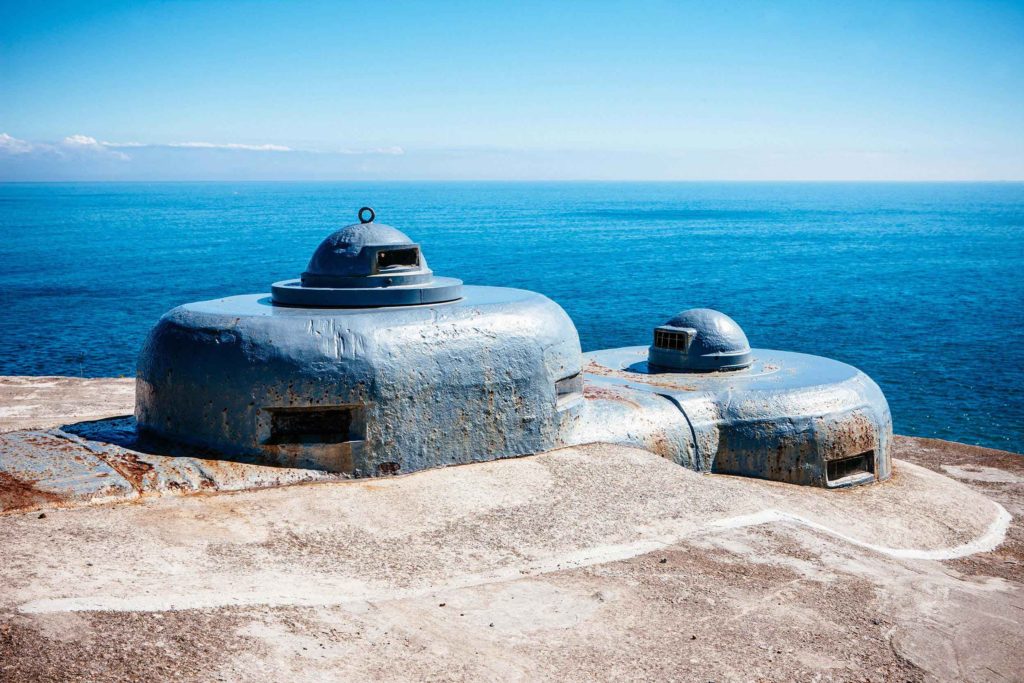
- Industrialisation – La Collette area, Bellozane, industrial estates. Desalination Plant, German Fortification (WW2)


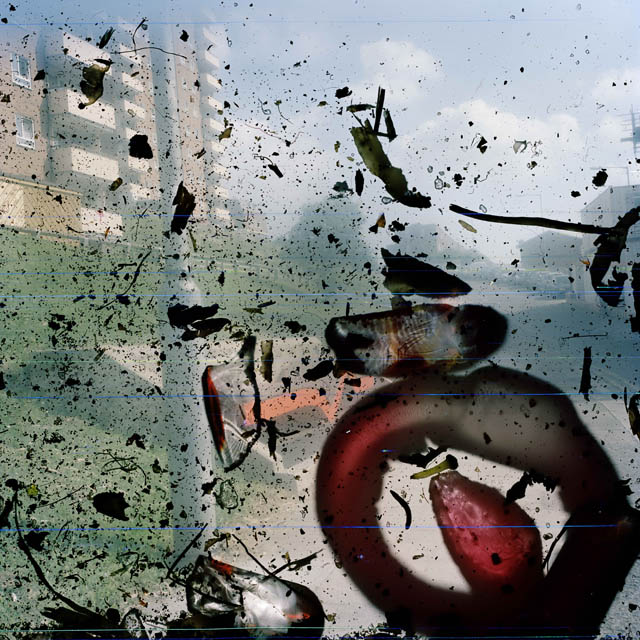
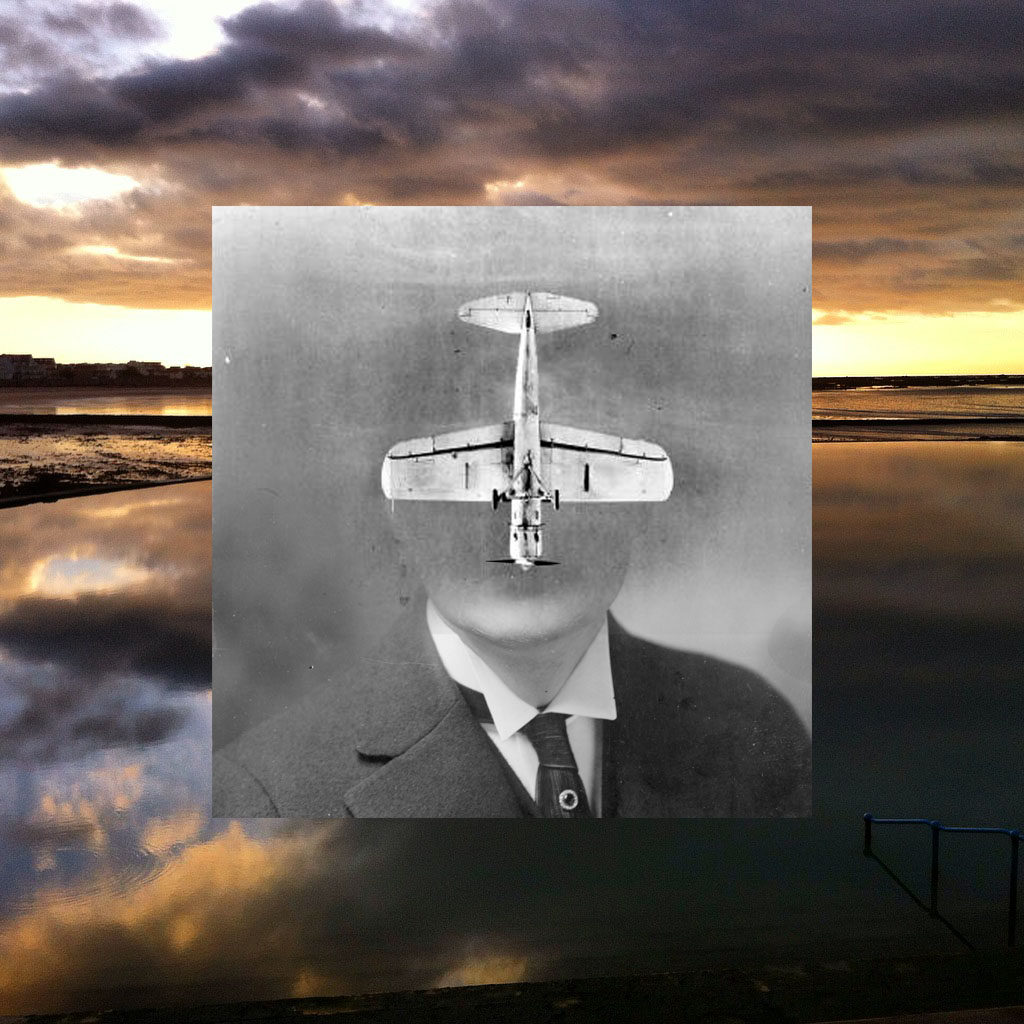
Altered Landscapes

Altered landscapes focus on the process of using photoshop, or physically, in order to change the original composition of a landscape photograph. This may include changing the colours of the image, or in general changing the composition of the photo itself. For example cutting and pasting certain elements or adding forms of repetition or echo to the photograph.
Examples of altered landscapes

Fernweh series explores the concept of a modernist city through its extreme relations to the landscape. The images are placed on a blurred line between a past which reminds us of a future and a future which looks like a past. Scenes are referring to the modernist ideas and aspiration of a man conquering the natural wild land and subordinating it to the rational order, and the consequences of those aspirations, which switched into the longing for an escape from urban environments.

Noémie Goudal’s practice is an investigation into photographs and films as dialectical images, wherein close proximities of truth and fiction, real and imagined offer new perspectives into the photographic canvas. The artist questions the potential of the image as a whole, reconstructing its layers and possibilities of extension, through landscapes’ installations. Noémie Goudal is represented by Edel Assanti (London) and the Galerie Les Filles du Calvaire (Paris).


In Landscapes without Memory, an exhibition of forty large-scale works made between 2002 and 2005, Fontcuberta harnesses a piece of landscape-rendering computer software designed for the military, which creates photo-realistic three-dimensional models based on two-dimensional sources.
Fontcuberta uses software called Terragen to create photorealistic visualisations of landscapes, but instead of using cartographic data as this software is designed to use, Fontcuberta has replaced it with canonical images of landscapes taken from the history of art.
Interview with Joan Fontcuberta here…
Gill is a British photographer, who mainly draws inspiration from his immediate surroundings of inner city life in East London and more recently Sweden with an attempt to make work that reflects, responds and describes the times we live in.
His work is often made up of long-term photo studies exploring and responding to the subjects in great depth.
Altered landscapes inspired moodboard
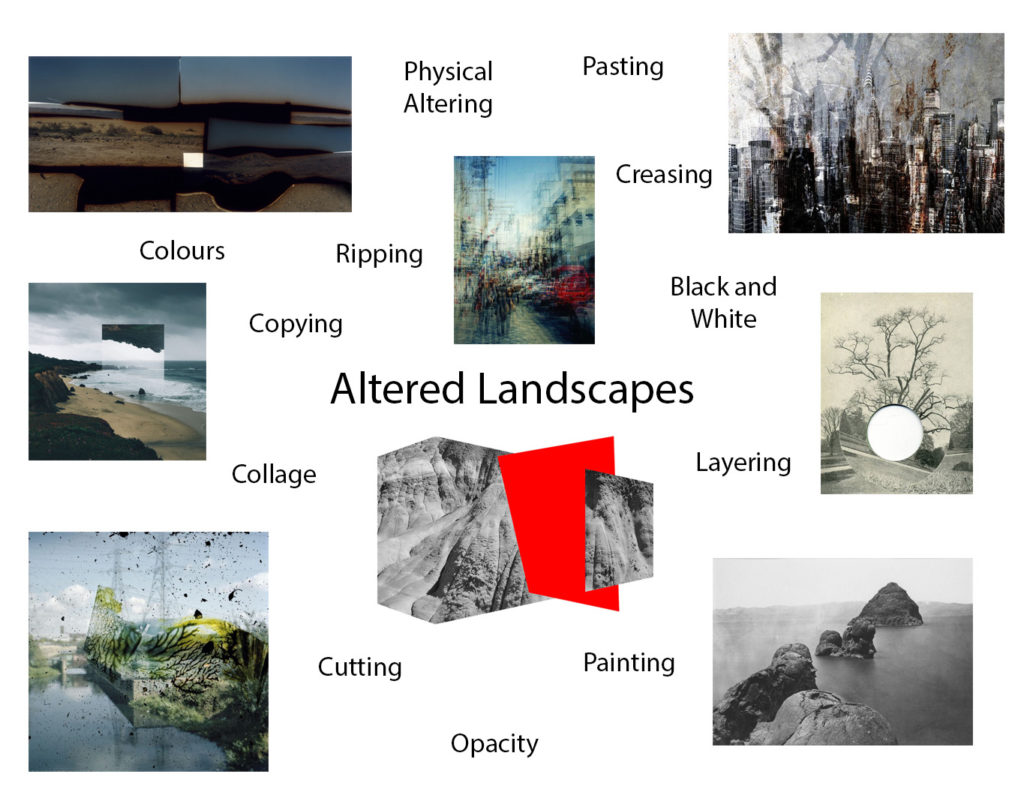
Creative Techniques to explore…
Joiners
Panoramics
Globes
Tilt-Shift
Kaleidoscopic
Photomontage
Text
Embroidered / stitched / connected / collaged
Acetate + projections
Interference eg Stephen Gill
Accessing Archival Imagery
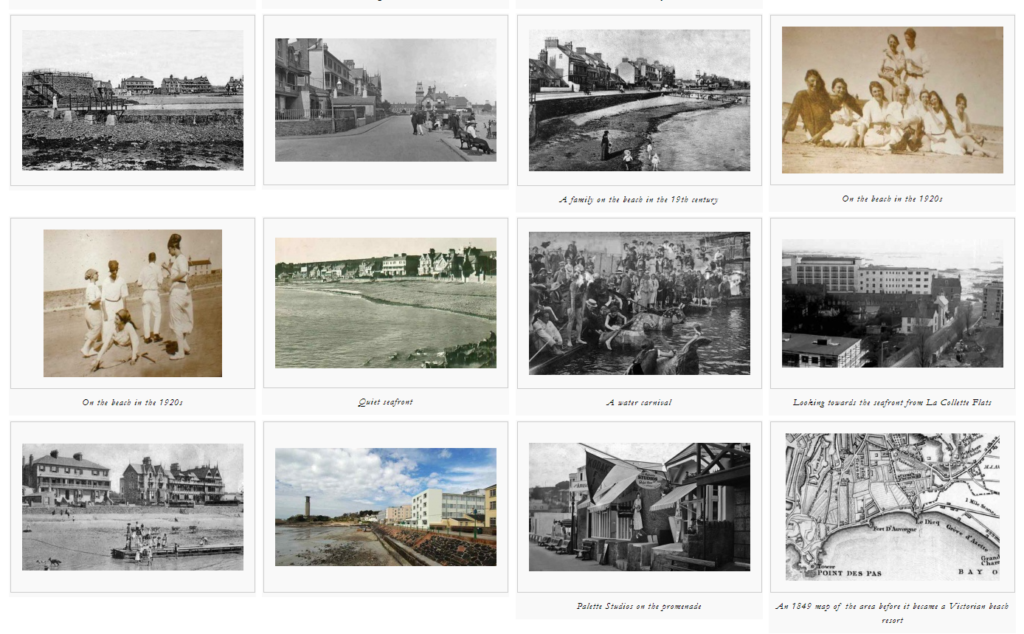
You may need / want to experiment with archival images of Jersey to incorporate into photomontages or other creative processes…
Remember to credit the artist / source
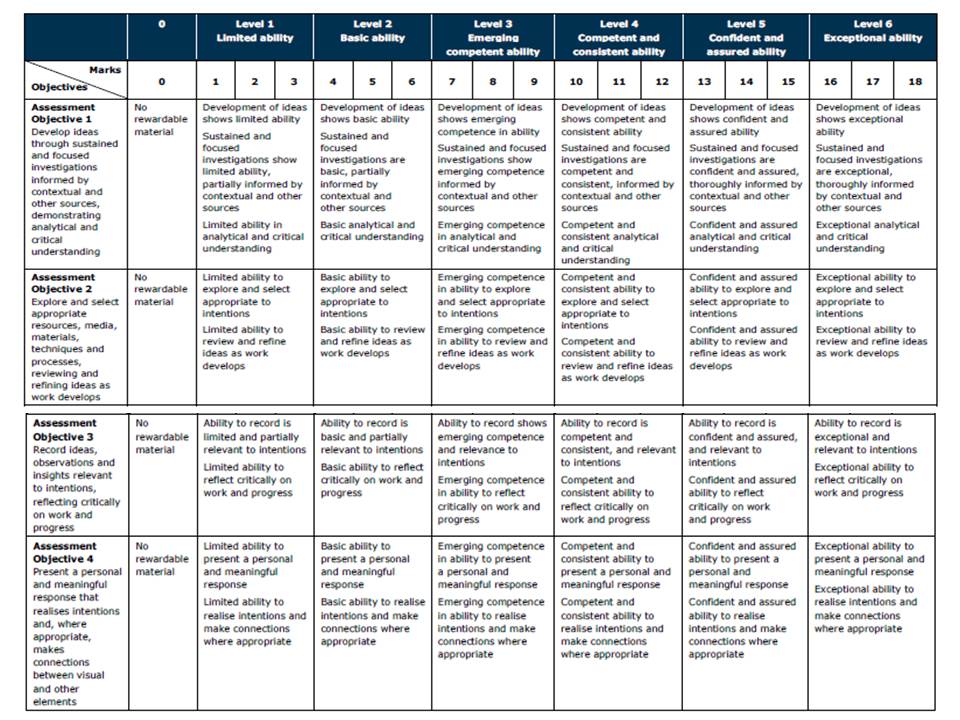
Follow the 10 Step Process and create multiple blog posts for each unit to ensure you tackle all Assessment Objectives thoroughly :
- Mood-board, definition and introduction (AO1)
- Mind-map of ideas (AO1)
- Artist References / Case Studies (must include image analysis) (AO1)
- Photo-shoot Action Plan (AO3)
- Multiple Photoshoots + contact sheets (AO3)
- Image Selection, sub selection, review and refine ideas (AO2)
- Image Editing/ manipulation / experimentation (AO2)
- Presentation of final outcomes (AO4)
- Compare and contrast your work to your artist reference(AO1)
- Evaluation and Critique (AO1+AO4)

Final Outcomes for HOME Part 2 Anthropocene + Landscapes
You must edit and save / export a range of images for printing to the PRINT FOLDER found here by ….
- Natural Landscape Photos 1-3 images
- Urban + industrial Photos 1-3 images
- Anthropocene 1-3 images
Remember to include a range of sizes
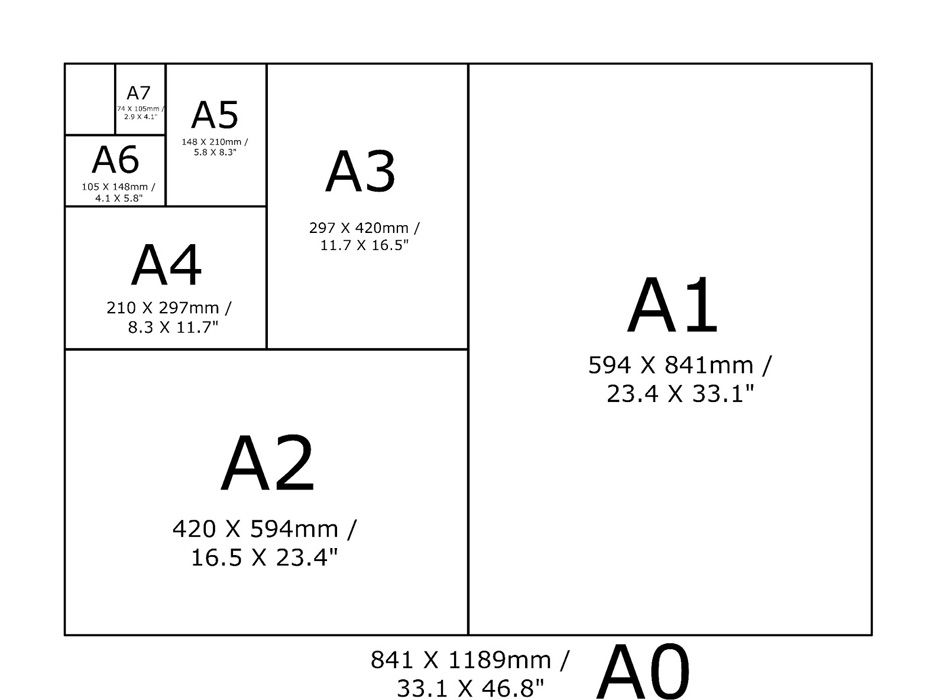
A3 / A4 / A5 and black and white images too
File Handling and printing...
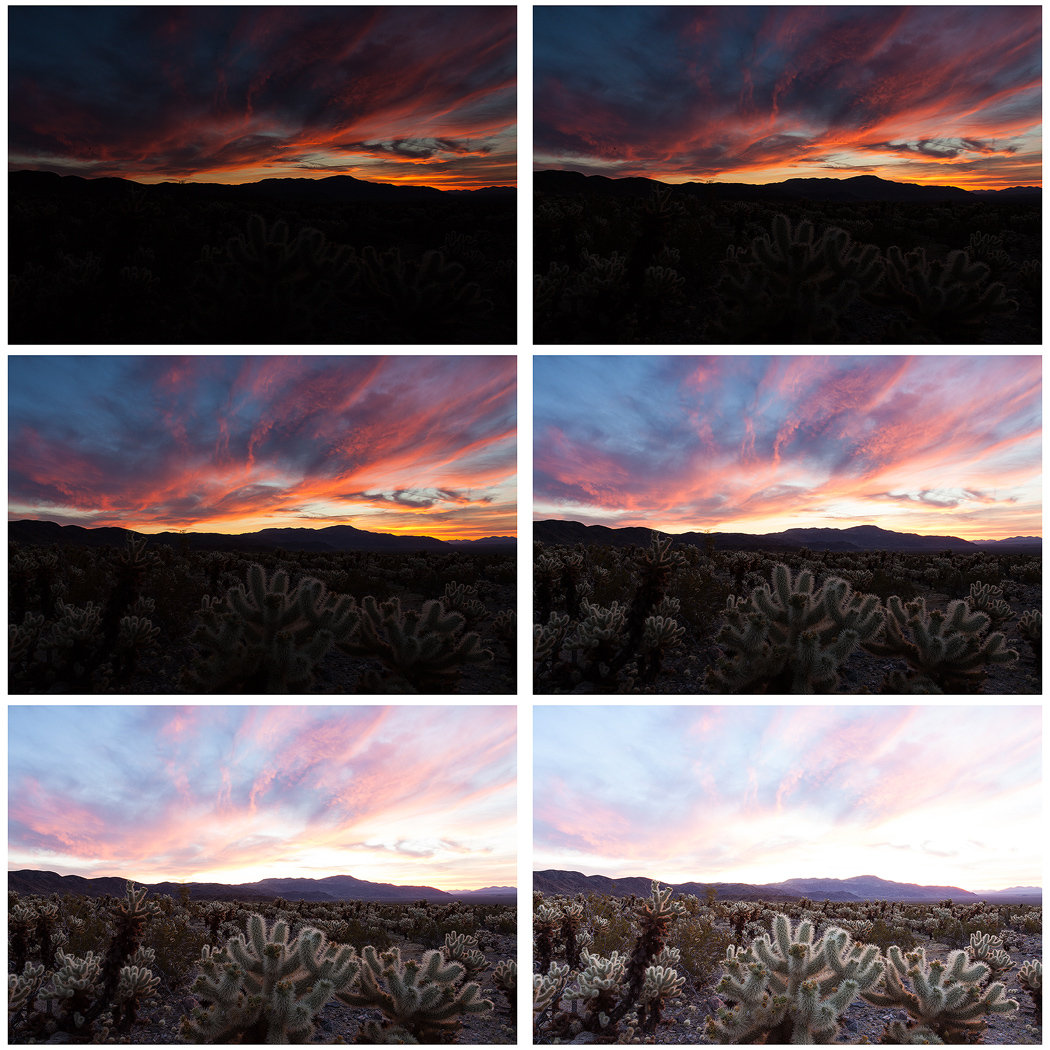
- Remember when EXPORTING from Lightroom you must adjust the file size to 1000 pixels on the Short edge for “blog-friendly” images (JPEGS)
- BUT…for editing and printing when EXPORTING from Lightroom you must adjust the file size to Short edge for “high resolution” images (JPEGS) like this…

- A5 Short Edge = 14.8 cm
- A4 Short Edge = 21.0 cm
- A3 Short Edge =29.7 cm
This will ensure you have the correct ASPECT RATIO
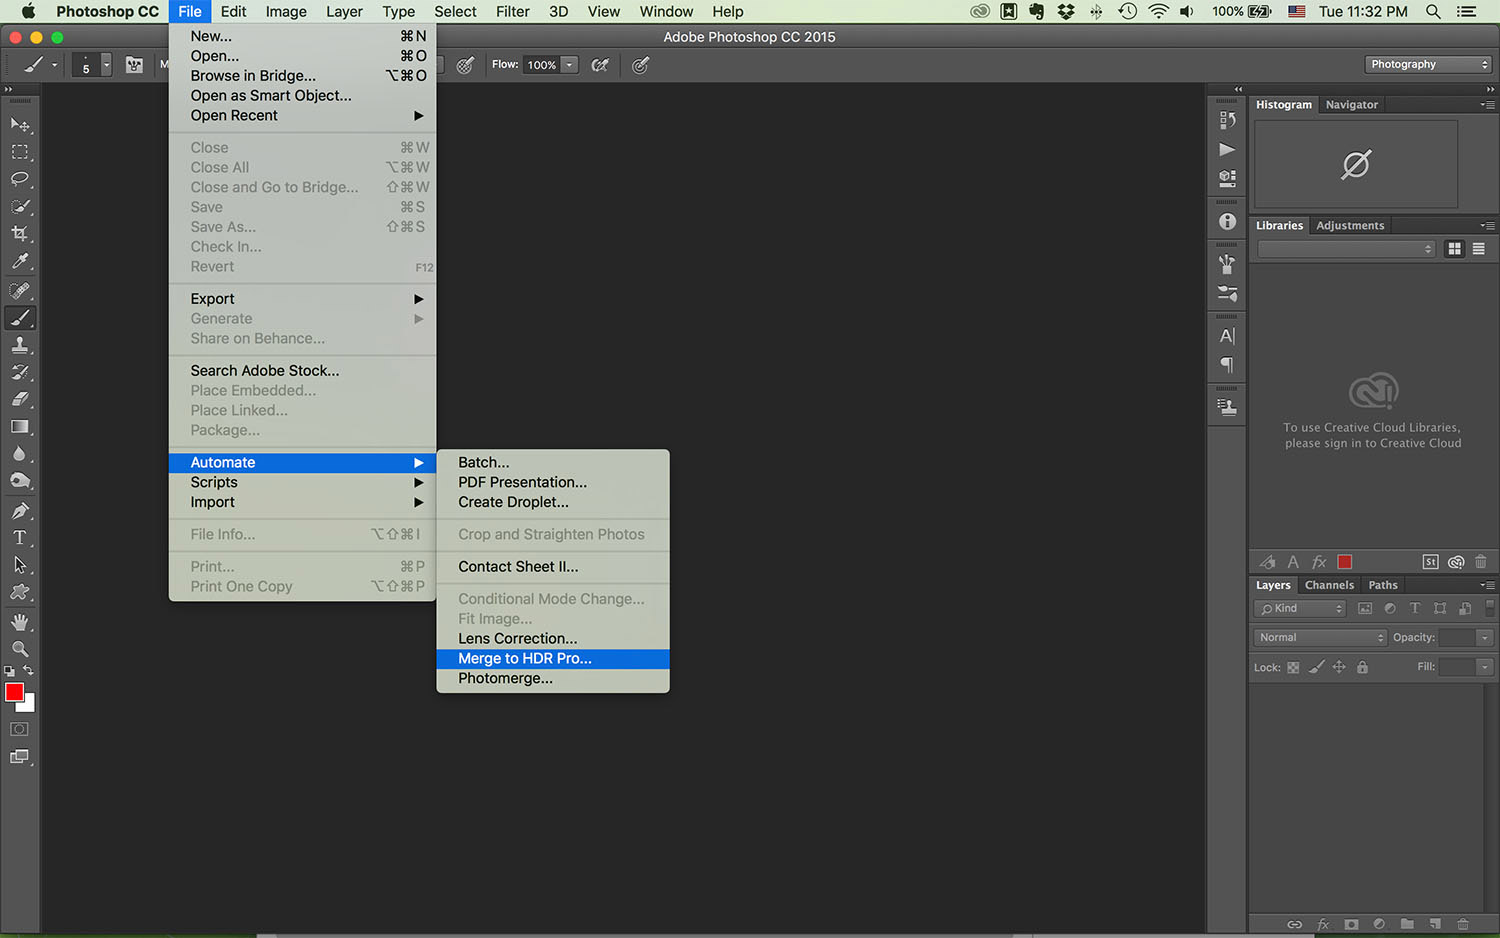
For a combination of images, or square format images you use the ADOBE PHOTOSHOP > NEW DOCUMENT + PRINT PRESETS on to help arrange images on the correct size page (A3, A4, A5)
You can do this using Photoshop, Set up the page sizes as templates and import images into each template, then you can see for themselves how well they fit… but remember to add an extra 6mm for bleed (3mm on each side of the page) to the original templates. i.e. A4 = 297mm x 210 but the template size for this would be 303mm x 216mm.
Mounting and framing final images
Making a Virtual Gallery in Photoshop
Download an empty gallery file…then insert your images and palce them on the walls. Adjust the persepctive, size and shape using CTRL T (free transform) You can also add things like a drop shadow to make the image look more realistic…

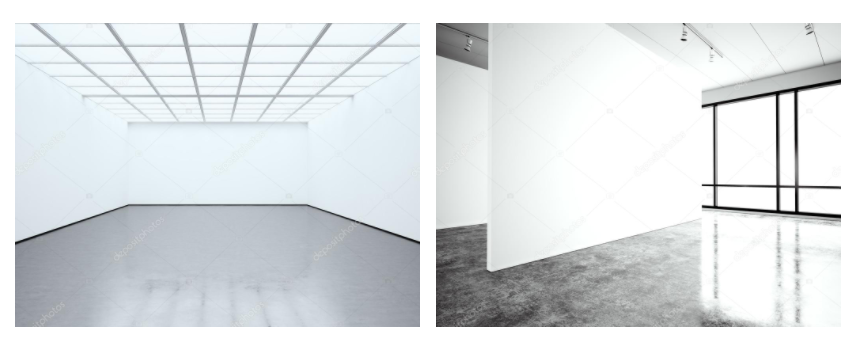
…or using online software
How I did it:
Step 1: Go to www.artsteps.com
Step 2: Sign in / up.
Step 3: Create.
Step 4: Create your own location or choose a template.
Step 5: Upload your images, put them in your exhibition, name it and give it a description.
Step 6: Present / view your Exhibition.
YOUR FINAL BLOG POST SHOULD CLEARLY SHOW 3-5 POSSIBLE FINAL OUTCOMES , INCLUDING YOUR PRESENTATION METHOD
- sequencing of images
- grouping of images -grids , triptych, diptych, dioramas, predellas
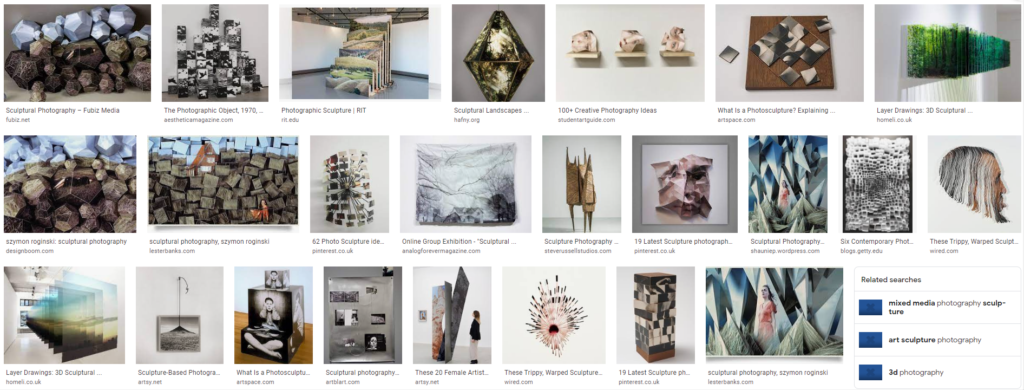
- sculptural / multi-media approaches
- framing methods
- blog (show examples of frames / borders + process)
- clarity of final outcomes—which images are your final outcomes?
- coursework round – up and evaluation


-(the-lovers-(promenade)).jpg)

