Category Archives: Uncategorized

Filters

Author:
Category:

Aperture and Still Life photoshoot

What is Aperture and what does it do?

The aperture is a hole located in the camera’s lens that decides how much light is let into the picture, thus controlling the exposure of the outcome. Photographers can manually control the aperture by switching to ‘A’ or ‘AV’ mode and then changing the f/number using the dial on their camera. The lower the f-number, the bigger the hole, meaning it lets more light into the picture and it is a larger aperture. A very large aperture (such as f/2.8) can result in an overexposed image. On the other hand, the higher the f-number, the smaller the hole, meaning less light is let into the photo and the aperture is lower. A very low aperture (for example f/22) can result in an underexposed image.
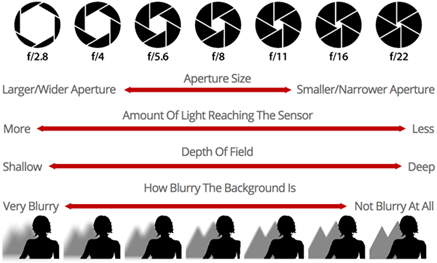
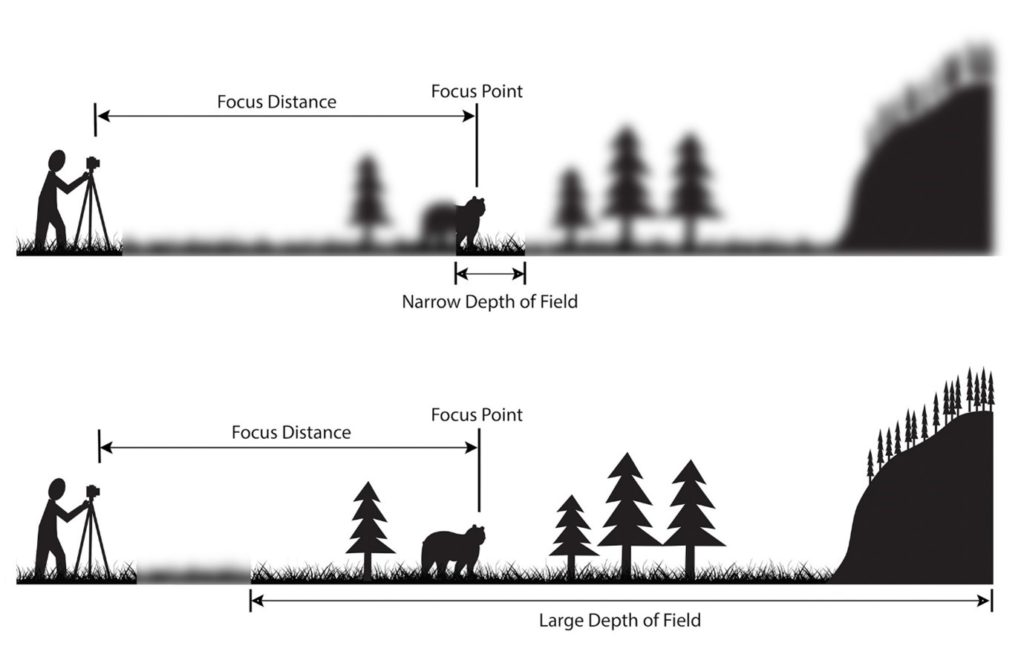
Aperture also effects the Depth of Field (DoF). A lower aperture (for example f/16) would create a deeper DoF which causes the background to not be blurry. A larger aperture (such as f/4) would cause the DoF to be shallower and result in a blurry background.
Experimenting with Aperture

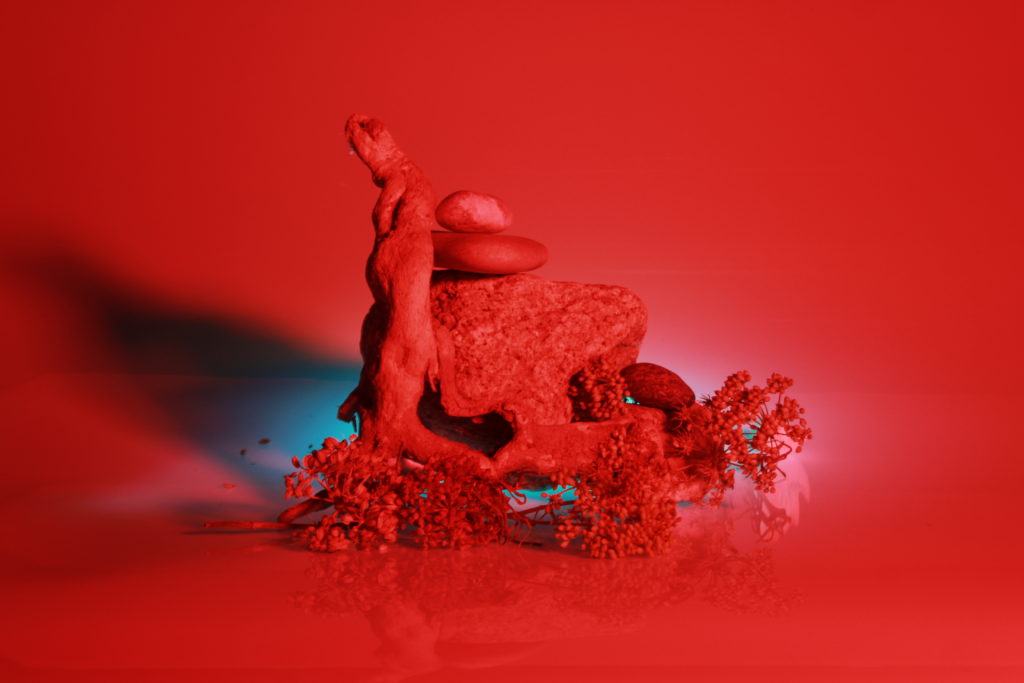
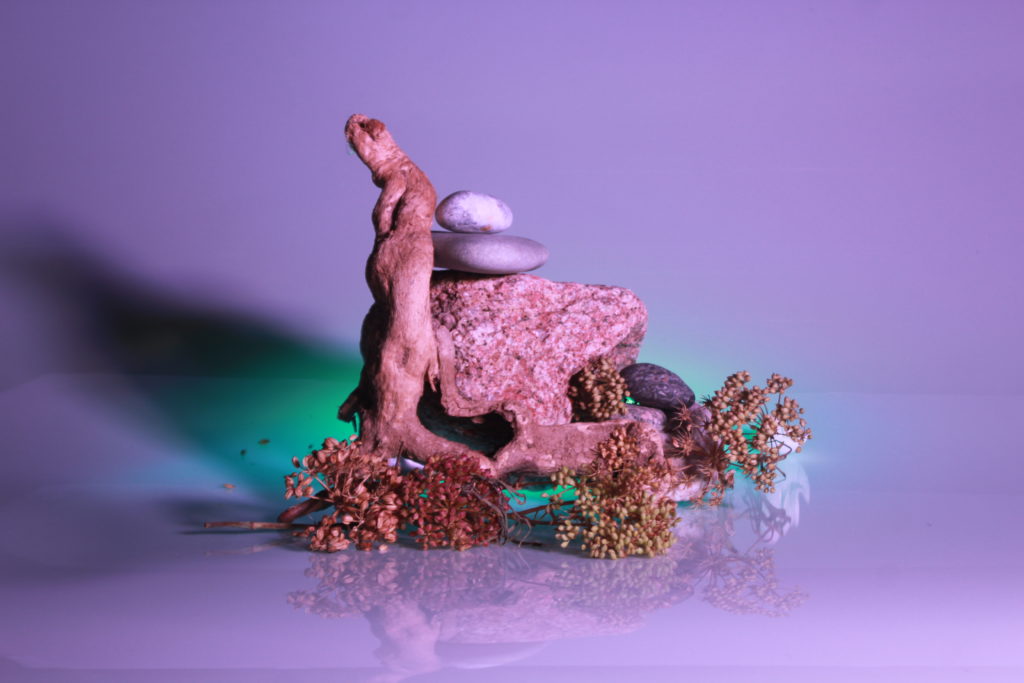
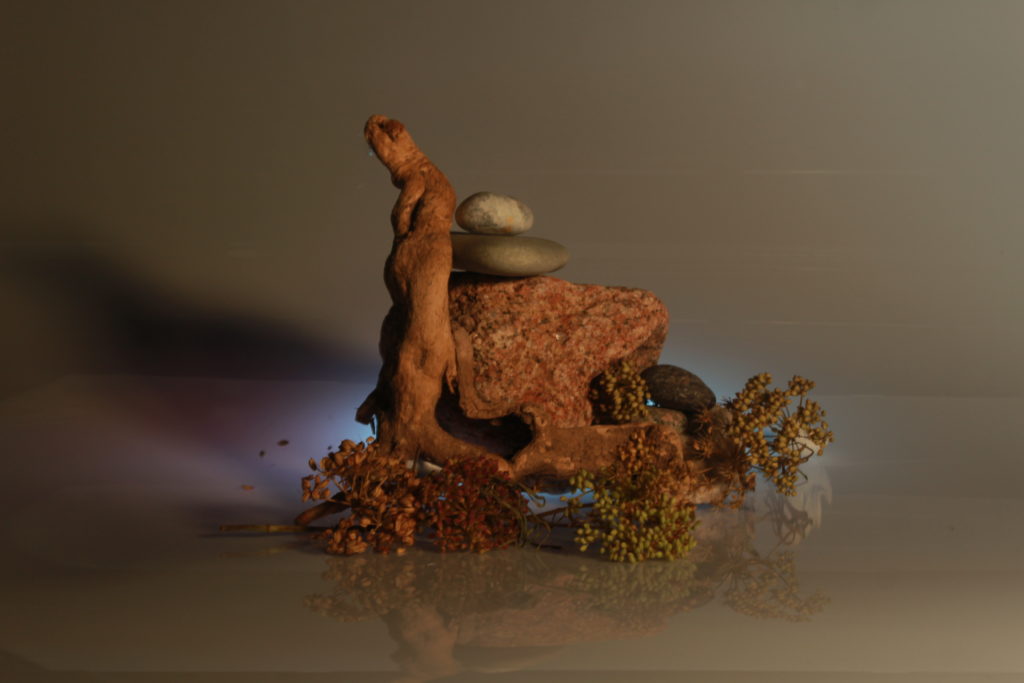
A photo from my studio photoshoot.

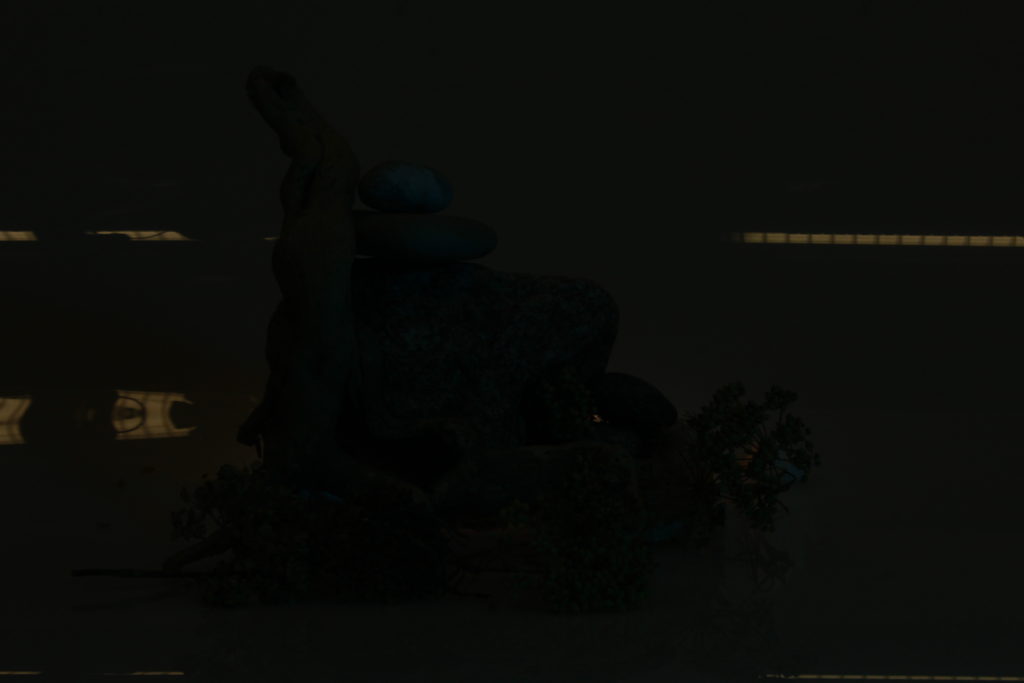
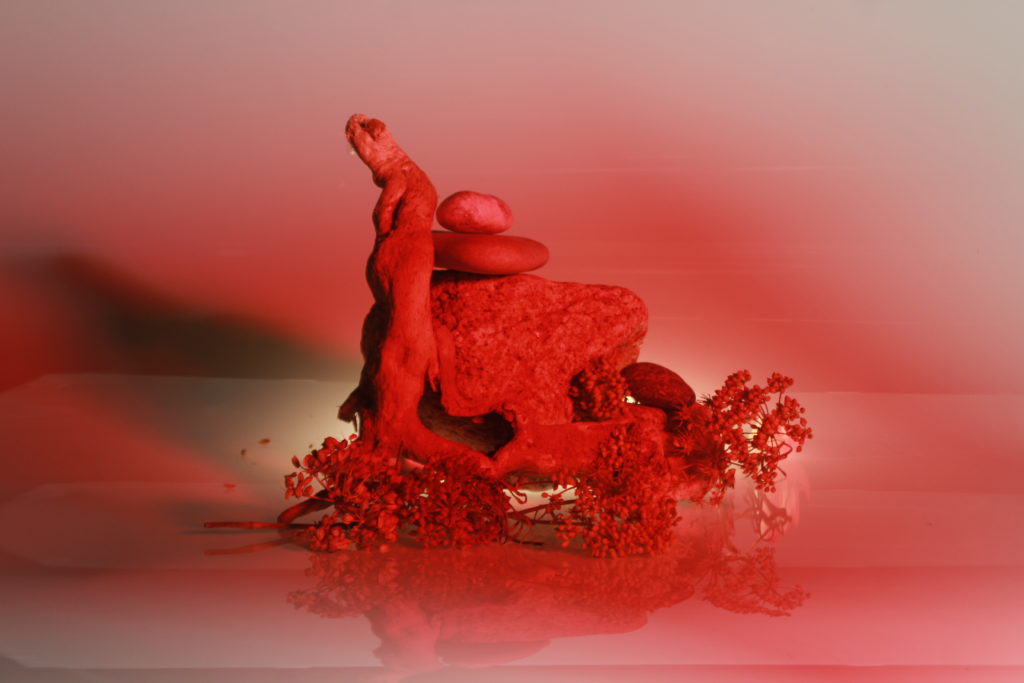
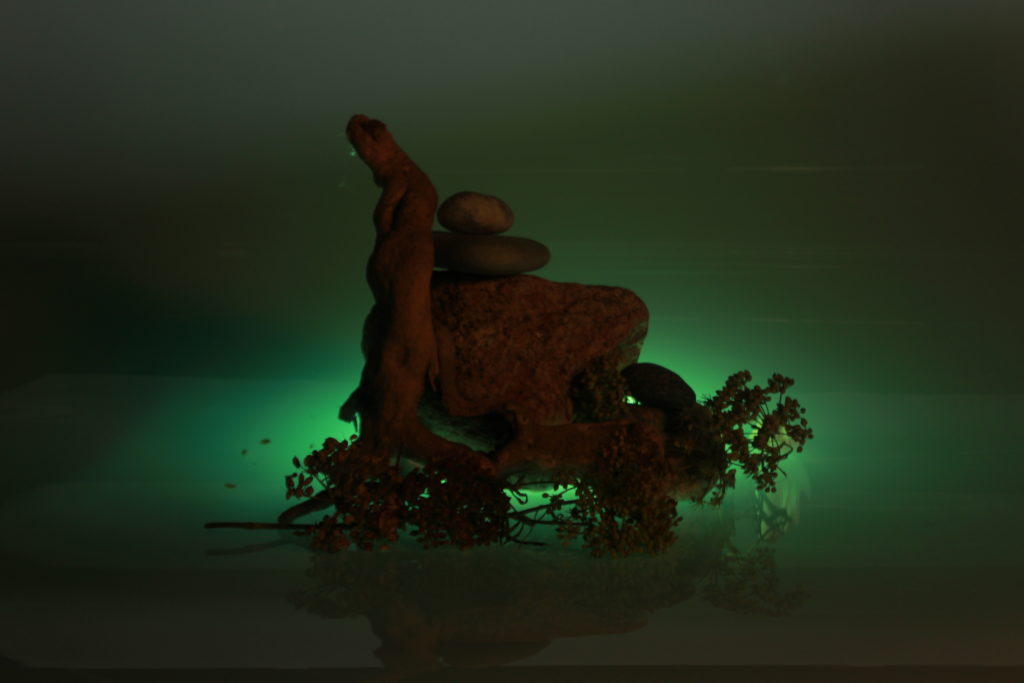
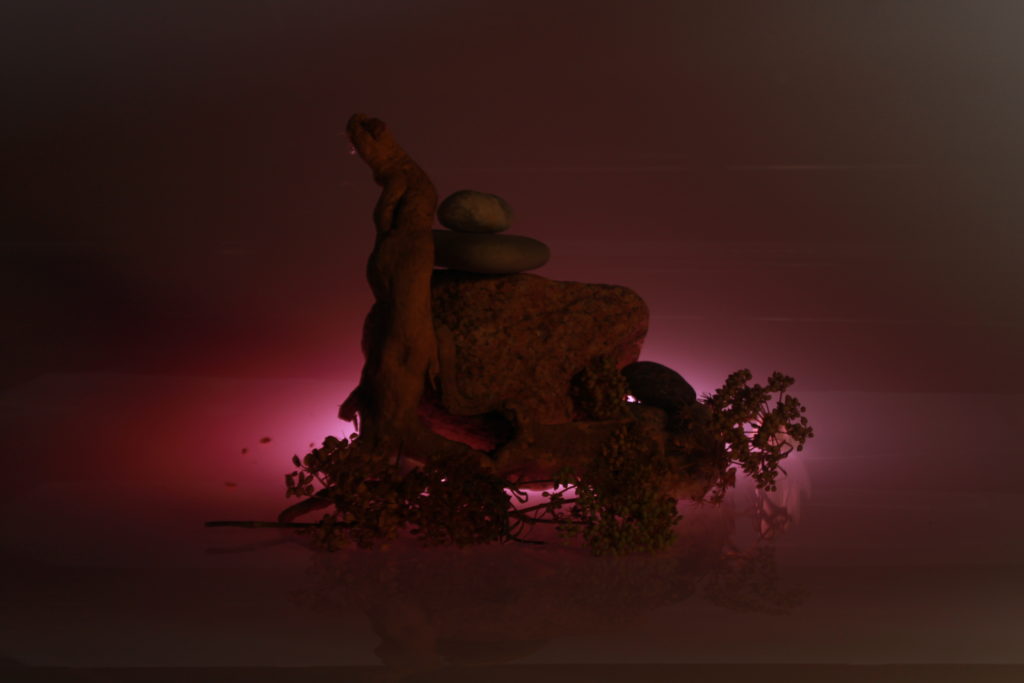
Throughout my photoshoot, I played around with the dial, trying out different apertures. This image was the result of a f/22 aperture, causing the image to be extremely underexposed. Barely any light was let into this picture, causing it to be very dark, despite having two lamps set up.

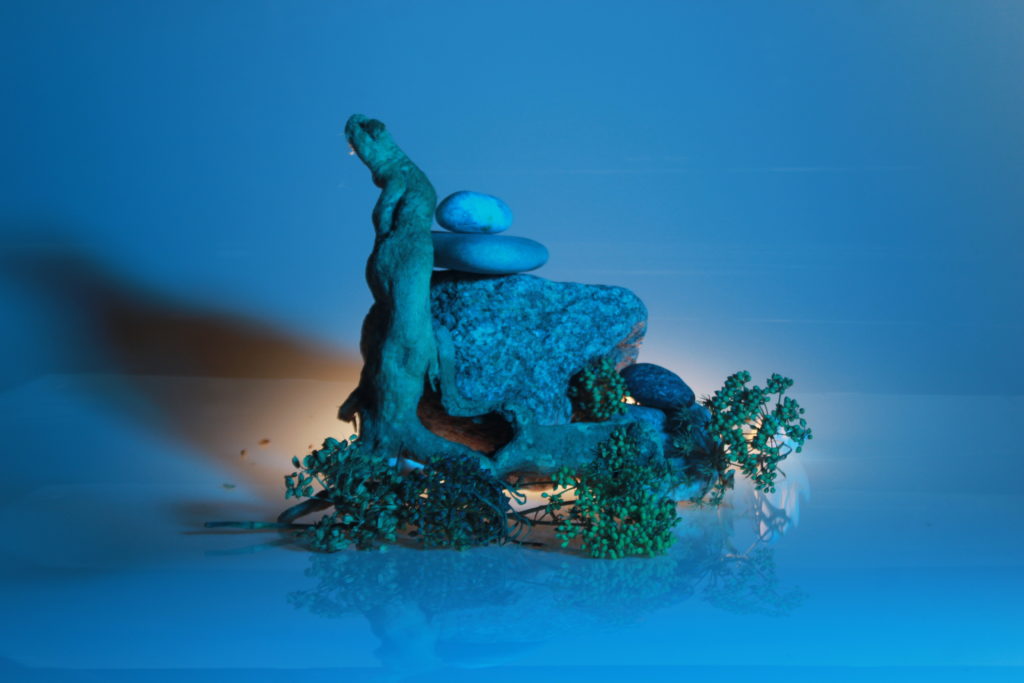
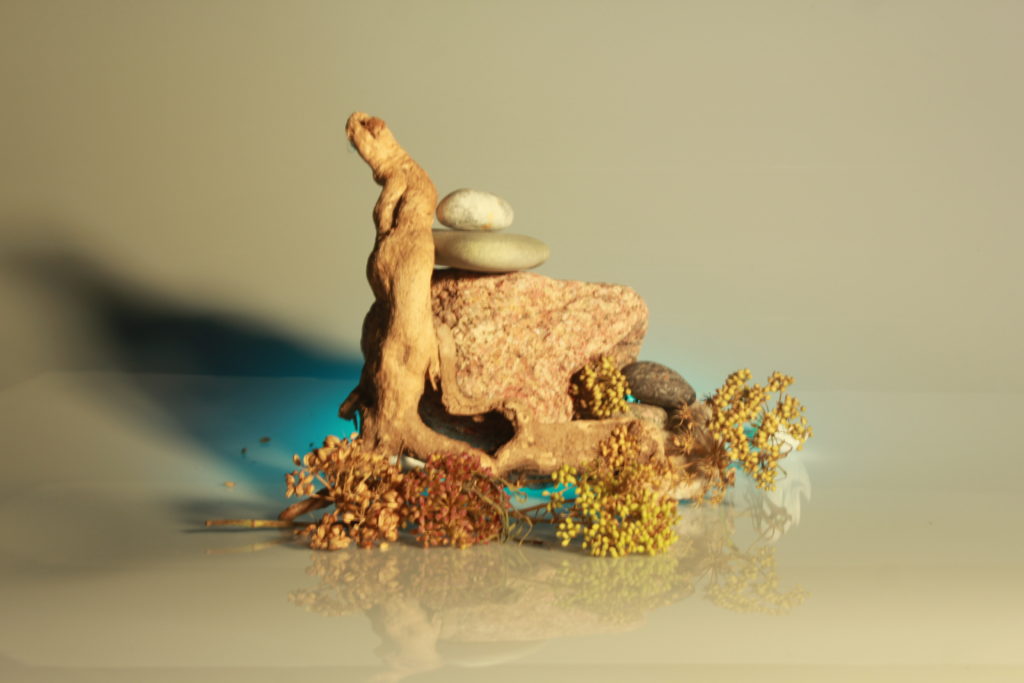
A photo from my studio photoshoot.

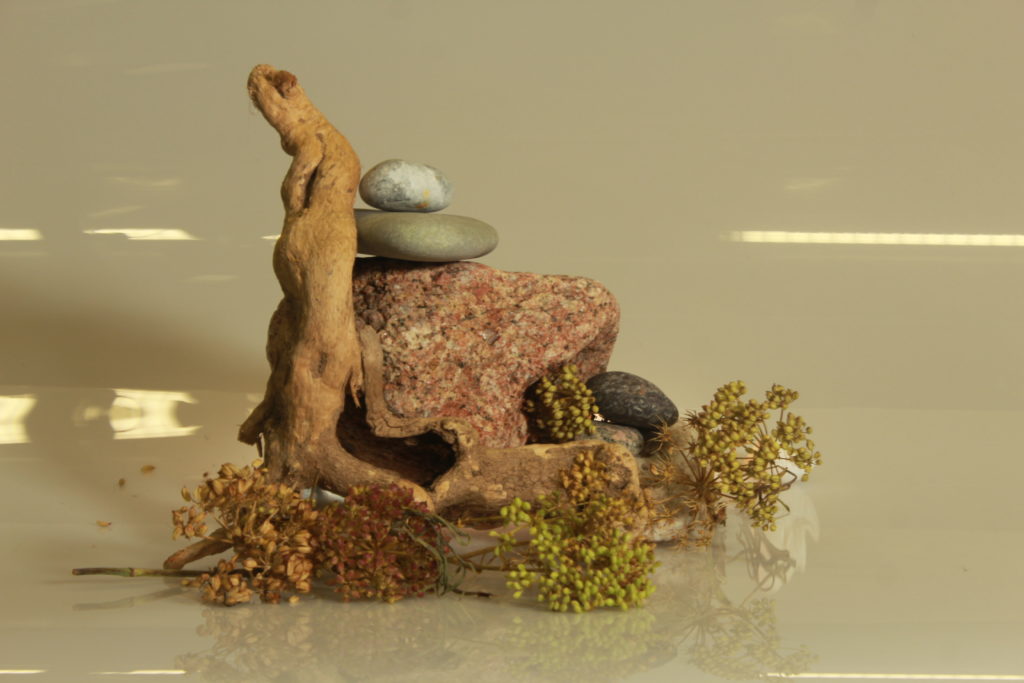
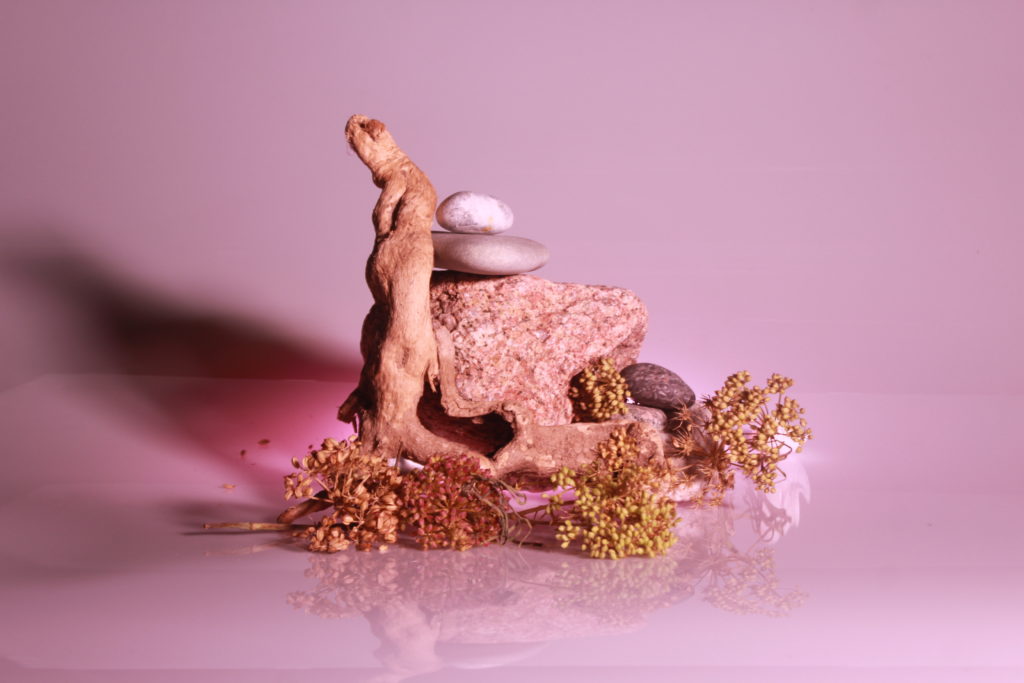
Furthermore, I also tried make the aperture larger and make it f/4, which isn’t the lowest f/number I could make it but still caused the image to be much brighter than the other ones I took as the hole is much bigger. I wouldn’t call this image overexposed however the exposure of it is quite high, causing it to look very white and bright.

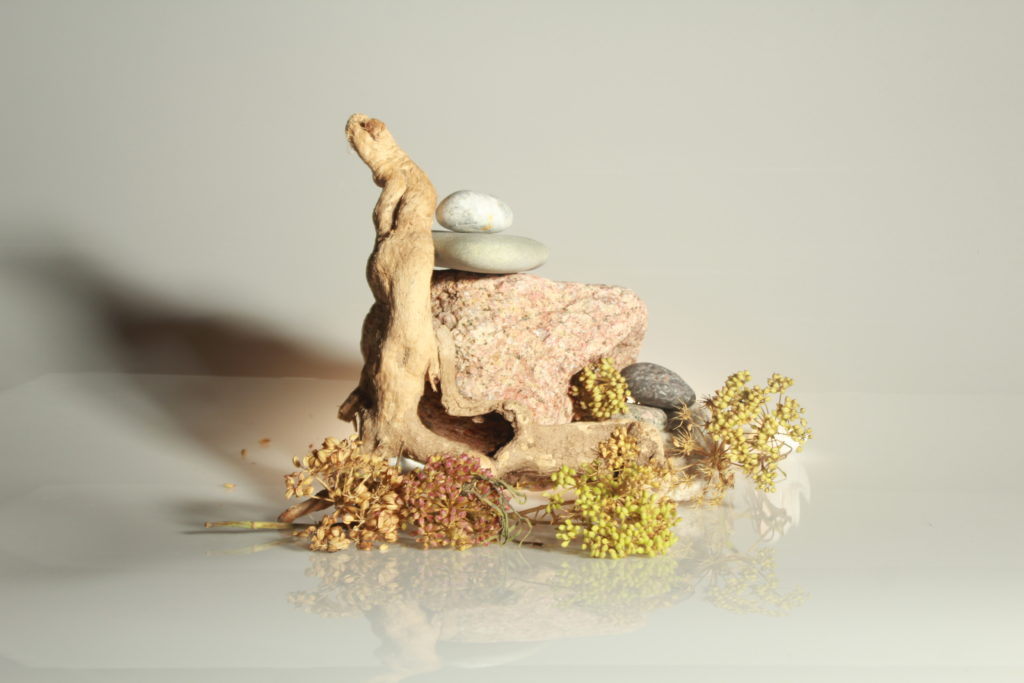
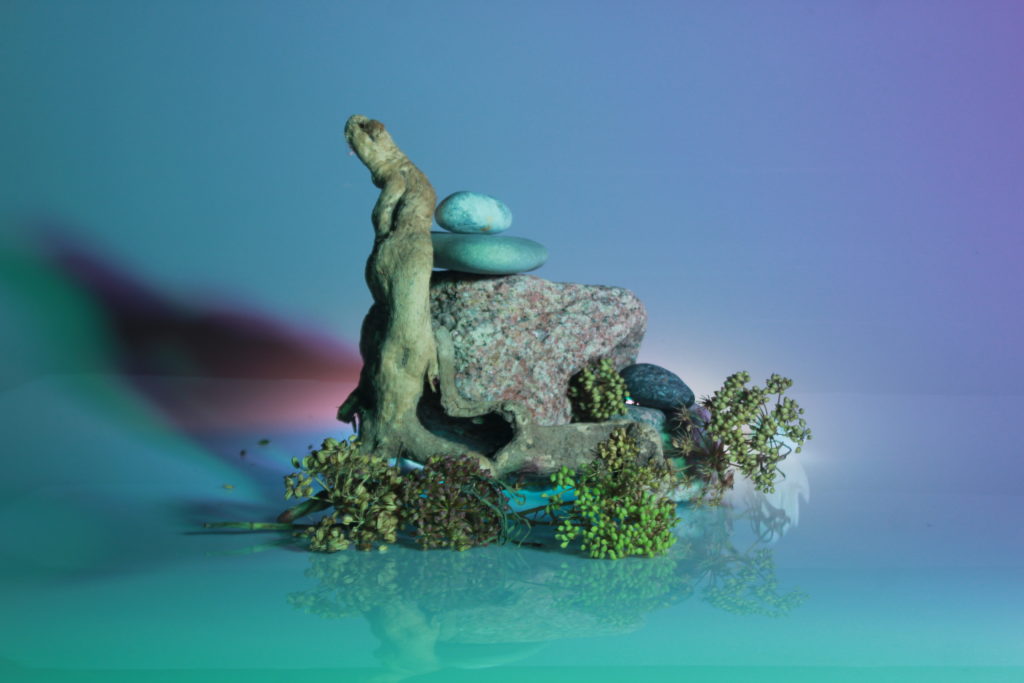
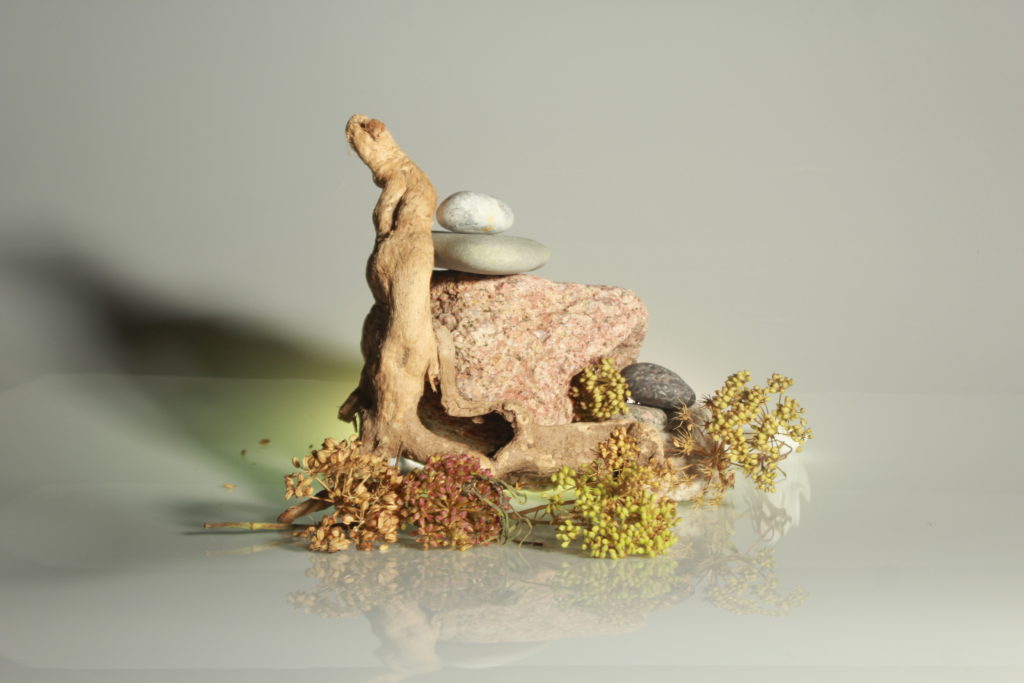
A photo from my studio photoshoot.

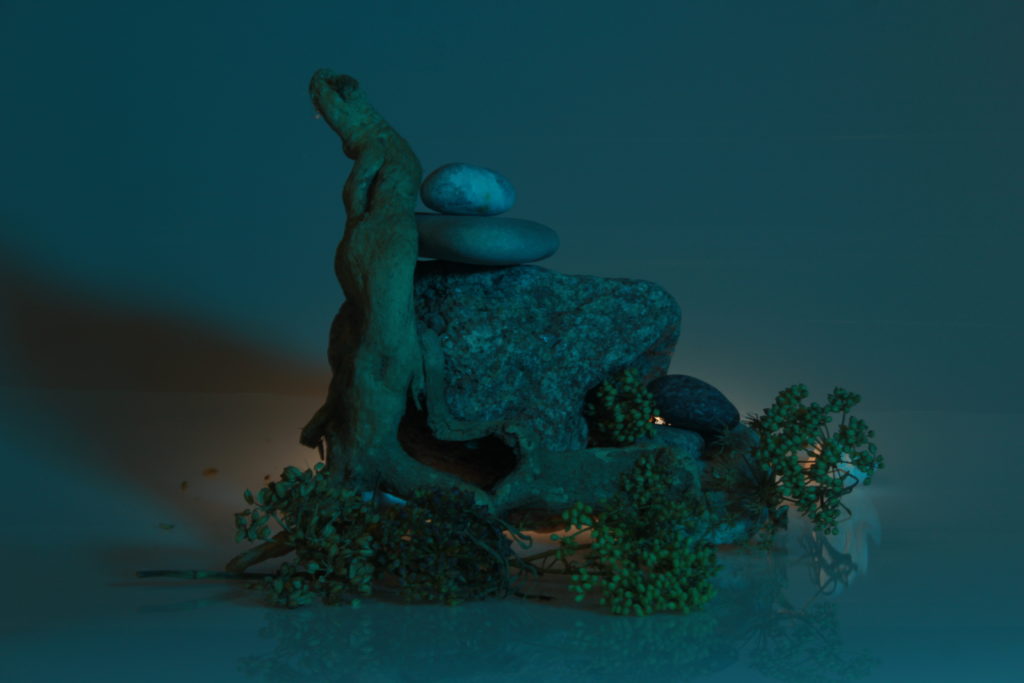
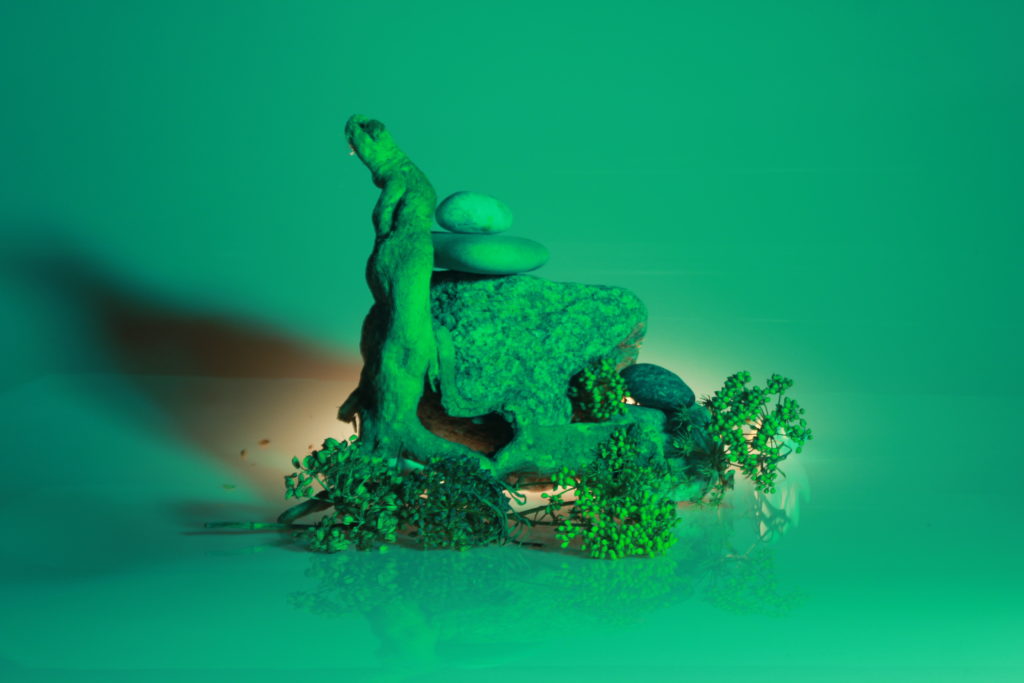
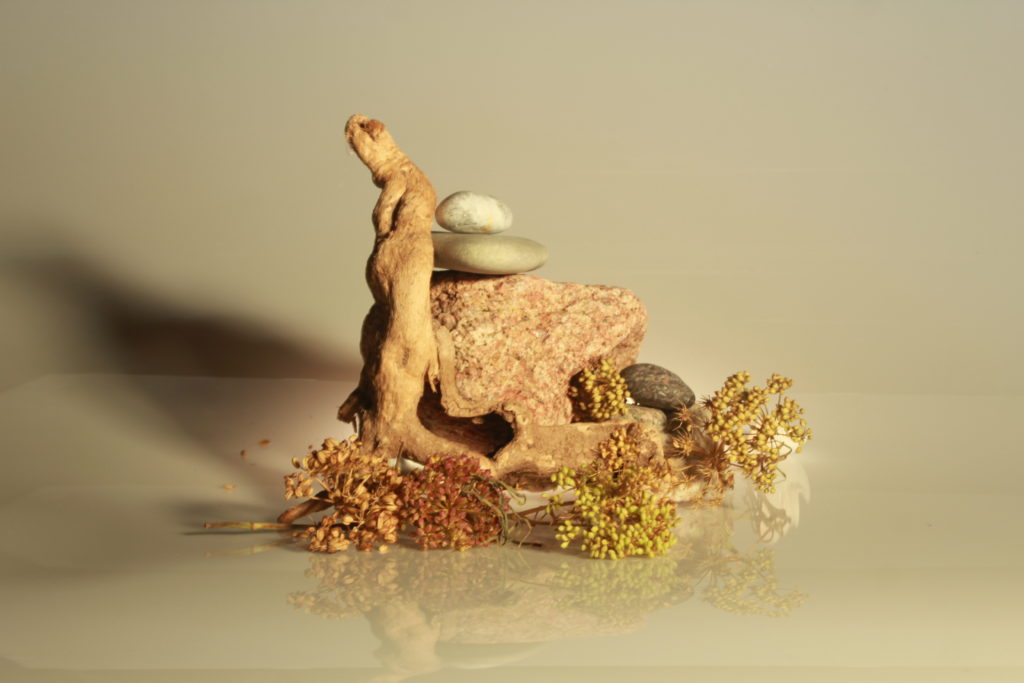
This is a picture with an aperture of f/8, resulting in neither an overexposed nor underexposed image. The lens brought enough light in to clearly show the colours and the details of still life in the middle.

I decided this was a perfect aperture to work with as it captured the still life with the colourful lighting illuminated it the best, therefore that was the aperture for most of my images.

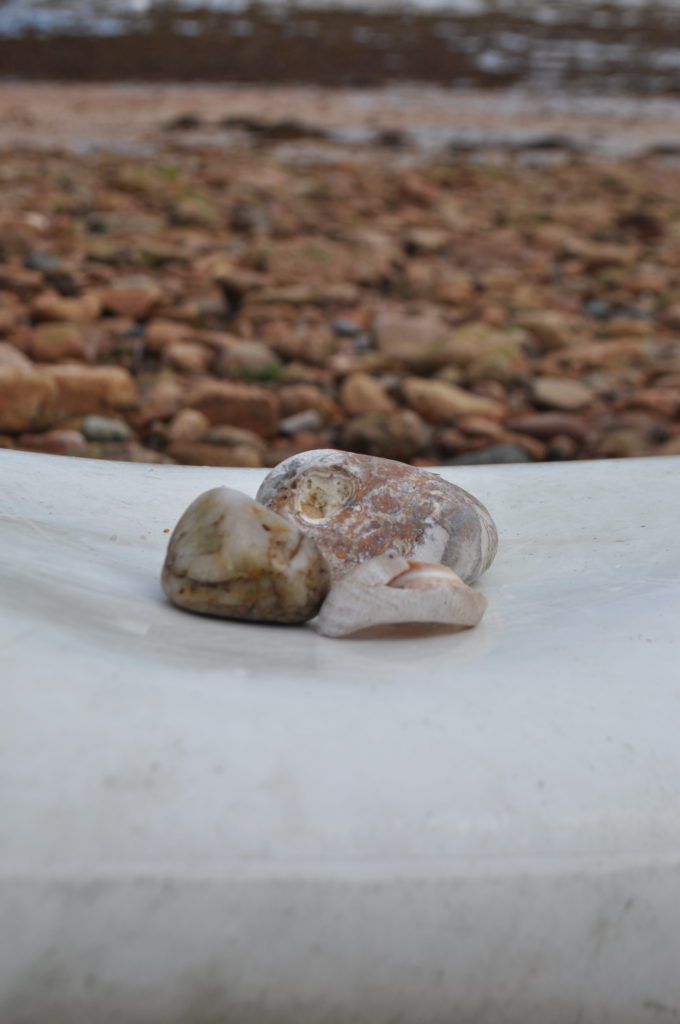
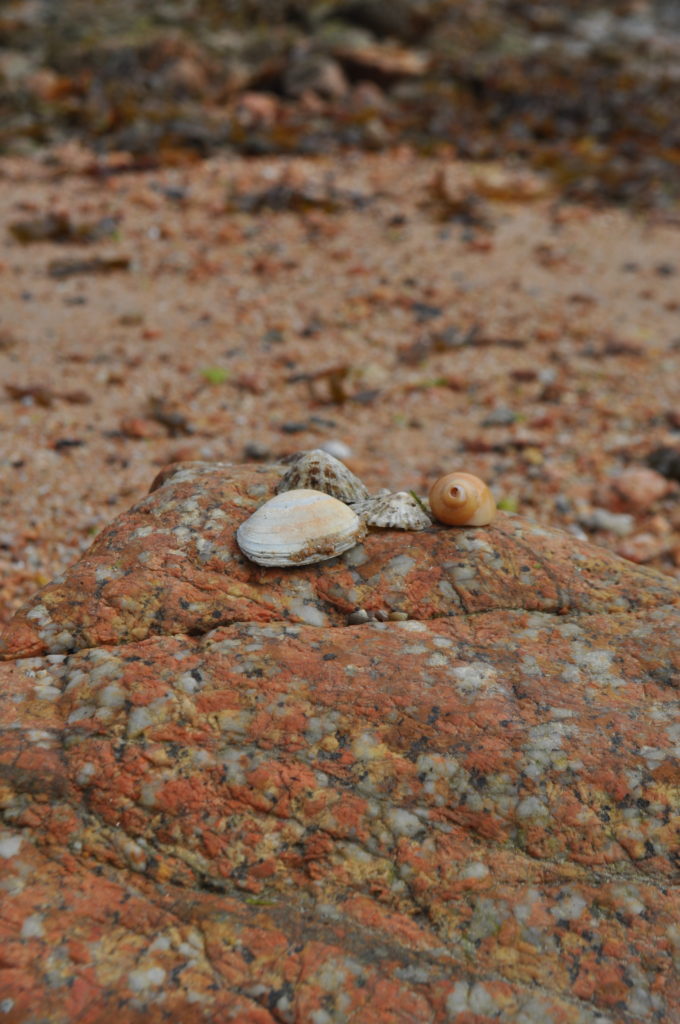
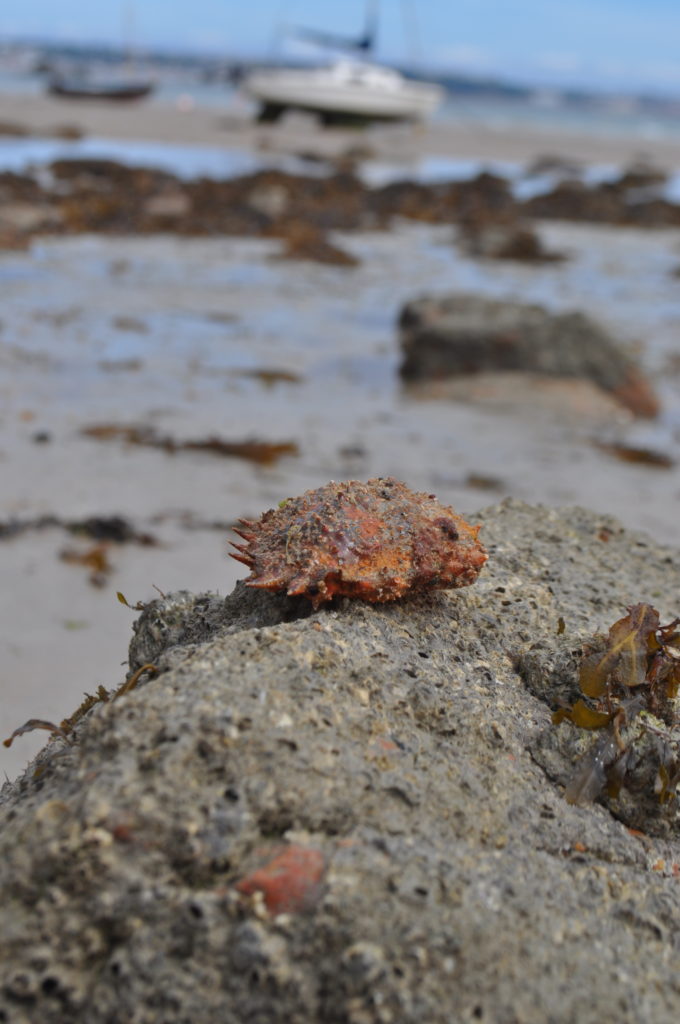
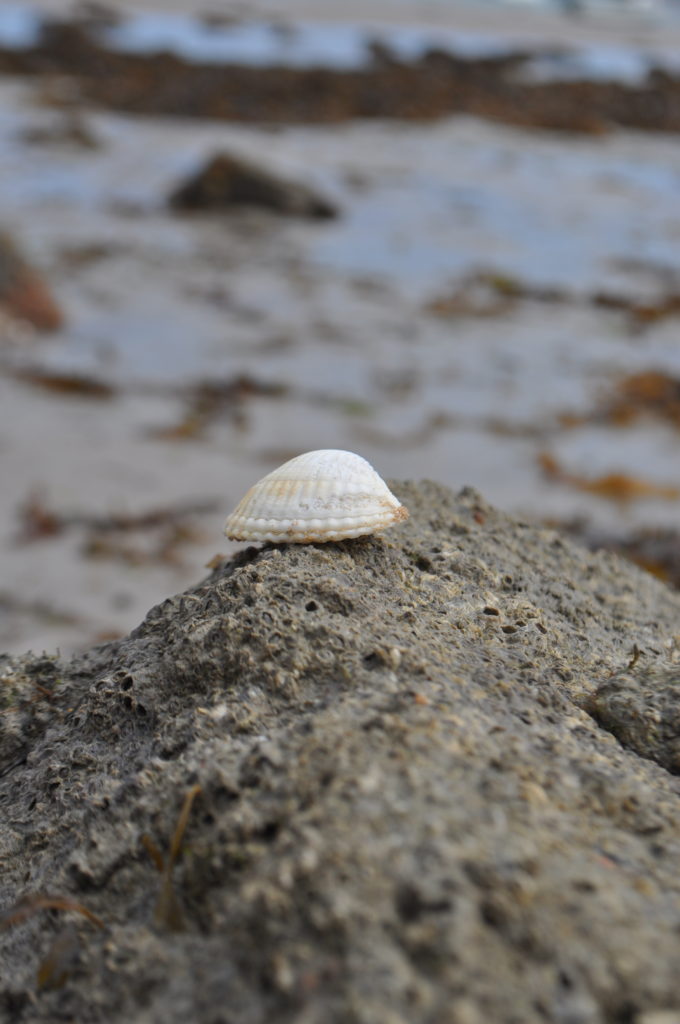
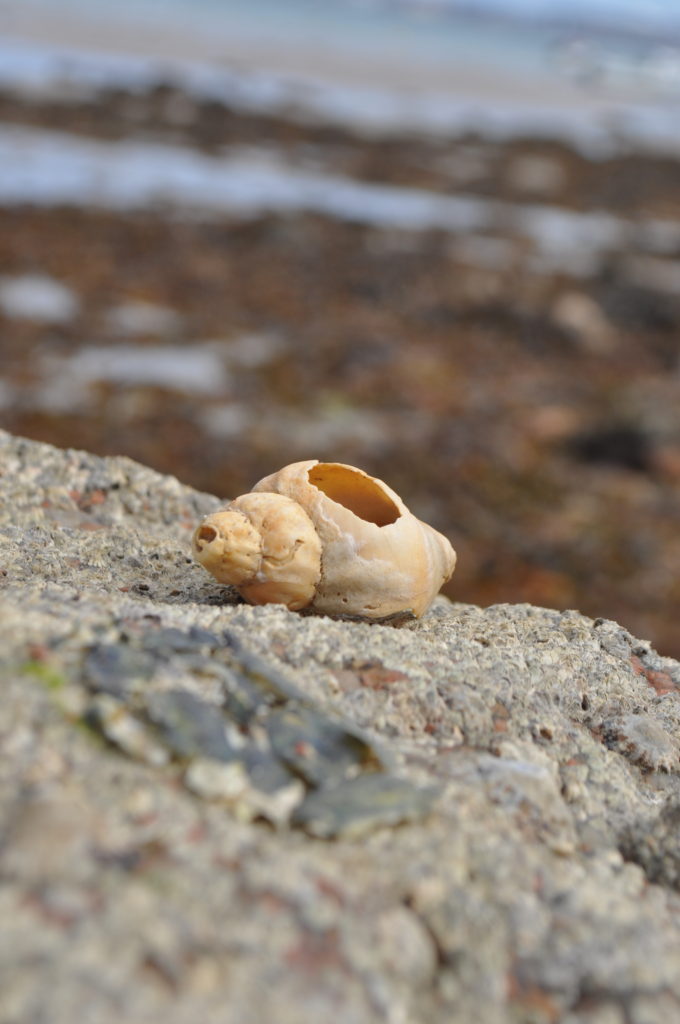
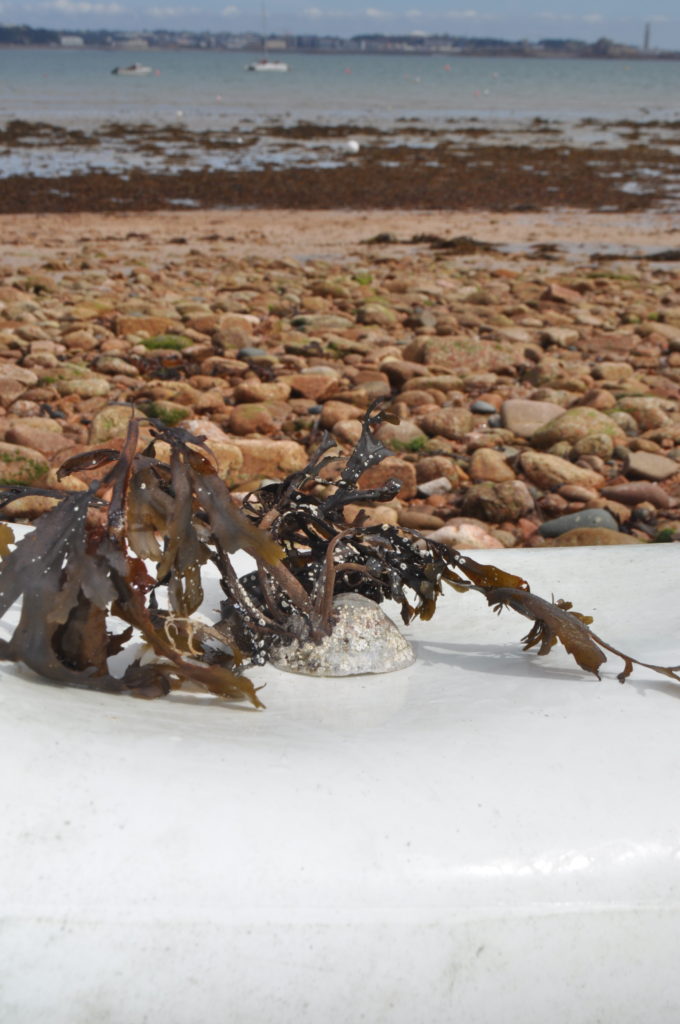
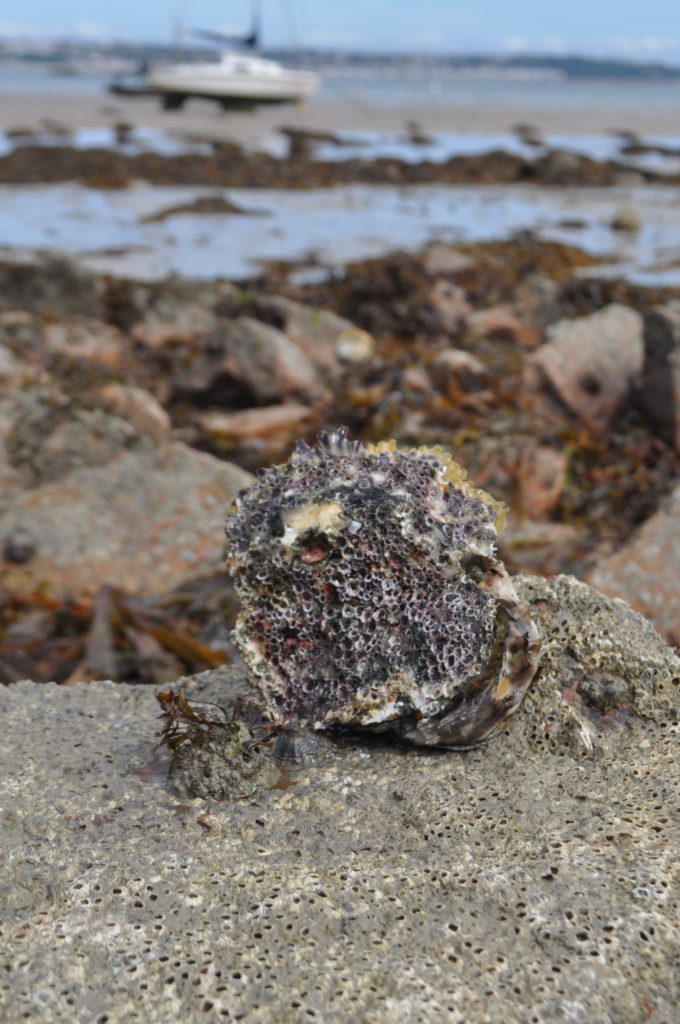
A photo from my beach photoshoot.

As aperture also effects the DoF, I used a larger aperture to take this image, causing the background to become very blurry and therefore only the object to be in focus as the DoF was shallower.

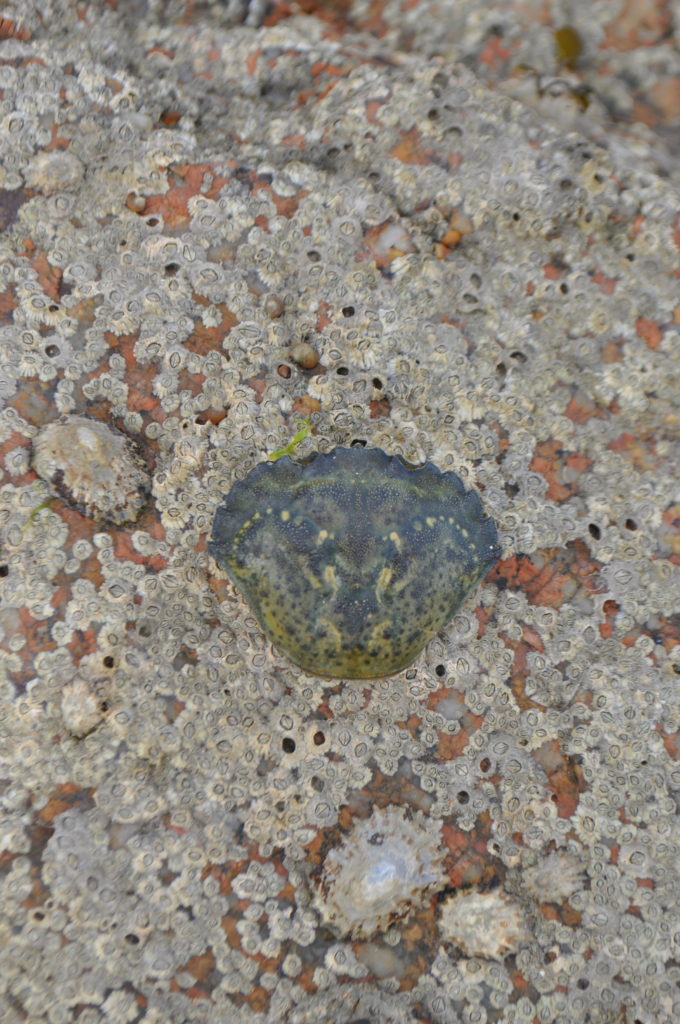
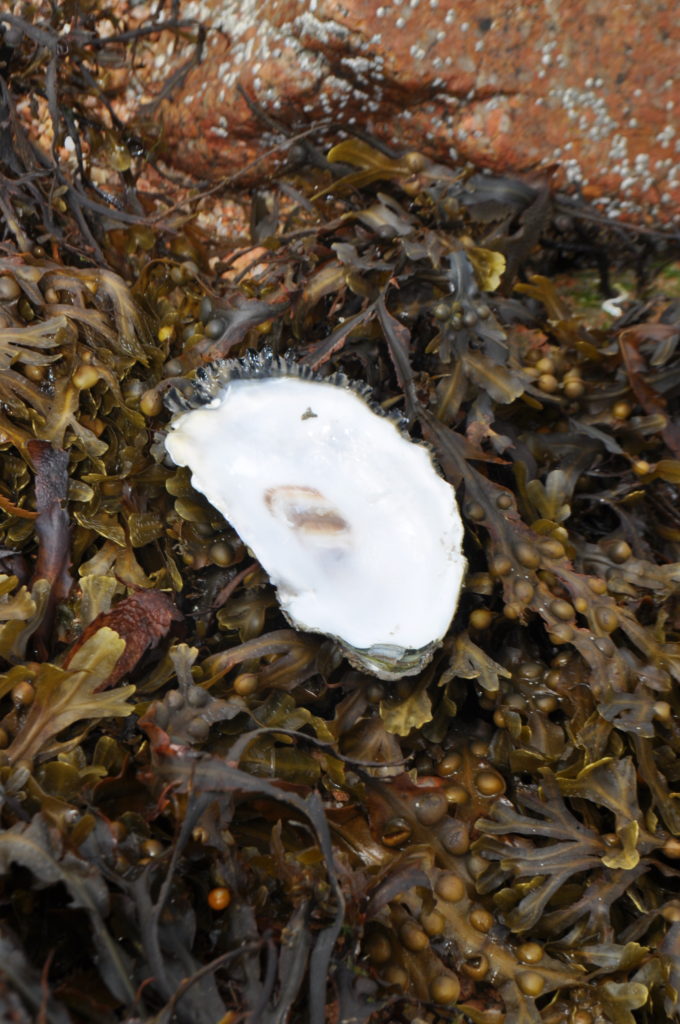
A photo from my beach photoshoot.

For this picture, I used a smaller aperture as I wanted everything to be in focus. The object is still slightly more in focus however the DoF is still clearly quite deep. I don’t think a deeper DoF was as effective for this photoshoot, as I prefer the look of a blurry background and sharp foreground/ midground.

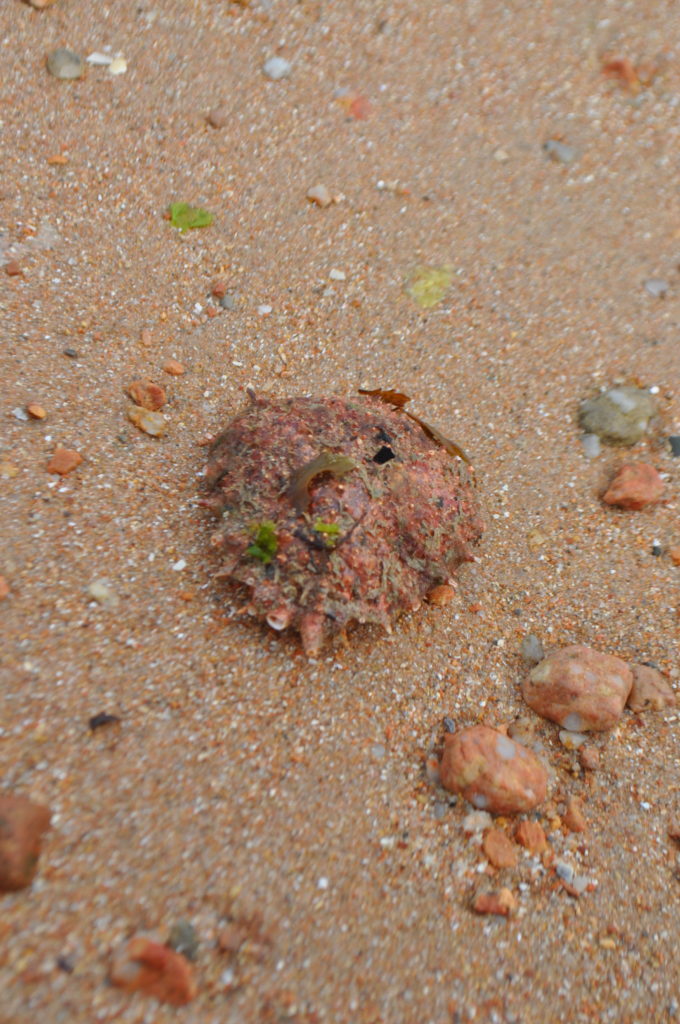
I used a variety of different apertures for the section of the photoshoot that I took on the beach, experimenting with shallow and deep DoFs.

My Still Life Photoshoot(s)

Beach Photoshoot:

Studio Photoshoot:

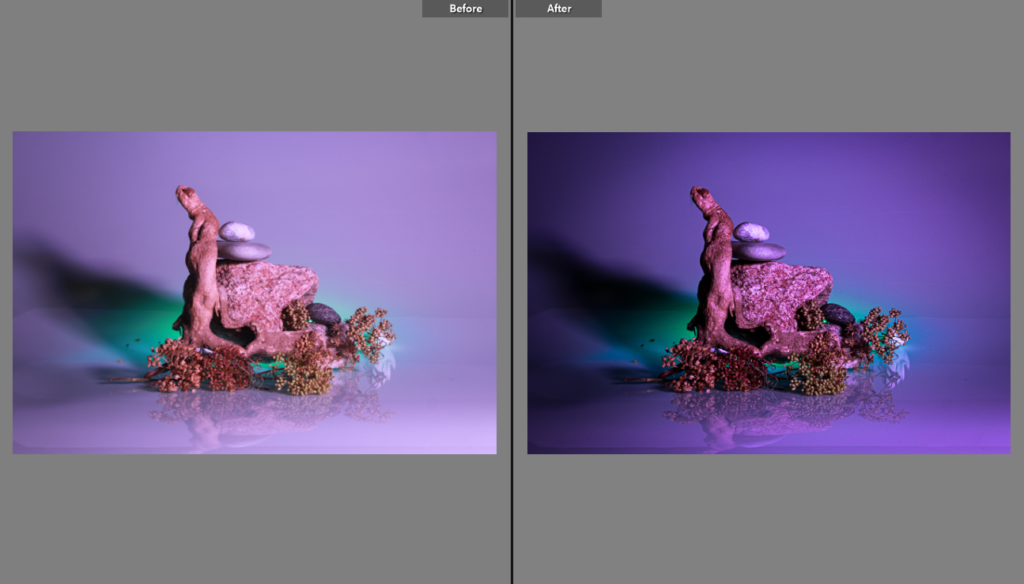
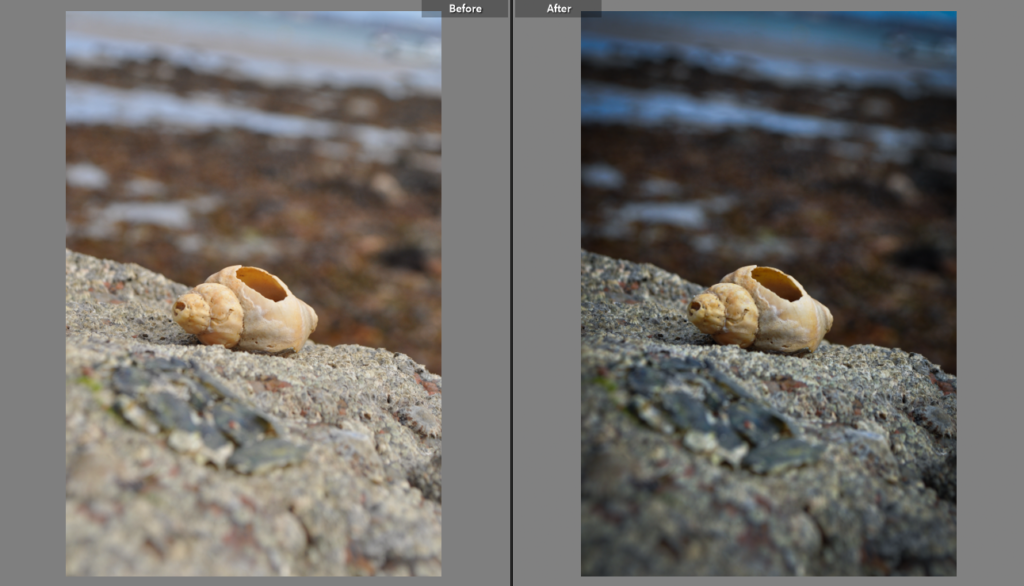
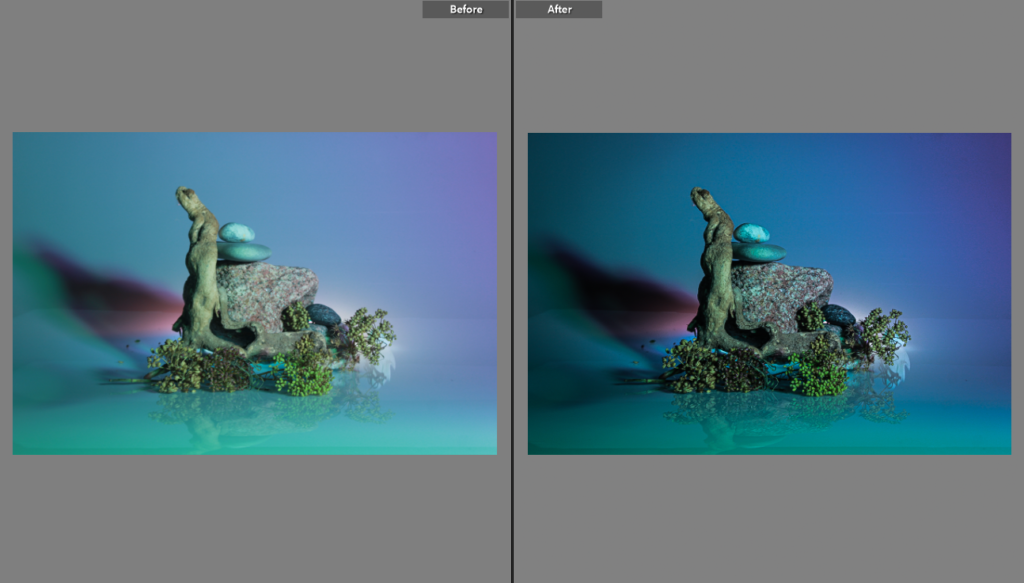
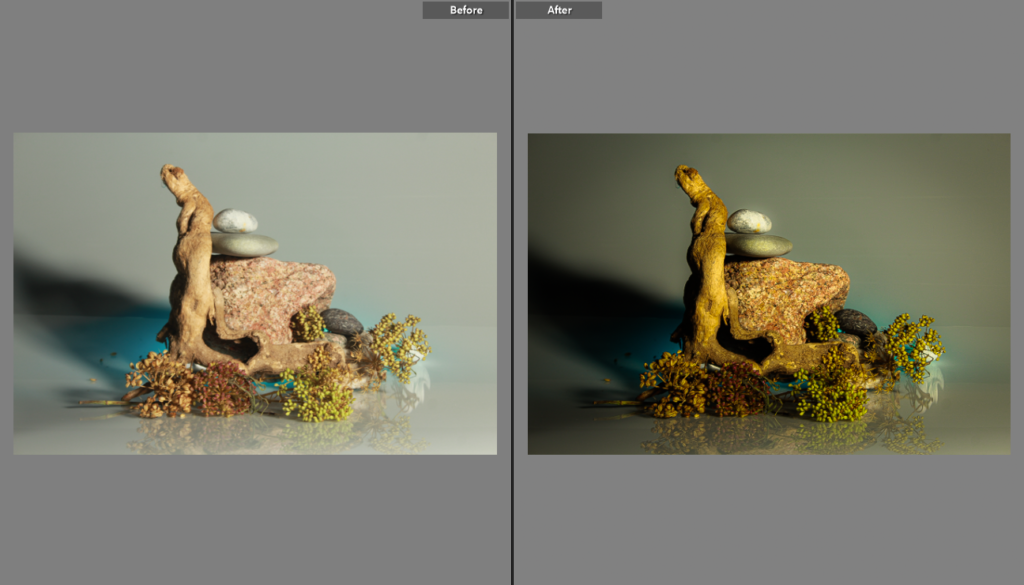
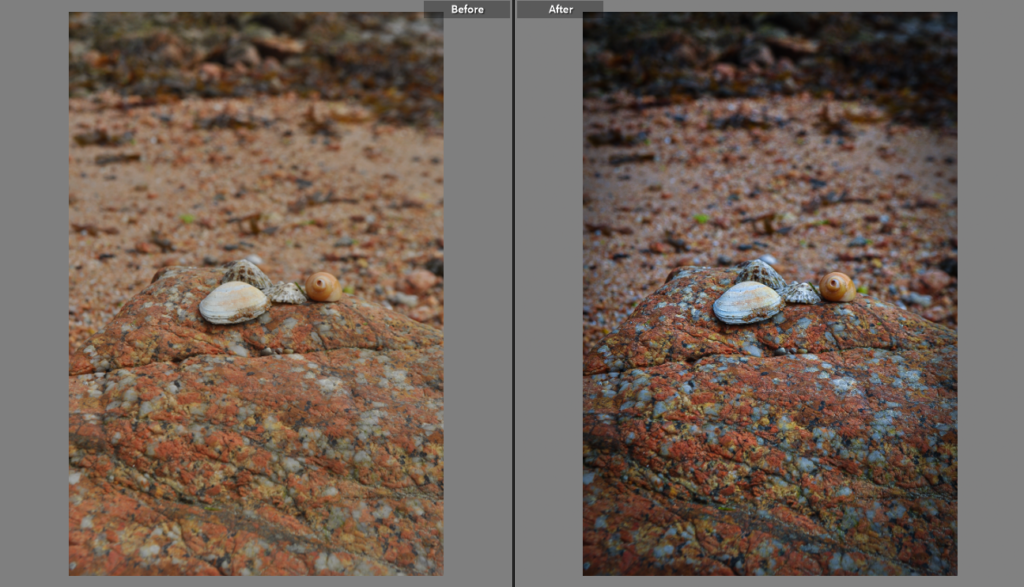
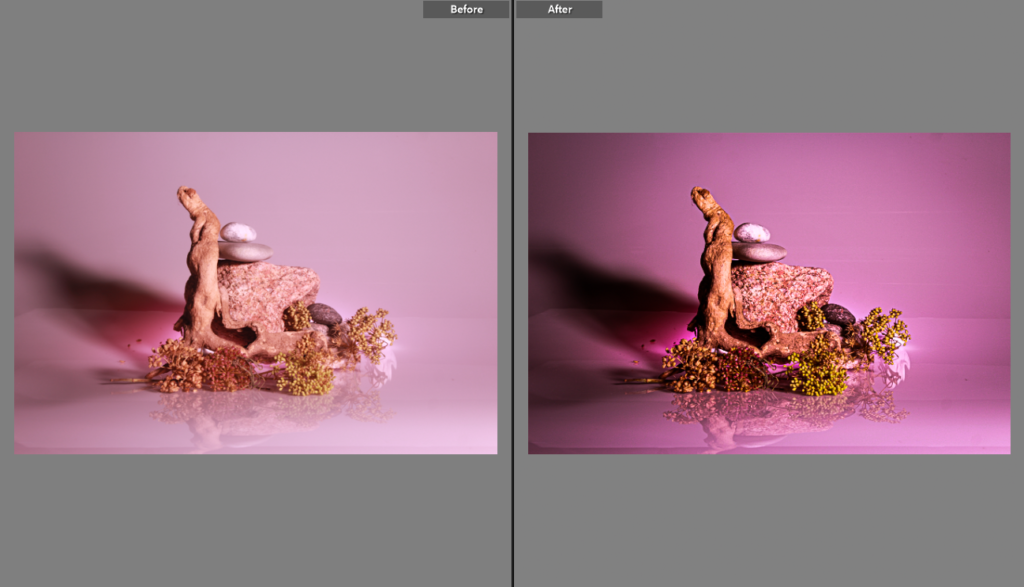
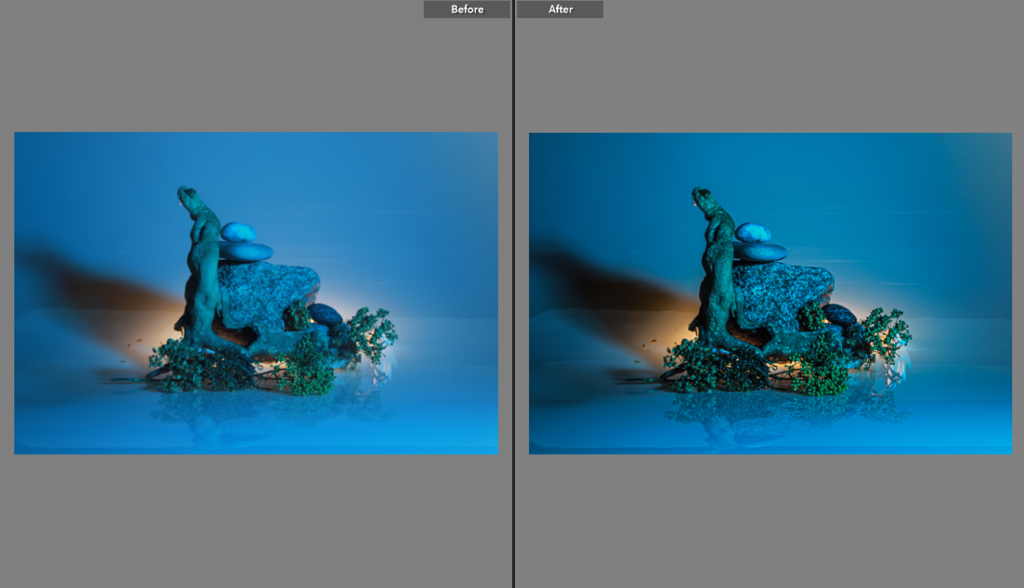
My Edits (Using Lightroom):
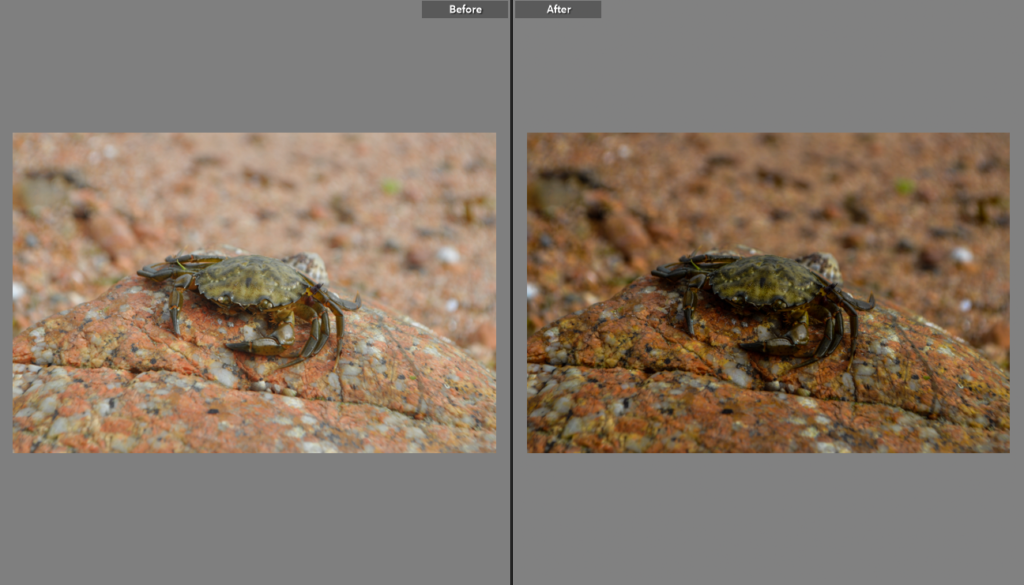
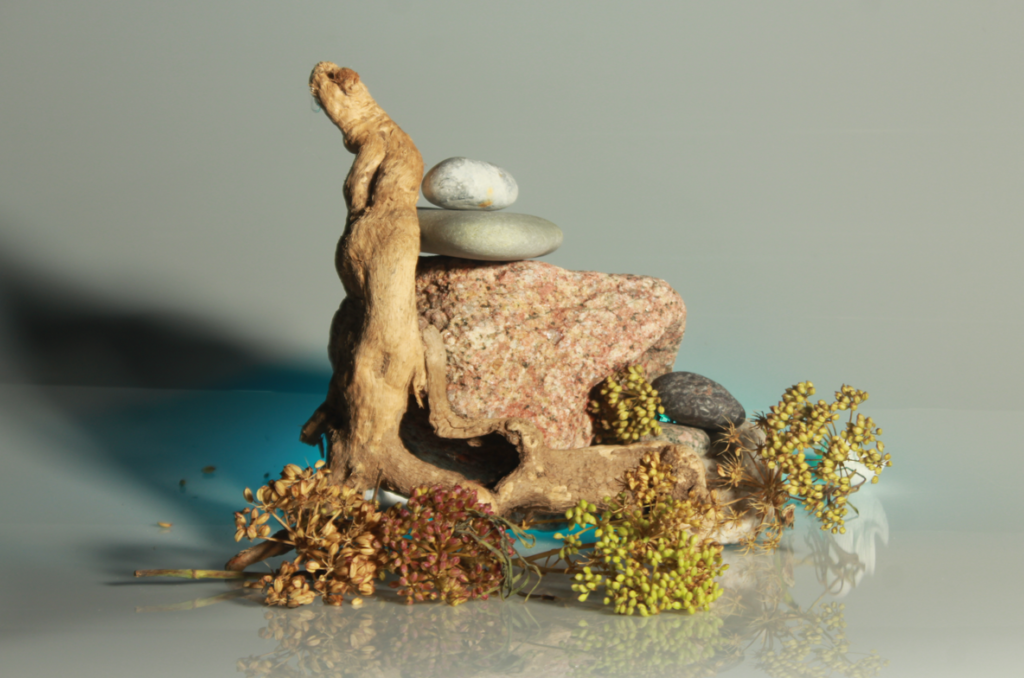
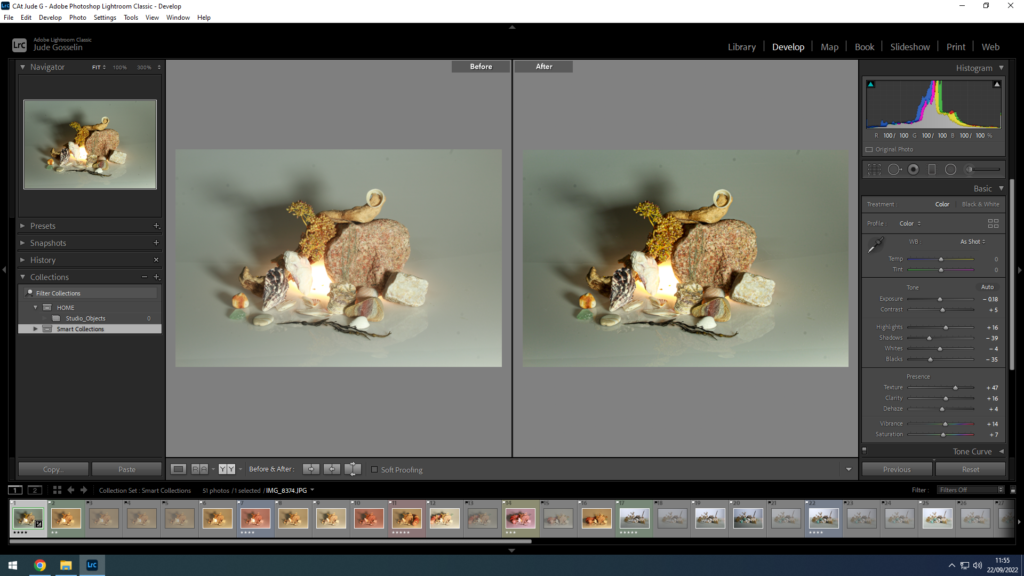
All of these images were edited in the ‘develop’ section in Lightroom. After I finished, I put them into the ‘before and after’ layout to clearly show the improvements I made.

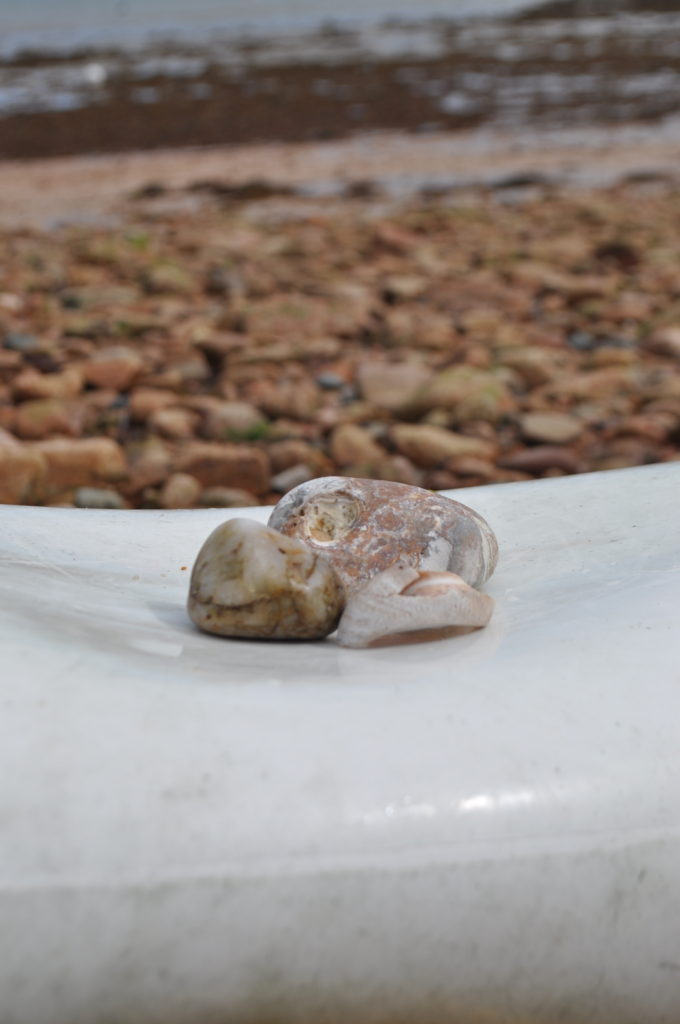
Aperture

Aperture refers to the opening in a camera lens through which the light passes to reach the sensor or film inside. It’s an adjustable mechanism that controls the level of light entering the camera, which in turn affects the brightness and depth of field in an image.
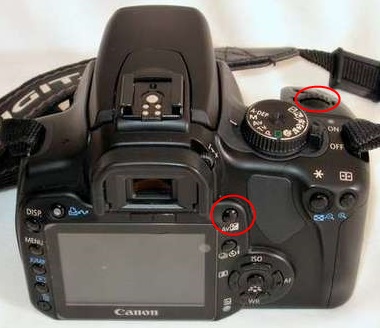
How to Adjust Your F Stop / Aperature With Canon Rebel Xti - Digital  Photography Hobbyist
Av button on a Canon camera (used to adjust aperture value in manual modes)

Aperture is measured in f-stops, which are values representing the size of the lens opening relative to the lens focal length. The larger the opening, the more light reaches the sensor/film, and the smaller the f-stop value, and vice versa. This also affects the exposure of the image, which, when adjusted manually, can be a bit of a balancing act when trying to maintain the correct exposure and the desired depth of field.

Diagram showing aperture ranges and depth of field

As mentioned, aperture values on a camera can be manually adjusted, or automatically – depending on the camera and the shooting mode in use. Wider apertures are typically used in low-light environments or to create a shallower depth of field, which keeps the subject in focus and the background more blurred. A smaller aperture, however, is more often used for well-lit scenes or to achieve greater depths of field, keeping both the foreground and background in focus.

Overall, the aperture is a key setting when it comes to camera operation and can drastically affect a final image.

Lightroom

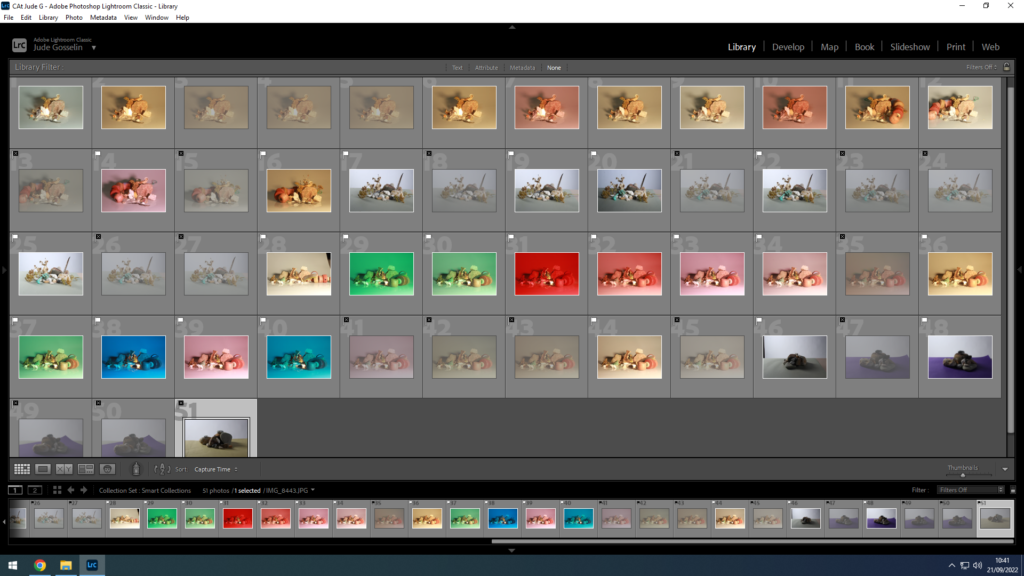
This is an example of me picking specific images from Lightroom by holding down “shift” and pressing “P” to select the ones I want to use, and “X” for the images I do not want to use.

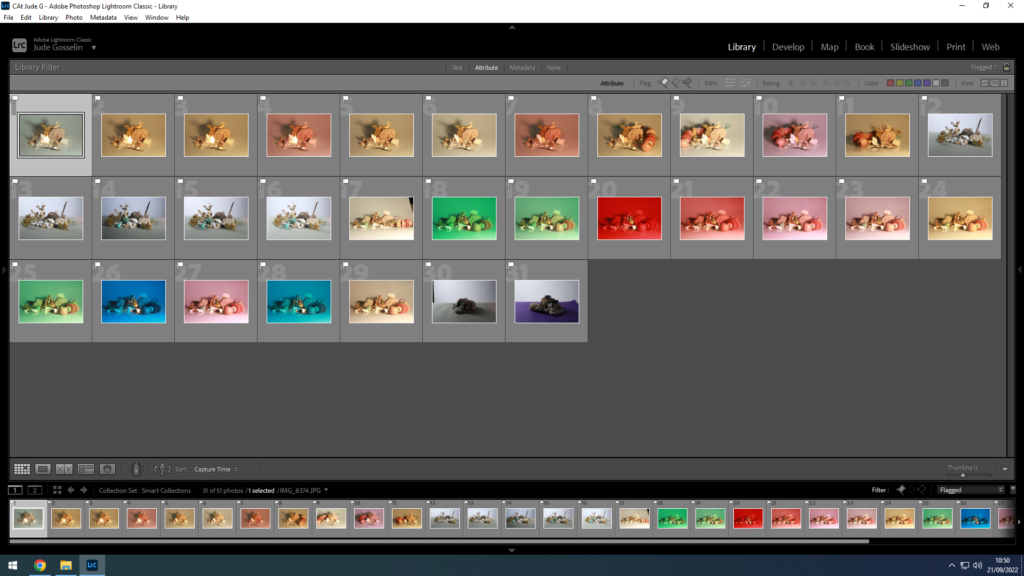
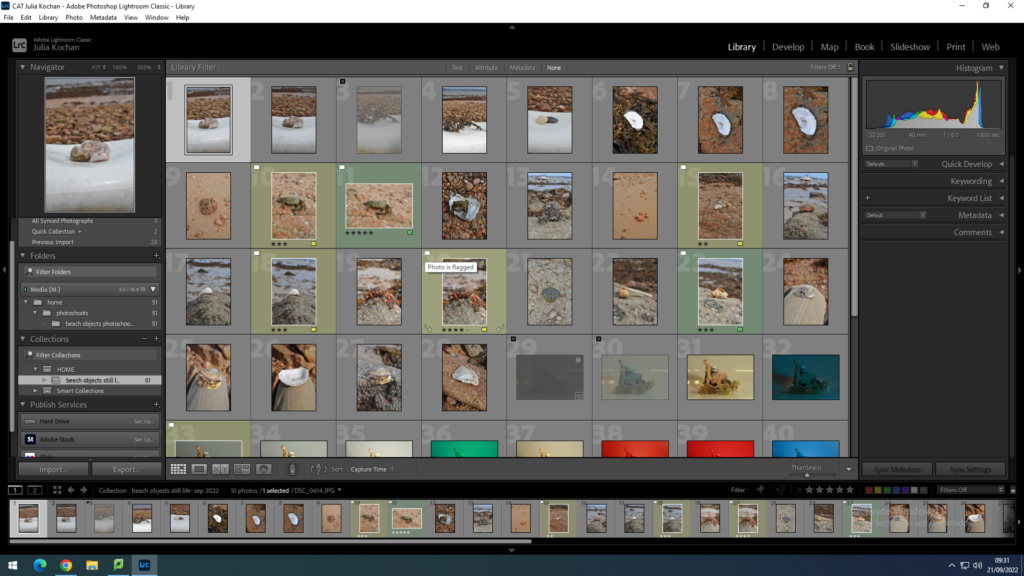
Then, I used an option in the bottom right corner of the print screen in adobe light room called “flagged”, to remove the images I don’t want to use.

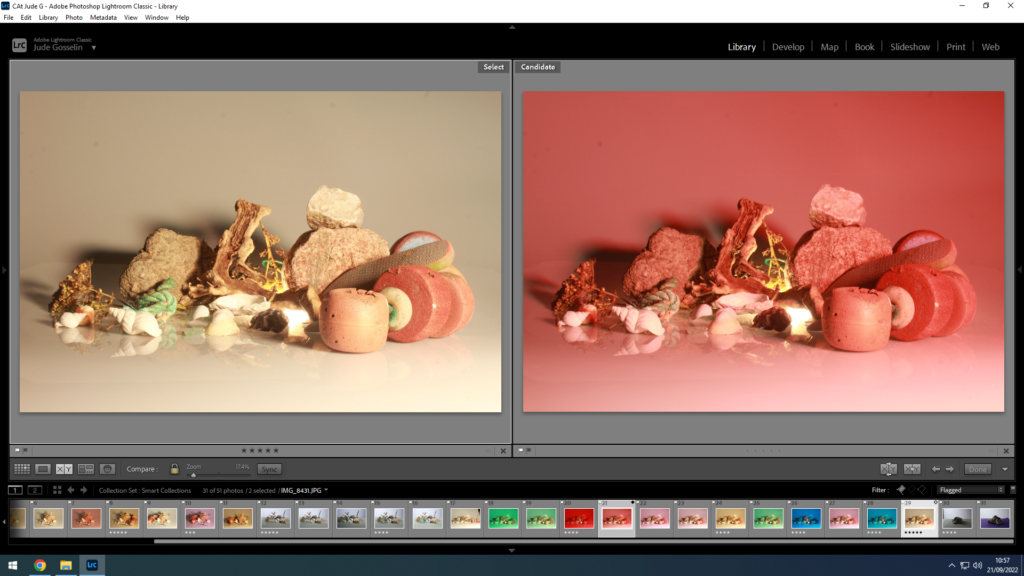
This is how you can compare images. There is also a tool that enables you to zoom into the picture you want to, and it does this on both images which allows you too see what camera options where used. You can also use star ratings on specific pictures you preferer to use by using the numbers 1-5.

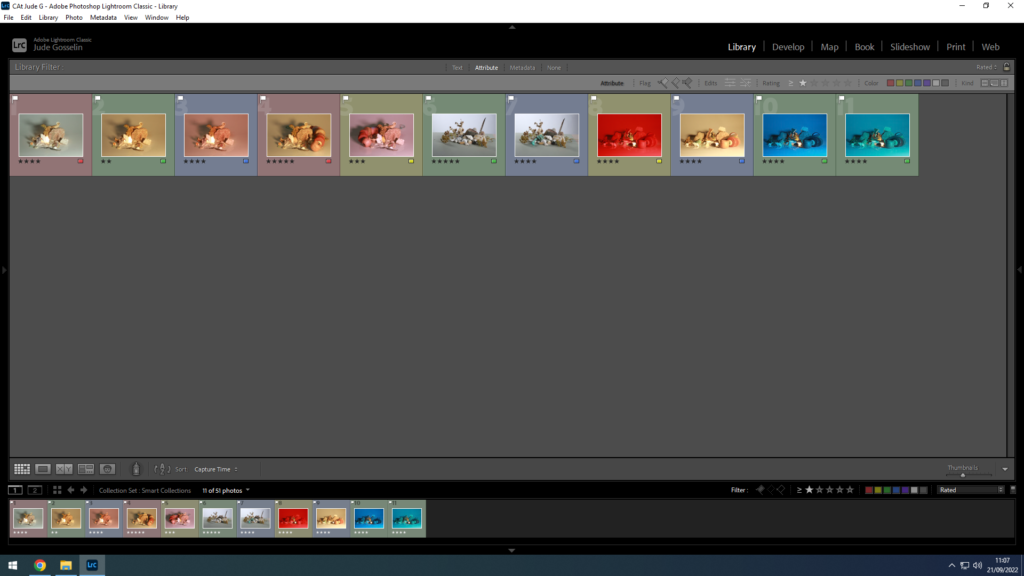
By using colour co-ordination by using numbers 6-9, you can highlight specific pictures with which ever colour you want, which you can use as a key for specific pictures.

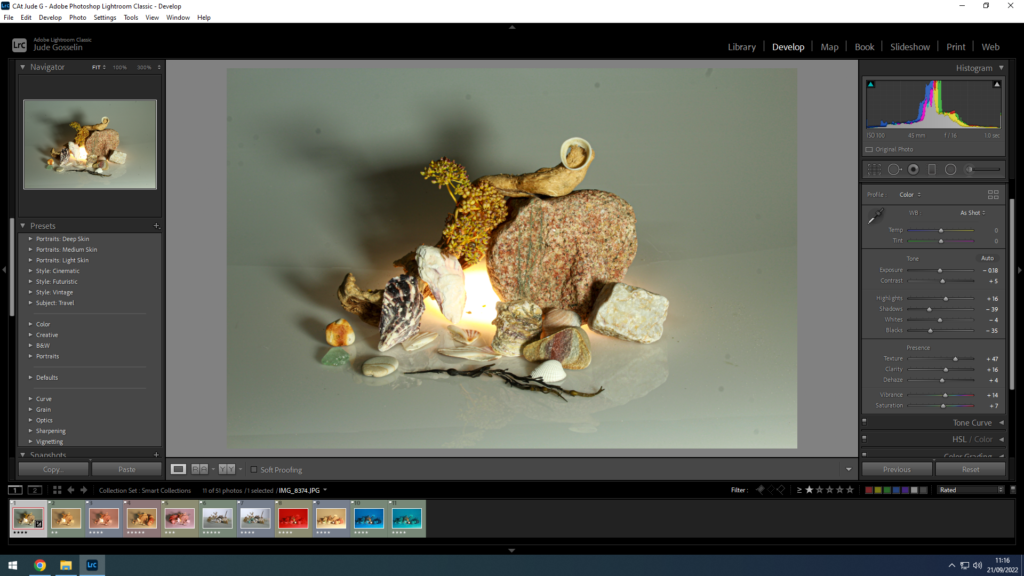
There are also options in “develop” modes which allows you to edit your pictures to very specific details, and to adjust the image to how you want it to look.

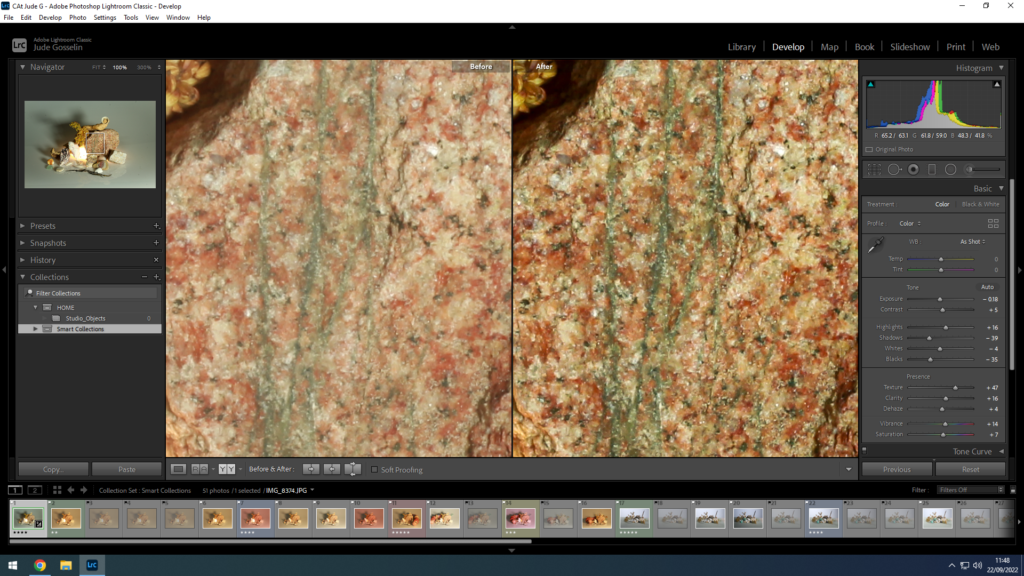
Adobe light room also allows you to compare an image after you have edited it, (before and after). This is an example of one of my images that I edited, to make it look sharper and cleaner.

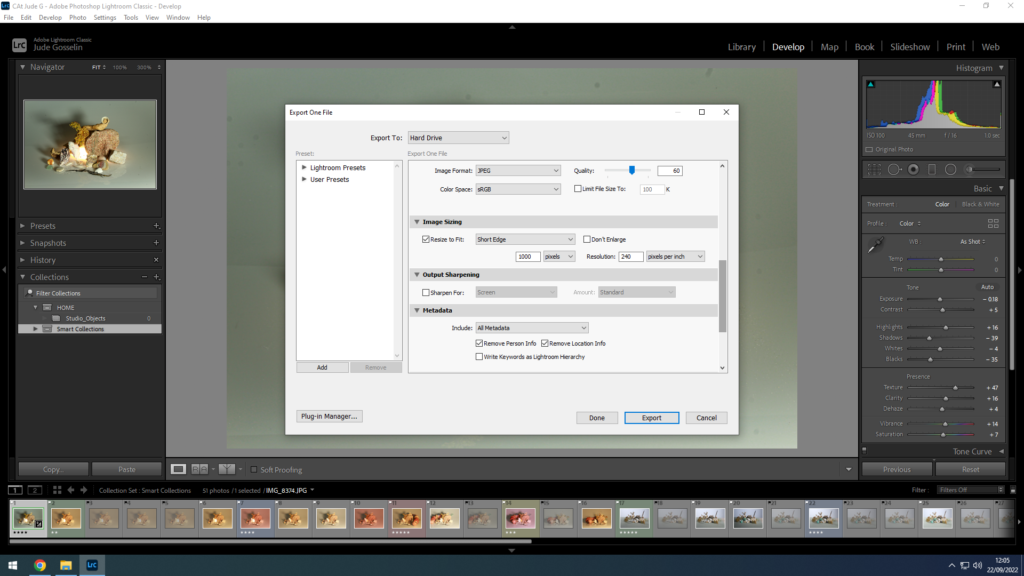
This allows you to export images into a file that allows you to separately save an image.

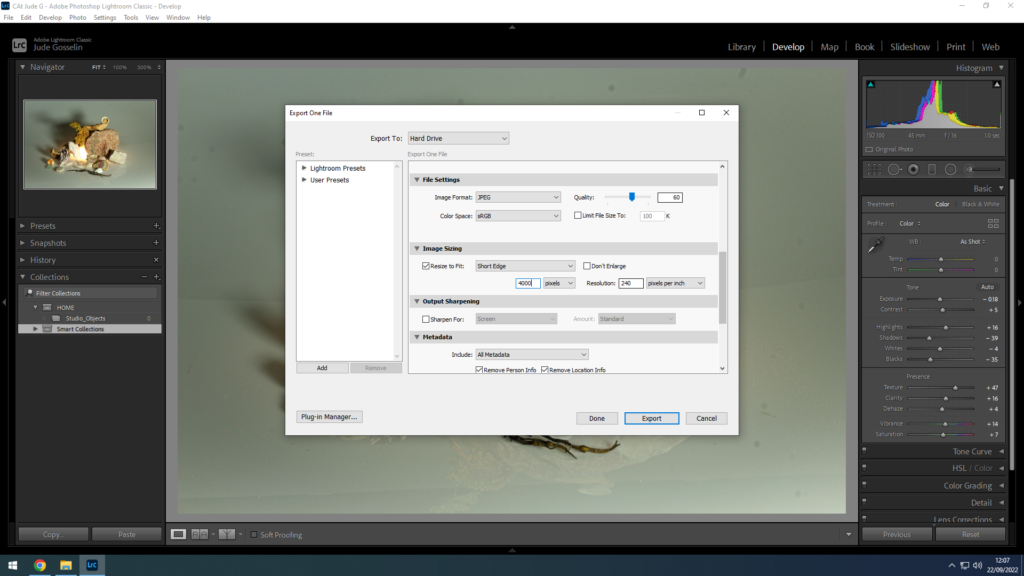
This is me saving the image again but with a larger pixel size, allowing me to print the image out, and copy the image into the blog separately.

using lightroom

Imported photos from past students.

First I learnt how to select and discard different photos, by selecting the photo and either clicking P to select or X to discard the photo. Discarding the photo doesn’t actually delete it but shows that you don’t want to use it.

Starred and colour codded photos.

Next I learnt how to rate the photos using the stars underneath the photos. Also how to colour code the photos using the flag at the bottom right of the photo to show whether the photo is going to be used, might be used or isn’t going to be used.

How to select only flagged images.

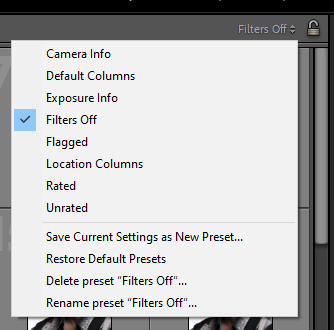
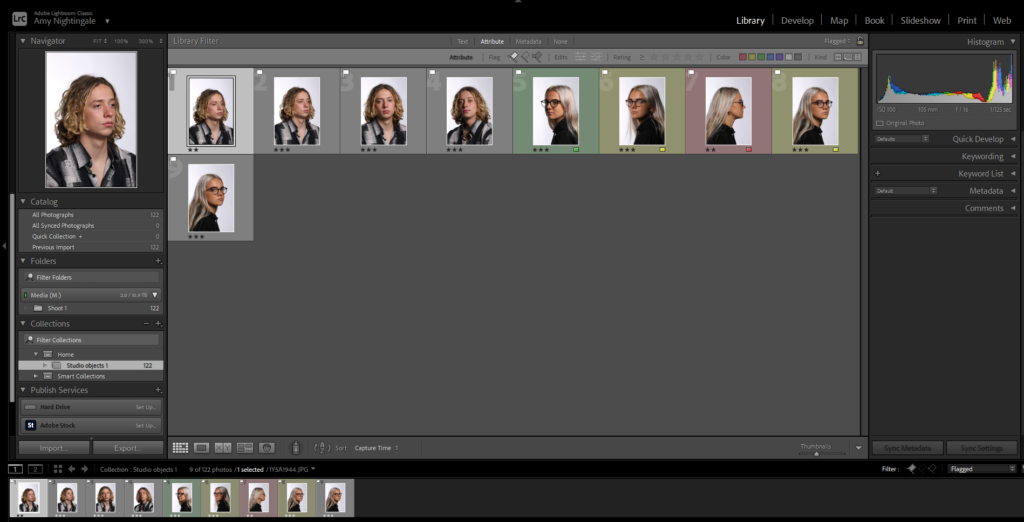
Then I learnt how to select only the photos that I had flagged/selected. By clicking on the top right button which says filters off and selecting flagged. This got rid of every other photo apart from the ones that had been flagged.

Only flagged images are shown.
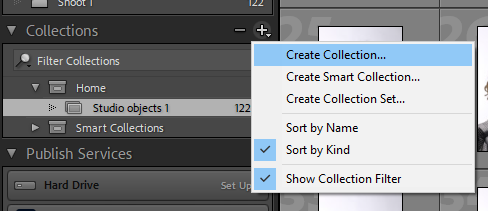
How to create a new collection folder.

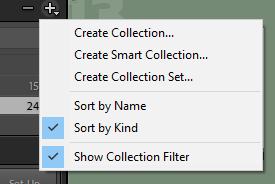
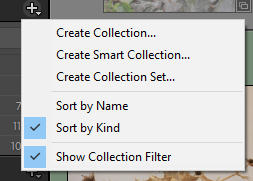
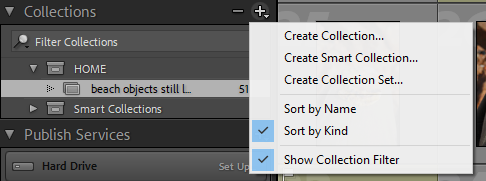
Then I next learnt how to create a new collection folder. This is by clicking on the plus symbol next to collection and then clicking create collection.

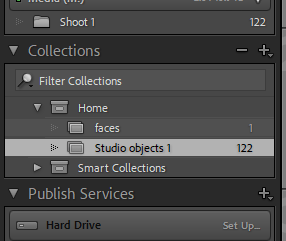
New folder with the photos.

I then dragged certain photos into a new collection folder which were of a specific person. To do this you just click the photo, then drag it and hold it over the folder you want to put it into.

LIght room classic- fliltering system.

In Lightroom Classic it gives you the opportunity to filter through, rate and colour code you imported photos.

Lightroom uses Previews of your photos not the actual photo file its self.

The filing system makes light room less cluttered and easier to find your work.

The photos I like I have flagged them by selecting the photo and pressing p.

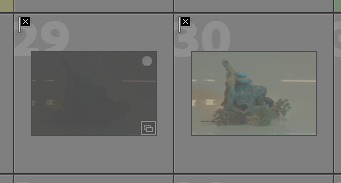
To discard the photos I don’t like so I know not to use them I have put black crossed flag on them and it comes up as grey

To colour code my photos i selected the photos in a simple traffic light code in order of photos i like, find okay and photos I don’t mind i did this by selecting the photo then pressing the square on the bottom right hand side and selecting the colour.

I also rate my photos by how much I like them so I know what photos to use.

You are also able to make a folder in collections which you are able to put all the photos of one project into a file so you arent habing to look through thousands of photos to find one project.

you do this by pressing the plus button on the left hand sign of the screen, you then drag the photos into the file.

Adobe Lightroom

Filtering

Lightroom classic is an software that allows you to import your images and filter them through multiple methods, such as:

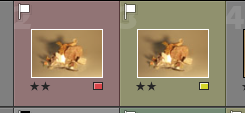
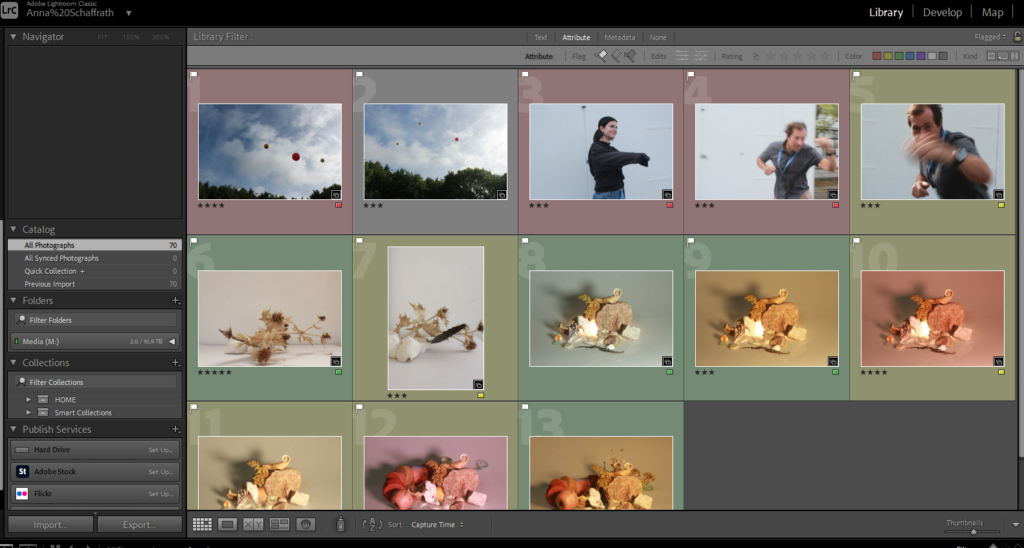
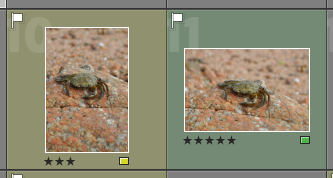
This block allows you to colour code you images. For example if you really like a certain image you could colour it as green, meanwhile if you dislike a image you could code it as red.

The flag allows you to pick out certain images by adding this little white flag to the top of the image. It makes it easier to filter which images you need to find.

The stars allow you to say how much you like this image. This is useful for when your trying to choose which images to select.

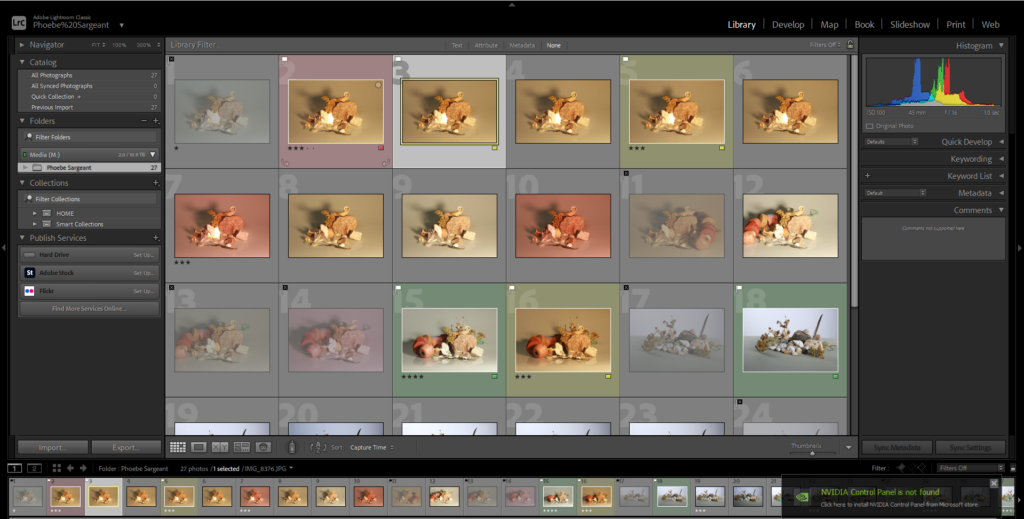
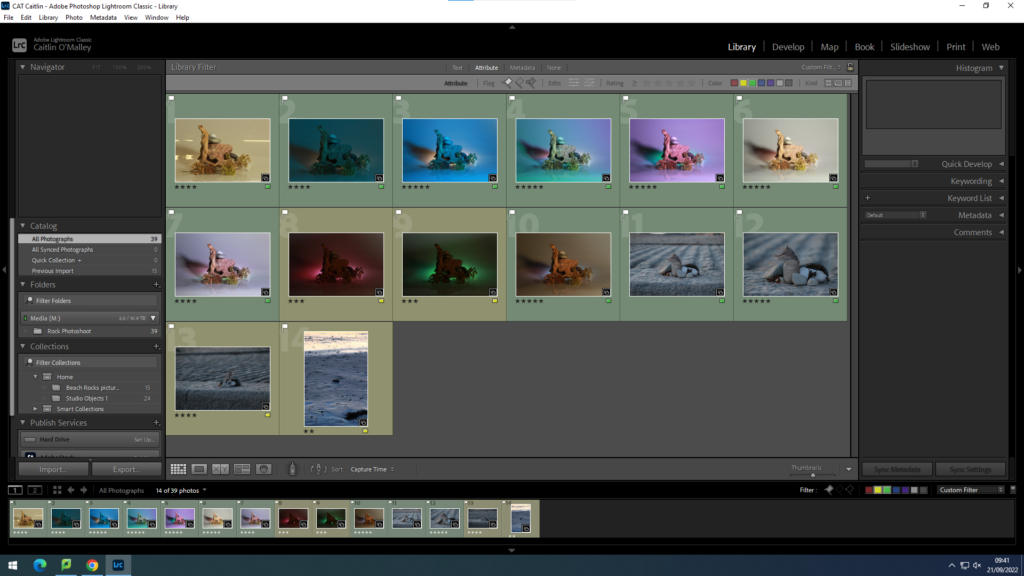
The images should look like this once you have filtered them. As you can see, the green and yellow colours separate how much you like each image as well as the stars rating out of 5 showing which ones you prefer.

Creating a collection

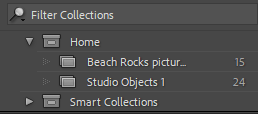
Your also able to organise your picture through collections. This makes it easier for you to find specific pieces of work instead of searching through all of your images.

Your able to create a collection by clicking on the small plus in the corner.

adobe photoshop lightroom

I have learnt how to import my own pictures and then to flag which pictures I like the most, and also flag the ones I don’t need/like. Ive then learnt to colour code them red, yellow or green.

The four things are:

  • Flagging my favourite pictures with a white flag by selecting it and pressing (P)
  • And then using the stars to rate how much i like the picture 1-5.
  • If I don’t like a picture I select it and press (x) and it becomes de-selected.
  • I can also colour code my pictures either green (favourite) yellow (okay) red (don’t like as much).

This shows my flagged pictures which I’ve colour coded and rated.

This is going to help me organise my photoshoots and make initial selections.

Creating collections

To sort my photos properly I’ve learnt to create collections for different categories of photos so its easier to access:

The plus sign in the top right corner gives the option to add another collection:

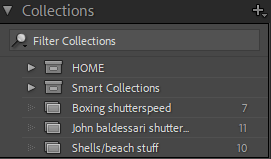
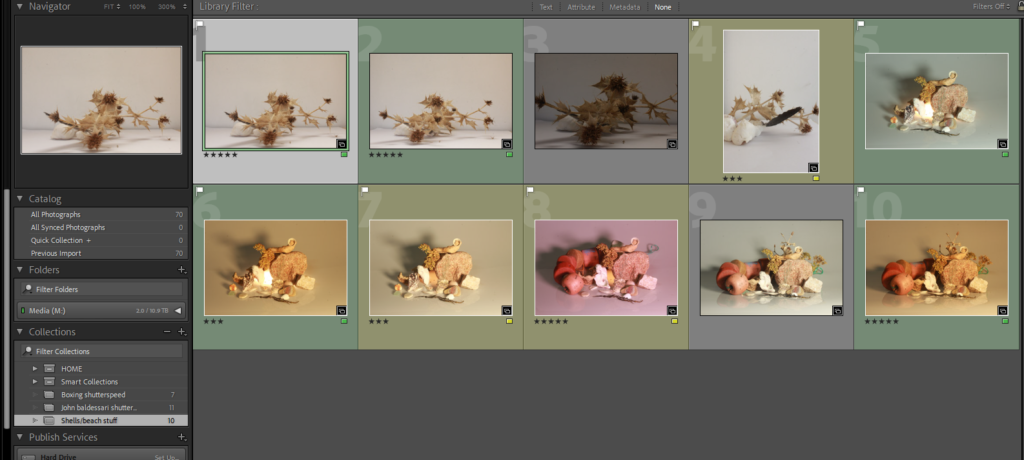
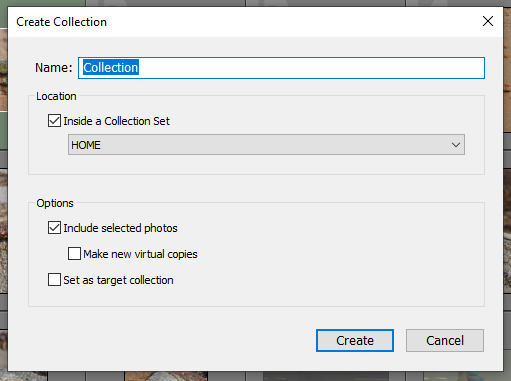
By clicking the top one (create collection) you can then have a different folder which you can name to whatever category the photos you decide to put in it falls in. For example this is what one of my collections look like:

This is my shells/ beach stuff collection.

Using lighroom classic

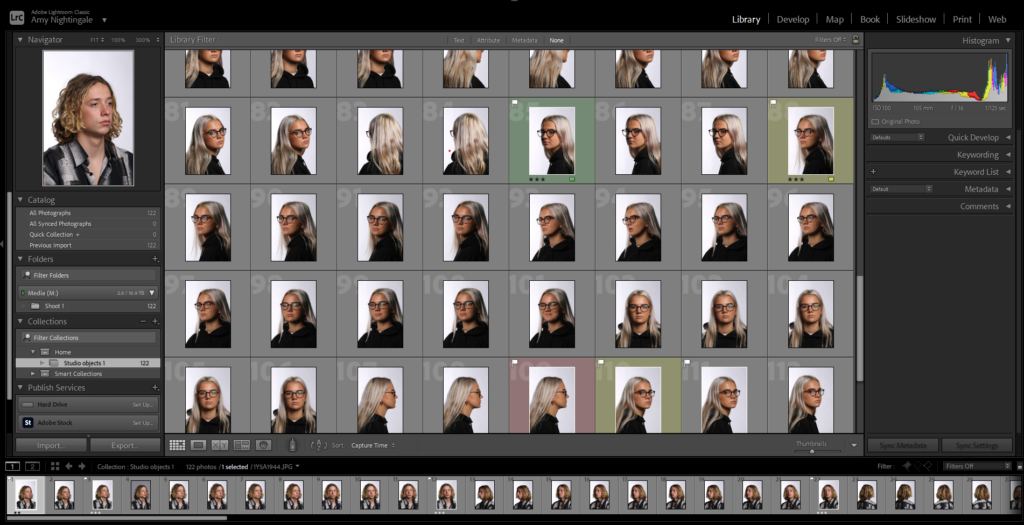
Creating Collections and Filtering in Lightroom:

All of my pictures in a collection.

I started by importing all my pictures from a certain photoshoot into Lightroom, creating a collection set and then a collection to put them into.

Some of my rejected images.

I went through my photos and rejected some of them by clicking the letter ‘x’ on my keyboard. This helps me sort out my images as Lightroom now knows that these aren’t images I will be using.

Some of my pinned photos.

I also pinned some of my images, the ones I thought were the best, as well as them filtering them by giving them a rating and colour. I used green for the ones I will definitely want to use for editing, yellow for the ones I might use and red for ones I most likely won’t use. I used the star rating to show how much I like the image (1 being the lowest rating and 5 the highest).

stars
colour
Making a collection.
Naming the folder.

To make a collection, you go on the collections section and go on create collection. You would then label it with a suitable name and the collection will be created. this is used to create subfolders, placing photos that belong together in one place, making everything more organised.