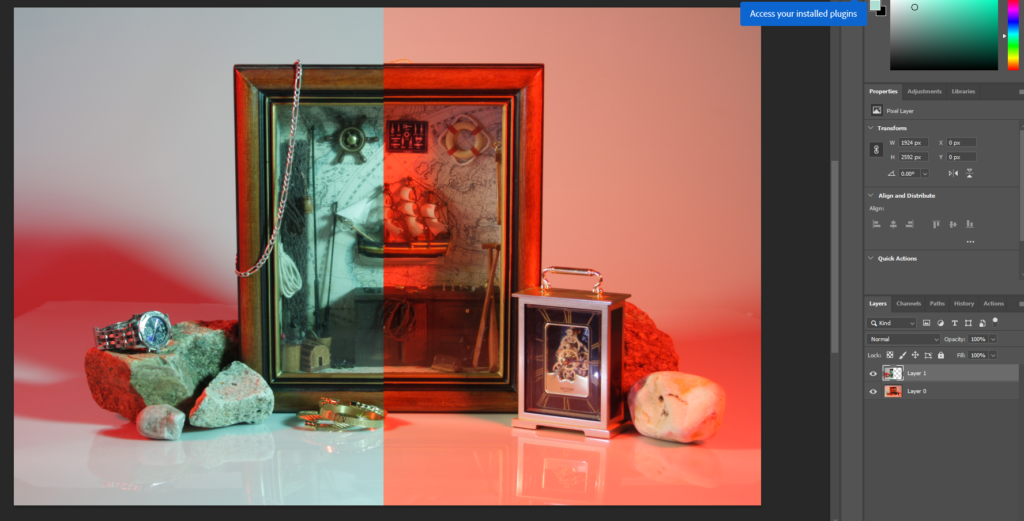
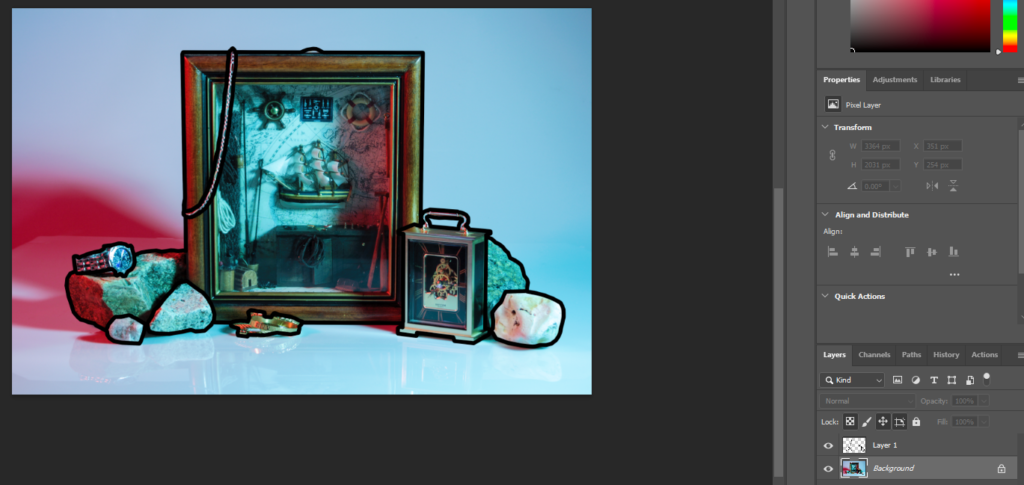
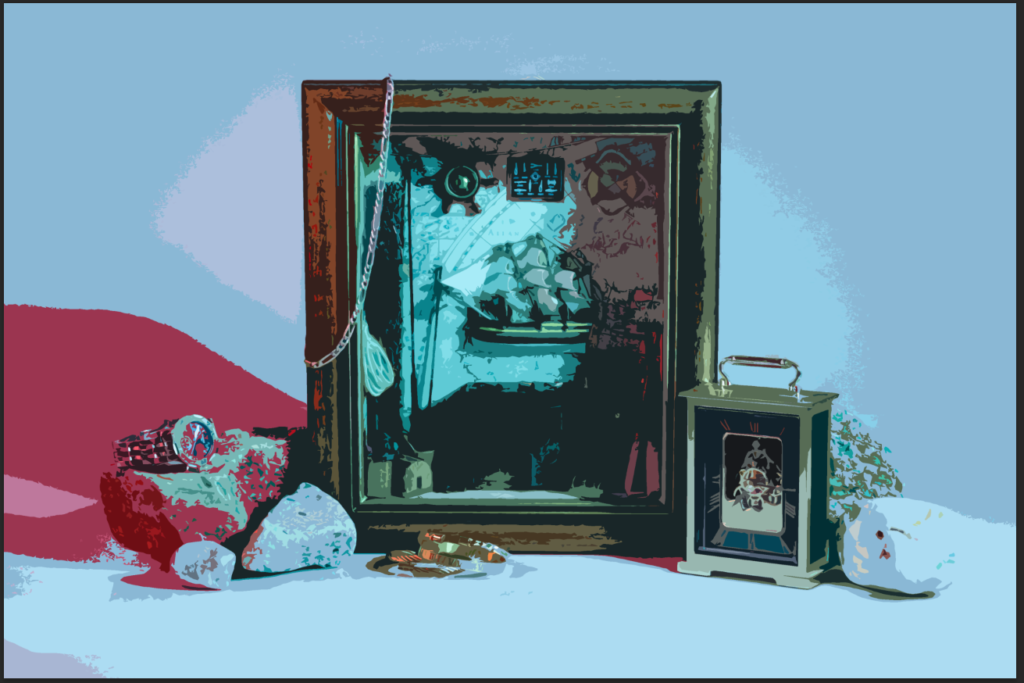
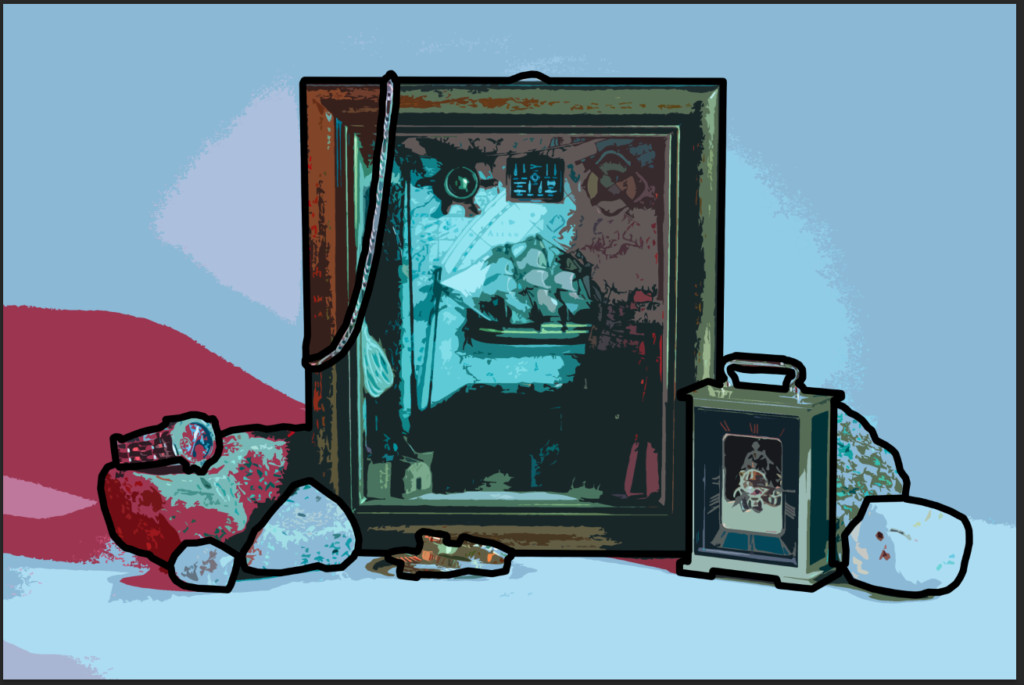
I used the filter gallery and the cut-out filter along with a outline a made with the pen tool
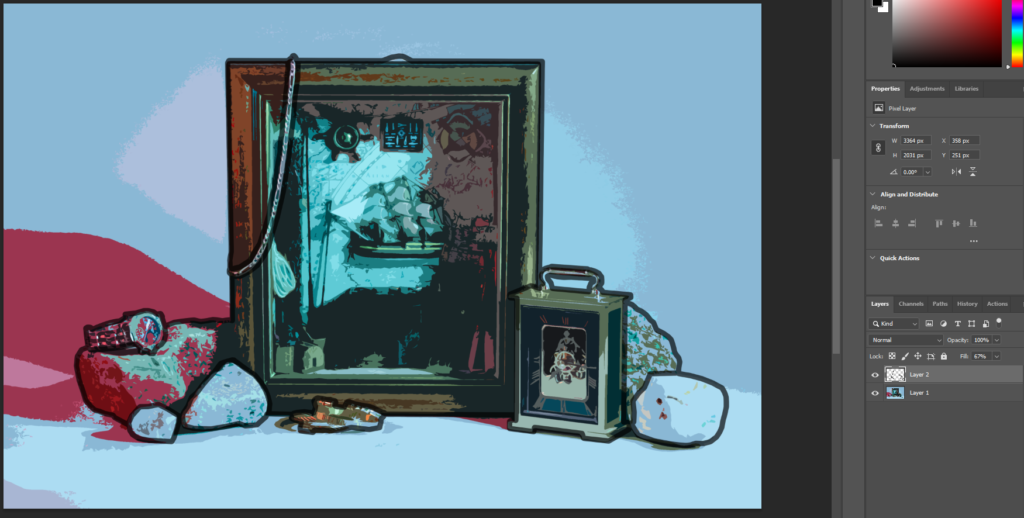
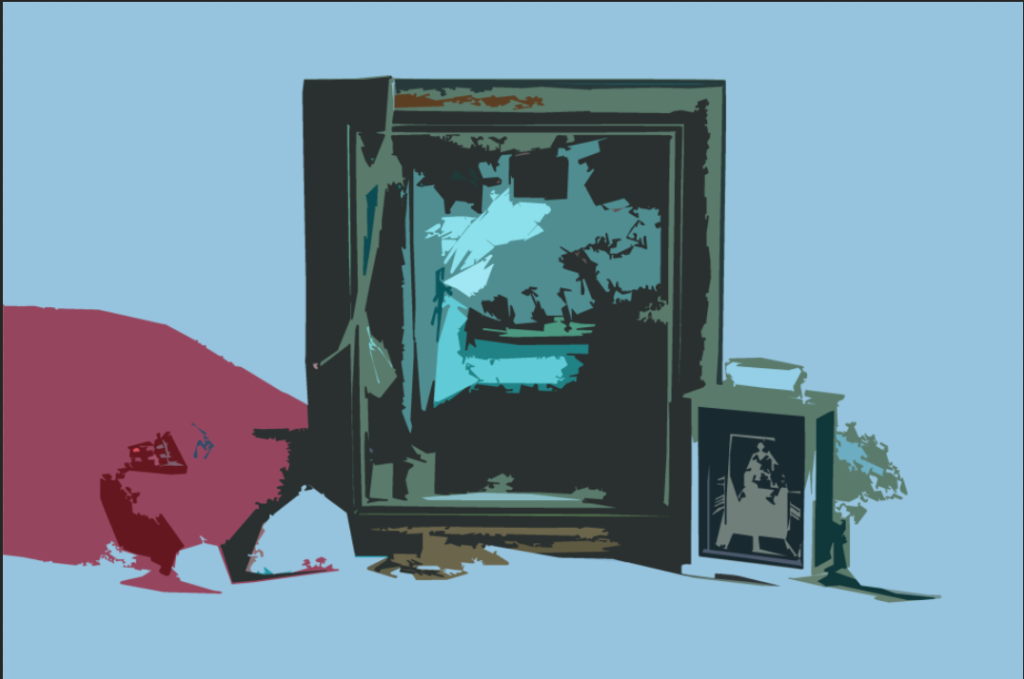


I used the filter gallery and the cut-out filter along with a outline a made with the pen tool


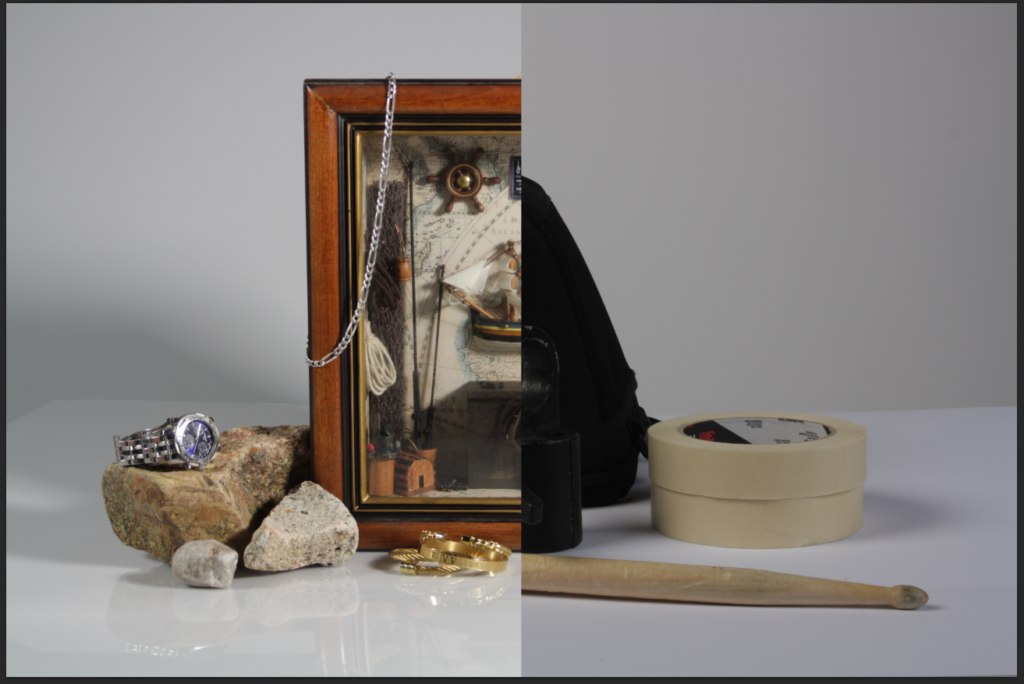
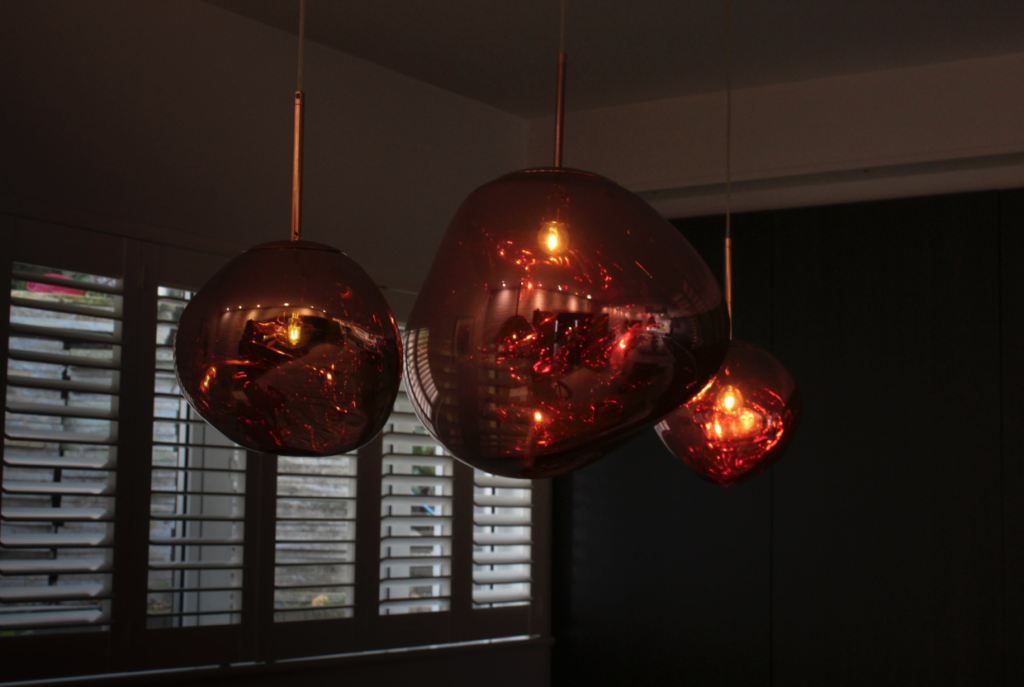
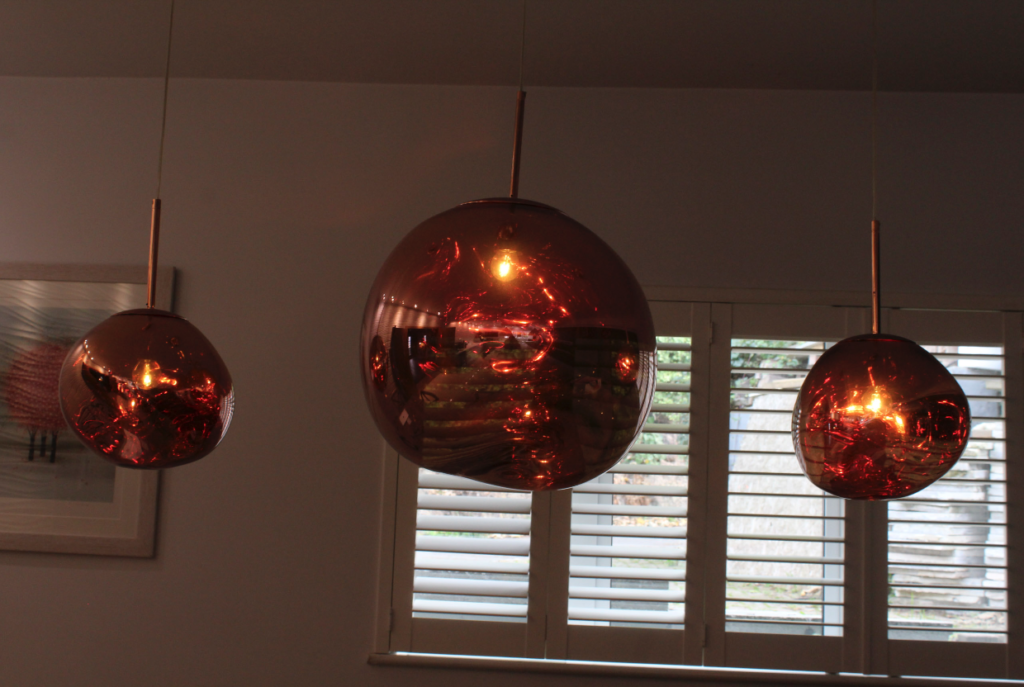
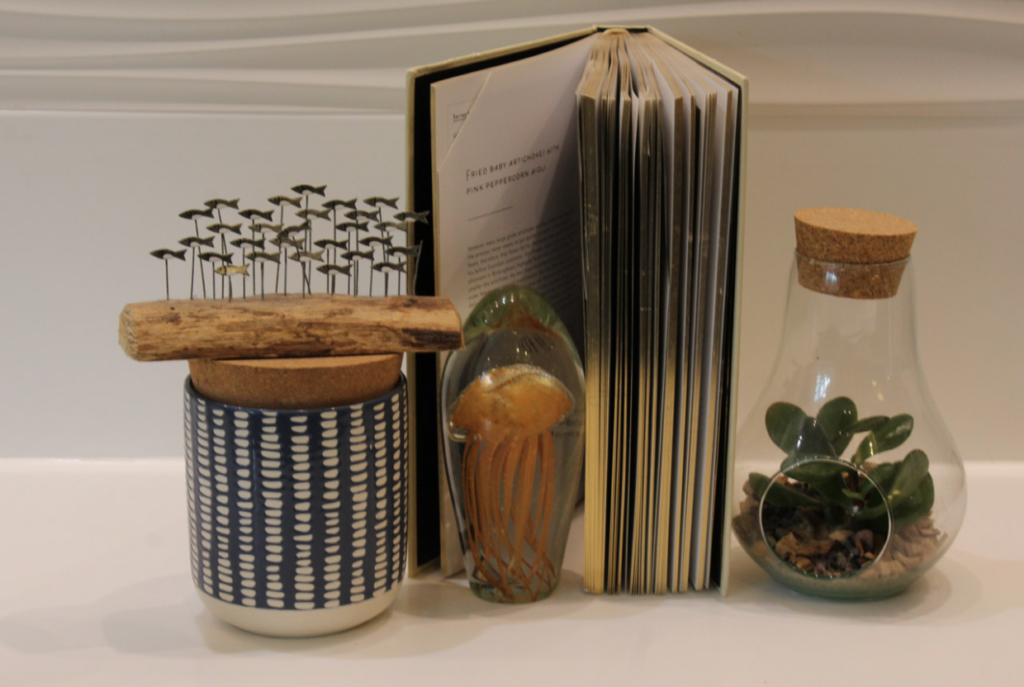
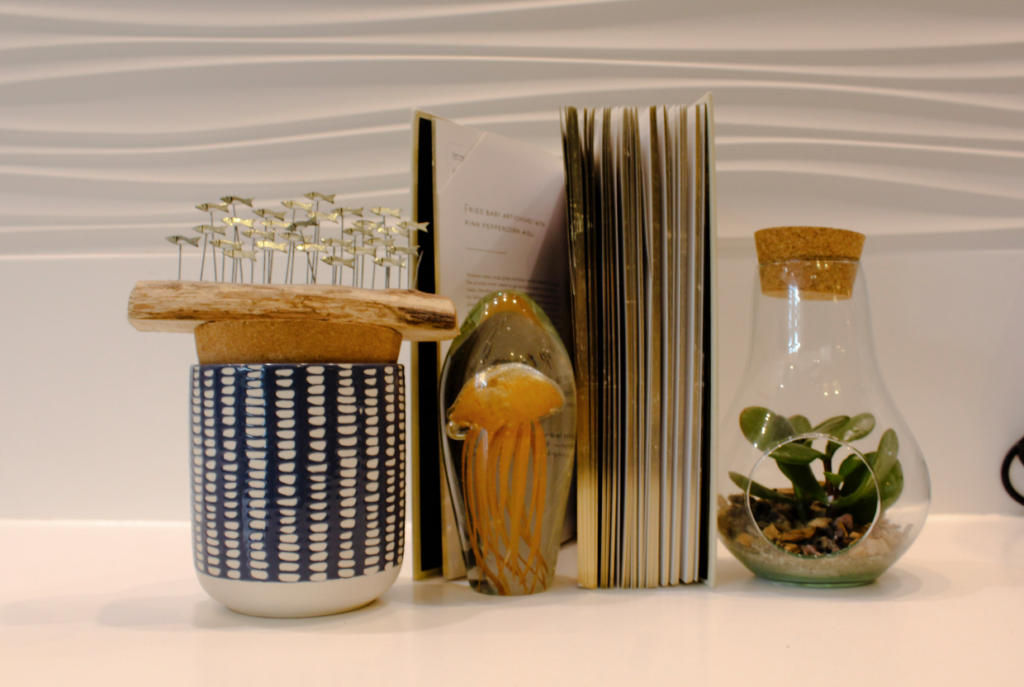
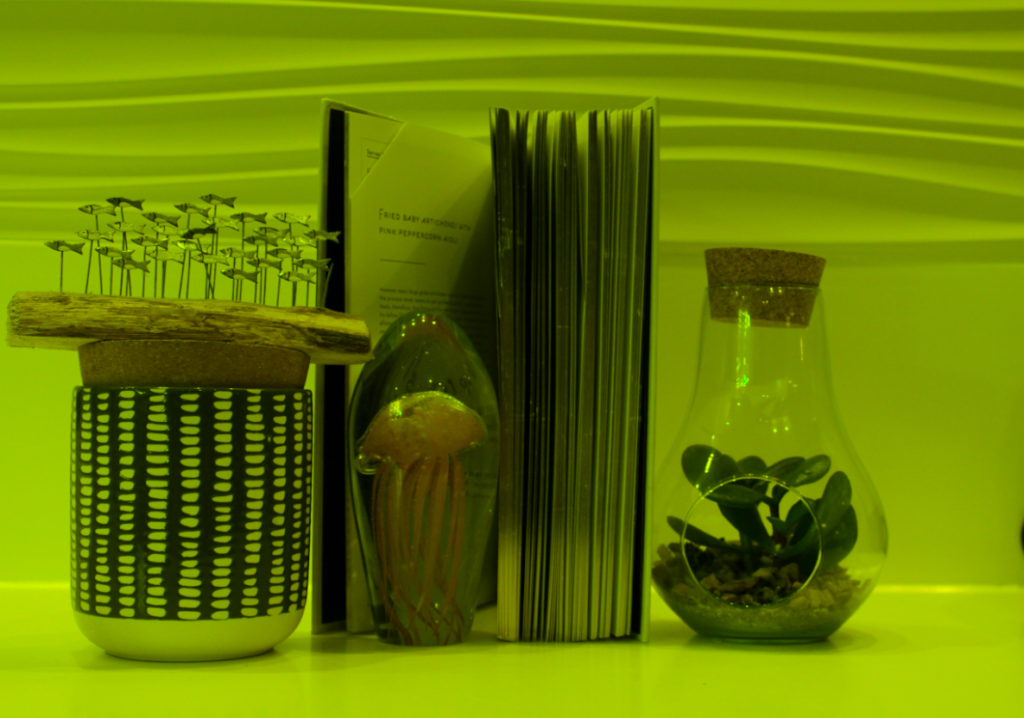
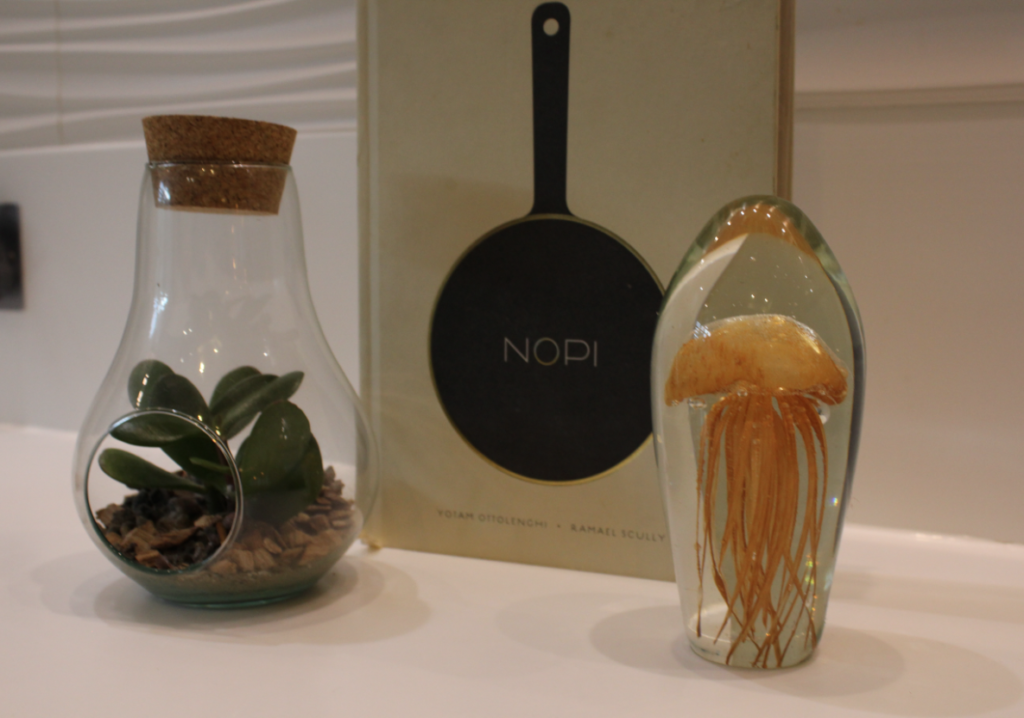
Prior to the topic of new objectivity I have experimented and photographed a series of objects in my house that relate to the idea of how Karl Blossfeldt creates his pictures.


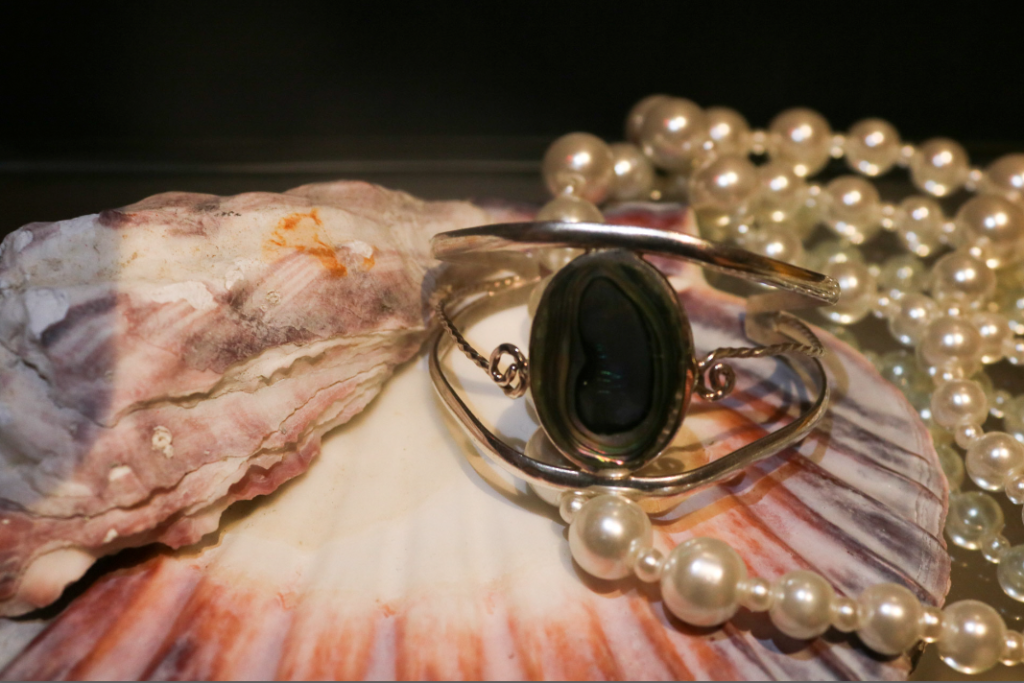

Who is she?
Mary Ellen-Bartley is a photographer who mainly focuses on taking photos of books. They’re always displayed in a simple way and a lot of people say that her work celebrates books.
These are some of my favourite images by her:


In 2020, Covid-19 hit she was in Italy and quickly flew back home. While she was isolating she decided to use 7 objects from in her home and take pictures of them for 30 days, changing the position each day.
Here are some examples of the images that she took
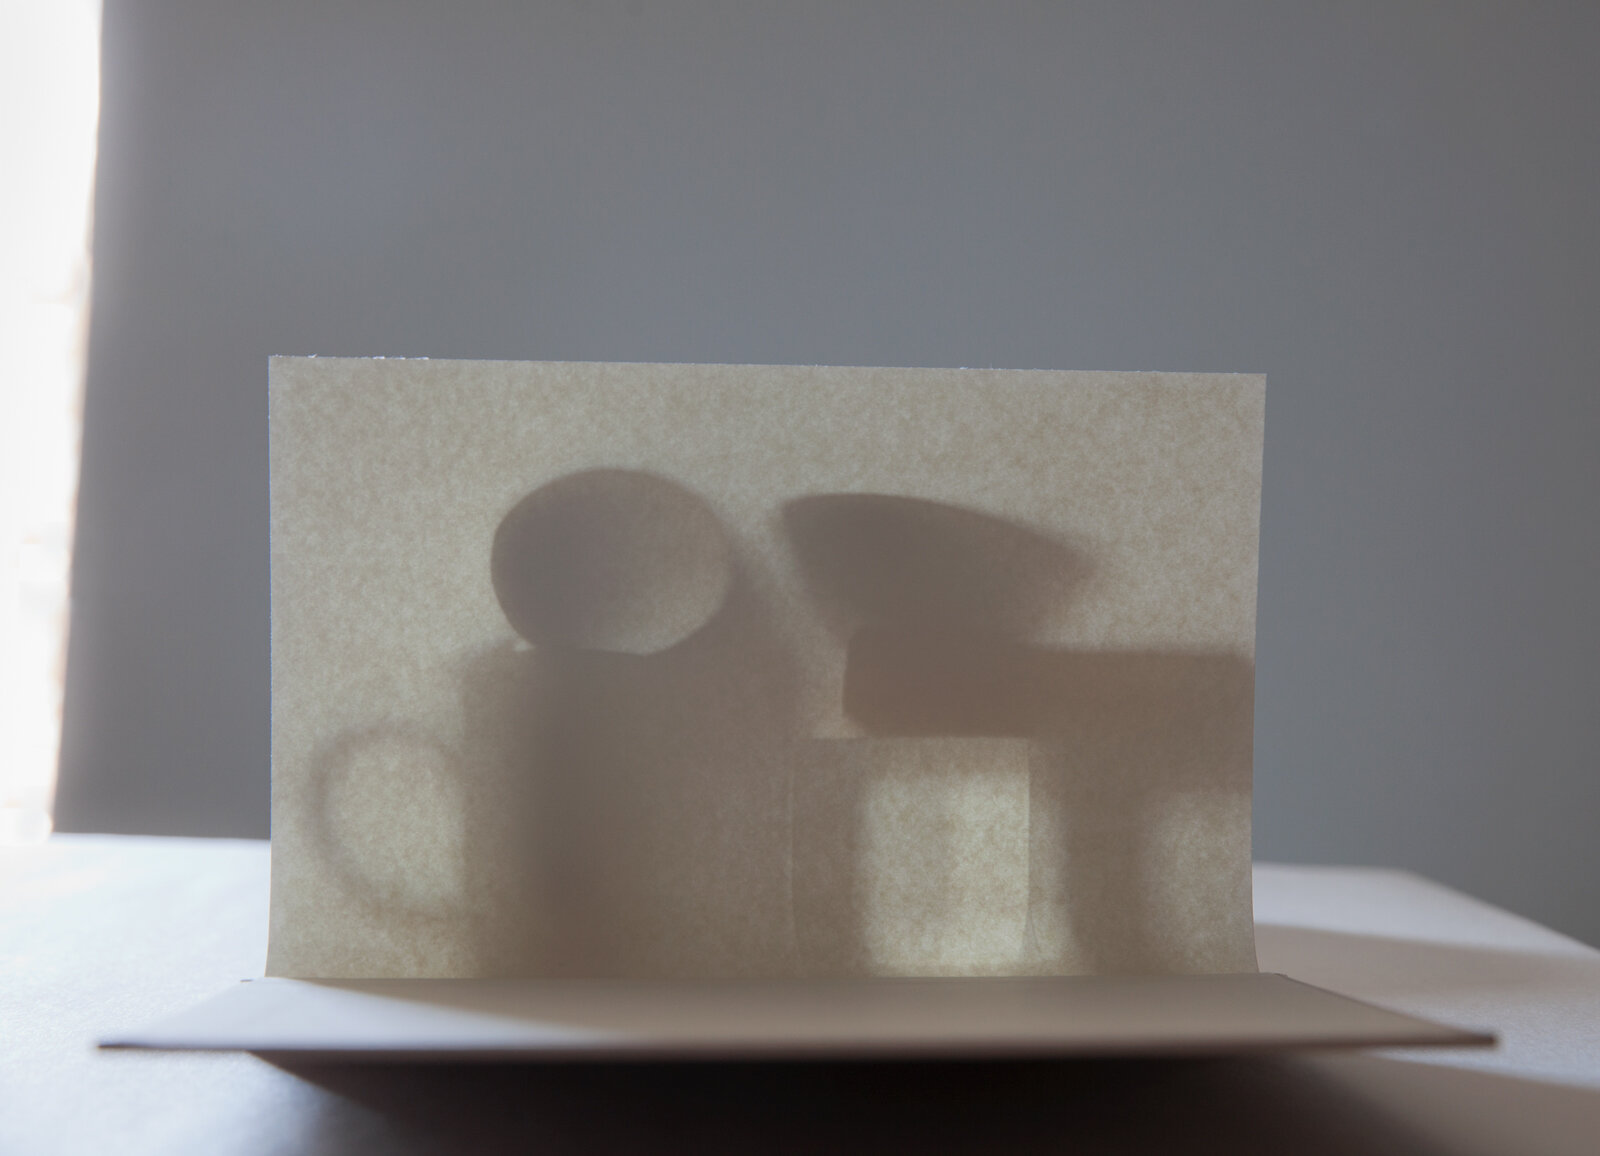
In this image she uses her roll of paper and backlighting to make a silhouette of the 6 other objects that she used.
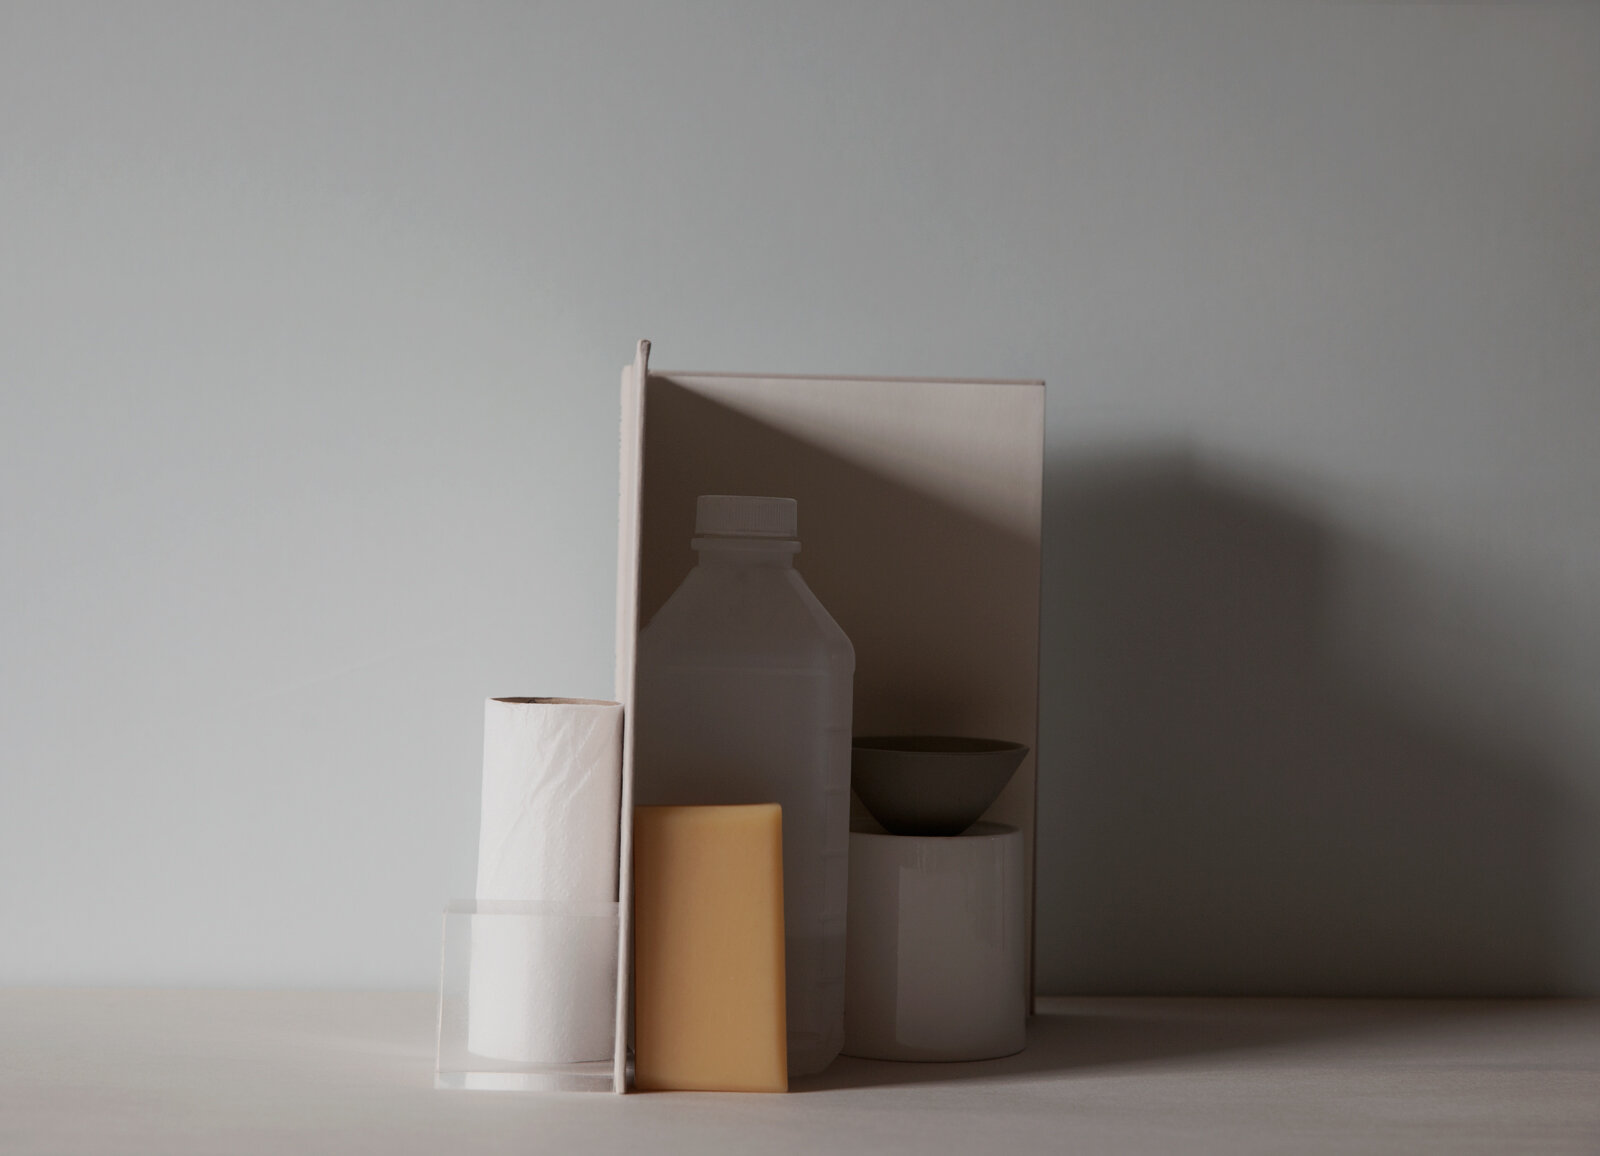
In this image she uses the book to make a shadow affect, covering most of her objects from the light. These images are really good examples of how she changed things every day.
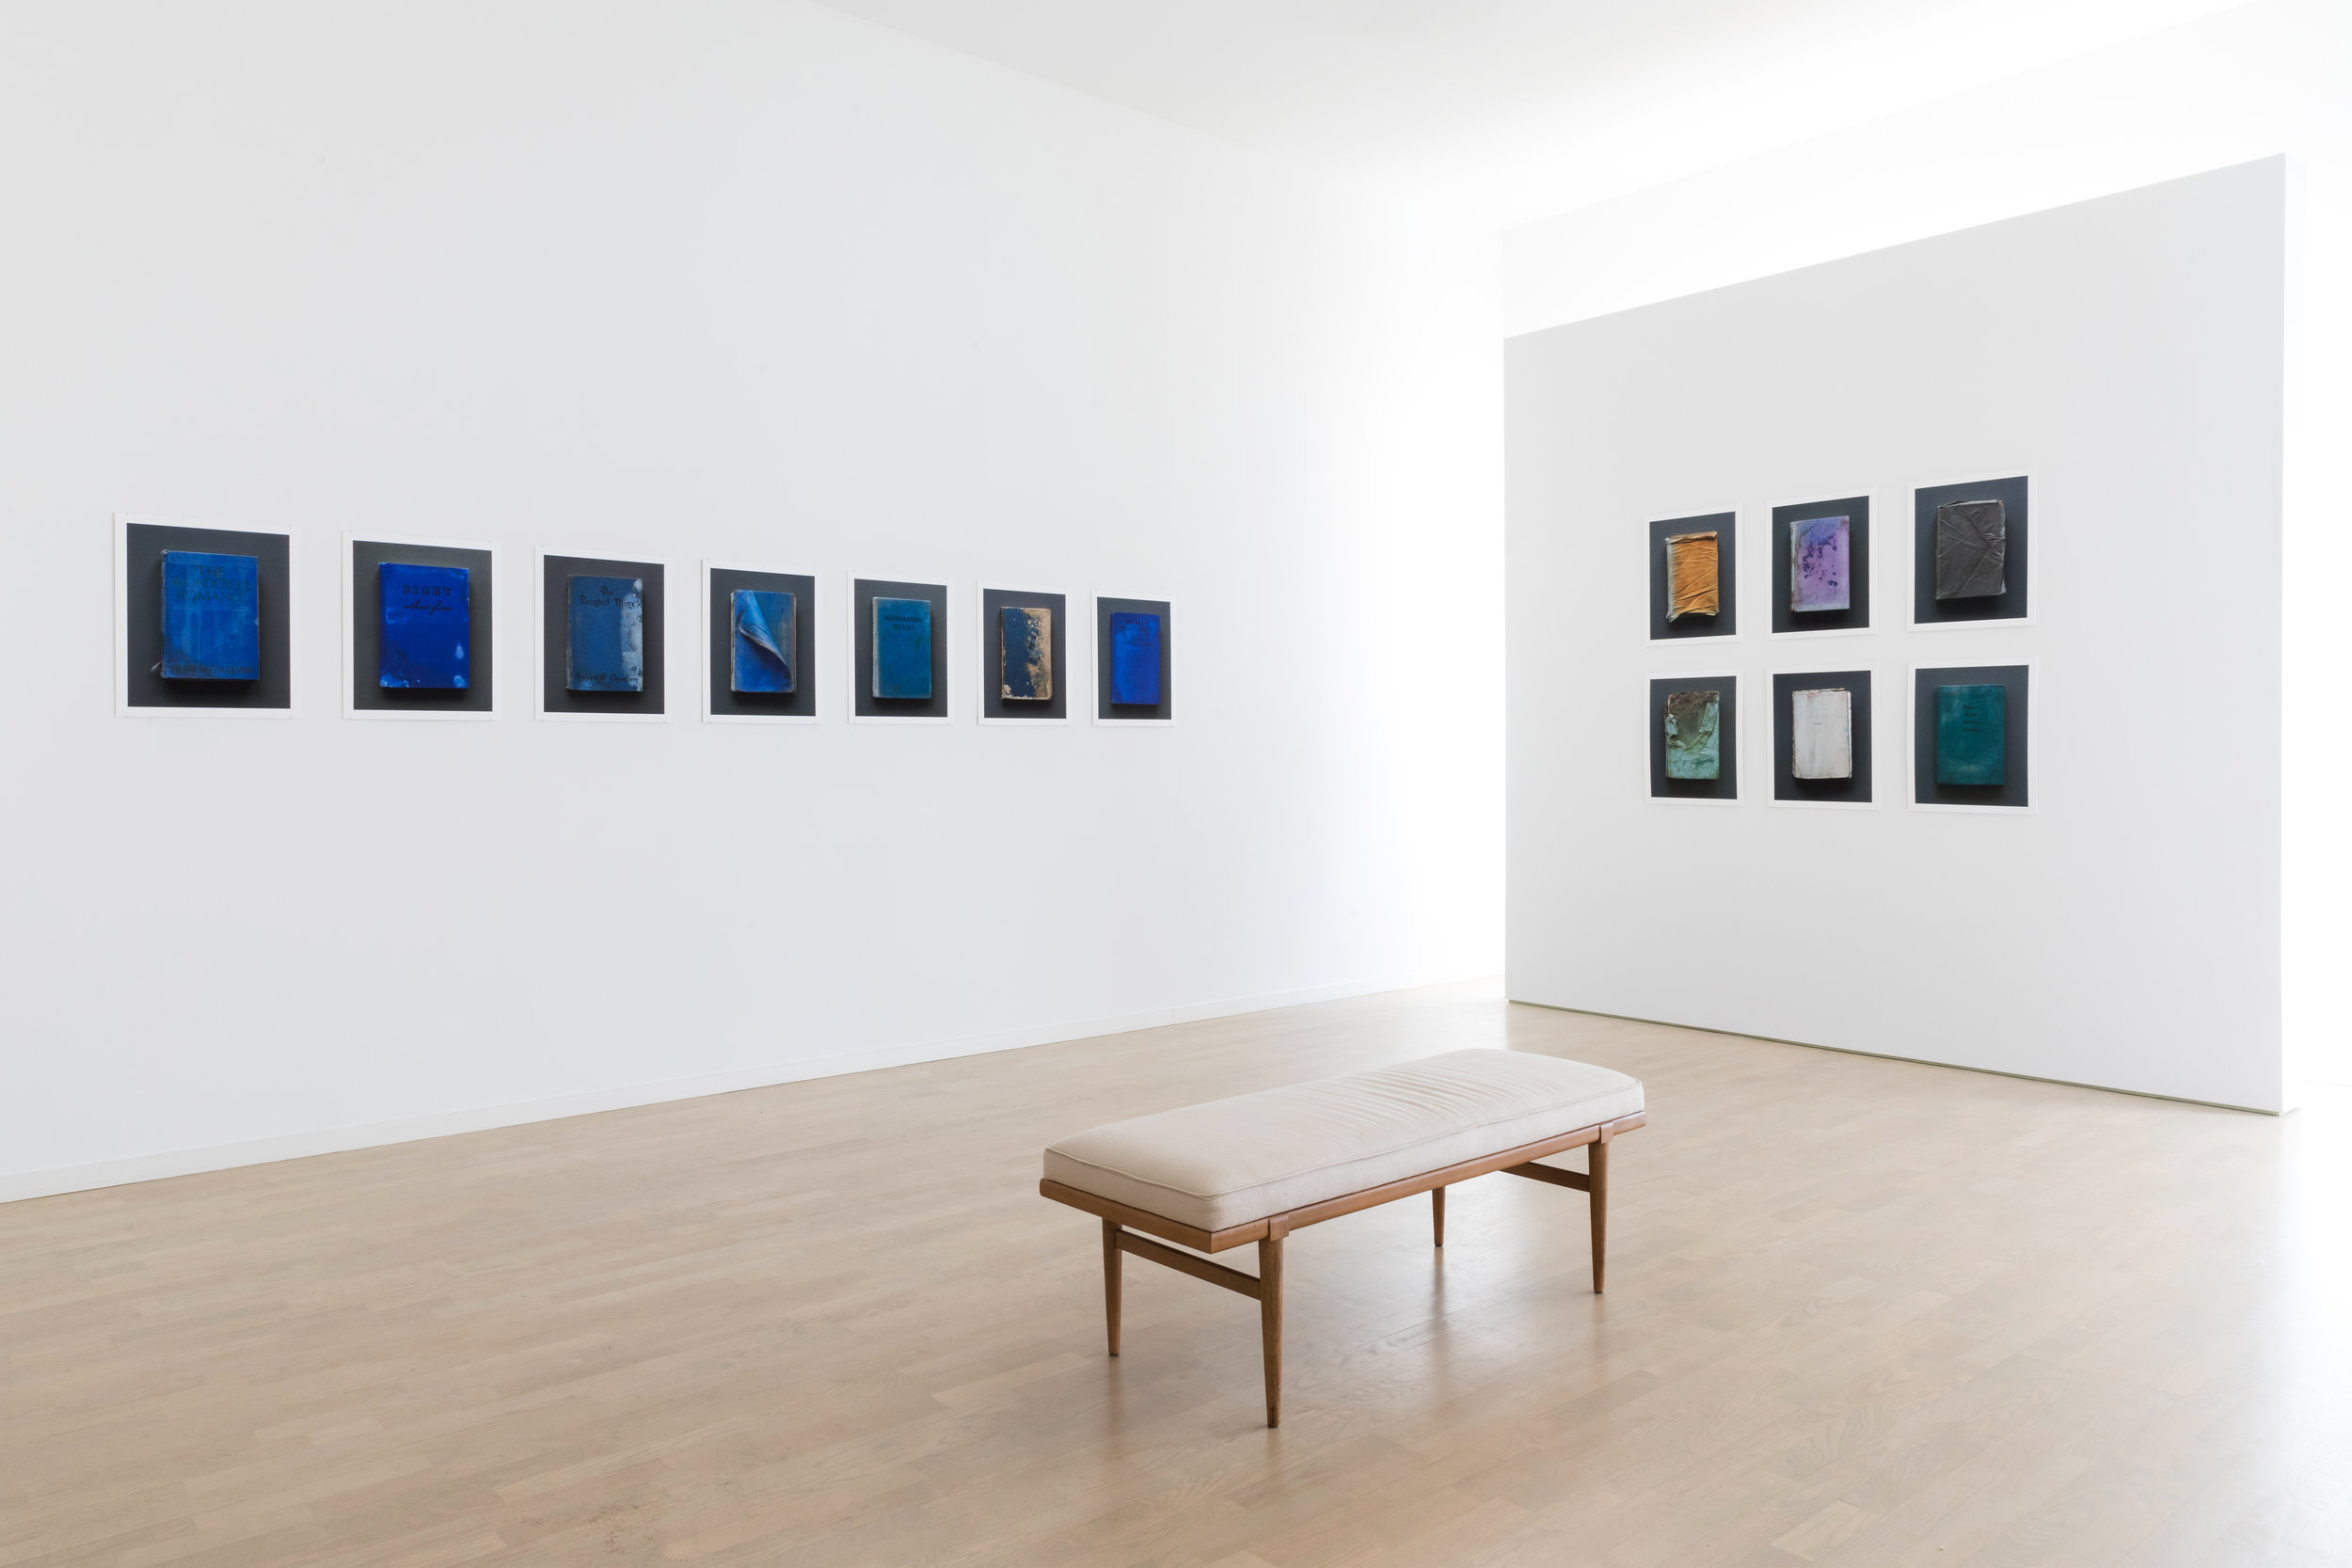
This is an image of one of Mary Ellen Bartley’s exhibitions, ‘Installations’. It very much keeps to the theme of using books in her images and all the colours are quite vibrant, another common thing in her work. I really like how she has presented her work at this exhibition as there isn’t too much going on.
Different studio lighting is used to enhance the subjects being photographer by the photographer indoors. photographers will use different forms on lighting , as a certain type of lighting, to create different sets of photographs. for example one objects can be photographed but the type of lighting that is used in the process will change the image as a whole , this object will then have different shadows, brightness, tone and exposure.
Continuous lights are any light source that is constantly illuminating your scene, this is the type of lighting photographers use in a studio. There are three types of continuous lighting in photography: fluorescent, LED and tungsten.
The three types of lights are key light, fill light, and backlight.
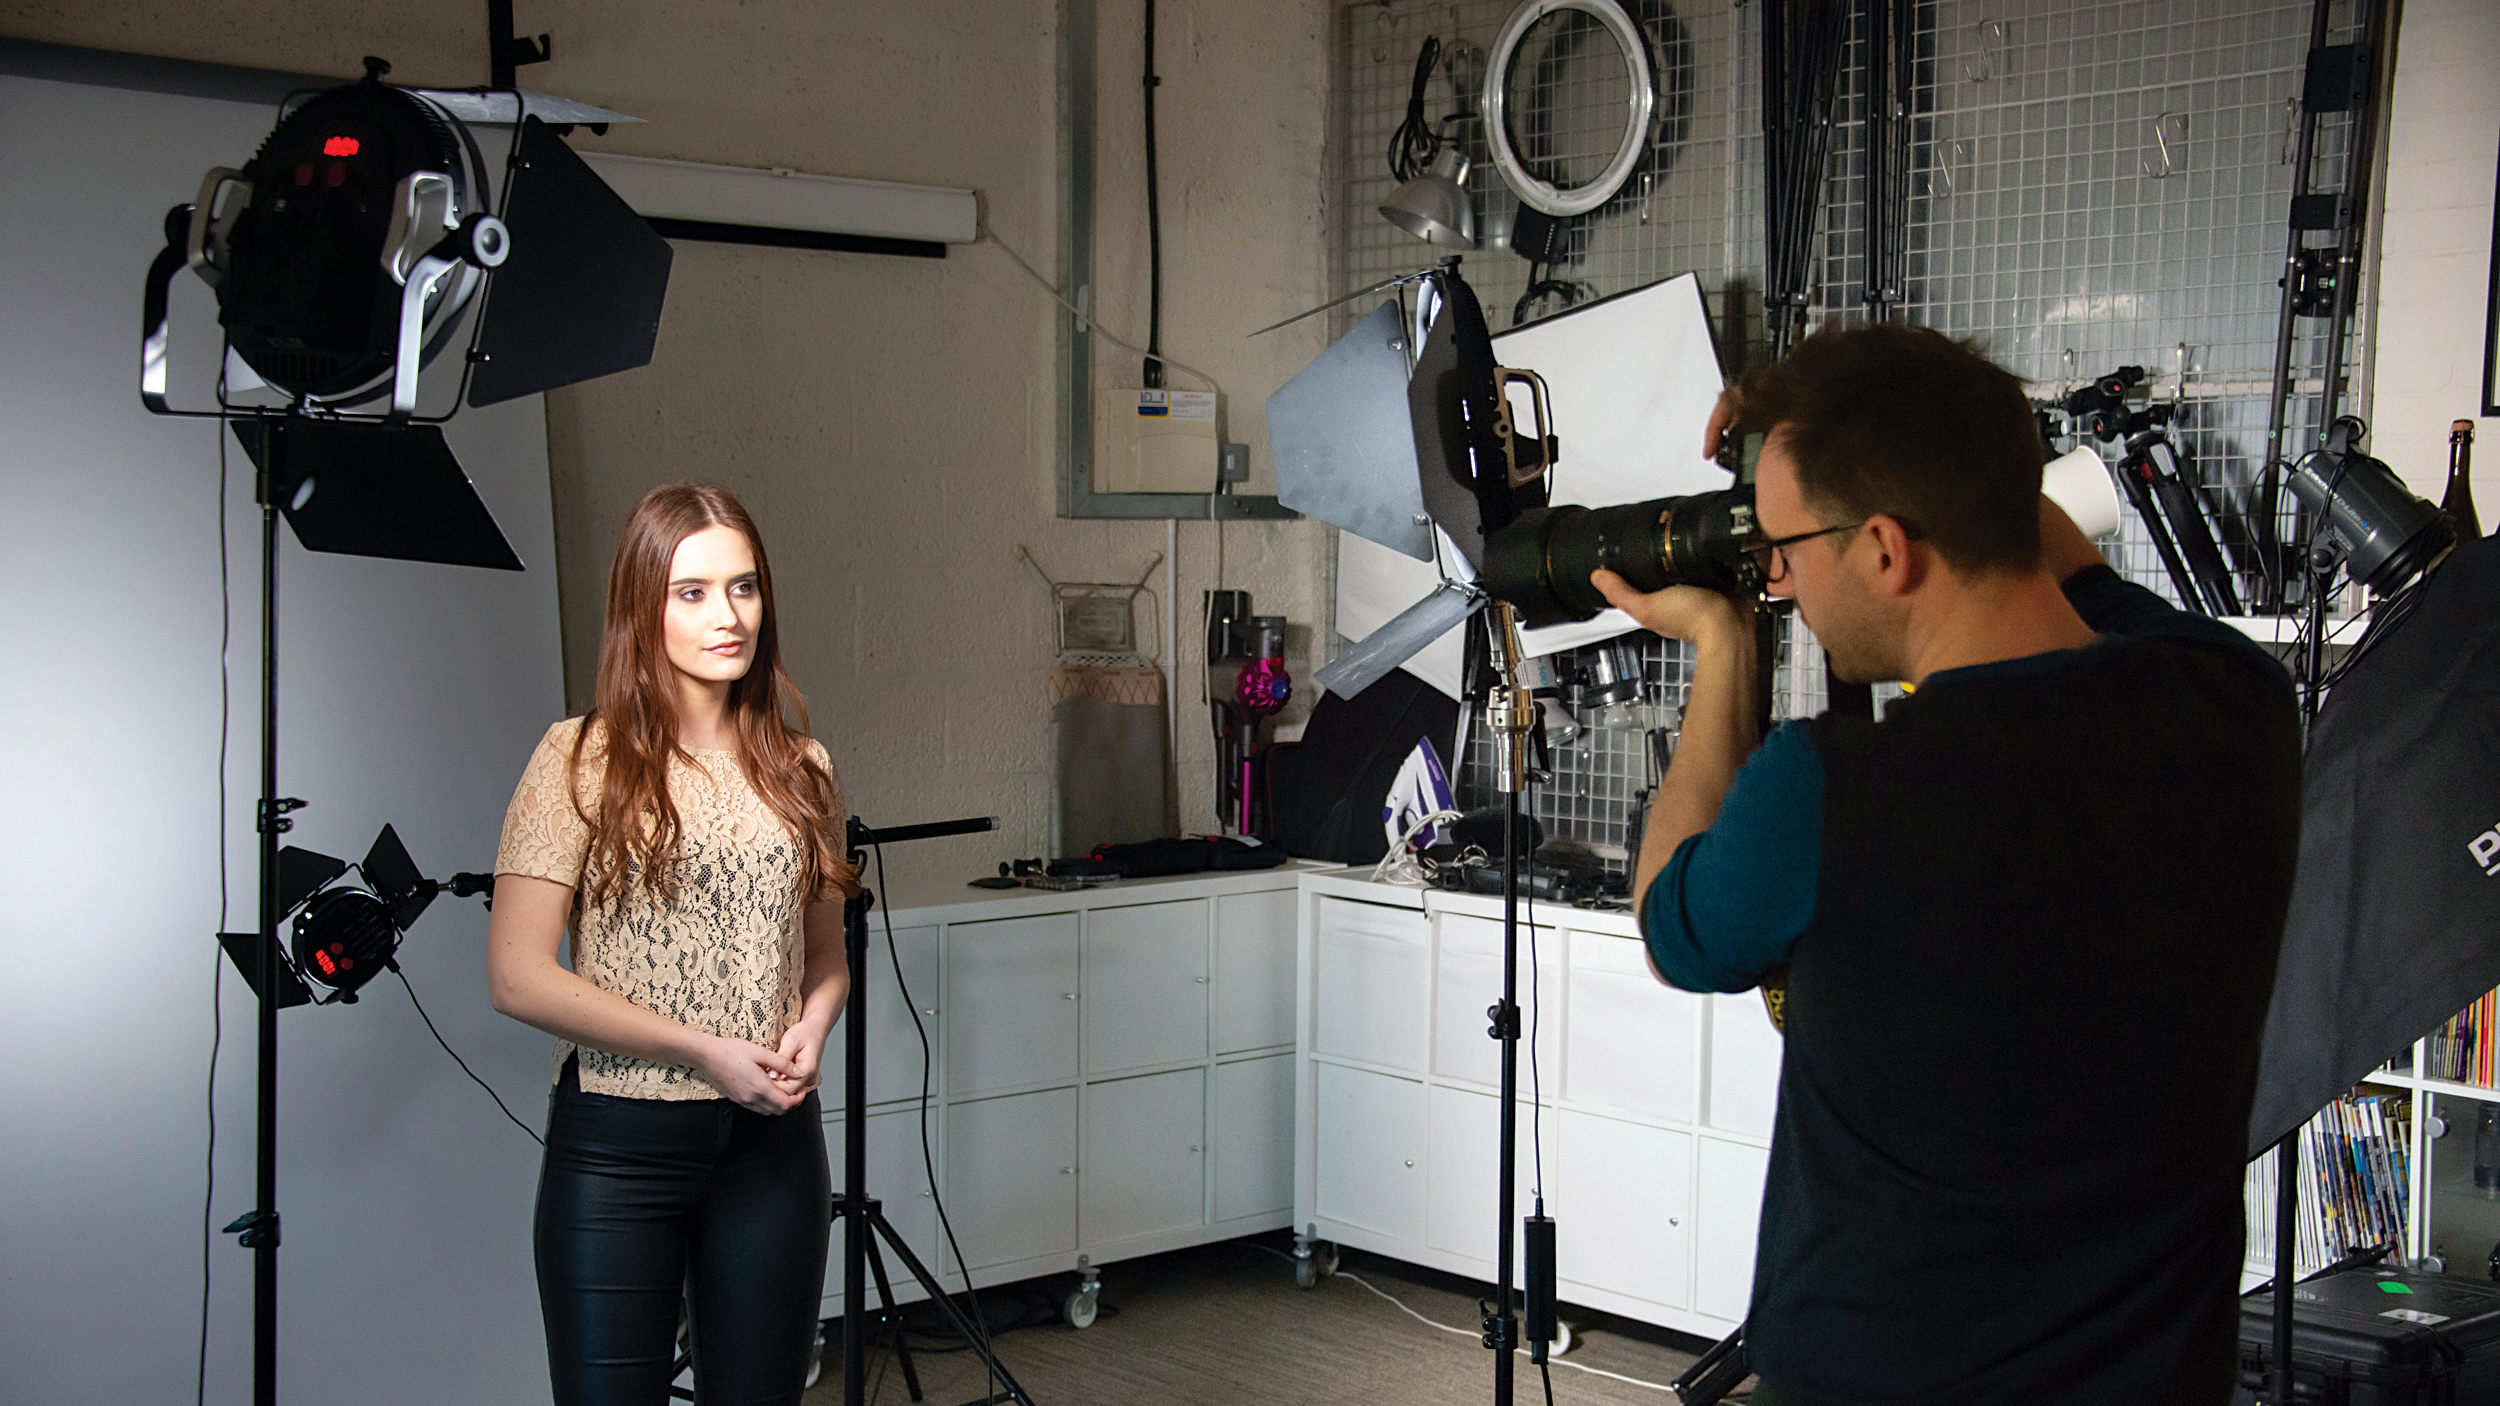
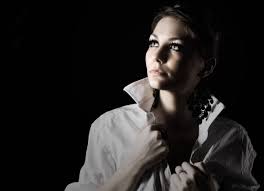

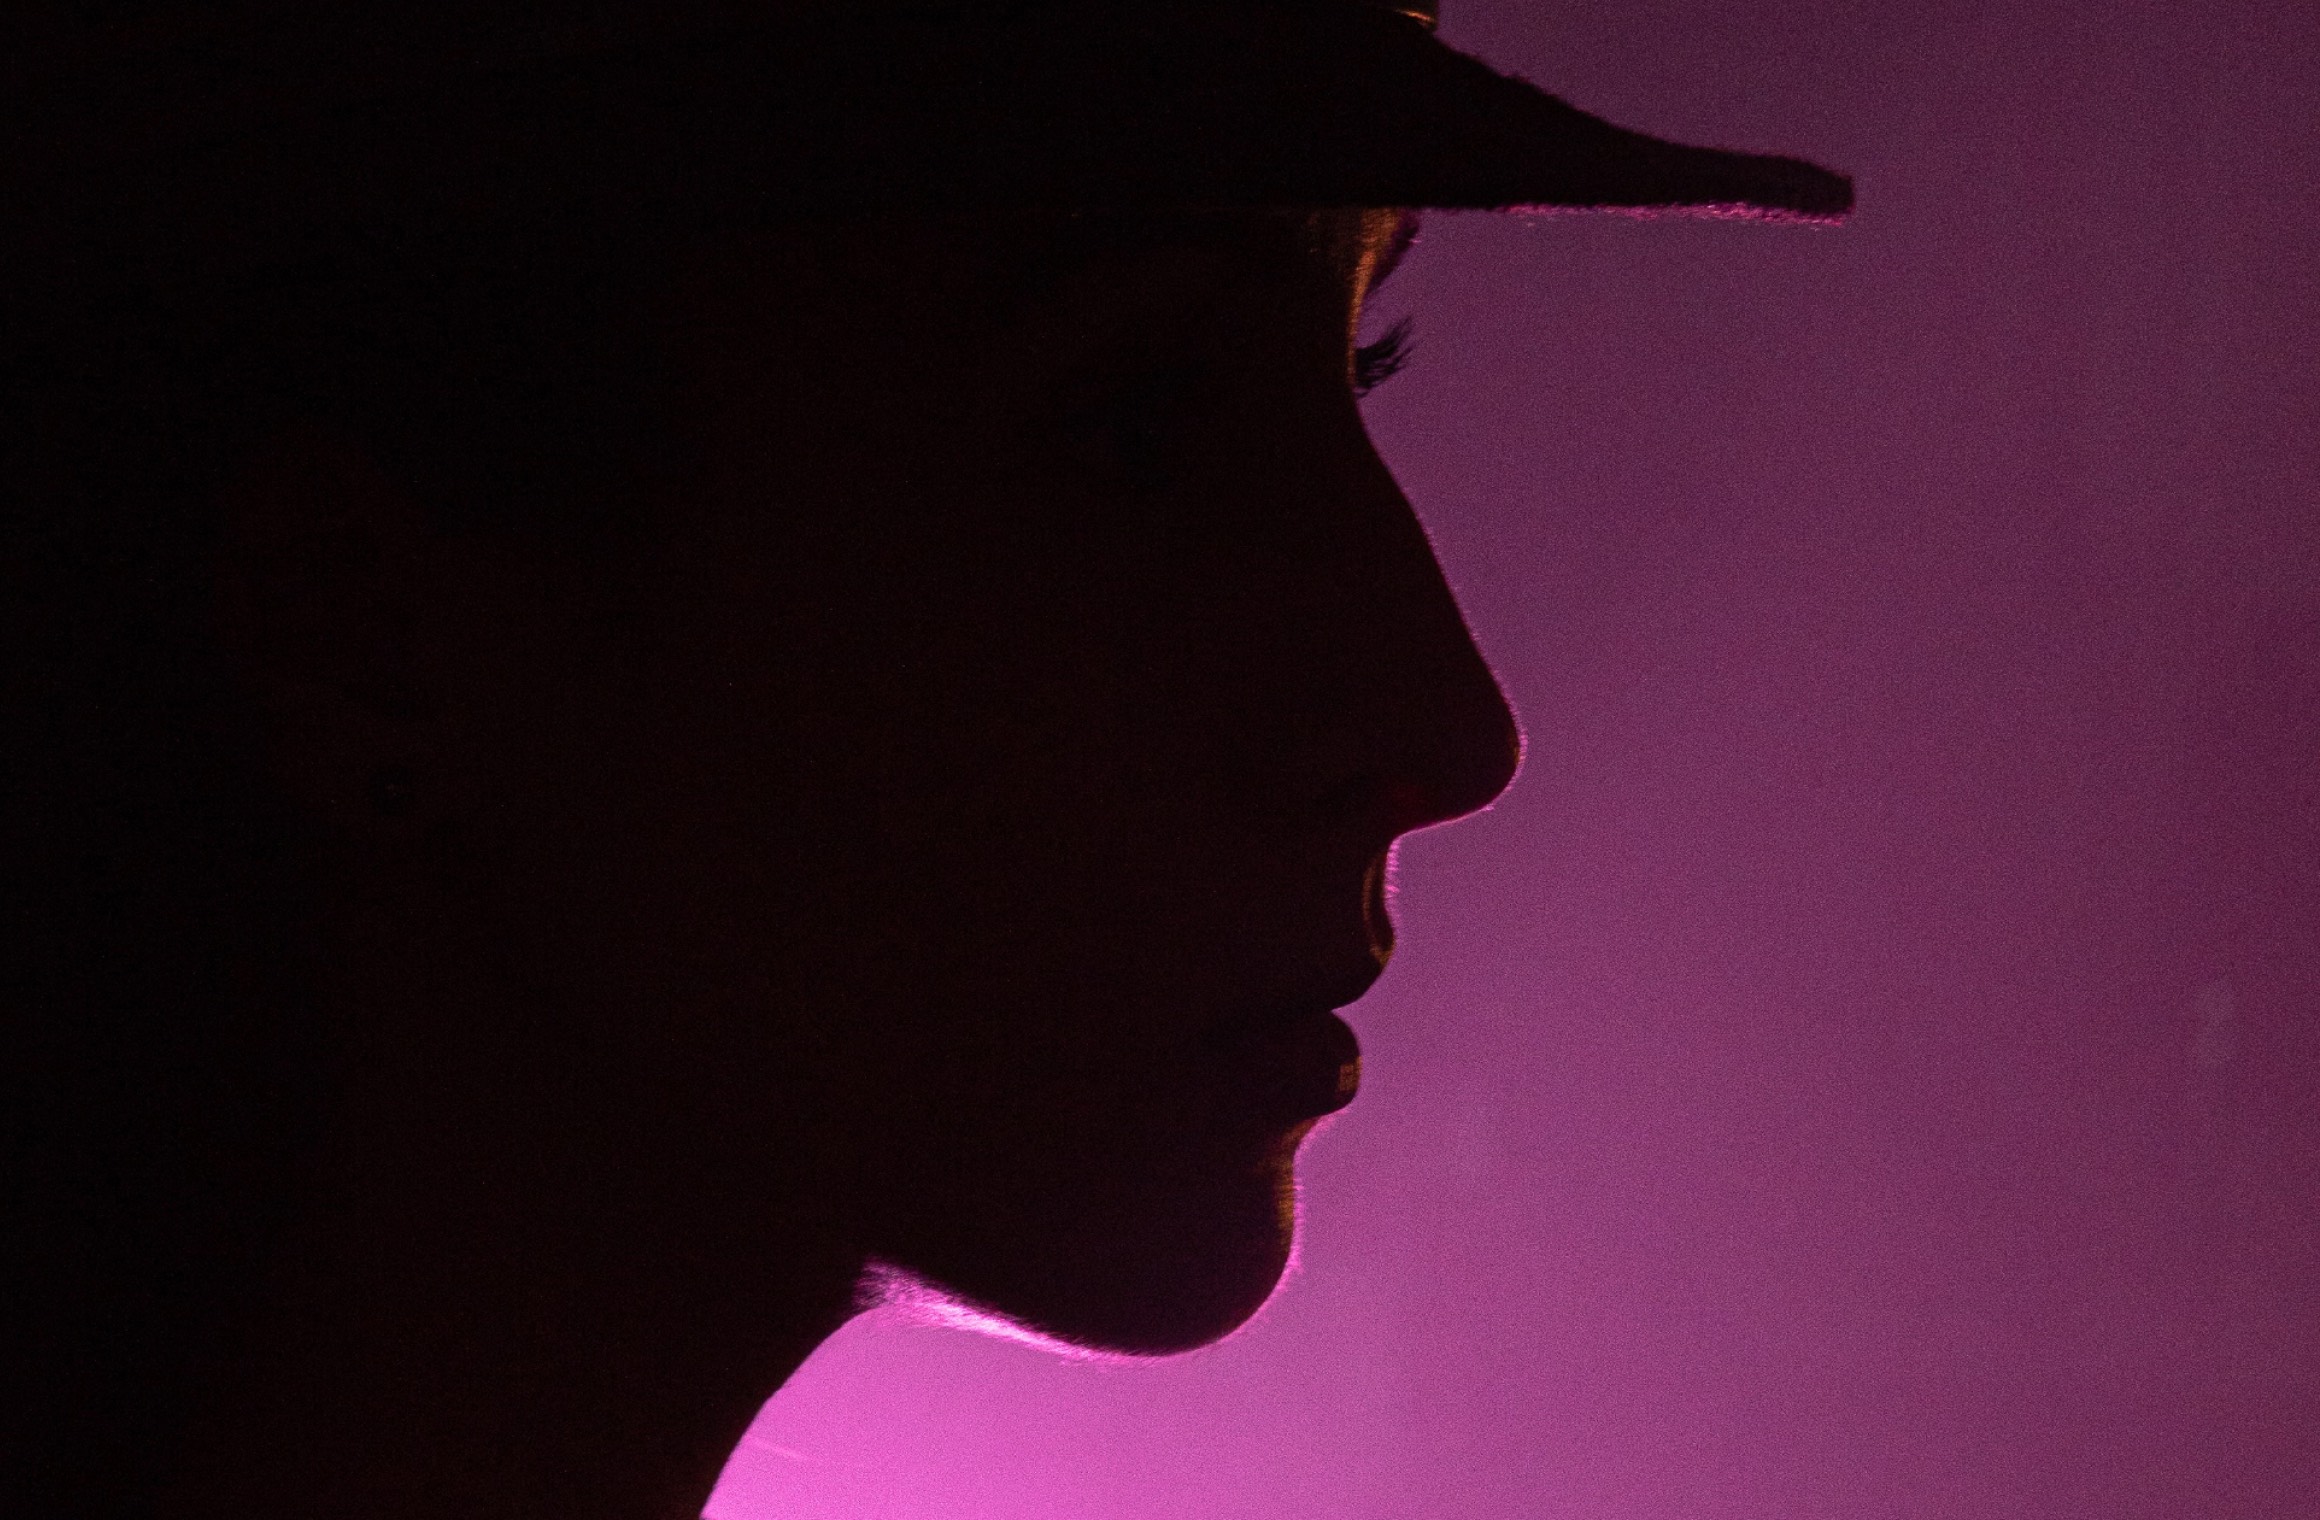
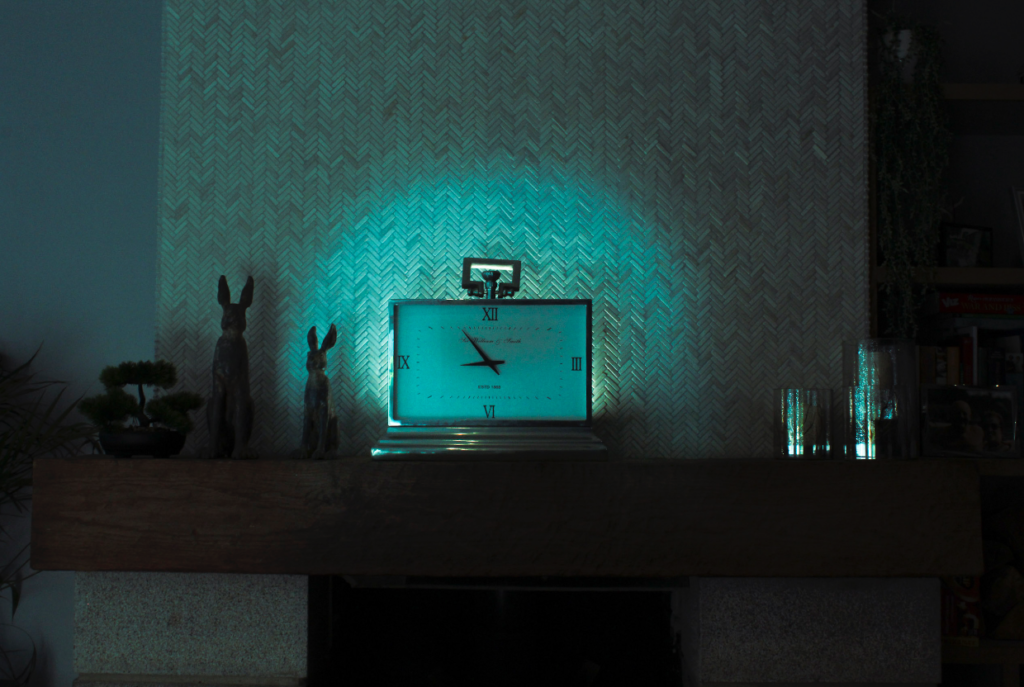
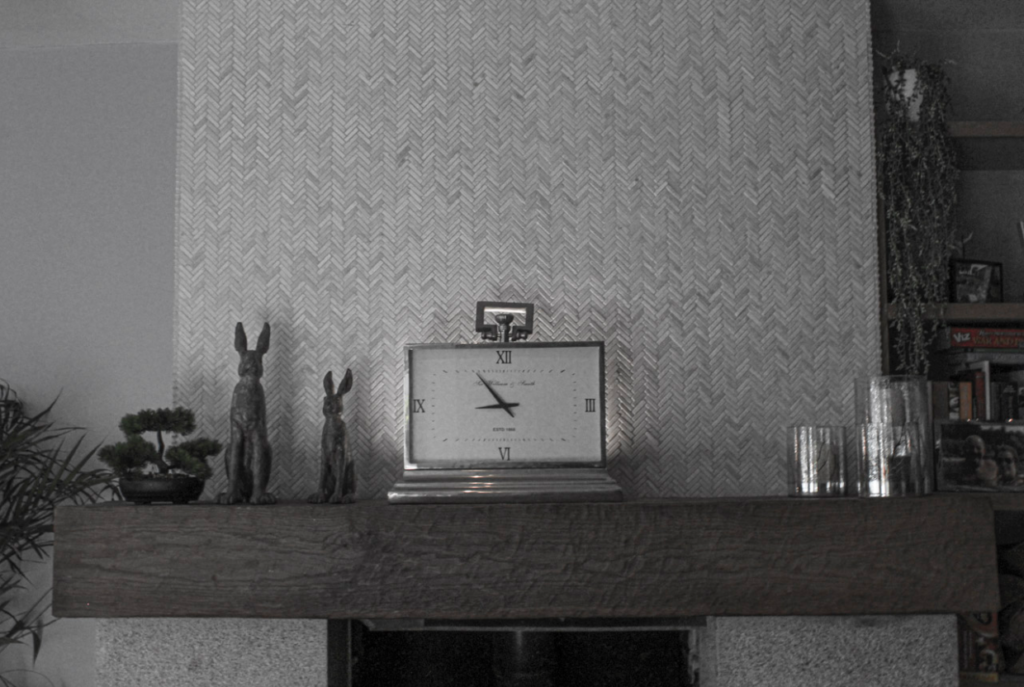
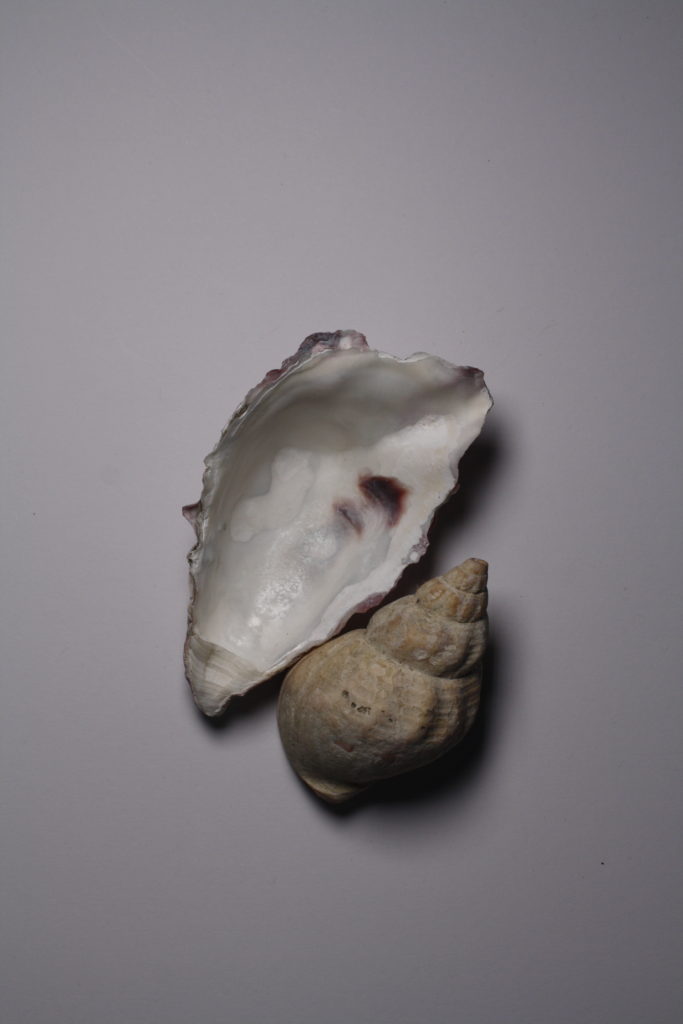
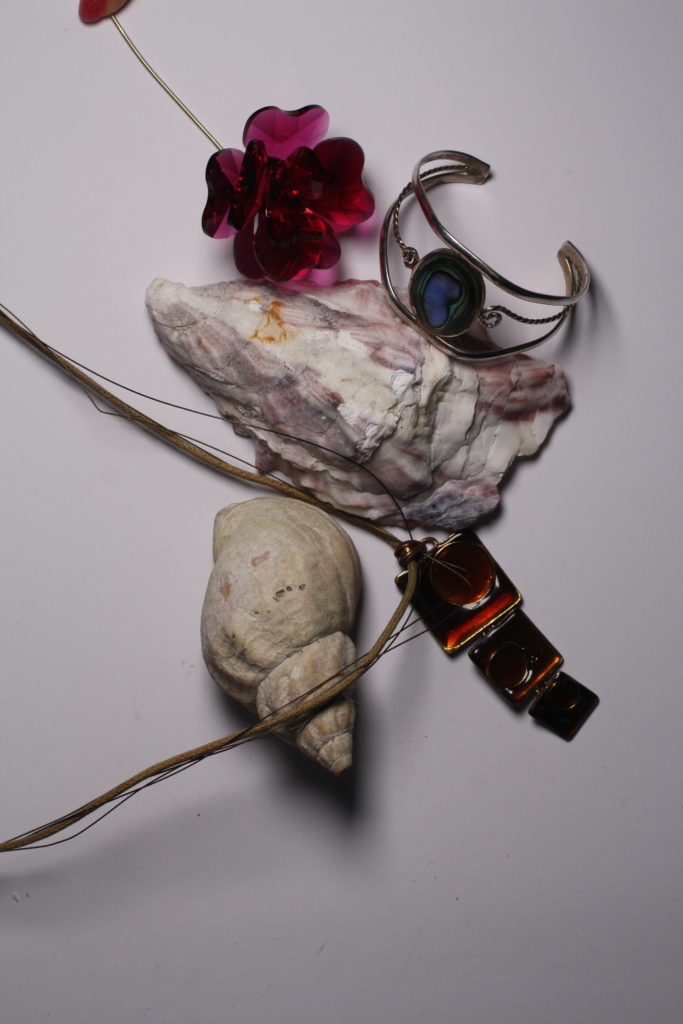
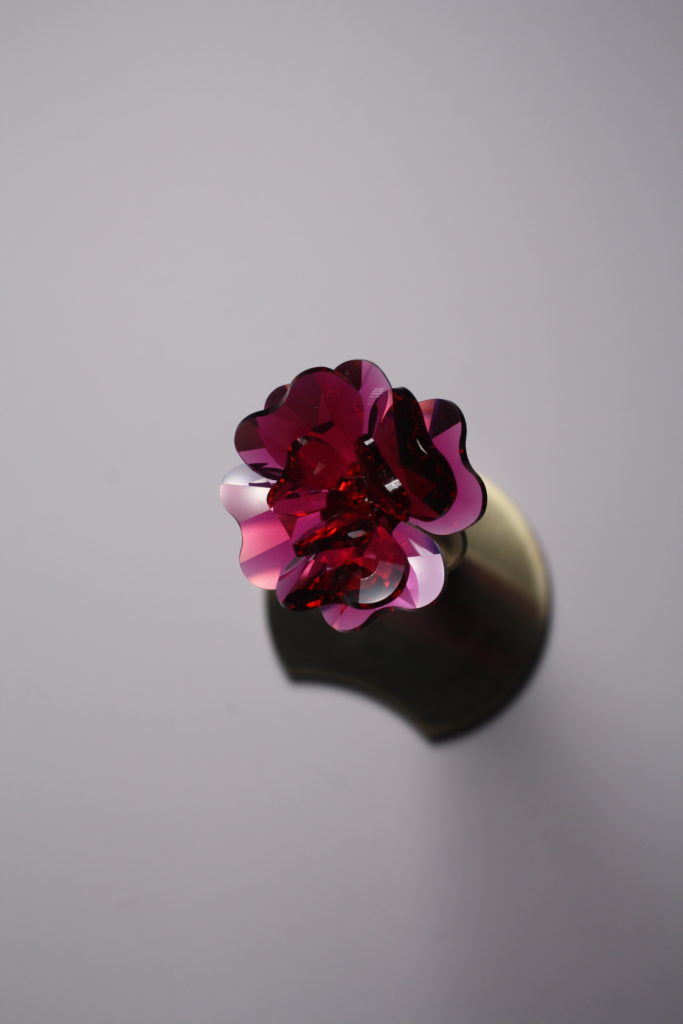
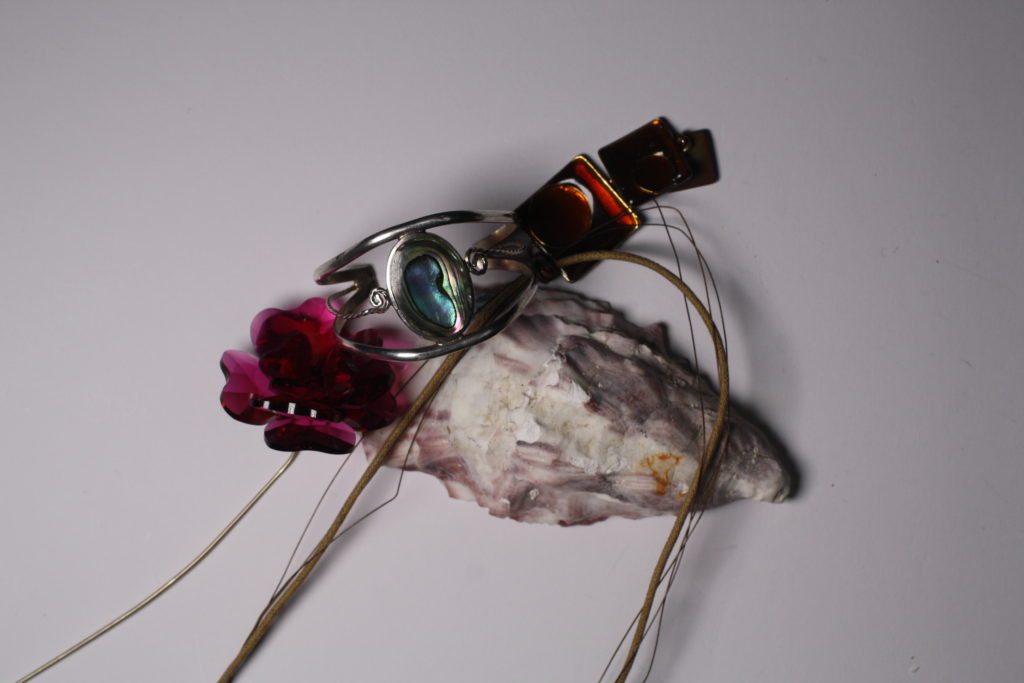
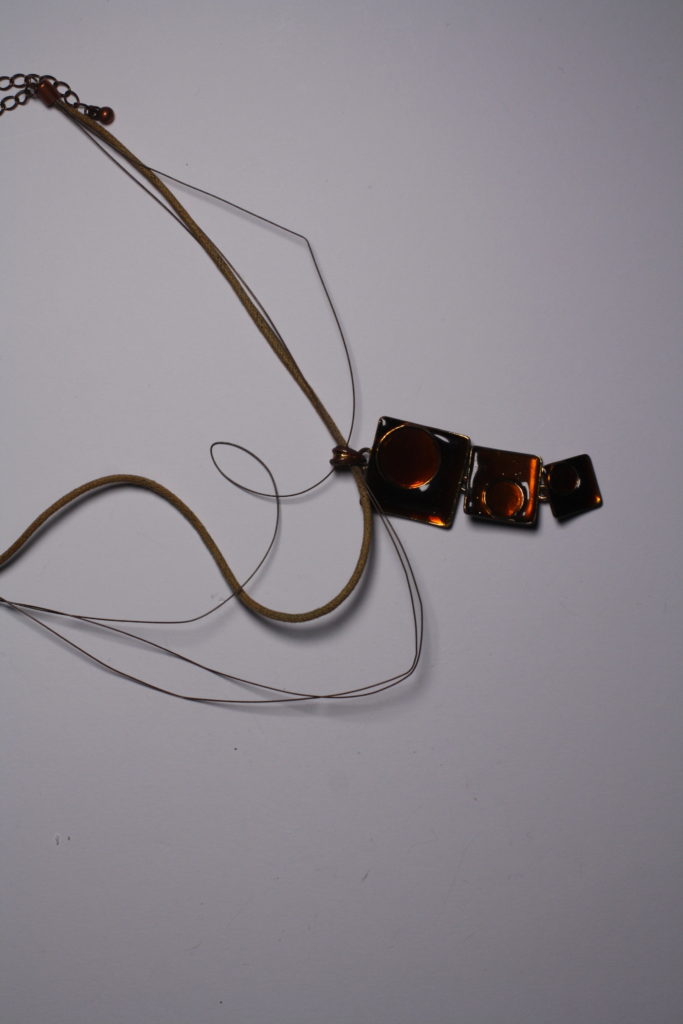
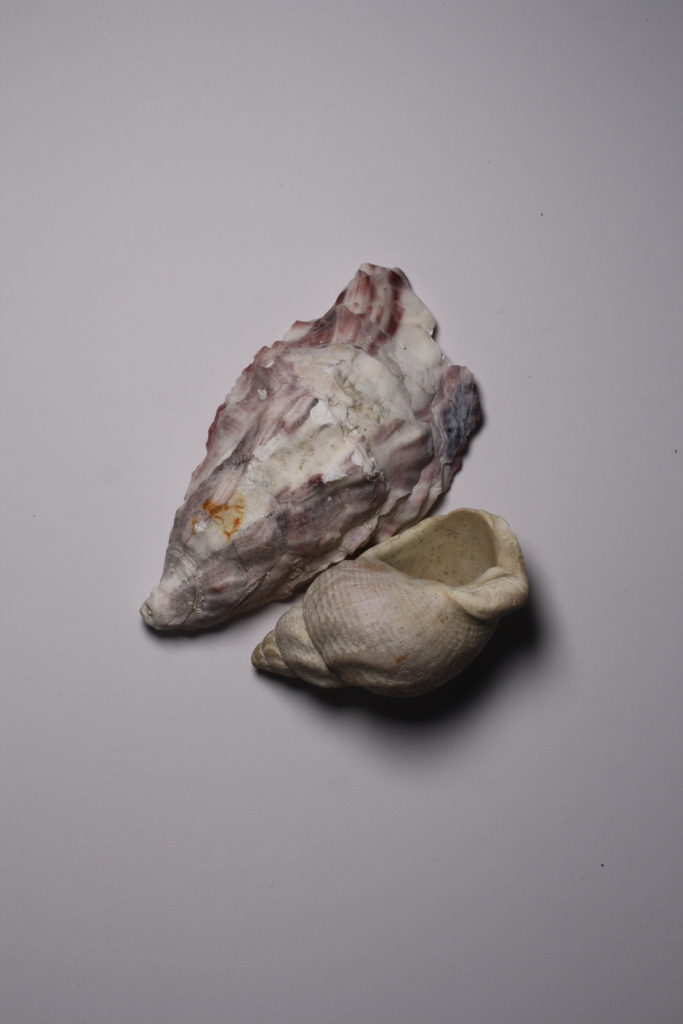
Experimenting with different forms of lighting allowed me to create different sets of images. I have also used different cameras which were set up differently. with each camera came a certain light which was purposely and specifically set up for the camera.
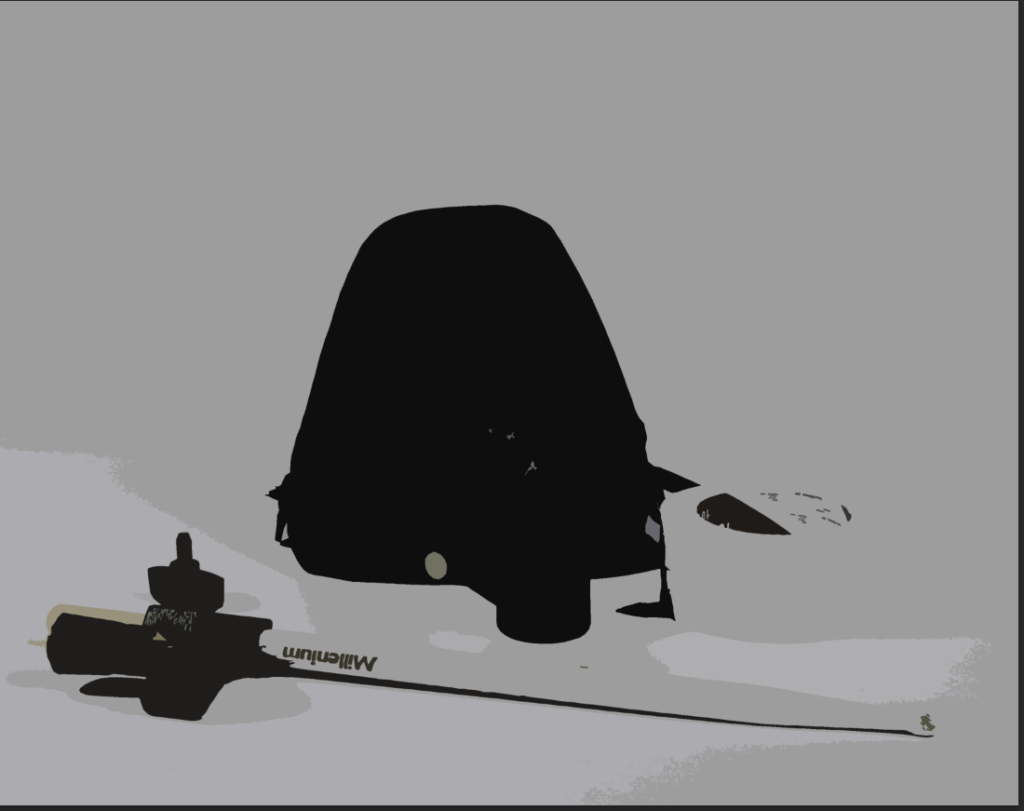
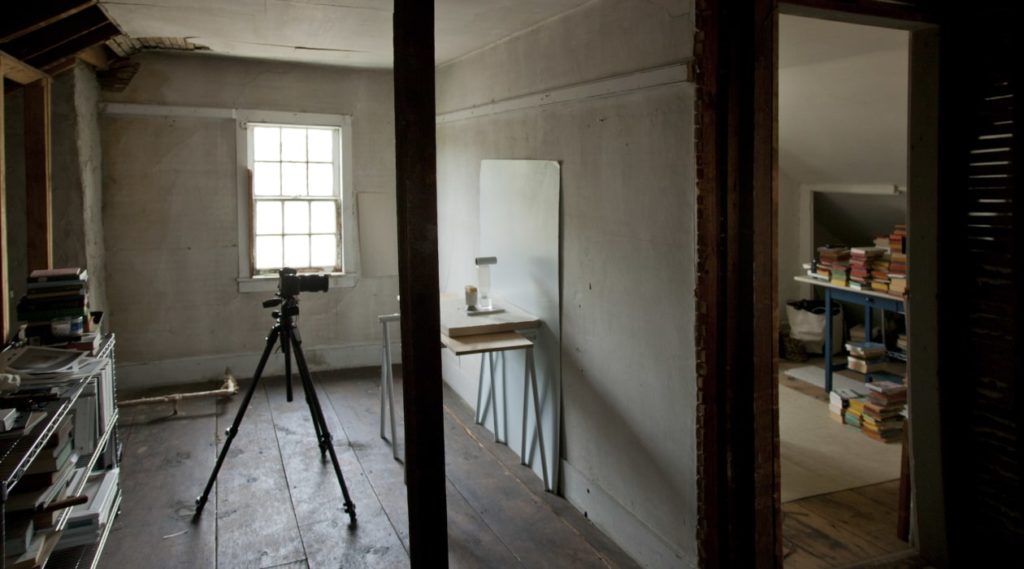
I have shot pictures of objects from a camera which was set up using a stand which held it directly above the objects, this camera also had a light that came with it which was set up on the right of camera , in order to create shadows which appear on the left of the objects . this is to manipulate the shadows and if the light was to be placed above the camera the camera itself would create shadows and not allowing enough light to shine on the objects.
SELECTING PHOTOS
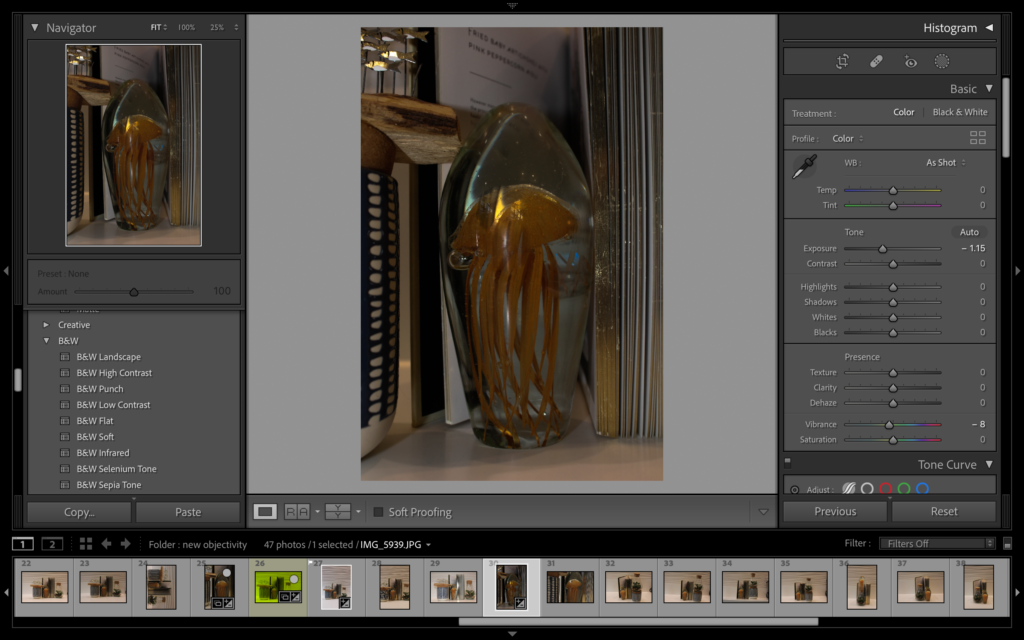
I held down the shift key while clicking the ‘P’ key on the pictures I like and the ‘X’ key on the ones I do not. Now, the ones that I liked have a white flag in the top left corner and black flag for the ones I do not.
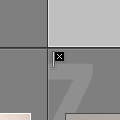
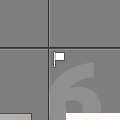
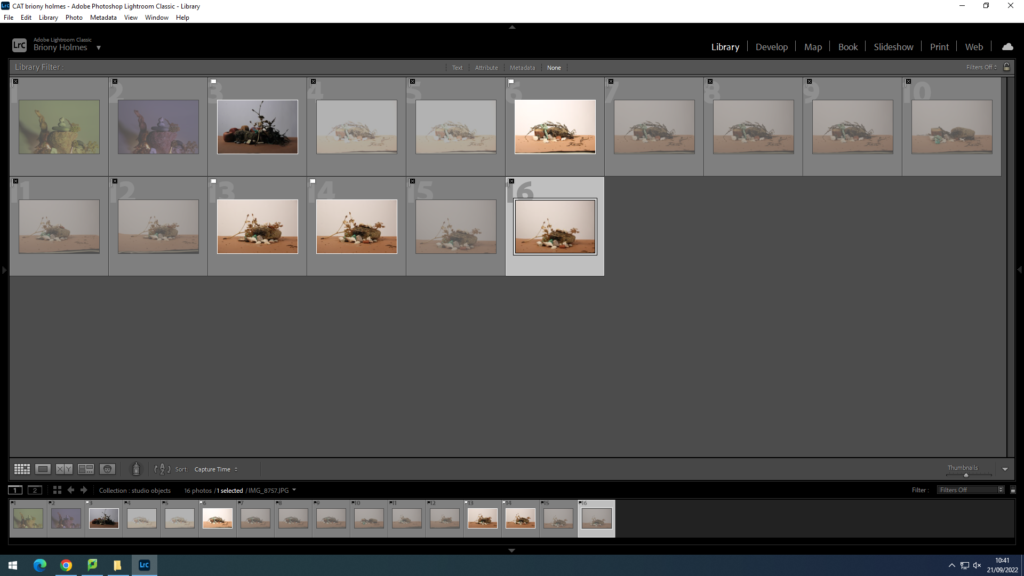
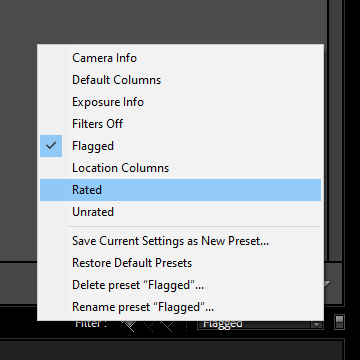
Next, in the bottom right hand corner, use the drop down to change the filter to flagged instead of filters off.
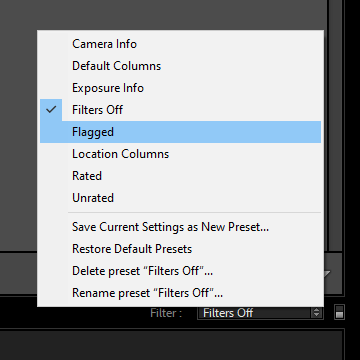
This gets removes the images that I don’t like from being seen.
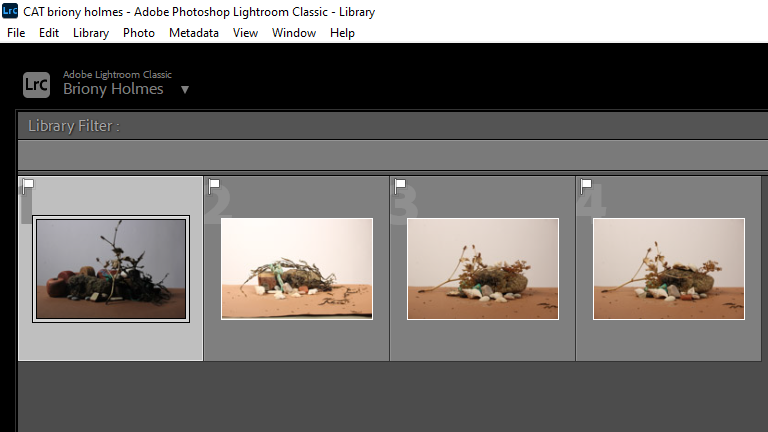
Now I will use the star rating in the bottom left hand corner.
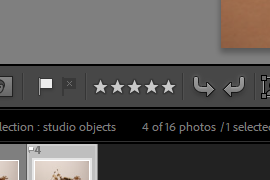
The ones I know I definitely want to use/edit I give 5 stars and the ones I like but are either very similar to others or there is just something slightly off I give 4 stars. Then no stars to my least favourite.
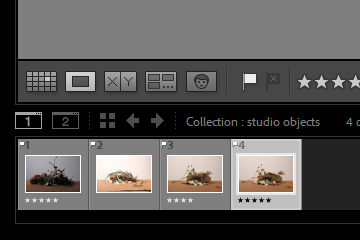
Then, using the drop down again, select the rated filter.
Now only the pictures with over 1 star will be shown.
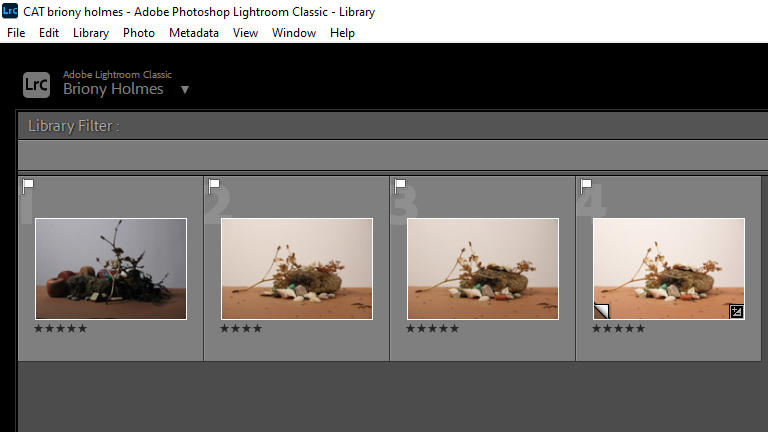
Then, after right clicking, you can colour label each picture, green being your favourite and yellow being your lesser favourites.
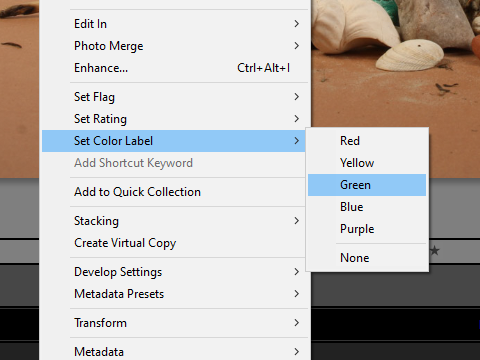
Now, when you select those certain colours.
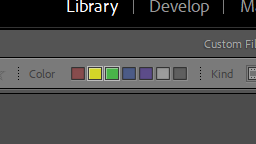
Only those pictures that are colour coded to those colours will show.
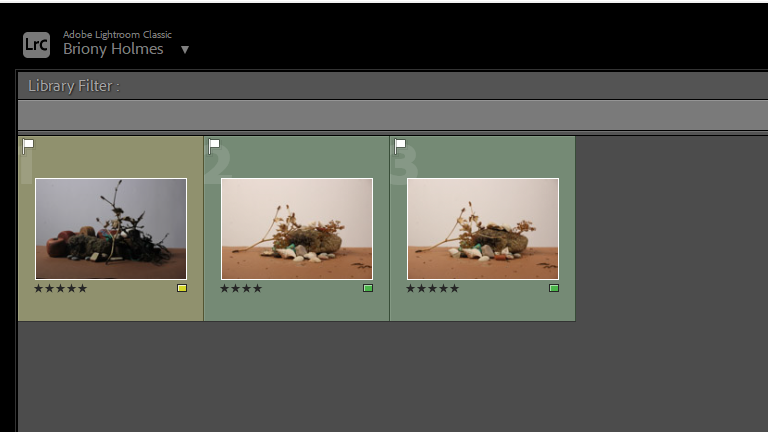
EDITING PHOTOS
Then, you can go into the develop area (top left of screenshot) and use the tools on the right side to edit the pictures.
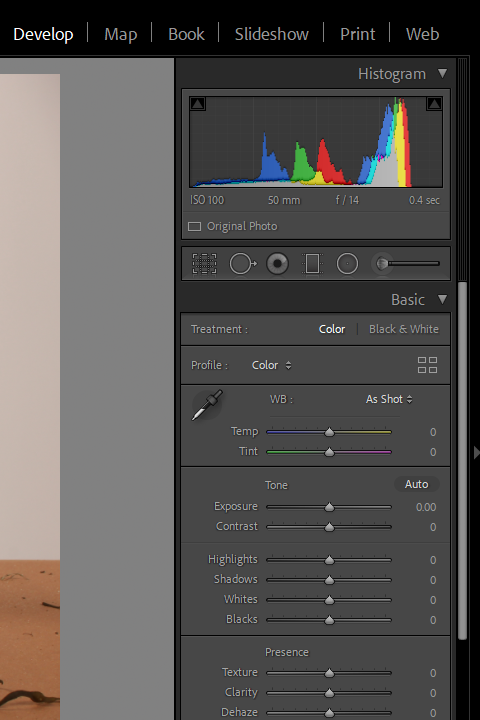
EXPORTING
EXPORT LOCATION: set the folder to the same folder as original photo, name it either print (or blog depending on where you want to use the picture).
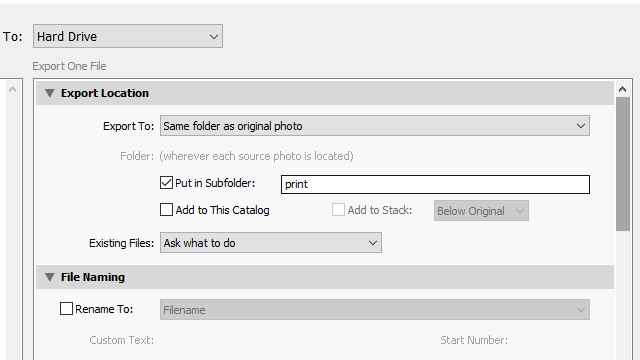
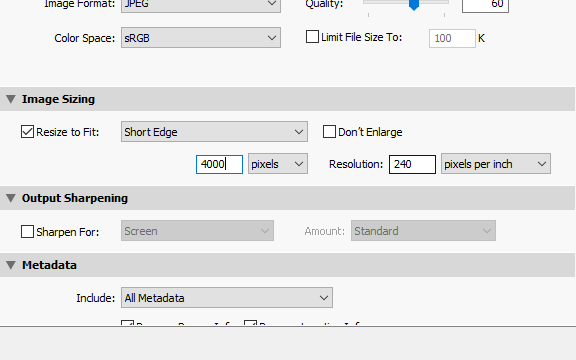
IMAGE SIZING: check resize to fit and select short edge, set pixel size to 4000 (or 1000 for the blog).
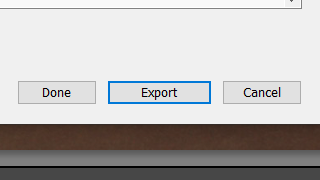
And finally, click export.
Photography is a visual art form invented by Louis Daguerre and Henry Fox Talbot in 1839. The word photography originates from Greek; with “phot” meaning light and “graph” meaning writing. Since then photography has been adapted and advanced by different artists. There are so many genres of photography genres. My favourite is abstract.
“Photographs confuse as much fascinate, conceal as much as reveal, distract as much as compel. They are unpredictable communicators”
This quote by David Campany. I believe he is trying to say how photos are subjective. The photo may not connote the same thing, feelings or memories to other people, as everyone is different and individual. The photo may not be received how the photographer wanted it to be.
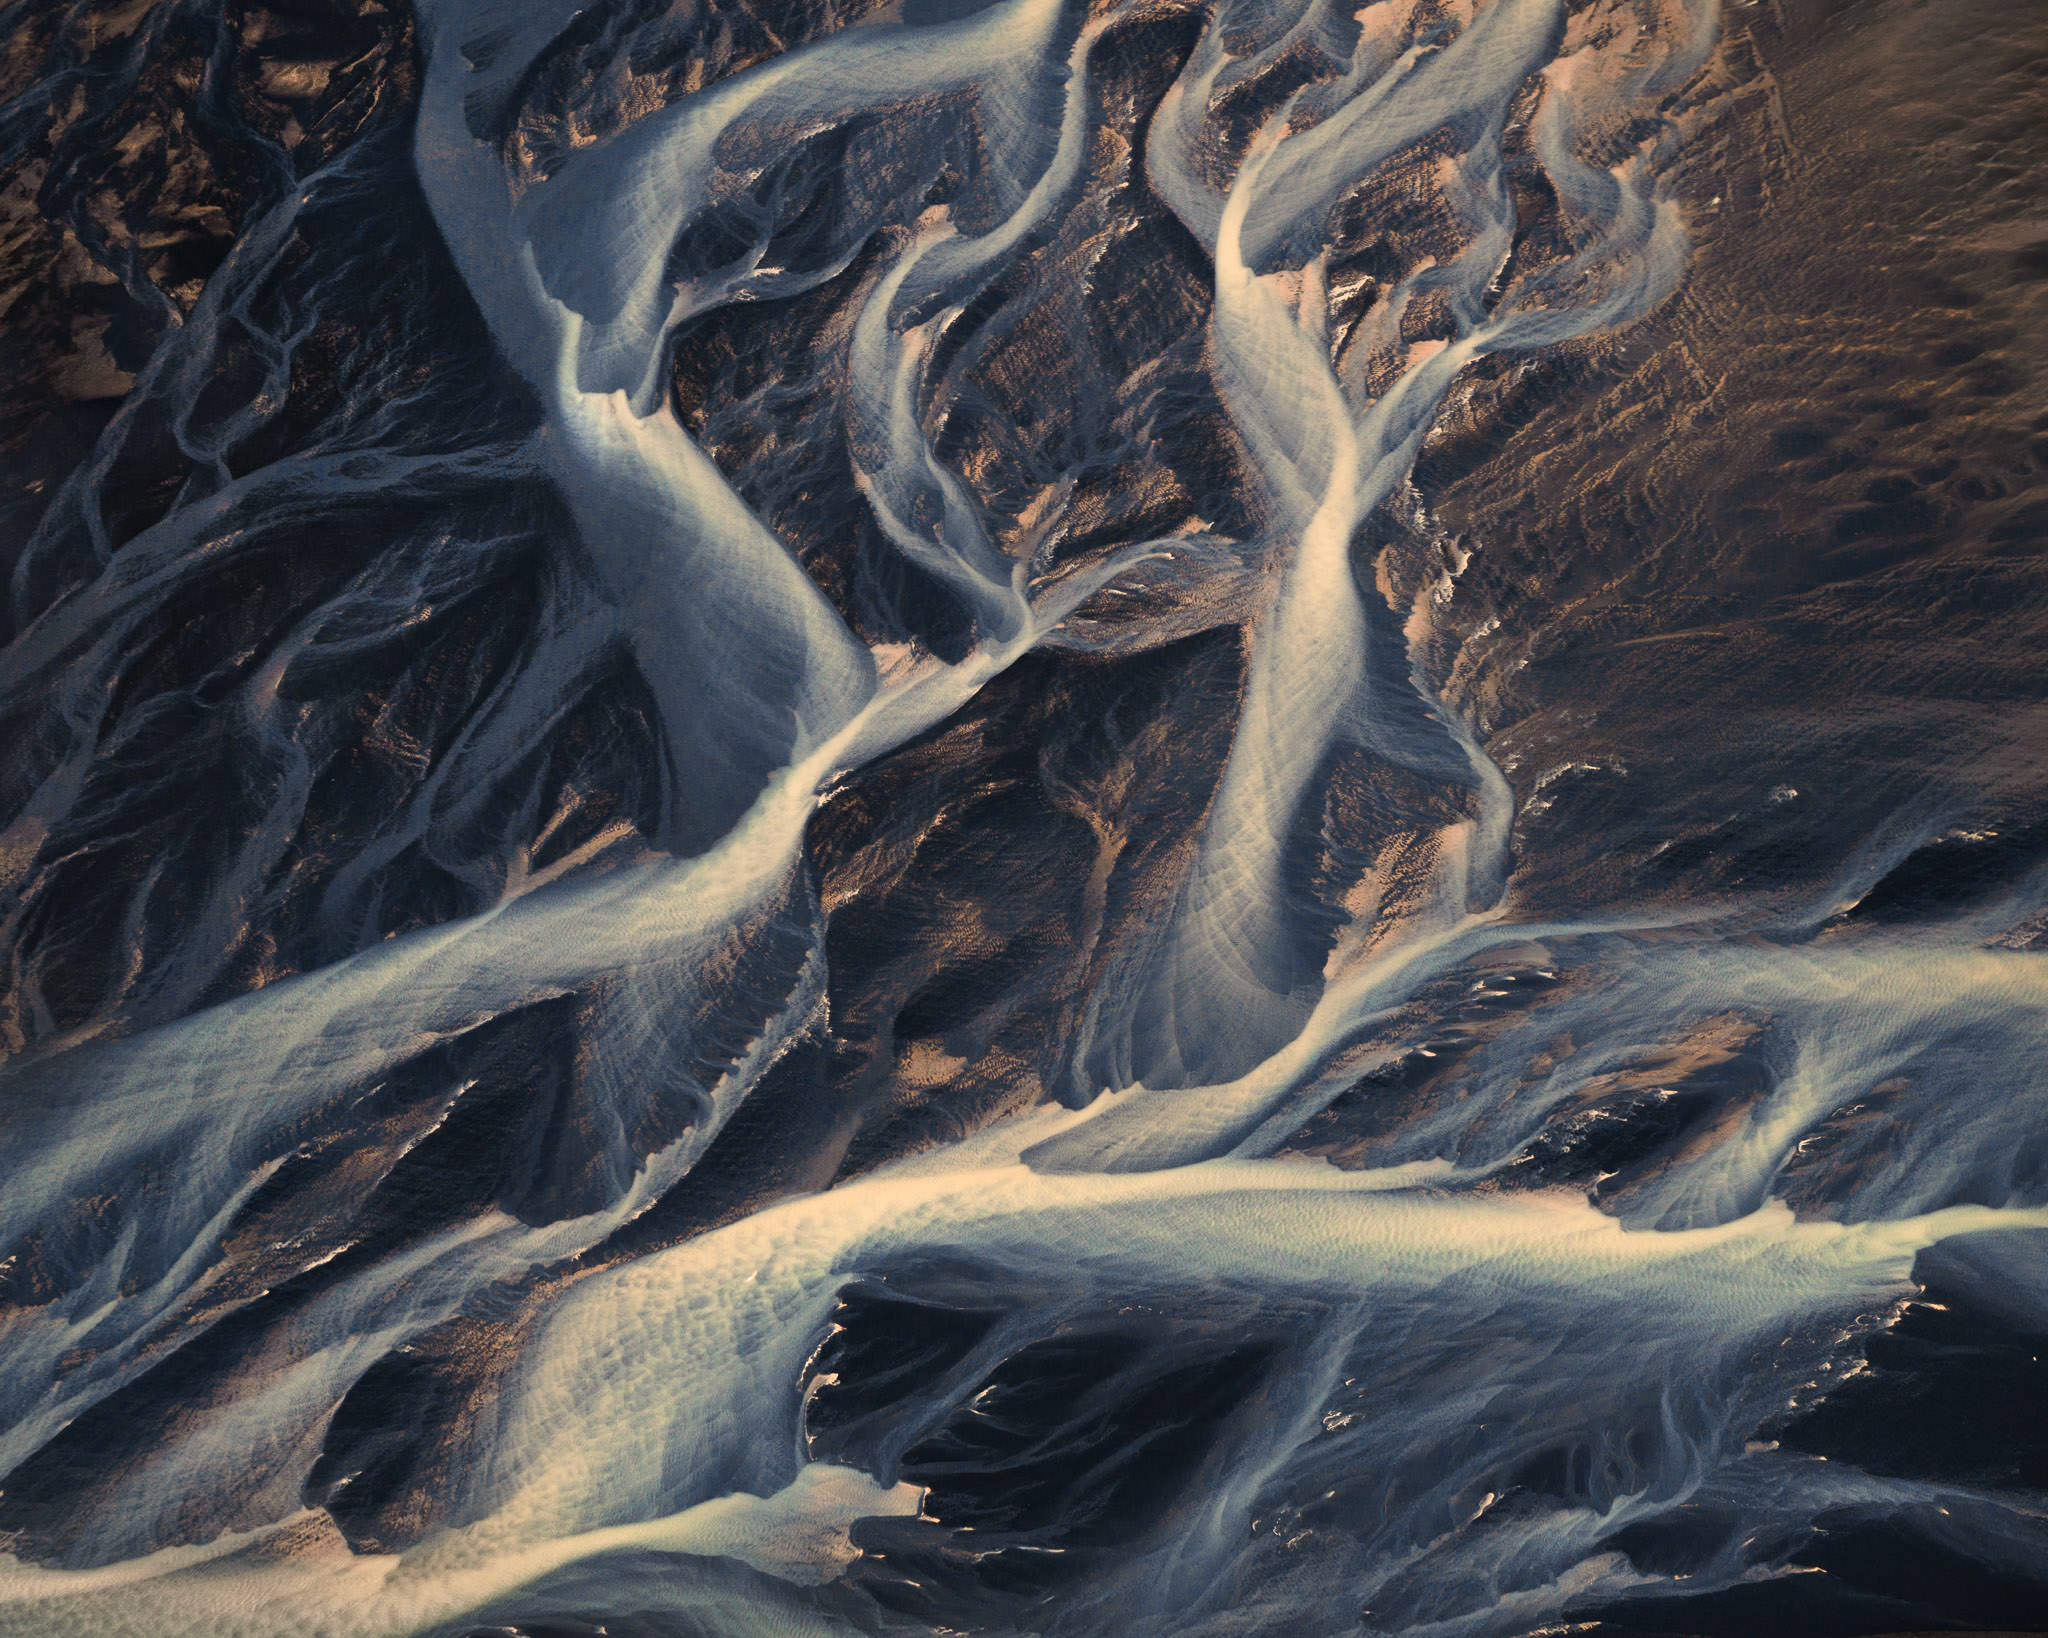
For example, this beautiful abstract image is ambiguous. It looks like veins or tree branches or roots of plant or waves. It allows your mind to explore the meanings, which I enjoy. This relates to Stuart Hall’s reception theory. His theory is about how the audience receive something. There is the dominant view which is the view that the photographer has attempted to create, then there is the negotiated view, in which the audience has partly received the view in which the photographer intended and the oppositional view which is completely different to which the photographer was trying to create. Some photos are ambiguous, which means that the audience of the image can make their own interpretation, as it can have many different meanings. This can be influenced by personal experiences or real world issues. This is very dominant in abstract photography.
For example, this is a photo by Yves Klien in 1960 is of him jumping off a building. It is called ‘leap in to the void’. It became very popular as it was very difficult to take photos with special effects in the 60s. This stunt launched his career. Klien jump off the building, while below him men stood with a tarp to catch him.
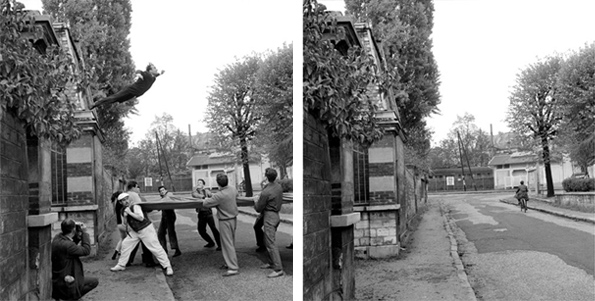
The two photos were very carefully cut and lined up together to give the effect that he was jumping off a building. This inventive and daring photograph creates an a scared and in awe affect of the audience. In photography, it is not clear what is happening in the image sometimes and it is up to the audience to think of the ending. For example, why is he jumping?
Overall, photography has evolved and it continues to evolve. The different genres allow you to be creative and express your feelings, opinions and more.
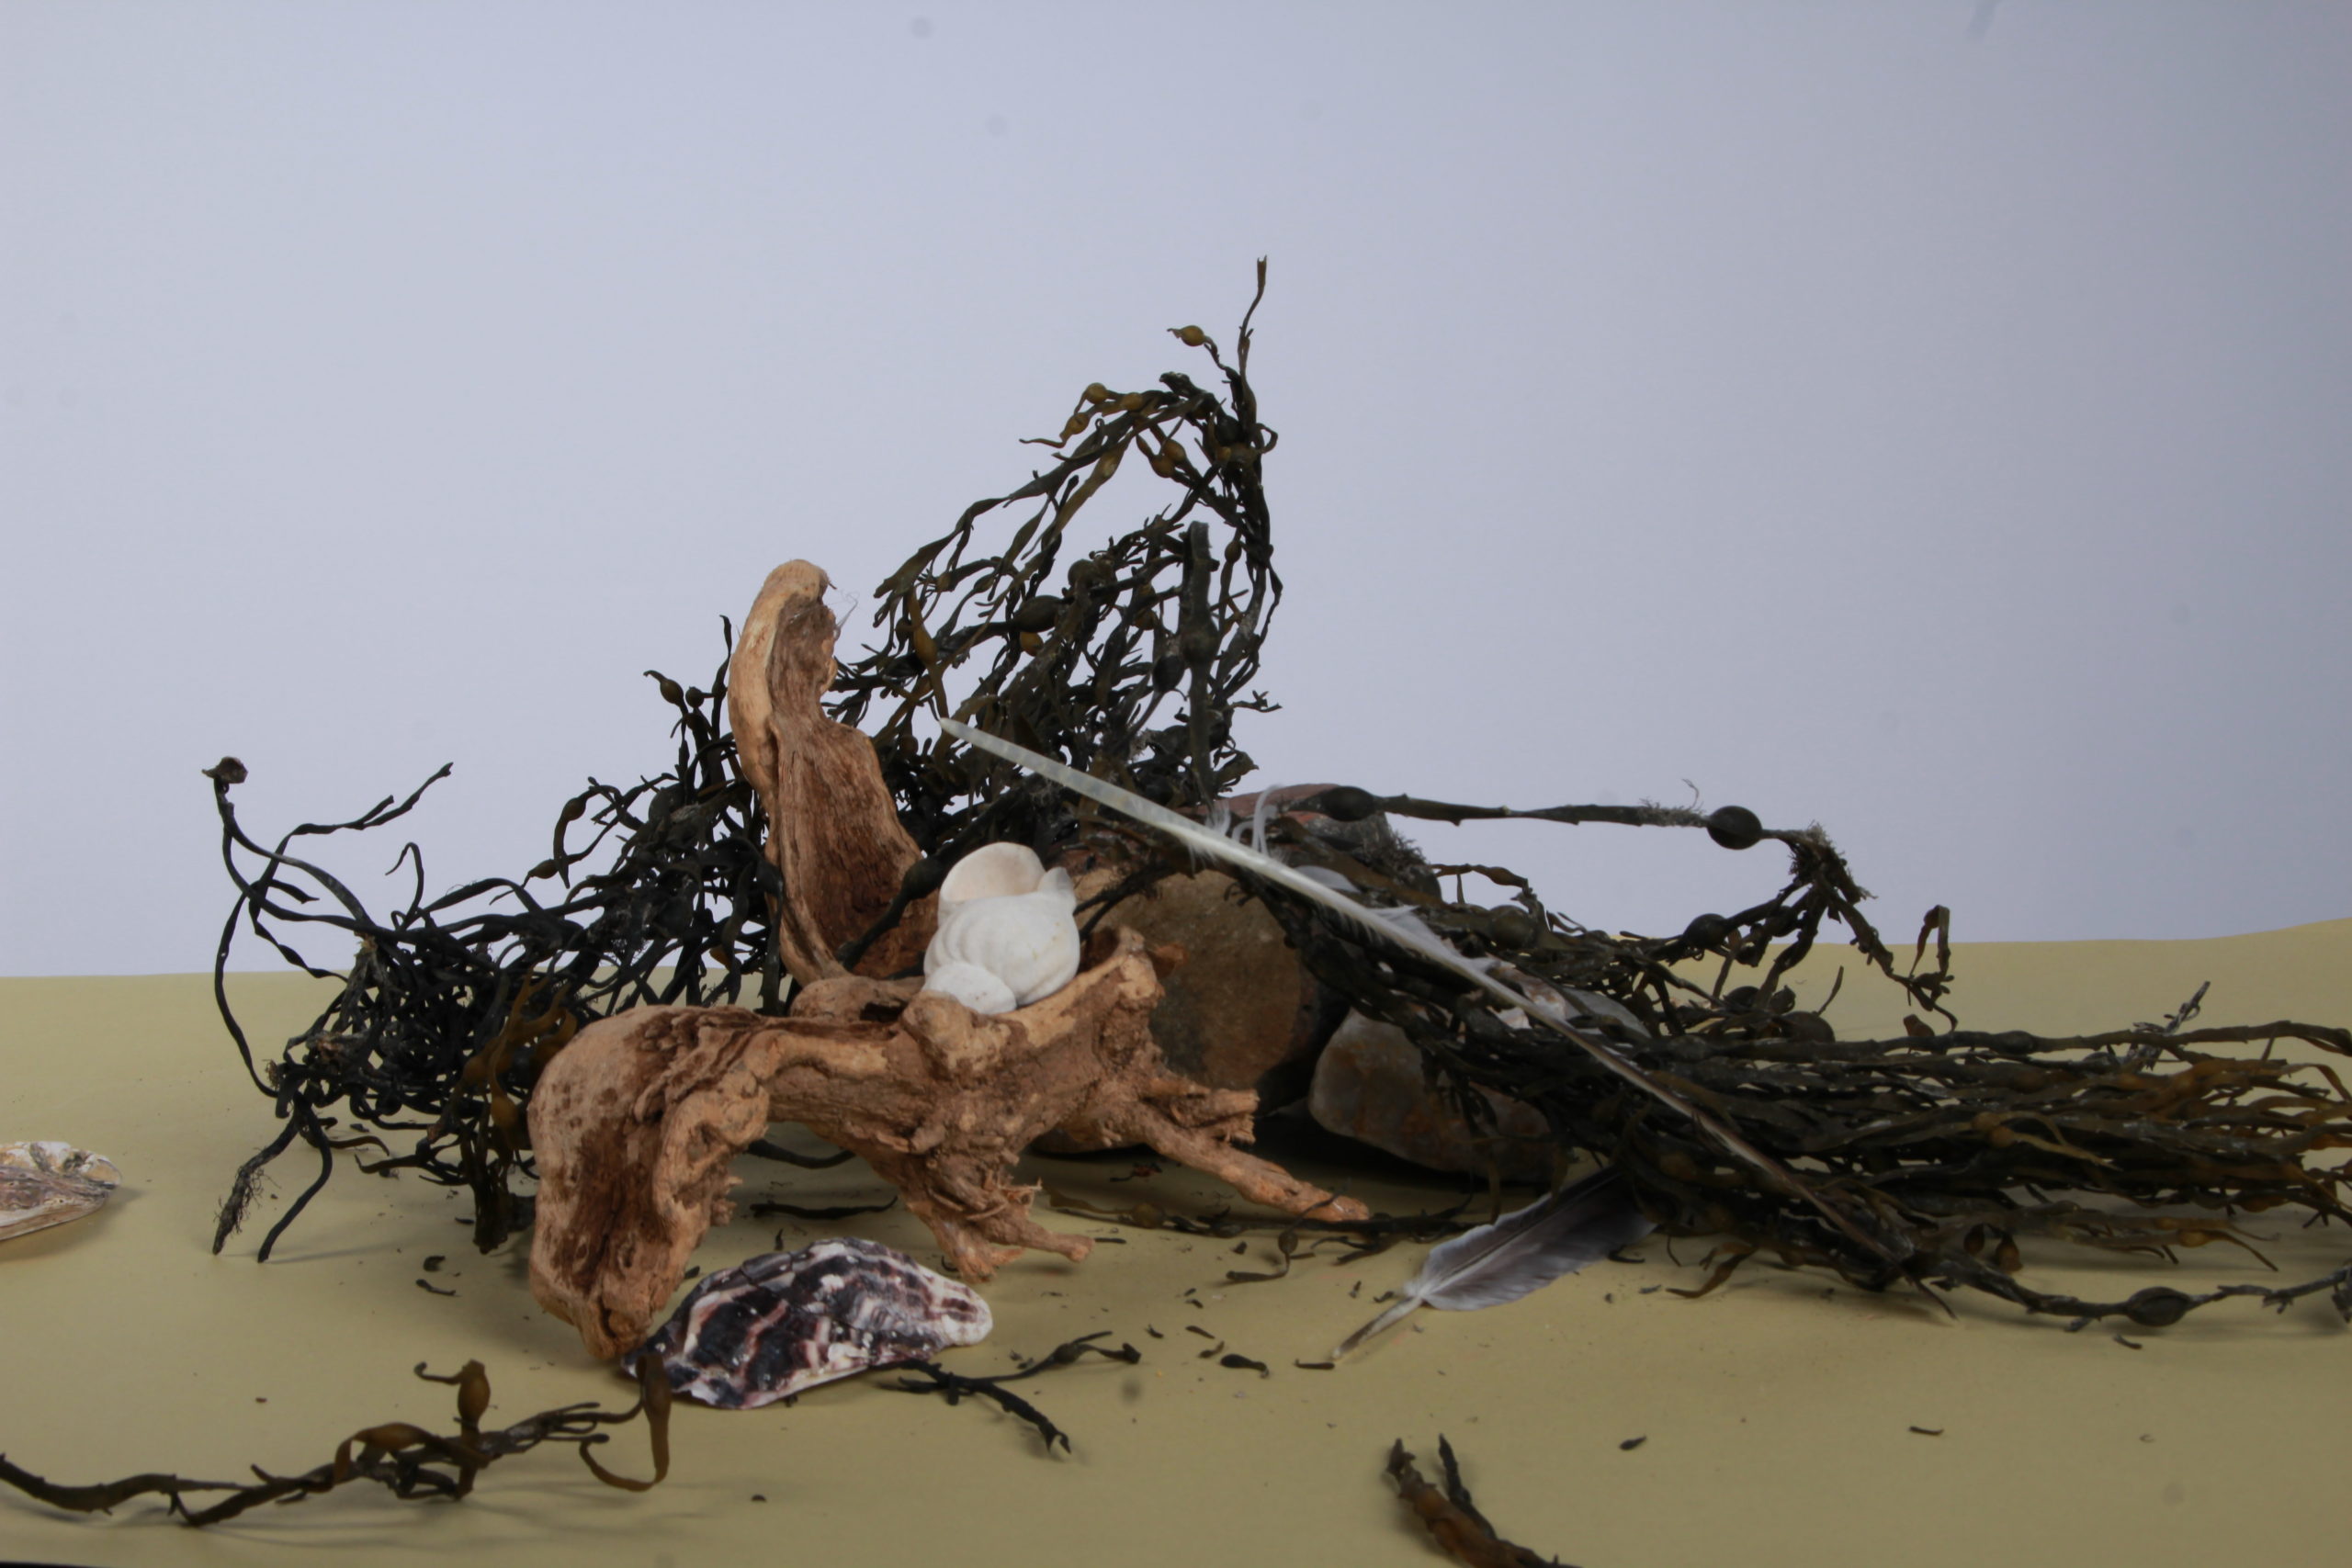
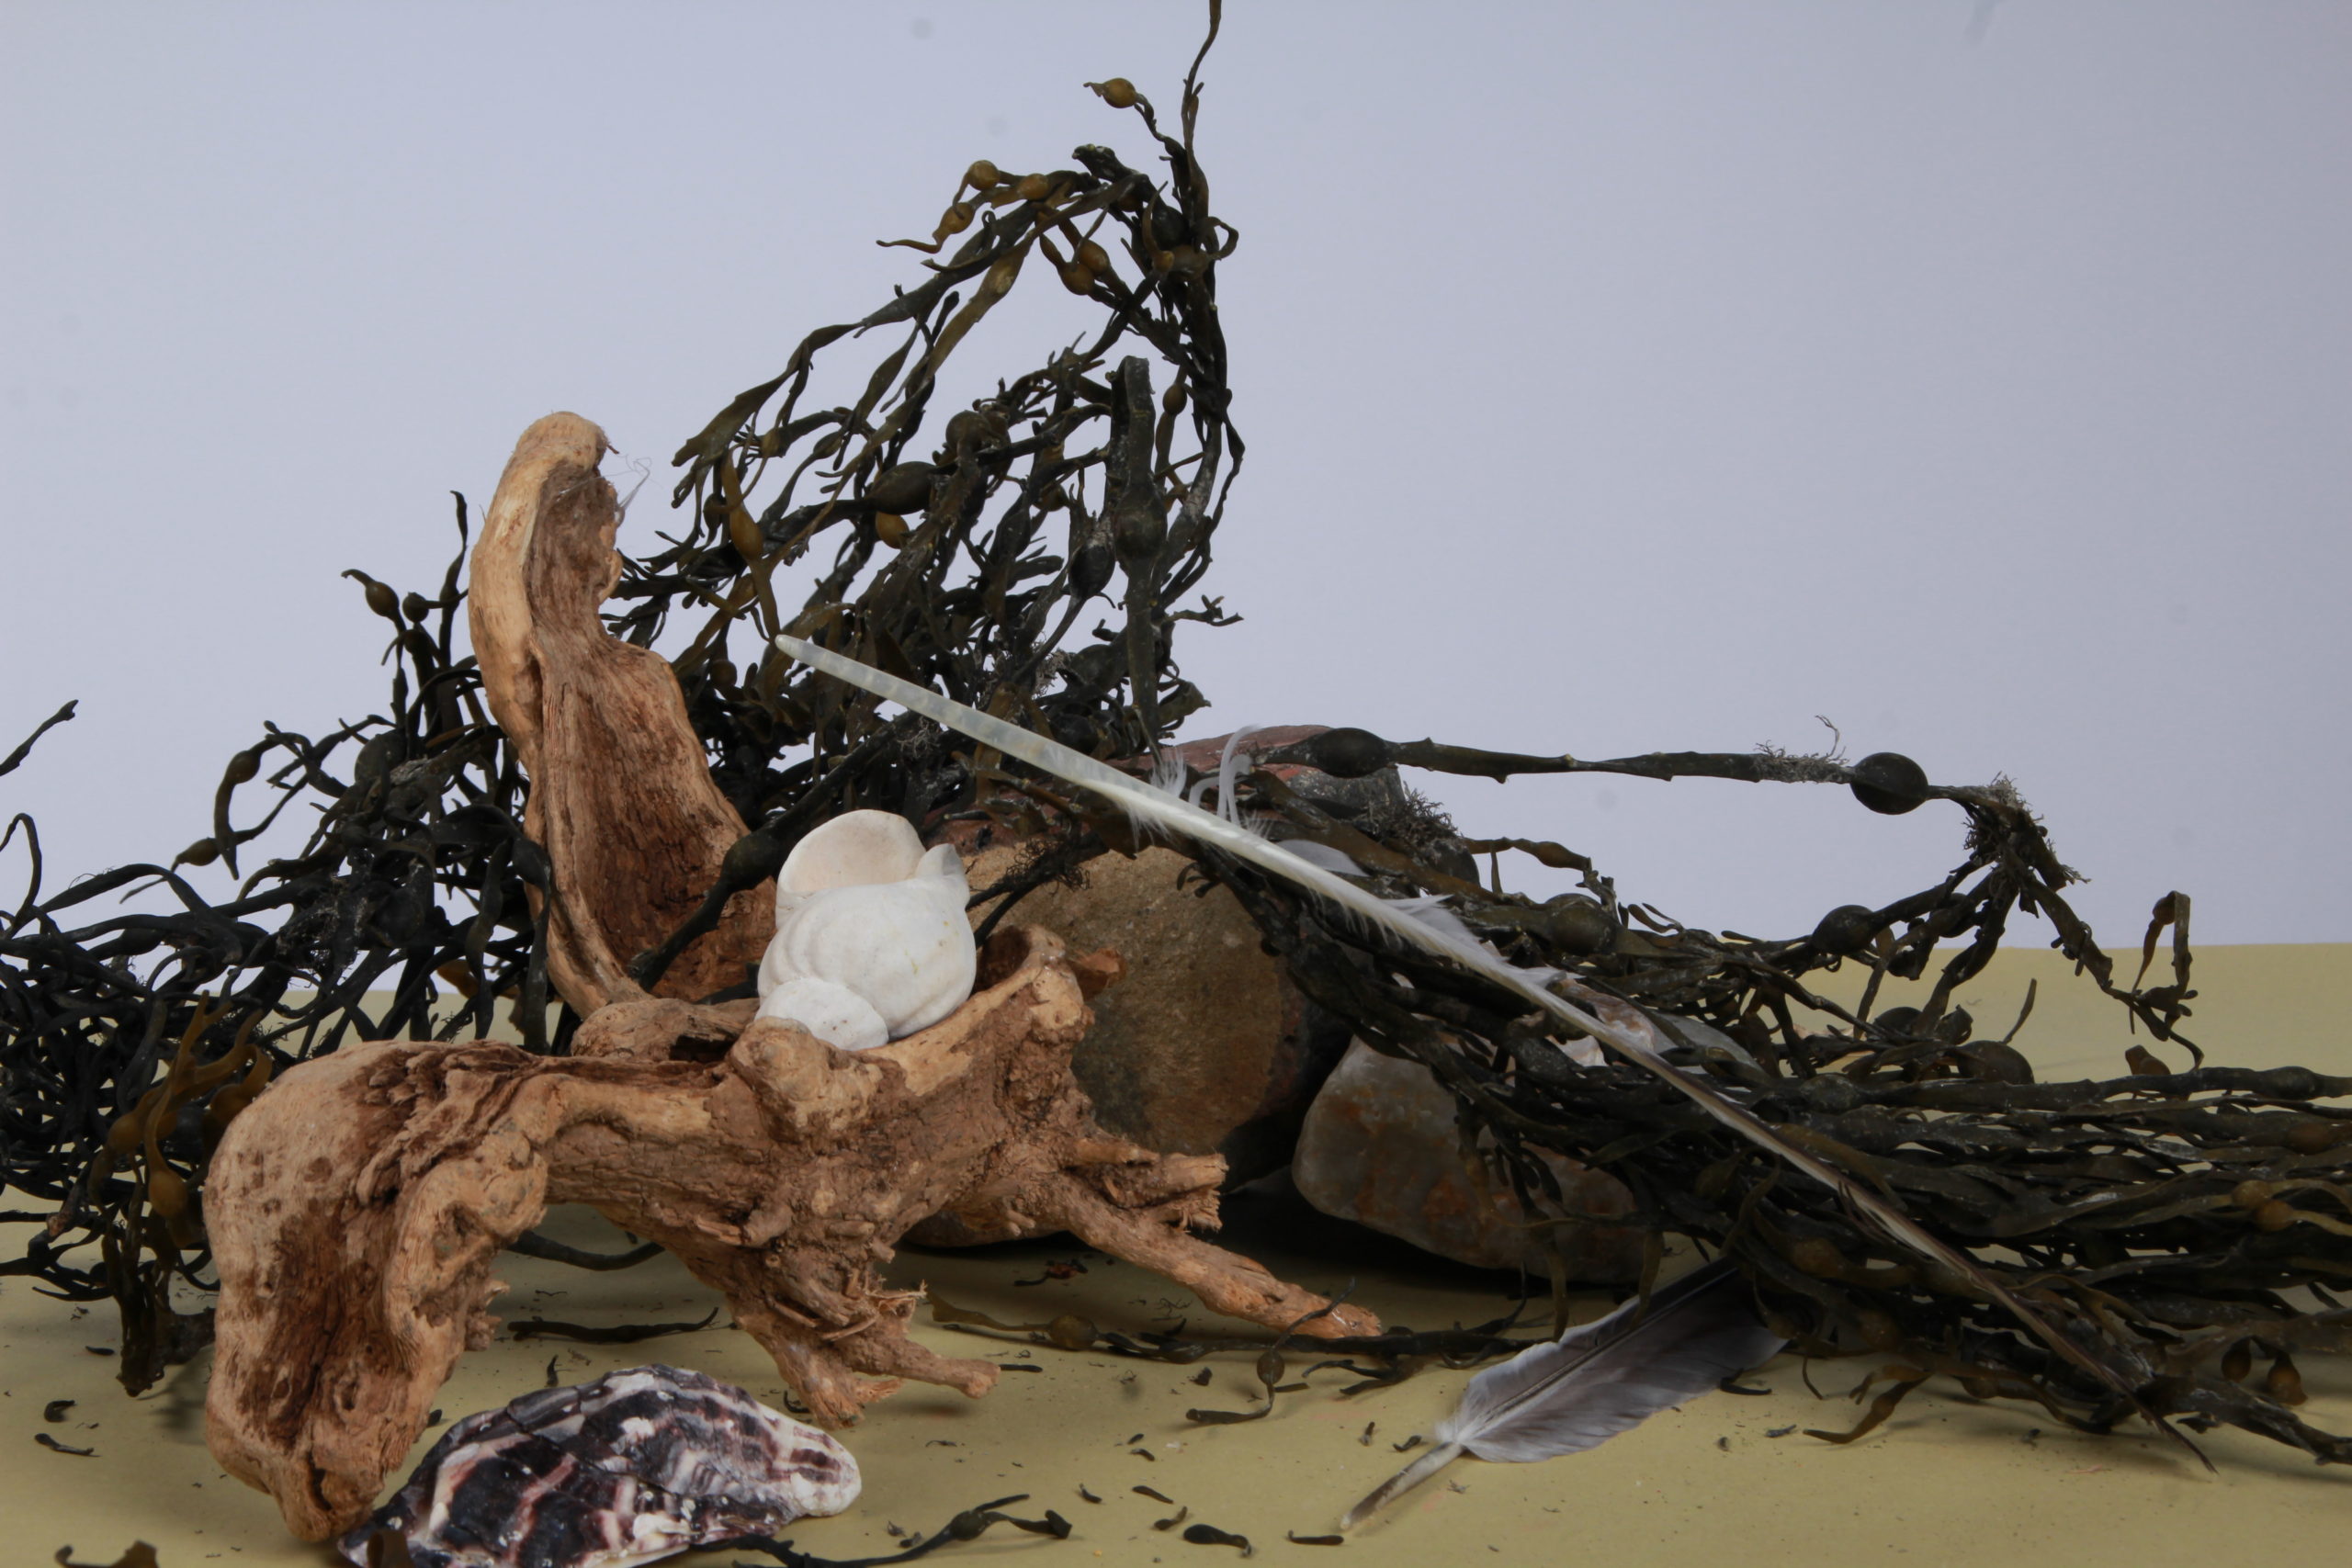
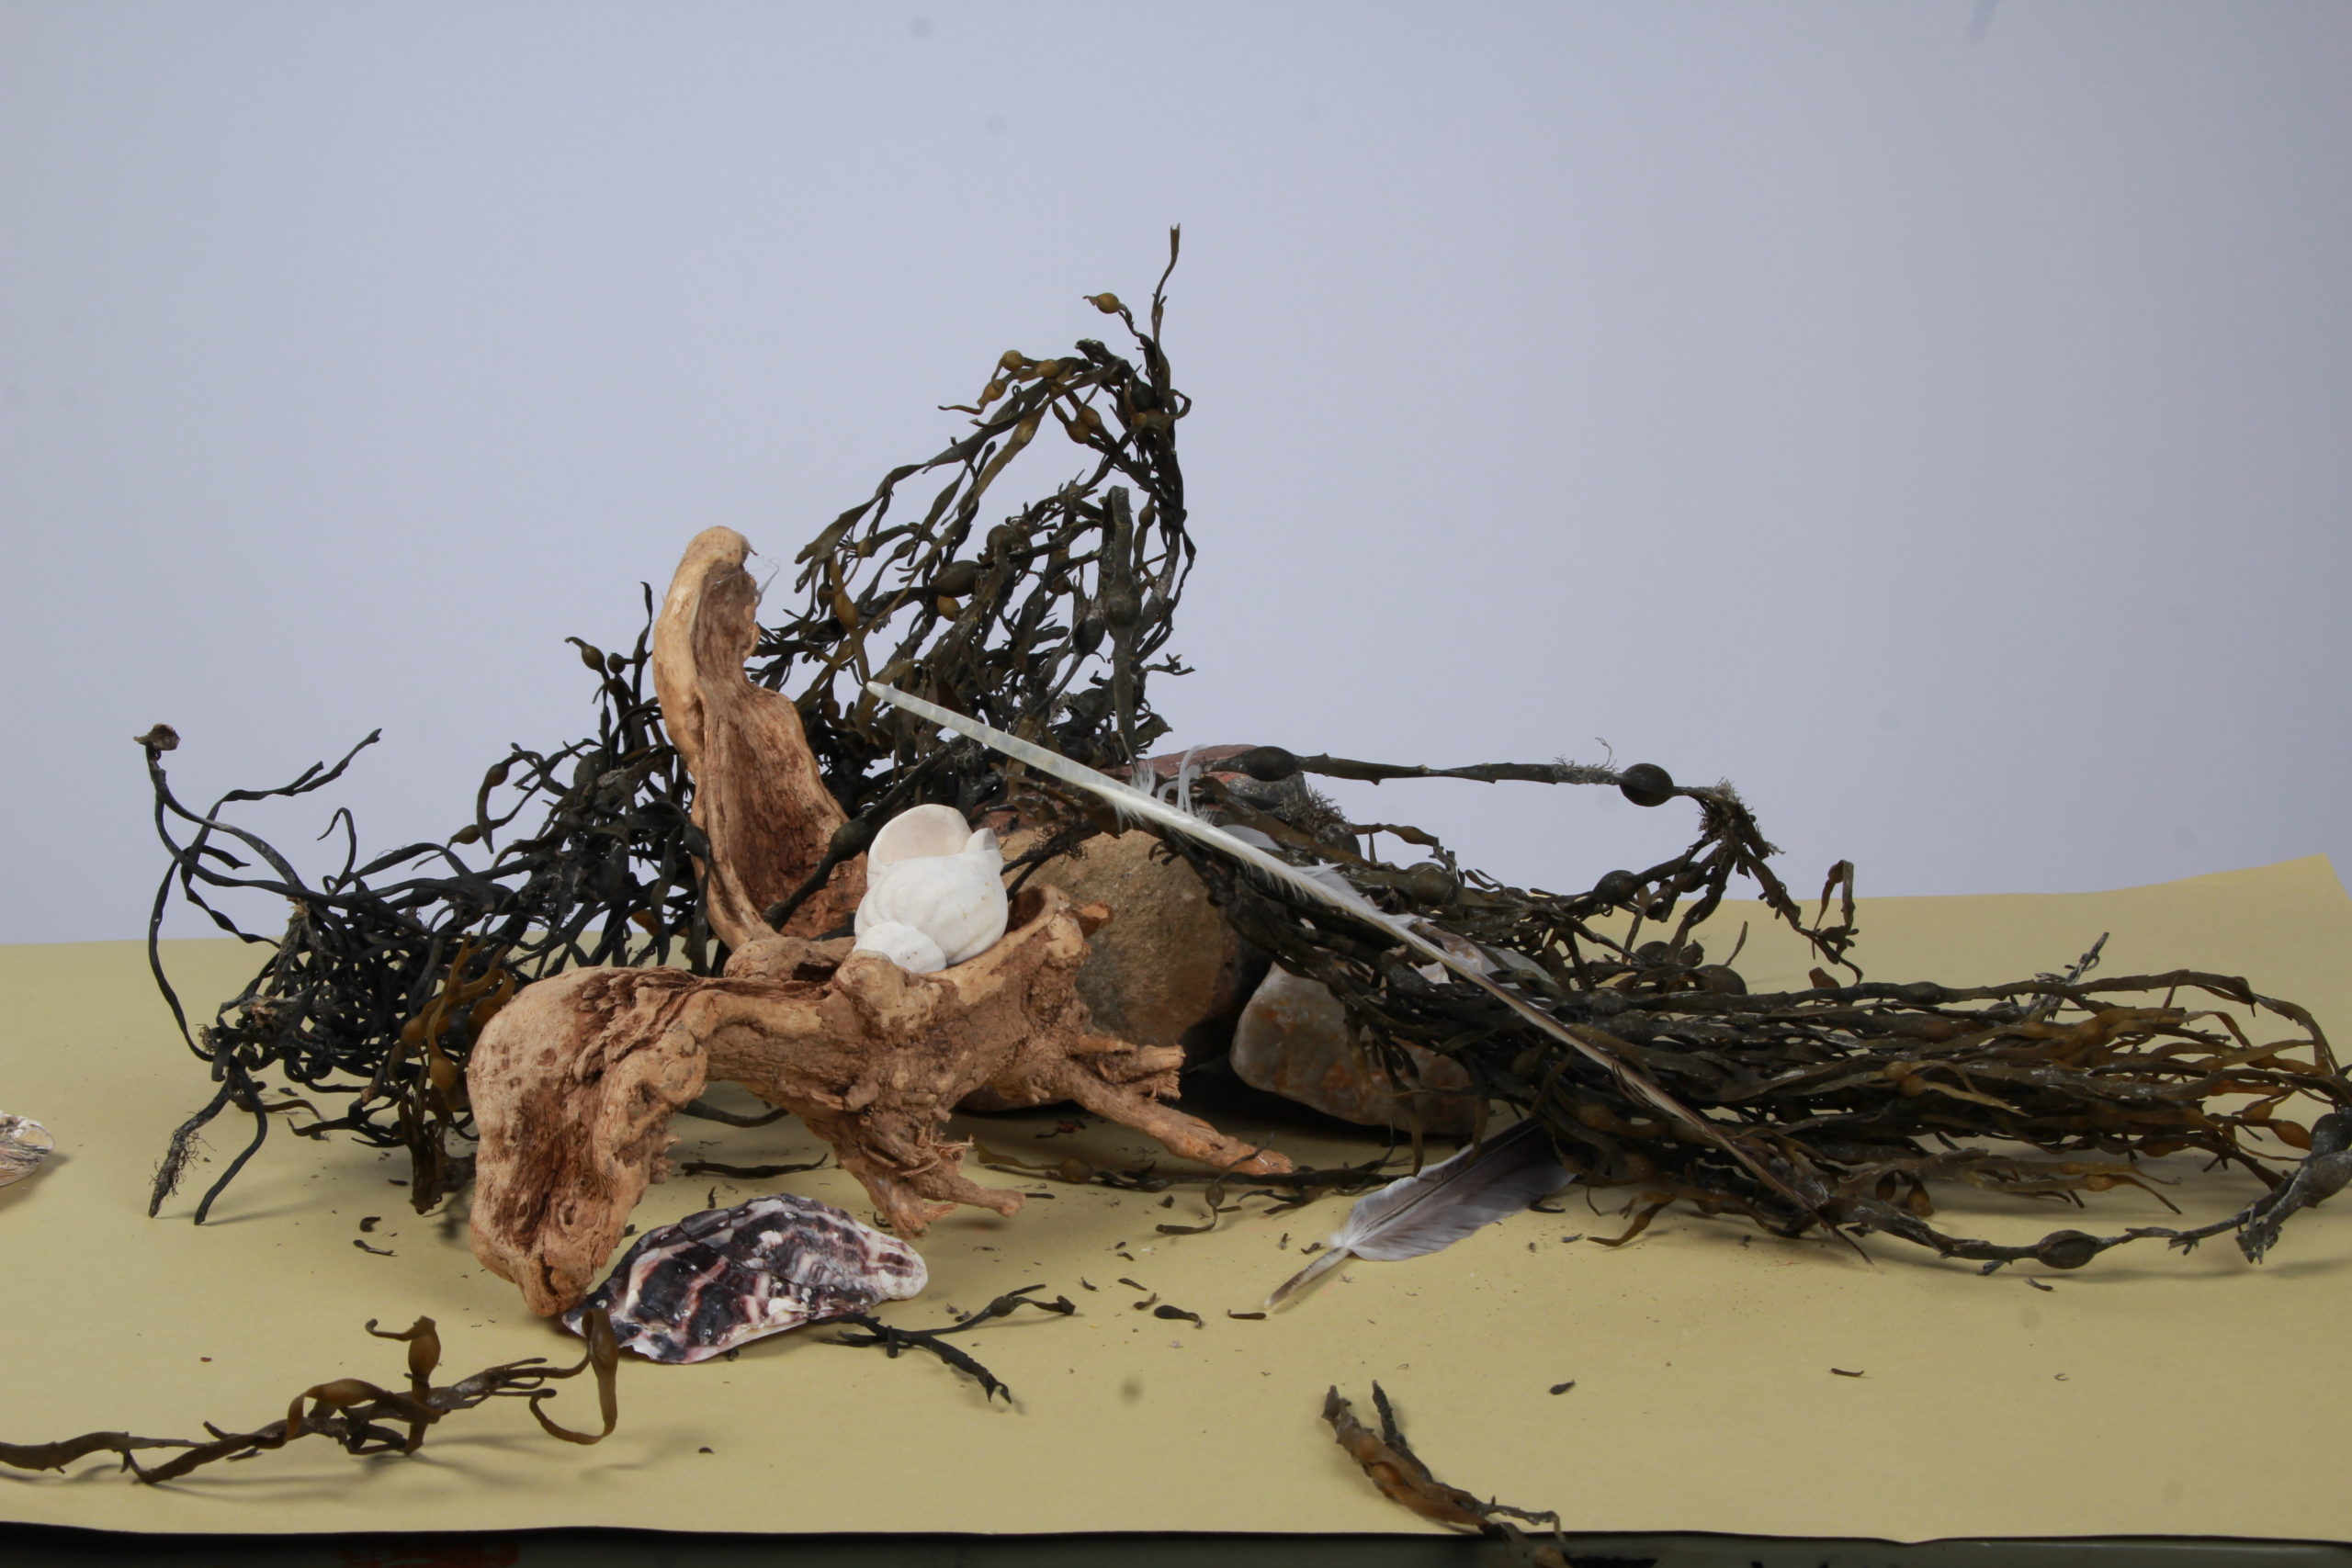
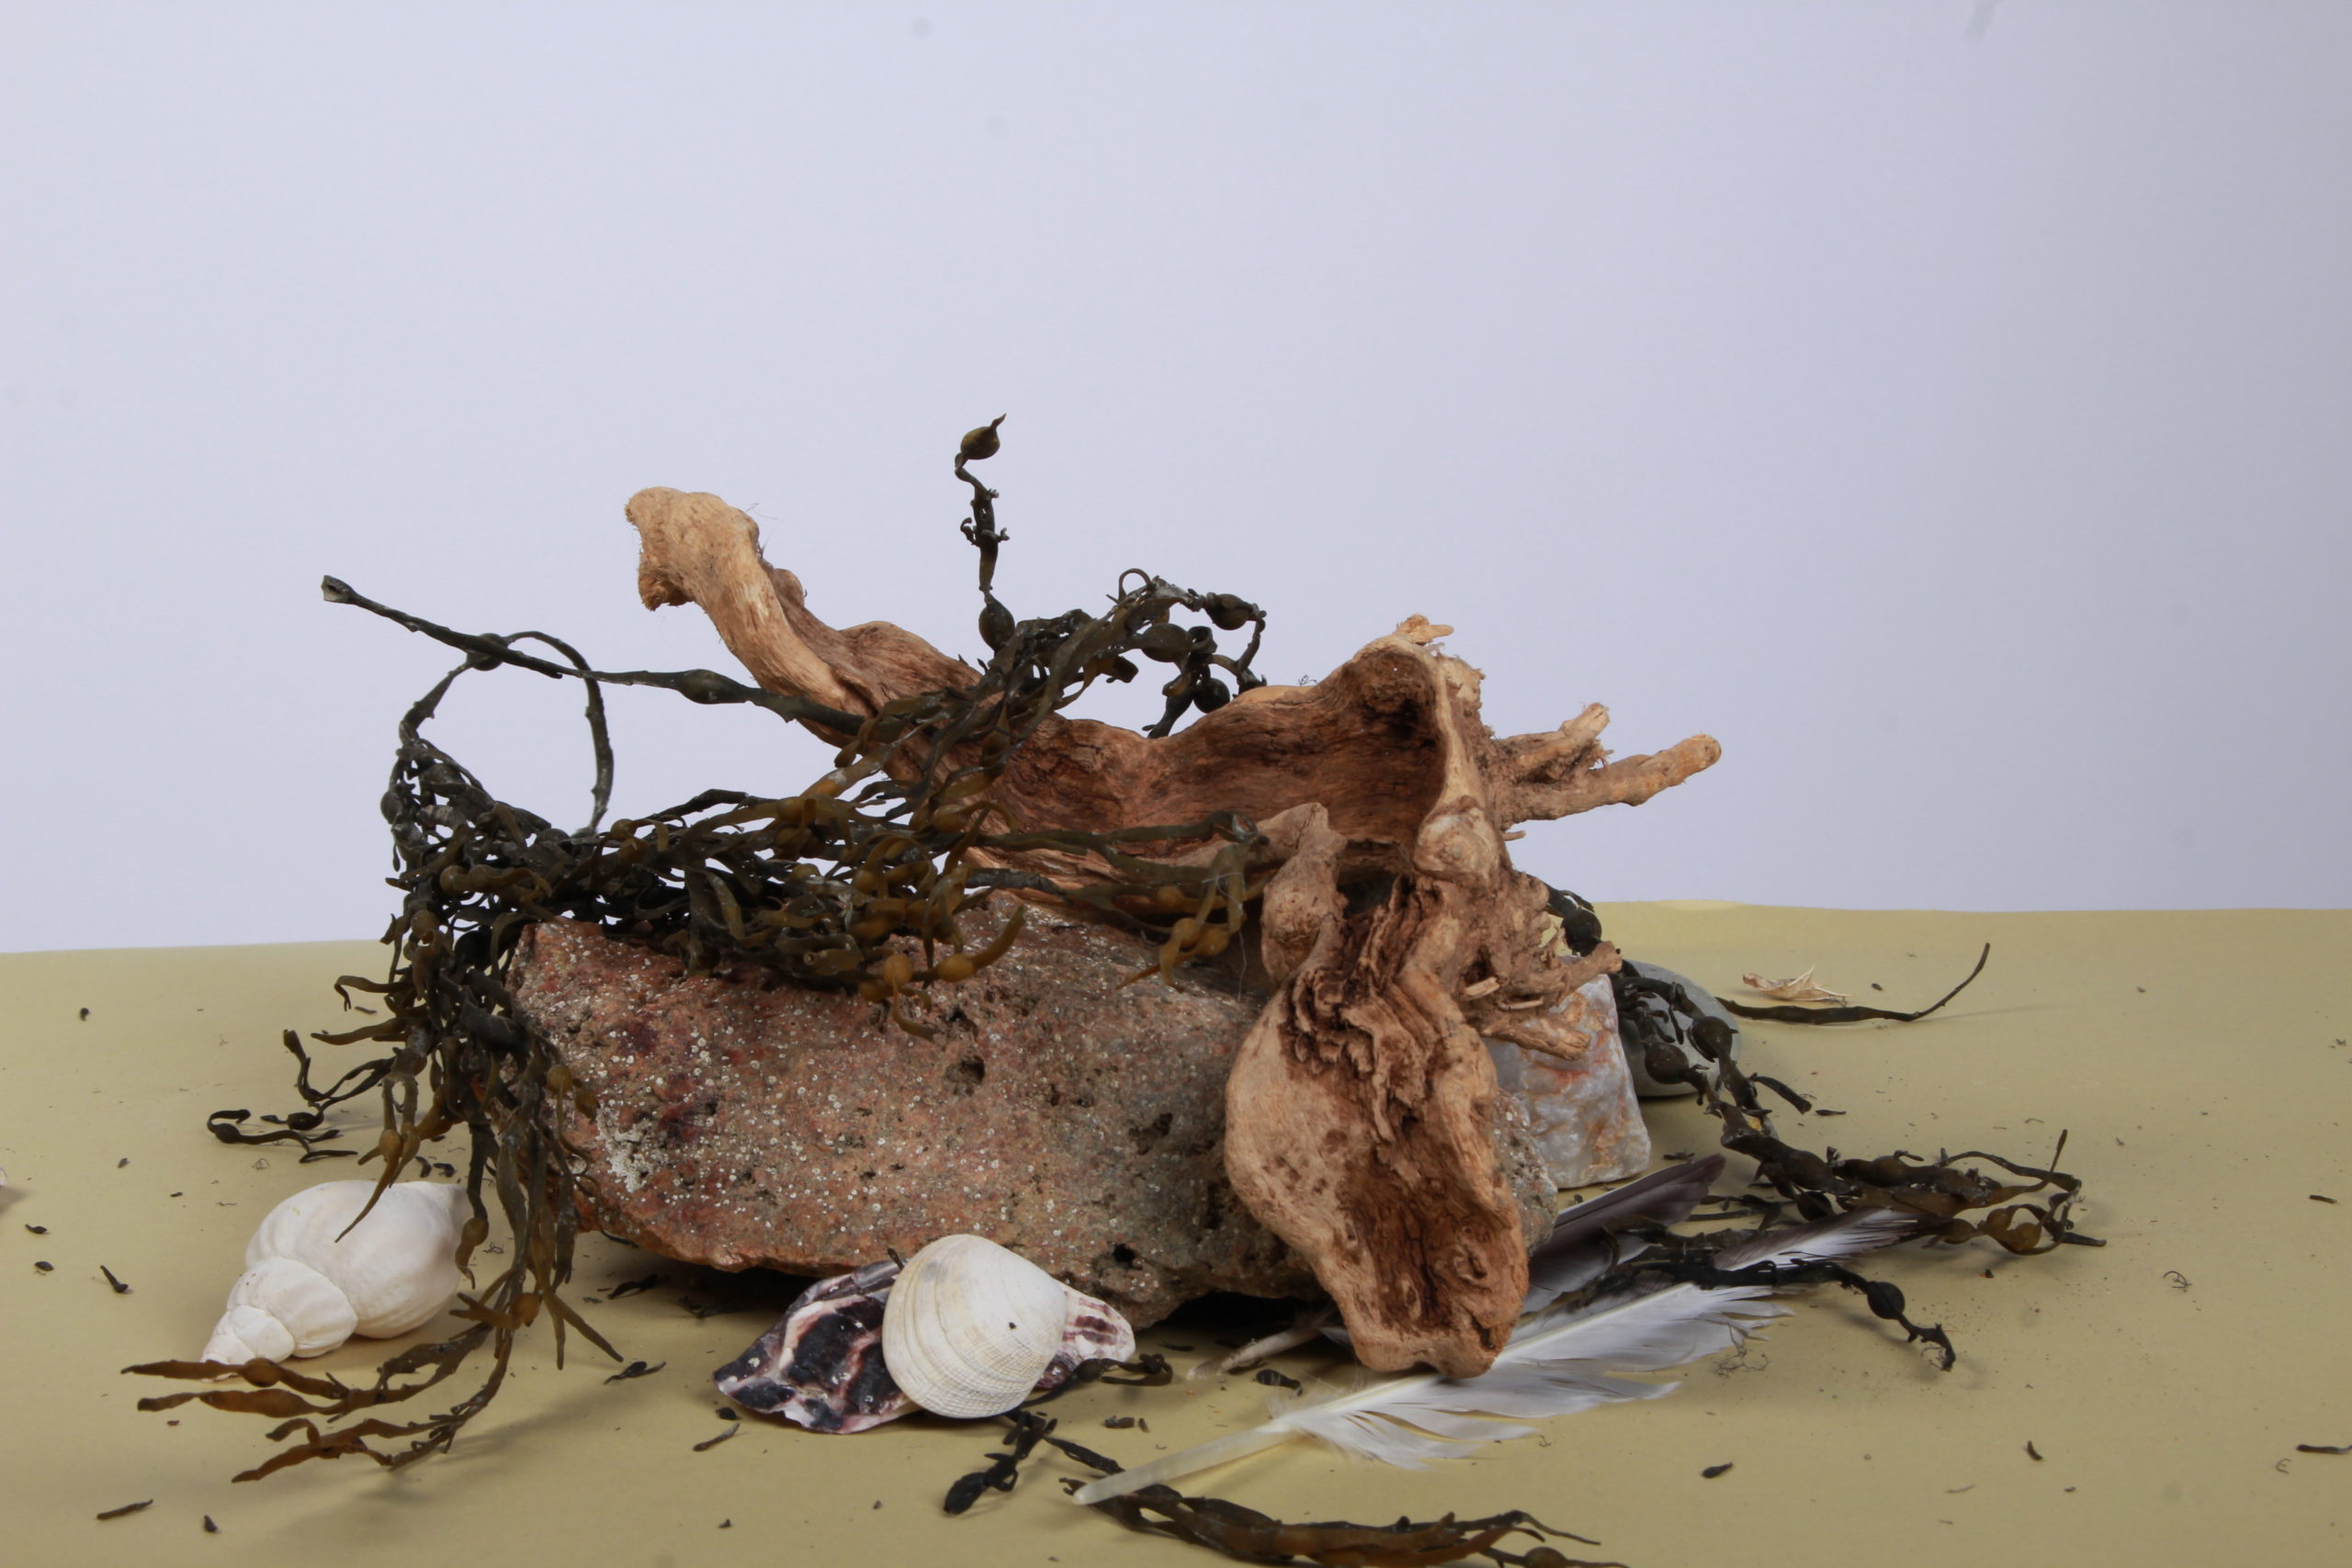
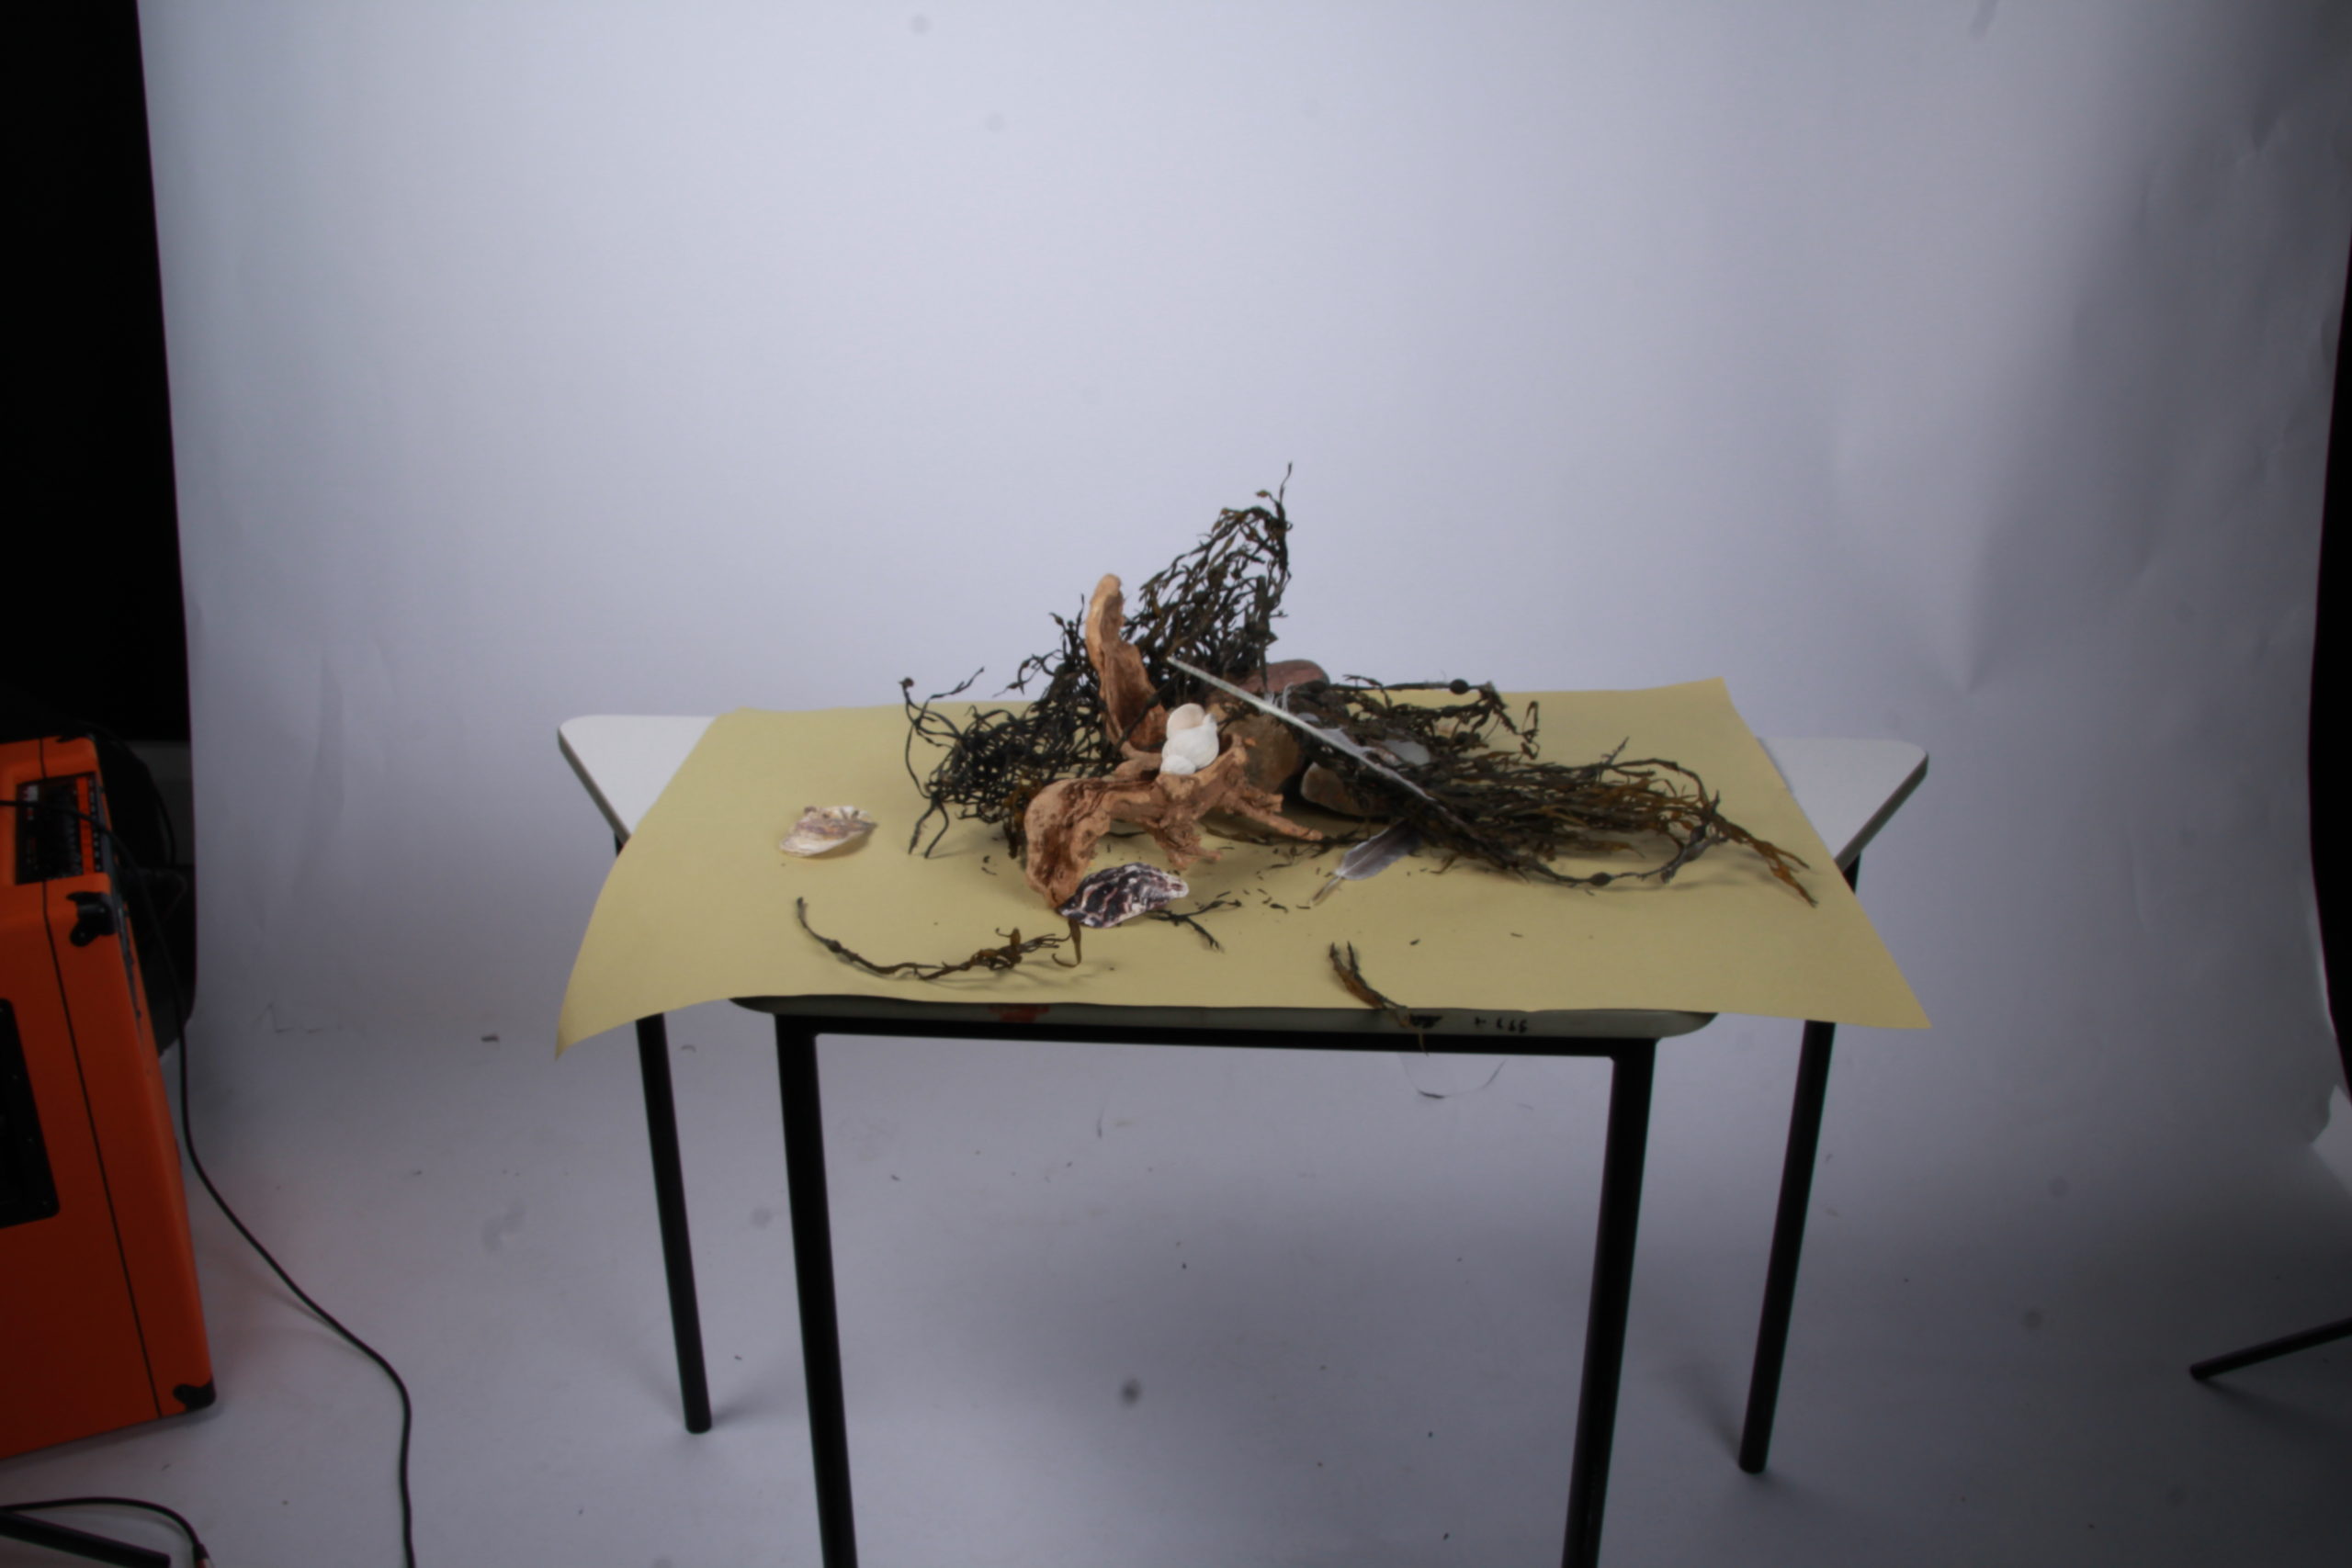
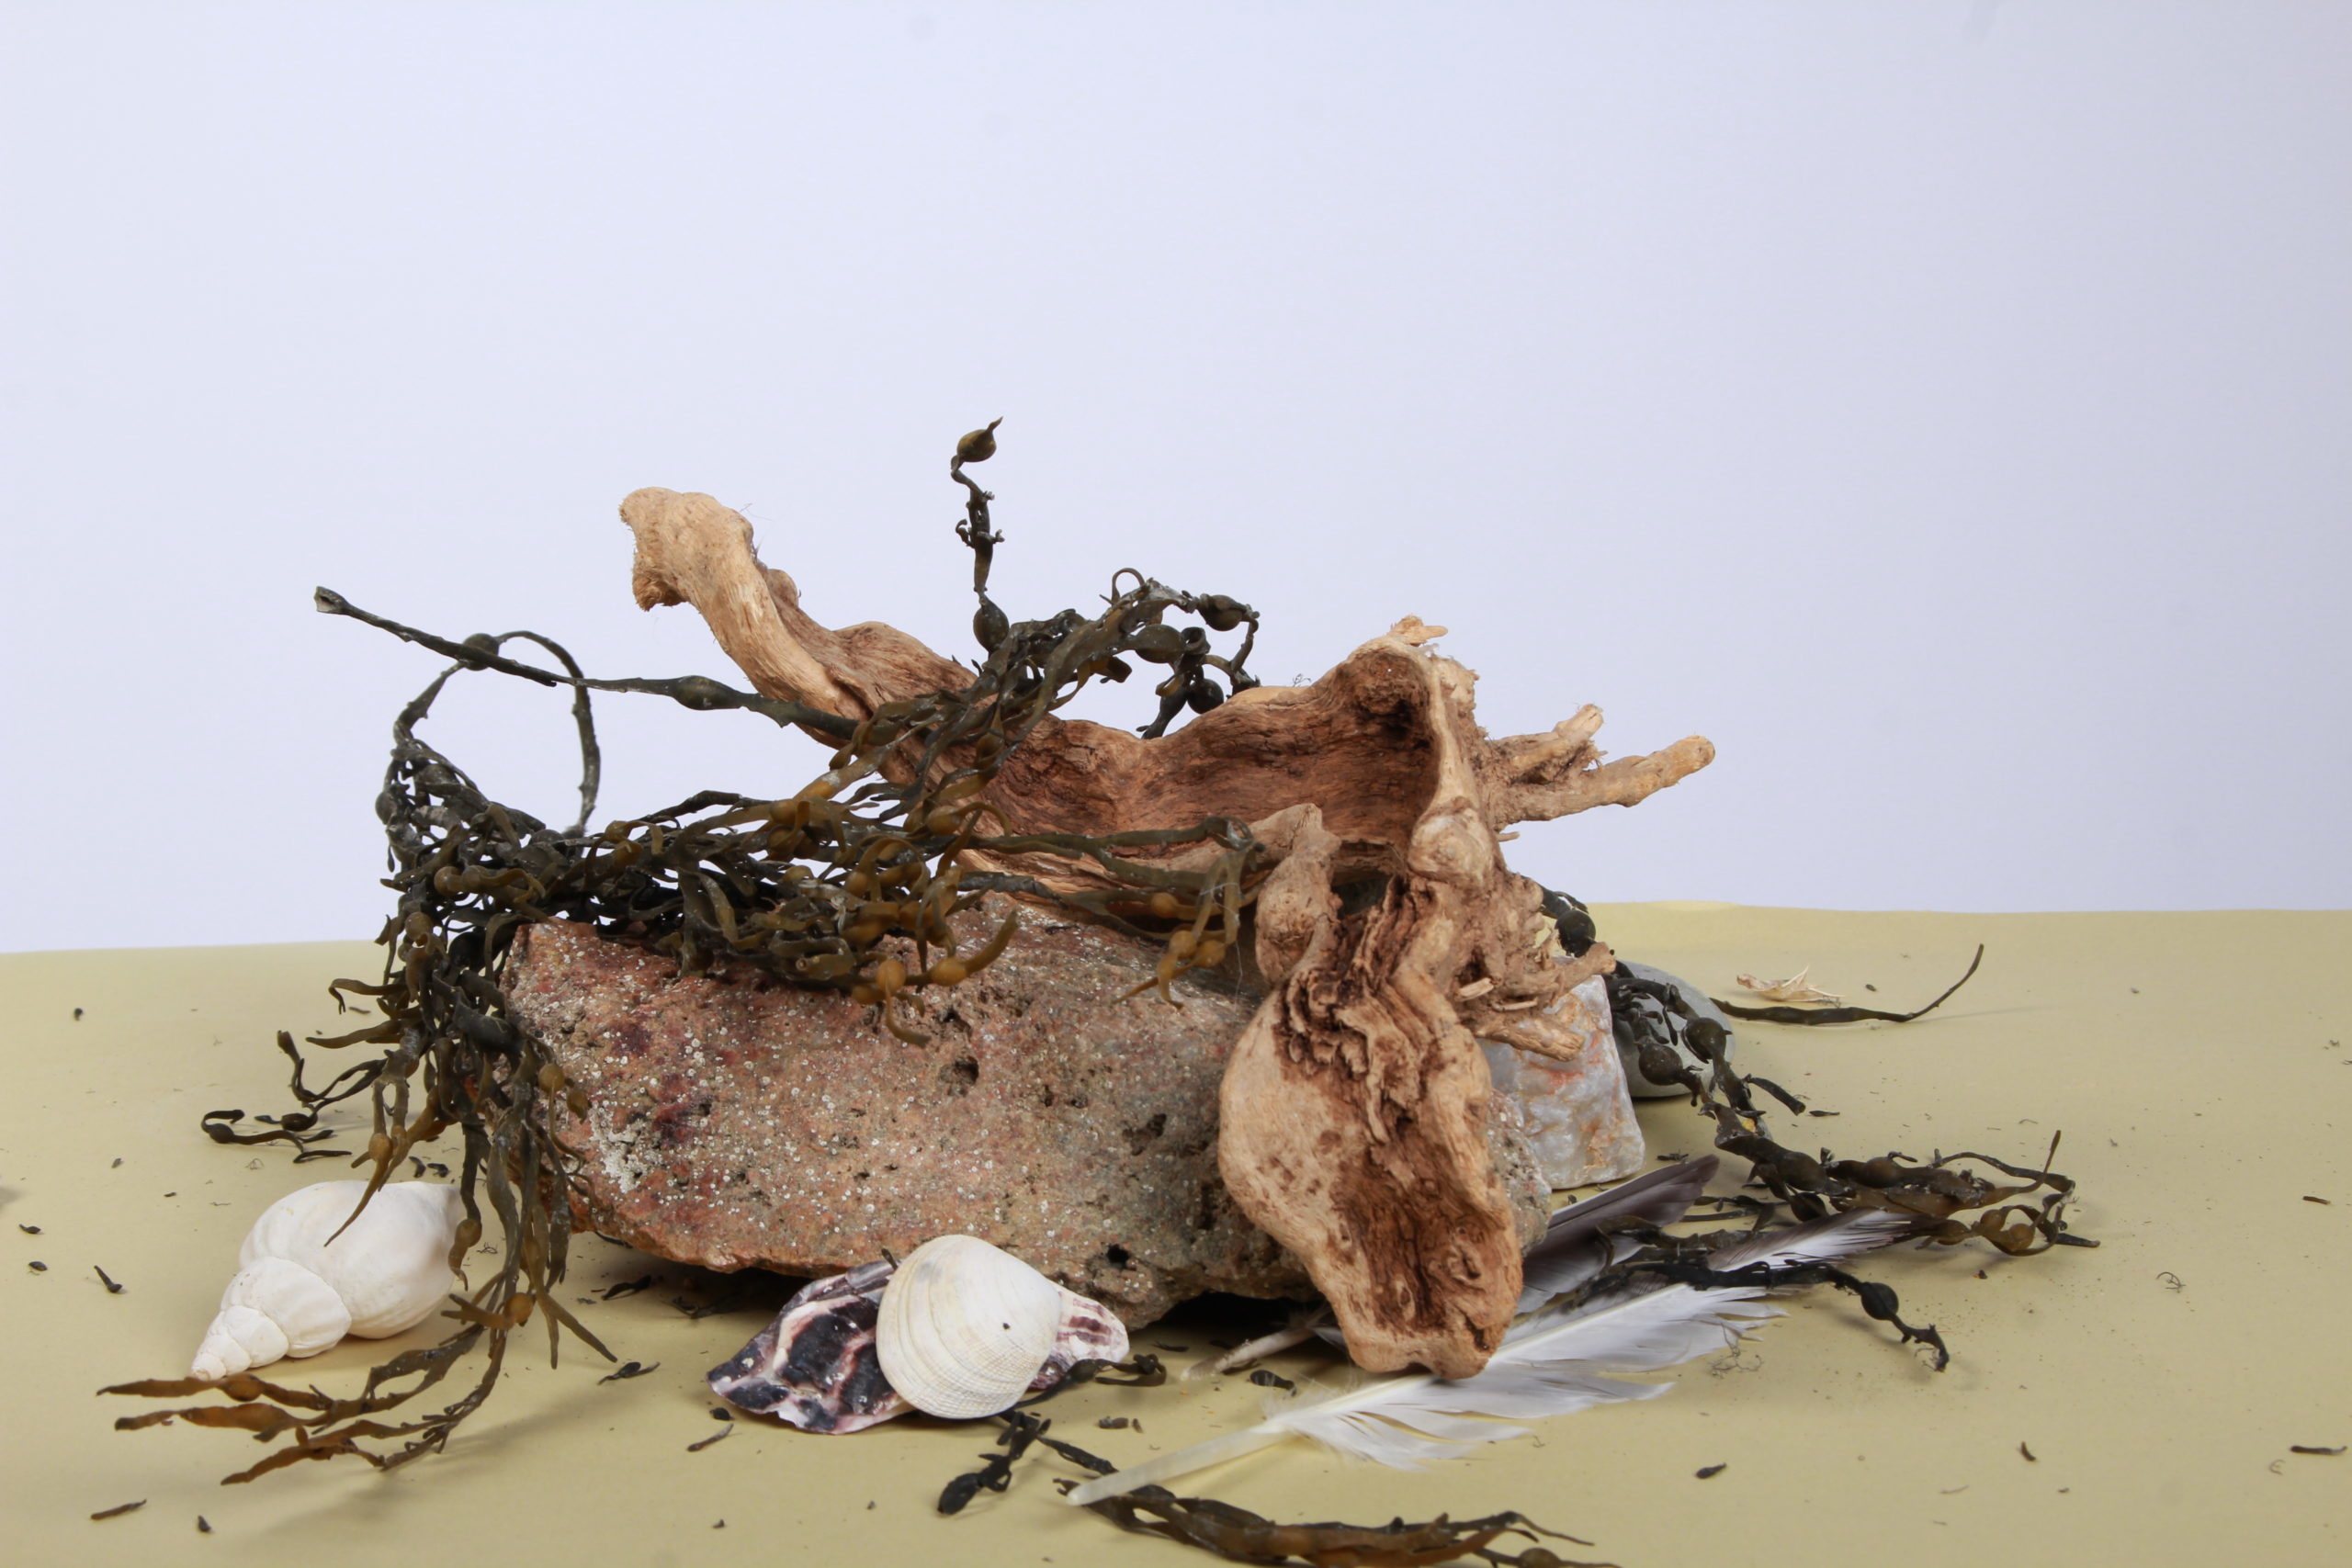
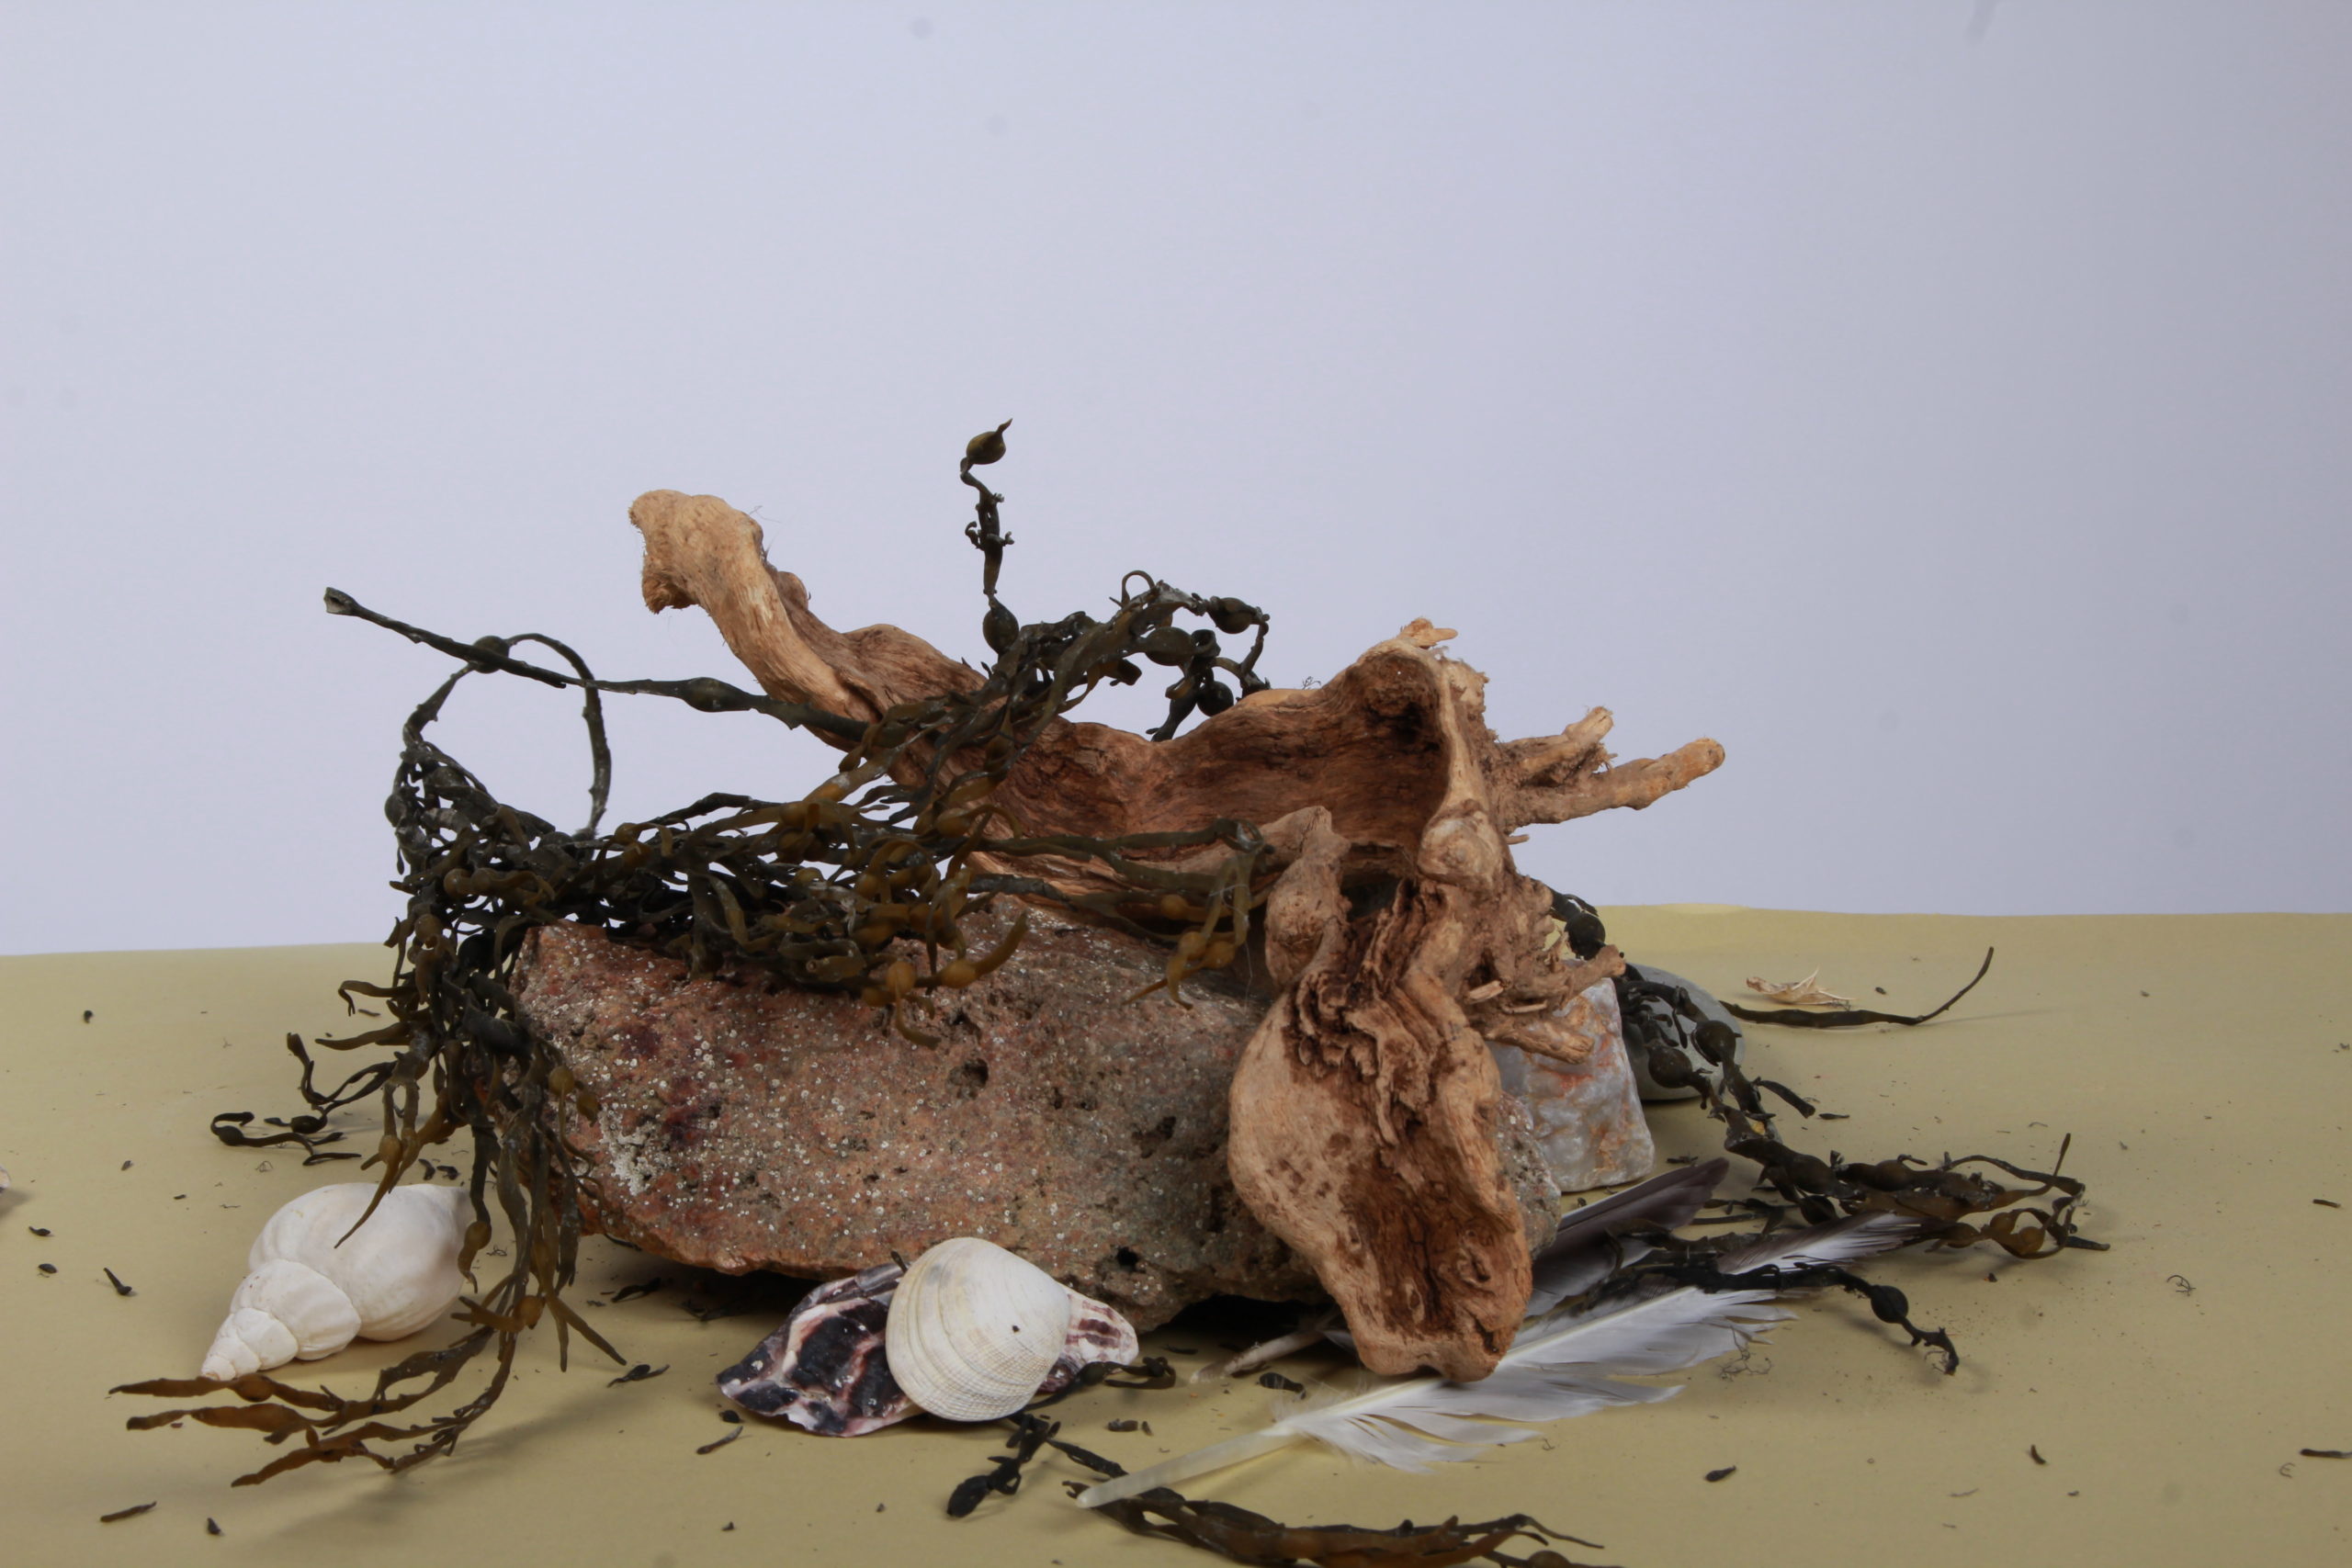
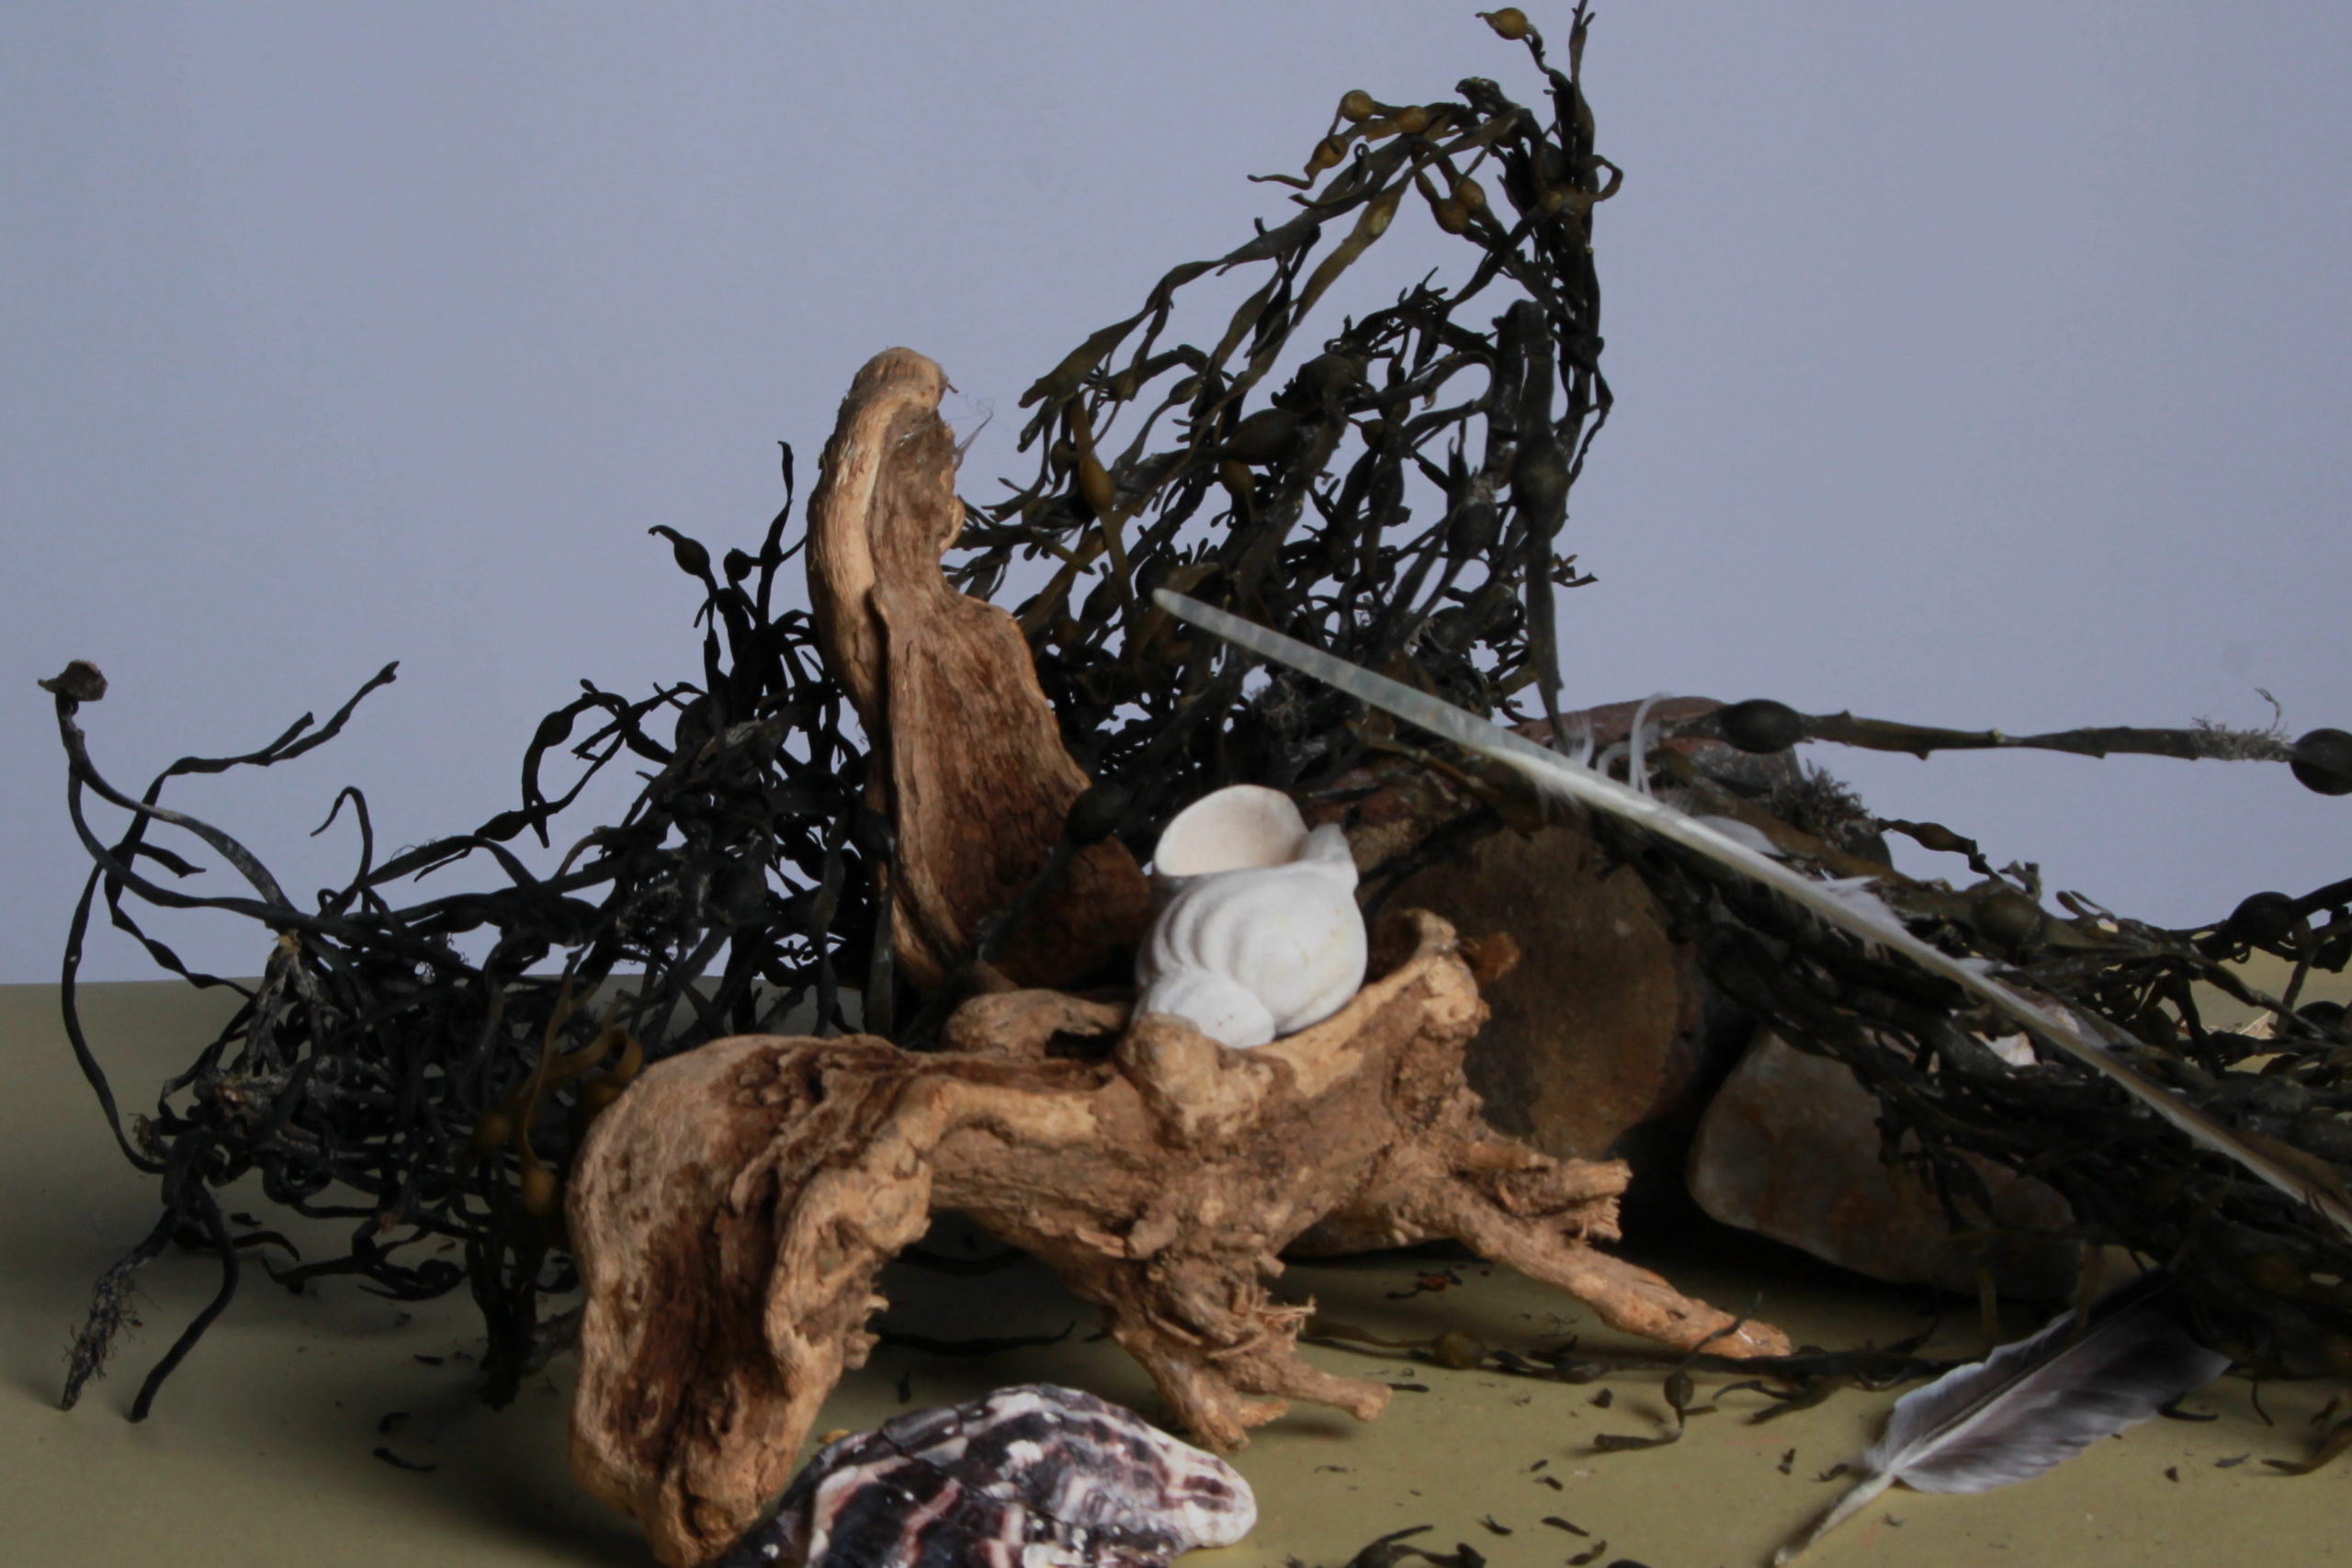
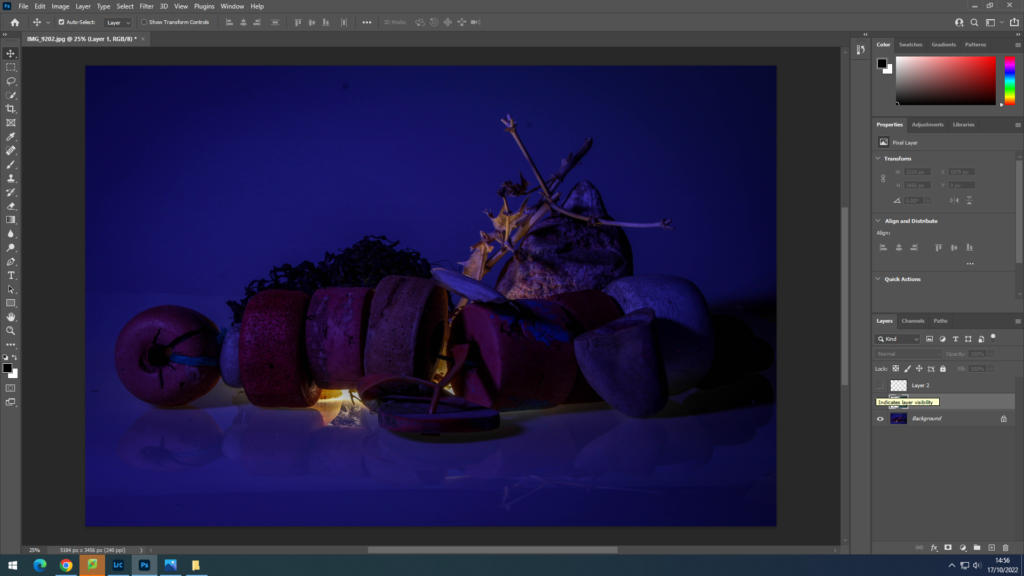
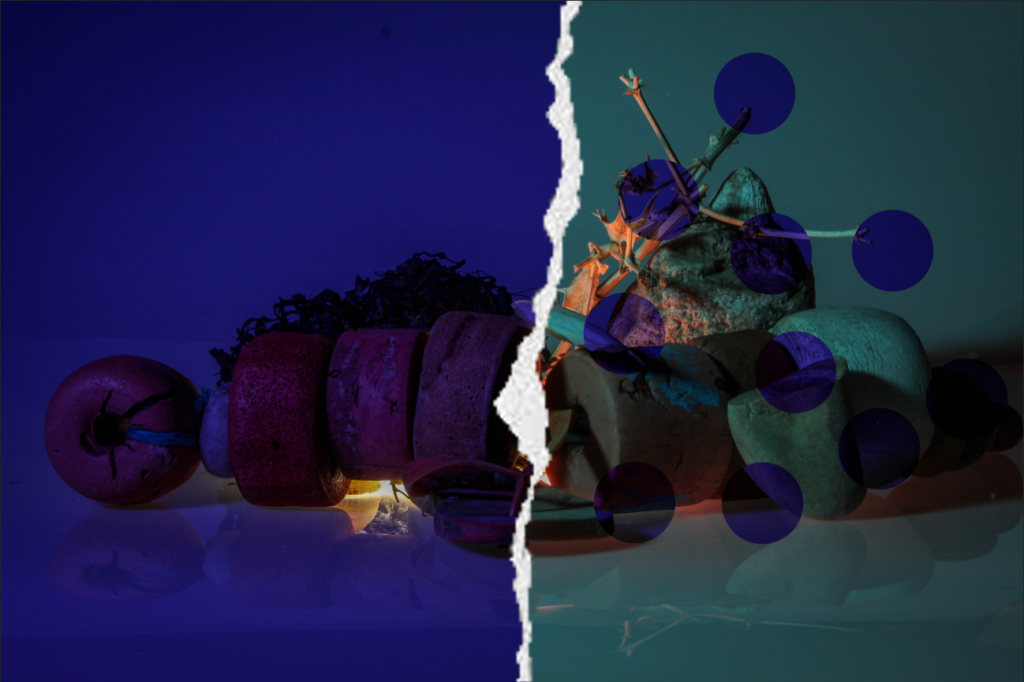
For this montage I opened up two of my images and placed one on top of the other by dragging the green image on to the purple one and then dragging the background and dropping it on top.
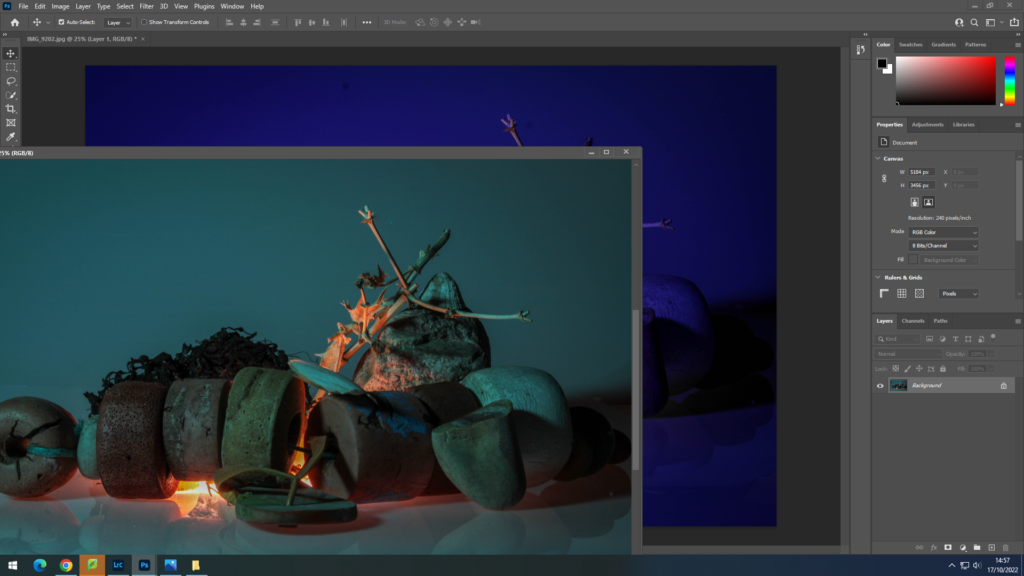
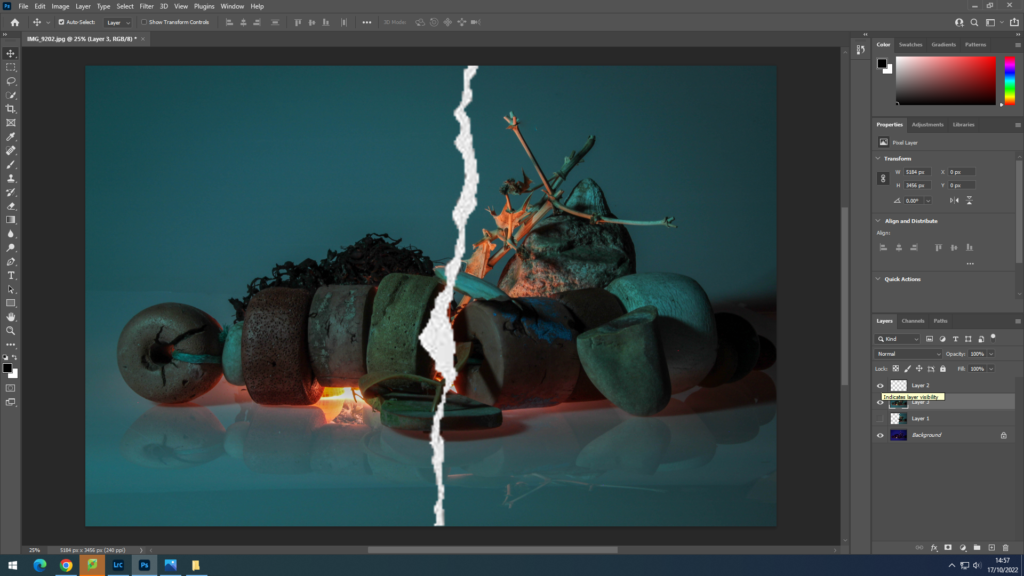
I then found a ‘paper tear’ image off the internet and saved it to my files and then opened the up on photoshop as well. I used the quick selection tool to cut out the part of the tear that I wanted and the re-sized it on my images.
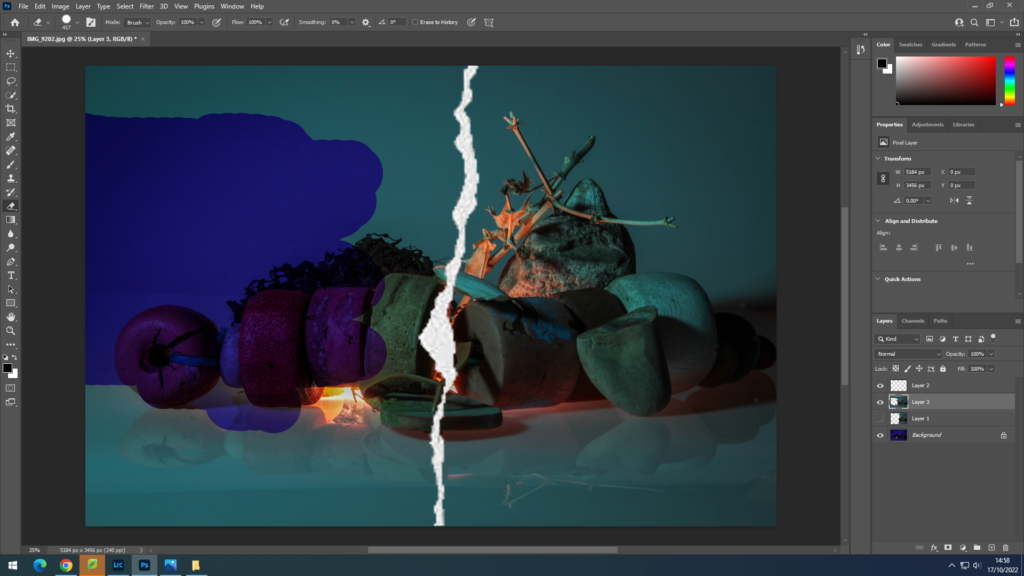
I then used the rubber tool to rub out half of the green images to reveal the purple image underneath.
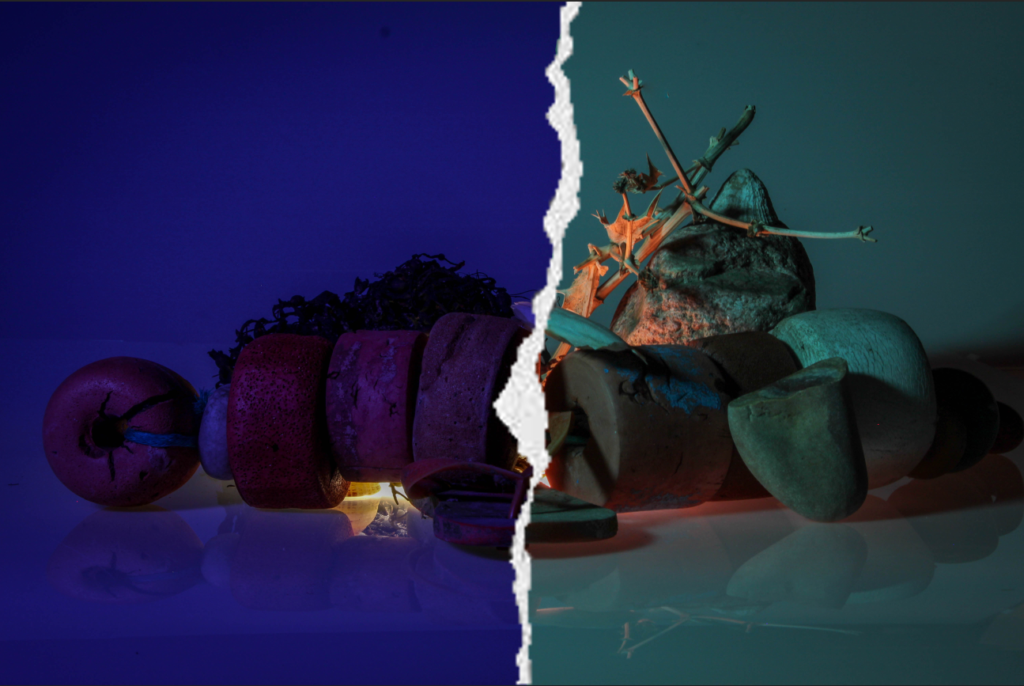
Overall I am happy with how this montage turned out as it looks very effective to the viewer, and as if the image has been ripped and there is another image bellow it. I also tried adding some circle cut outs on the green image to also reveal the purple image to add some more depth to the image.
