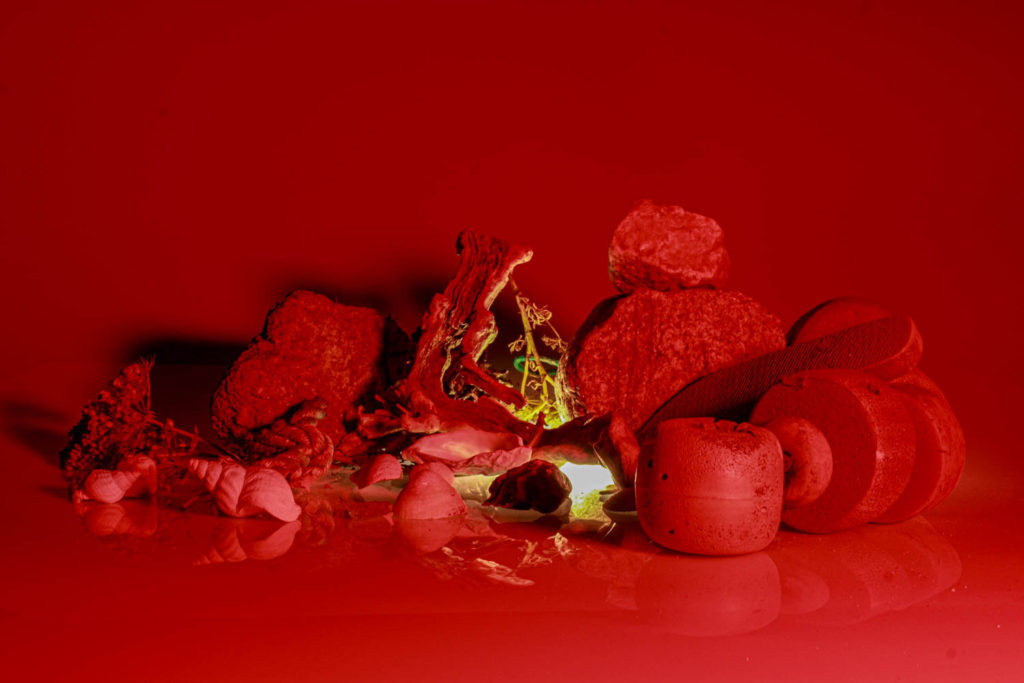
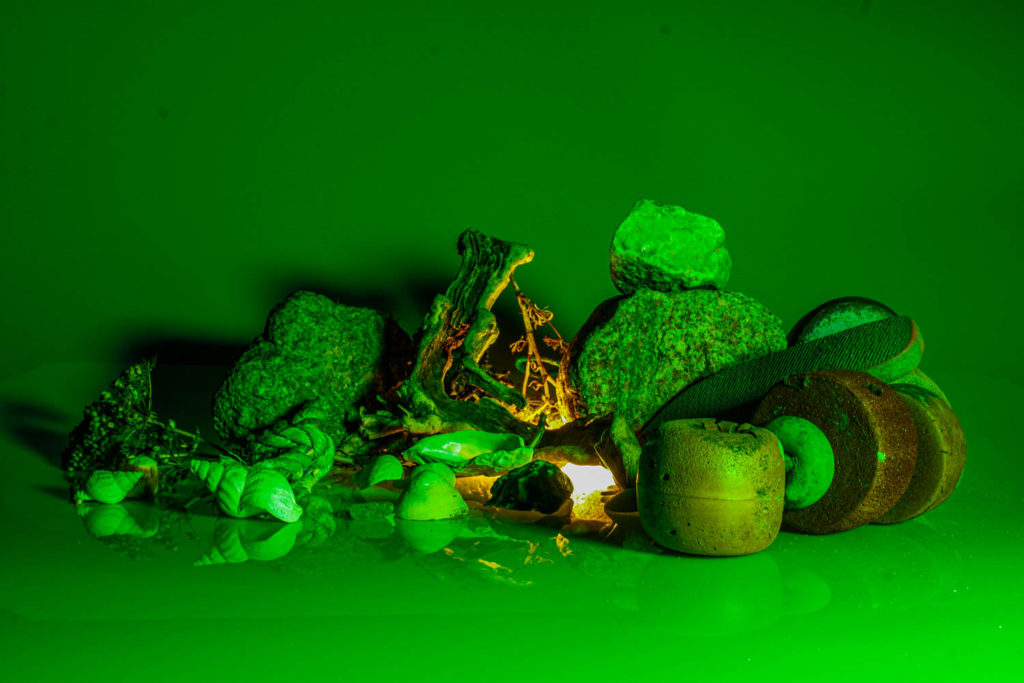
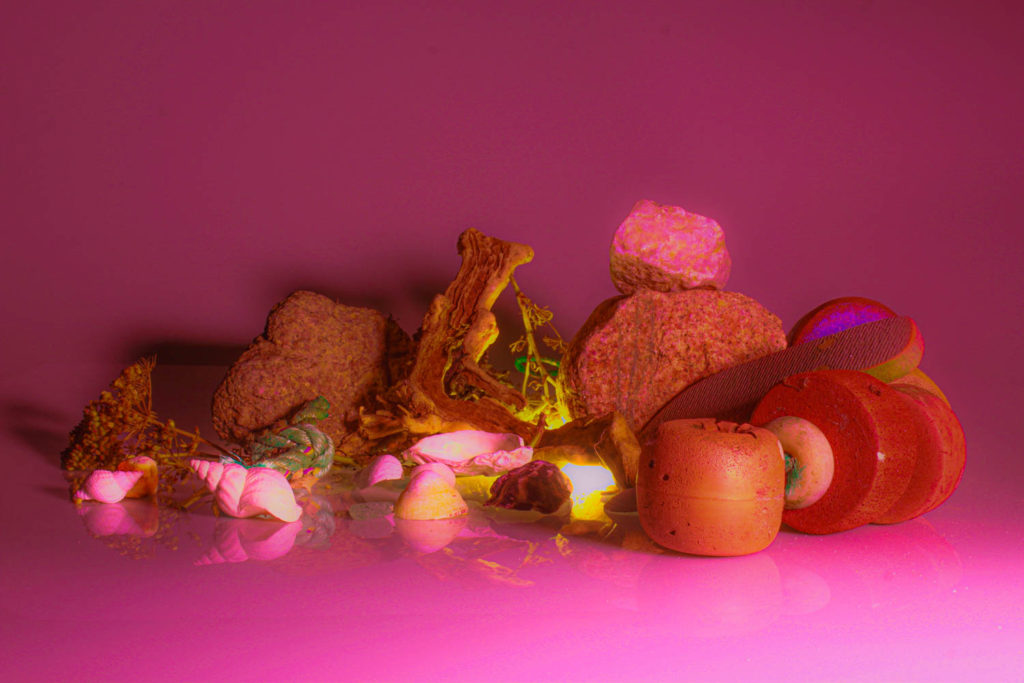
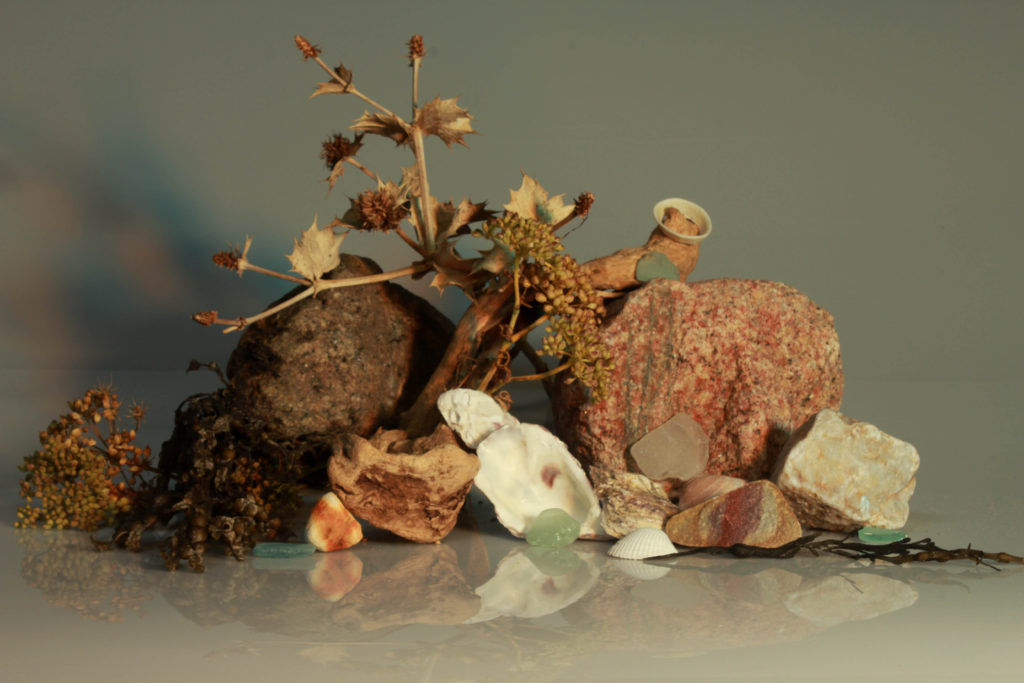
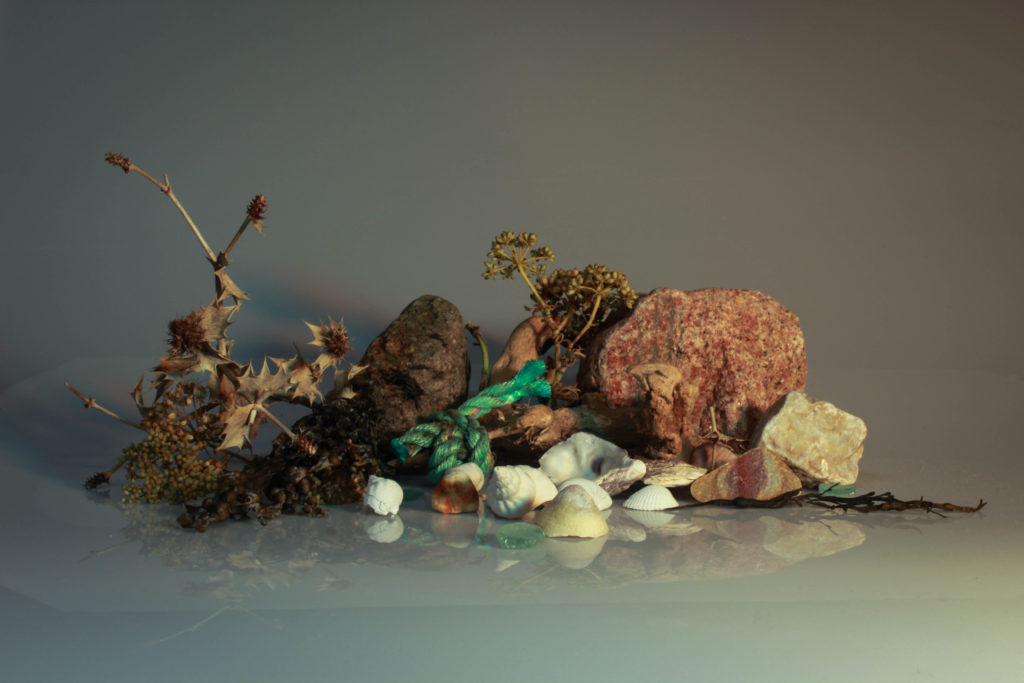
To conclude, this topic of still life has been very interesting. I enjoyed studying different photographers and using their ideas with mine. Here are my final images:
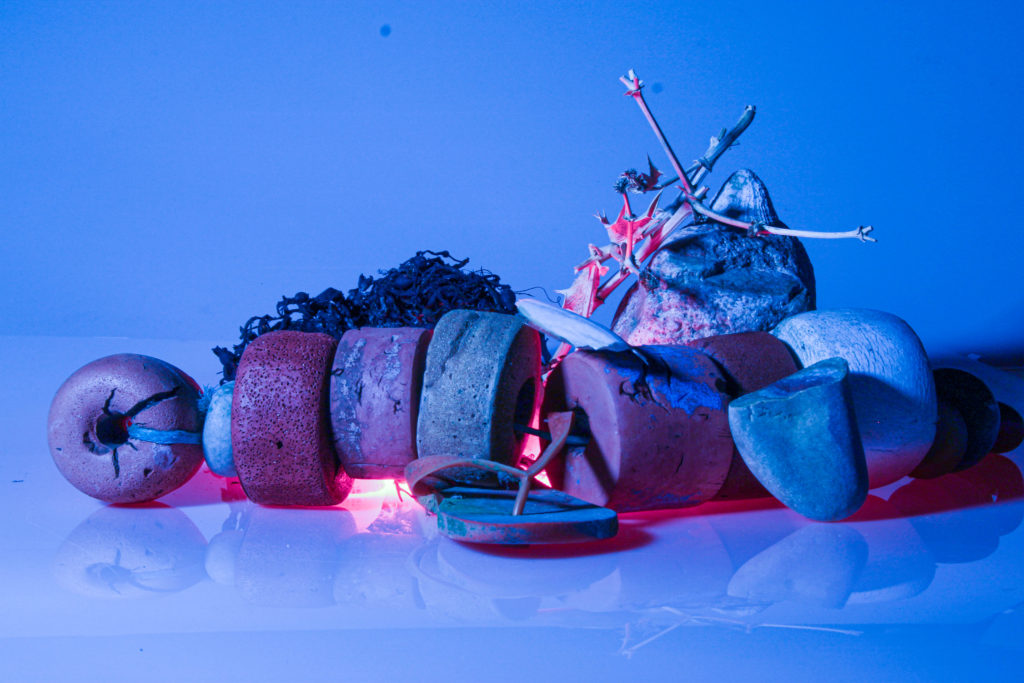
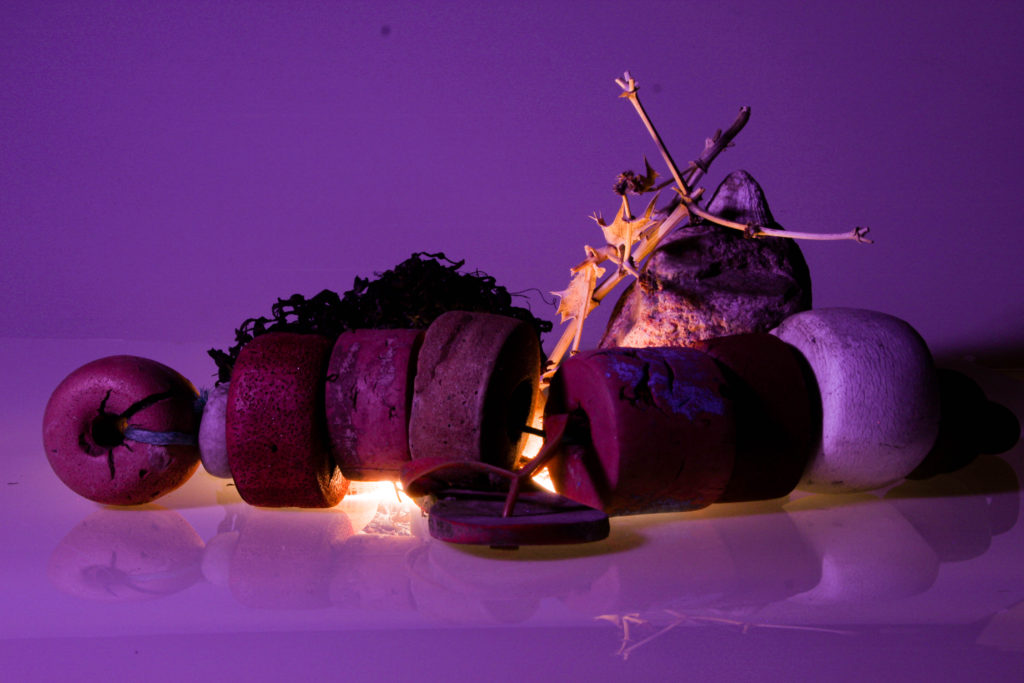
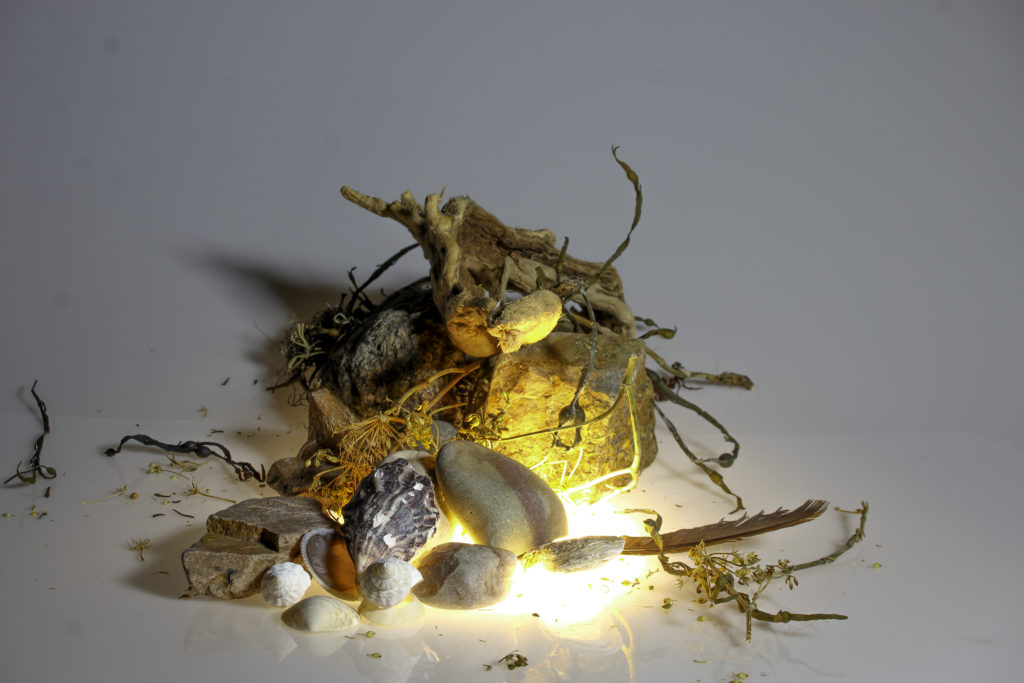
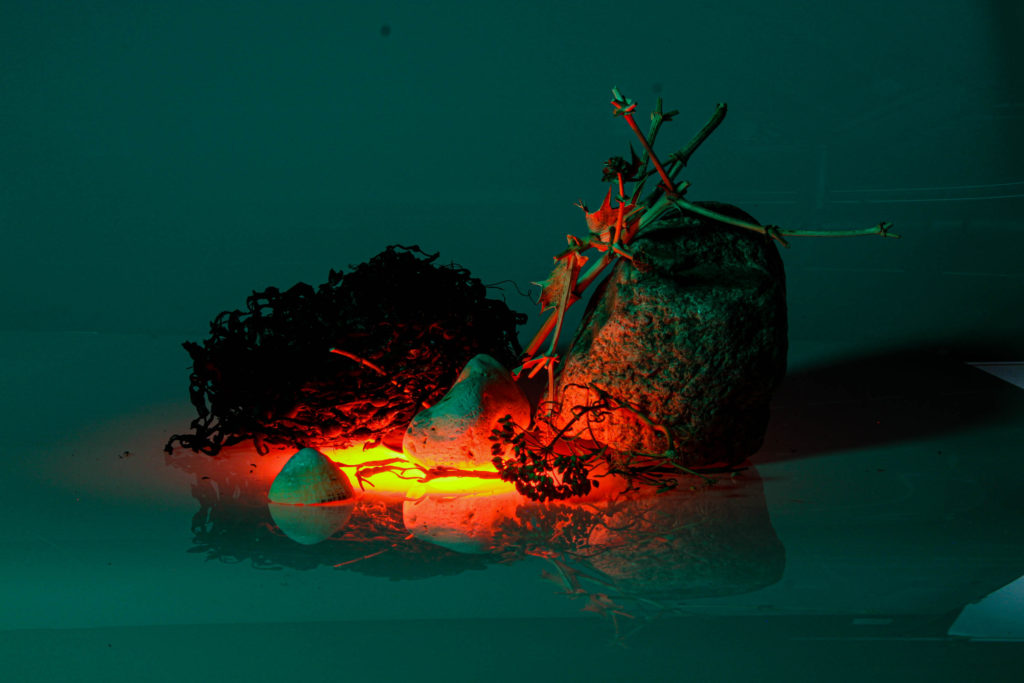
To conclude, this topic of still life has been very interesting. I enjoyed studying different photographers and using their ideas with mine. Here are my final images:



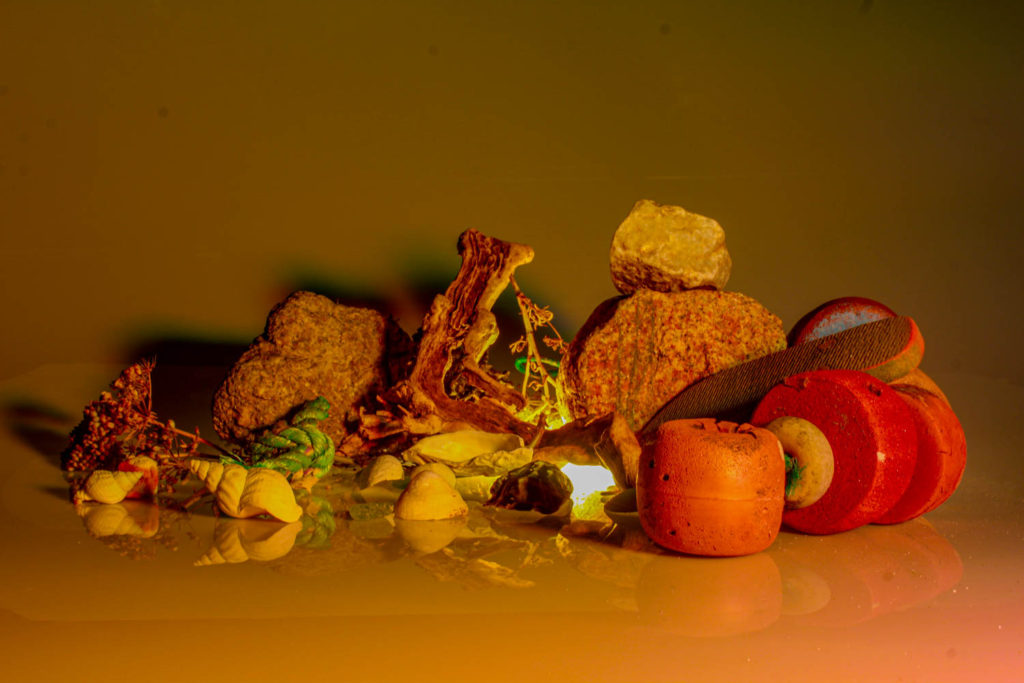
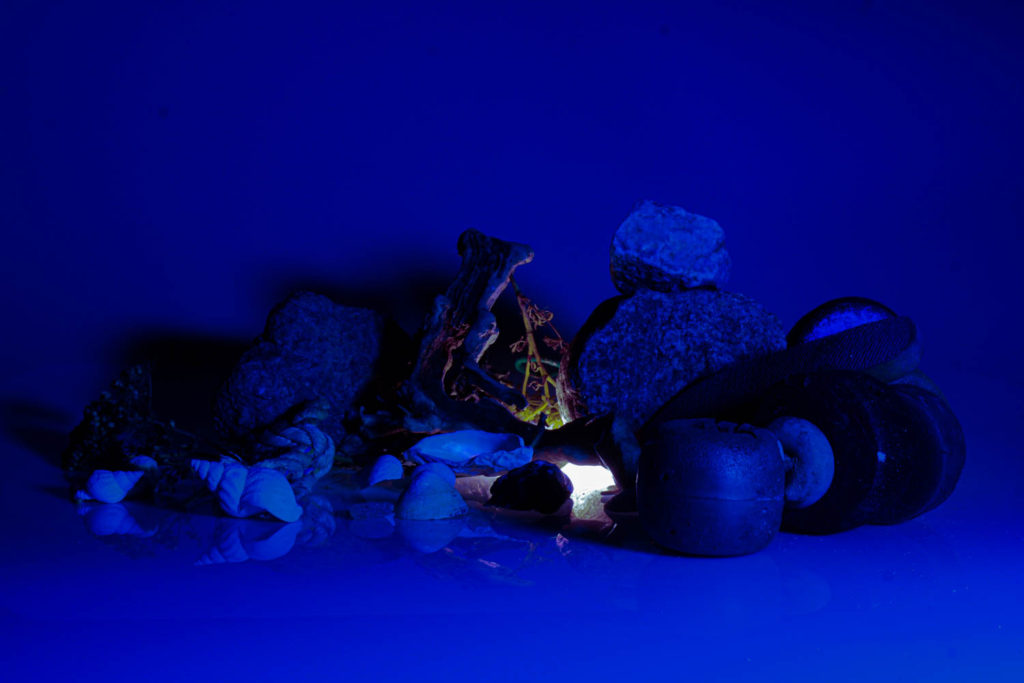
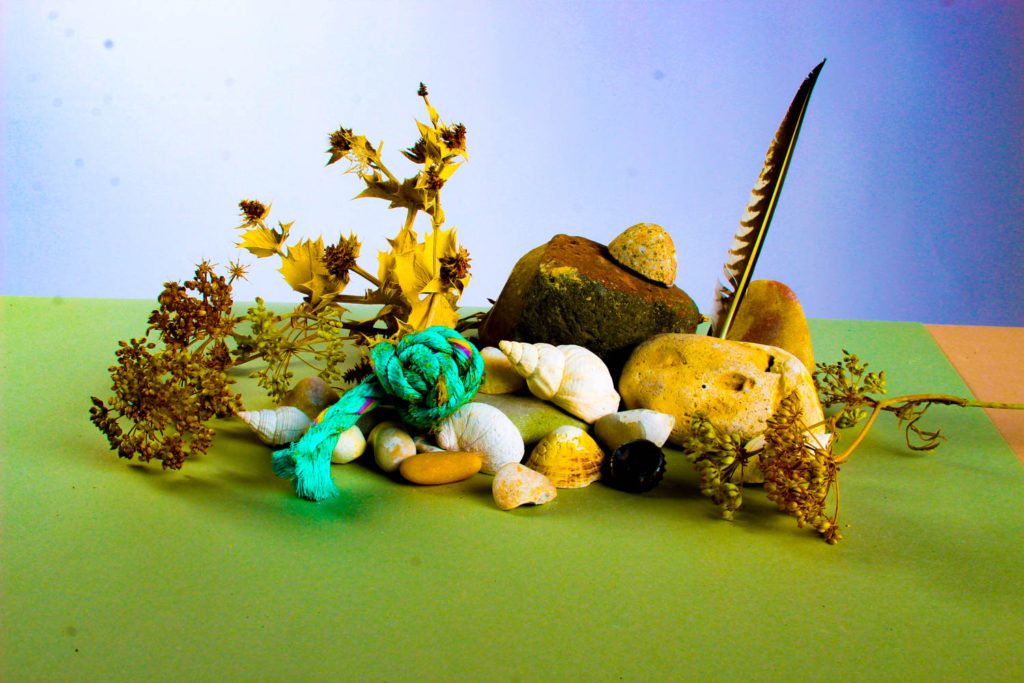
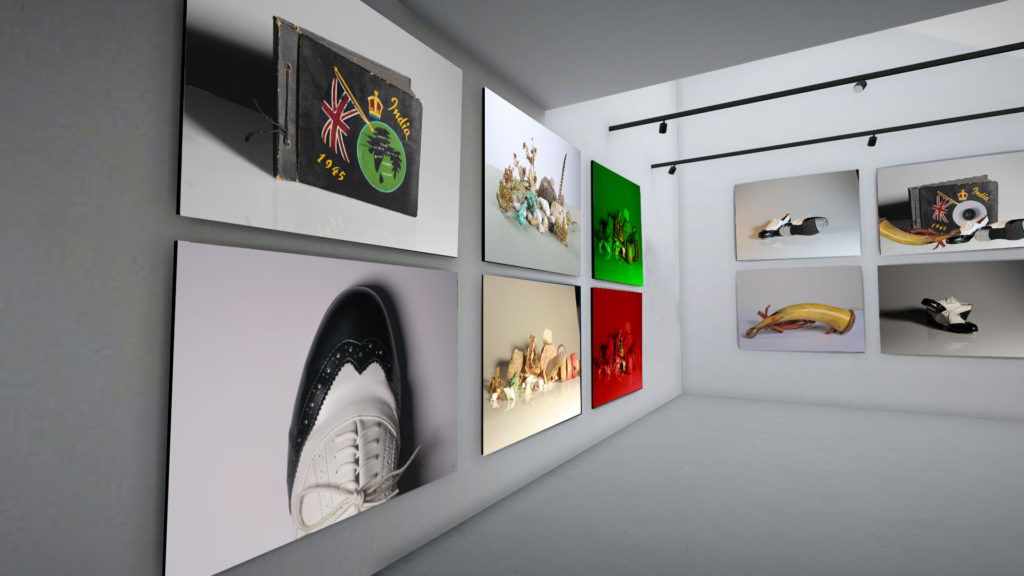
I took some of my best photos taken so far and created a virtual gallery photo with them. I took a picture of a template of an art gallery and copied and pasted my photos on top of where the original pictures where.
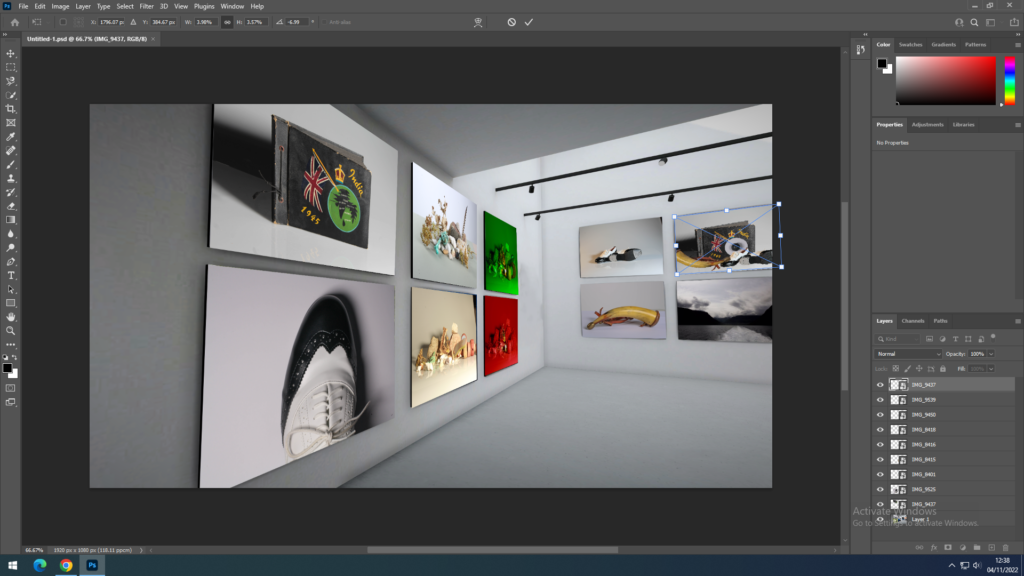
I edited each picture to fit the perspective of the angled view by using the transformation, perspective and skew tool.
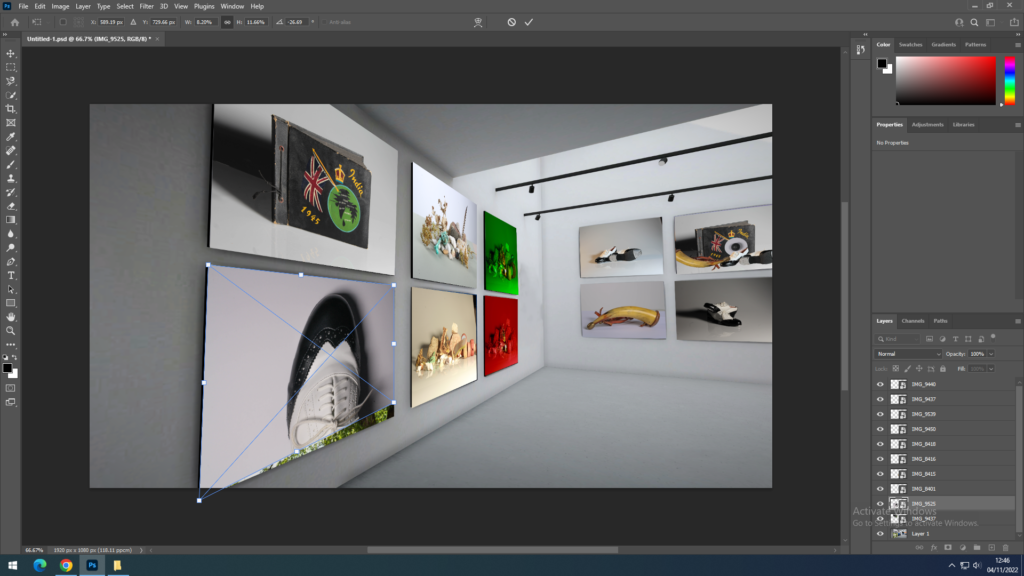
Finished product:
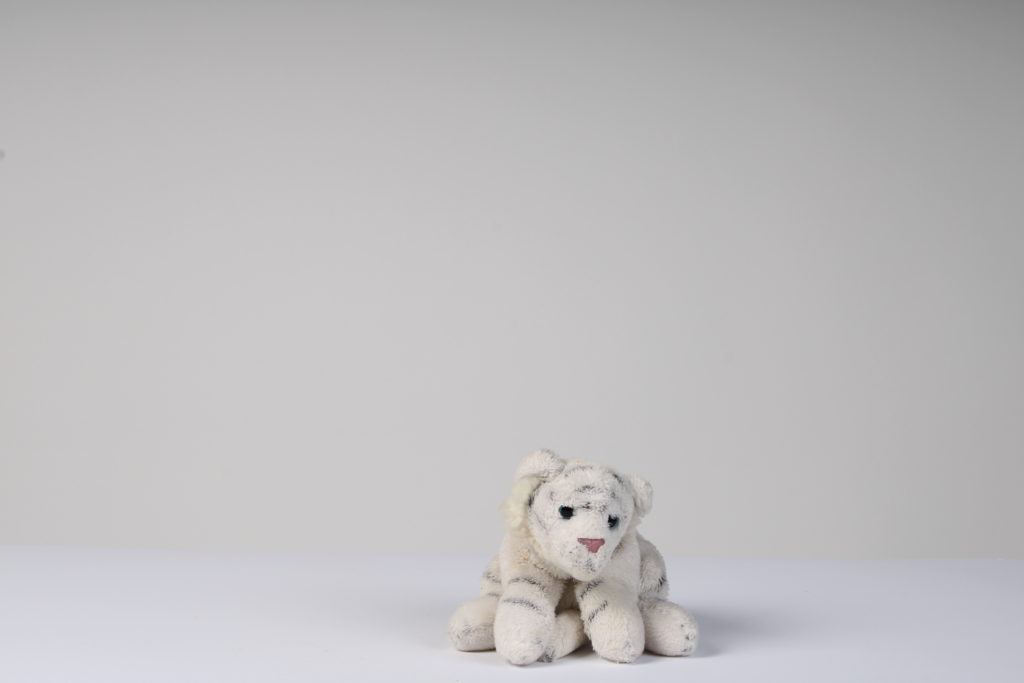
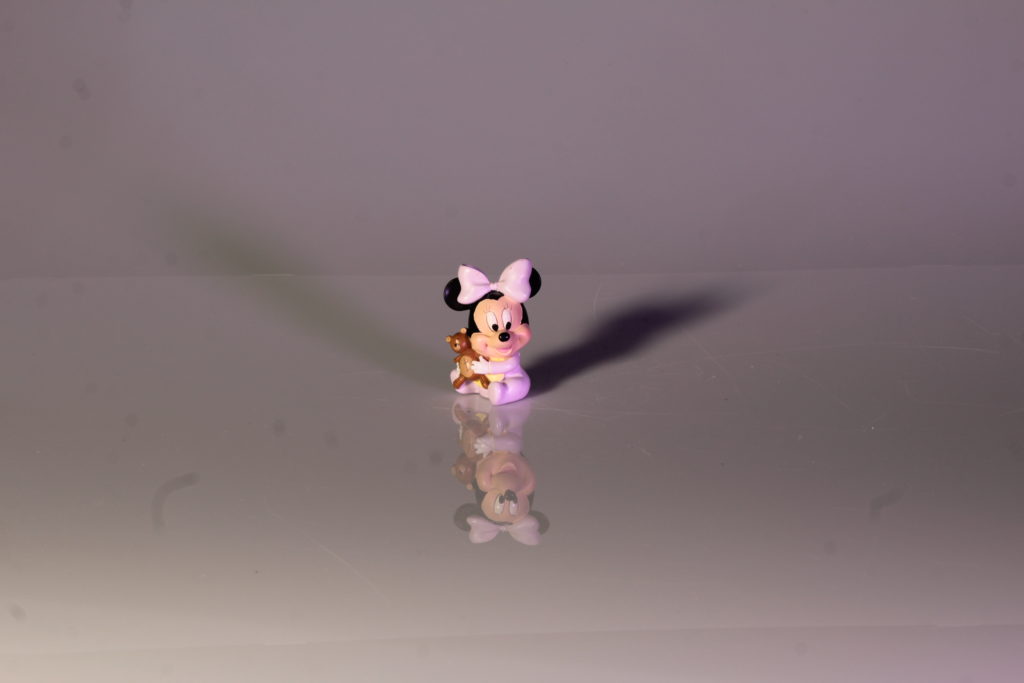
The photoshoot
Editing the images
Final images


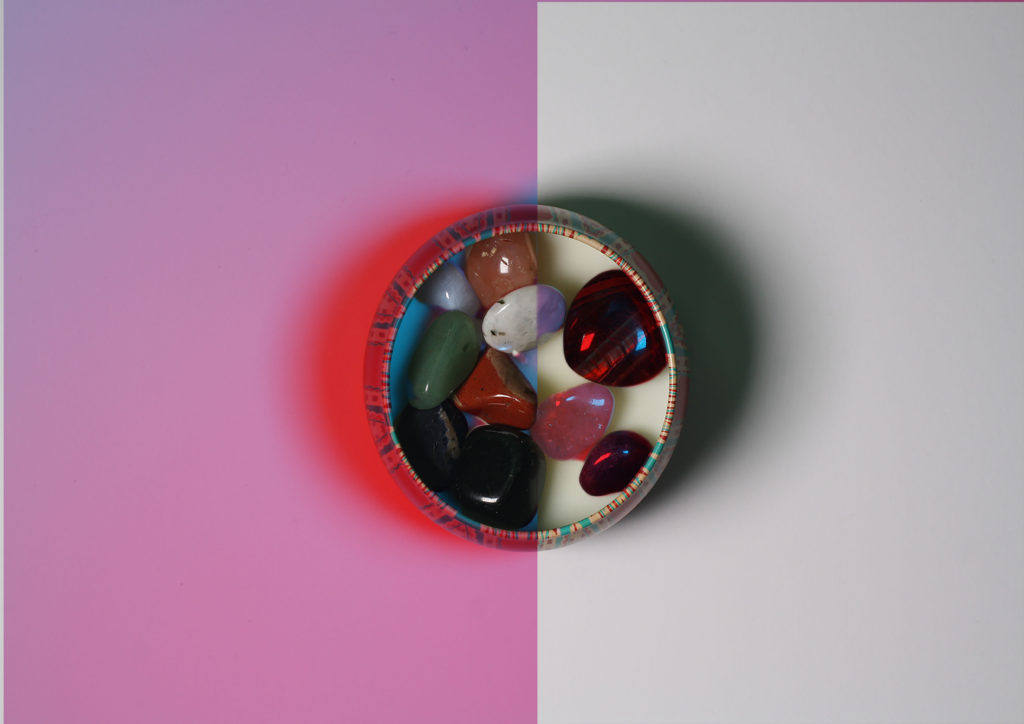
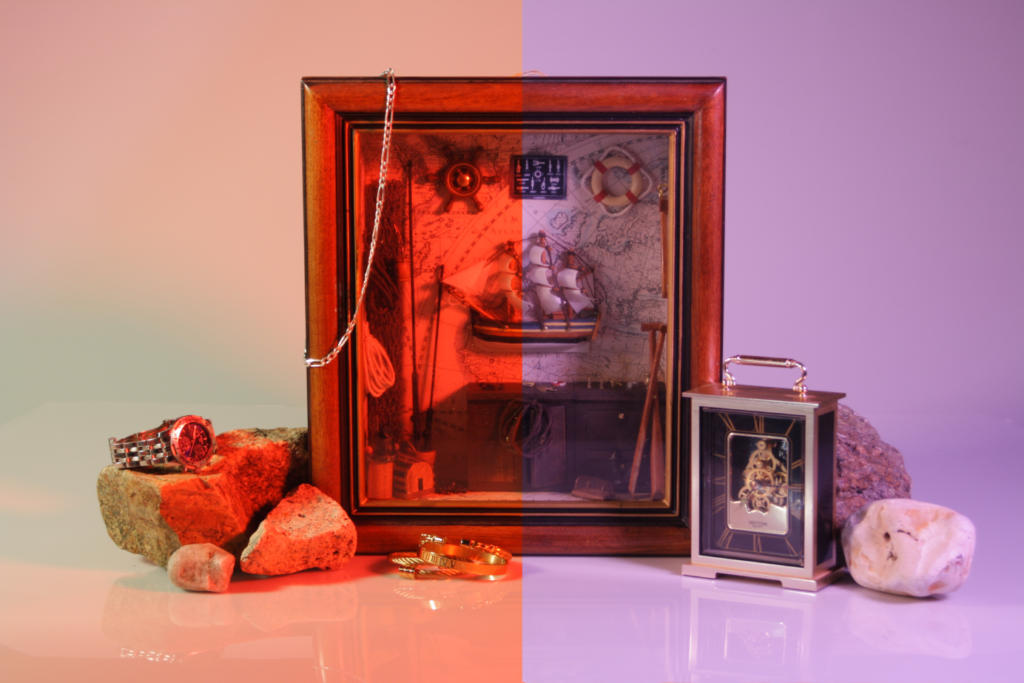
We experimented with editing on photoshop using shape selection tools and other images. I started by mixing two of my similar personal object/still life shoot images together, the key difference being the colour palettes, and split the photographs in half, so that each half features a different set of colours.
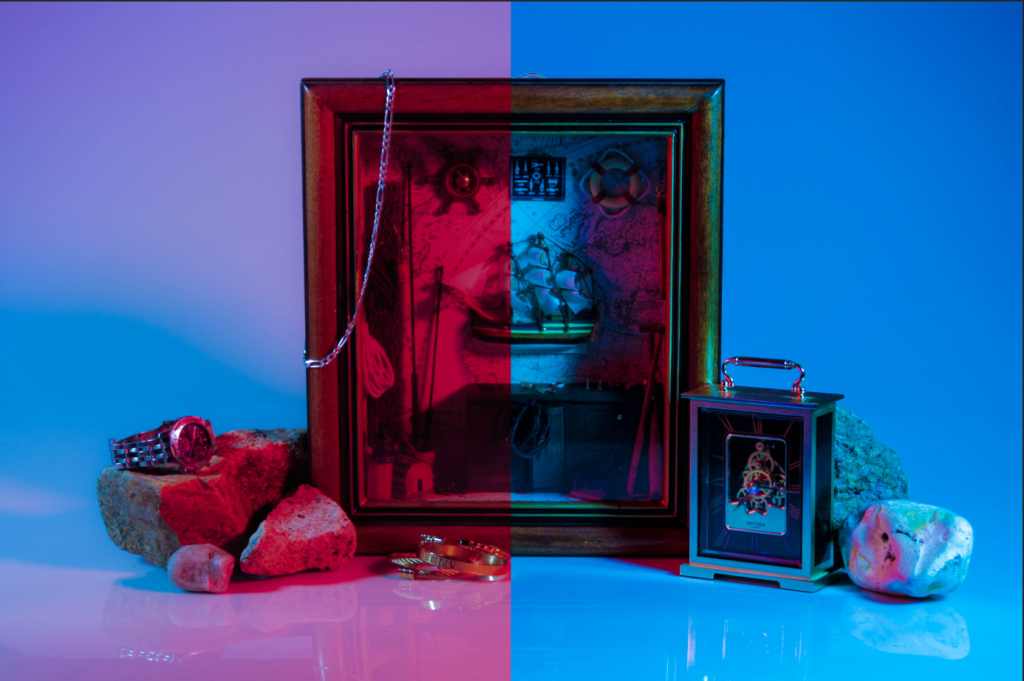
I wanted to go further with this, so I tried it with two more vibrant and edited photos, and liked the result more.
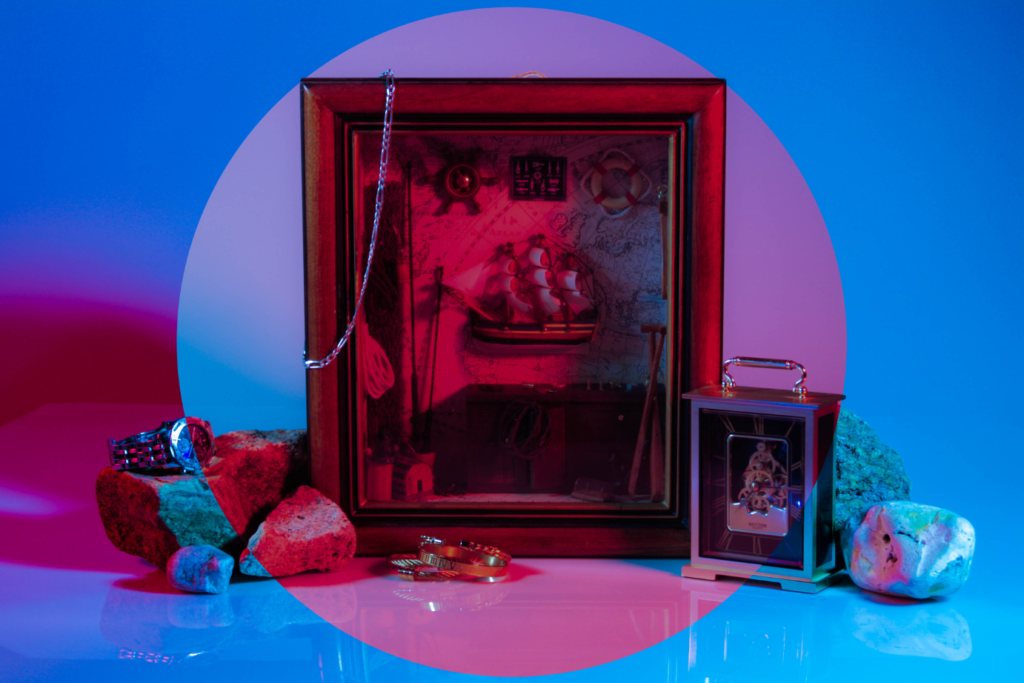
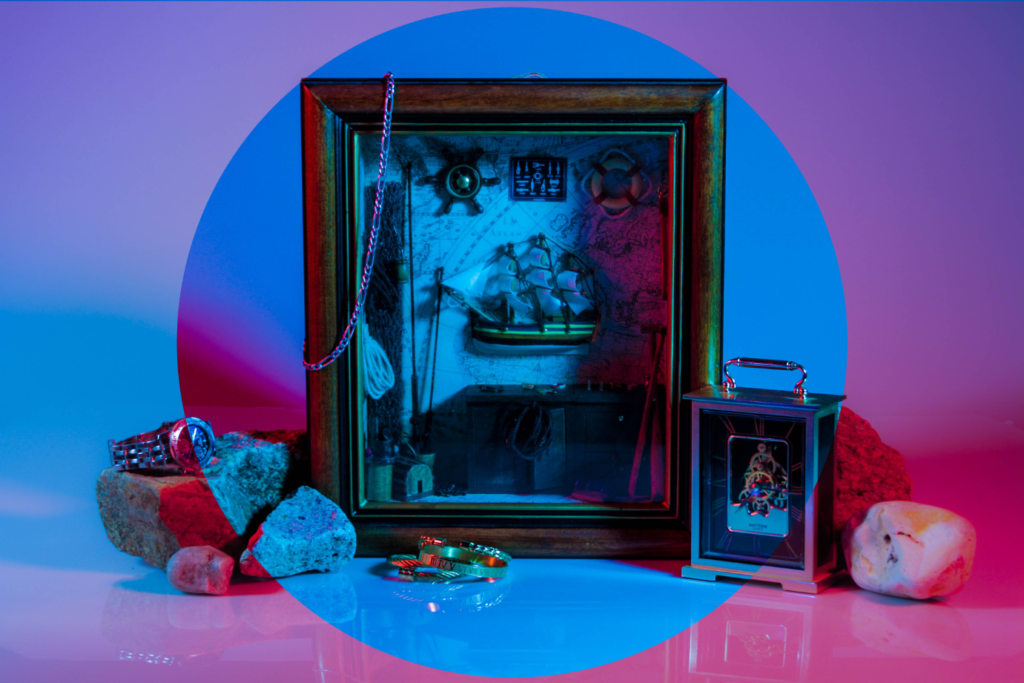
From there I wanted to experiment with shapes, so I created two similar pieces using a large circle in the middle of the image to split them.
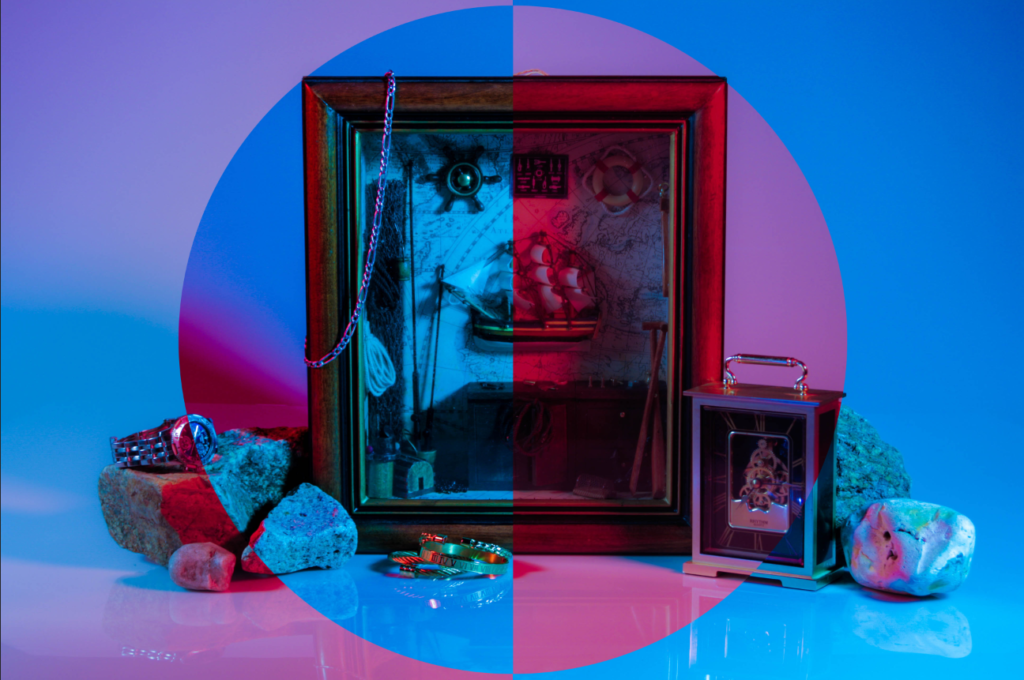
As a finale to my experiments, I decided to revisit my first experiment and split the two images across the middle, and was left with a lovely composition of blue, purple and red hues.
new objectivity was a movement in German art that arose during the 1920s as a reaction against expressionism. in photography its showing the world for what it is and not having anything that is fiction in the image.
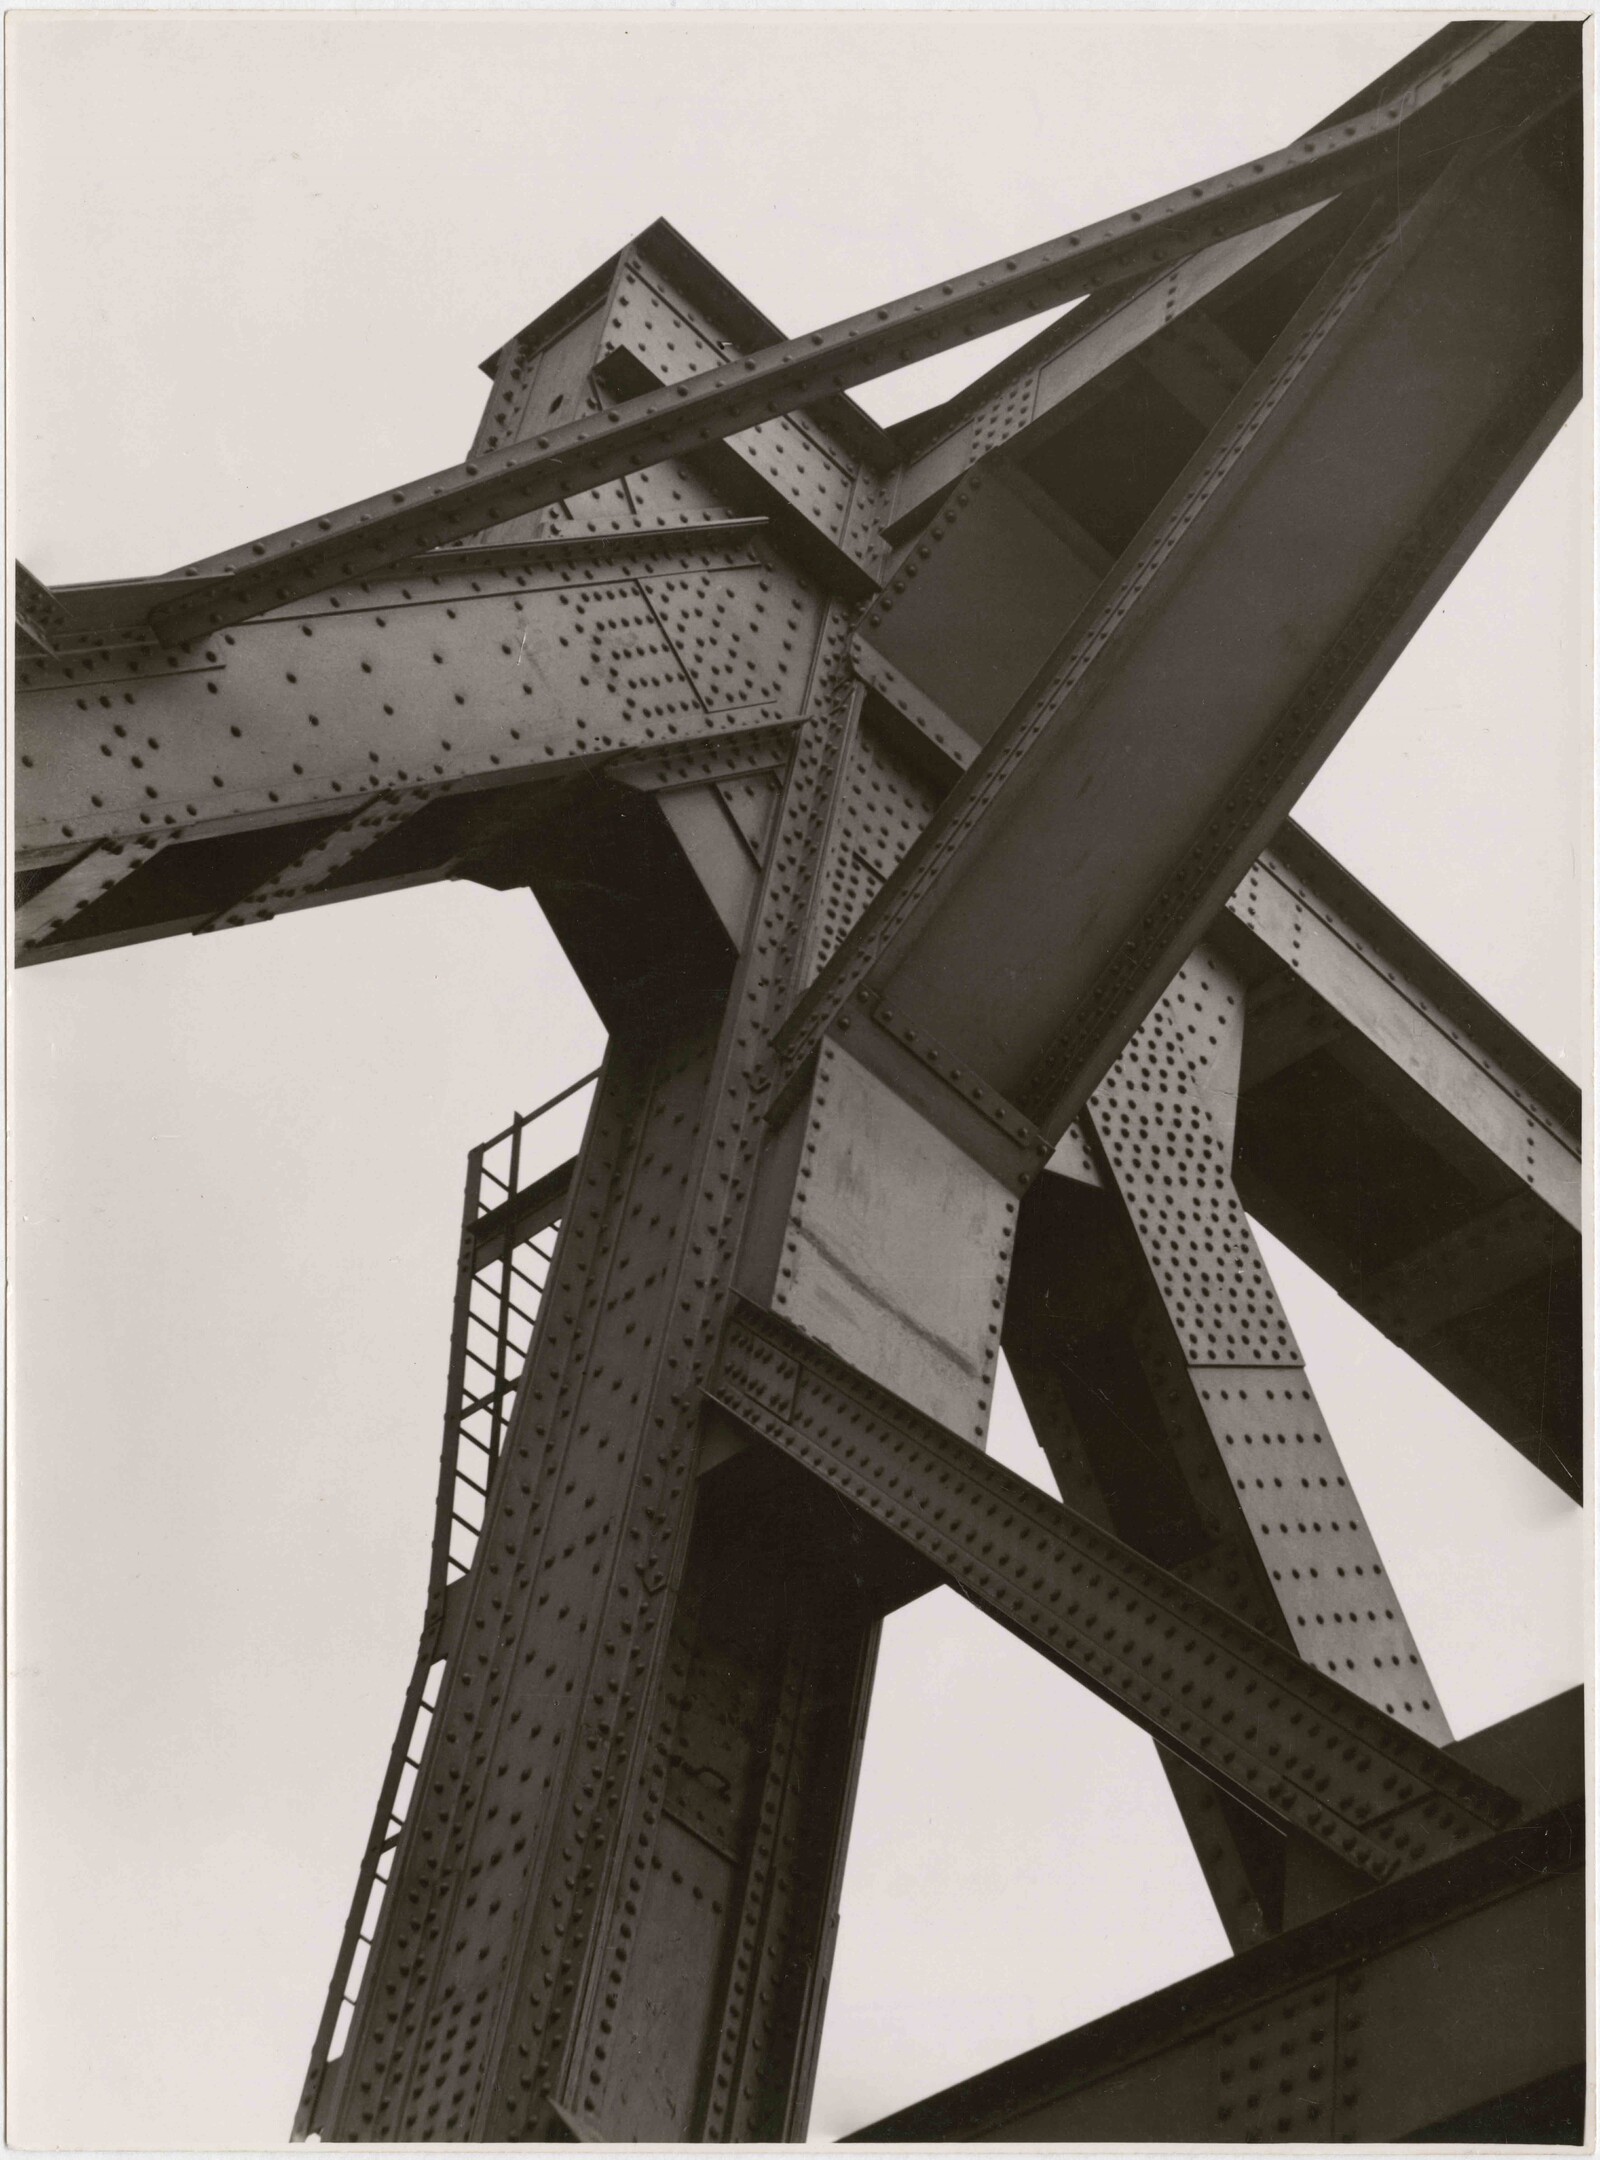
this is a photo by Albert Renger-patzsch he is one the photographers that is most associated with new objectivity photos.

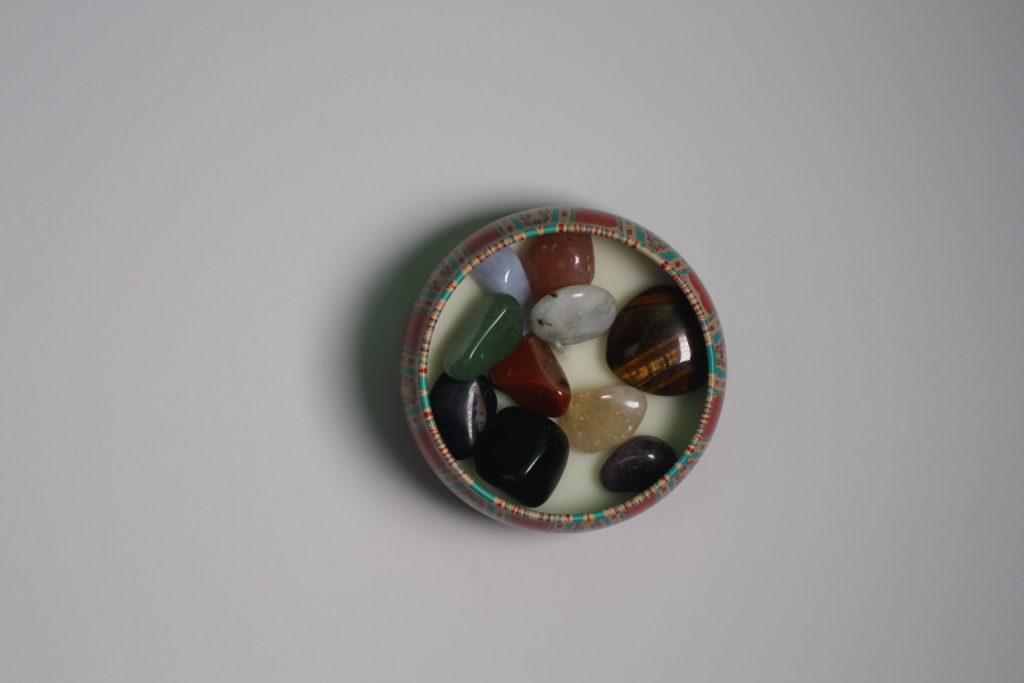
The Photos
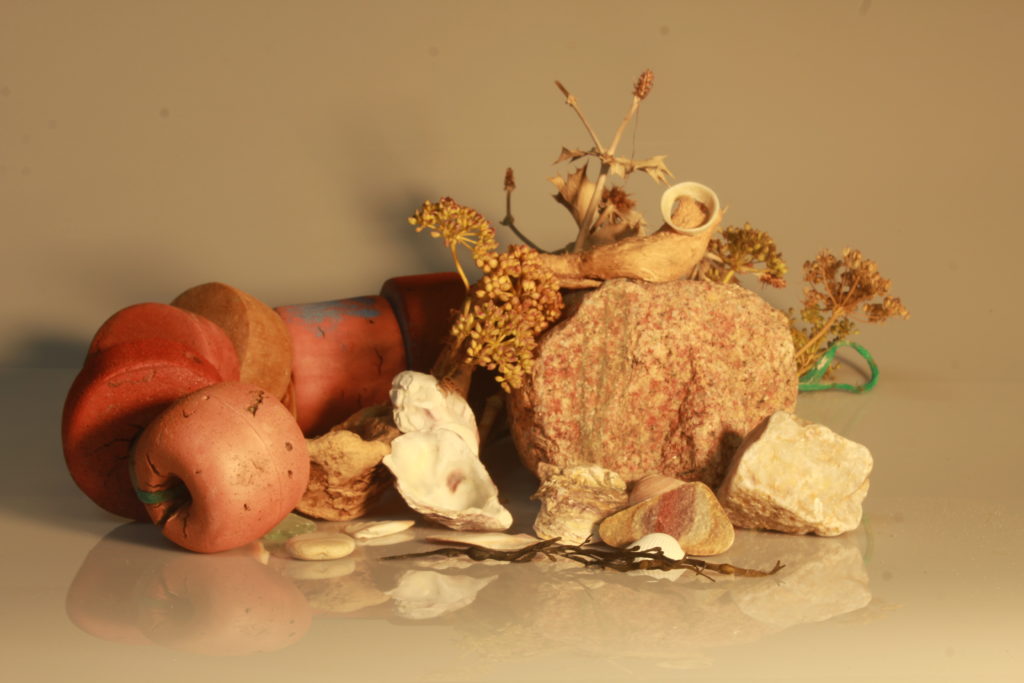
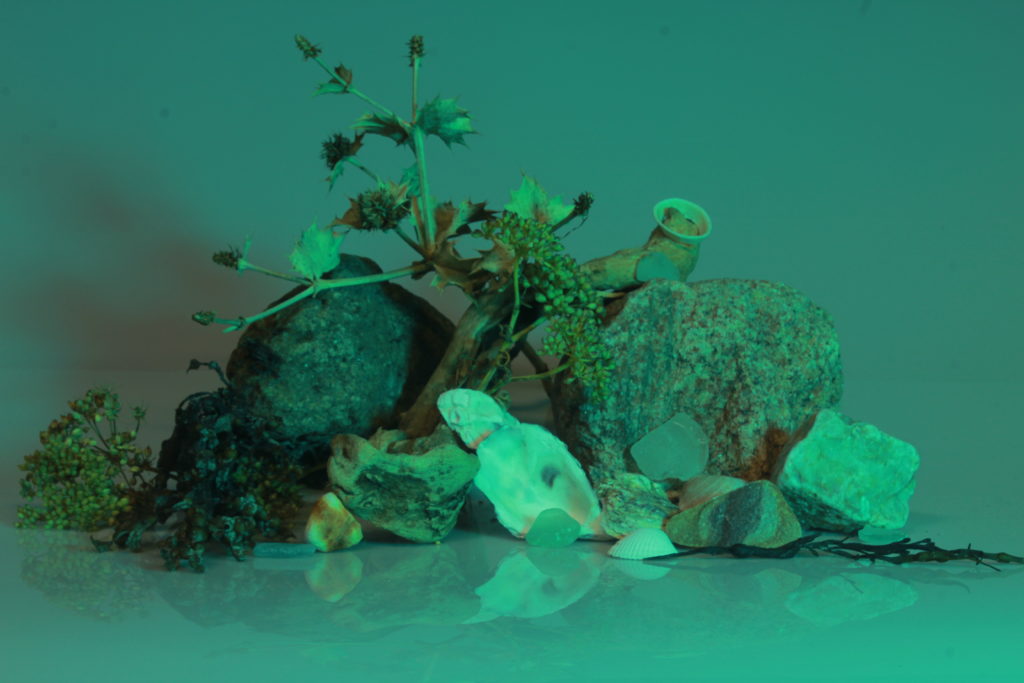
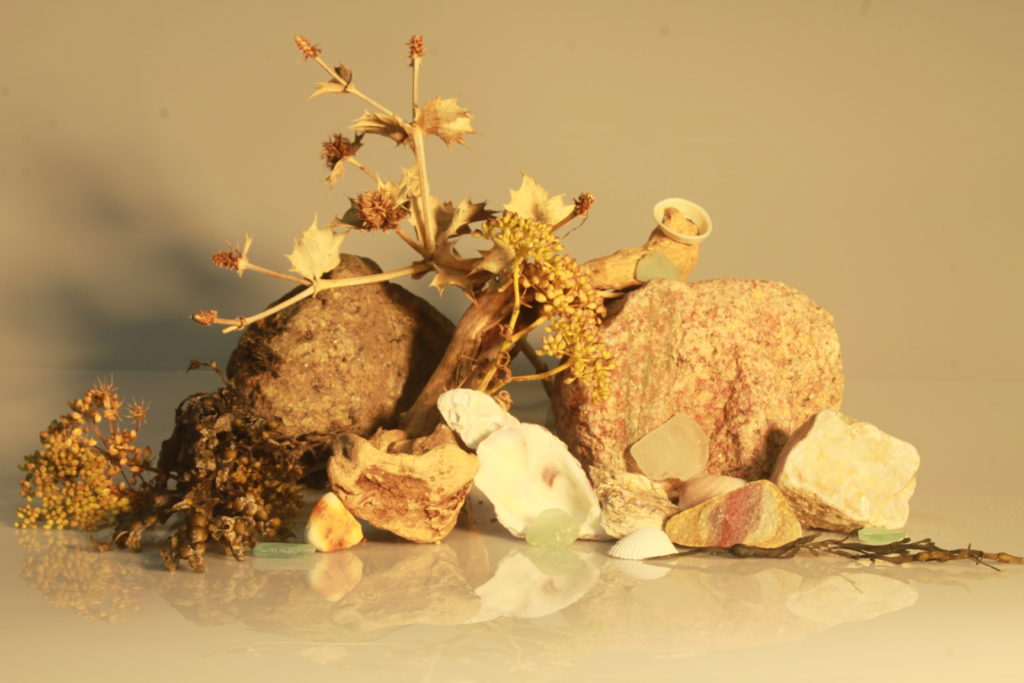
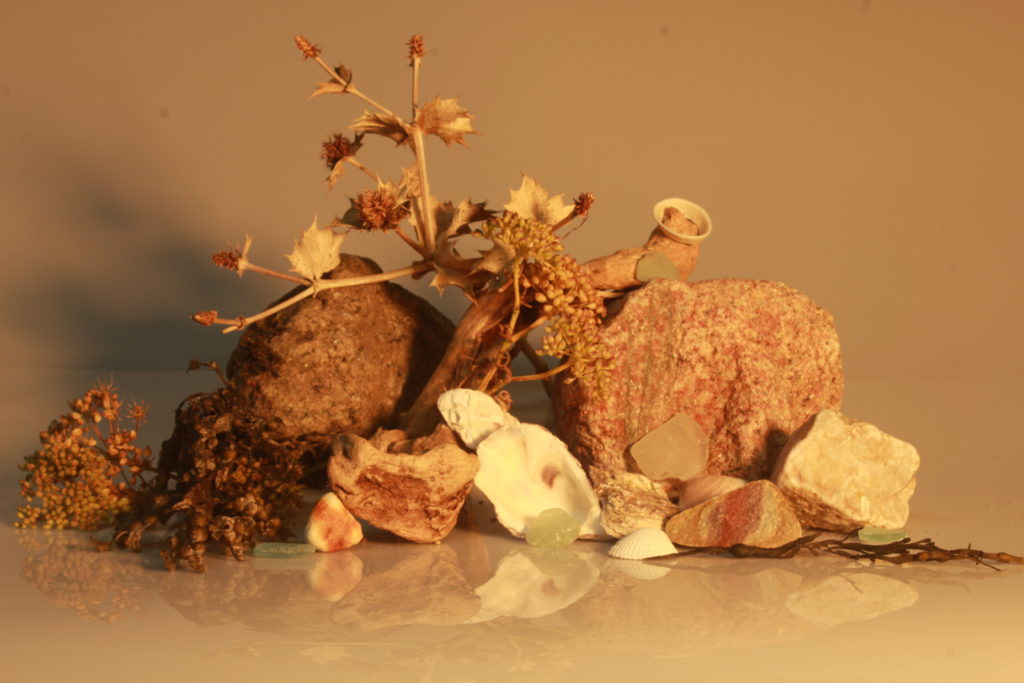
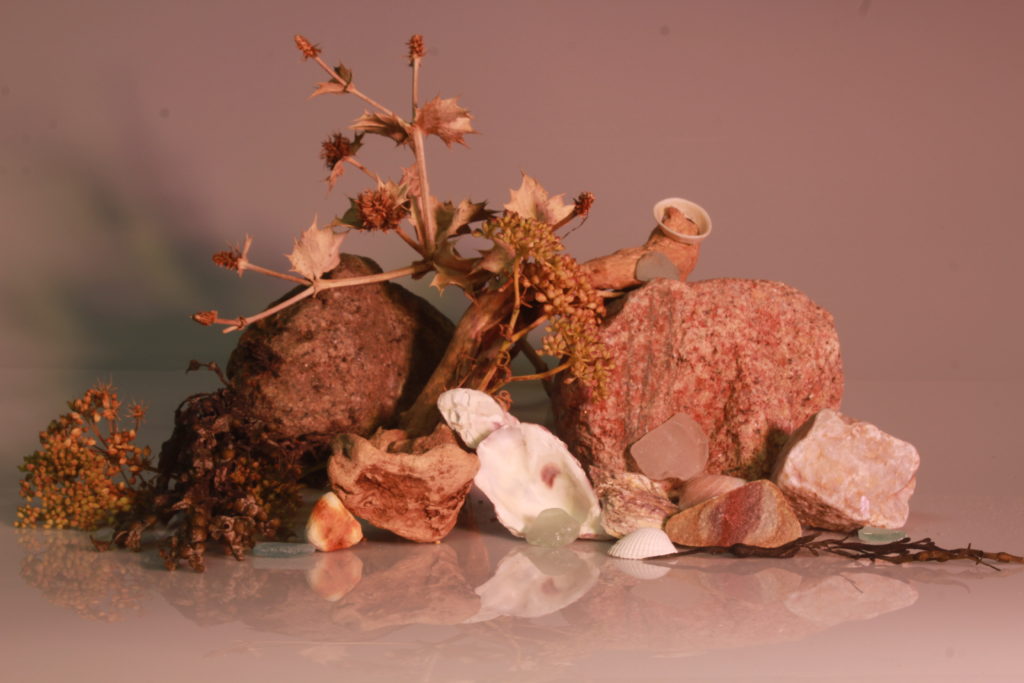
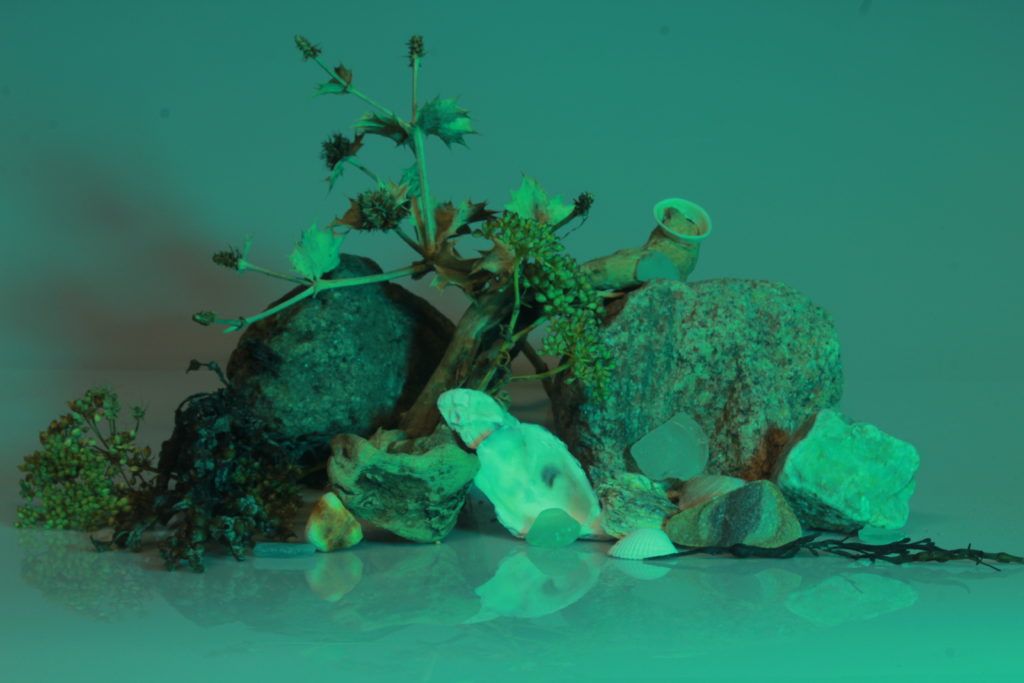
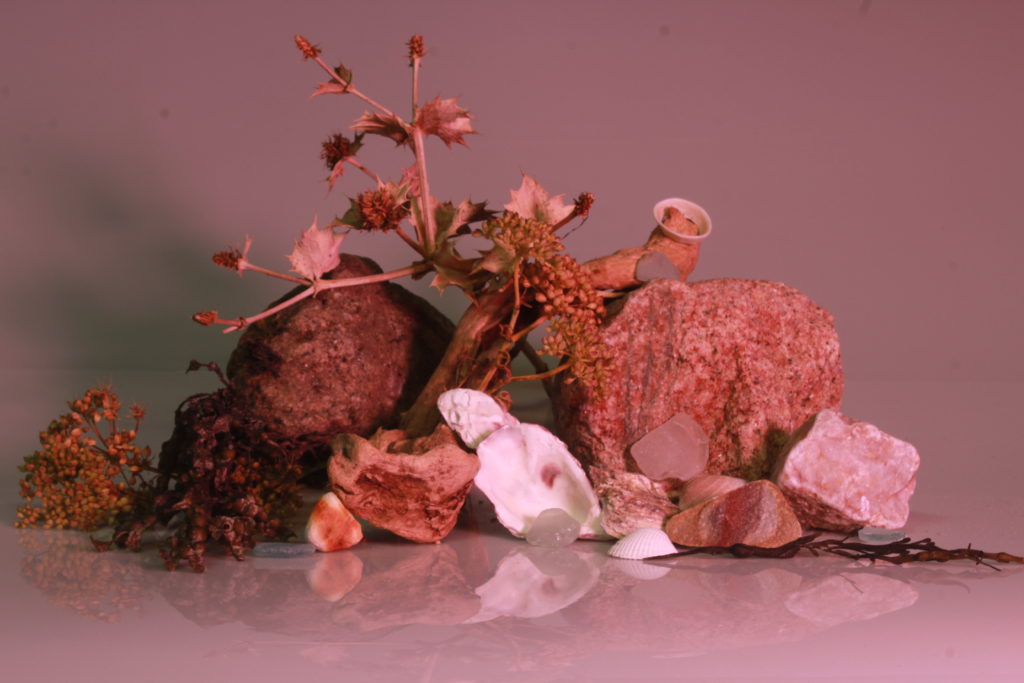
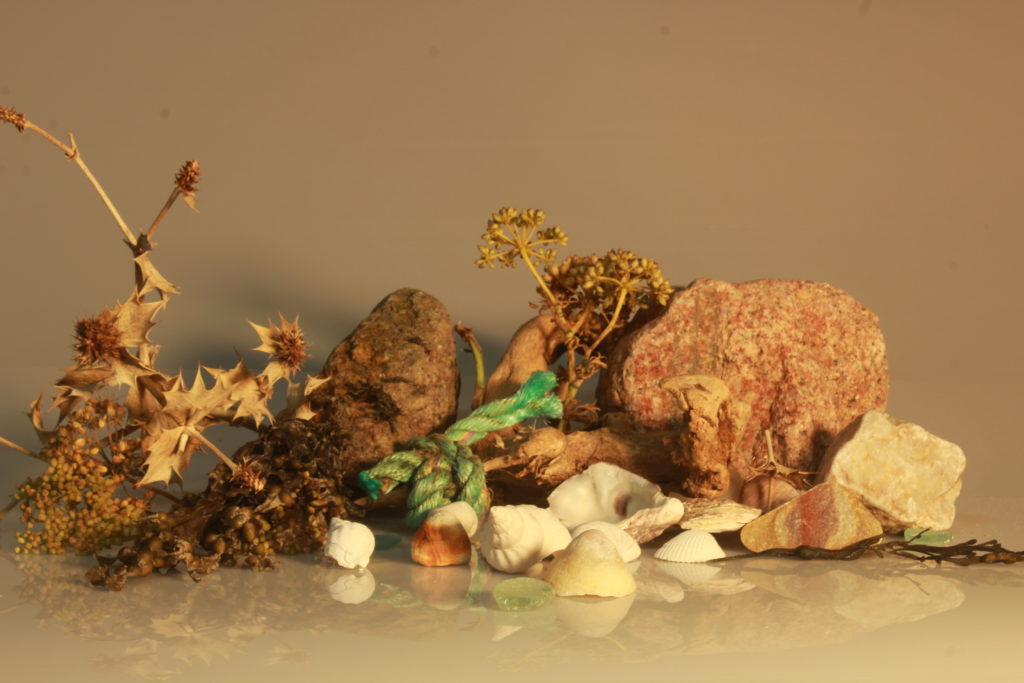
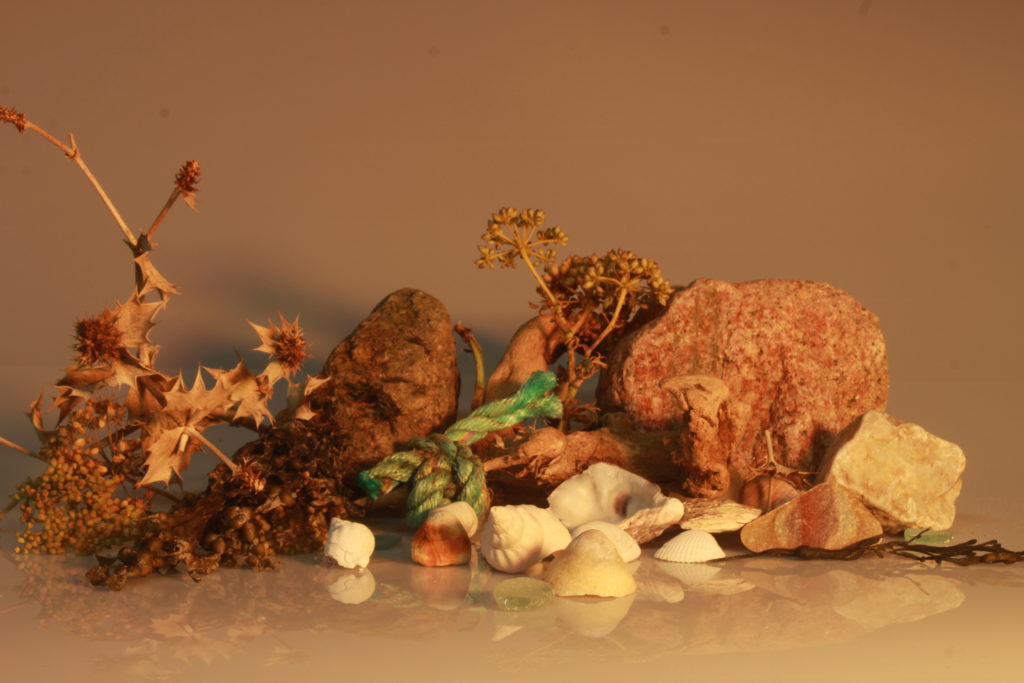
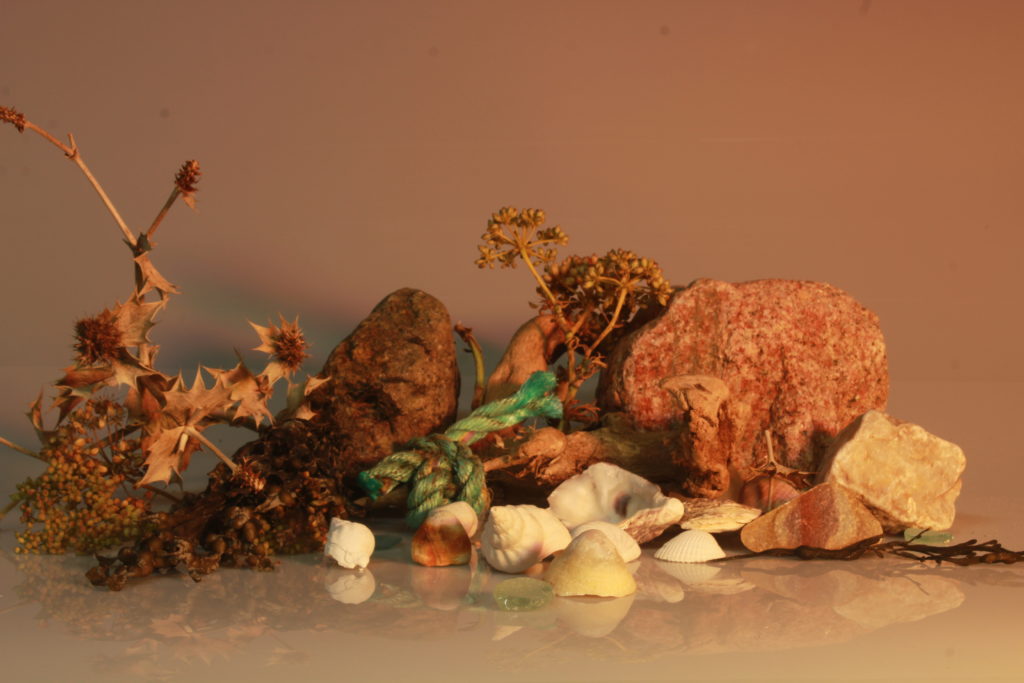
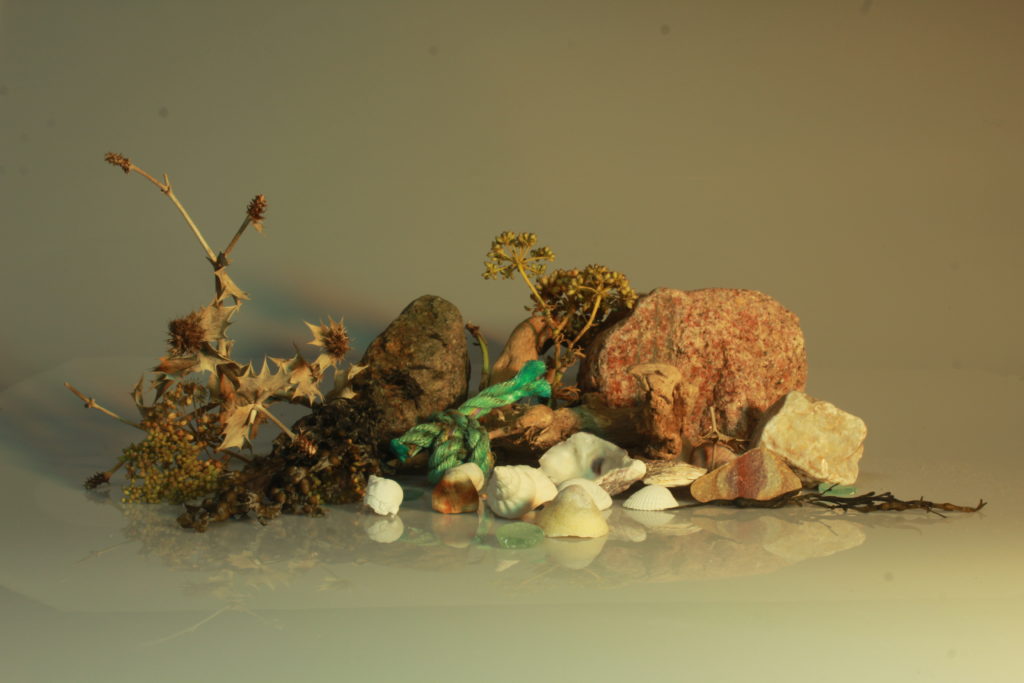
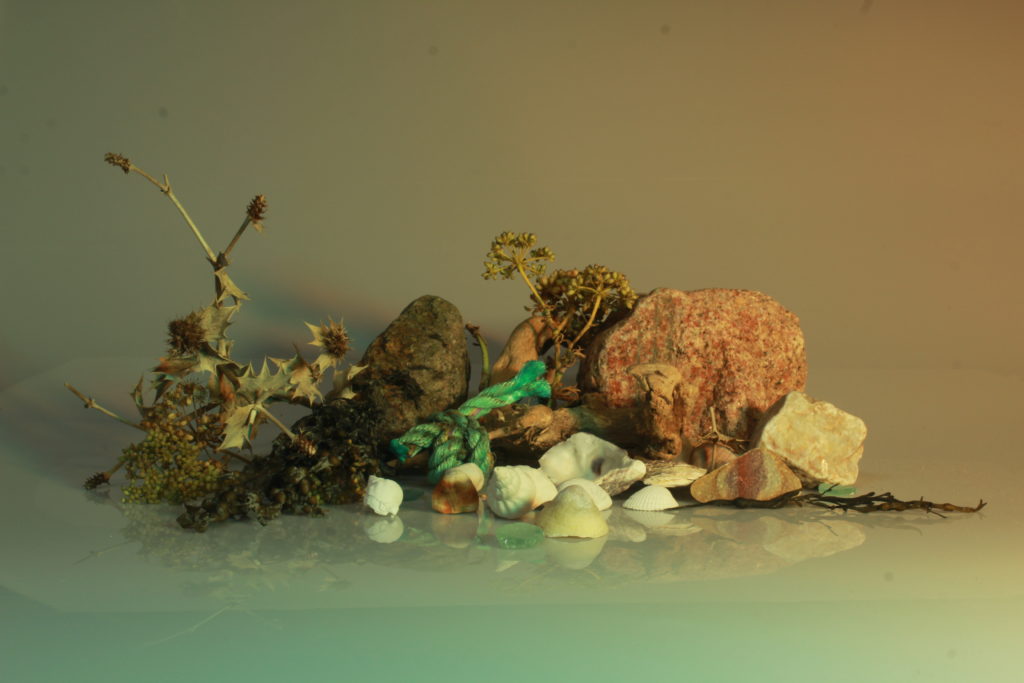
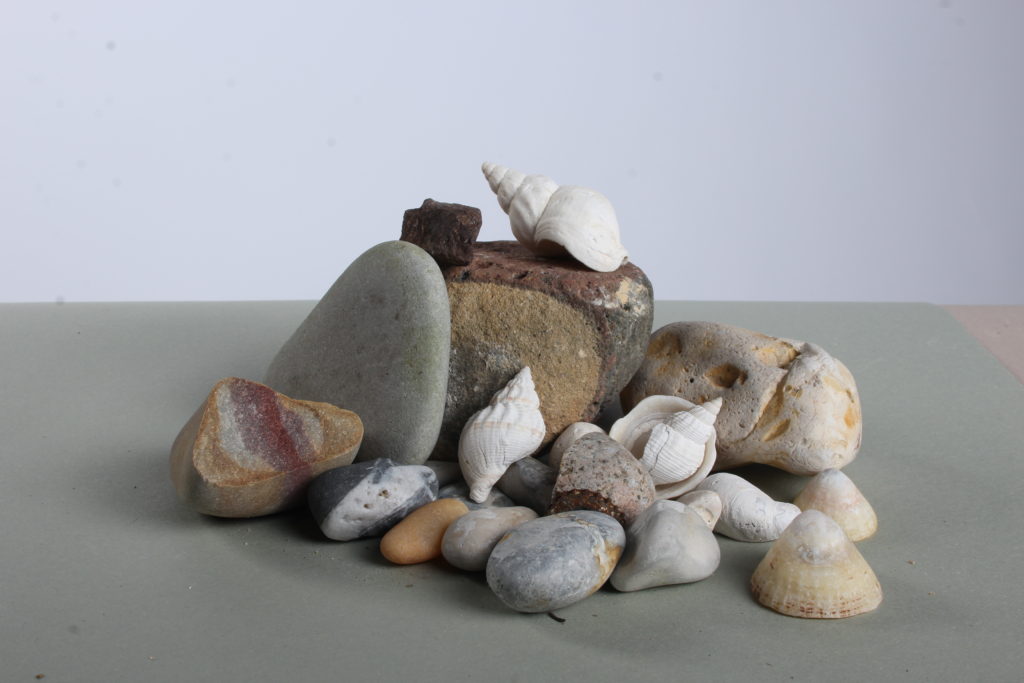
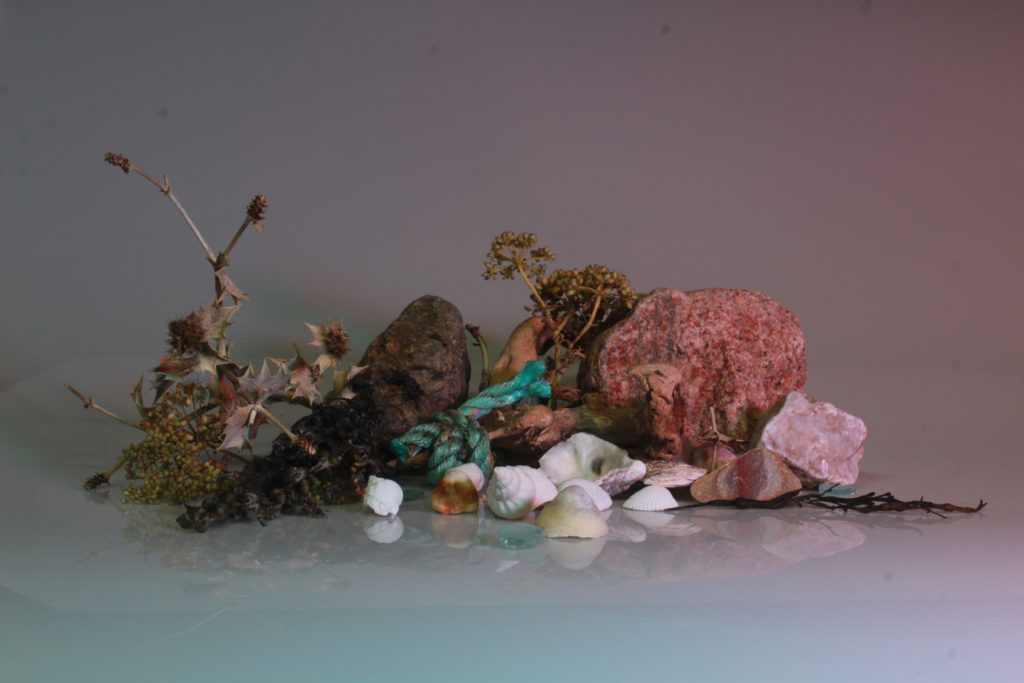
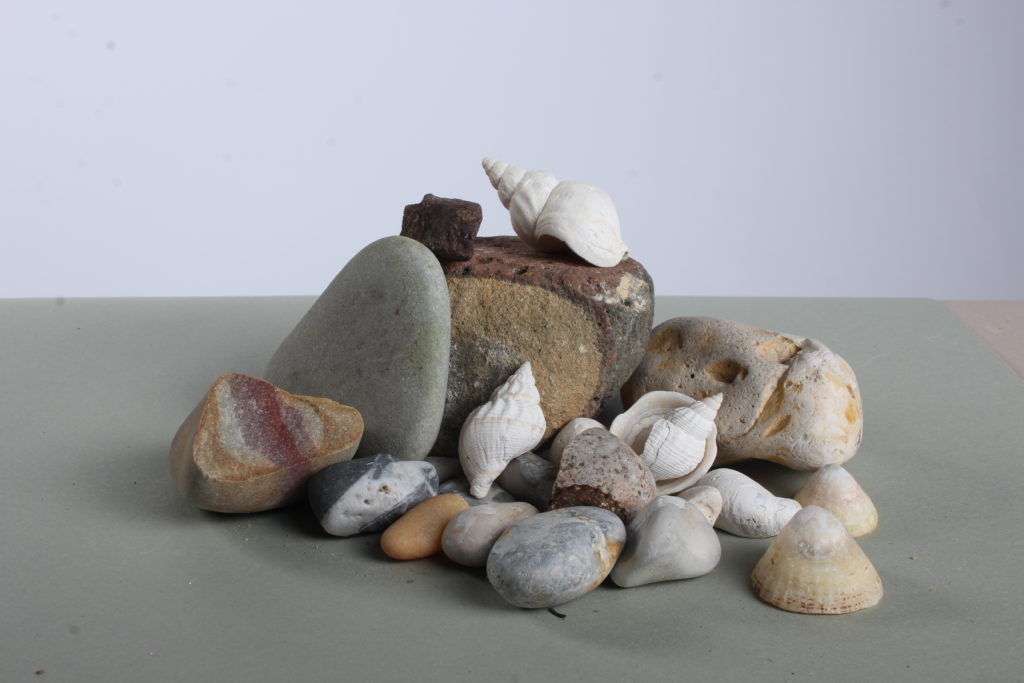
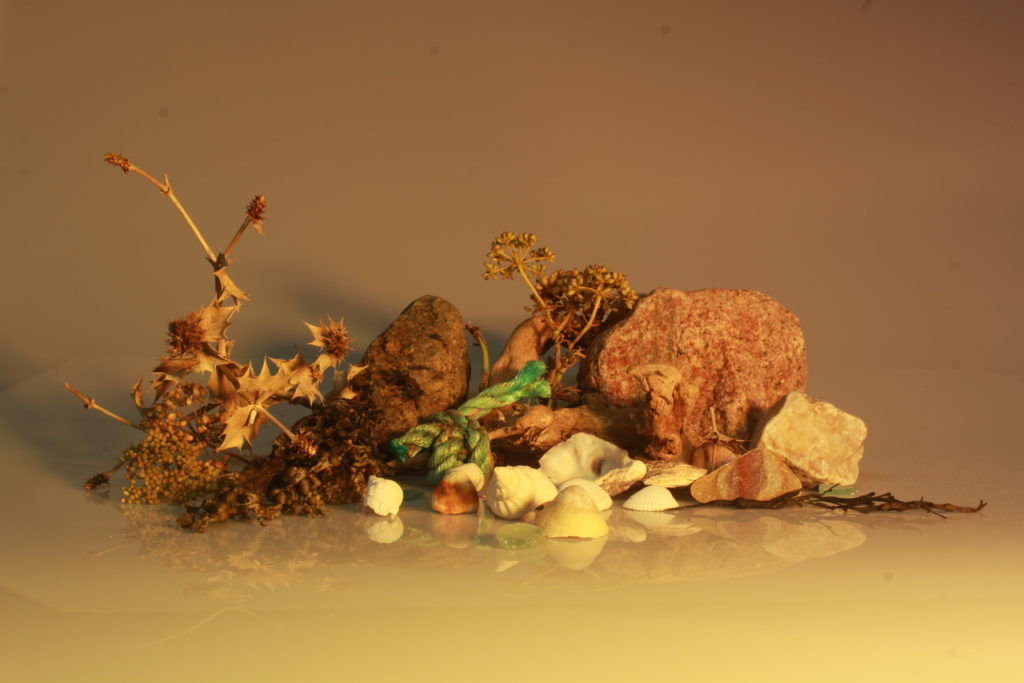
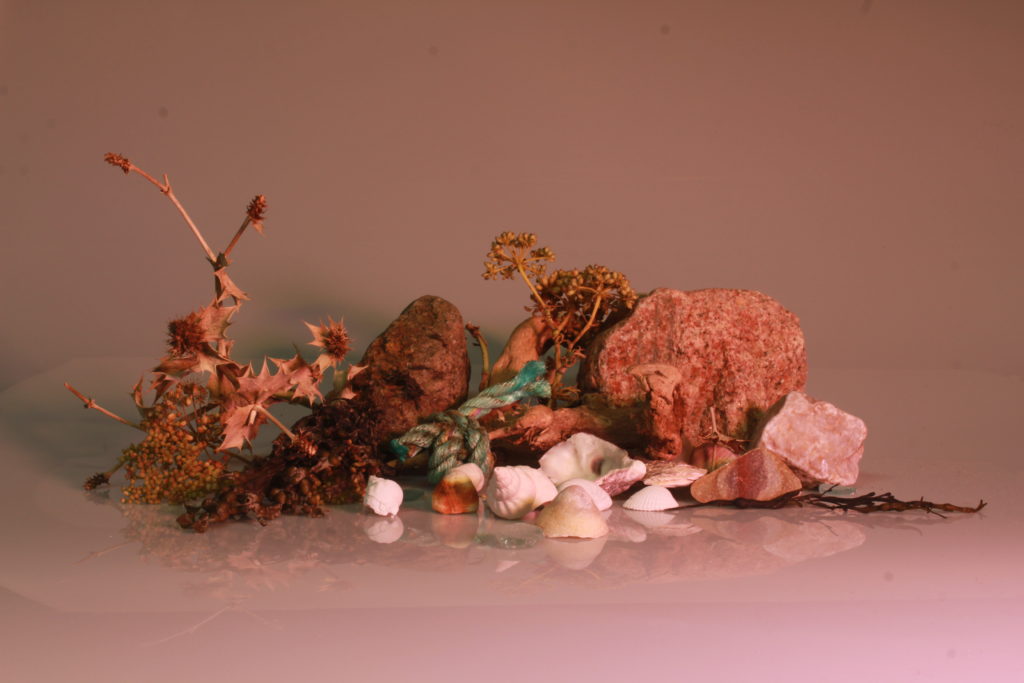
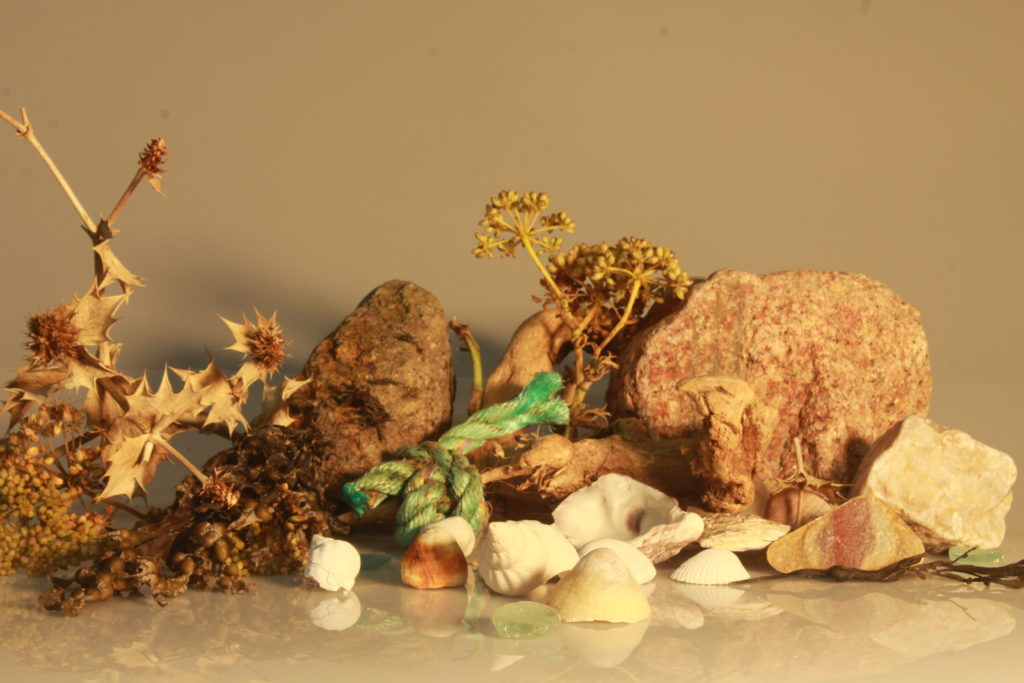
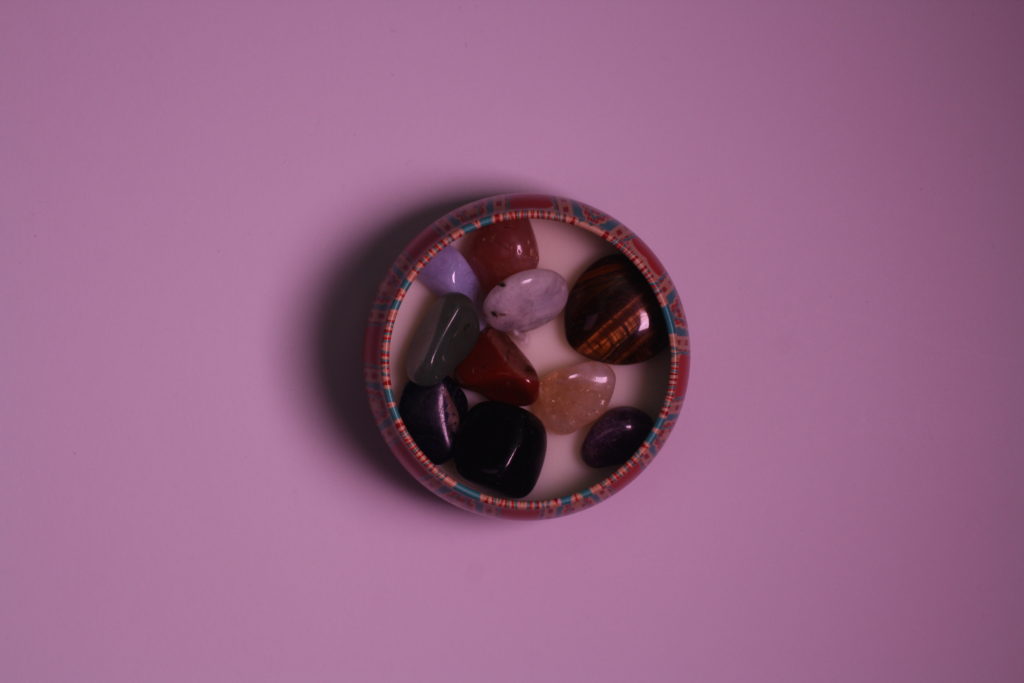
Edits
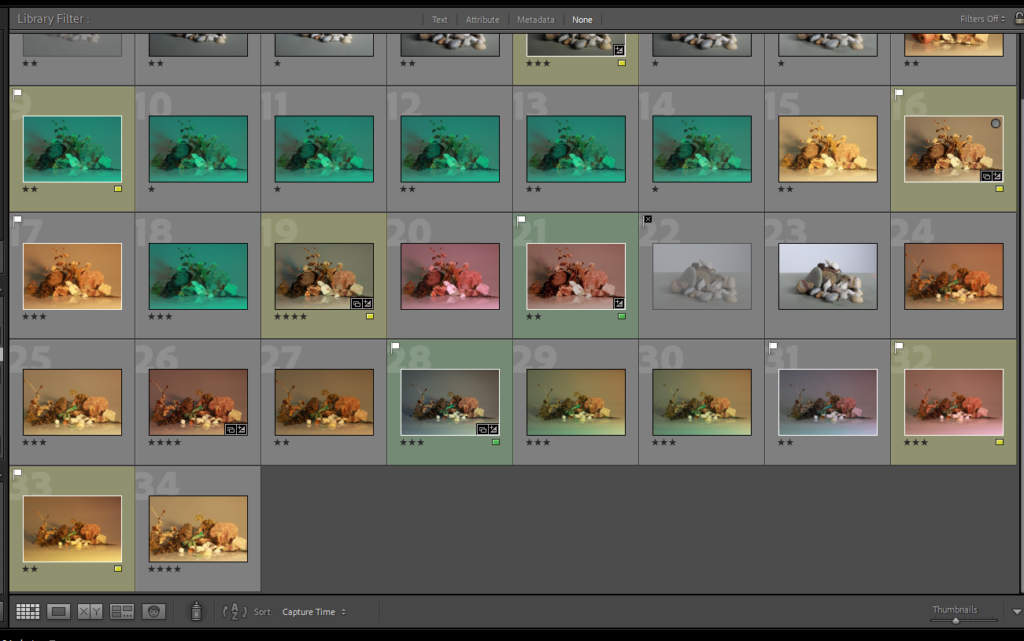
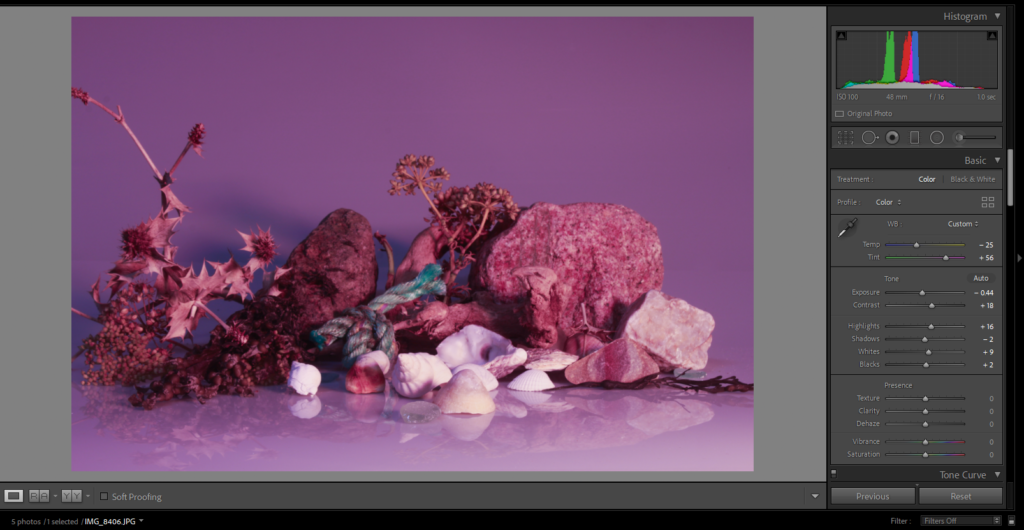
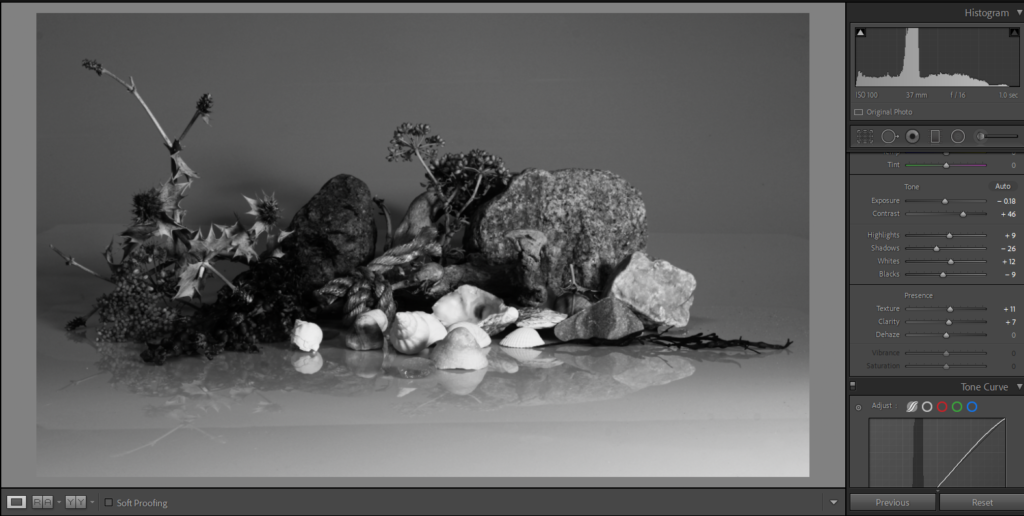
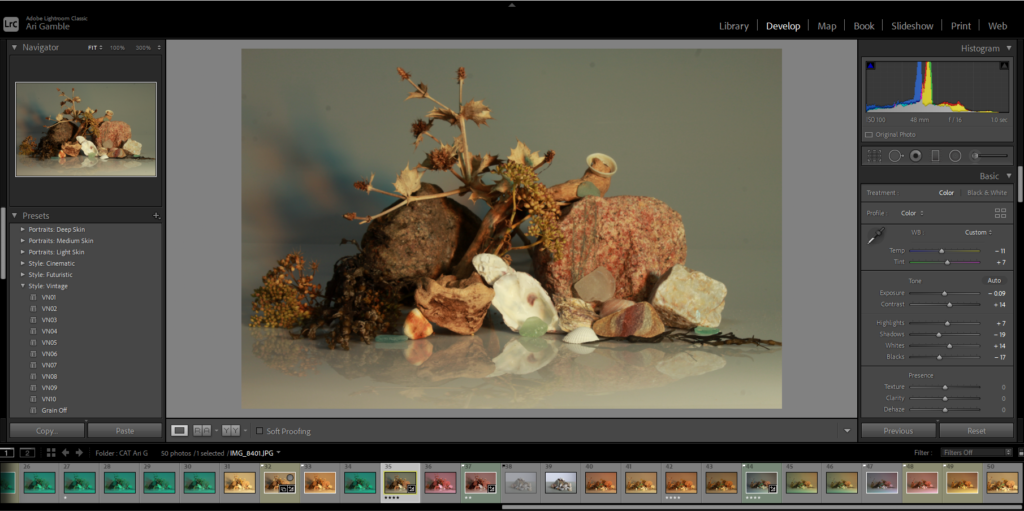
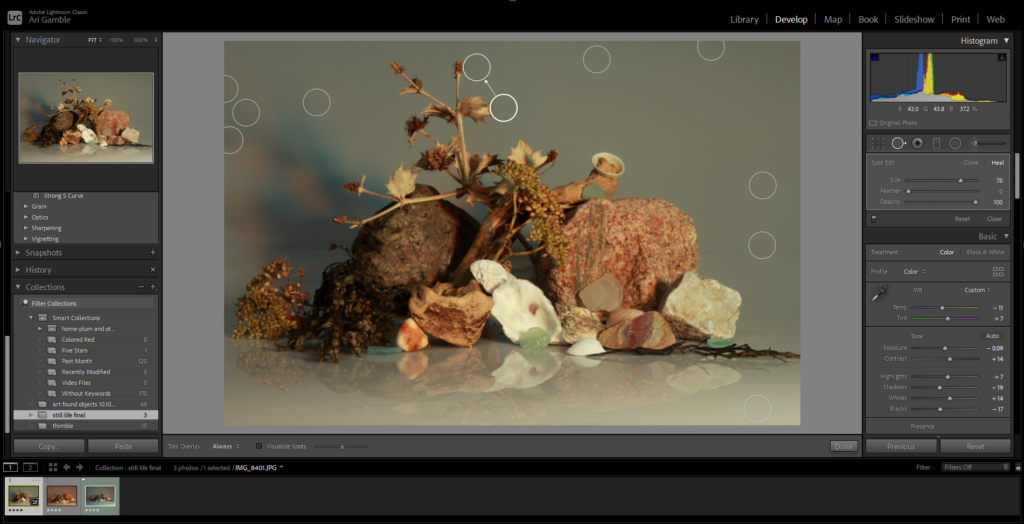
Final Images

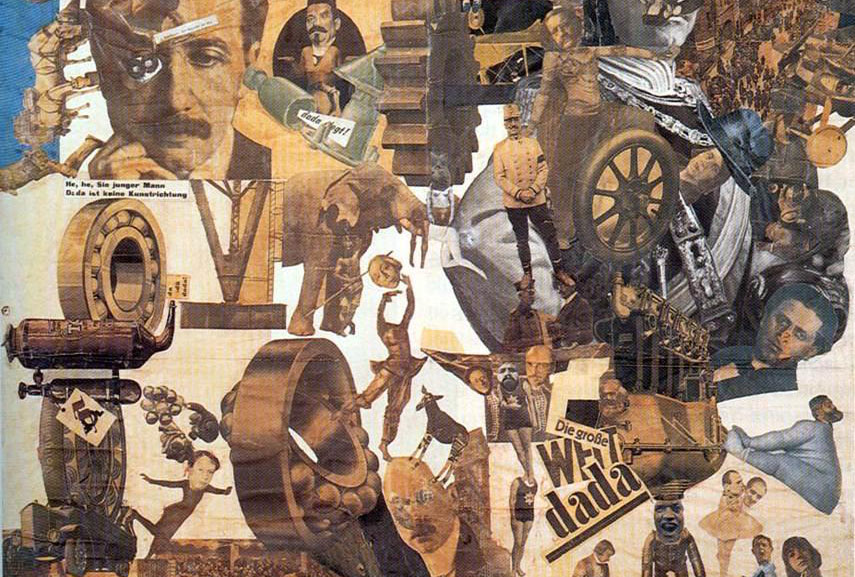
Photomontages, rooting from Dadaism and Surrealism, are collages consisting of various photographs, typically done to create political statements, gaining popularity throughout the early 1900s during WWI and WWII. Key artists within photomontage include Raoul Haussman, Hannah Hoch, John Heartfield, and Soviet artists such as Aleksander Rodchenko and El Lissitsky.
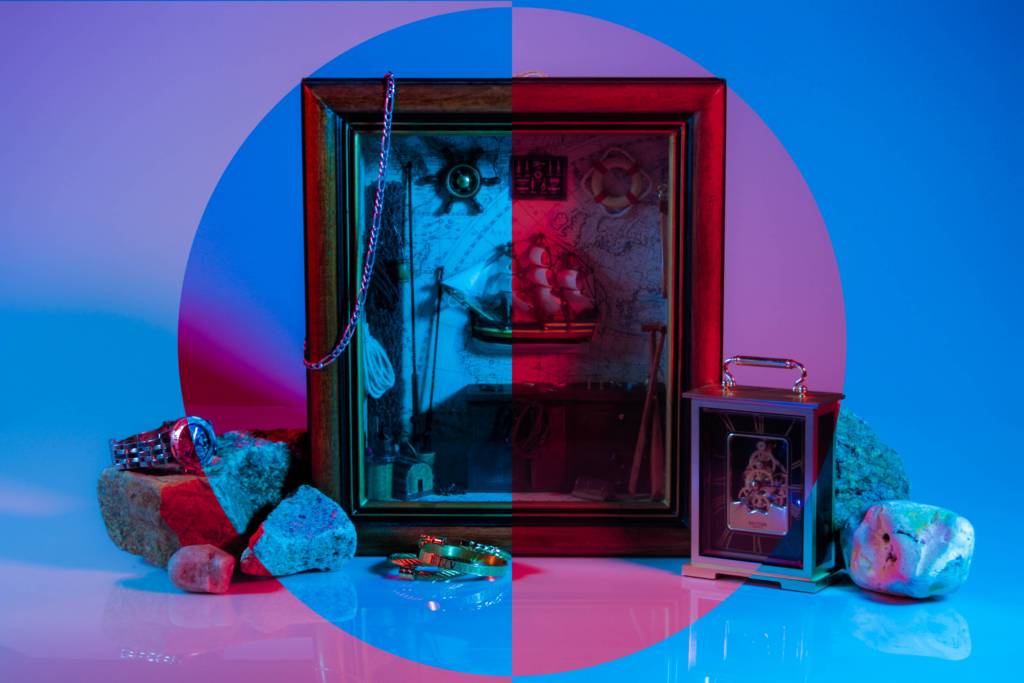
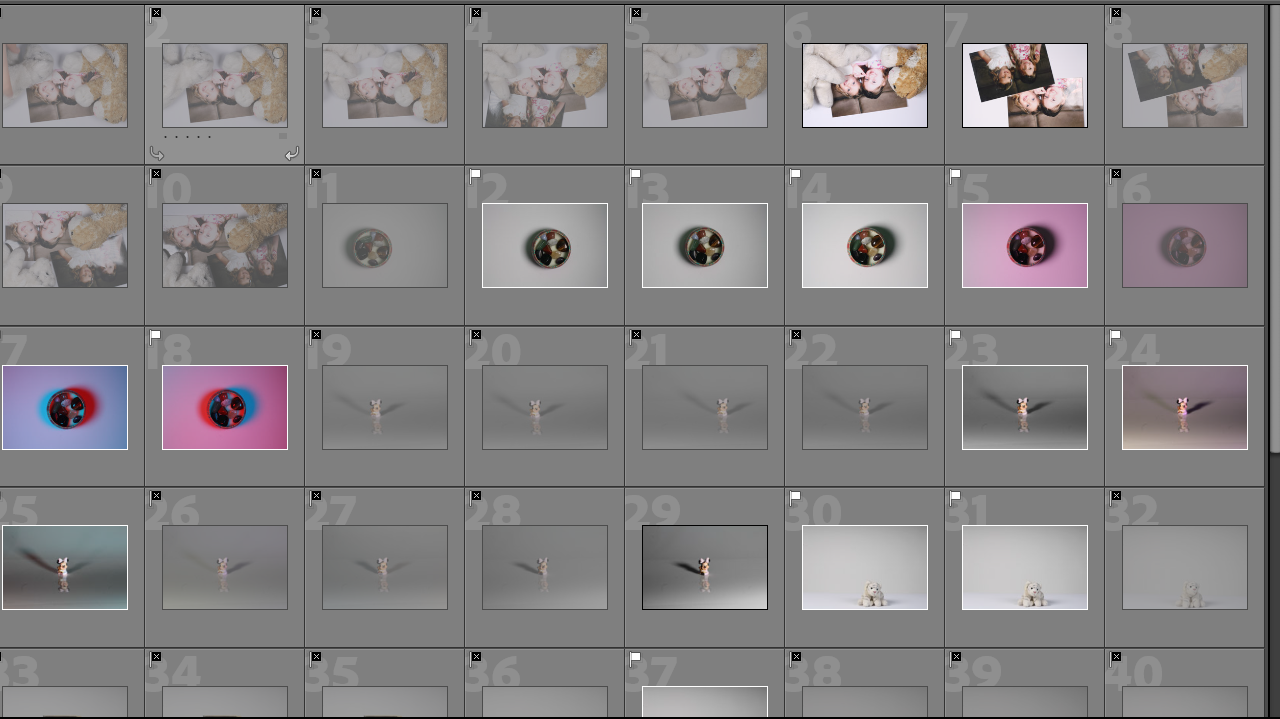
We experimented with different methods of photomontage, through digital and physical means. We used photoshop to create different compositions using geometric shapes, selection areas and more on edited images we created on lightroom classic.
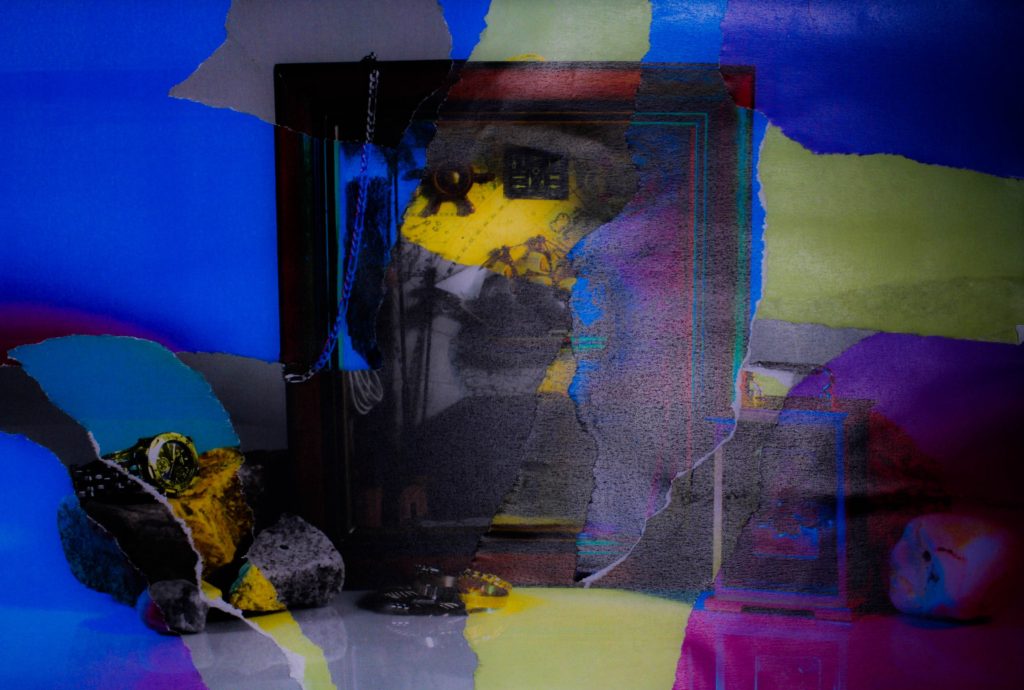
For my physical photomontage, I printed off multiple different edits of the same composition, which varied in colour palette, exposures, and shadows. I then ripped up the images and compiled the pieces together into two unique pieces comprised of what was left of each print.
While my photomontages didn’t have the conventional meaning that they tend to have, with a political message or being propaganda, my photographs have more of a sentimental value to me, as it features elements of my family’s history with sailing and the concept of the passage of time.
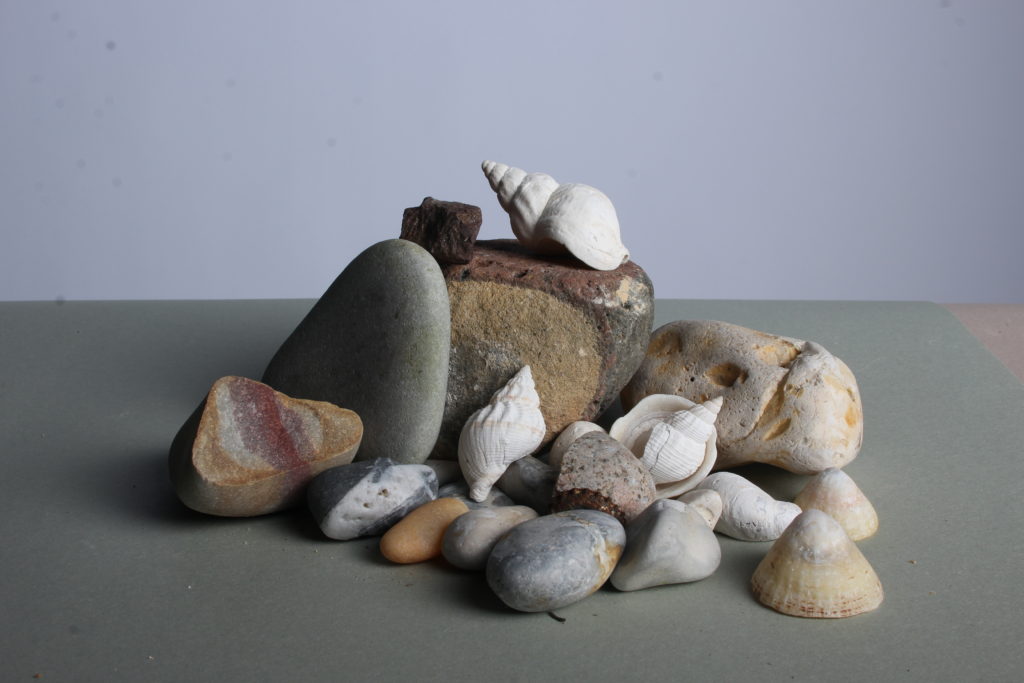
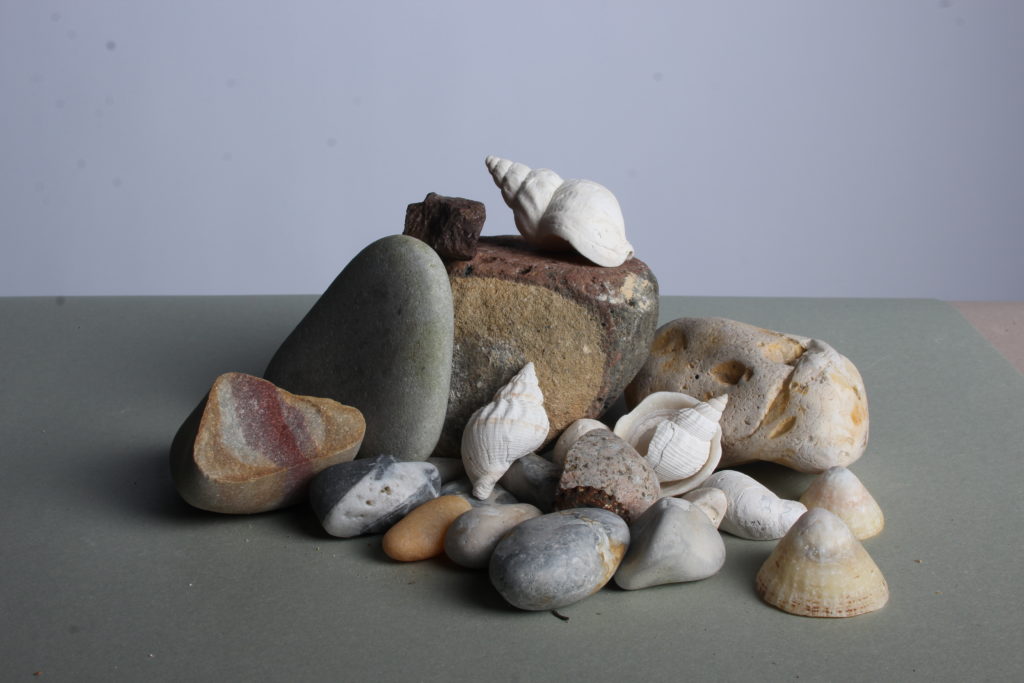
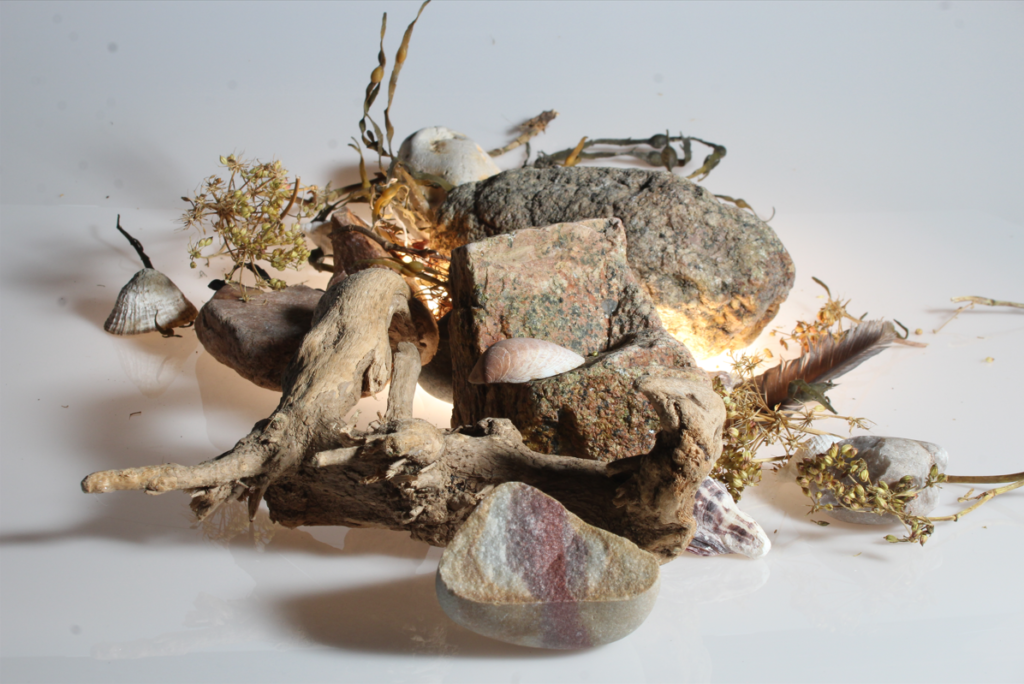
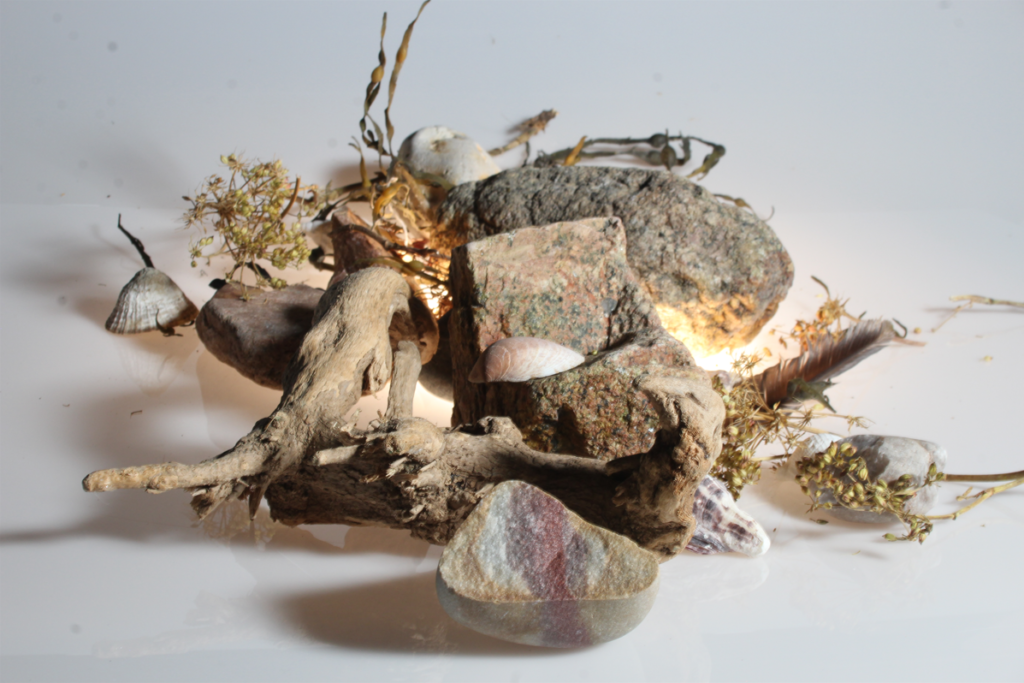
I have experimented with aperture, changing it to the lowest possible aperture that the camera can have, and to the highest aperture possible,and the middle apperture on the camera.
The highest aperture :
The middle aperture:
The lowest aperture:
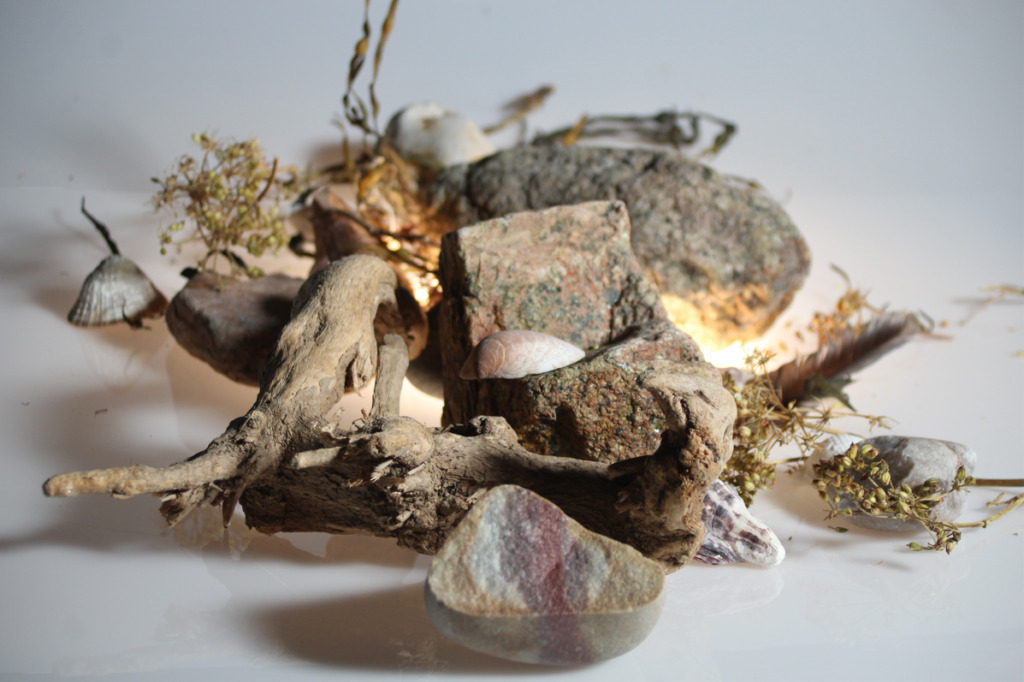
What I’ve noticed is that with the highest aperture more of the objects are in focus and the image is darkest compared to others. The higher the aperture the greater the depth of field. As the aperture is lower, more light can enter through the lens and the image will be brighter and less in focus, the depth of field would be smaller, so objects closest to the camera will be in focus whereas the further away the objects , the less in focus they would be. Especially when photographing a set of object in a line or one behind another I find it interesting to photograph them with a lower aperture as this shows layers to the photograph and make it more entertaining.
while taking these photographs I have also set up the shutter speed on the camera as too slow, where it took the camera 4 seconds to take a singe image. this caused the pictures to turn really blurry as we were holding it , meaning each little shake would have a huge impact on how the camera captured the photograph. These were the pictures we ended up with.
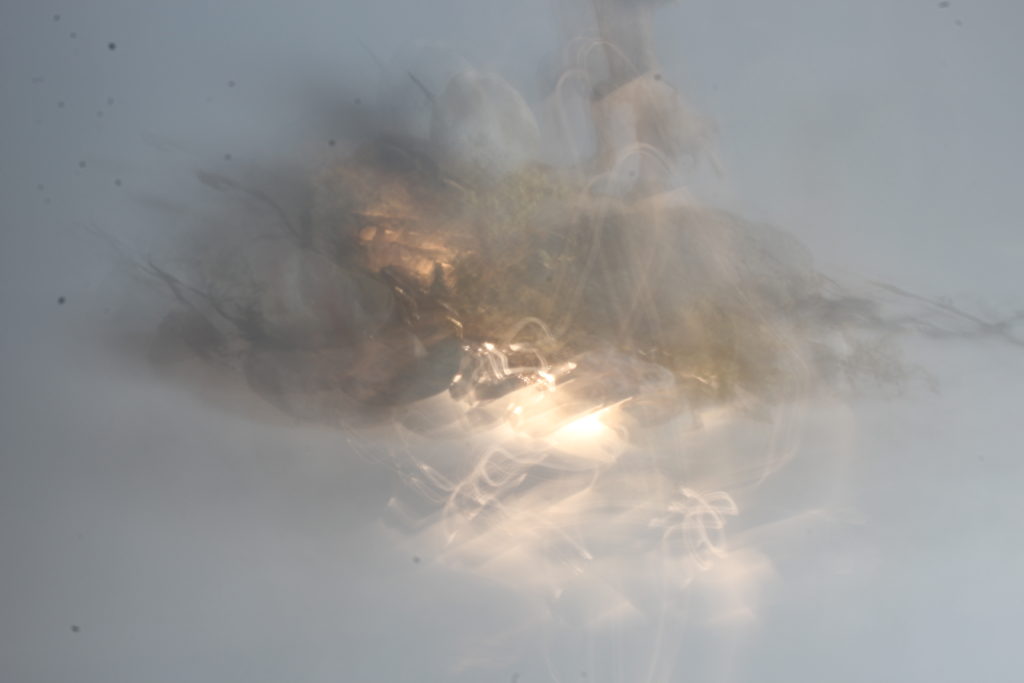
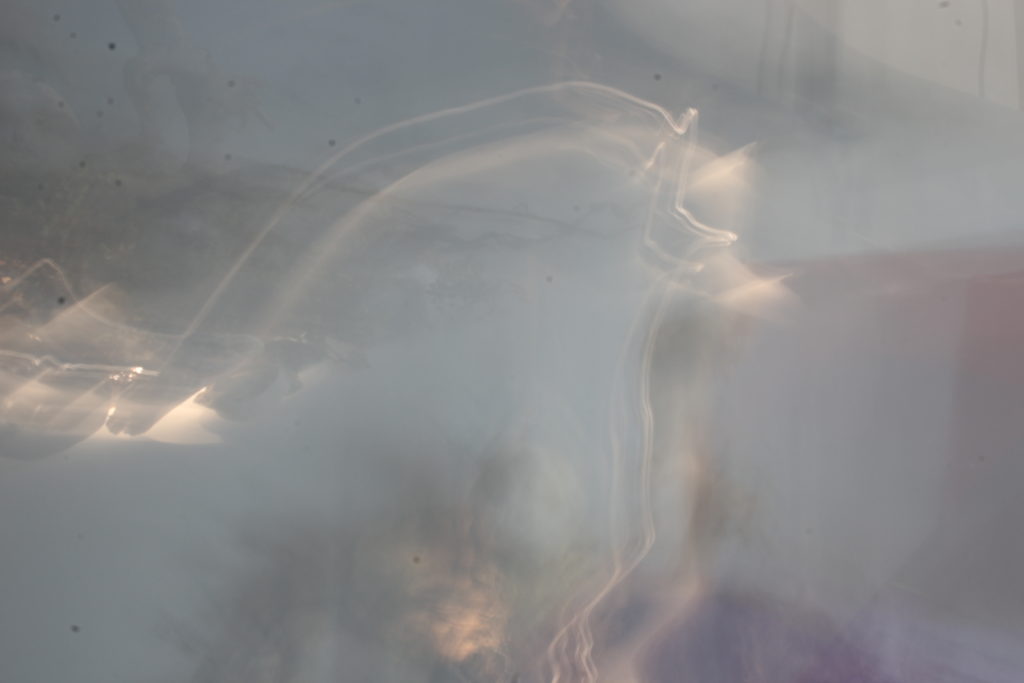
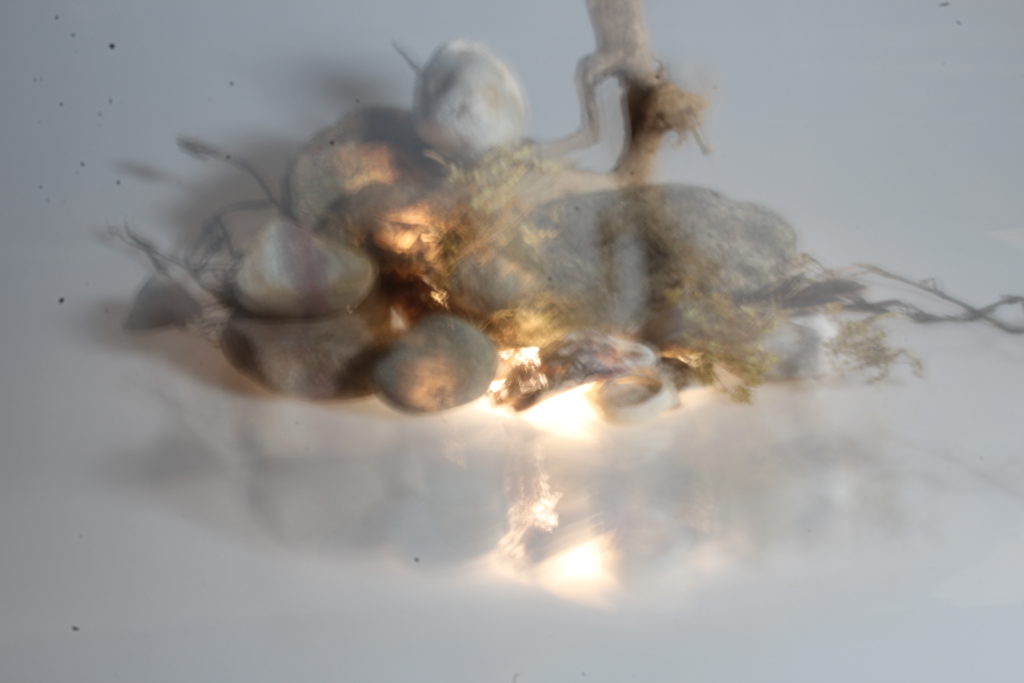
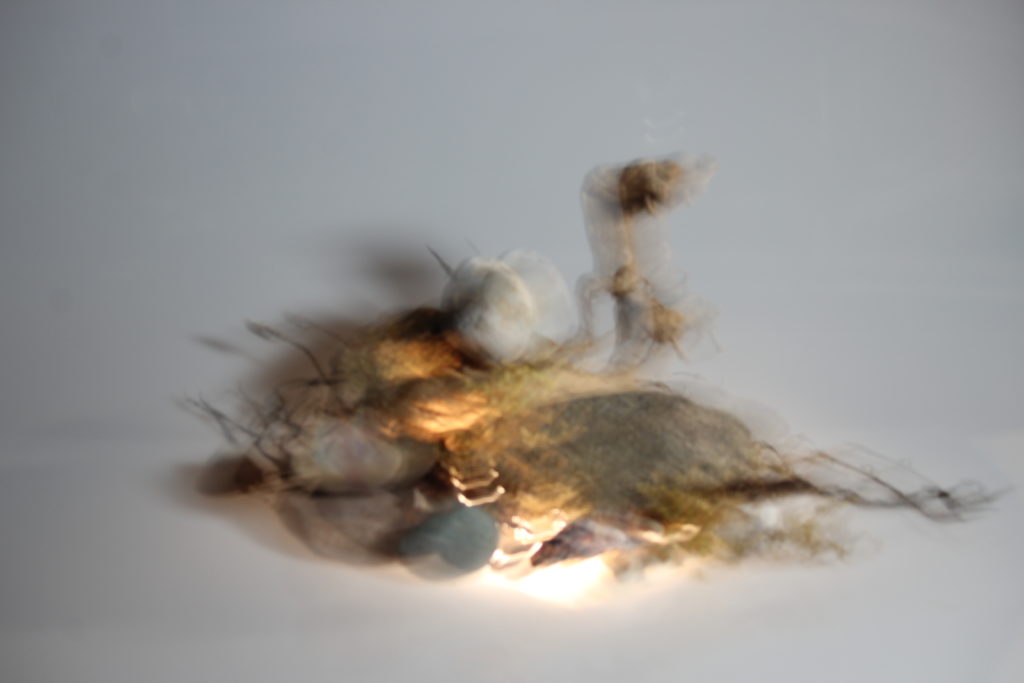
The images we received from the camera were interesting and beautiful in their own way although this wasn’t the effect I was trying to achieve. Because of this “mistake” I now am aware for the future how I can achieve similar photographs like these but intentionally and how a slow shutter speed may be useful for other types of images , like fast moving traffic or movement, however because I was aiming at first for a high quality image and one that captures the objects in its best way, these images were not useful for me in that moment , specific to the photoshoot. Because I find these images interesting I will still keep them for a later use like if I’m doing edits and montaging , so that I can include them, combining them with another photographs.
After adjusting shutter speed to a faster one we were able to produce photographs which we originally wanted to create.
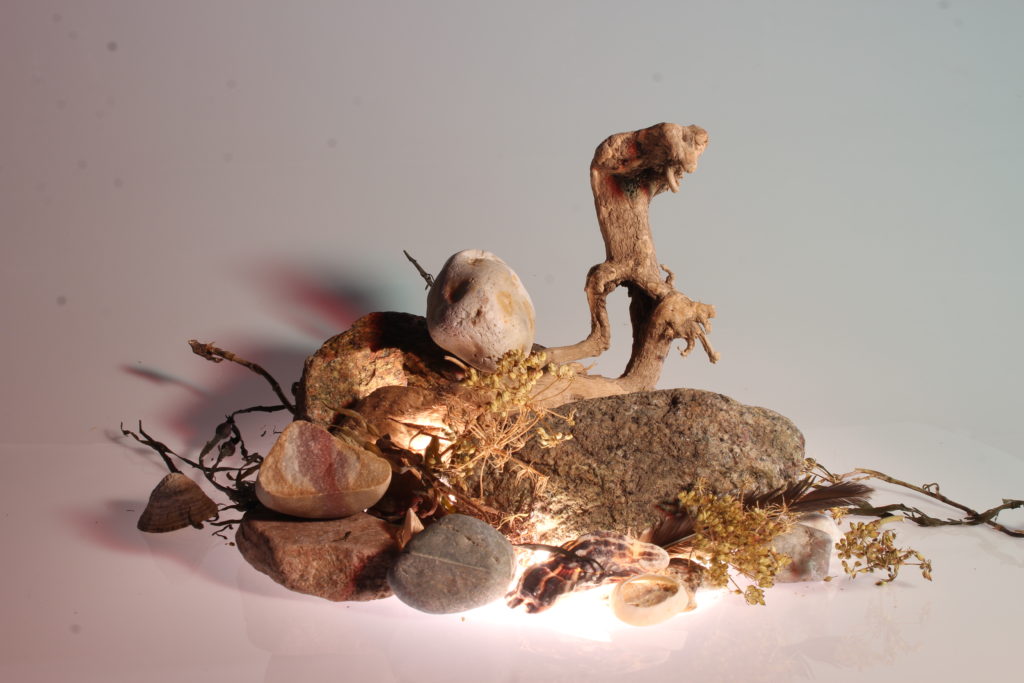
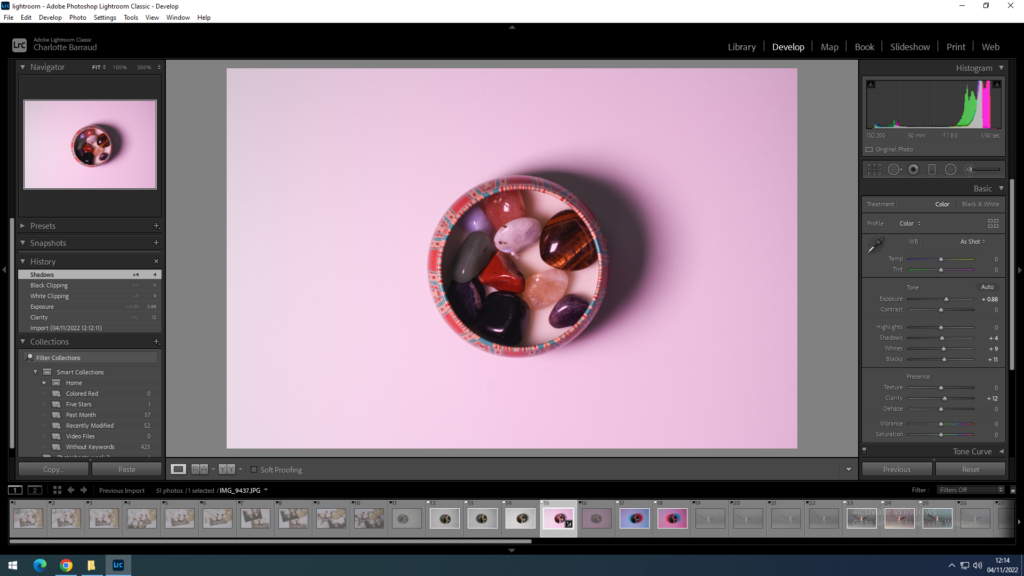
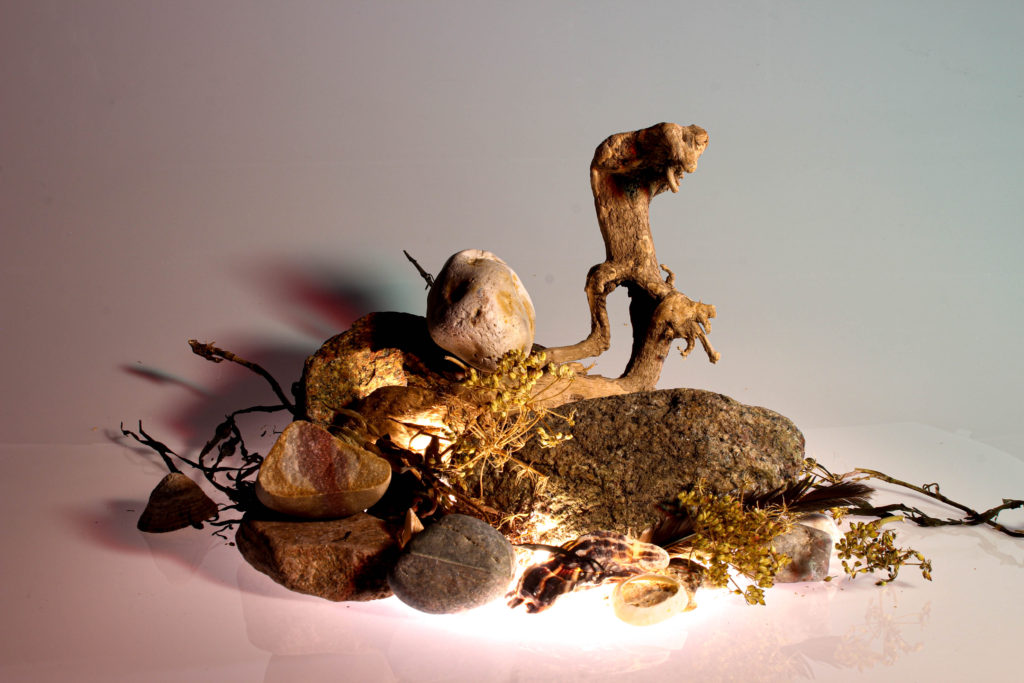
after editing the photo in Lightroom I have ended up with my own version of the photo. where I made it more sharp and got rid of the circles , which are caused by a dirty lens.
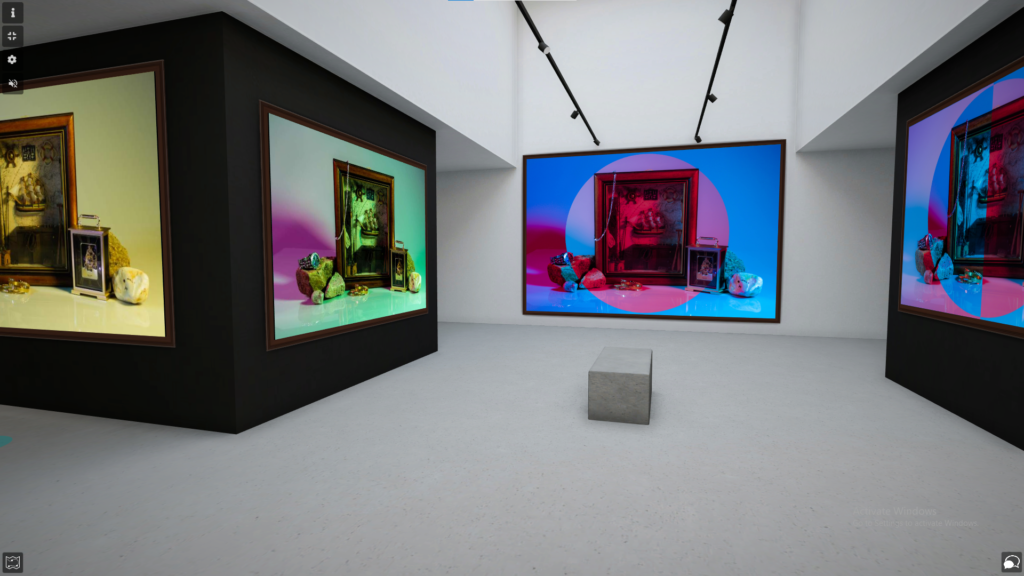
I created my own virtual art gallery using some of my edited final images, which I could add to in the future to make it more diverse.