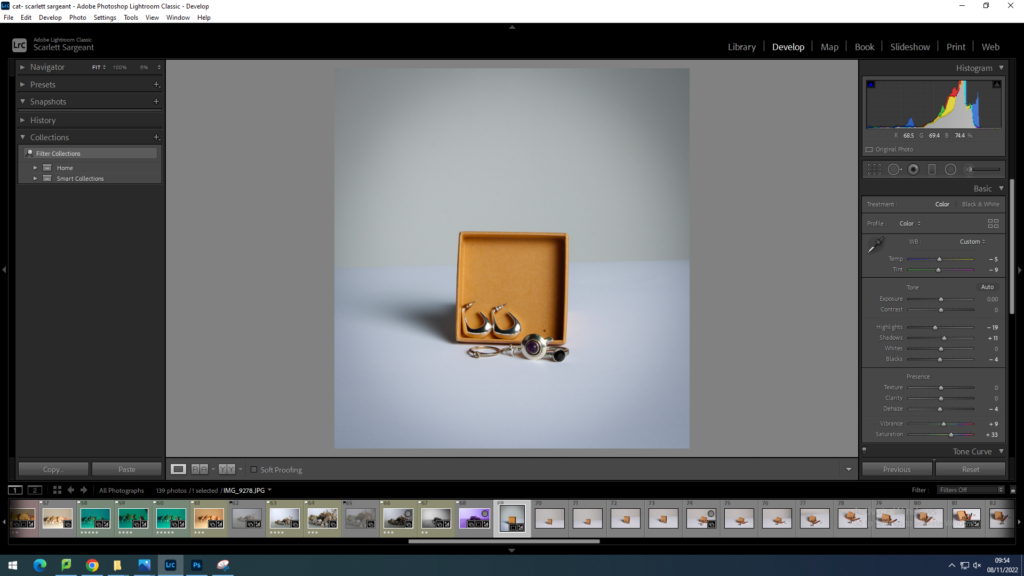
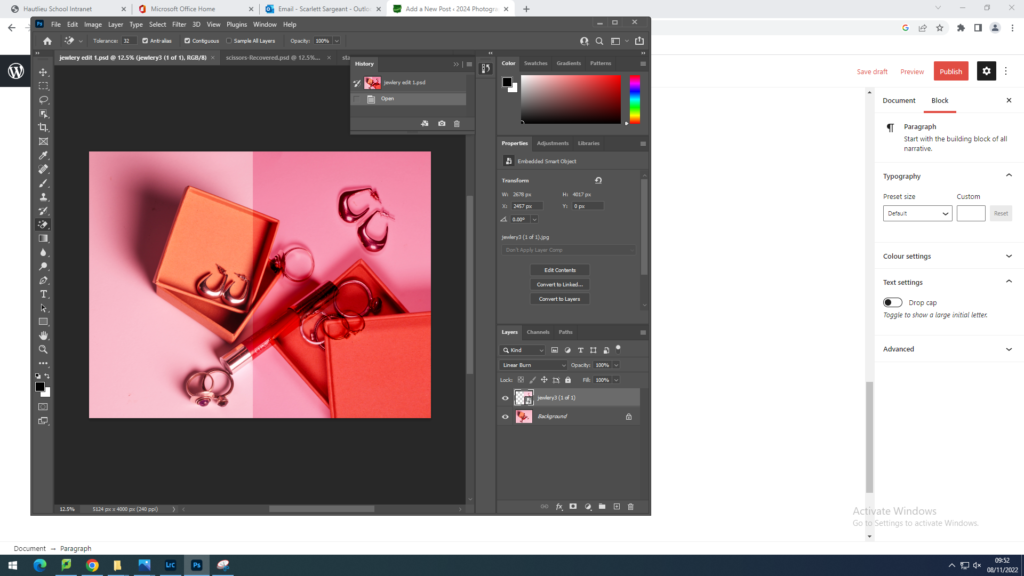
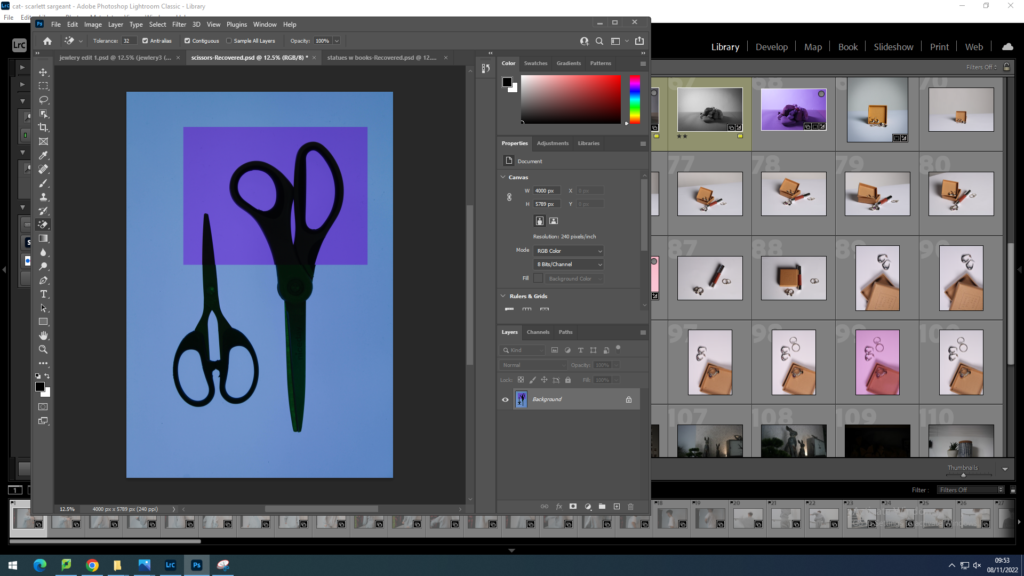
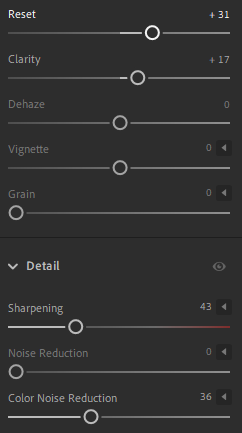
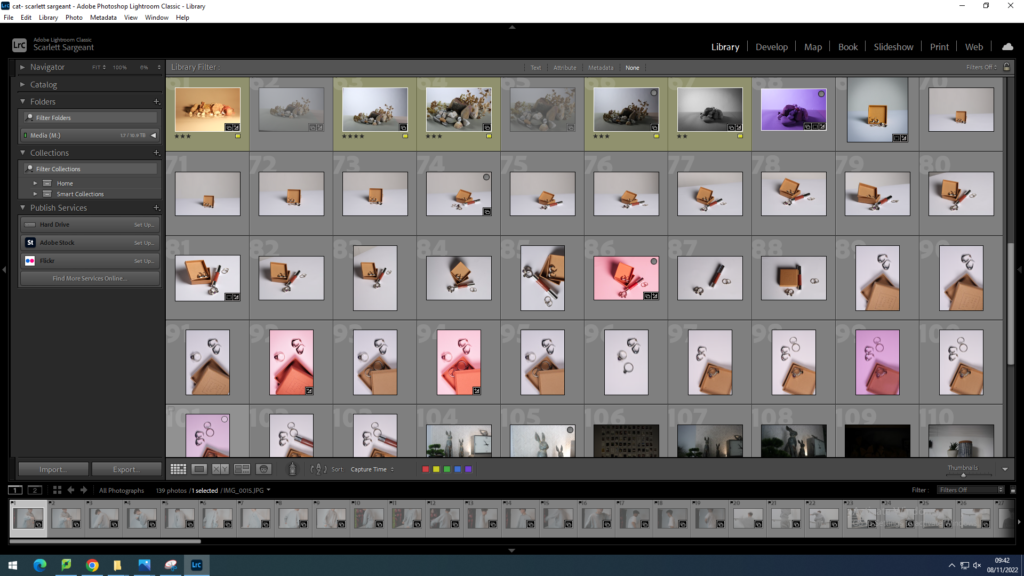
I used adobe Lightroom classic to edit my still life photos.


I used adobe Lightroom classic to edit my still life photos.

“Neue Sachlichkeit,” often known as the New Objectivity, is a photography movement that began during the 1920s, bearing an attitude that focused more on the raw reality of everyday objects mixed with the formal elements of photography, while rejecting sentimentalism and idealism.

Albert Renger-Patzsch also published a book, a novel concentrated particularly on specific subjects, such as wildlife, traditional craftsmen, mechanical equipment, landscapes, and architectural studies, displaying 100 of his photos based on his ideas of the New Objectivity, stating,
“There must be an increase in the joy one takes in an object, and the photographer should be fully conscious of the splendid fidelity of reproduction made possible by this technique”
Other photographers with similar interests in photography, particularly Objectivity photographers, such as Karl Blossfeldt, Helmar Lerski, and Edward Weston. Their work shows similar qualities with Albert Renger-Patzsch’s, such as the raw focus on the object and high detail.
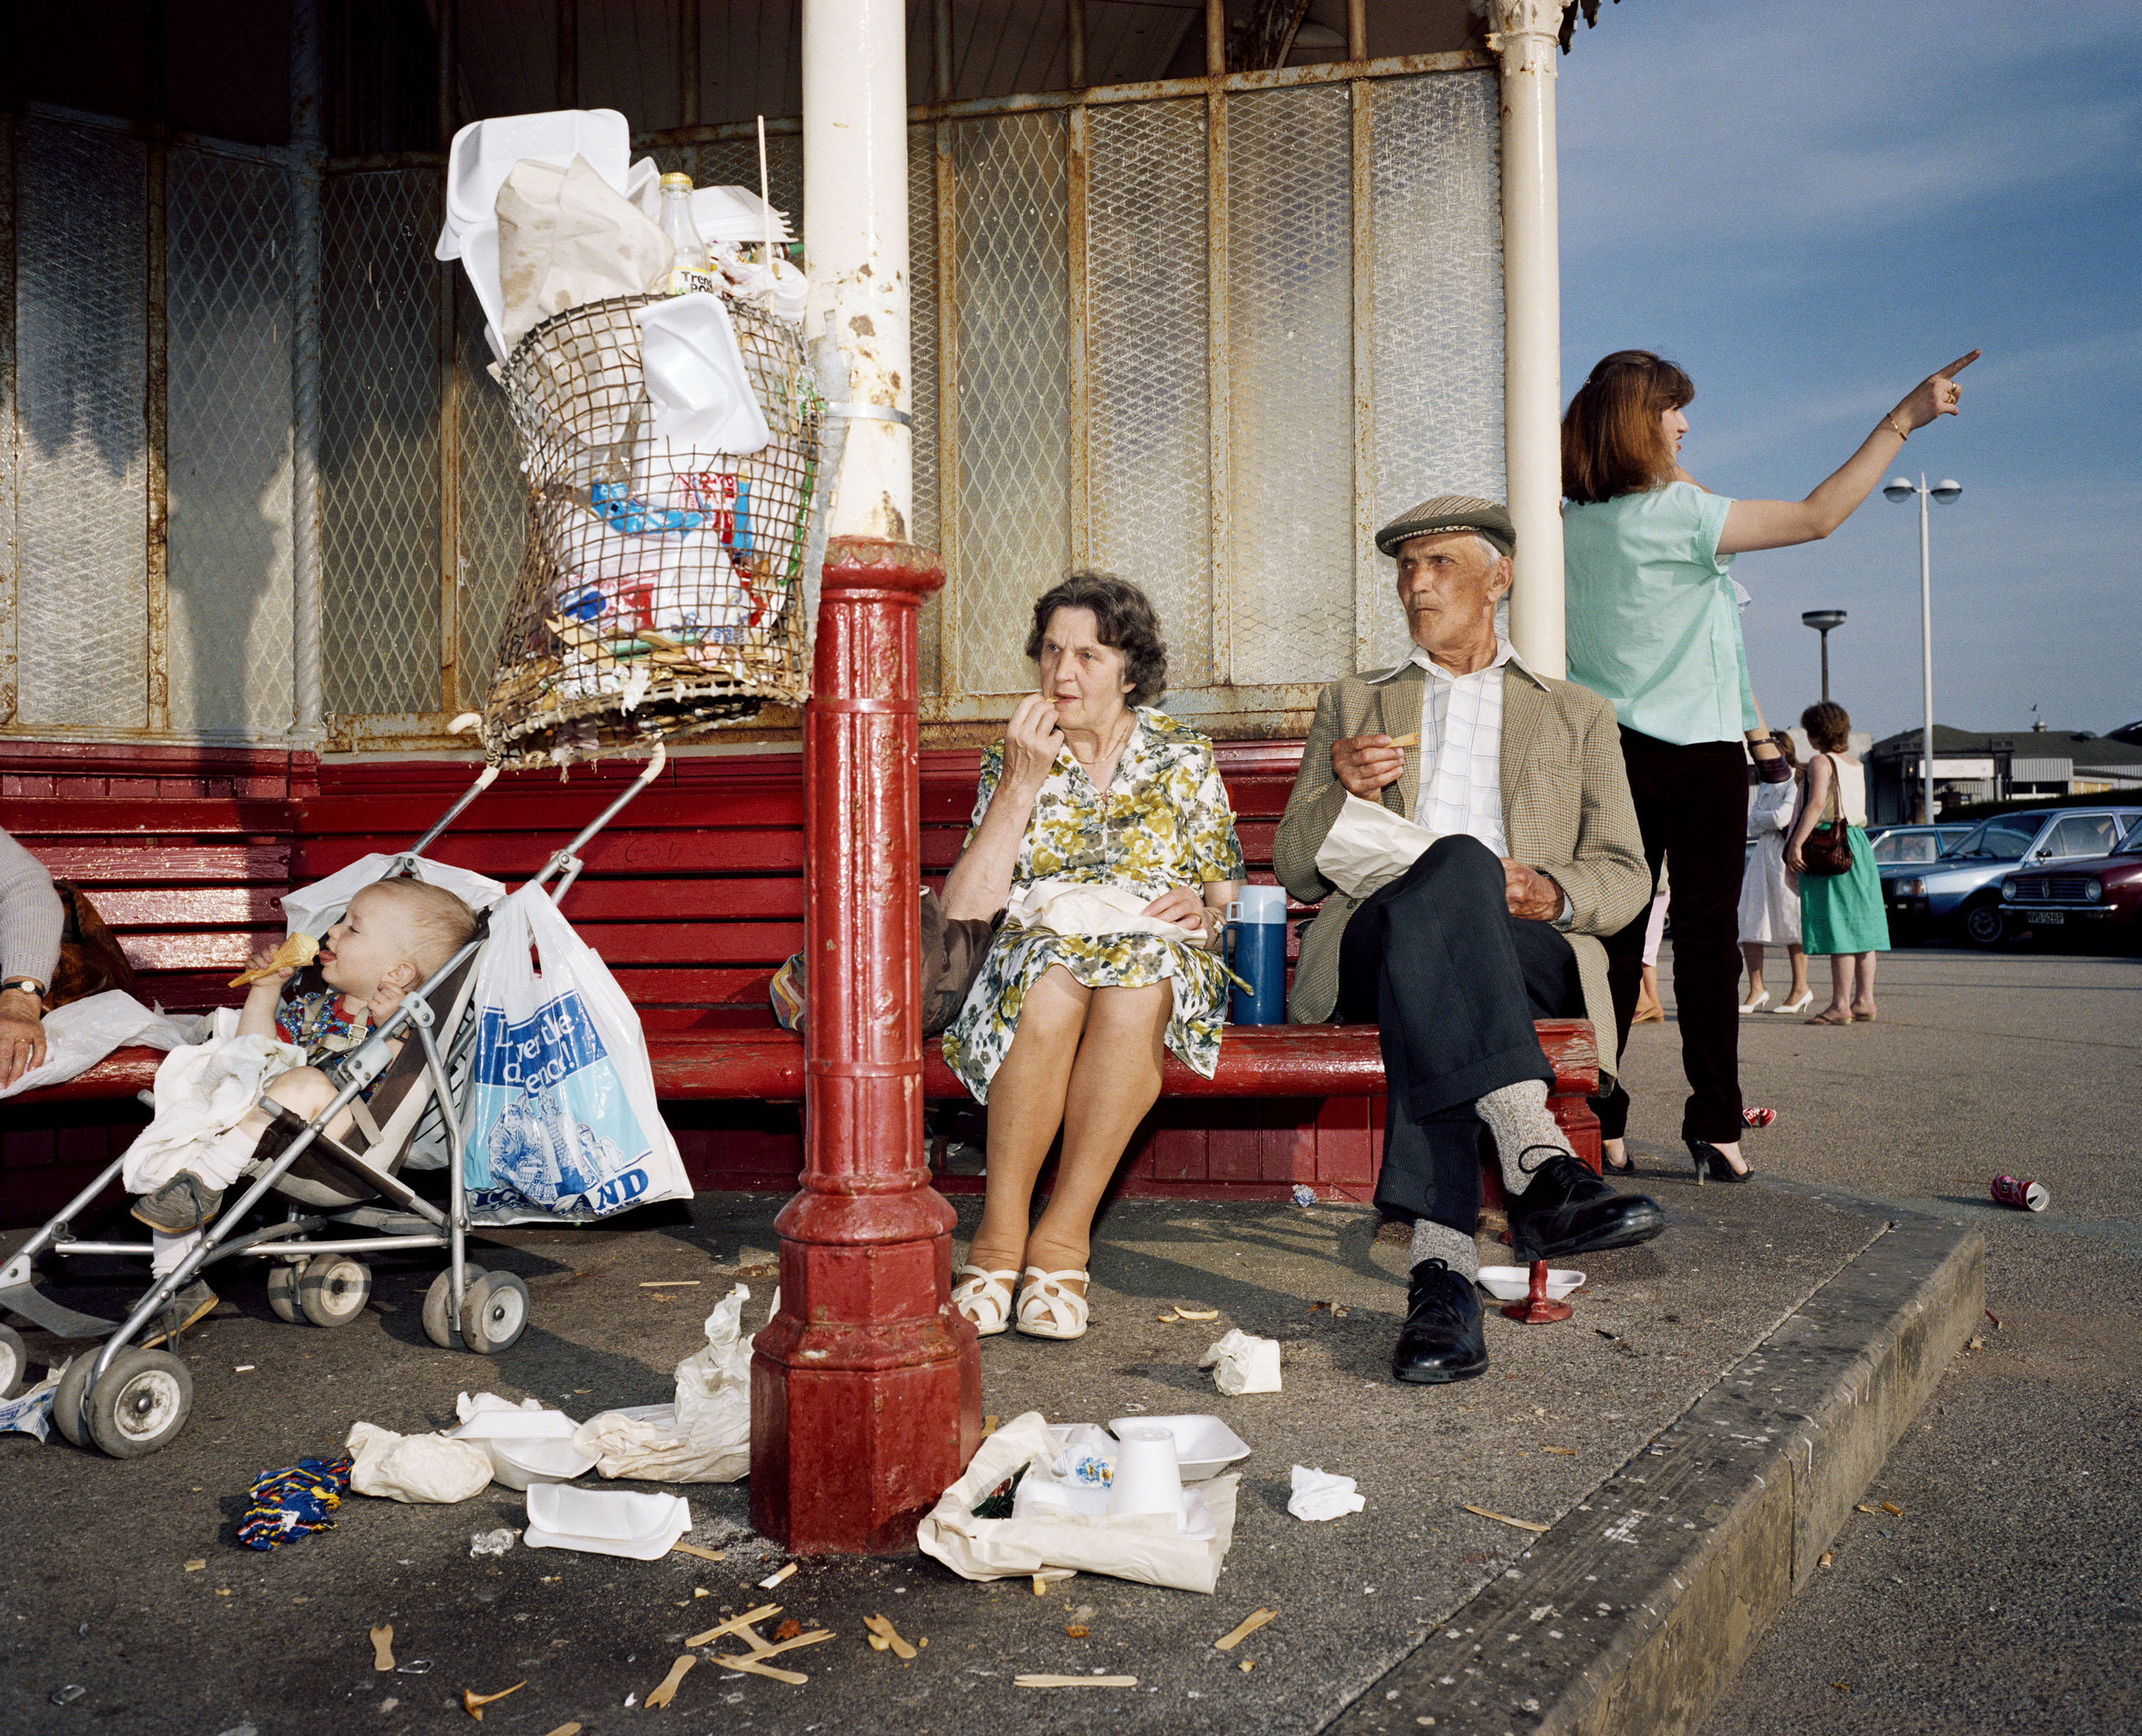
Closer toward the modern day, Patzsch has now influenced many photographers, such as Martin Parr, William Eggleston, and Peter Fraser – all of their works tending to focus more on the reality of their subjects as opposed to something idealistic, but still managing to find the beauty in something totally ordinary.
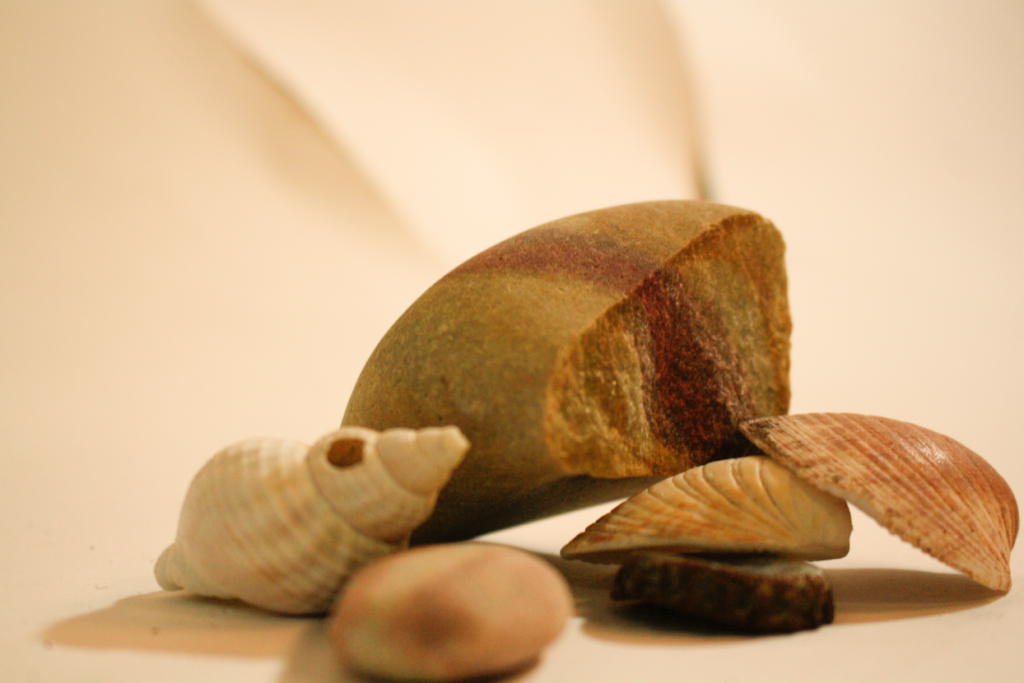
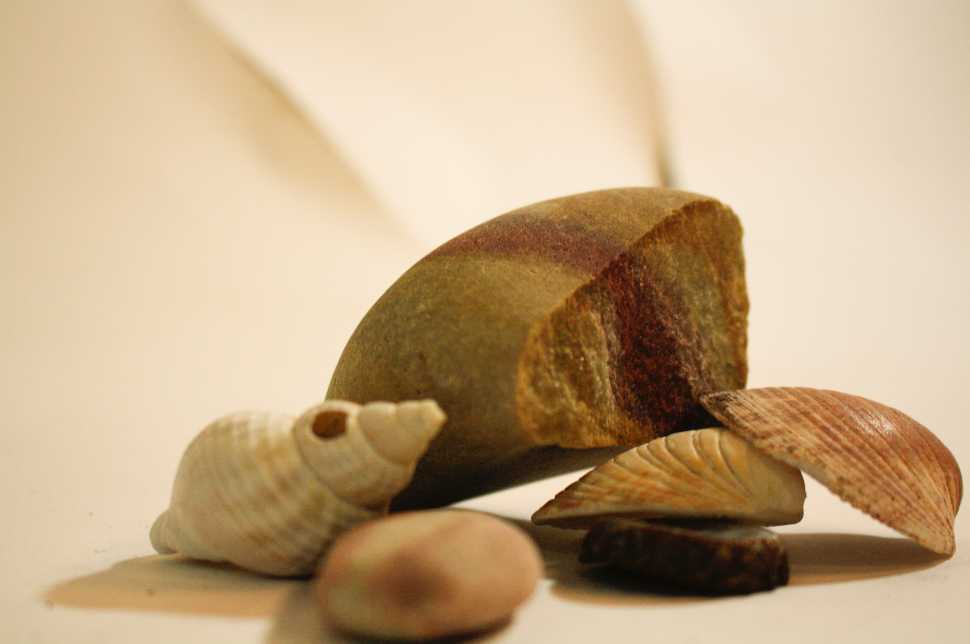
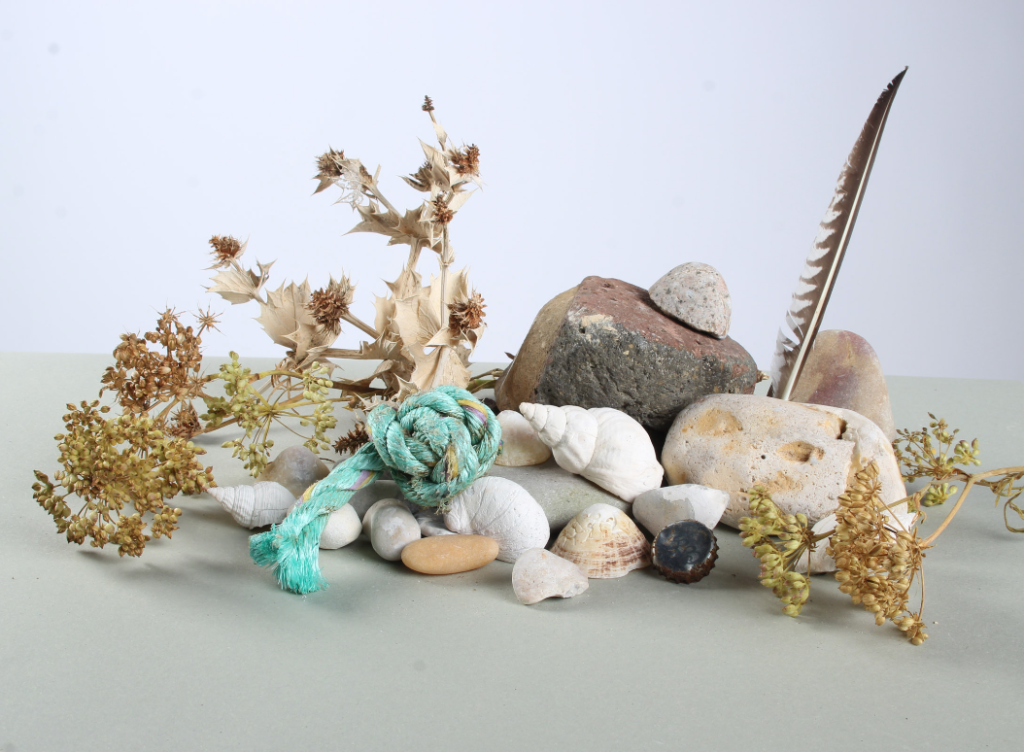
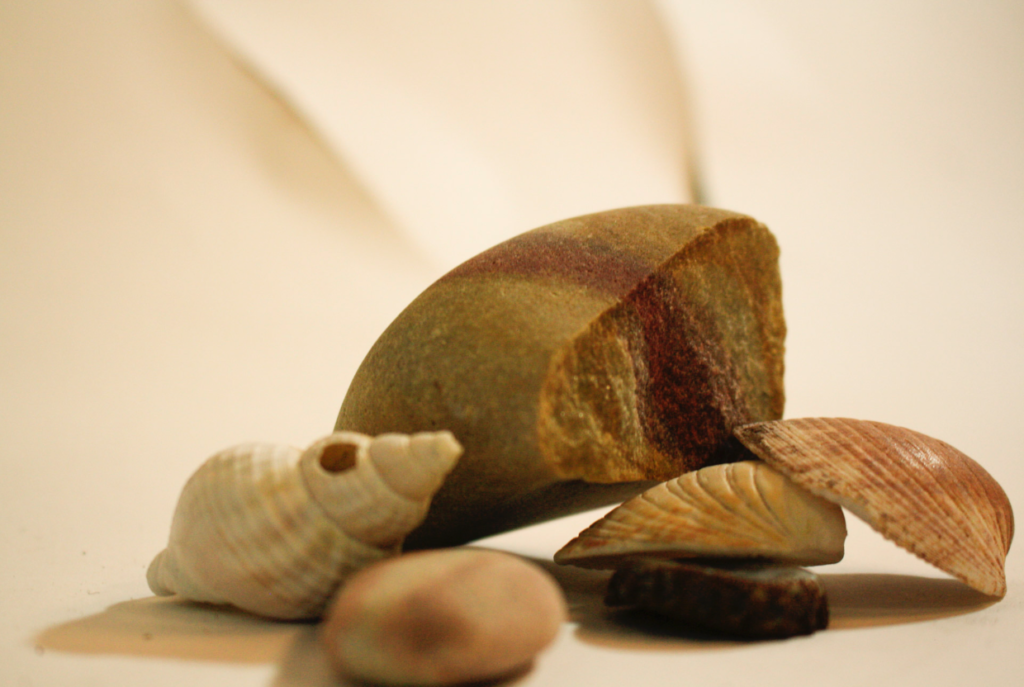
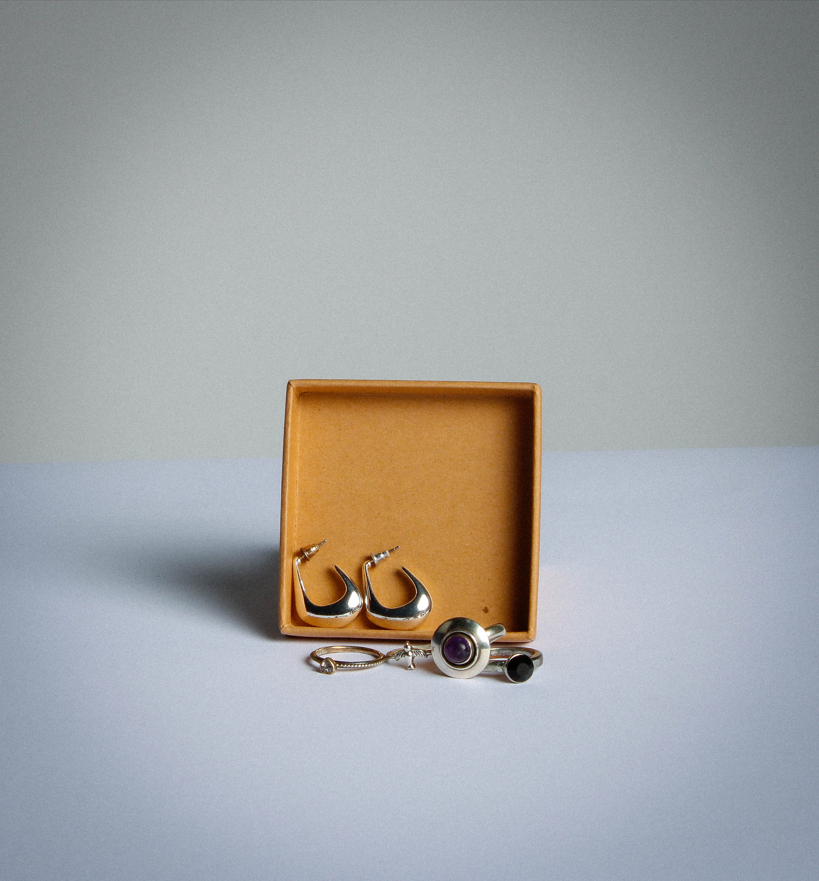
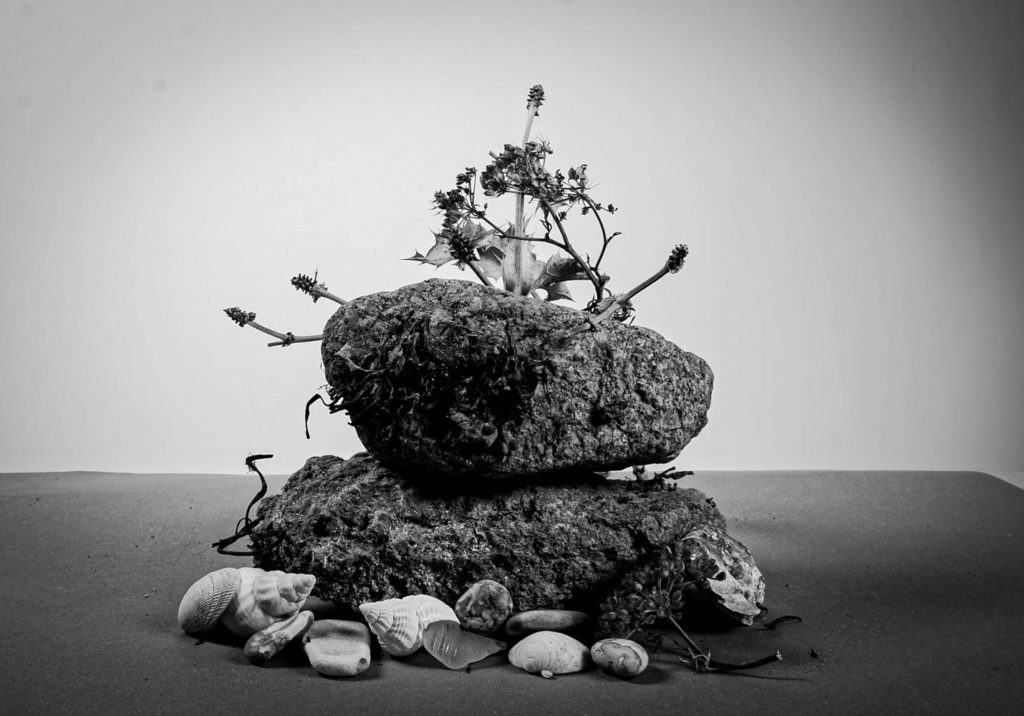
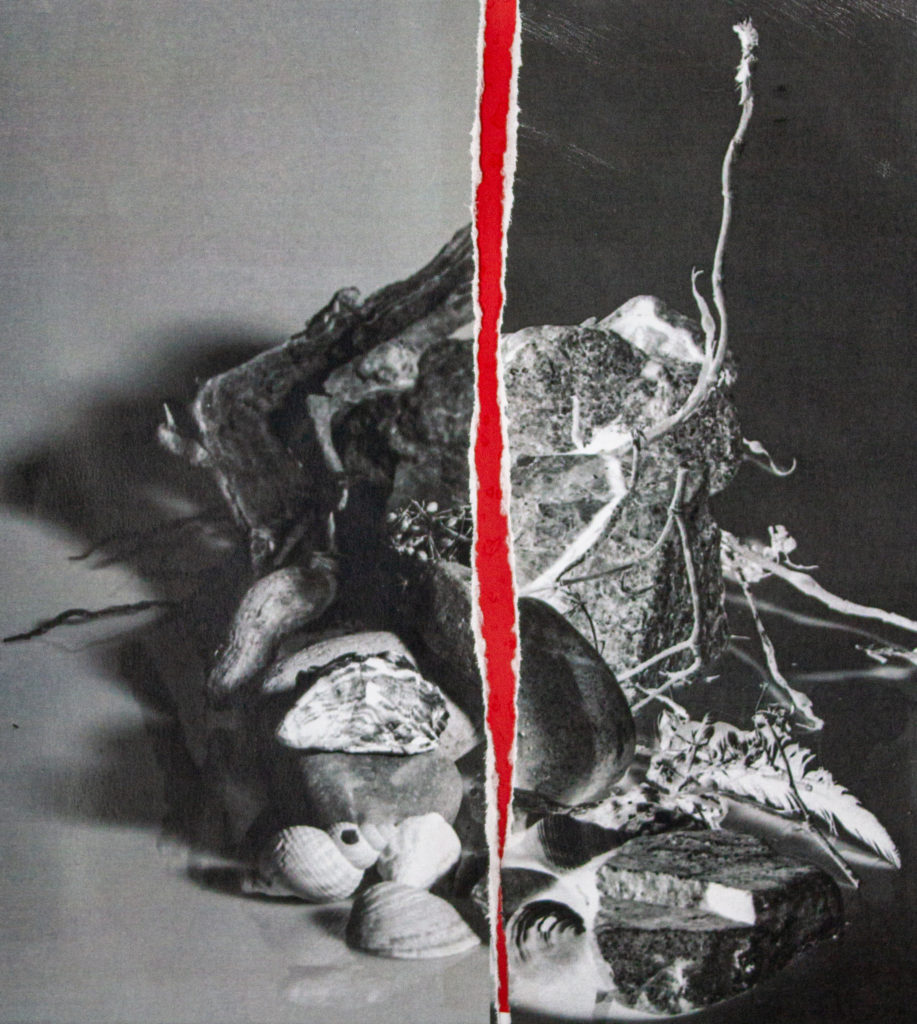
I have picked this photo as one of my best photograph because i like the simplicity of the background, the warmth of the light, i also like the clarity of the ridges on the rock and the placement of the objects.

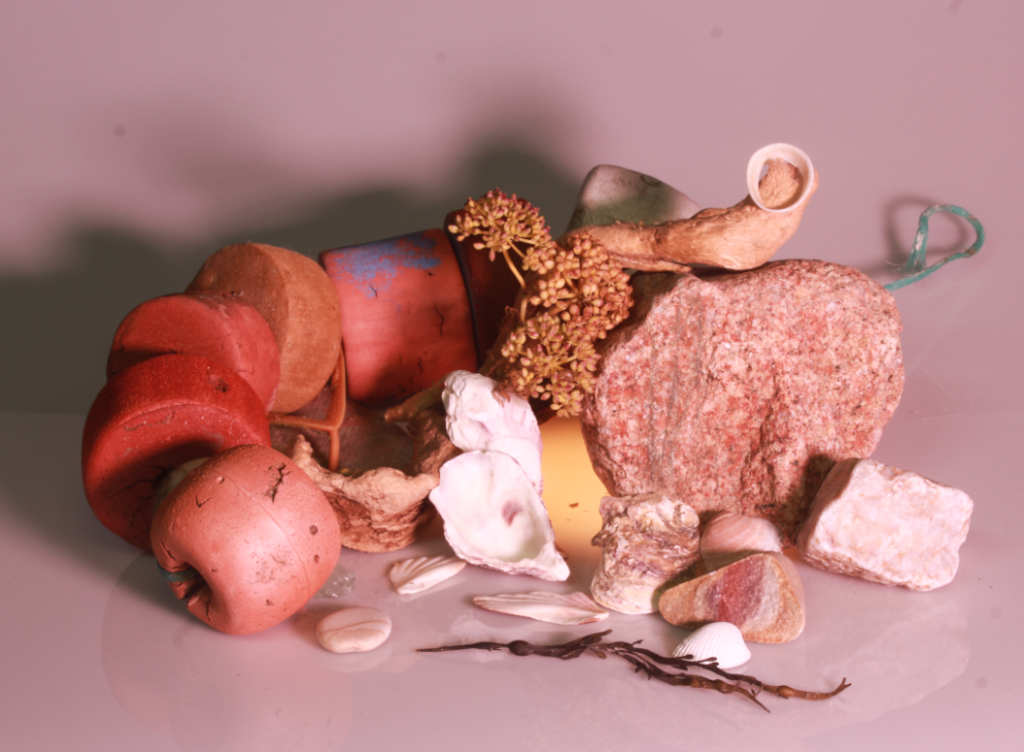
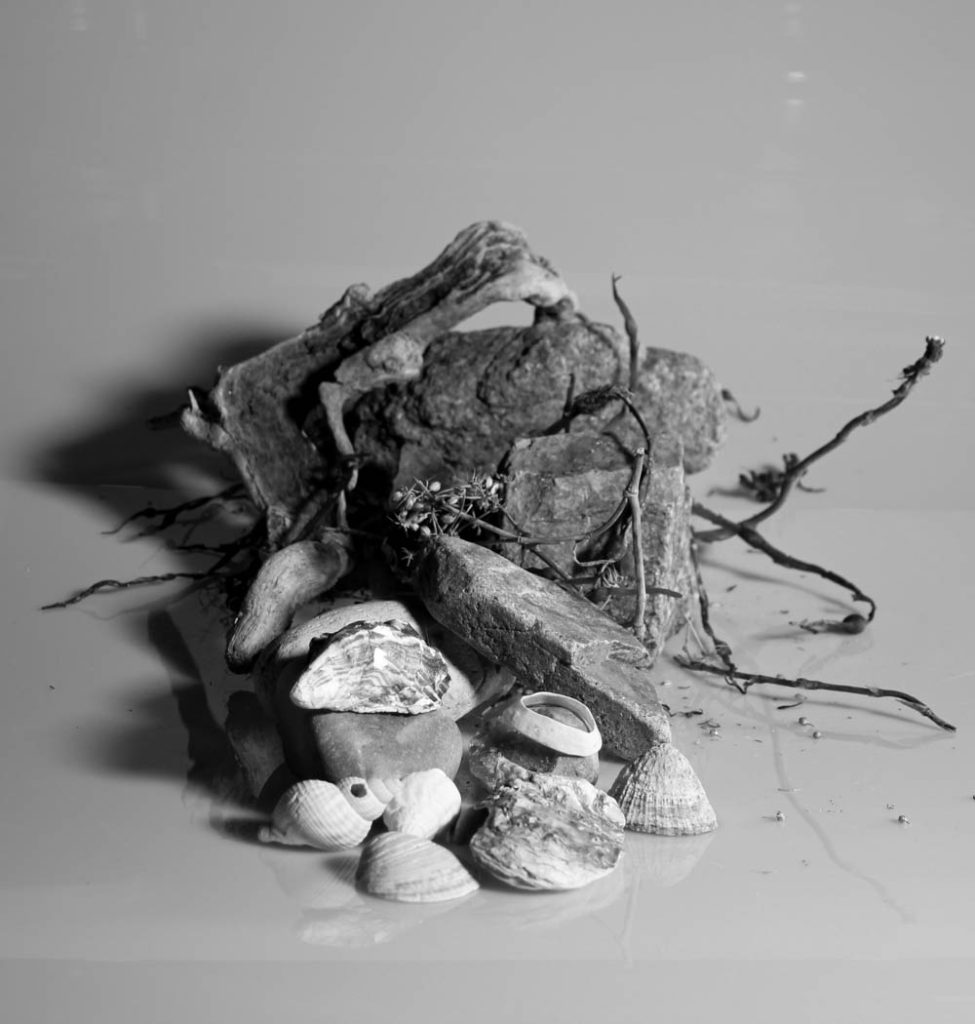
This image has been selected because of how the objects look effortlessly placed, but at the same time it looks put together, i used continuous light which then started to limit the shadows.

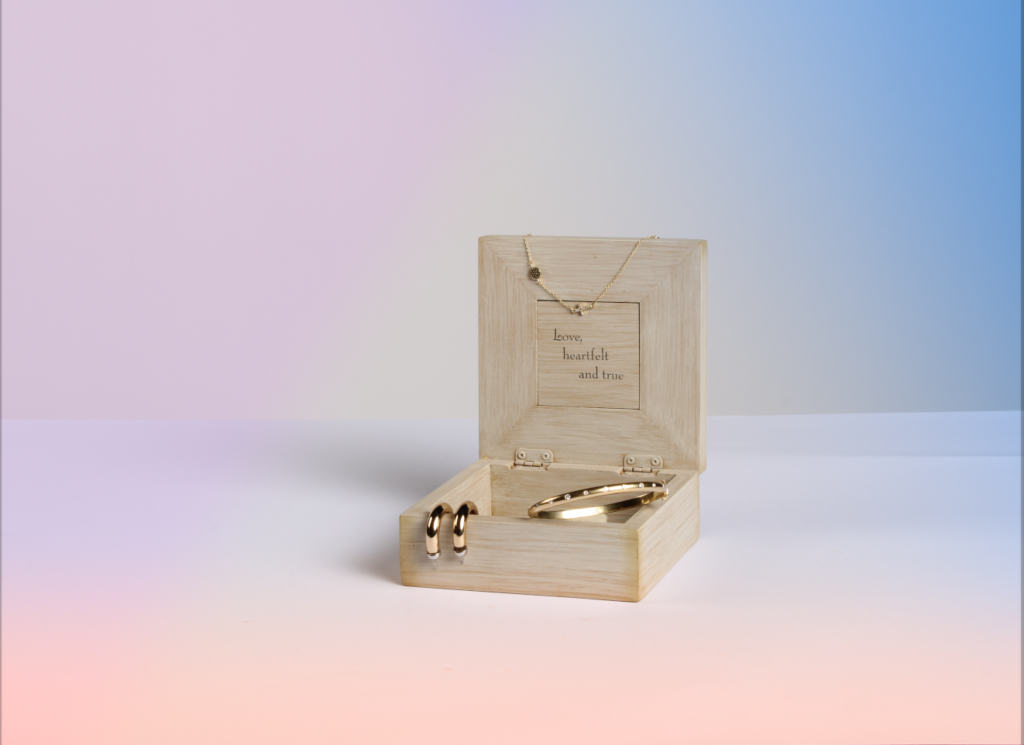
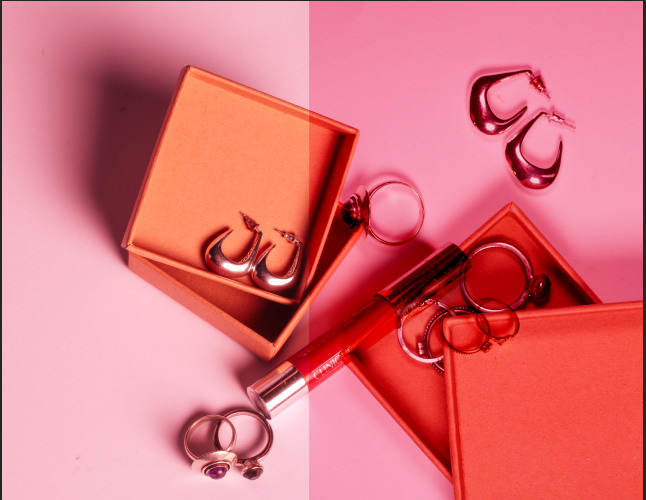
This photo is one of my favourites due to the use of the coloured film over the top of the continuous light causing a sunset feel to the photo.
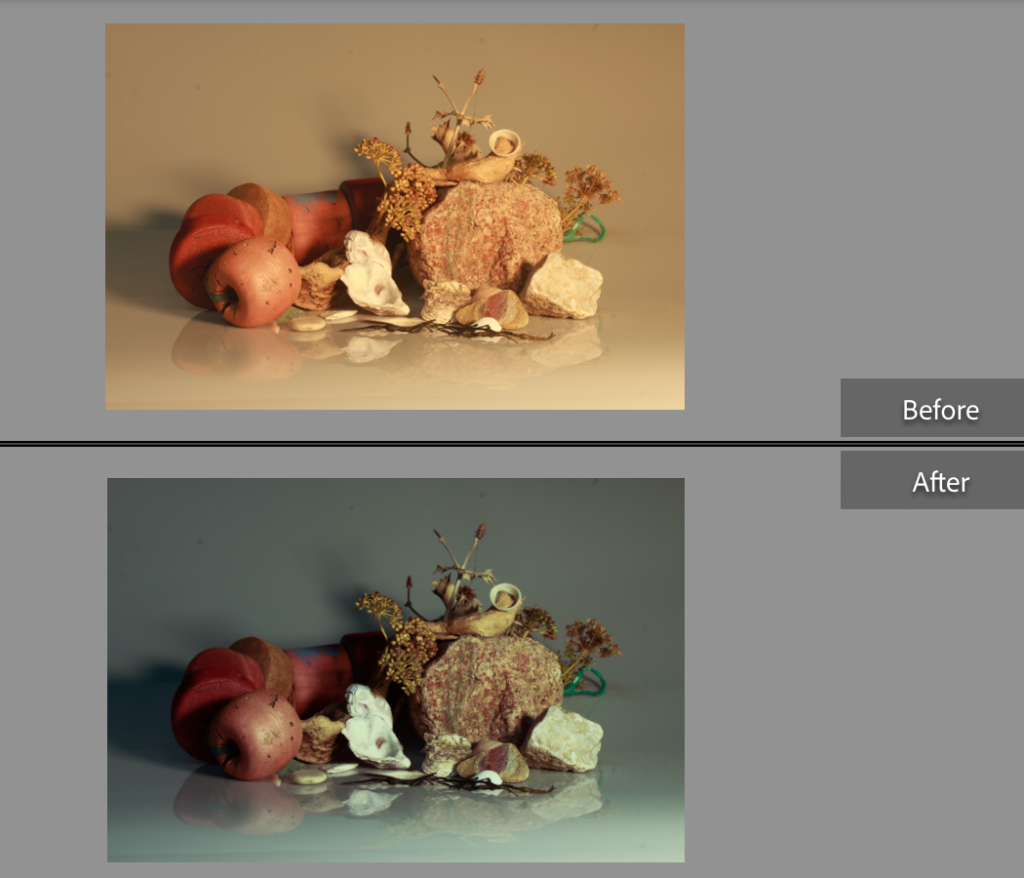
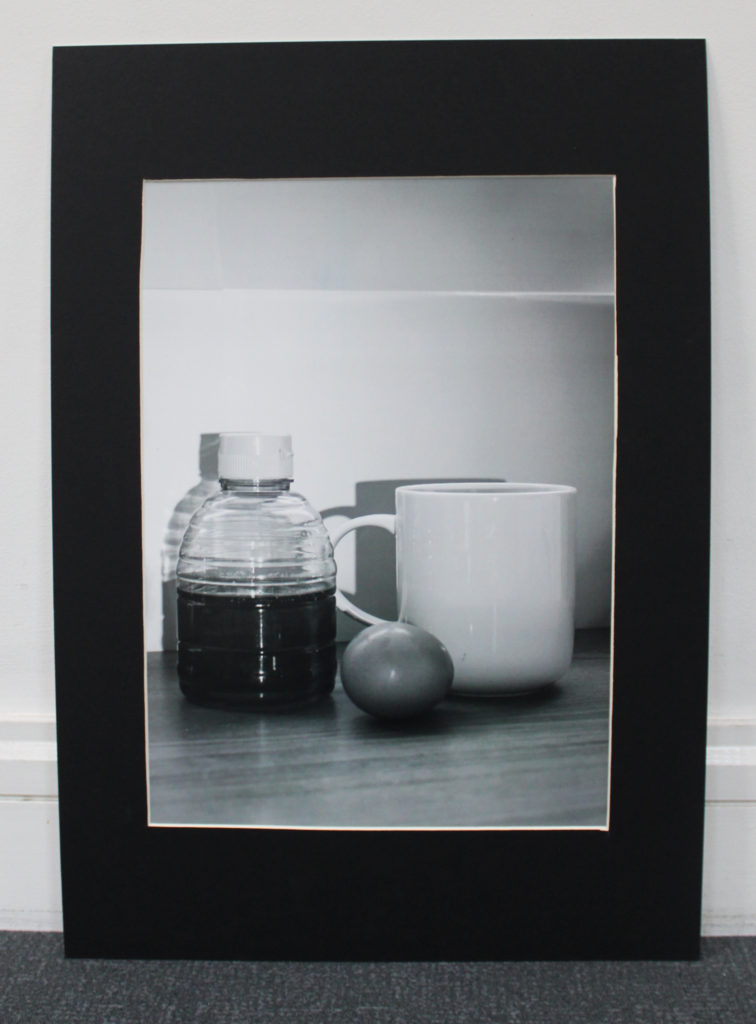
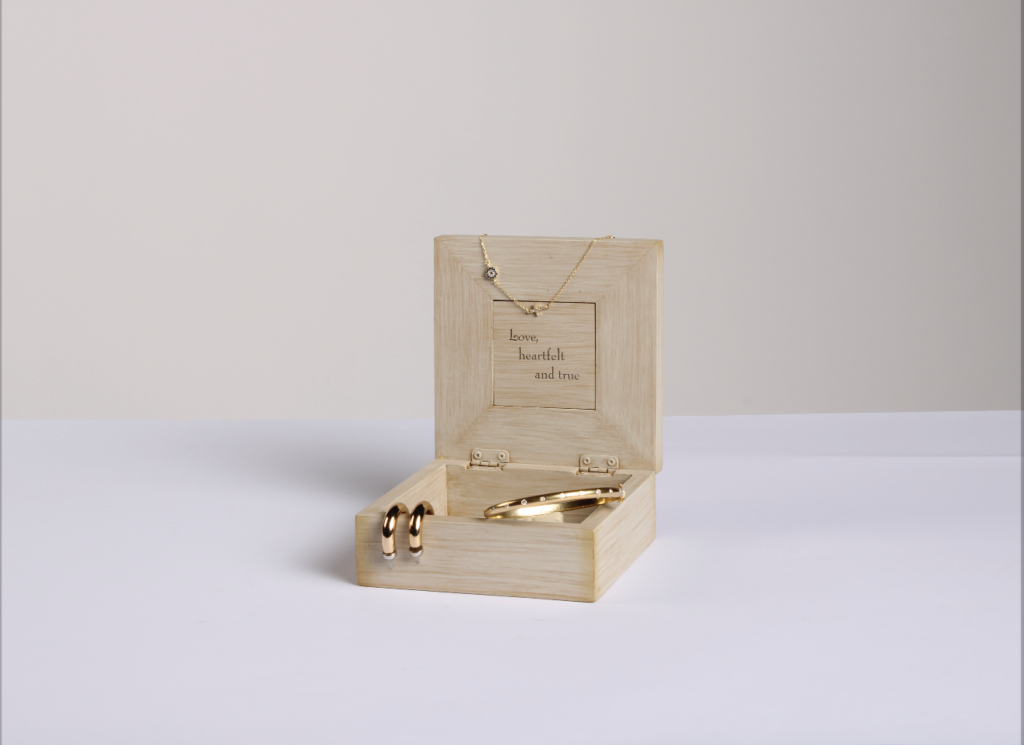
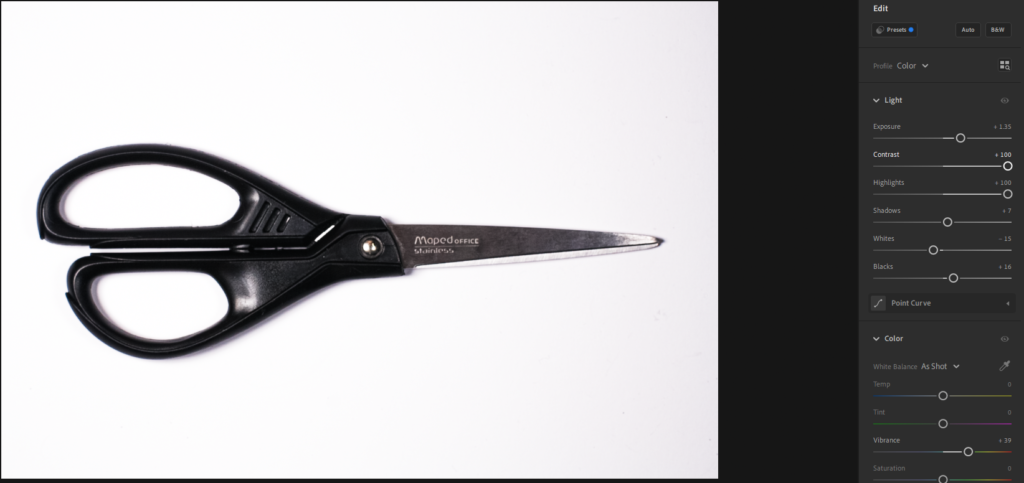
This photo was a photo i didn’t really like due to the colour of the lighting and how warm the out come was so i used Lightroom classic to edit the photo i make the shadows darker giving the photo a colder feel.
The aperture controls the amount of light coming through the lens. It expands or shrinks in order to allow more or less light through the camera sensor.
The larger the aperture, the more light that will pass through, resulting in a brighter photo. With a smaller aperture, less light will pass through the lens, the photo will be darker because of this.
In simpler words, the aperture basically controls the brightness of a photograph. It is written as an f-number.
Larger apertures correspond with smaller f-numbers. E.g. f/4
Smaller apertures correspond with larger f-numbers. E.g. f/16 or f/22
Larger f-stops create a narrow opening to let the light through. The camera needs to make up for the lack of light through this narrow opening by slowing the shutter to result in a well-exposed photograph.
Depth of field, also referred to as DOF, is the distance between the nearest and furthest parts of the photo that are in sharp focus.
A shallow depth of field means that only part of the image is in focus. Therefore, the background or foreground may be blurry. Shallow depth of field may be good for when capturing portraits, nature, or travel photography.
A deep depth of field means that a larger area of the photo is in focus so that more of the photo is sharp and clear. Deep depth of field may be good for when capturing landscapes.
The aperture can affect depth of field. A wider aperture means you will capture less depth of field (shallow depth of field). Which means only the foreground will be sharp and clear. A smaller aperture will capture a deeper depth of field. Which means everything in the photo will be sharp.


This is my single object photoshoot I did in the studio. I used tripods and different artificial lighting.
Here are some of my edits on the images I chose to use…
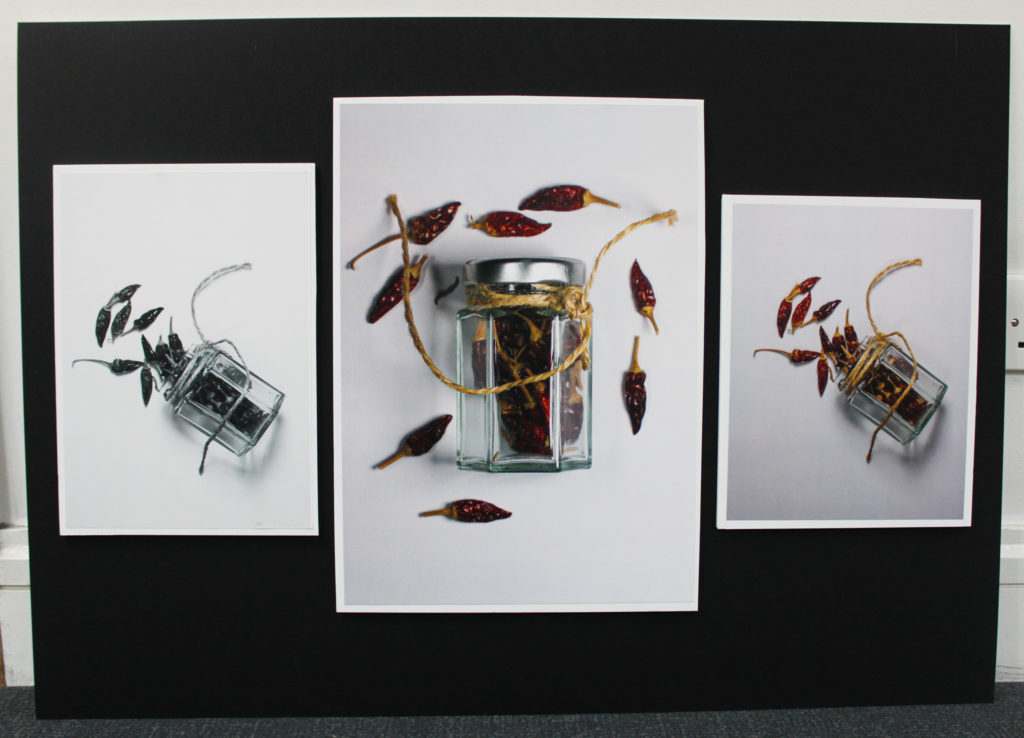
These are the edits I used, by increasing the contrast and exposure, it shows the object as floating and it has come out perfect.

This is my second edit, but to give it the floating look I am going to delete the shadow on the bottom of the glass and the string with photoshop. Firstly, with the eyedropper tool I got the correct white colour.

Then I drew over the shadows with the pen tool.
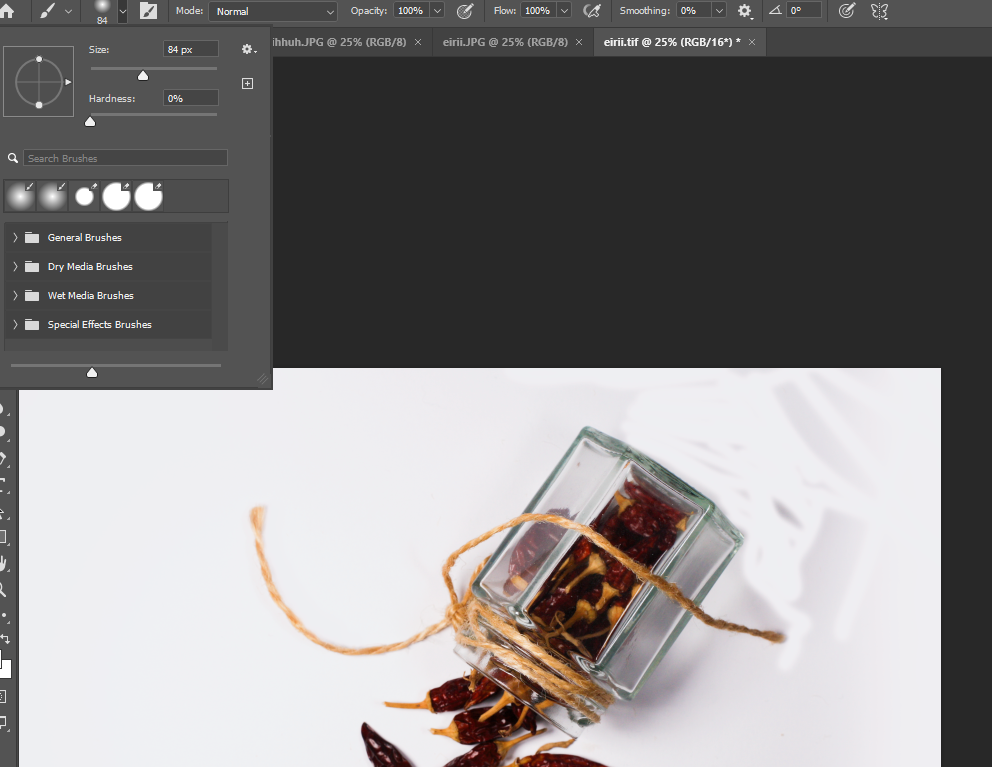
Then I drew over the shadows with the pen tool.
Final Images

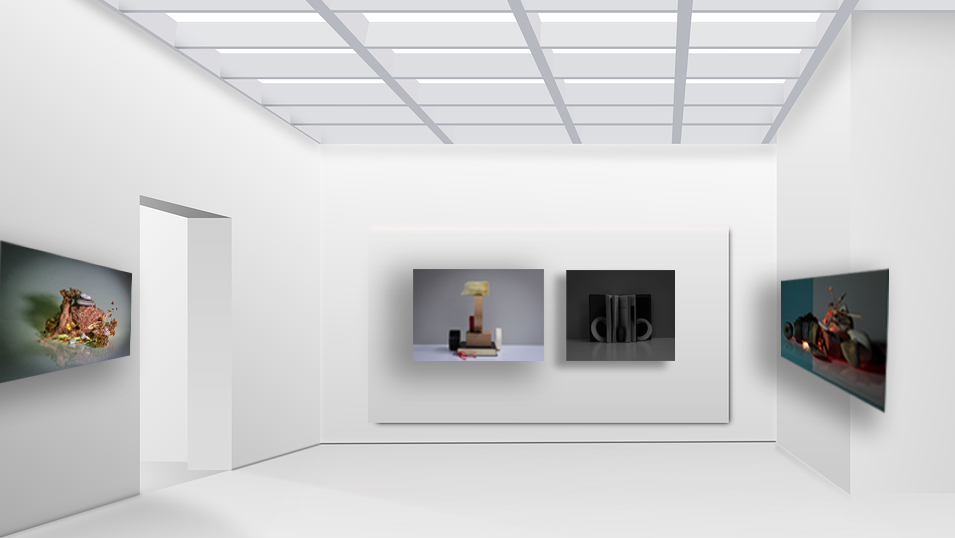
First I chose a image of a white gallery on google and then entered that image onto photoshop. I then selected 4 of my best images and edited them to look like they where apart of the room by using the tool “skew” Then to make the gallery look more realistic I used “drop shadow” on photoshop to create the image that there was a shadow under the image.
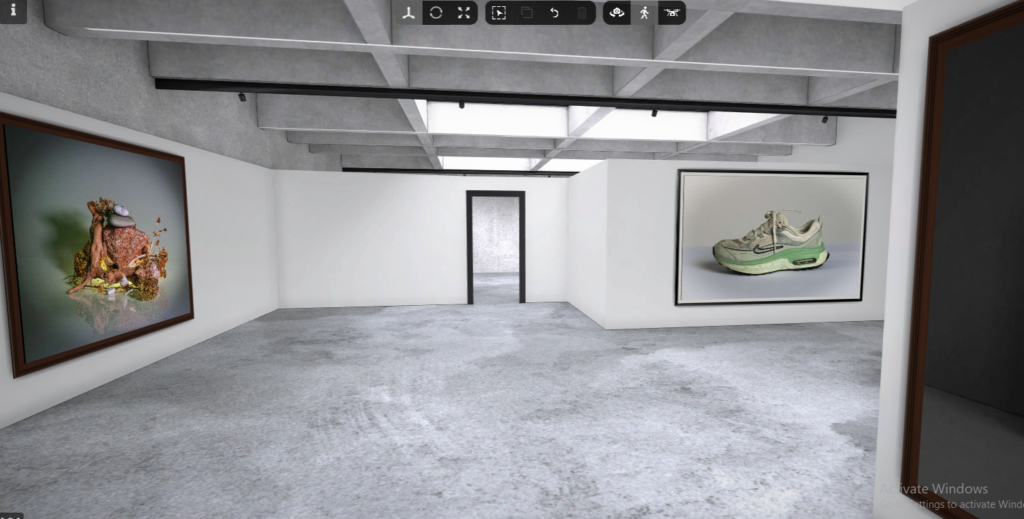
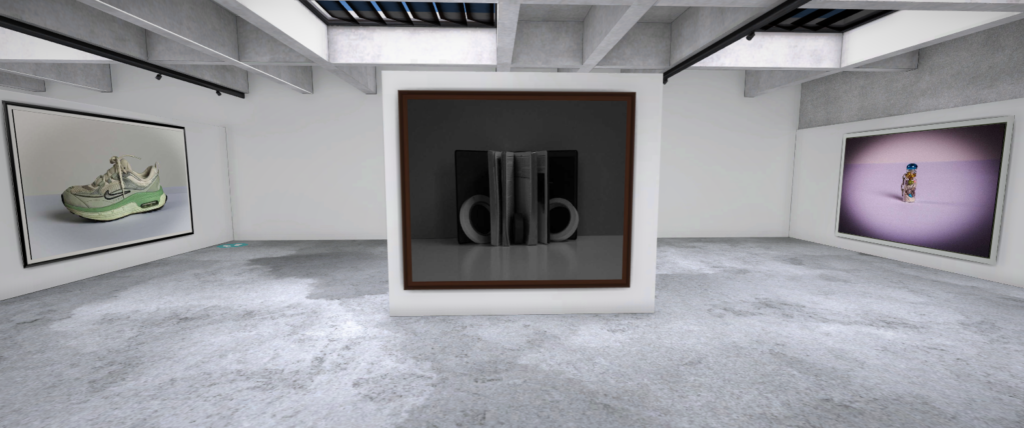
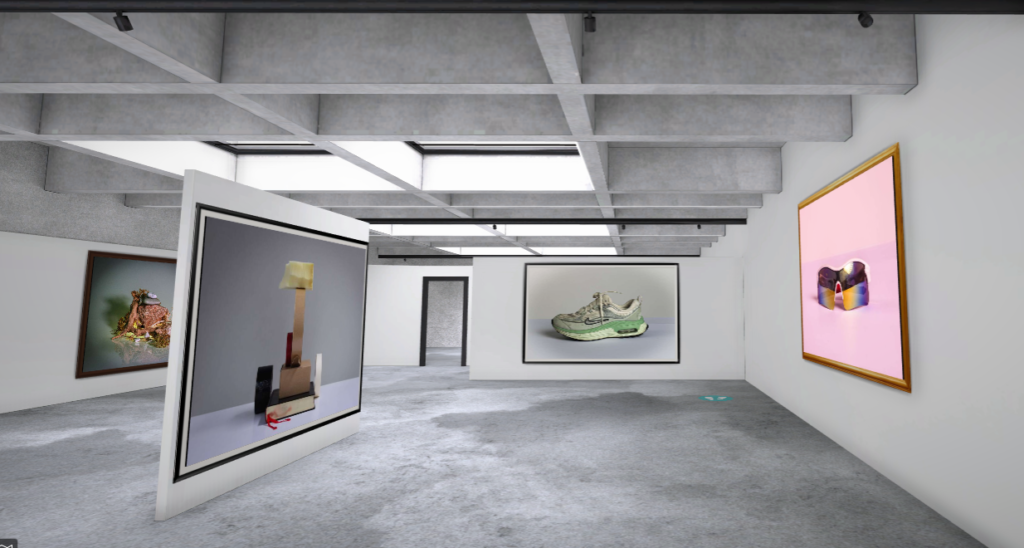
In the images above i put them into a virtual gallery by using the website “Artstep”
The process of this project
For the fist photos of beach objects, I think I could have created more interesting compositions and experiment with the camera settings more. I didn’t do this as I wasn’t fully aware of how to create a large or short depth of field, but I am happy with my later shoots where I did this.


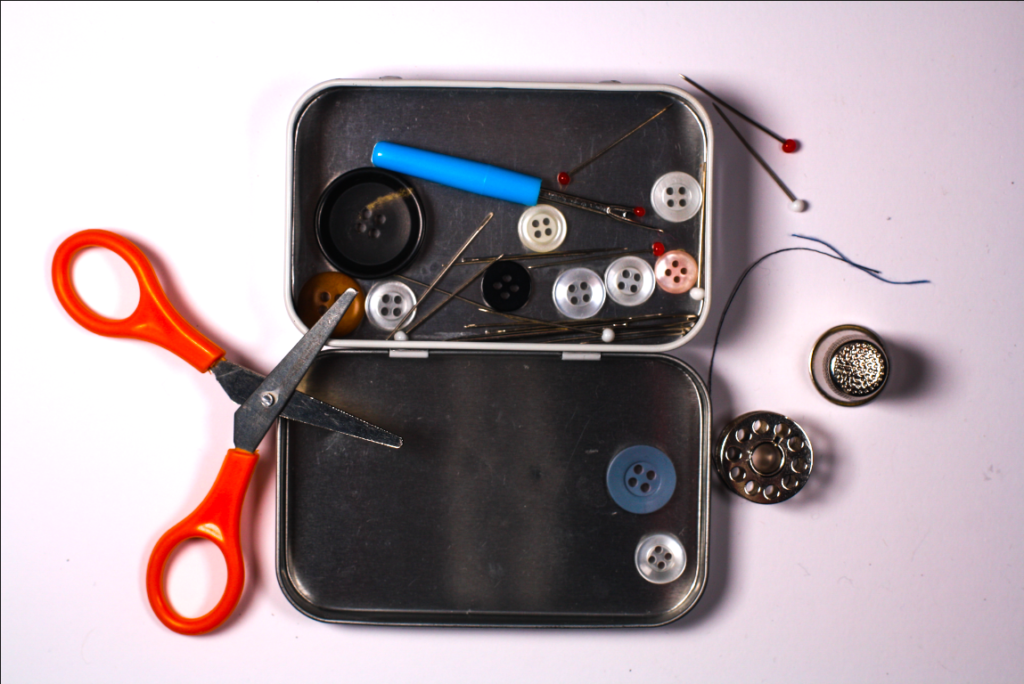
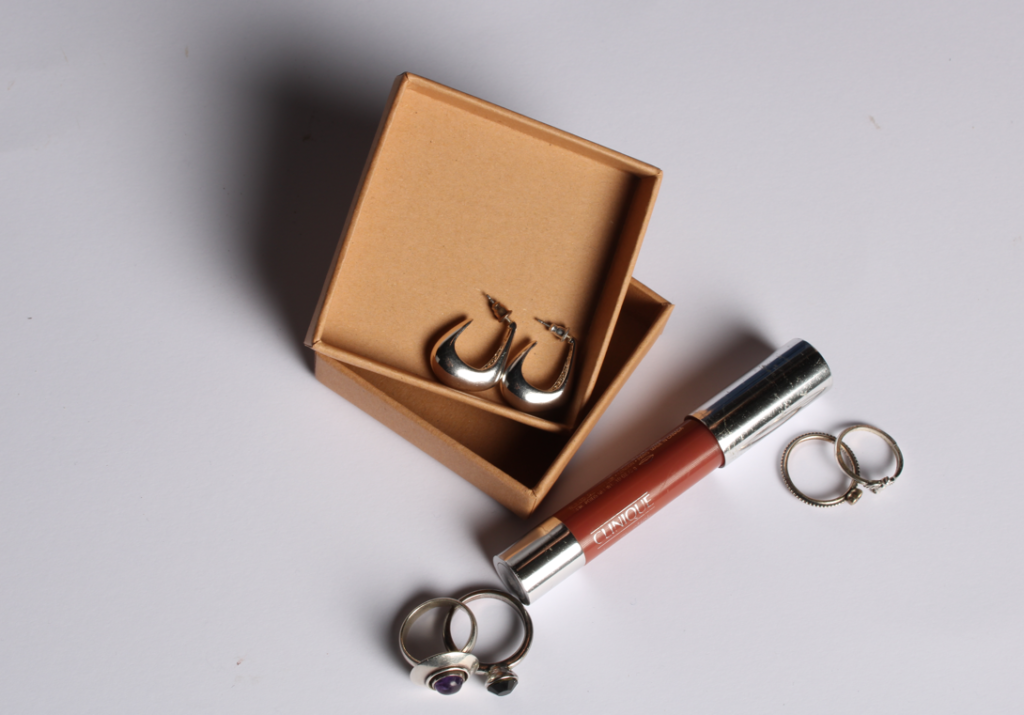
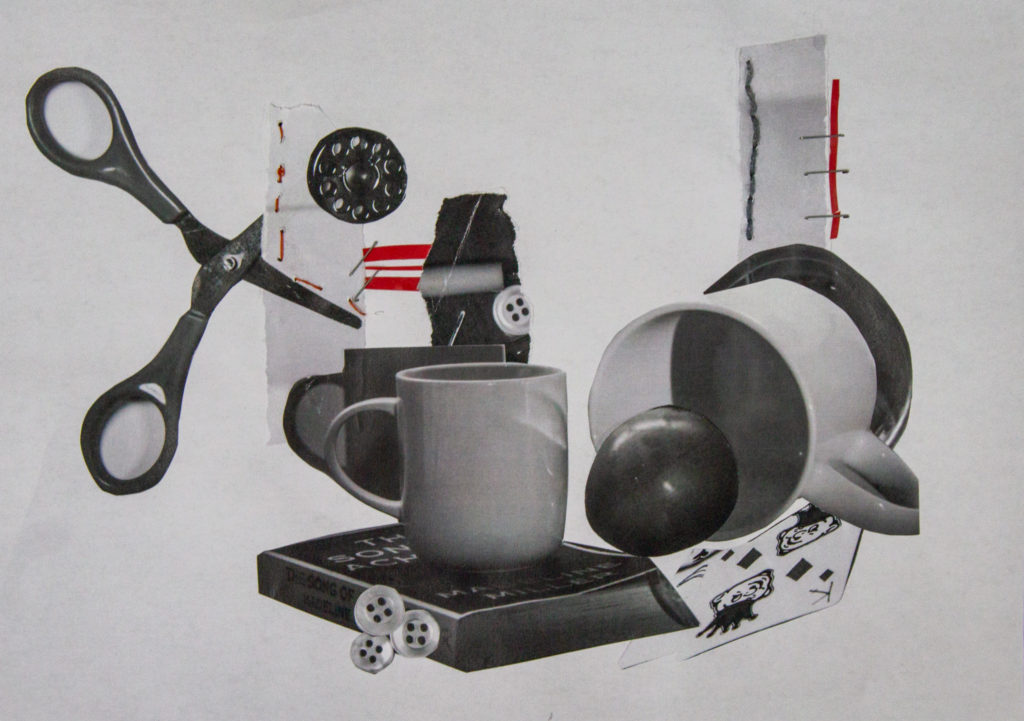
Group objects
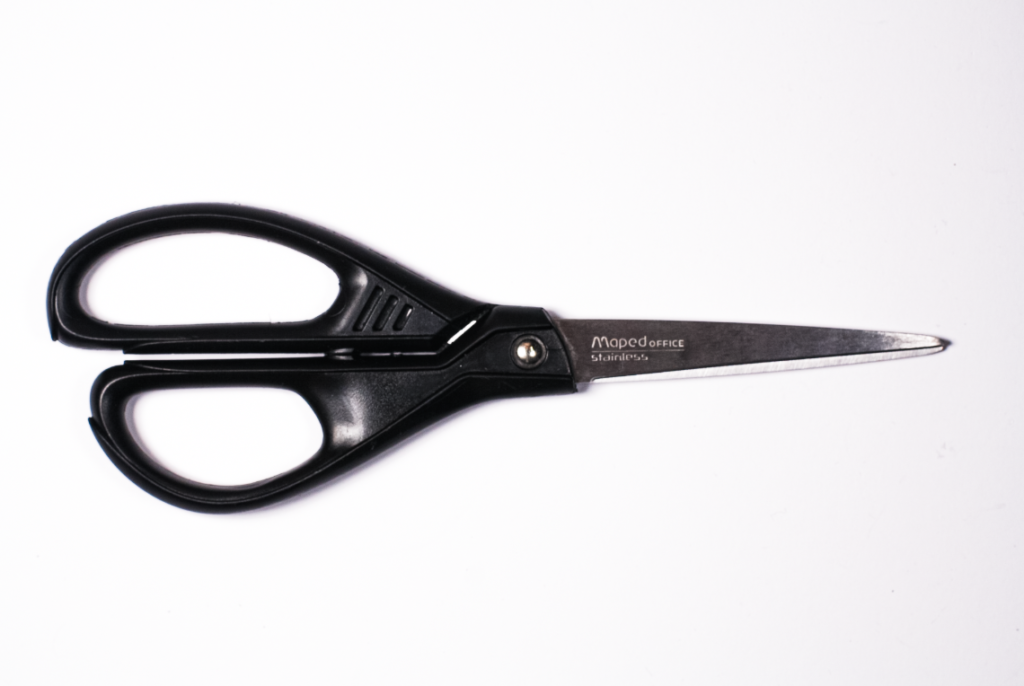
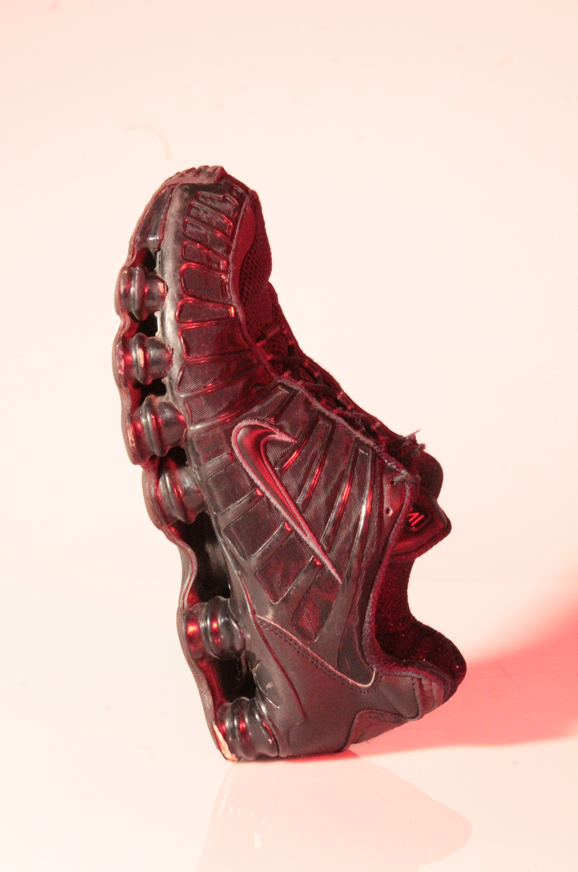
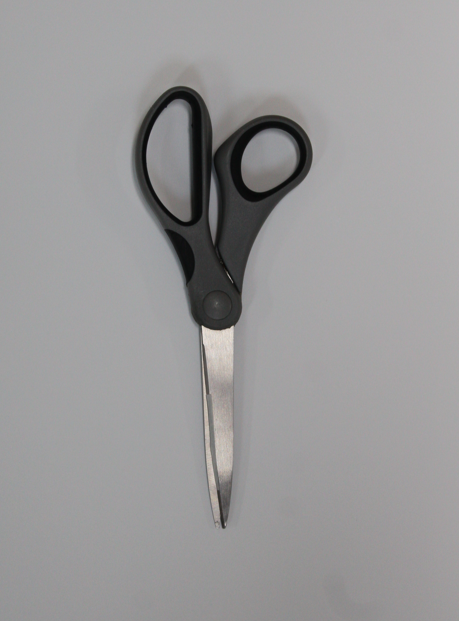
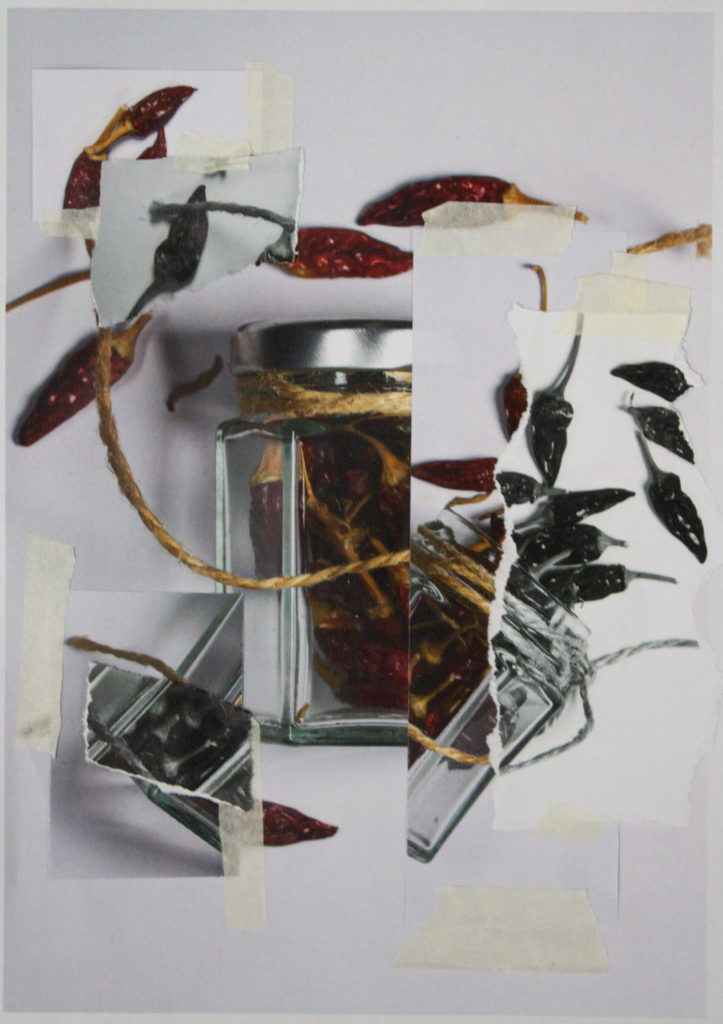
Single objects
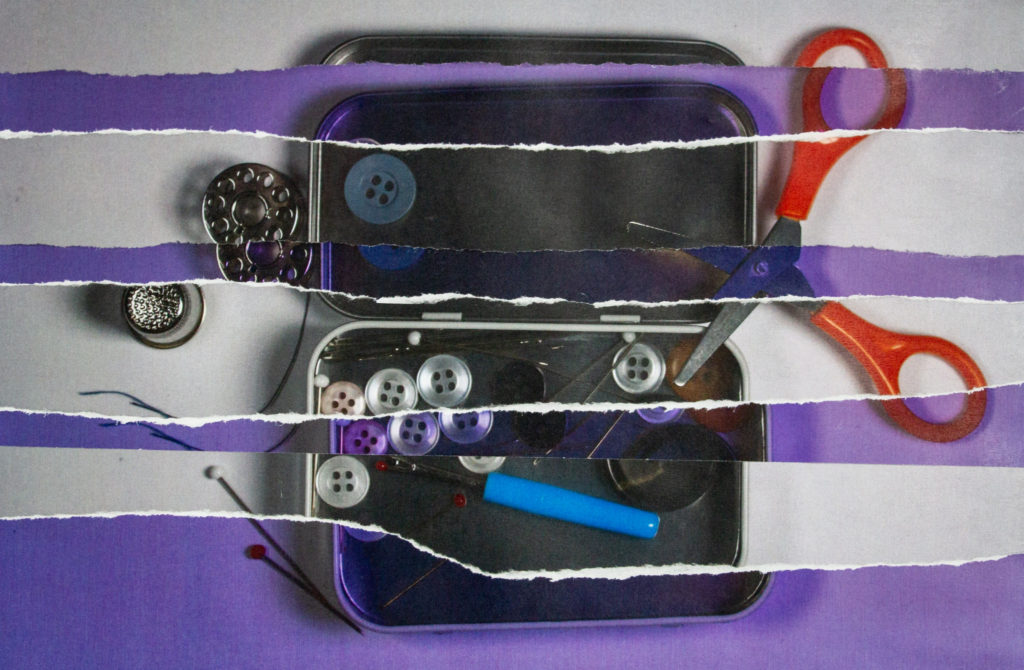
Physical Edits
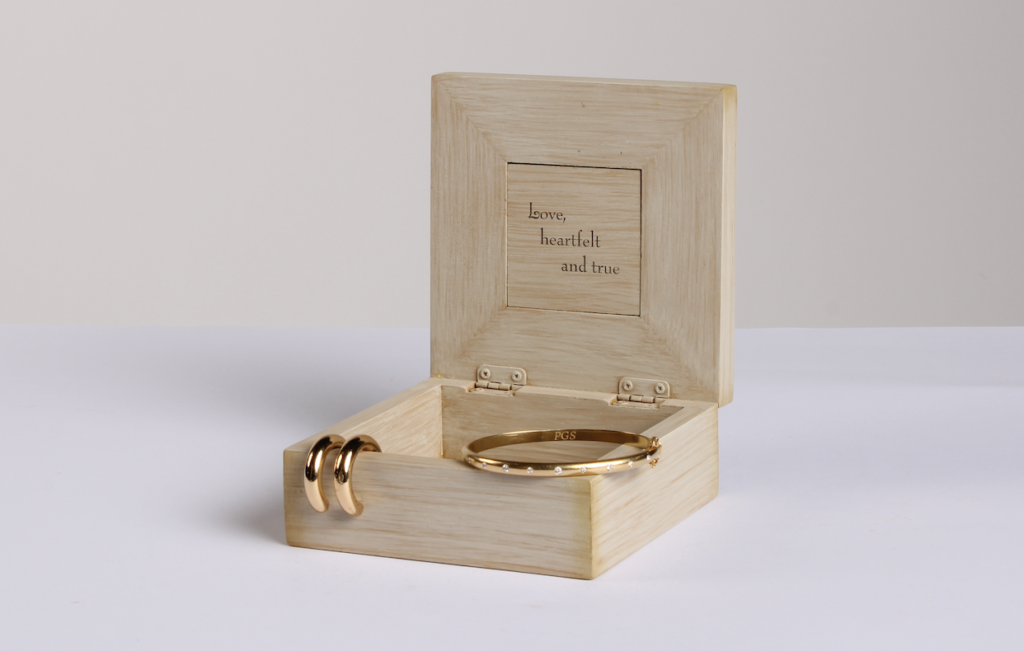
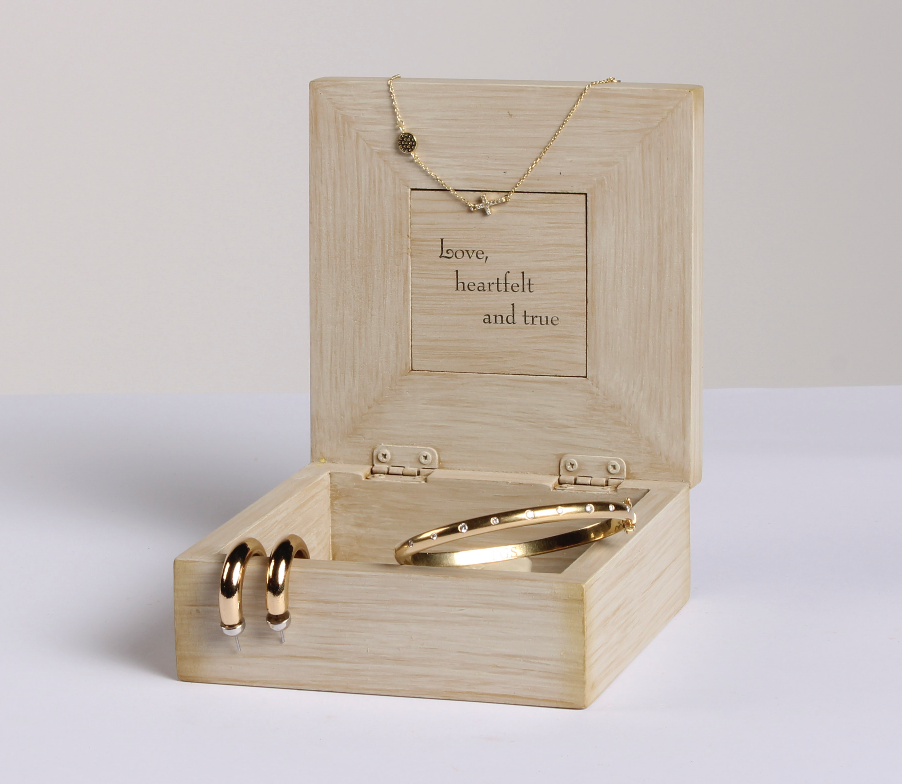
Final Outcome