This is my photo gallery of photoshop and Lightroom edits.
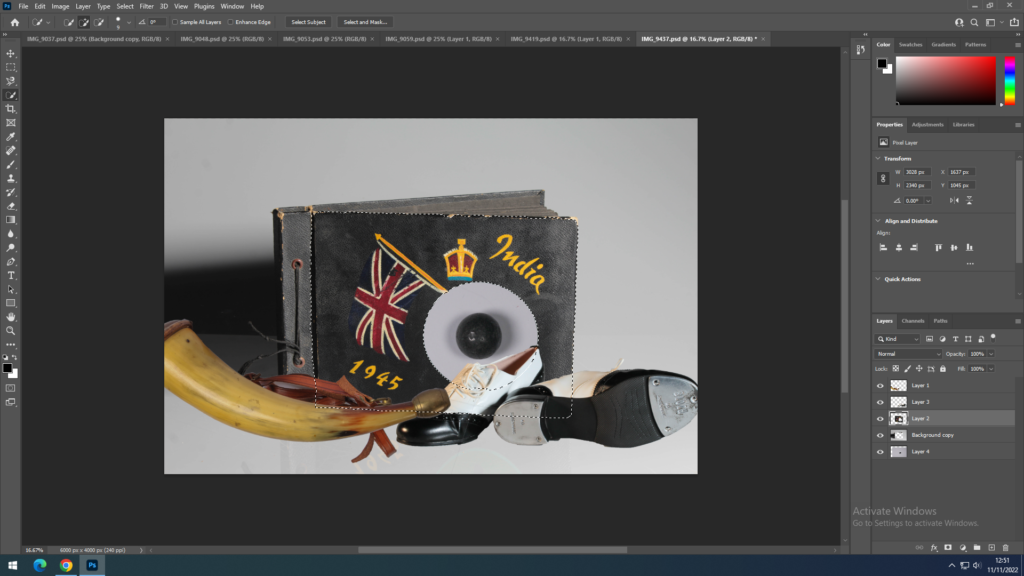
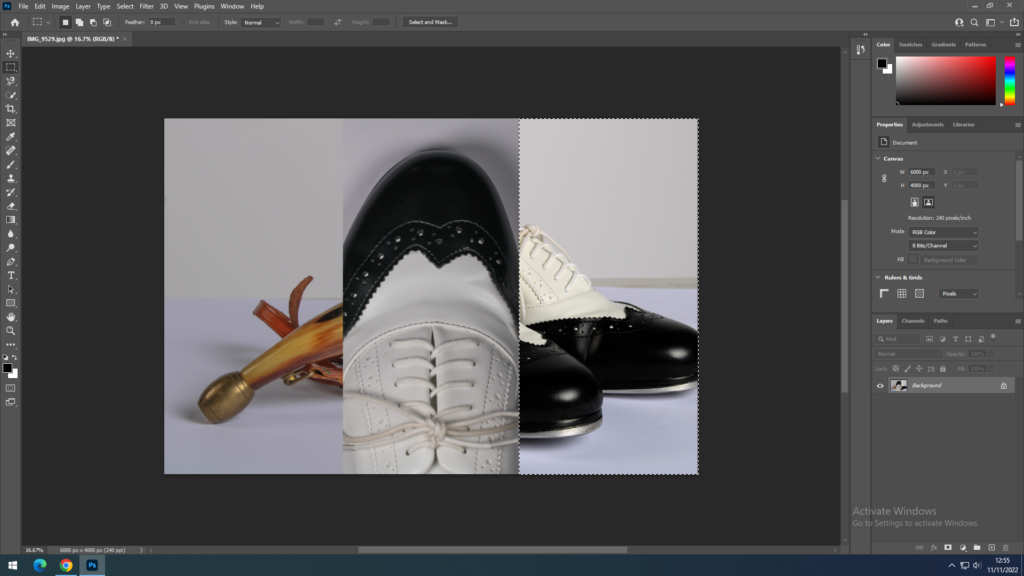
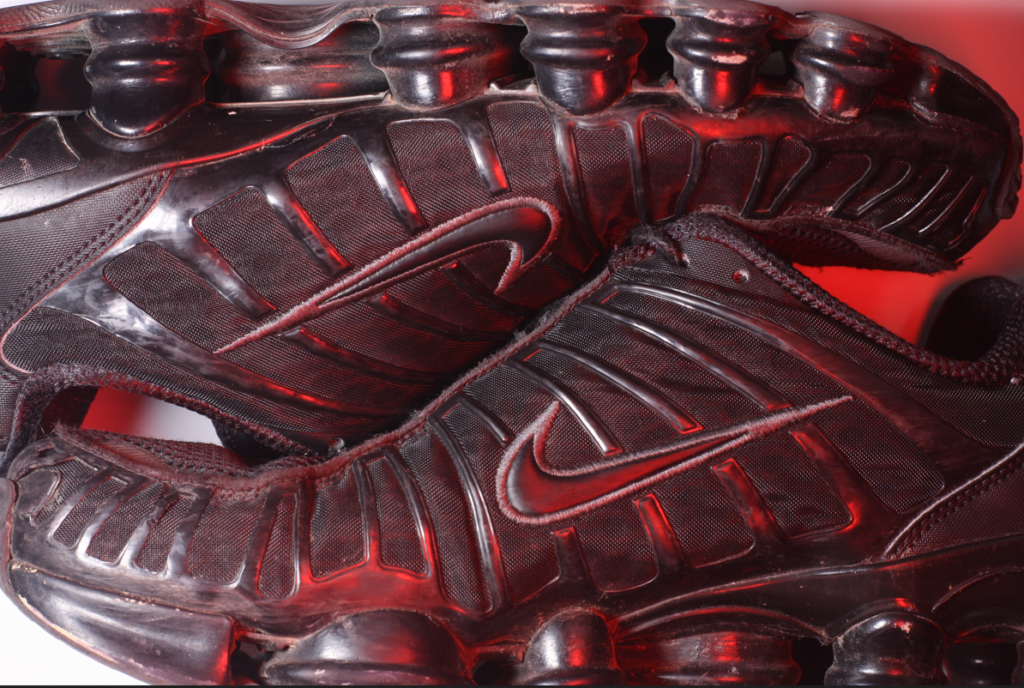
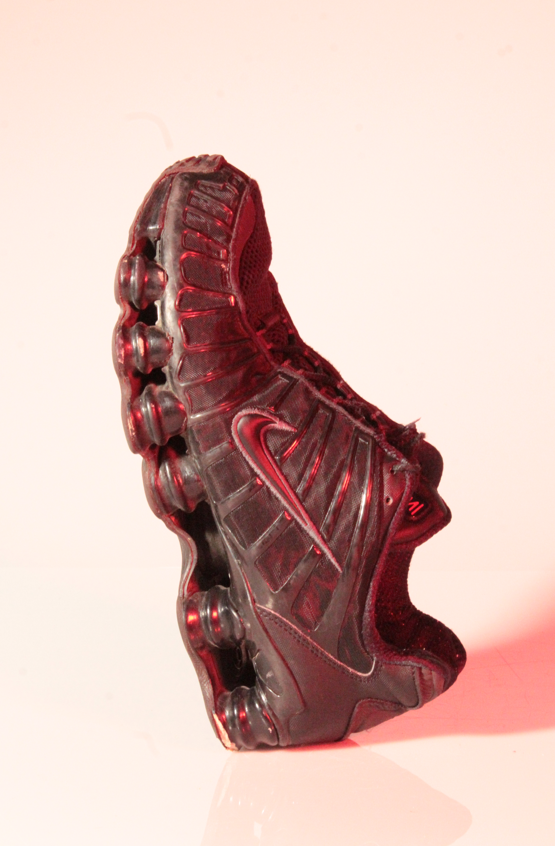
I mainly used layering techniques on photoshop to created different images. On the right hand side (the image with the shoes) i used four photos from the same angle and position however with different lighting and cropped different parts of the photos and aligned them up in the original background photo, creating an illusion of the shoes being different colours,
In conclusion, I believe I have done well in this still life project as I have never previously done photography. I have broadened my knowledge on photography and now have a greater understanding about cameras. During this project I have also learned how to use Adobe Light Room Classic and Adobe Photoshop which I enjoyed, as I am now able to edit the photos i have taken to make them more interesting and create more of a meaning behind them.
However, I believe if I could do better and this will be achieved as I get further into the course and improve my skills. For the next project I will be taking more photos leading to a wider selection that I can choose from for editing and my final images.
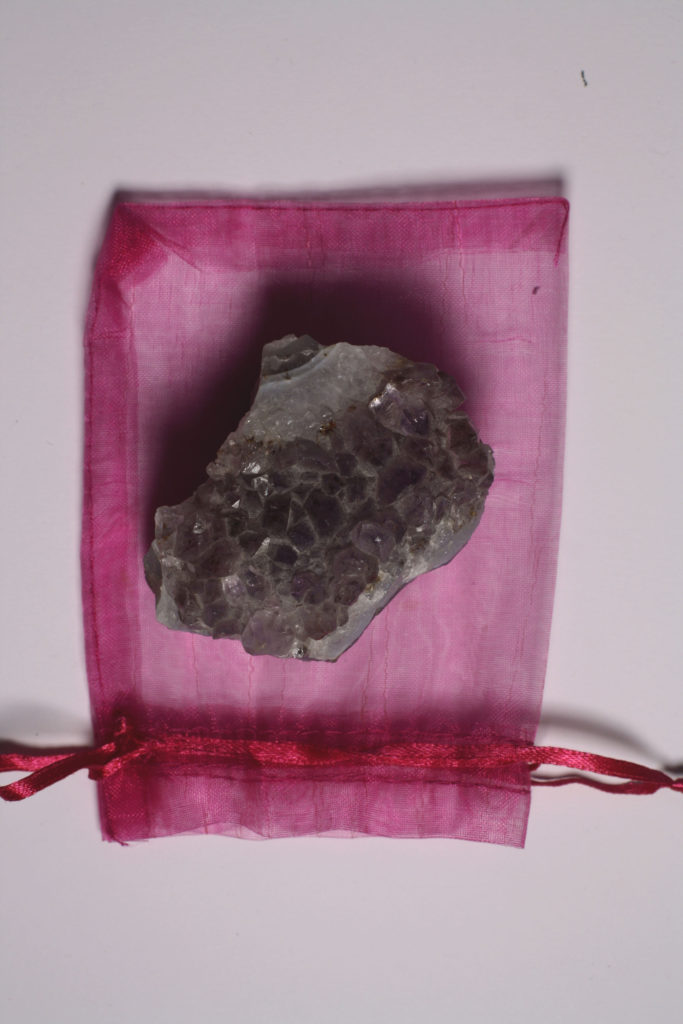
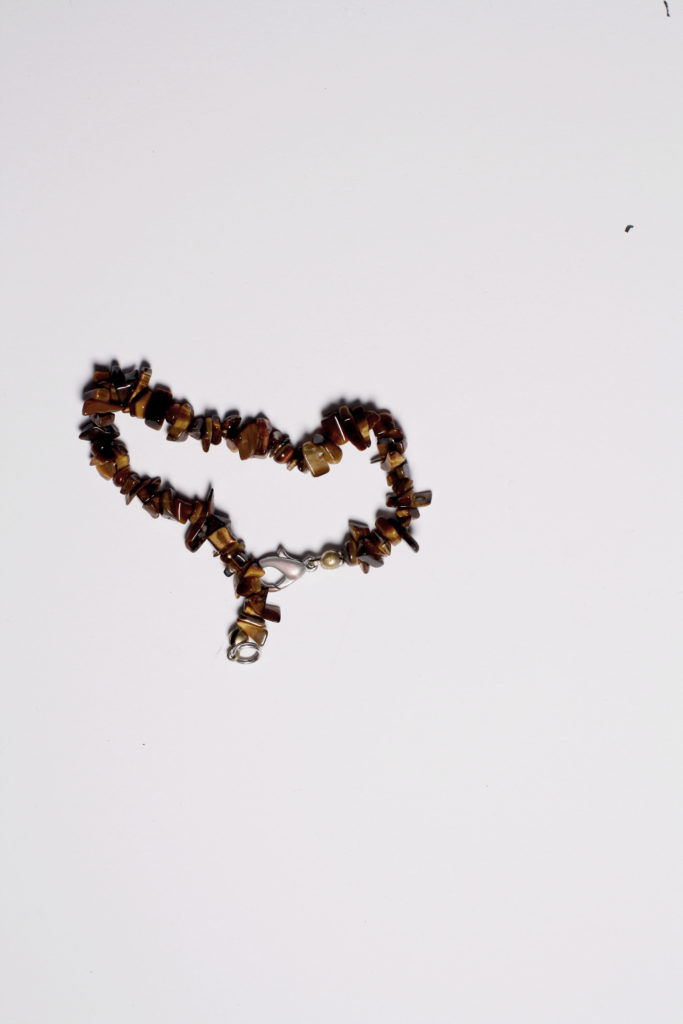
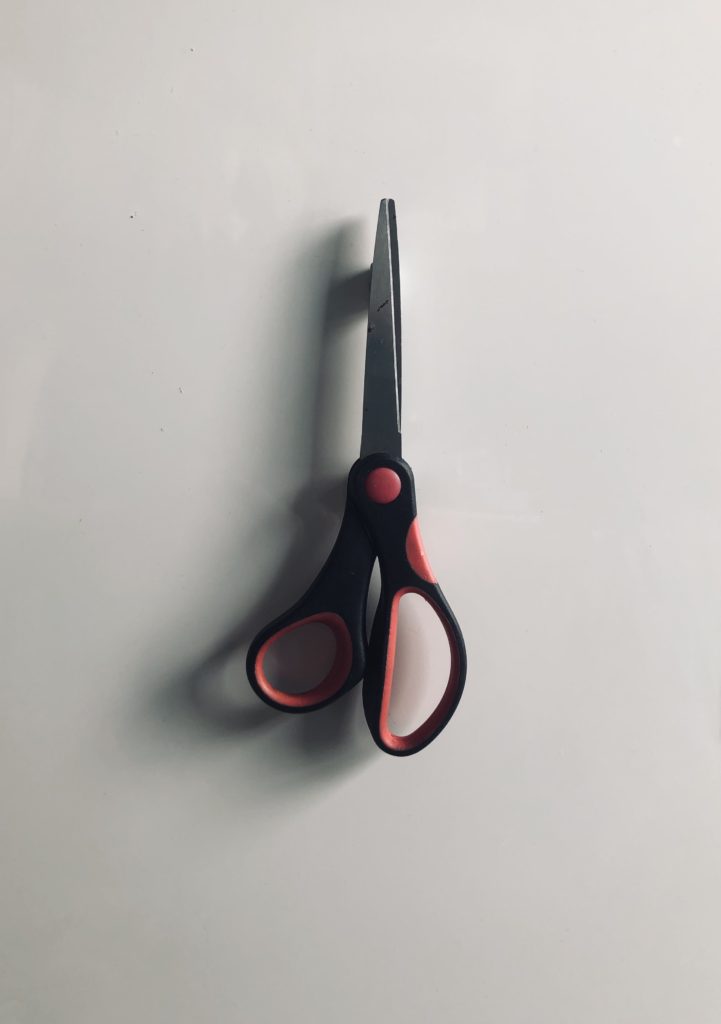
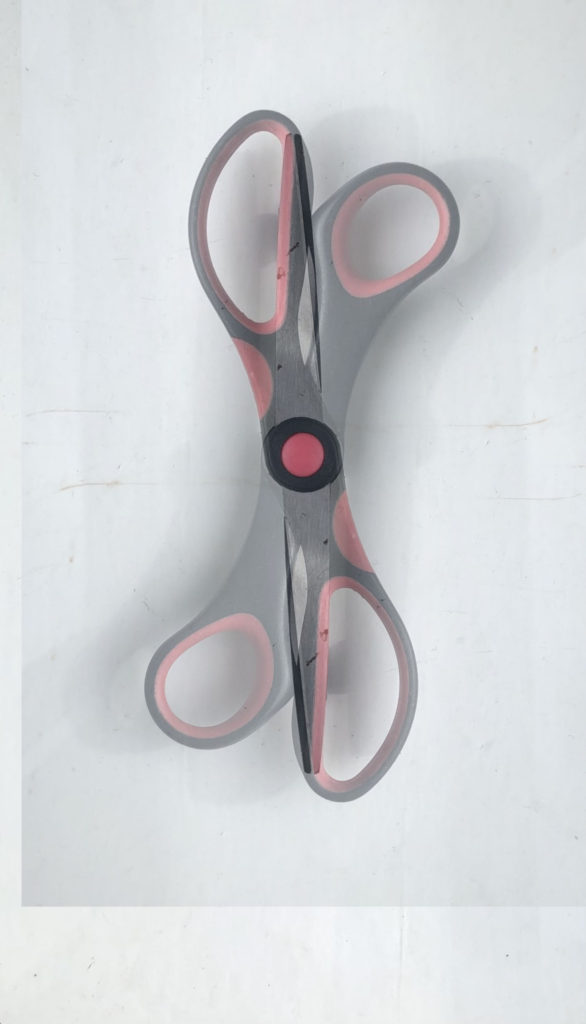
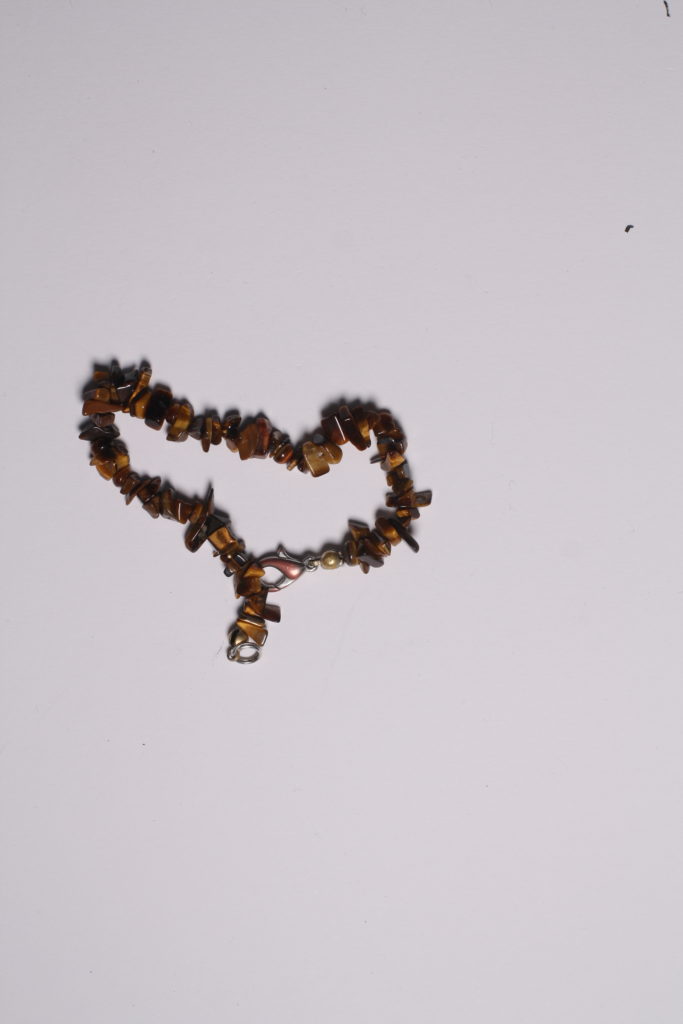
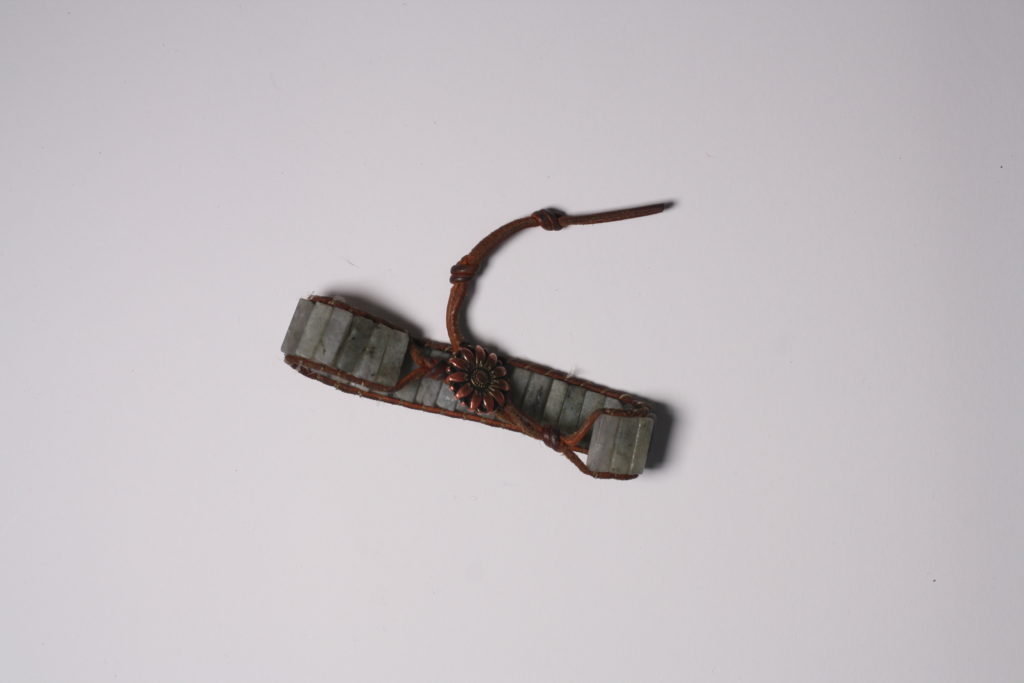
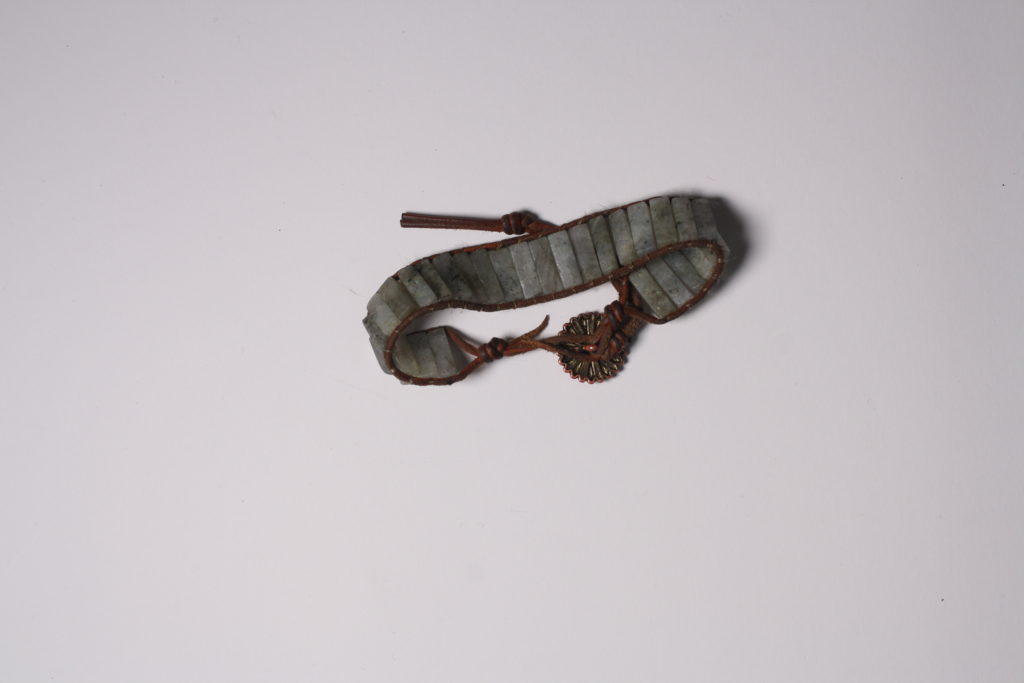
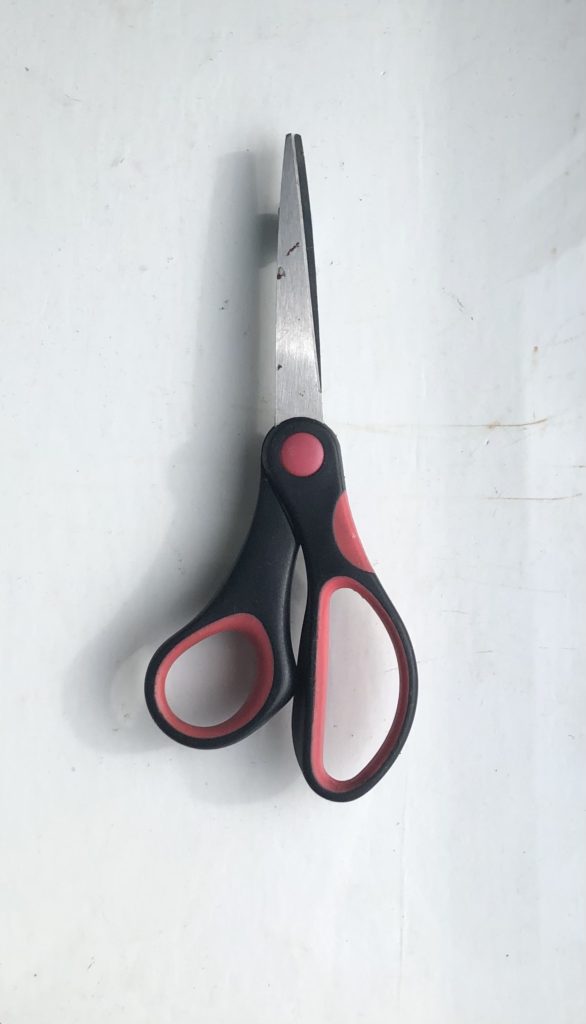
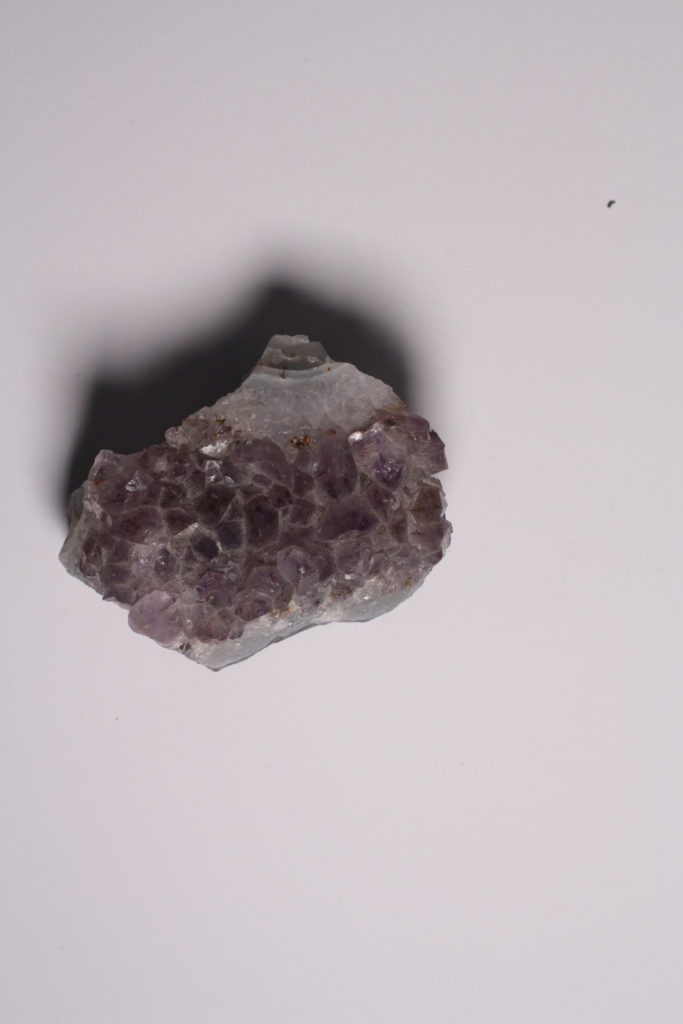
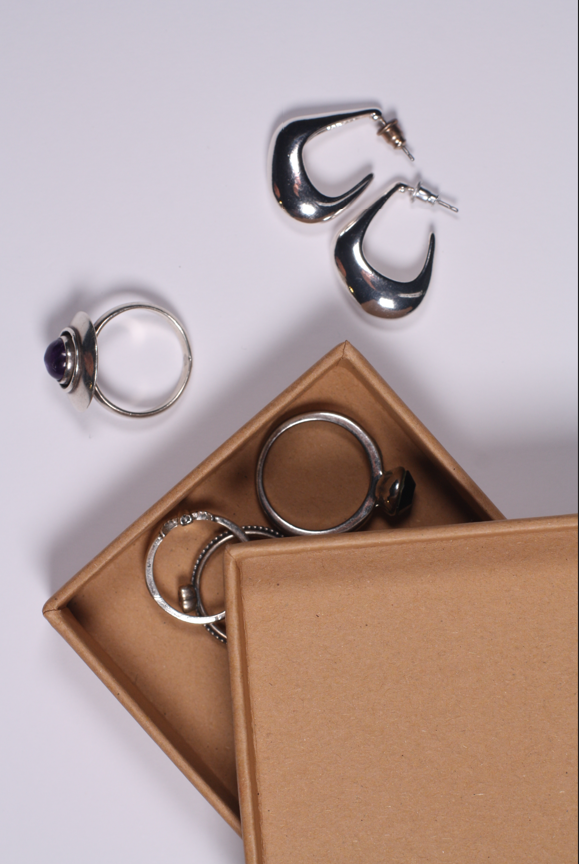
Here we explored the idea of taking a photograph of a single object:
there is a deeper meaning behind the concept of taking images of single or grouped objects. This is that it shows the simplicity of the object. It shows the object itself without meaning, except the meaning you give it.
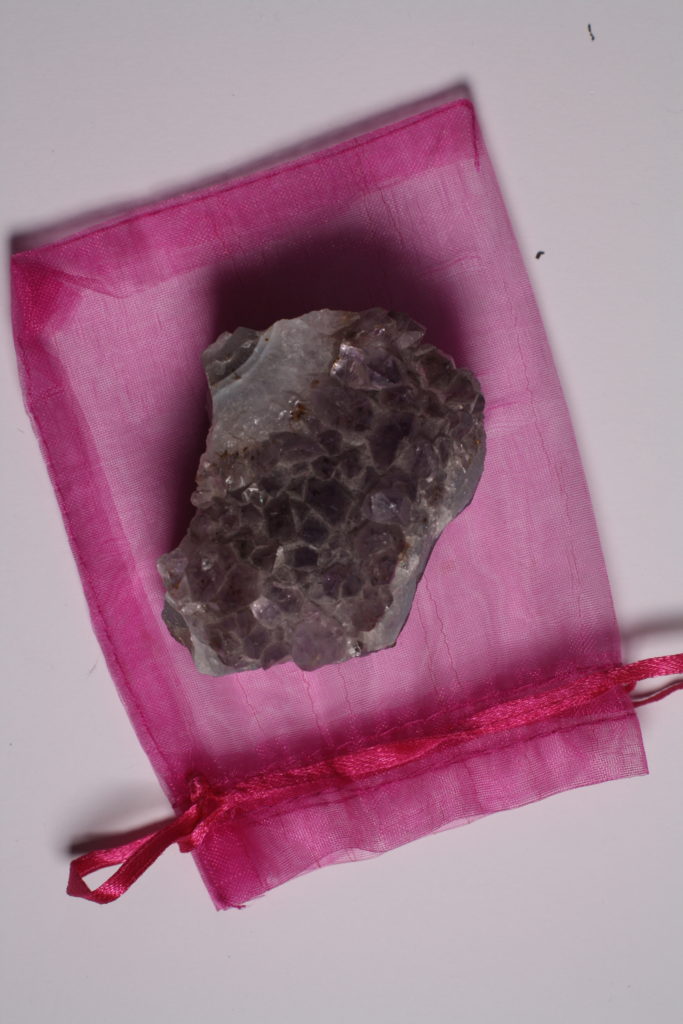
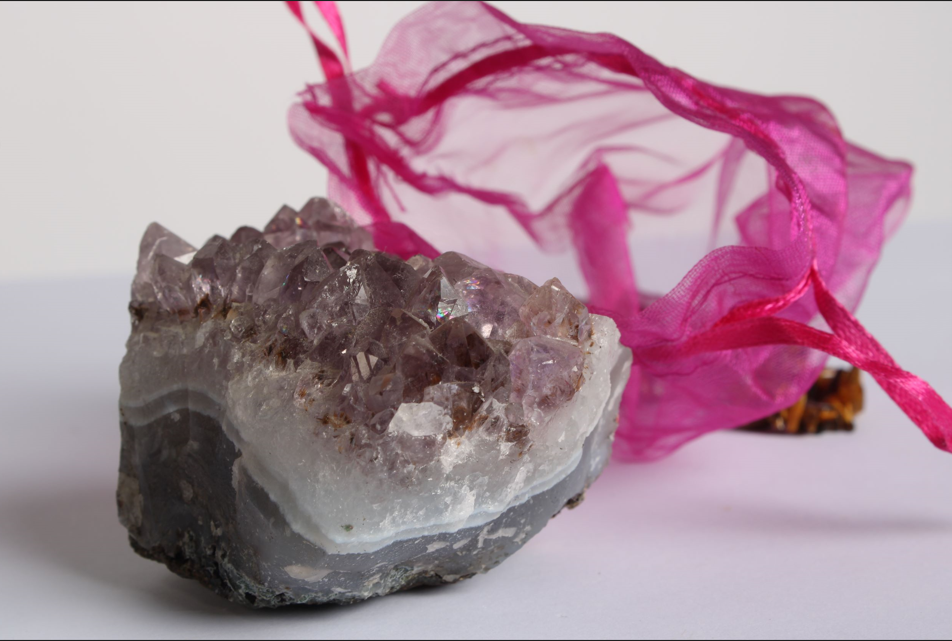
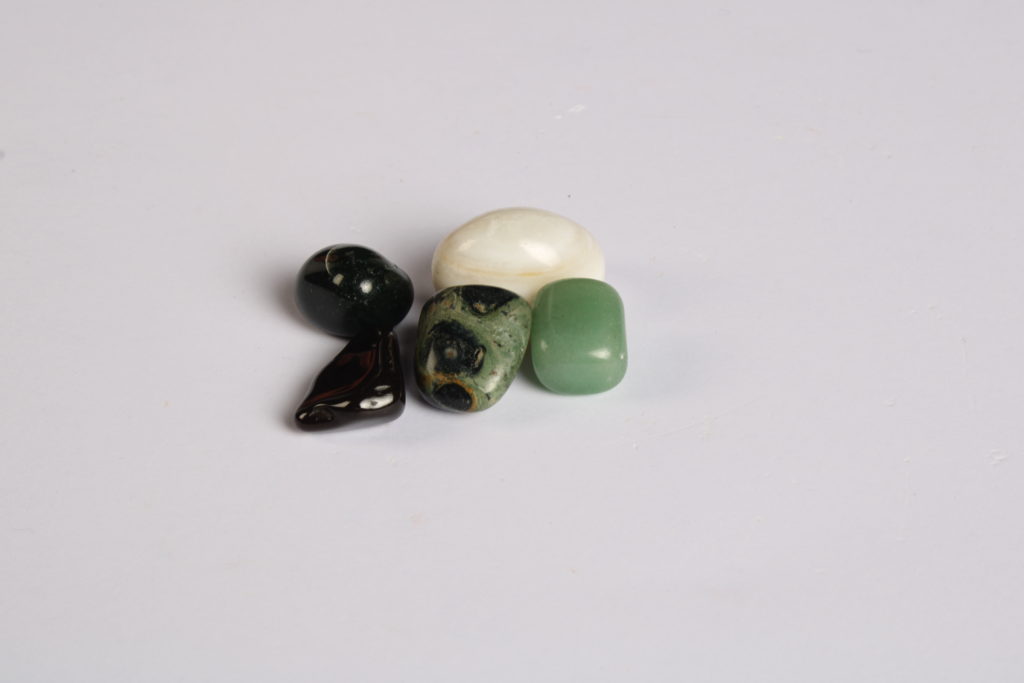
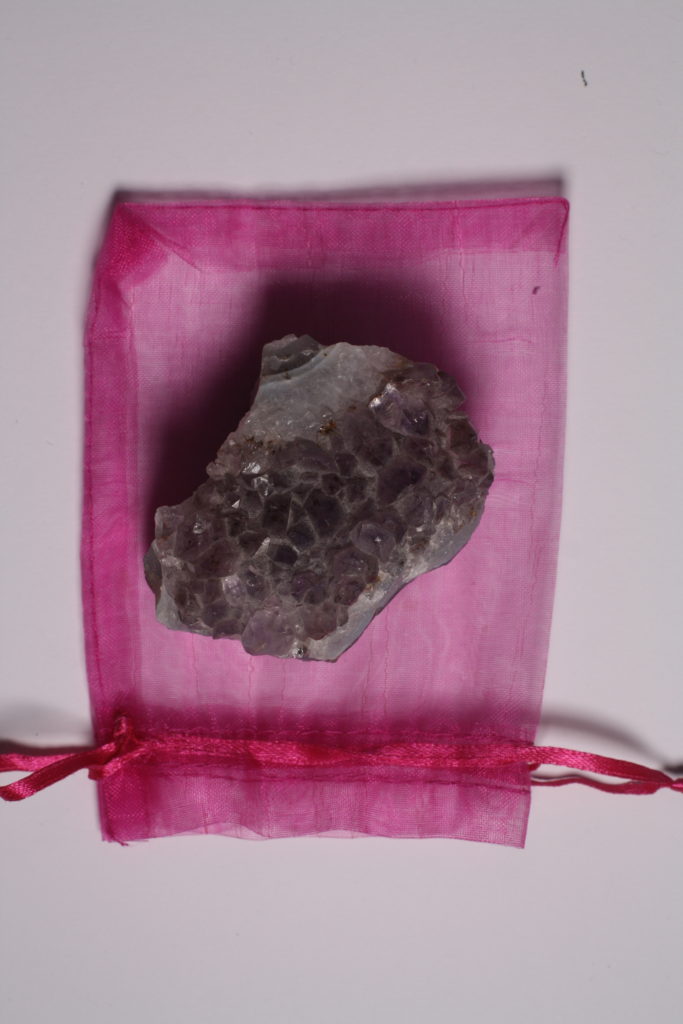
For example the images I took of these crystals, shows purely the object itself without editing, or intention behind the image besides the simplicity of them.
I find this technique quite interesting, as it isn’t common where you see someone not put a meaning or a story to something. And this method shows how naked things truly are.
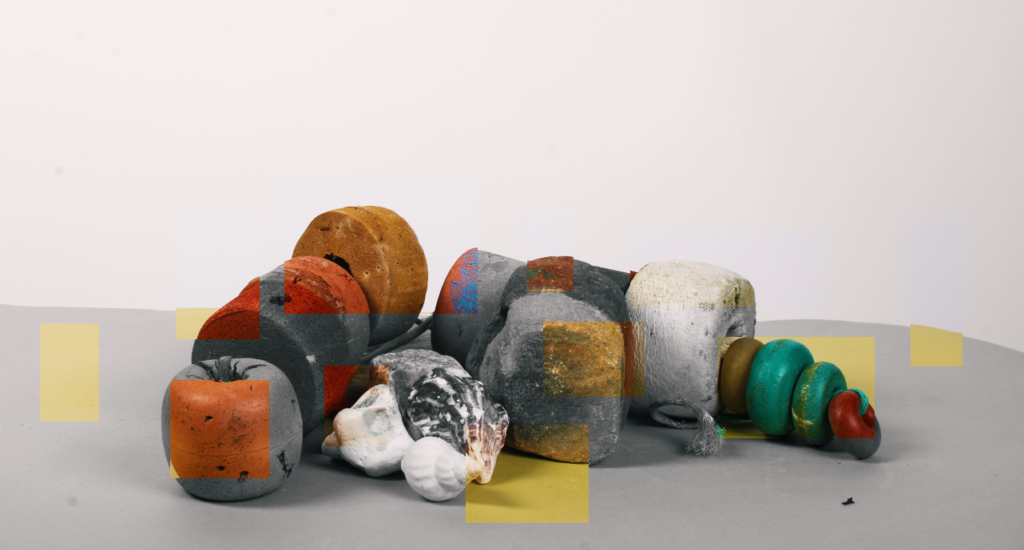
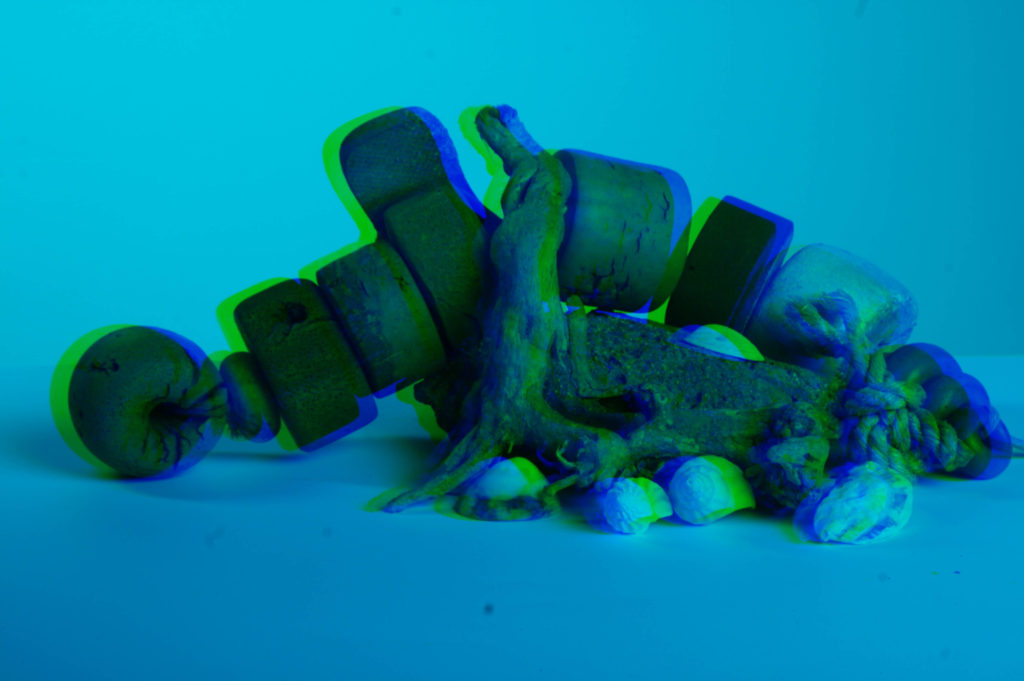
An example of this is in these two pictures. The first one shows specific placements of objects, and seems to be able to create an instant meaning towards it from the viewer, like a beach type vibe. Whereas the second image is very simplistic, with one object (or 2) in frame.
Although this type of technique doesn’t always create a bland image without any story or meaning. The concept aims to show the object itself, simple, and plain.
photography is basically capturing light with a camera, the word photography means “drawing with light”. Which derives from the Greek photo, meaning light and graph, meaning to draw. Photography is the art application, and practice of creating durable images by recording light, either electronically (image sensor) chemically (light-sensitive material such as photographic film).
Photography isn’t only used to present photos but to express the different feelings that the photographer has captured.
The first permanent photograph was captured in France 1826 when Joseph Nicéphore Niépce took a photo outside his window which shows the roof of a building lit by the sun.
LEAP INTO THE VOID
THE DAY NOBODY DIED
‘photographs confuse as much as fascinate, conceal as much as reveal, distract as much as compel. They are unpredictable communicators.’
In this image I used two of the same photo and layered them on top of each other. One image being black and white and one being coloured. I then cut out random parts of the photo to show the coloured layer underneath.
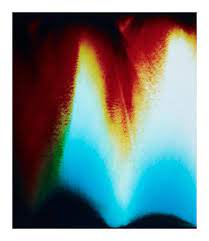
For this photo I layered two of the same image on top of each other, then added more blue and green tones to the photo which created a glitch effect.
With my final images i have mounted them to be able to present them in two different ways, the first way i mounted one of my images was by using foam board mounting, after my image was printed out i used a spray glue on the back of the photo and stuck it to foam board, after that i used a metal ruler and a stanly knife to cut the image out.
The second way i mounted my photo was creating a window mount i created this by measuring the photo and cardboard, to create precise measurements so the photo would fit perfectly within the window mount, after i worked out the measurements i began cutting the frame i used a bevel cutter to create a cut on a 45 degrees angle, once all 4 side where cut i taped the image in place.