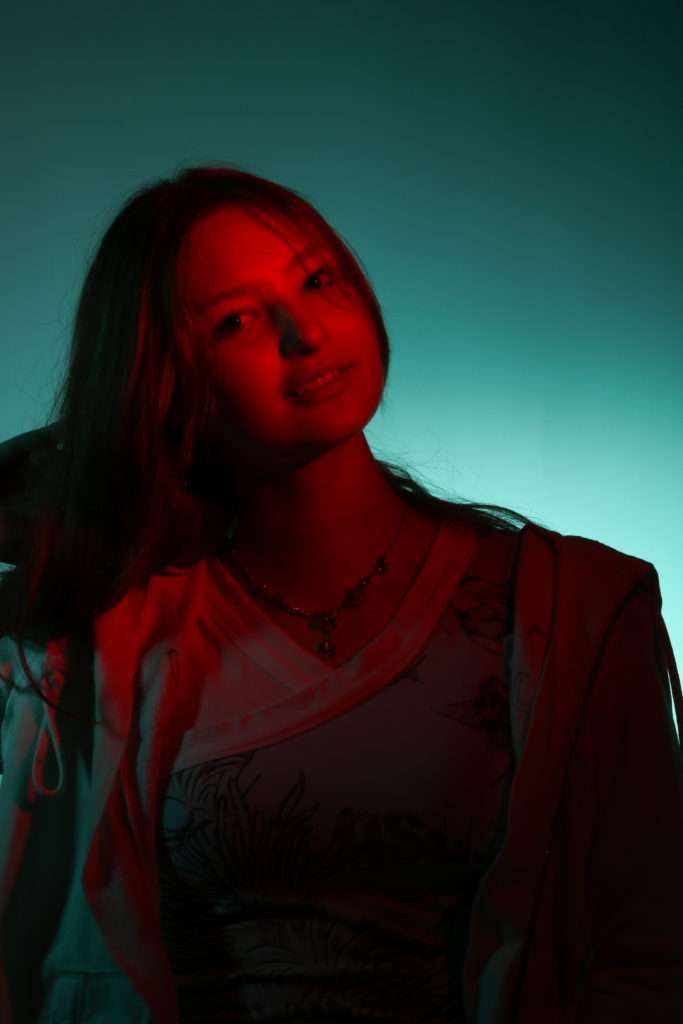
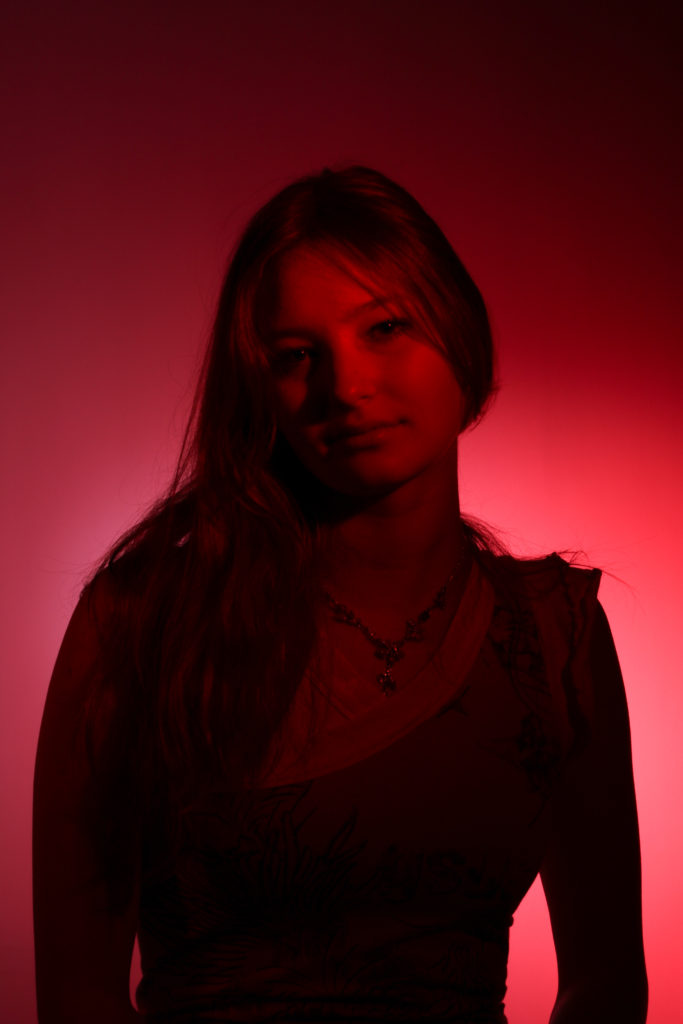
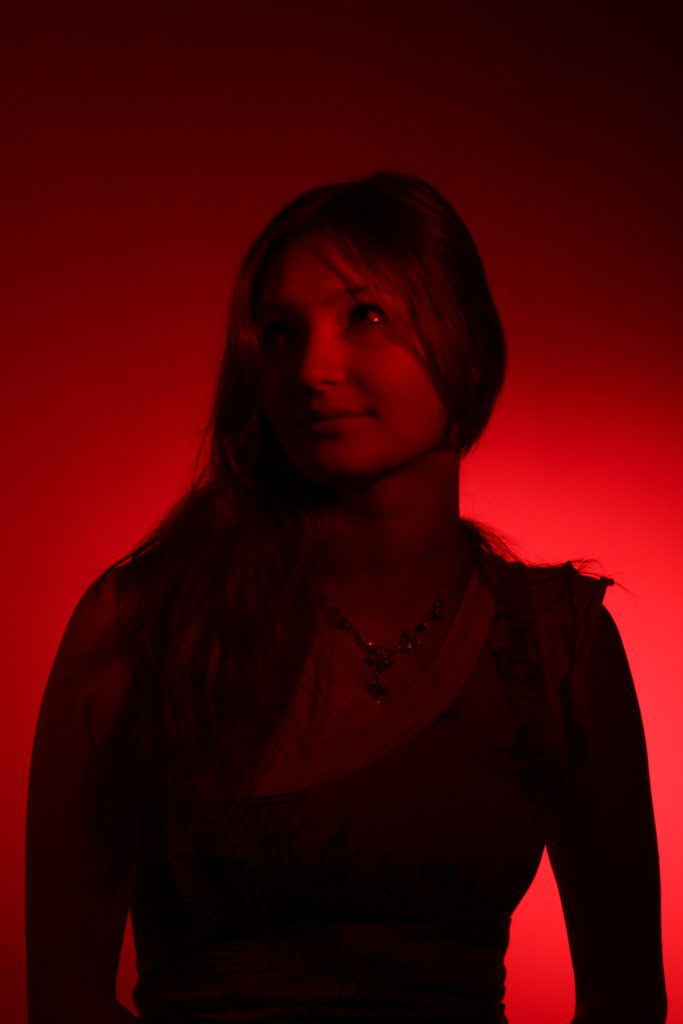
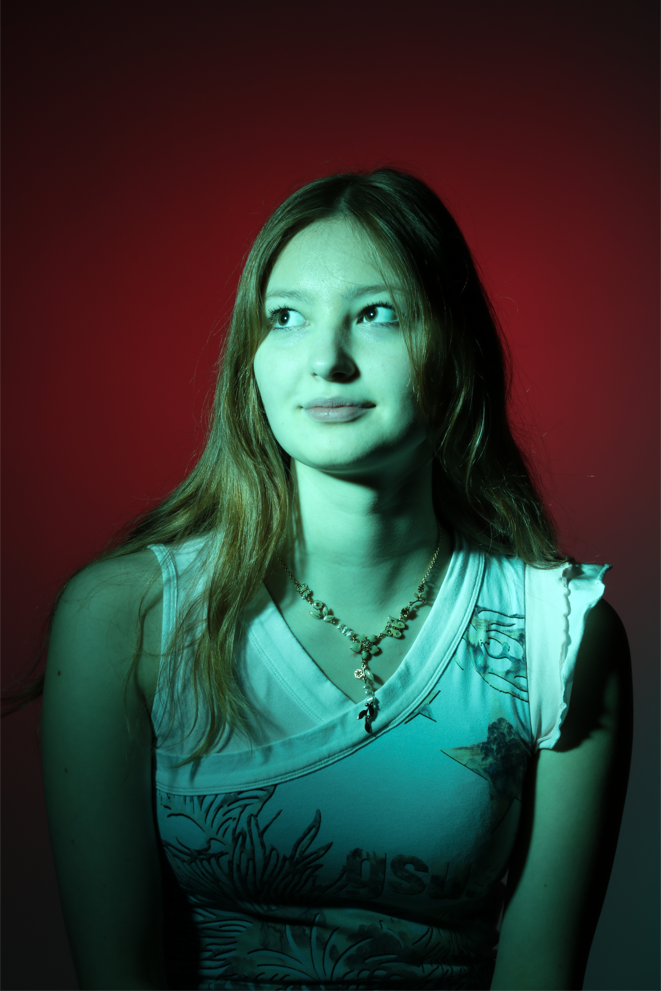
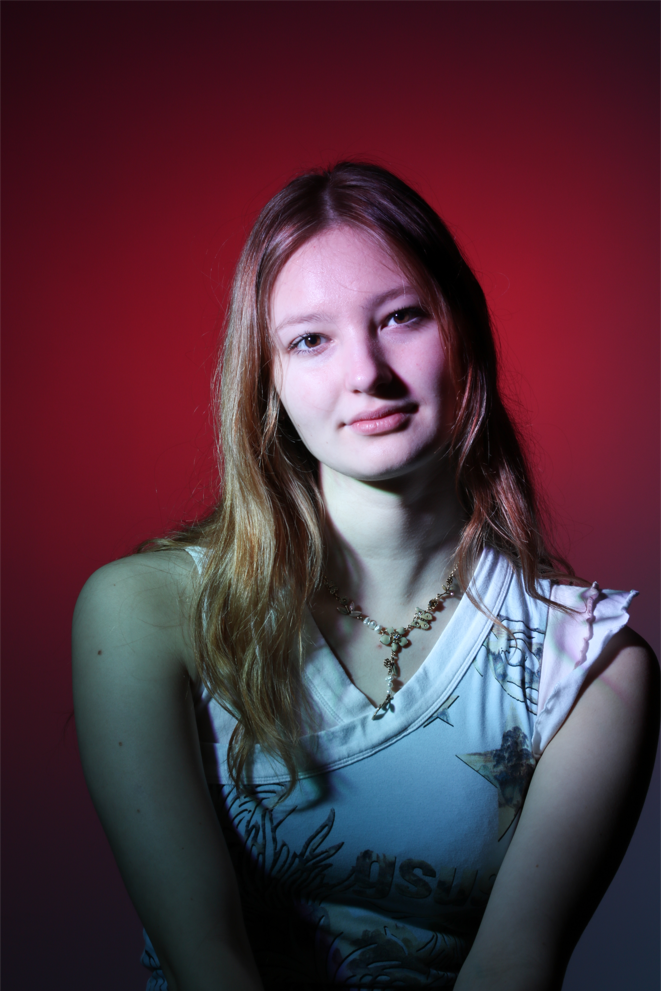


Here are the outcomes of my first instance of experimentation in the studio using a variety of coloured gels and a honeycomb mesh. The setup used a flash with a beauty dish attached, which the assistant covered with different coloured gels, as well as a continuous light that we attached a snoot (with a red gel and a honeycomb mesh) to. We experimented with placing the flash on the background and the continuous on the face, and then switching them around to see what effects the change created. I am happy with a lot of these outcomes however I will definitely be going back into the studio to experiment further as I don’t have many here.
Camera obscura and Pinhole photography
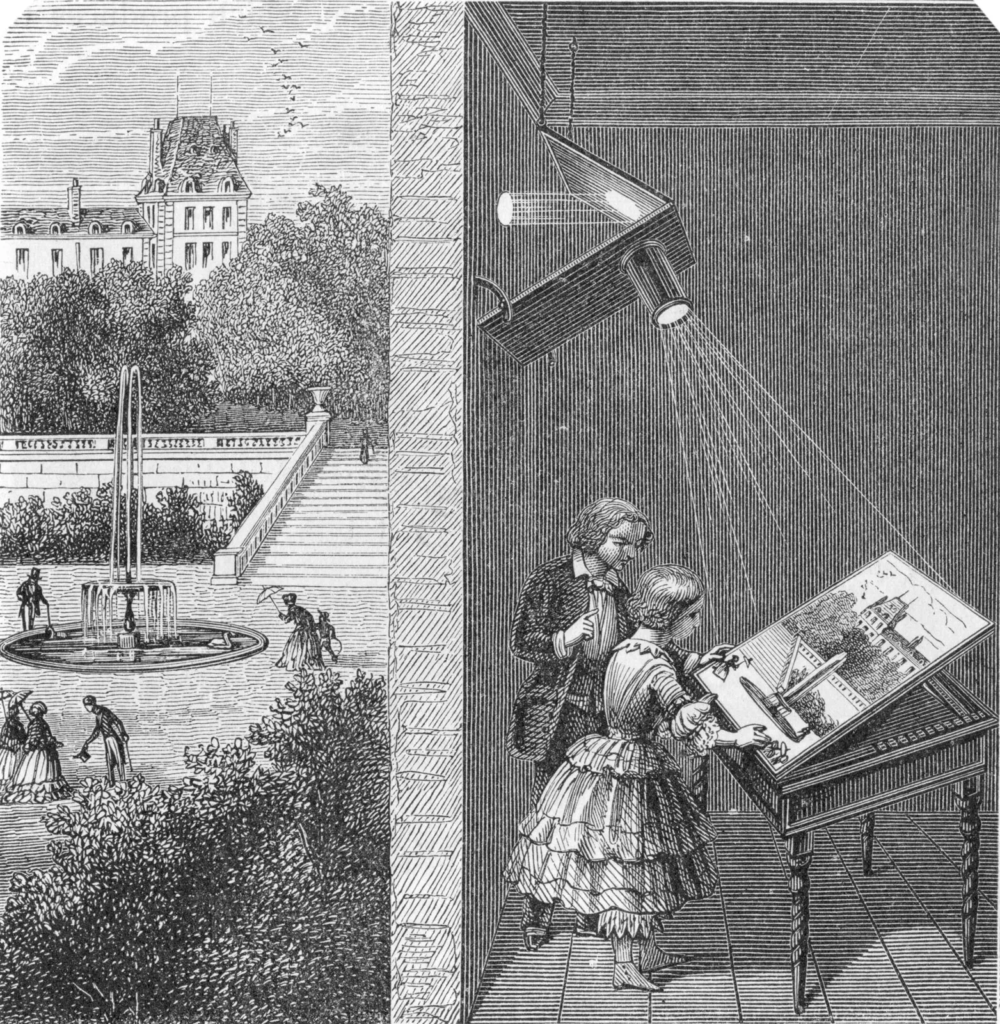
The invention of the camera obscura was the first step towards the creation of modern photography. Consisting of a box or tent with a small pinhole to allow the beam of light to travel into the space and project reversed and inverted imagery of the exterior onto a surface within, the camera obscura’s name derives from the Latin for ‘dark chamber’. The earliest examples of this invention date from ancient times, with the first use being as a medium through which to safely view solar eclipses. It then, by the 16th century, had evolved to be a way for artists to trace their subject by placing them outside.
The camera obscura began to be adapted for portability, with smaller versions being created with the interior painted black and the use of a small angled mirror to allow the image to be viewed the correct way up.
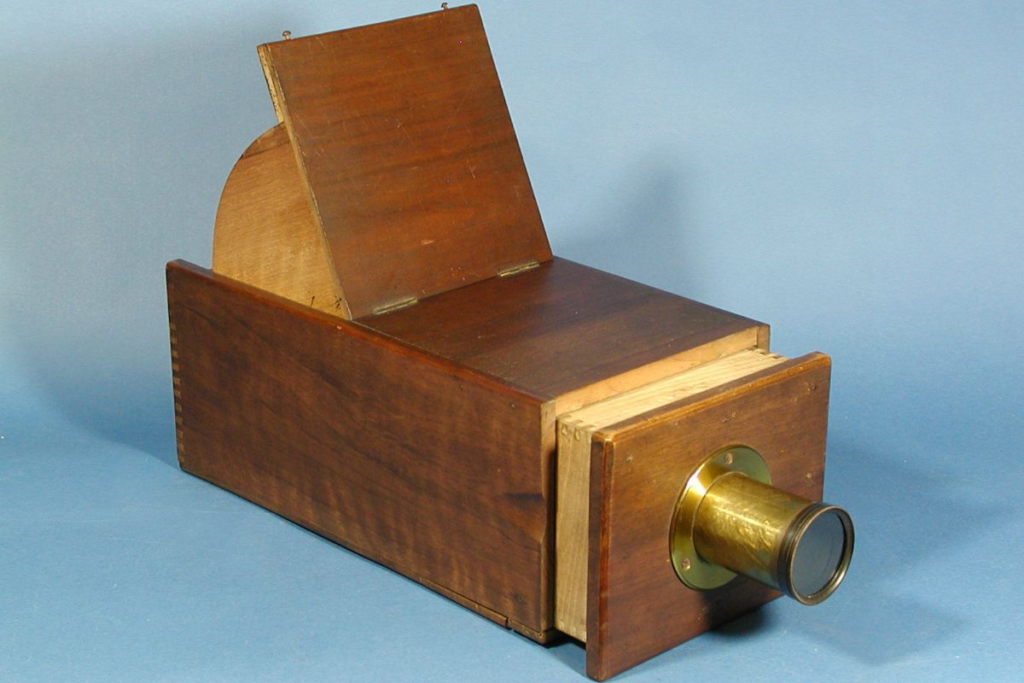
Pinhole photography refers to the lensless technique of photography, utilising the most basic components of the medium, with a lightproof box, a tiny aperture and light-sensitive material. The images produced by these cameras are always wide-viewed and they have an almost infinite depth of field – owing itself to the small aperture.

The earliest known record of these devices comes from the Fifth Century BC, by the Mohist philosopher Mozi. Essentially this is the same concept as that of the camera obscura, only with the use of photographic film or paper.
Nicéphore Niépce and Heliography
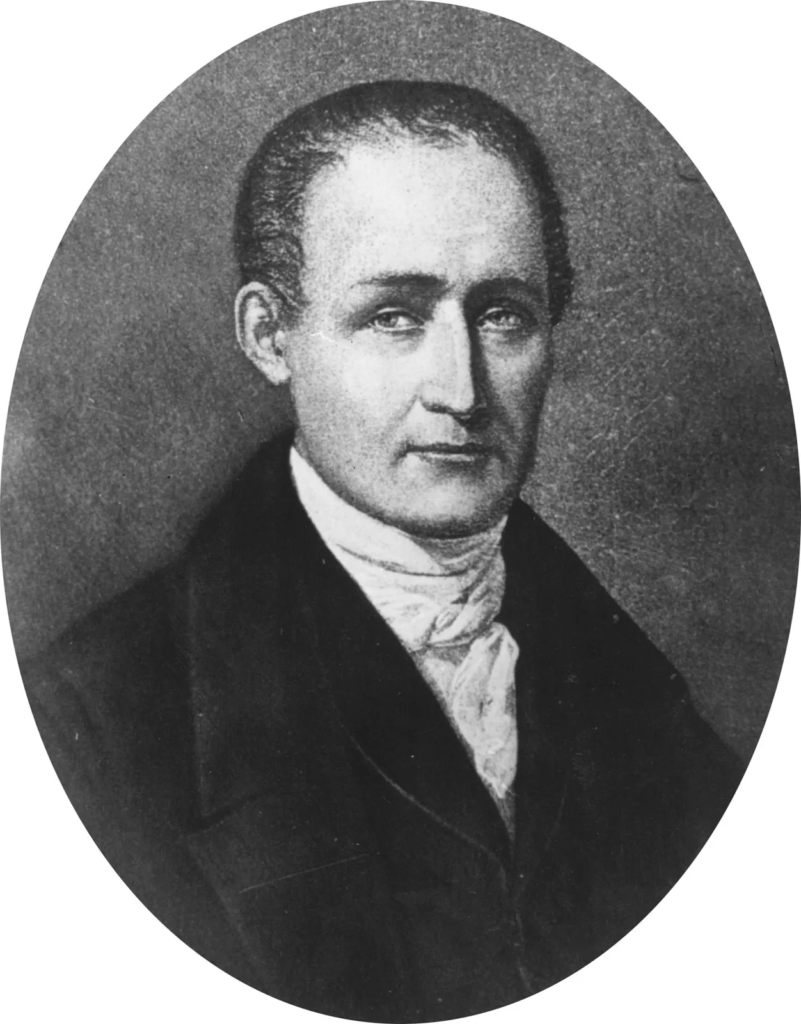
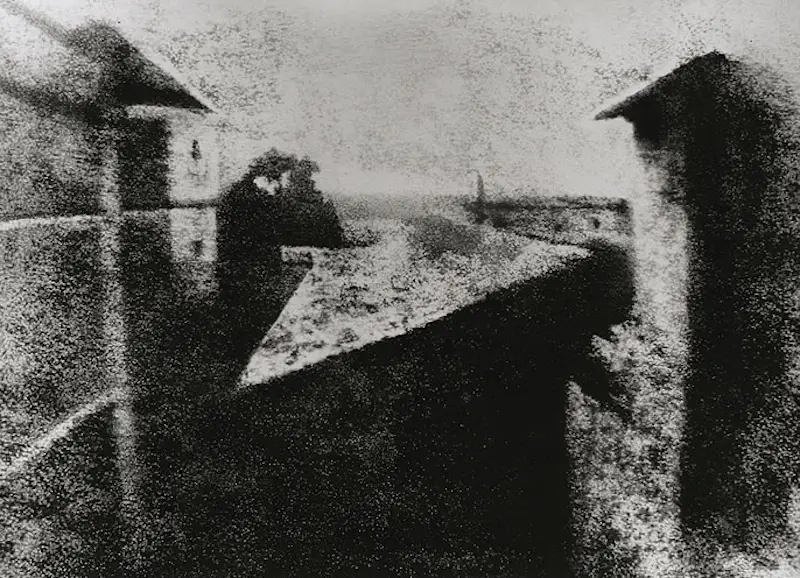
Nicéphore Niépce (1765 – 1833) is perhaps one of the most important figures in the birth of modern photography, providing the invention which allowed him to produce the first ever permanent photograph in 1827. He called this a ‘Heliograph‘ – meaning sun drawing.
Before this, in 1813, lithography was a popular hobby in France and Niépce found himself unable to obtain proper lithographic stone locally. He subsequently began experimenting with sheets of pewter, coating them in light-sensitive substances to capture engravings with the use of sunlight.
This was the beginning of many years of experimentation with various light sensitive materials on pewter eventually culminating in the final successful image, created using bitumen of Judea, a kind of asphalt which hardens on exposure to light.
Louis Daguerre and his Daguerreotype
Following on from Niépce’s story, in 1839, Daguerre finally persuaded him to allow partnership and further development of the technique Niépce had created, leading to the birth of the Daguerreotype.
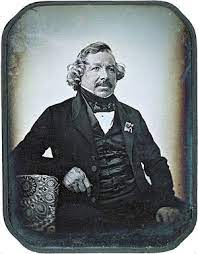
Louis Daguerre (1787 – 1851) was a French painter who managed to greatly reduce the exposure time of heliographic production following Niépce’s death in 1833 through discovery of a chemical process that made the invisible image formed on brief exposure visible.
These experiments and Niépce’s initial findings led to the creation of the Daguerreotype, which is viewed as the first successful form of photography.
Robert Cornelius and Self-portraiture
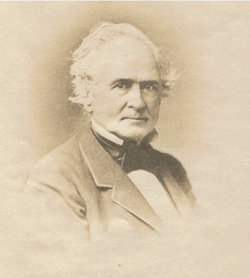
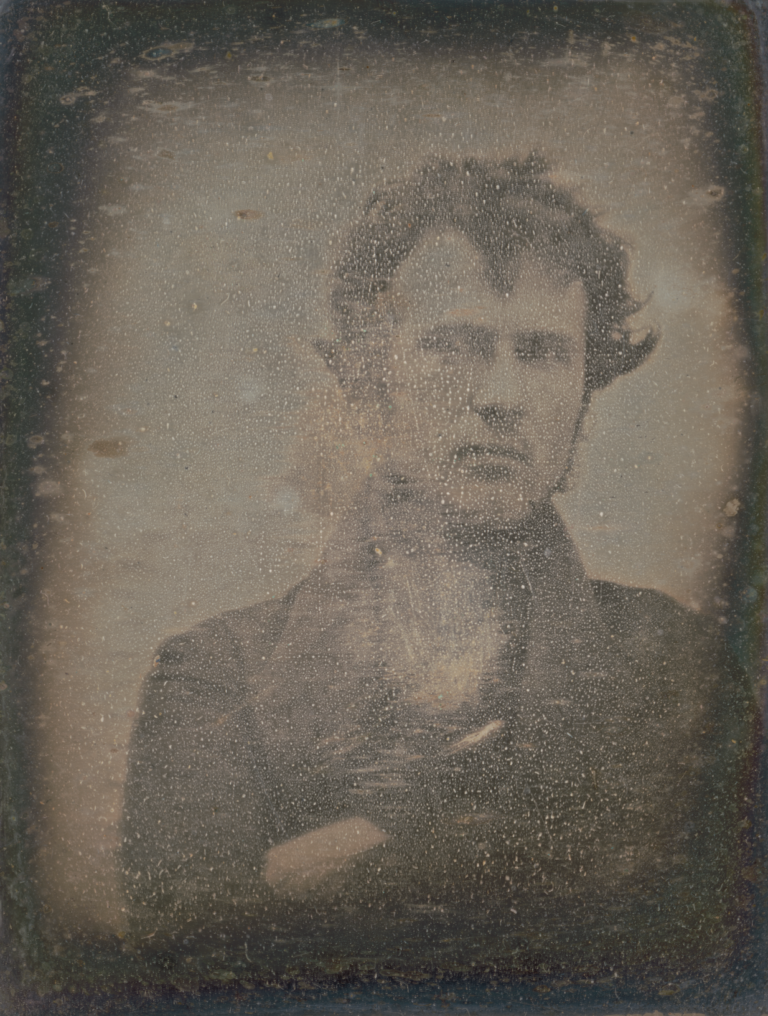
Robert Cornelius (1809 – 1893) was the creator of the very first self-portrait image and the oldest known intentional photographic portrait of a person made in the United States.
The portrait, taken outside Cornelius’ family’s Philadelphia gas lighting business in late October 1839.His image was taken using a makeshift camera that used an opera glass as a lens, and the process required that he sit, motionless, in front of the camera for 10 to 15 minutes to allow the exposure to complete.
Henry Fox Talbot and his Calotype

Henry Fox Talbot (1800 – 1877) and his discoveries were critical in cutting down the exposure time of the Daguerreotype from one hour to one minute.
He used a sheet of paper coated in silver chloride in a camera obscura that when exposed to light became dark; resulting in the areas hit by light being dark, creating a negative image. The feature which led to his revolutionising of exposure time was his discovery of gallic acid, which allowed him to accelerate the development of the image. This discovery was made in 1840, and he named his process the ‘calotype‘.
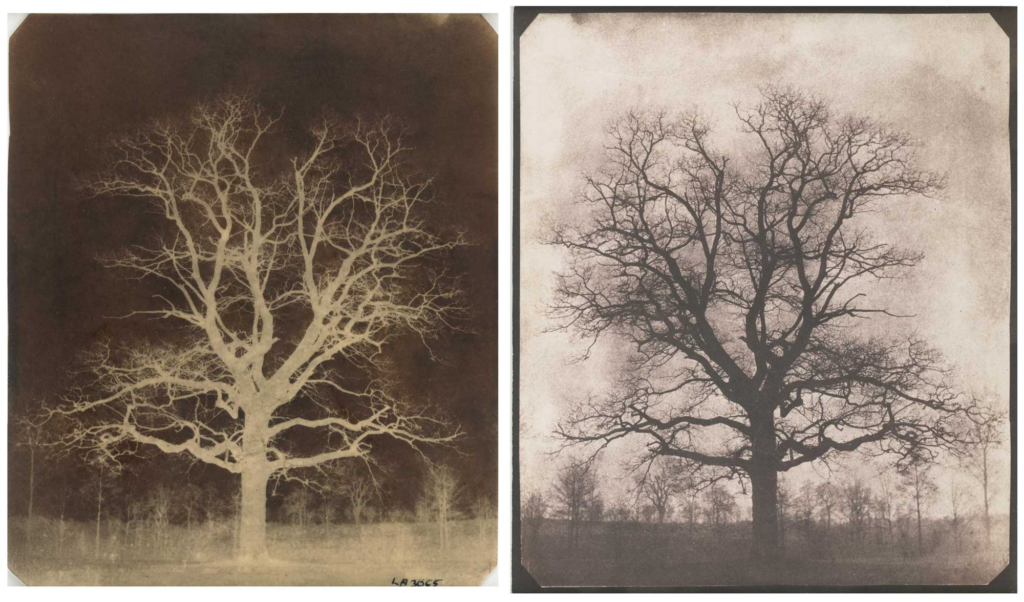
The production of negatives was a real point of progress on the Daguerreotype, as this allowed the repeated reproduction of the image through a simple process of contact printing, as opposed to a singular positive image on metal which could not be reproduced. In 1842, he was awarded a medal by the British Royal Society for his revolutionary discovery.
Julia Margaret Cameron & Pictorialism
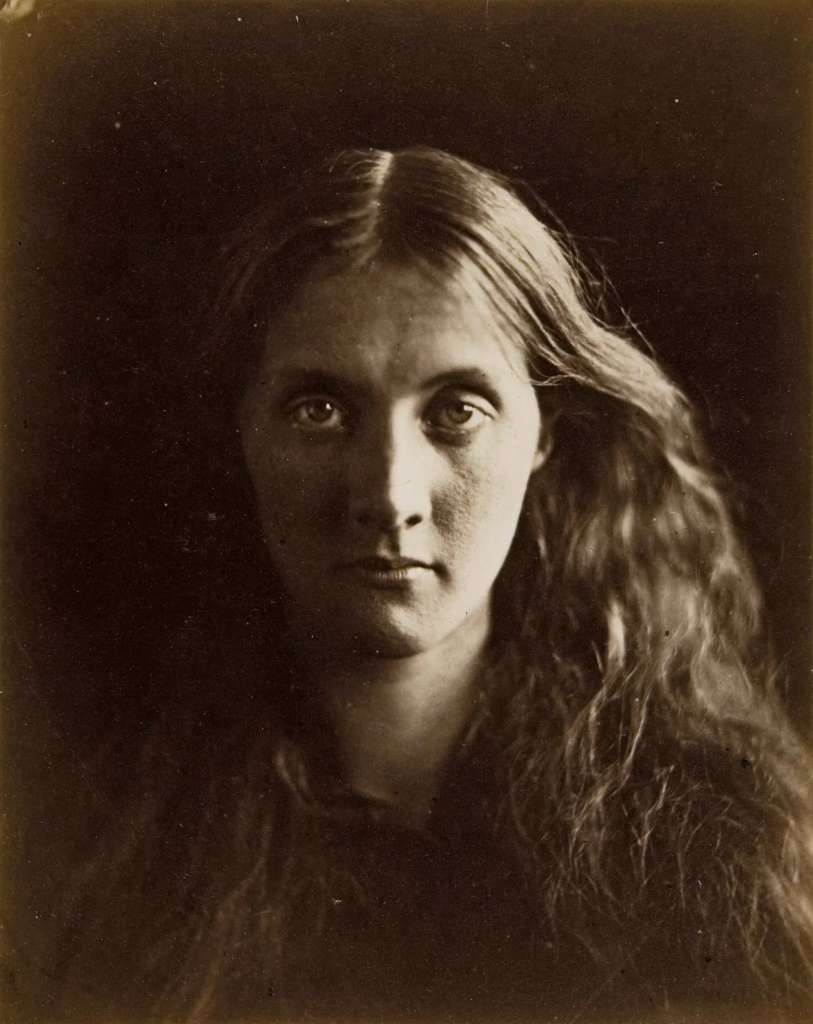
Julia Margaret Cameron (1815-1879), considered to be one of the greatest portrait photographers of all time, composed her images as though they aimed to imitate the popular Romantic and Pre-Raphaelite paintings of the day – a technique known as pictorialism.
Cameron received her camera late in her life, in 1863, as a gift from her daughter and son-in-law and began photographing as an amateur. Despite this she immediately viewed the activity as a professional one, ‘vigorously copyrighting, exhibiting, publishing, and marketing her photographs. Within eighteen months she had sold eighty prints to the Victoria and Albert Museum, established a studio in two of its rooms, and made arrangements with the West End printseller Colnaghi’s to publish and sell her photographs.’
She was certainly one of the pioneers in the endeavour to establish photography as an art form, with her portraits of friends, family and household staff emulating the romanticism and magic found in the painted portraits of the time.

Many of her models complained of discomfort when being photographed, with the apparently interminable exposure irritating them as they found it very difficult to sit still for such a long time. One said this of the experience;
“The studio, I remember, was very untidy and very uncomfortable. Mrs. Cameron put a crown on my head and posed me as the heroic queen. … The exposure began. A minute went over and I felt as if I must scream, another minute and the sensation was as if my eyes were coming out of my head; a third, and the back of my neck appeared to be afflicted with palsy; a fourth, and the crown, which was too large, began to slip down my forehead; a fifth—but here I utterly broke down, for Mr. Cameron, who was very aged, and had unconquerable fits of hilarity which always came in the wrong places, began to laugh audibly, and this was too much for my self-possession, and I was obliged to join the dear old gentleman.”
Overall, within her 12 year photographic career, she produced some 900 pictures, documenting many public figures of the time (e.g. Charles Darwin, Alfred Lord Tennyson, Robert Browning) and providing valuable insight into Victorian society.
Henry Mullins and the Carte-de-Visit
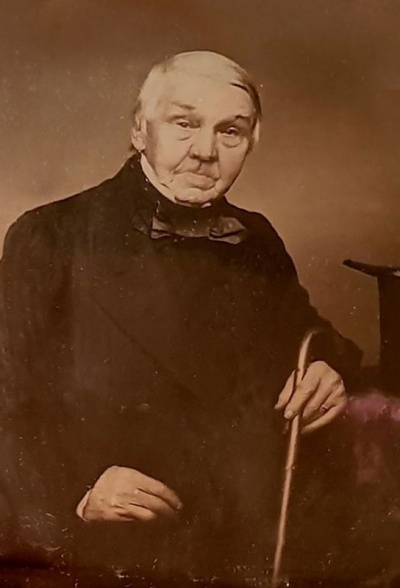
Henry Mullins was the first commercial studio photographer to have his premises in Jersey. He moved to Jersey, from Regent Street, London, in July 1848, and set up his studio as the Royal Saloon at 7 Royal Square. He worked in this studio for the next 26 years, and created many key portraits in Jersey’s history, including one of Dean Le Breton, the father of Lillie Langtry. It was a rather expensive practice, to get one’s portrait taken, and so the majority of his subjects (the exceptions being members of the Royal Militia Island of Jersey, for whom it was very popular to have one’s photo taken) were the island’s most affluent and ‘well-to-do’ inhabitants.
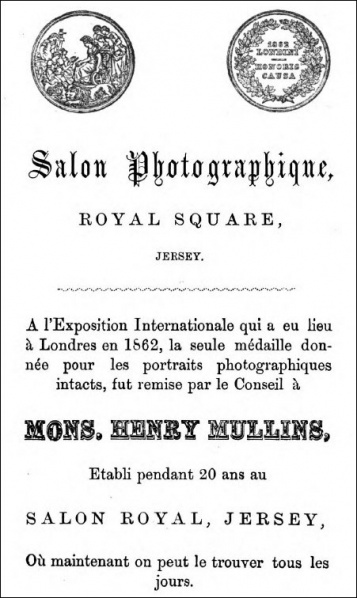
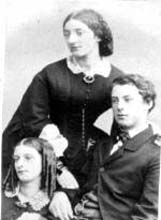
Cartes de visite where Mullins’ speciality, being small images that were the size of a business card, popular for their portability and ease. The majority of the archived images taken by Henry Mullins are in this form.

Here is a set of some of his portraits – all of prominent islanders of the time.
Bibliography
Camera obscura and Pinhole photography – https://www.britannica.com/technology/camera-obscura-photography
https://parallaxphotographic.coop/beginners-guide-to-pinhole-photography/
Nicéphore Niépce and Heliography –
https://www.britannica.com/biography/Nicephore-Niepce
Louis Daguerre and his Daguerreotype –
https://www.britannica.com/biography/Louis-Daguerre
Robert Cornelius and Self-portraiture – https://blogs.loc.gov/loc/2022/07/robert-cornelius-and-the-first-selfie/
Henry Fox Talbot and his Calotype –
https://www.britannica.com/biography/William-Henry-Fox-Talbot
https://www.britannica.com/technology/calotype
Julia Margaret Cameron & Pictorialism –
https://www.metmuseum.org/toah/hd/camr/hd_camr.htm
Henry Mullins and the Carte-de-Visit –
This lighting technique refers to that employed by Dutch old master Rembrandt Harmenszoon van Rijn. This is characterised by the presence of a triangle of light under the model’s eye, created by the 45° angled placement of lighting to the model. Here it is demonstrated in one of Rembrandt’s self-portraits;

This technique became popularised in 20th Century Hollywood when creating promotional imagery of film stars;

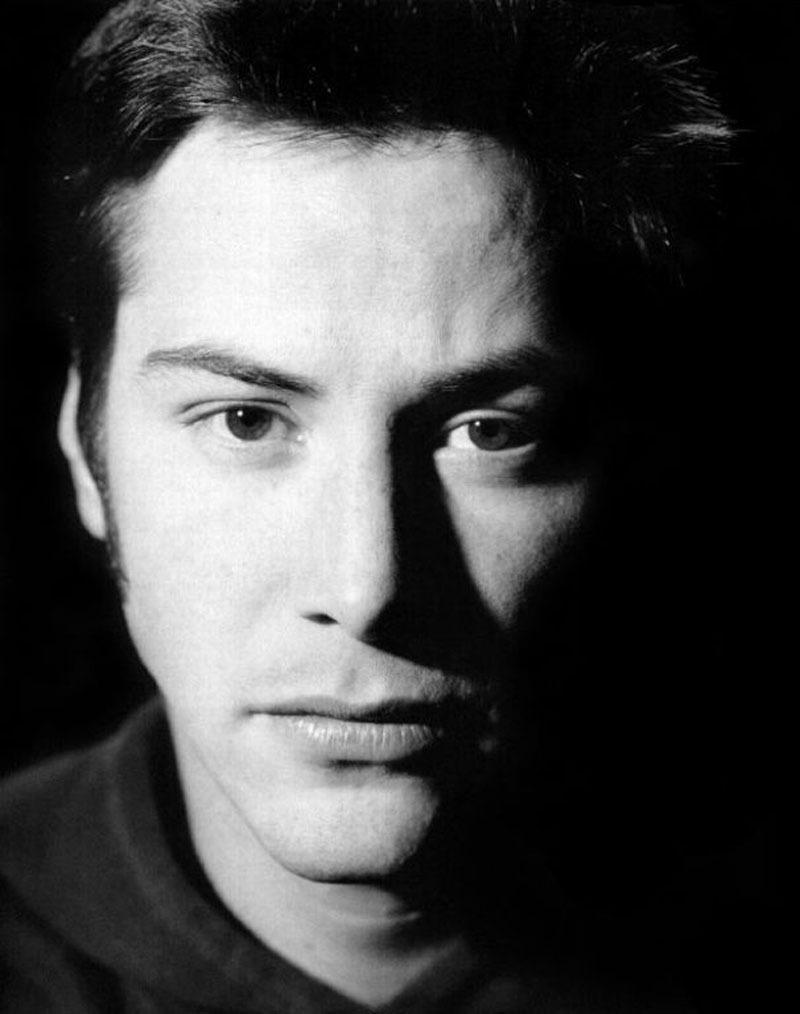
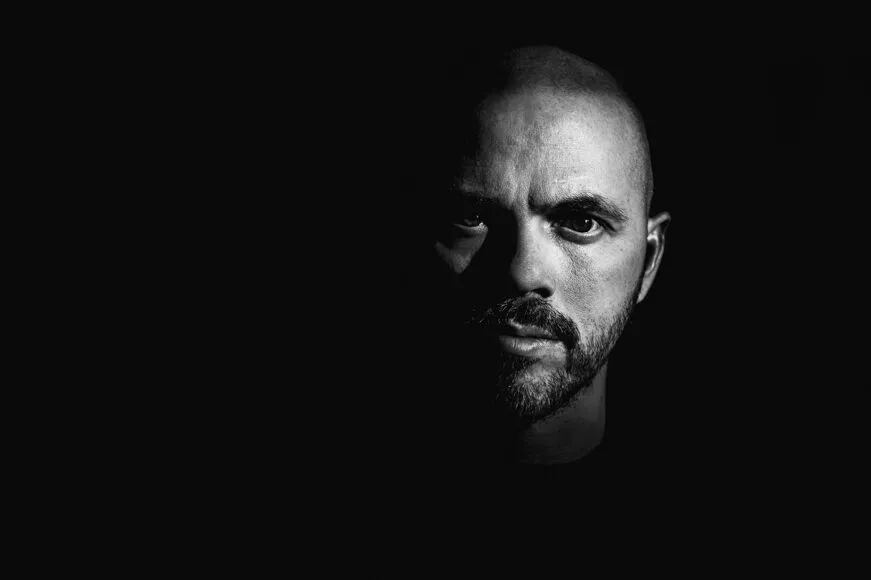
The use of Rembrandt lighting can add contrast, psychological depth and a sense of drama to what may otherwise be a rather straightforward image. It can also draw the viewer’s attention to the eye as a focal point.
To create this setup, it is possible to use either continuous or flash lighting as well as a soft or hard quality.
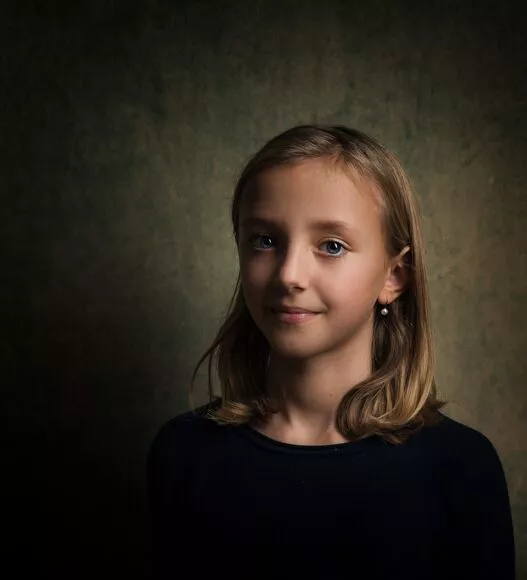
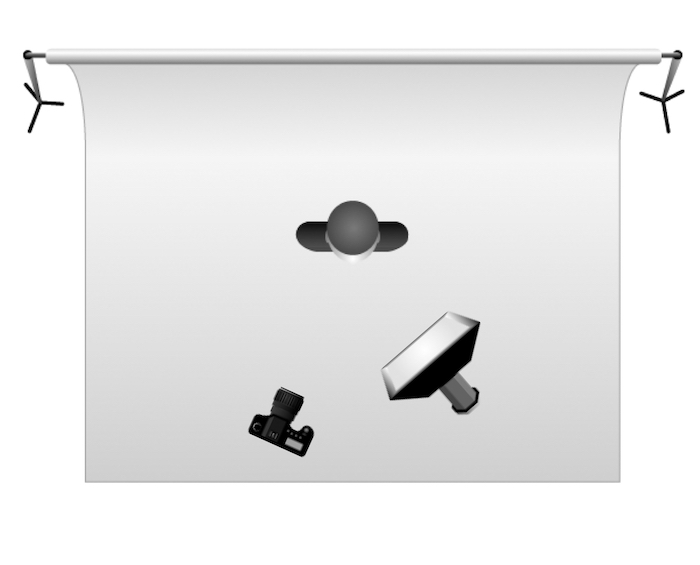
It is important, as the only feature of this technique, that the light remains at a 40-45° angle to the model.
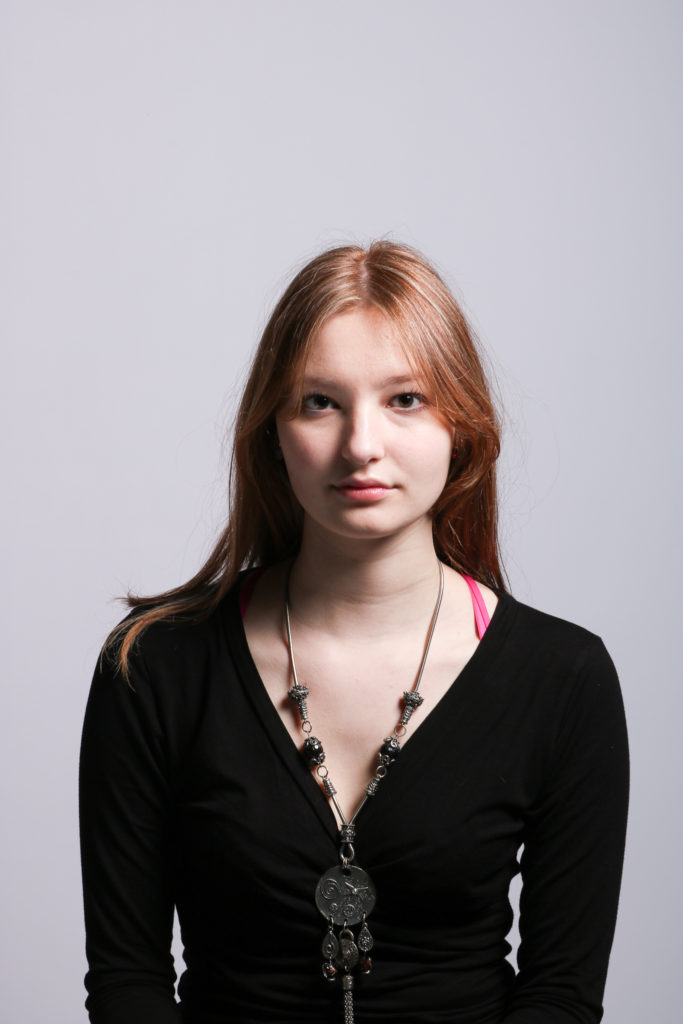
Above is an example of Rembrandt lighting in an image taken by me, again with soft lighting but clear in the triangular light under the left eye.
Butterfly lighting is a vertically overhead lighting setup which acts to emphasise the cheekbones of the model, so called because of the shadow it creates under the nose, which resembles a butterfly shape. It can also be known as ‘paramount lighting’ or ‘glamour lighting’.
It allows the photographer to create shadows under the cheekbones and make the model appear thinner.


It is possible to use either hard or soft key light with this technique depending on the effect you are looking for.
The difference between soft light and hard light is found in the distribution or concentration of light in a particular area. Therefore to soften the light, it is typical to use a softbox to diffuse, an umbrella to diperse or a beauty dish to smooth. To harden the light, you can either use the unmodified key light or attach a grid spot.

It is recommended to use a reflector under the model’s face to ensure that the shadows created in the eye sockets are not too severe and do not hide the eyes completely.
The colour of the reflector is important as a warm one will add a tan effect to the model’s face whereas a cold one will be more neutrally effective.
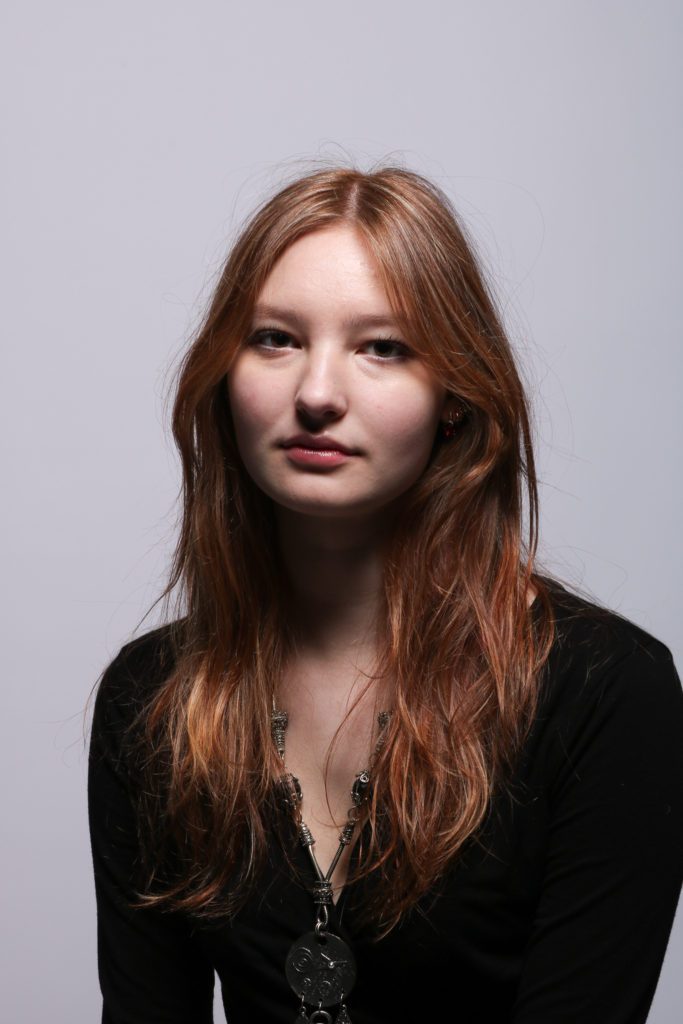
Above is an example of a soft butterfly effect in an image taken by me in the school studio. It is very subtle but you can see that the shadows are present below the nose, brow and cheekbones as is found with this technique.
Chiaroscuro, deriving from the Italian describing the contrast between light and dark in imagery, comes from the painting technique of using high contrast in light modelling to establish a three-dimensional effect.
It first appeared in 15th Century artworks in Italy and Flanders (Holland), but was developed further in 16th century works within the Mannerism and Baroque movements.
Key subjects were usually dramatically lit by unseen sources in pieces by the old masters such as Rembrandt and Caravaggio.
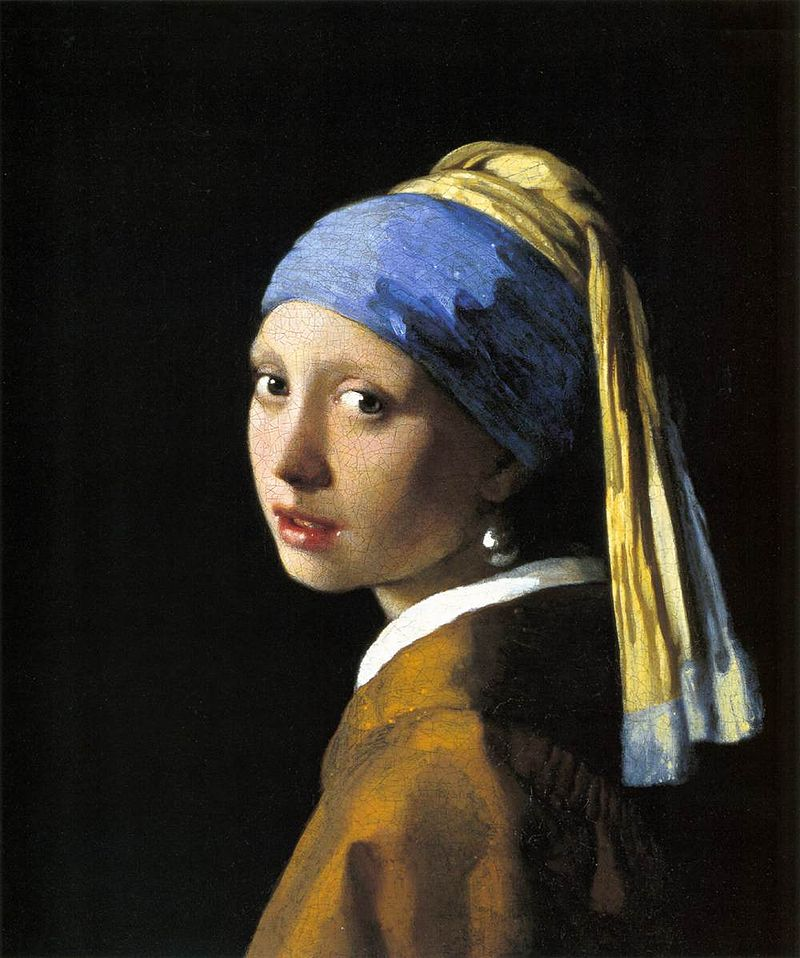

Chiaroscuro is employed commonly in cinema, especially within the Film noir movement of 40s and 50s Hollywood. Film noir concerns a style of glamorous crime/spy thrillers – particularly those that foreground moral ambiguity and sexual motivation. It is therefore clear why the use of chiaroscuro is so apparent in this genre, as the darkness and suspense is emphasised through this shadowy visual theme.
How can this be used in photography?
In a photographic studio, chiaroscuro can be achieved by using one key light or a variation using a reflector that reflects light from the key light back onto the sitter.


Examples of chiaroscuro in photography.
Here are some images I took in the school studio using the flash lighting system and a softer variation of Rembrandt lighting. As I did not edit these too heavily, I have included the final selection of images below.
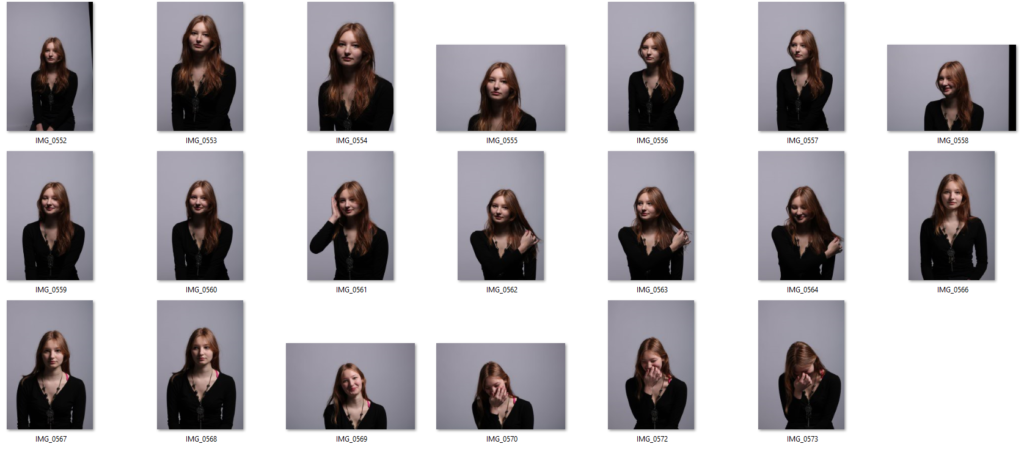
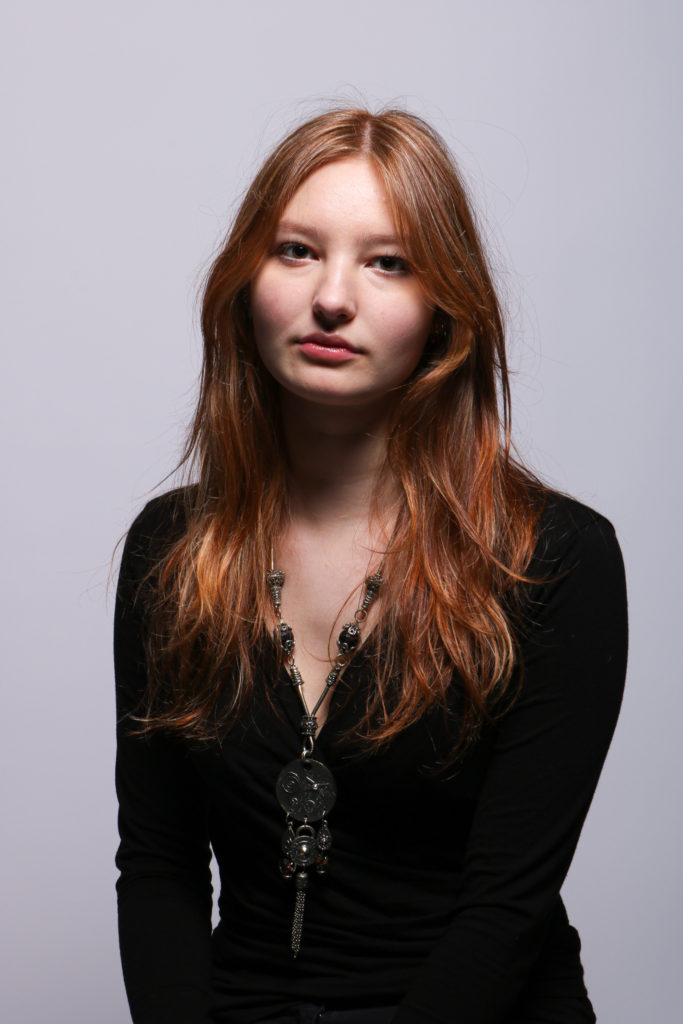
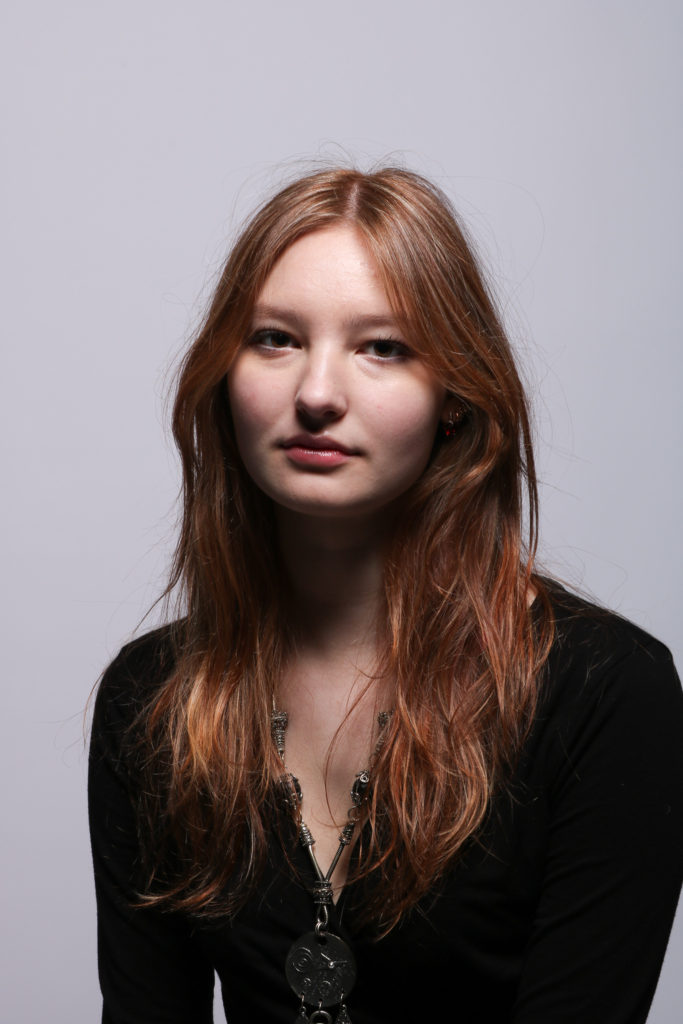
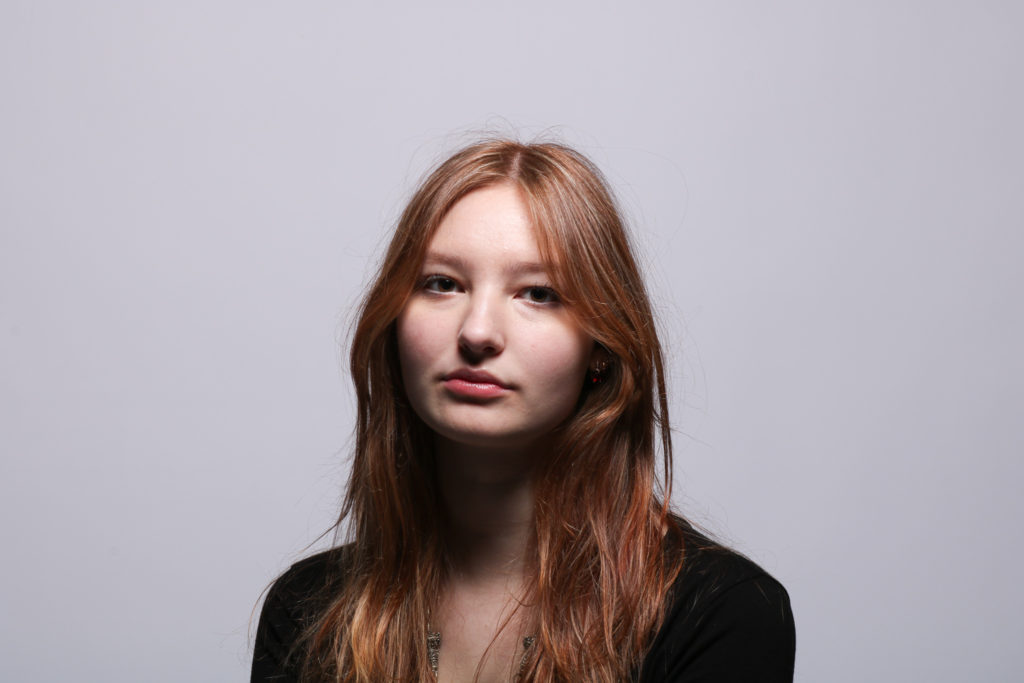

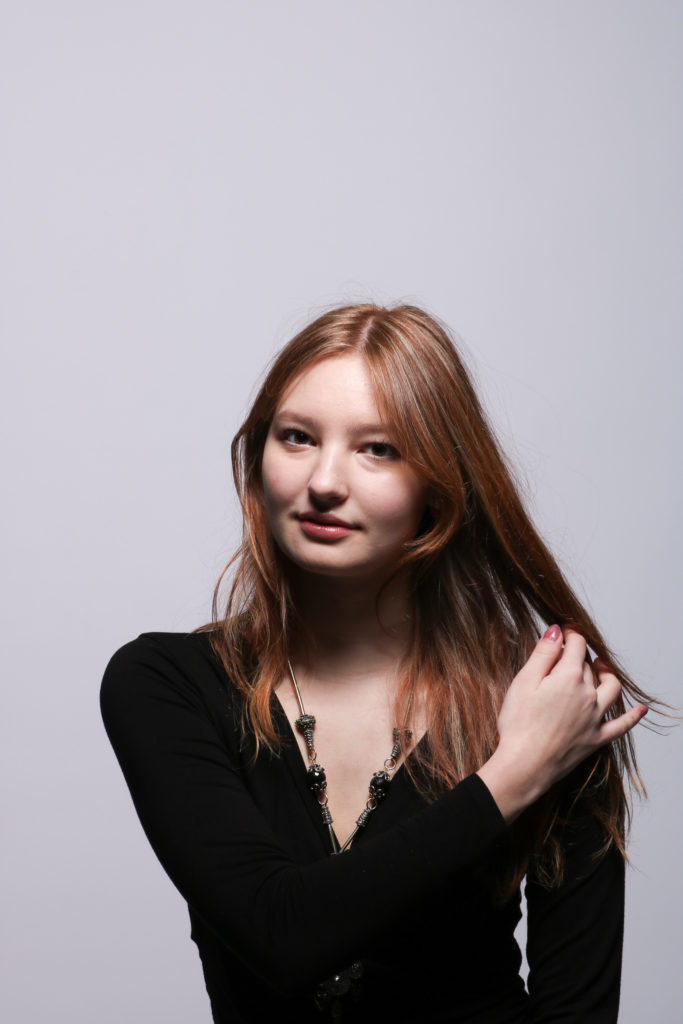
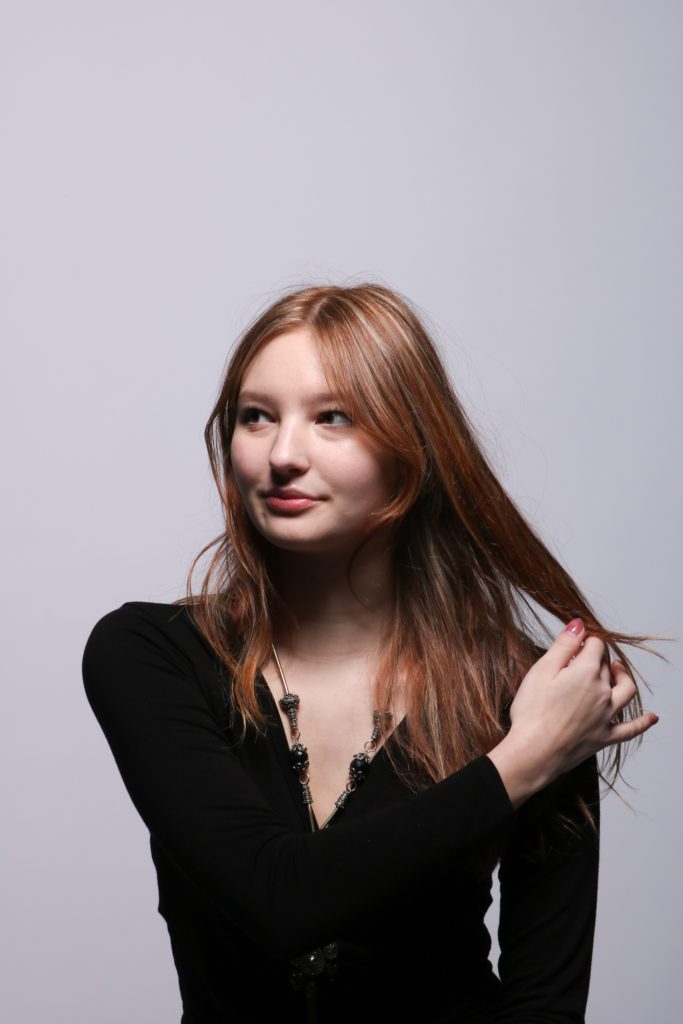


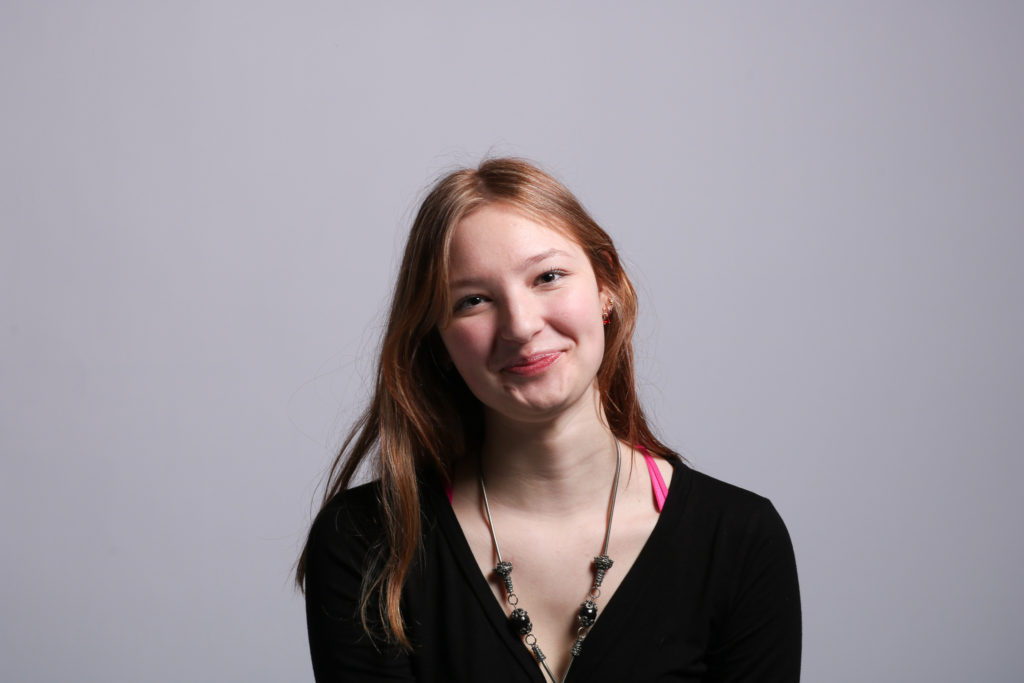
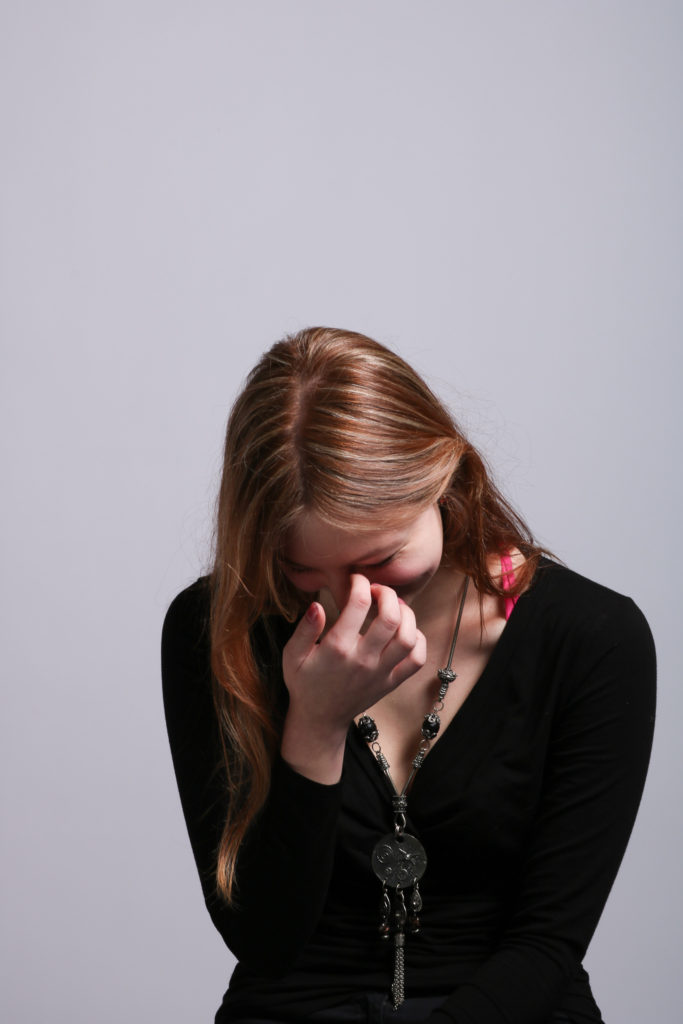
Overall I am very happy with these because I think they look very professional and as much as they do not specifically utilise lighting techniques like Rembrandt/Chiaroscuro, they are some very strong images in my opinion.
Here is my final selection of edits from shoot 2;

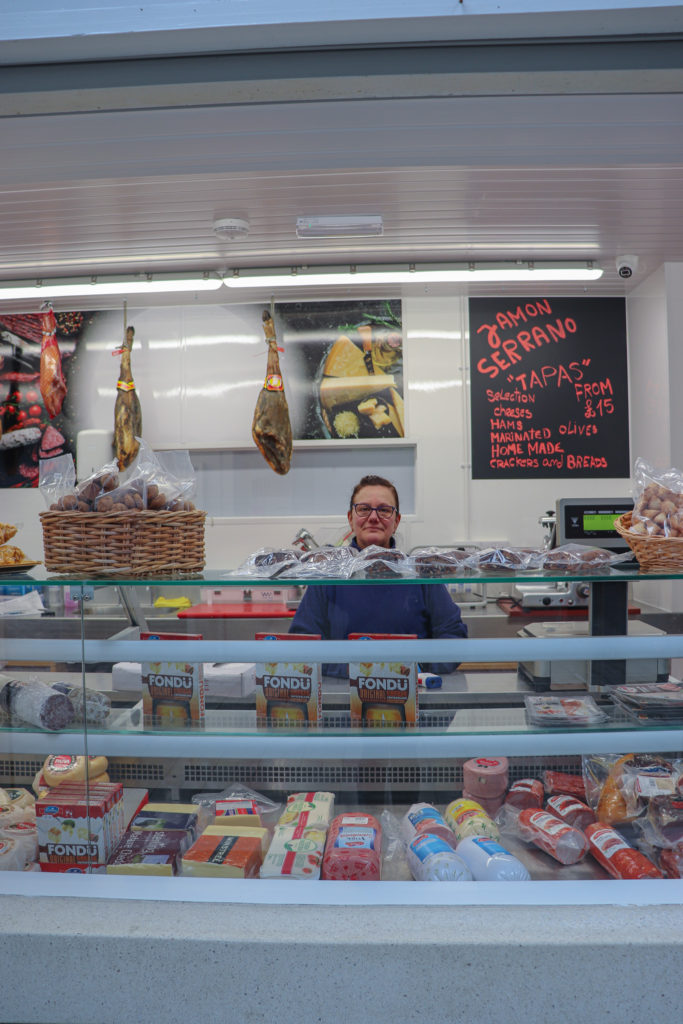
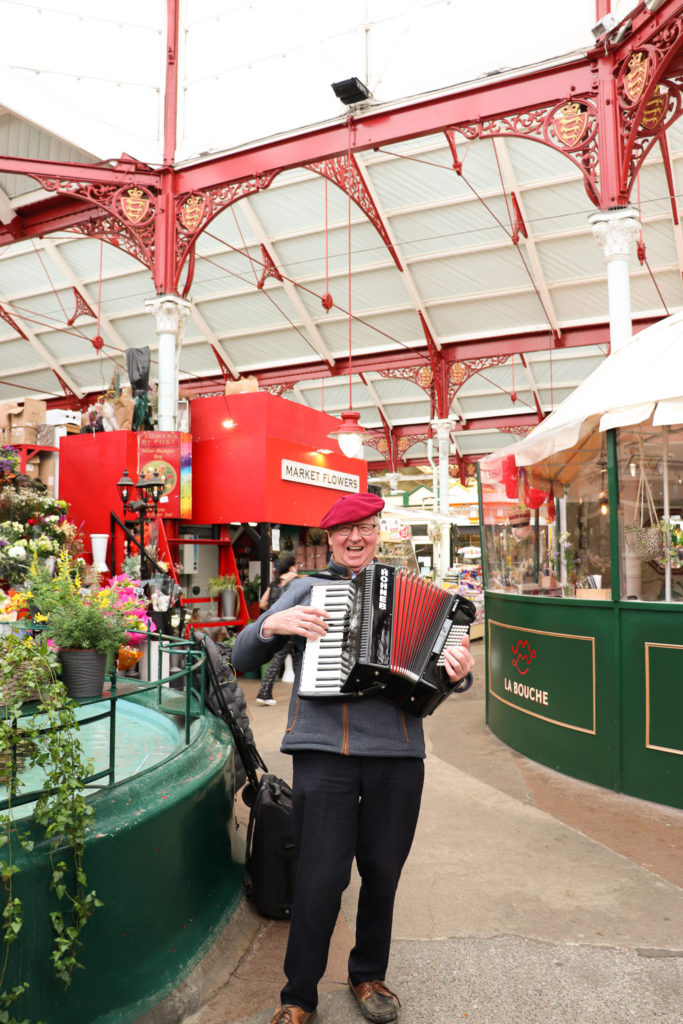
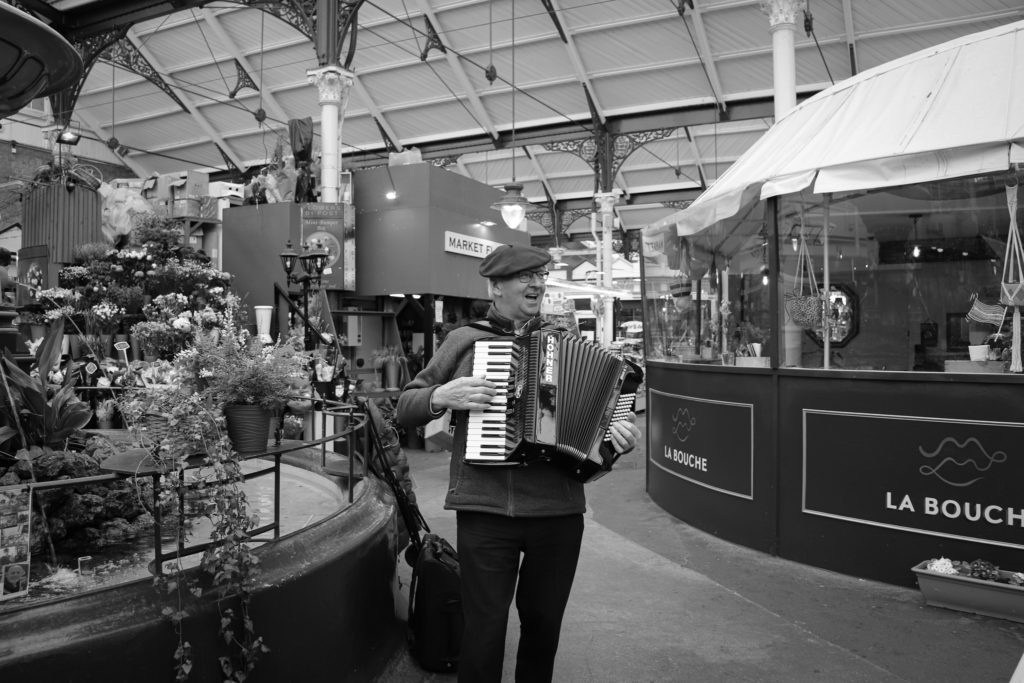

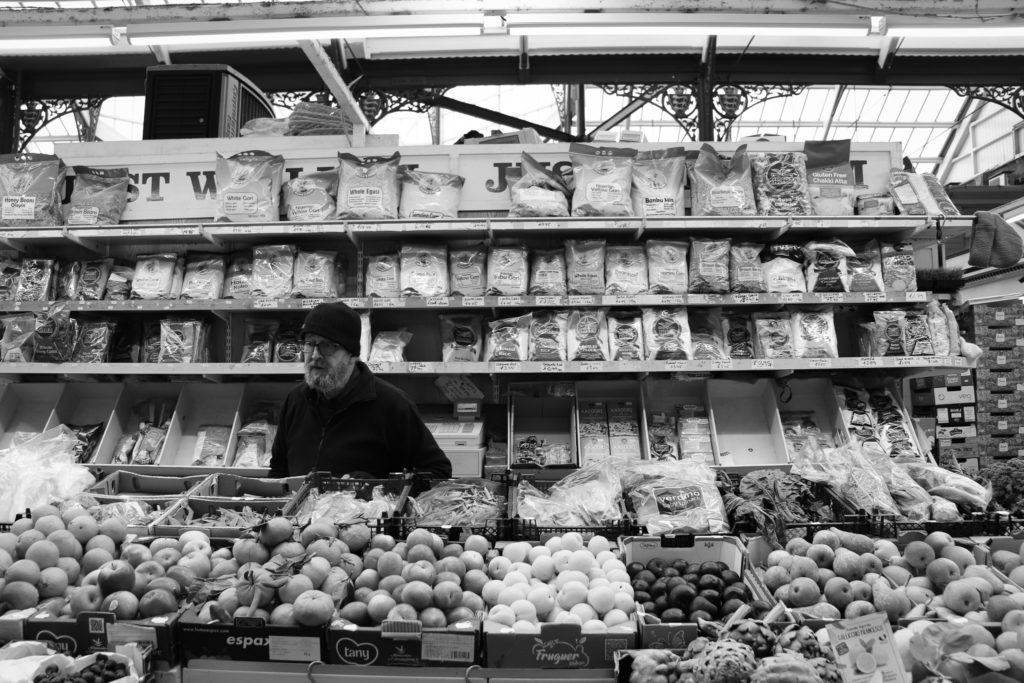

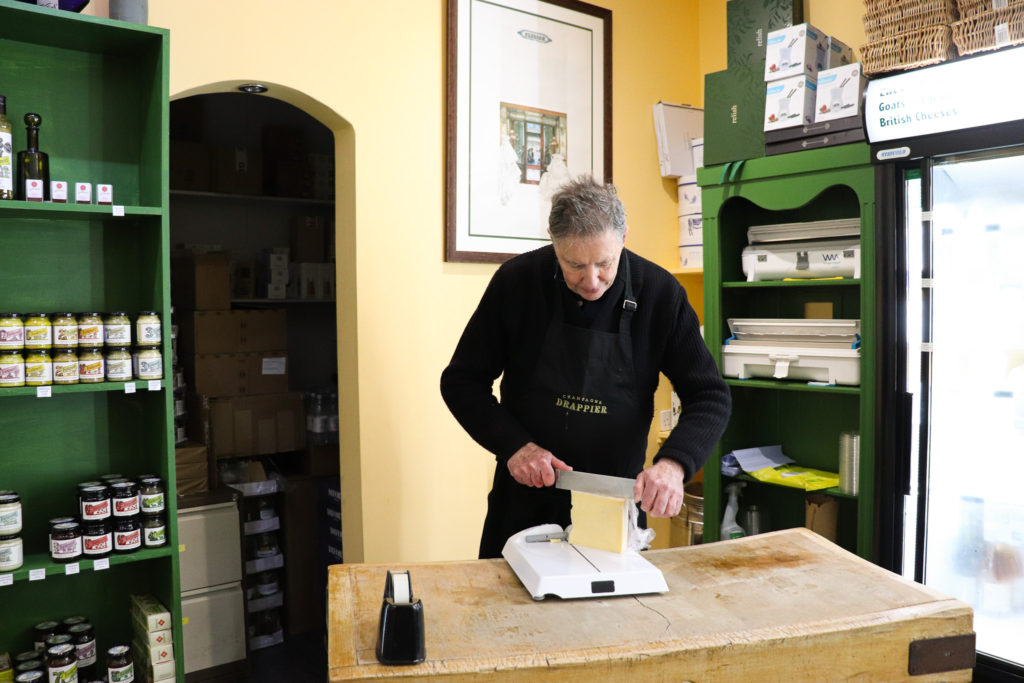
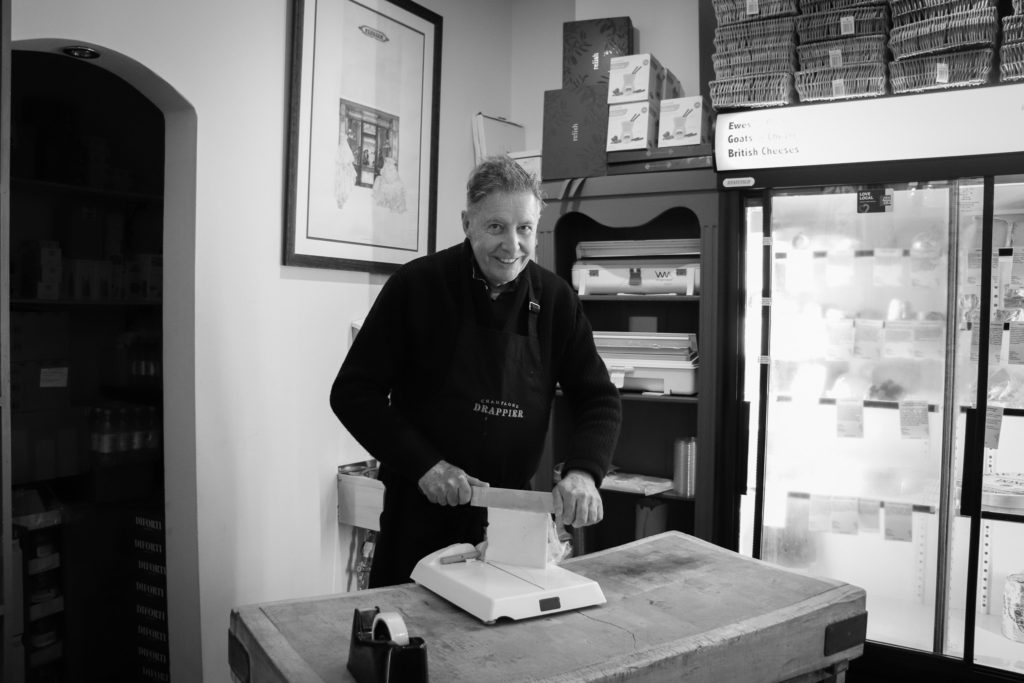
To take these images, I visited the fish market and the central market in St Helier and asked business owners if I could photograph them in their workplaces. This was a very interesting thing for me to try out because I have not ever really photographed strangers and it definitely helped my confidence in this area. Whilst there was a few people who declined to have their photo taken, there were a larger group who said yes and it was a great experience to be able to do this. I am happy with these images, although, had I had more time, I would have liked to take a lot more images as I did see a few places that would have been good to capture as well.

To edit my images, I essentially had three different looks in mind for the use of light in the image; Black and white, cool light and warm light. Here are my final best images;
