All posts by George Flavell

Filters

Author:
Category:

Single Object Shoot

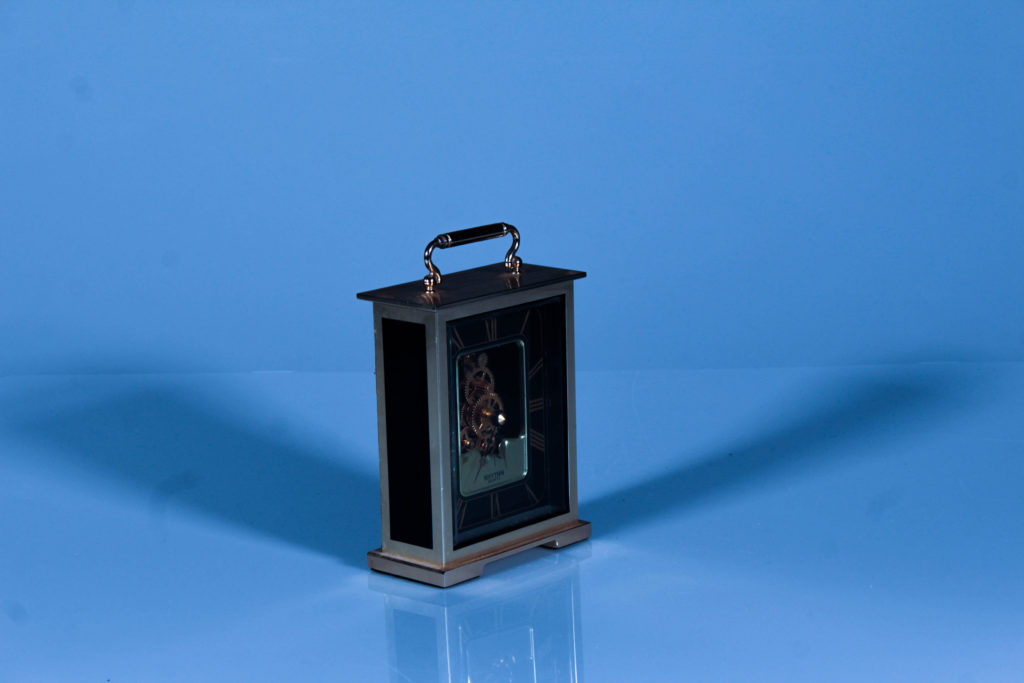
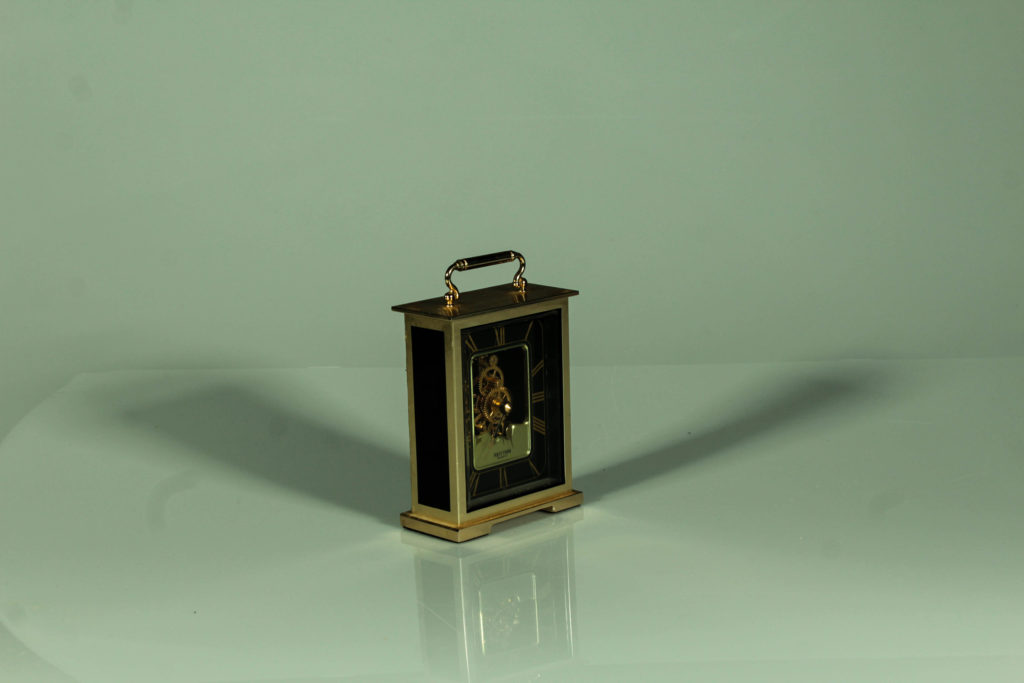
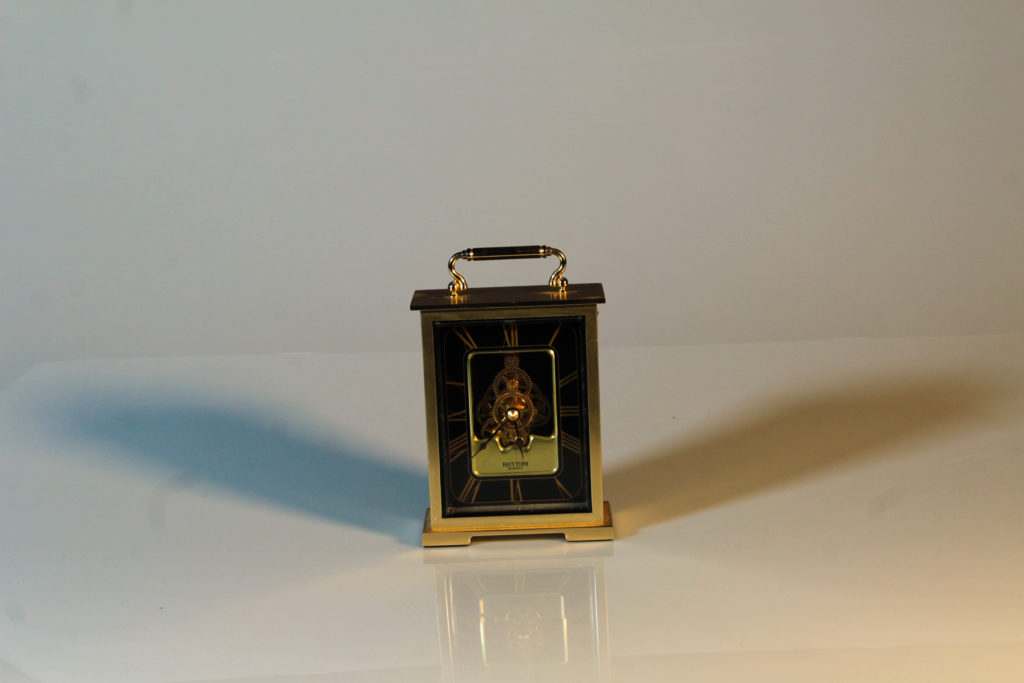
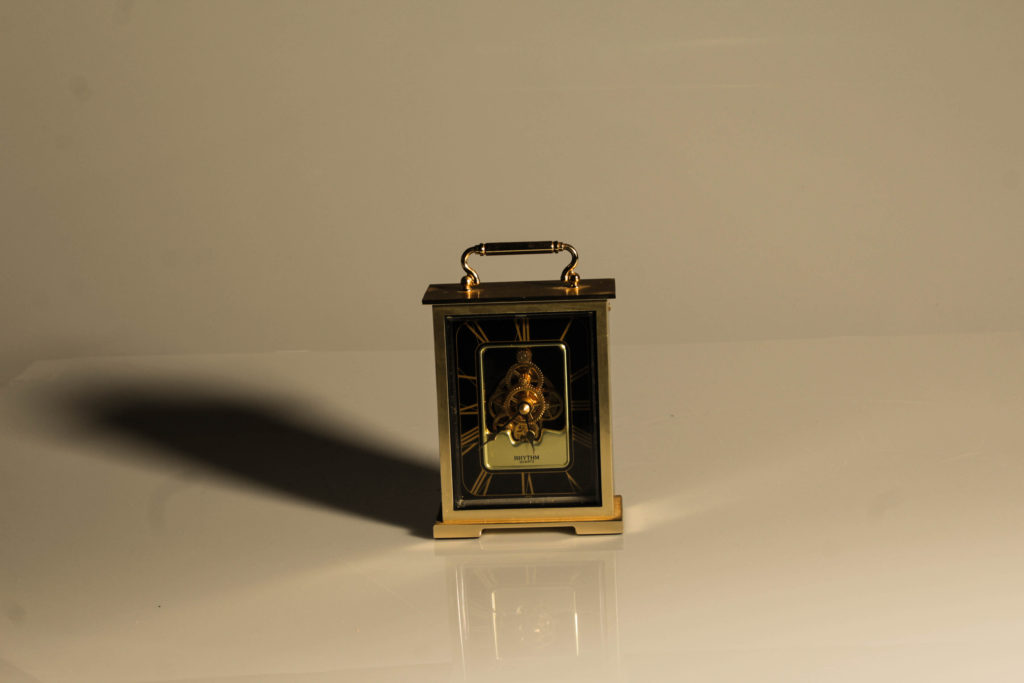
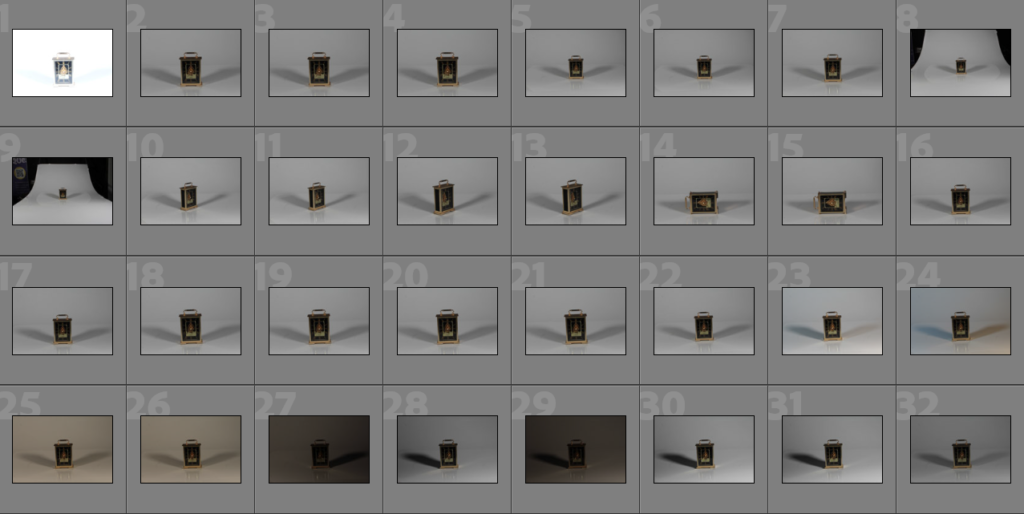
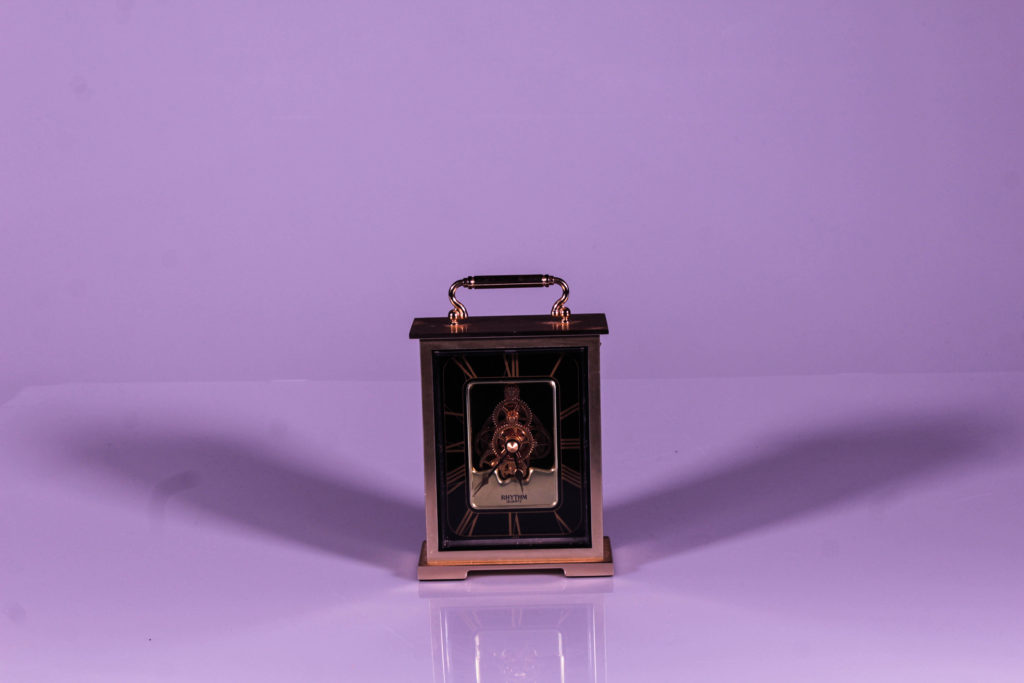
We took photographs of individual objects in the studio, my chosen object being a golden clock that I also used in my personal objects shoot. The continuous lights that we were using had different settings to adjust the levels of yellow and white being emitted, and we created different compositions using them.
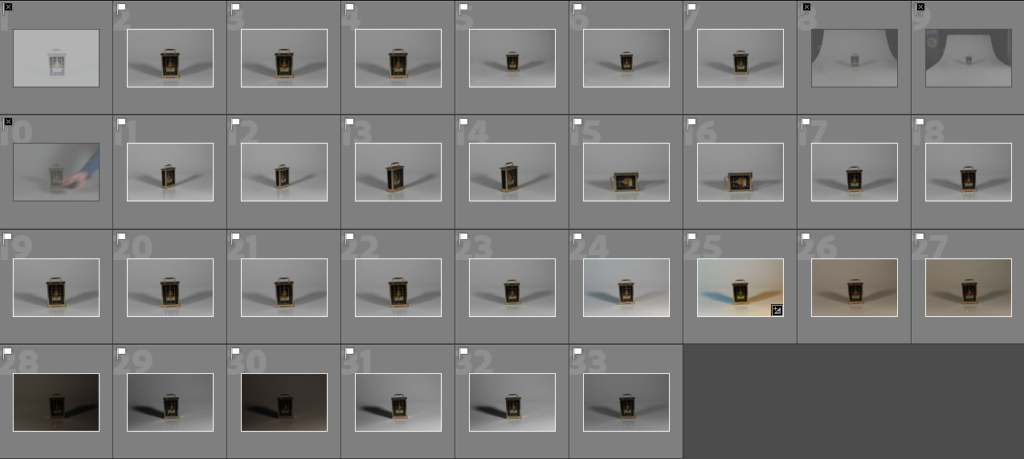
I picked and discarded each image with the flag tools and only really couldn’t use 4 of them without a heavier amount of editing or cropping, so I decided it would be easier to get rid of them.
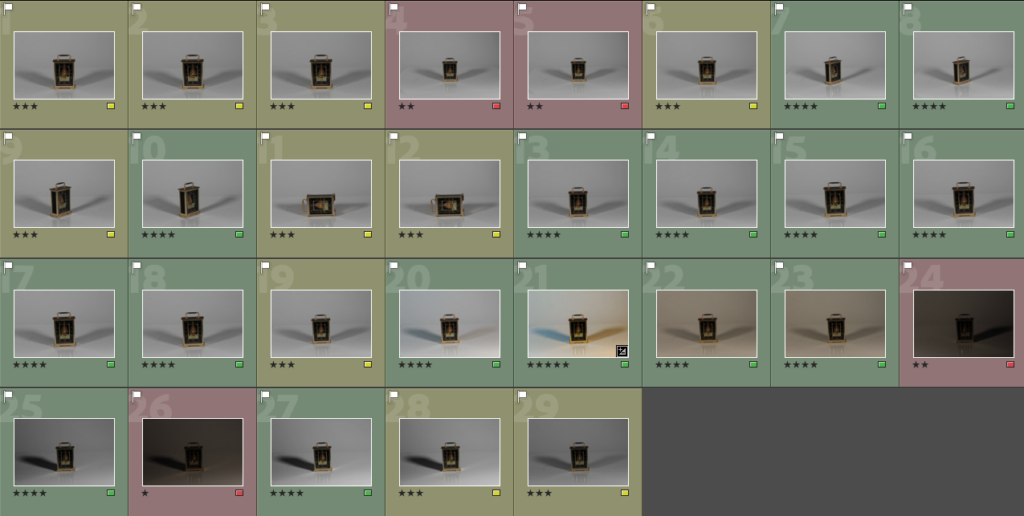
I colour-coded each photograph that I wouldn’t use, could use, and would use – but due to the high level of usable photos, I probably won’t end up using them all.
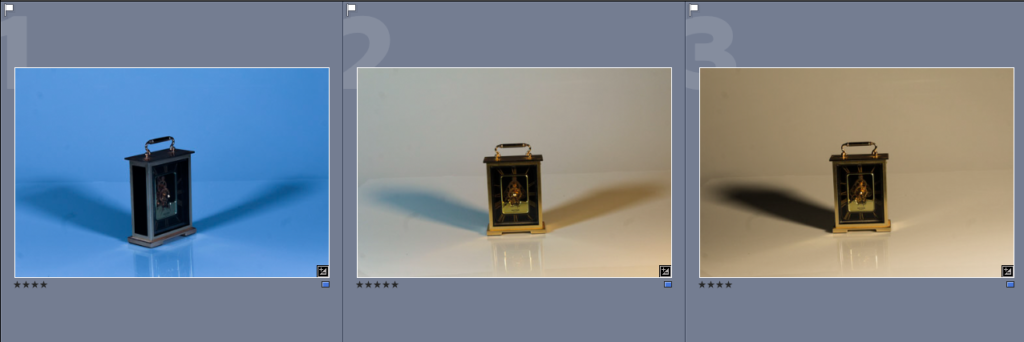
I edited three photographs, particularly making use of temperature and high contrasts to build up yellow and blue hues.
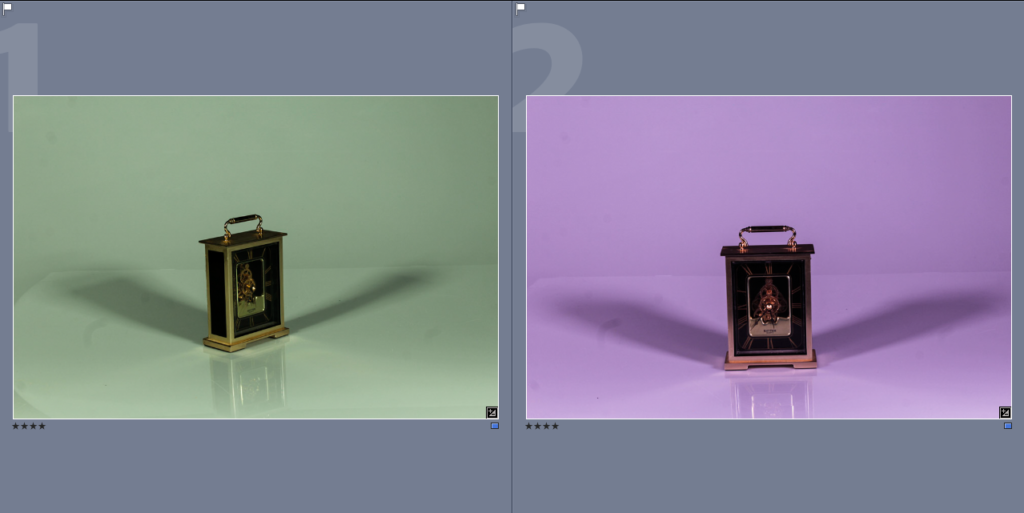
I decided to edit two more using the tint function, and got these nice green-purple edits. I think that each piece presents an emotion, and associates itself with the clock, creating unique atmospheres based on the tint of the photograph.

These are the final images I was left with from this shoot. I quite like my individual use of colour in the sense that although each image features the same subject, it’s still somewhat different each time. I could turn these into a physical gallery in a similar presentation for a final piece later on, maybe cropping and changing some features to make them all work better together as a composition.

Darren Harvey Reagan – Editing/Experimentation

I moved all of my edited images into photoshop, and experimented with combining two images in the same way as Harvey-Reagan.

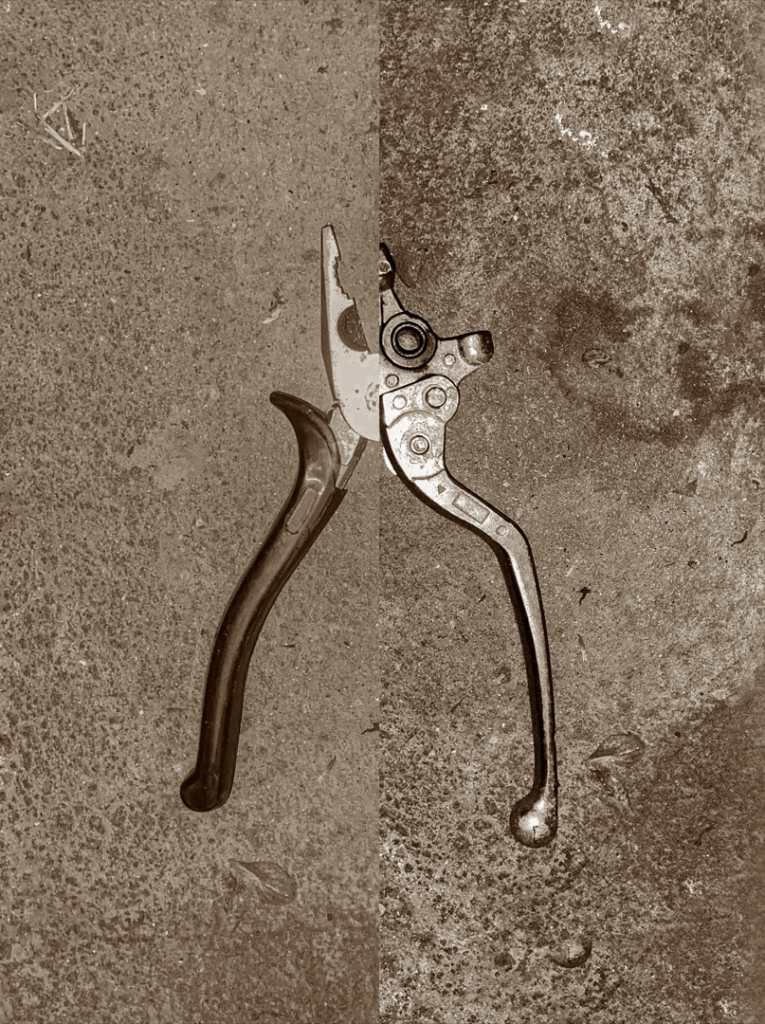
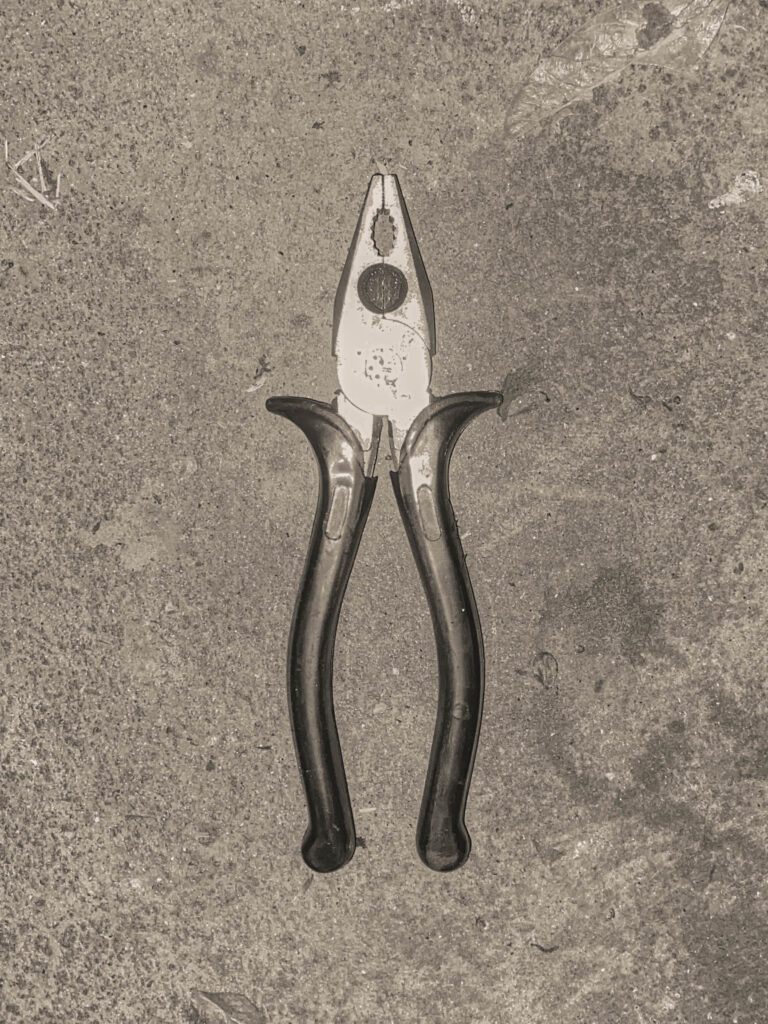
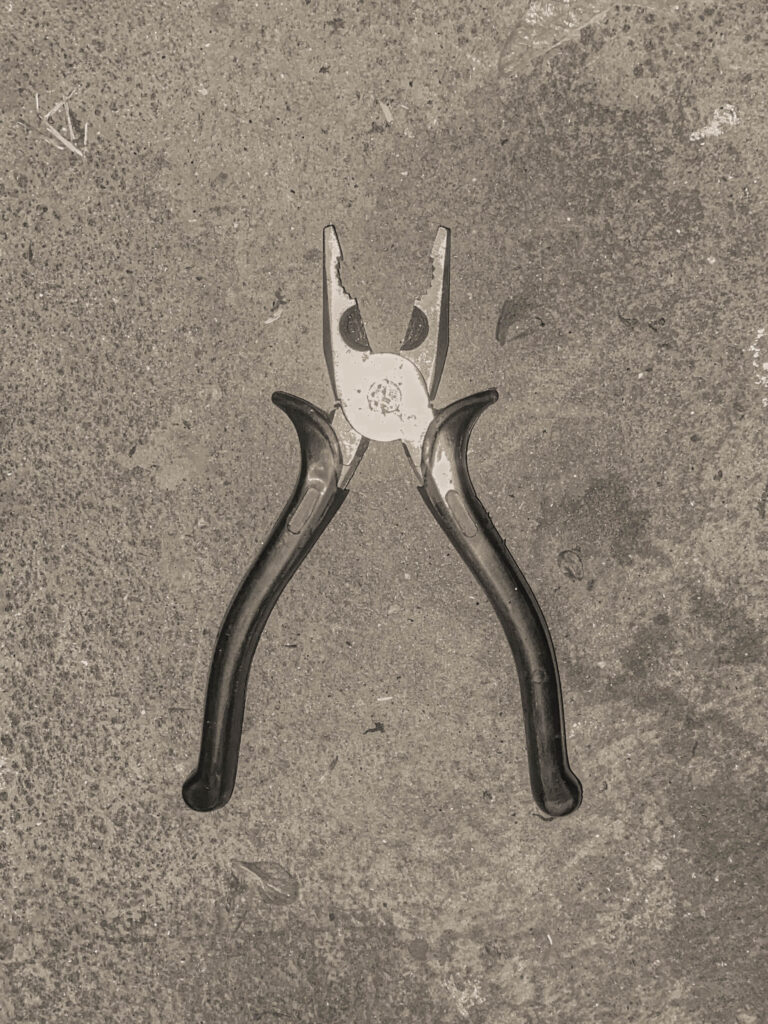
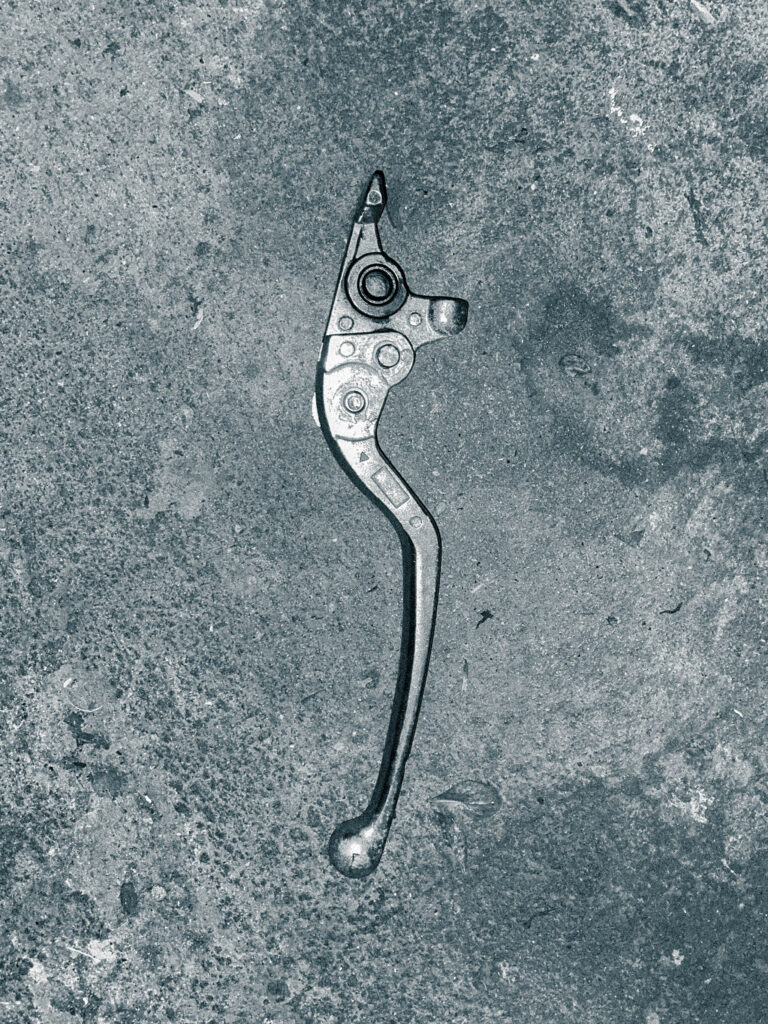
I wanted to combine the pliers and clutch lever together as I feel they have a very similar shape, so I position the image of the clutch lever to line up to one side of the pliers, and used the clone stamp tool to cover the rest of the canvas, before cutting off half of the canvas with a selection tool. I liked how this had turned out, but I wanted the two images to have a similar colour palette so they would blend together a lot better.

Using the available adjustments presets that were on photoshop, I played around with different ones until I was left with a composition I wanted to keep, the image on the left being the result.

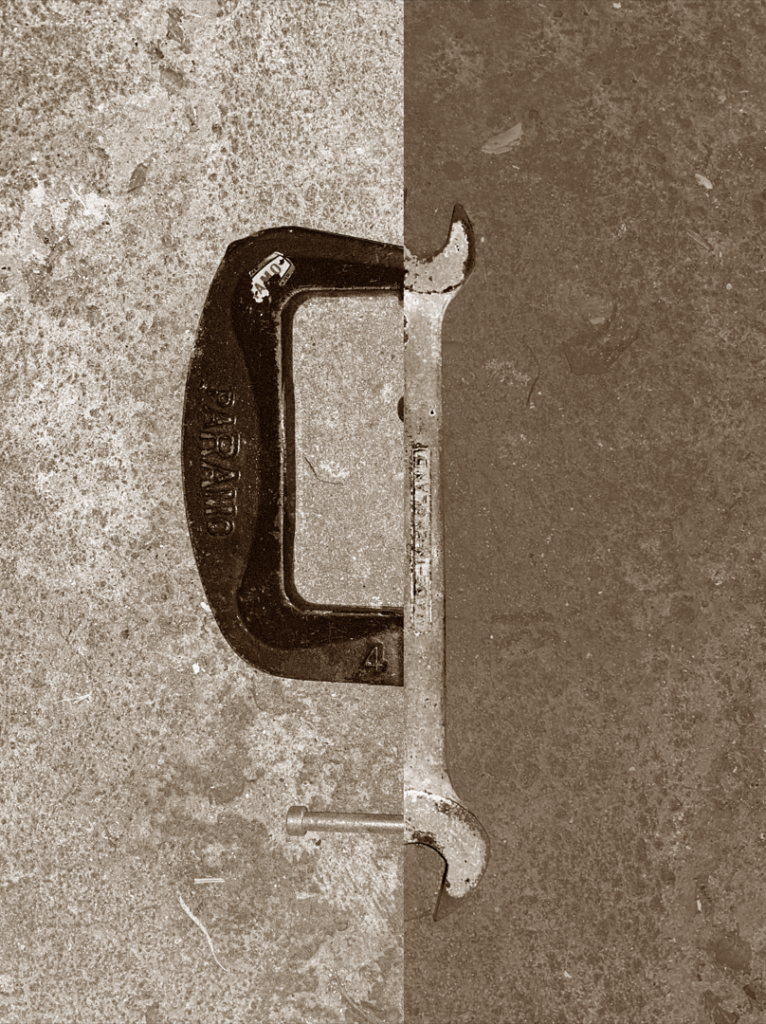
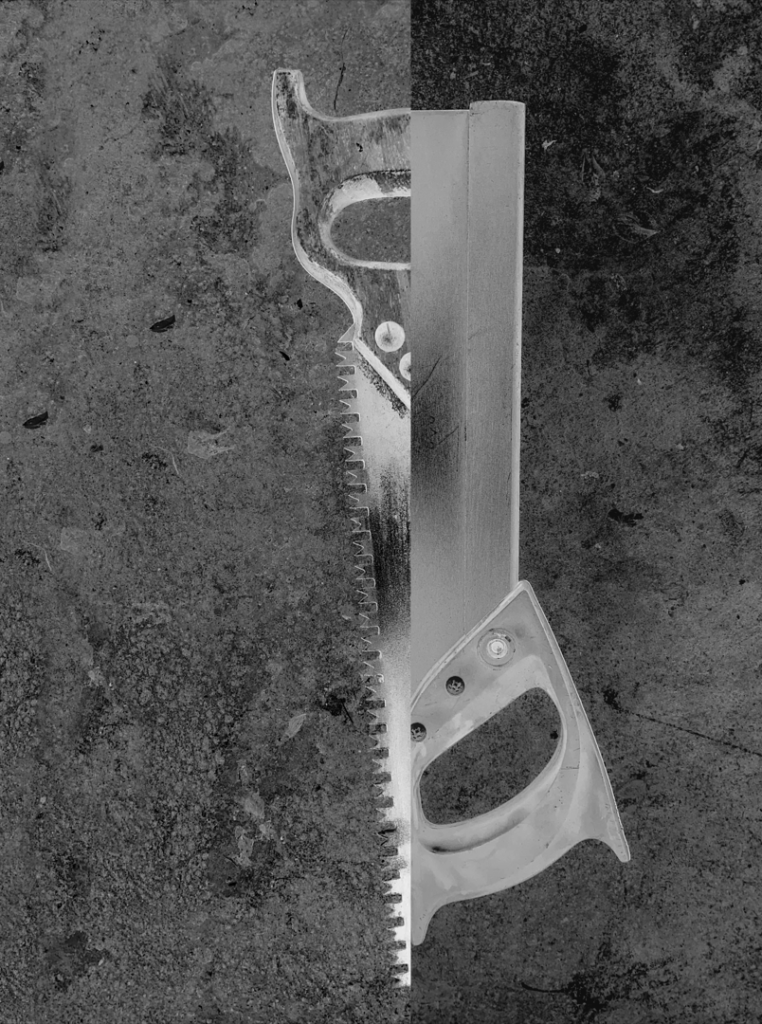
These three compositions are what I came up with using Harvey-Reagan as inspiration. I do think they capture his work quite well, but I also feel that I’ve put my own spin on it by keeping the backgrounds of the images and using objects such as the vice and clutch lever. This photoshoot was enjoyable, but I’m not too sure if this will be something I use again in my own work other than the photomontage element of this.

Still Life – Photoshop Editing Experiments

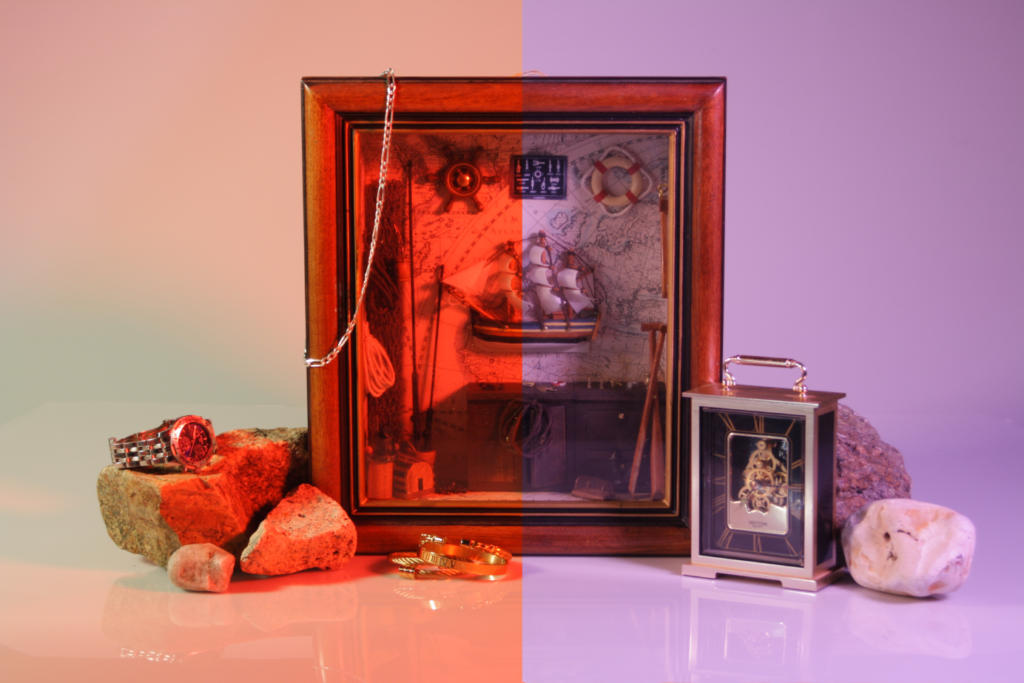
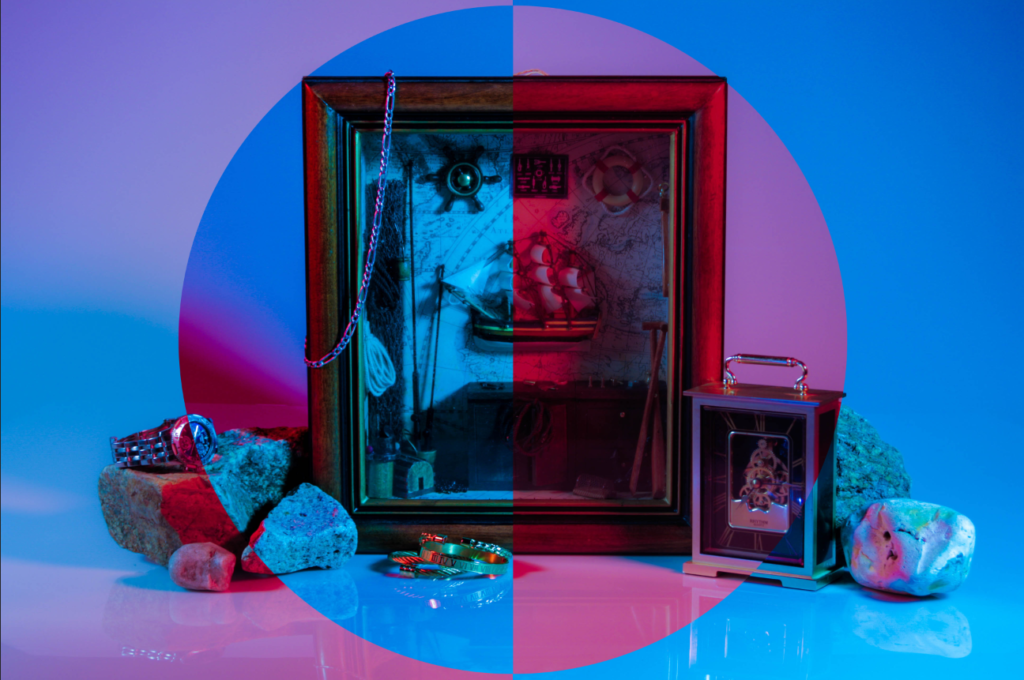
We experimented with editing on photoshop using shape selection tools and other images. I started by mixing two of my similar personal object/still life shoot images together, the key difference being the colour palettes, and split the photographs in half, so that each half features a different set of colours.

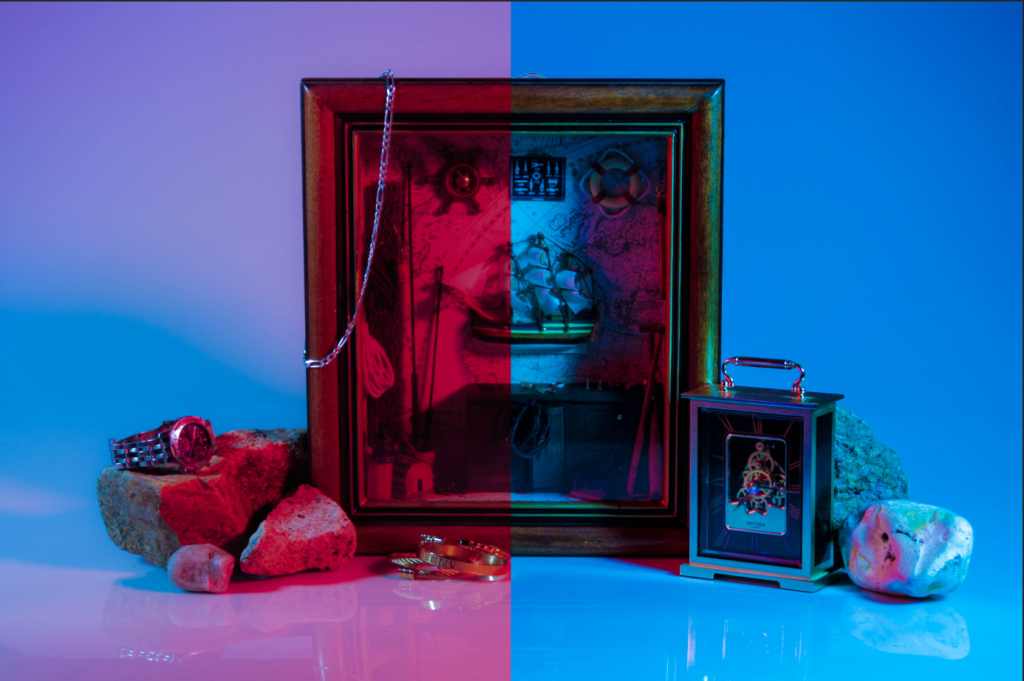
I wanted to go further with this, so I tried it with two more vibrant and edited photos, and liked the result more.

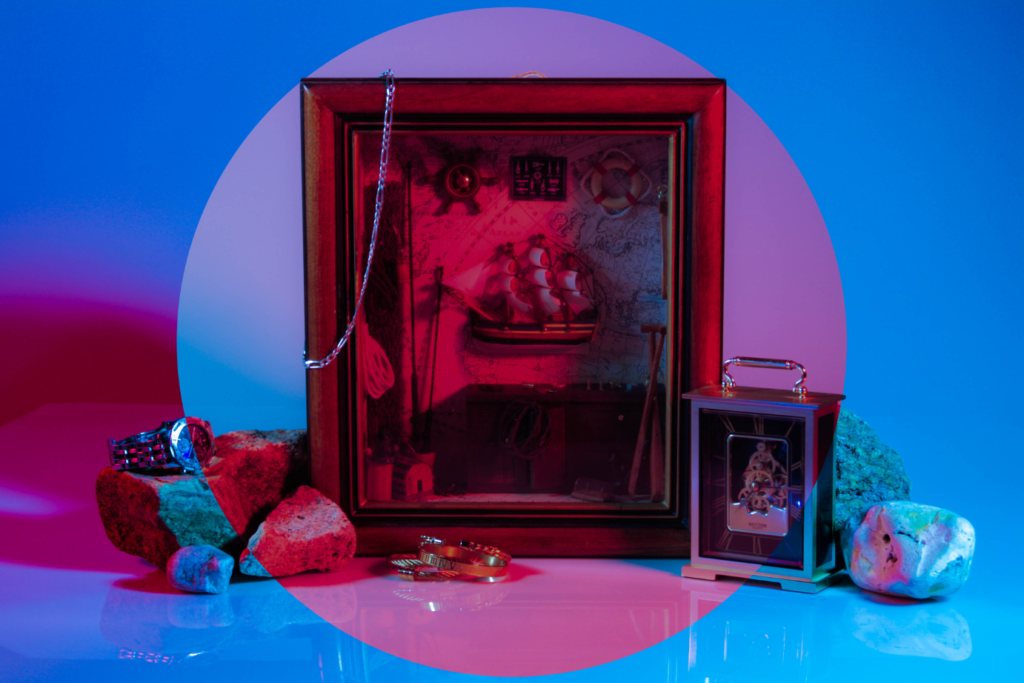
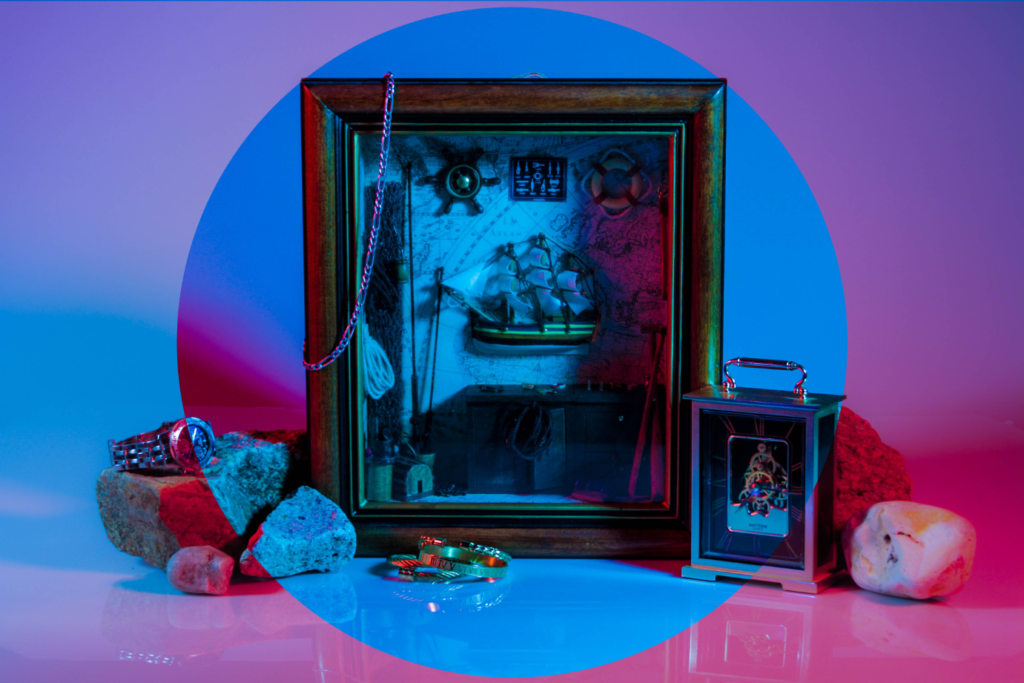
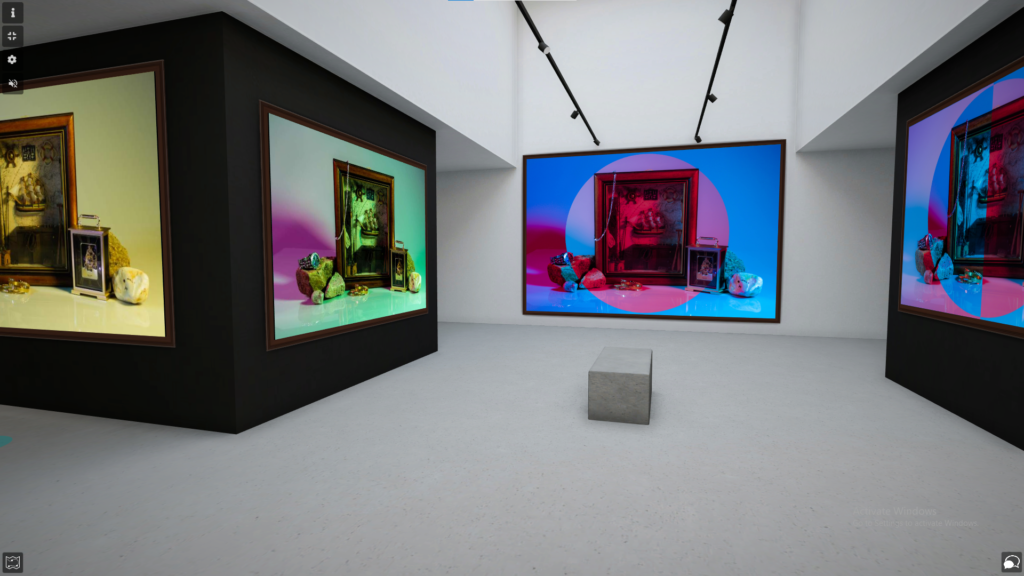
From there I wanted to experiment with shapes, so I created two similar pieces using a large circle in the middle of the image to split them.

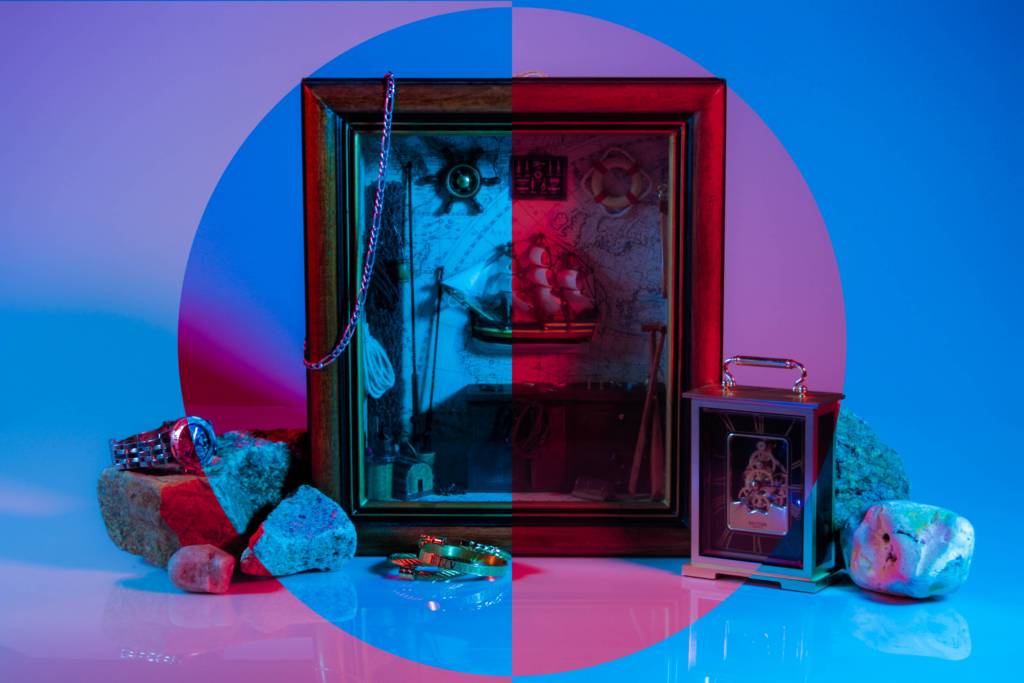
As a finale to my experiments, I decided to revisit my first experiment and split the two images across the middle, and was left with a lovely composition of blue, purple and red hues.

Photo Montage

What Is Photomontage - The Definition and History | Widewalls
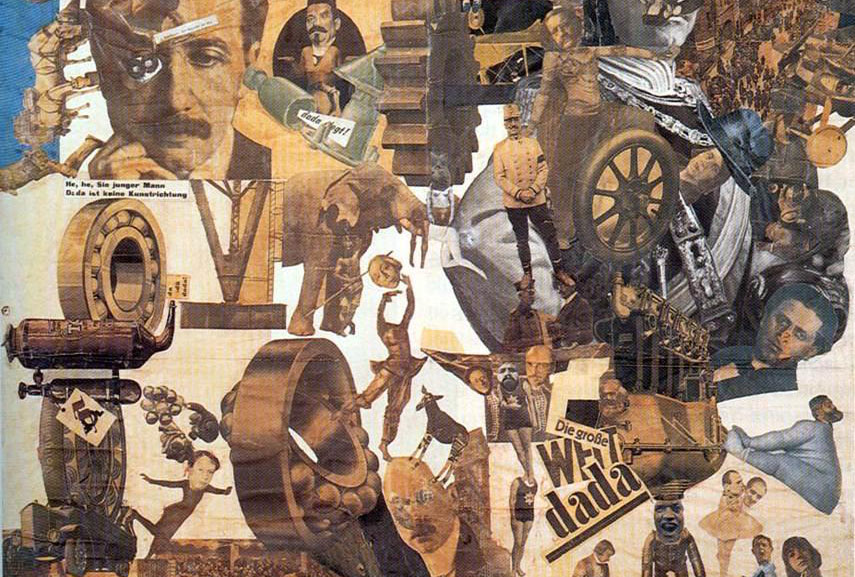
Cut with the Kitchen Knife – Hannah Hoch, 1919

Photomontages, rooting from Dadaism and Surrealism, are collages consisting of various photographs, typically done to create political statements, gaining popularity throughout the early 1900s during WWI and WWII. Key artists within photomontage include Raoul Haussman, Hannah Hoch, John Heartfield, and Soviet artists such as Aleksander Rodchenko and El Lissitsky.

We experimented with different methods of photomontage, through digital and physical means. We used photoshop to create different compositions using geometric shapes, selection areas and more on edited images we created on lightroom classic.

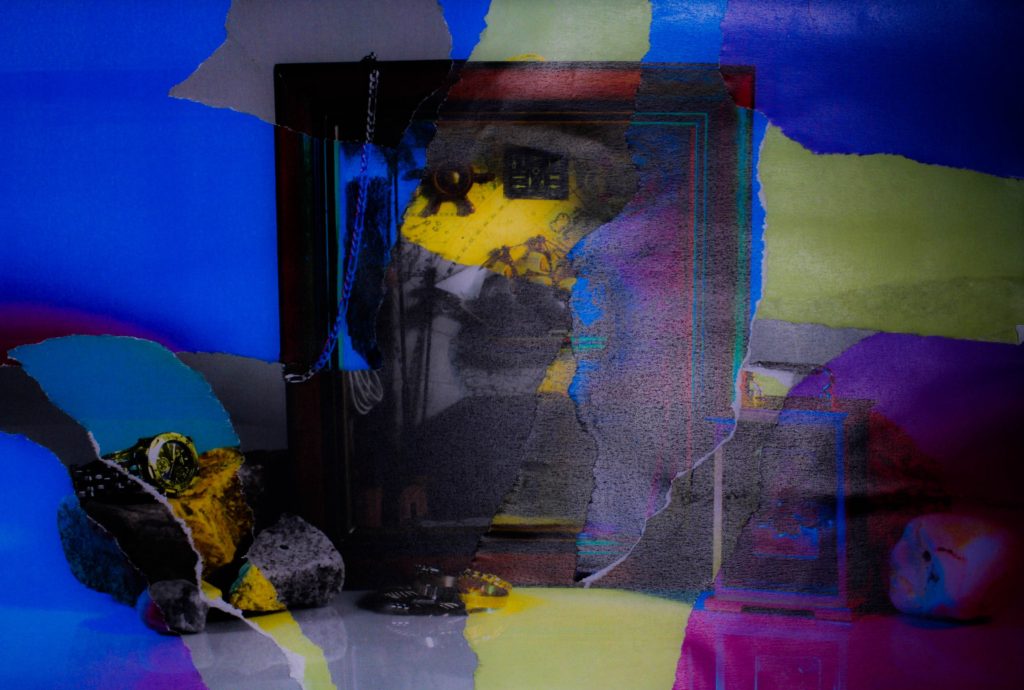
For my physical photomontage, I printed off multiple different edits of the same composition, which varied in colour palette, exposures, and shadows. I then ripped up the images and compiled the pieces together into two unique pieces comprised of what was left of each print.

While my photomontages didn’t have the conventional meaning that they tend to have, with a political message or being propaganda, my photographs have more of a sentimental value to me, as it features elements of my family’s history with sailing and the concept of the passage of time.

Walker Evans and Darren Harvey-Reagan – Photoshoot

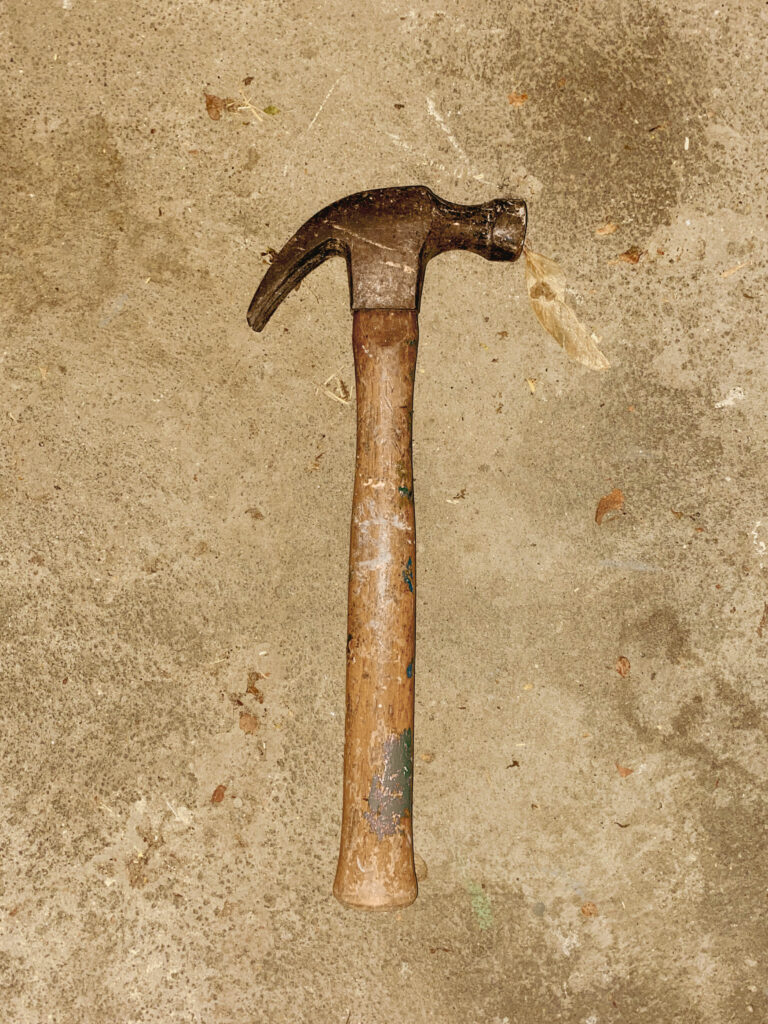
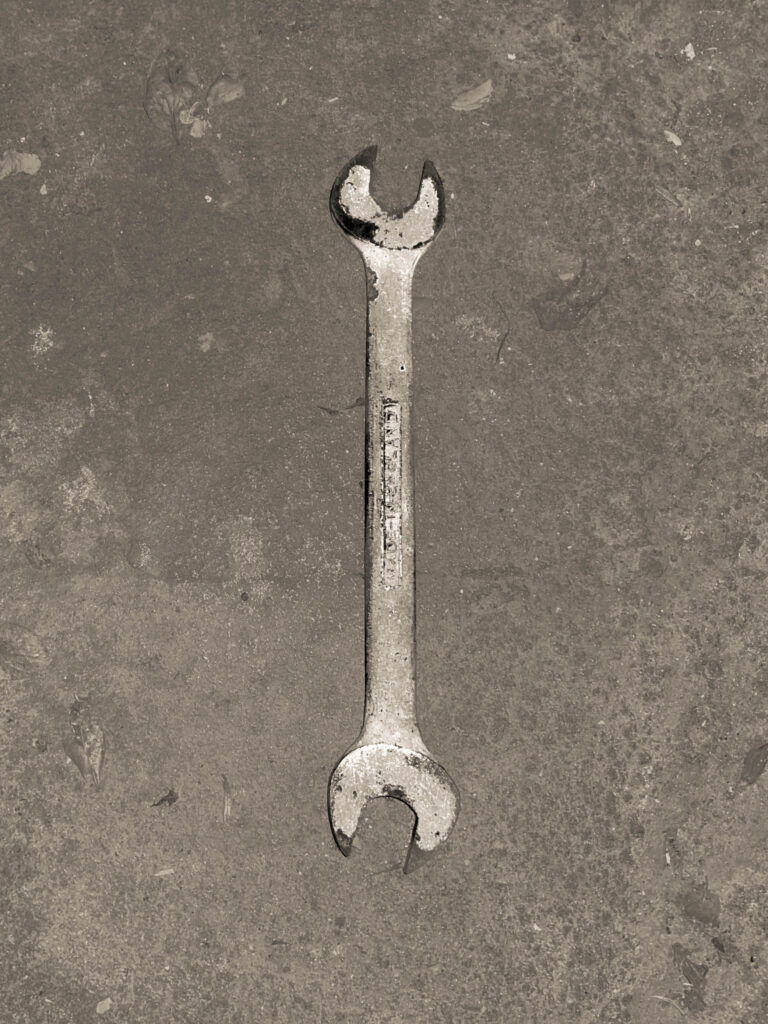
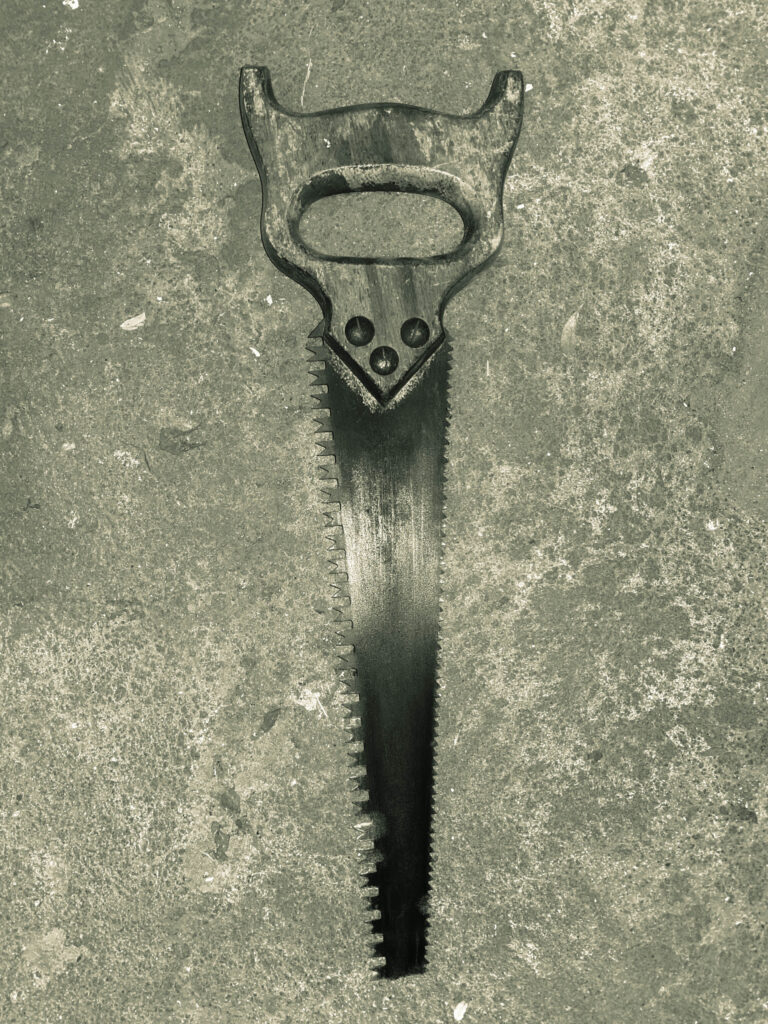
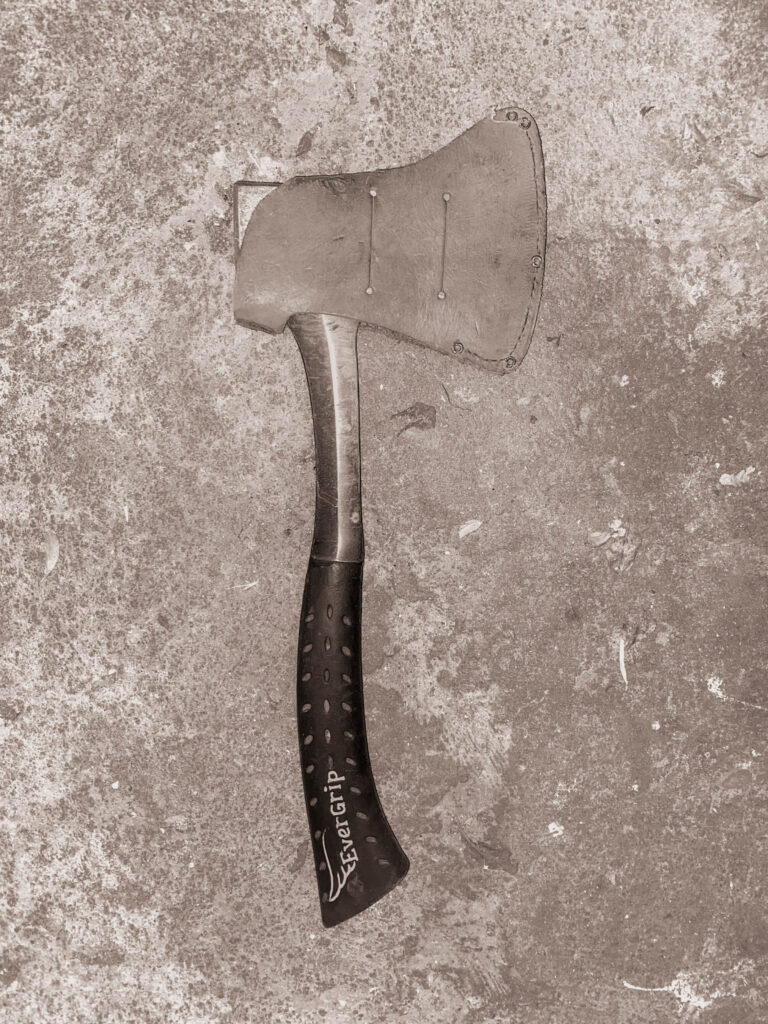
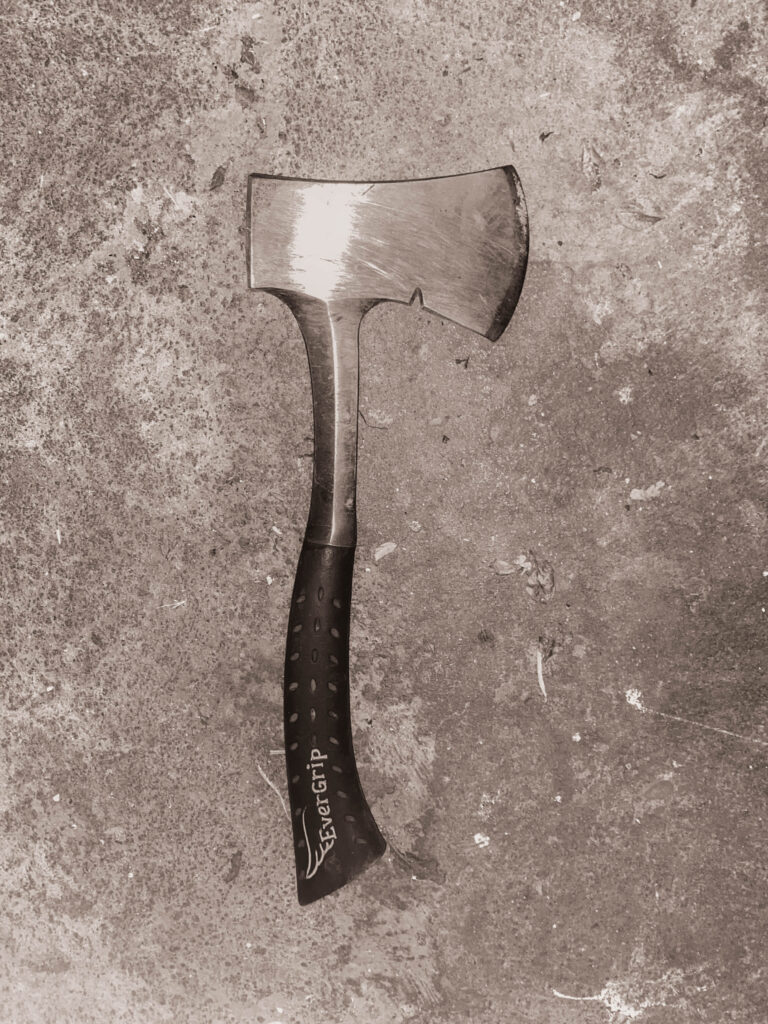
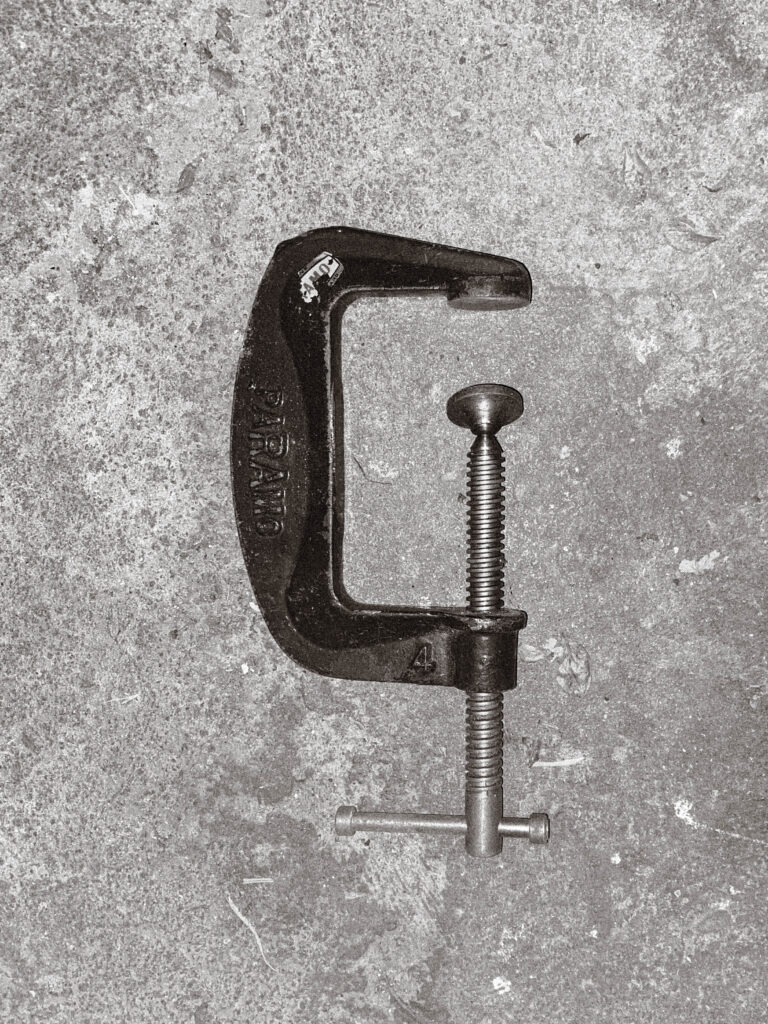
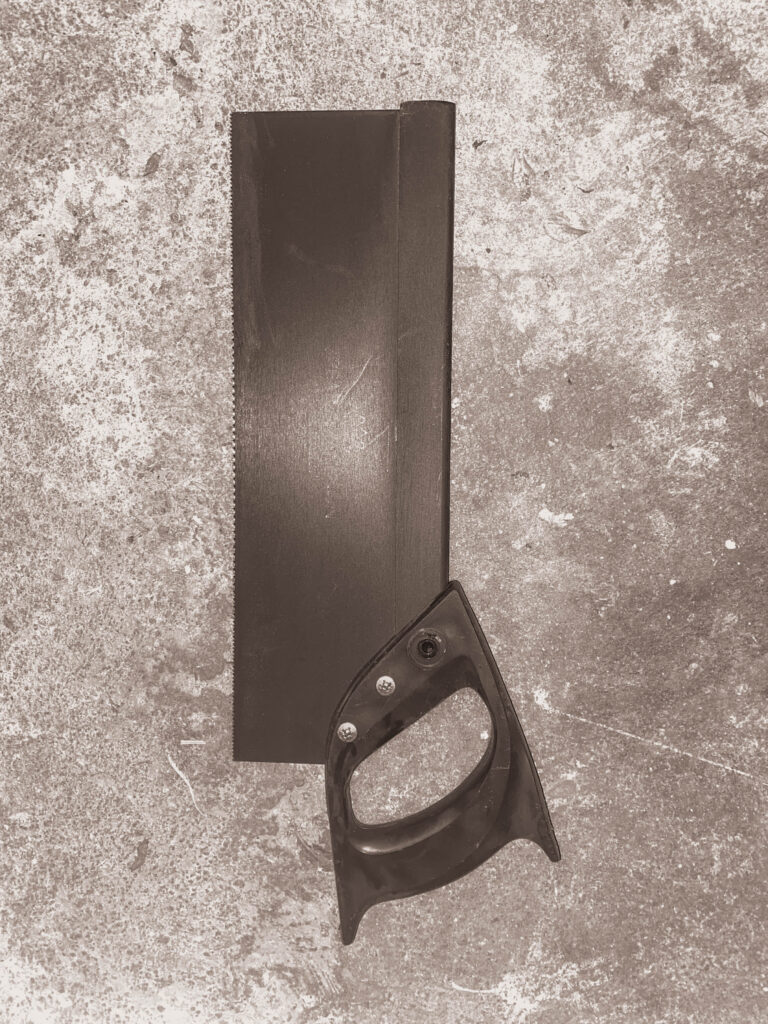
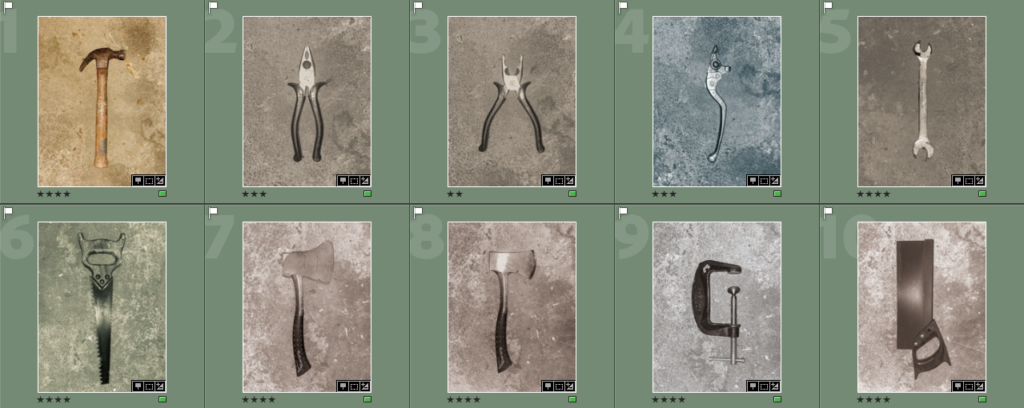
I did a small at-home photoshoot using the different tools I found around my garage, in the style of Walker Evans.

I sorted through my images, and removed the ones that had poor focus, too high an exposure, or just too small a subject, such as the allen key.

I then started editing, playing around with different monochrome presets and other settings for each one, but still maintaining the old-fashioned film camera look that’s present in Evans’ work.

Mary Ellen Bartley – 7 Things again and Again

MARY ELLEN BARTLEY 7 Things Again And Again on artnet
Mary Ellen Bartley – 7 Things Again and Again

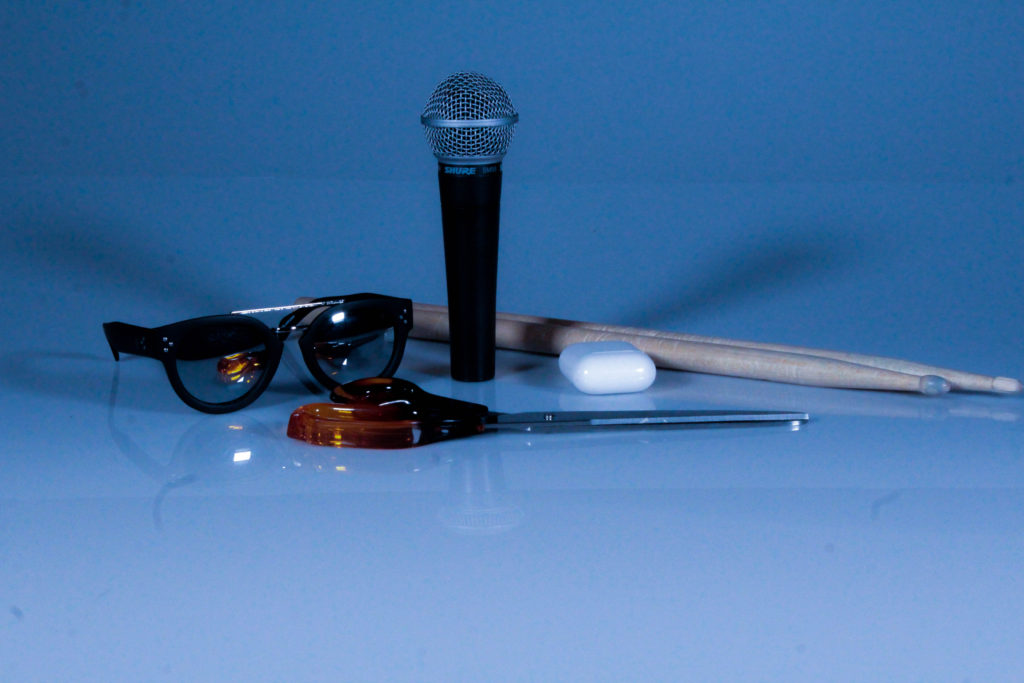
As a group, we experimented with different elements of Mary Ellen Bartley’s COVID-19 quarantine project – 7 Things Again and Again – and created our own compositions using different objects from the studio and our own personal objects.

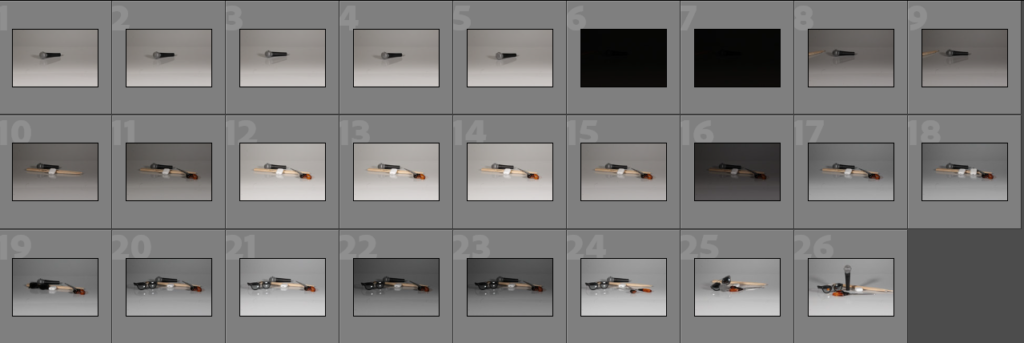
We used props we found around the studio – microphones, drumsticks, scissors – and a few personal objects in different orders to experiment with shadow. While we were able to do this, Bartley’s work makes more use of natural light, so we also went to an area of the school where there was plenty of natural light to use.

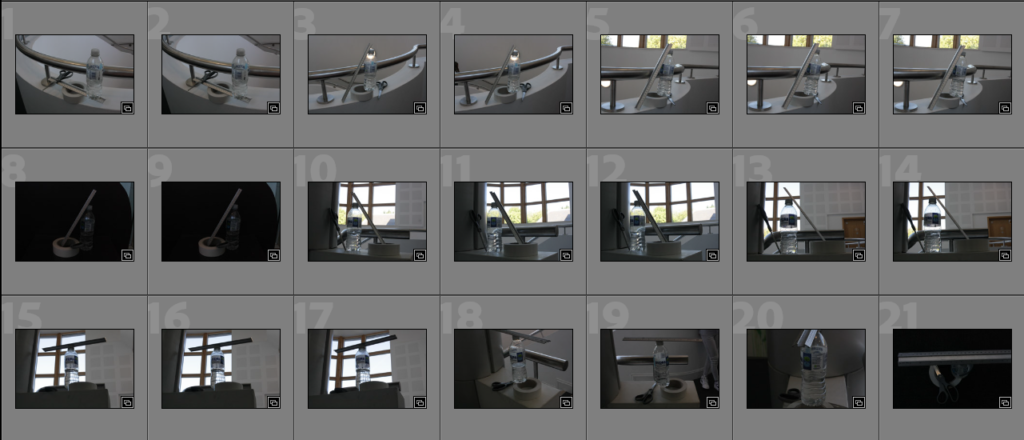
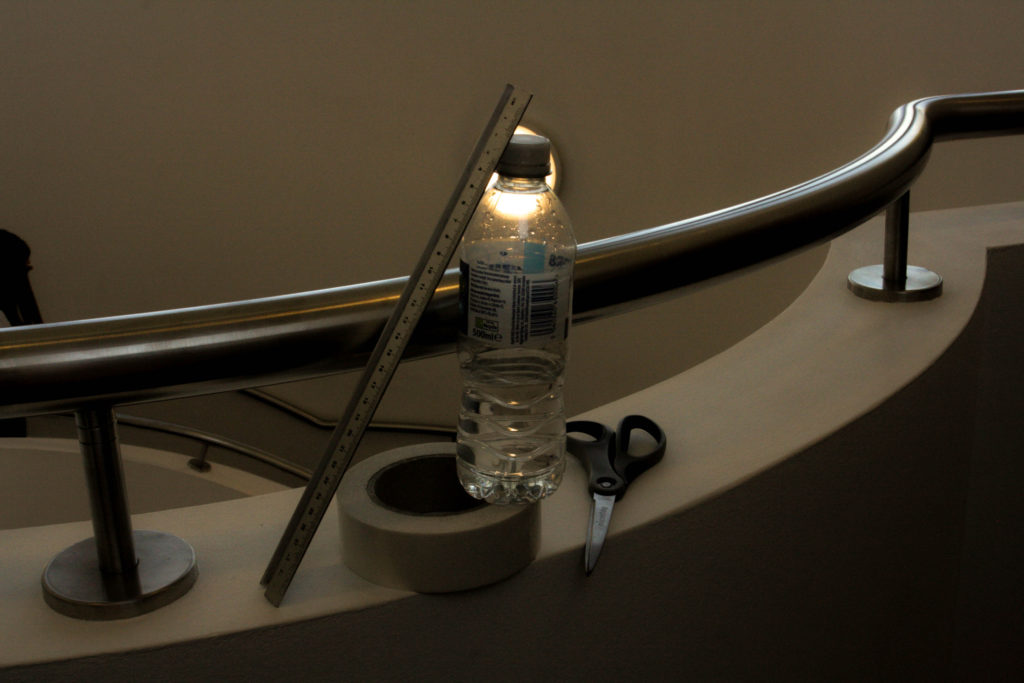
Using a water bottle, a ruler, a roll of masking tape and a pair of scissors, we attempted to create some natural light compositions. We had hoped the water in the bottle would create more of a glint in the light than we had in the final product, but we still took a few images that were simple enough to use. Like Bartley’s work, we needed to try and have a simplistic background for our objects, so that the focal point would be on them as opposed to anything on the wall or floor.

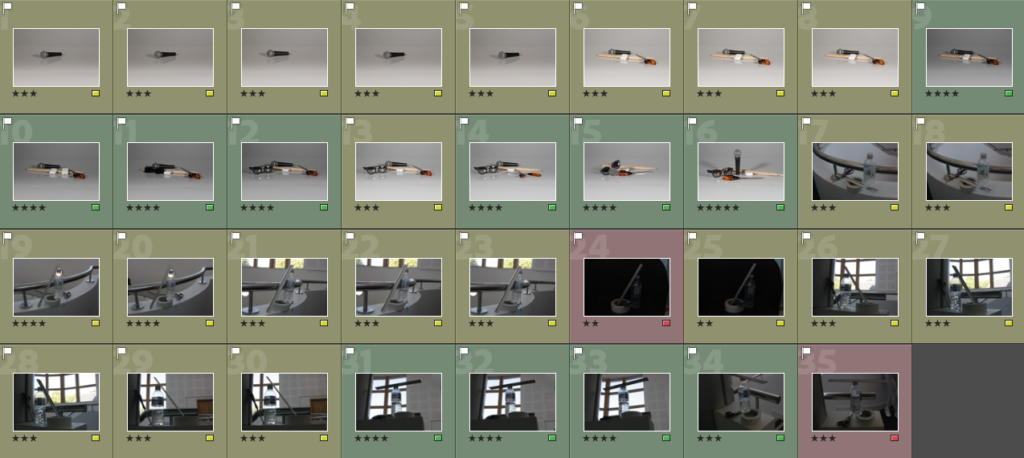
After uploading, I started the editing process on Lightroom Classic, and gave each image a star rating and colour grade (red = unusable, yellow = could use, green = usable). Most of them ended up being yellows as I was unable to determine which ones would work well after enhancing them. My decision was to edit a few that I think could be turned into something better – such as image 24/25, as the exposure only seems to be the issue, although the natural light level is relatively low.

I edited six images – one of which was from the single object shoot – that I thought could turn out to be something decent, but as this project was rather simple, there wasn’t all that much to work with, and I could only really enhance the studio images and a few taken around the school. I marked them in blue to show they’d been edited, and exported them.

These five photos were the best of the whole shoot, and looked even better after editing. I like the use of temperature within the images, and the effect of night/day the warmth creates – the colder images look more like they were taken in the early morning, whereas the warmer images look like they might have been taken at night/evening, mixed with the low light levels and heavily contrasted shadows.

Walker evans and Darren Harvey-Regan

Walker evans beauties of the common tool 04
Beauties of the Common Tool – Walker Evans, 1955

Walker Evans took inspiration from “French Cultural Heroes,” his goal being to authentically document the intricate details and delicacies of regular aspects of life. His 1955 portfolio, “Beauties of the Common Tool,” set out to explore the beauty in the regularity of tools, and the power to create or destroy that comes with them. The images he created were the opposite of idealised; showing each bump, dent, and scratch in the metal and the wear and tear from use – contrasting the conventional concept of creating something clean, beautiful, and easy on the eyes. Evans also toyed with the concept of a photograph becoming an object in itself, which was a key motivation for his style of work.

Darren Harvey-Regan, a more modern photographer, took great influence from Evans’ work, carefully manufacturing each element of the composition, lighting, exposure, and subjects within his images. Some of his pieces are a photo collage of more than one object, which could be considered to be a surrealistic photograph, however, Harvey-Regan considers it to be “phrasing” as opposed to anything else.

I aim to do a small-scale photoshoot at home with tools I have around my home, using the worn concrete flooring of my garage and brick driveway as a background to add more texture. I’m not sure what I’ll end up doing with these images, but I might be able to use them in a later project.

Focus Points

Understanding Normal and Cross-Type Focusing Points
– Digital Photography School

Focus points are areas on a camera sensor that are sensitive to changes in lighting, detected either through a method called phase-detection or contrast-detection.

– Expert Photography

Phase-detection uses the prism inside a DSLR camera to tell whether the image is in focus. After the light from an image hits the prism, it then separates into two, which, if said image is in focus, should line up together in the camera’s viewfinder and appear sharp and focused. If the two aren’t lined up, however, the image will appear blurry and unfocused. The focus sensor in the camera controls this, and can adjust the focus accordingly to make sure the images line up. Phase-detection is typically used for action shots with fast-moving subjects, as the rate at which a camera with phase-detection focuses is often within fractions of a second.
– DRL Photography

Contrast-detection uses the image sensor itself to analyse the pixels within the image in real-time. It’s programmed to think that a subject is in focus when the contrast is the highest, pushing back the focus point of the camera lens back and forth until it reaches the desired result. Because of this, it’s a much slower method of auto-focusing and can make it very difficult to record a moving subject, which is why manufacturers often implement phase-detection in their cameras today.

The speed at which a camera focuses can also be affected by the type of focusing point used, which can be either normal or a cross-type focusing point. On higher-end models of DSLR cameras with phase-detection systems, such as the Nikon D5, there are several clusters of cross-type focusing points on the sensor, whilst lower-end cameras, such as the Canon Rebel T3i, usually have one central cross-type focus point. This means that the rate of focus in the centre of an image will be more reliable and quicker than anywhere else in the shot. On the other hand, normal focusing points tend to be much slower and less consistent, which can be difficult especially when taking action shots of a moving subject.