All posts by Anna Schaffrath

Filters

Author:
Category:

Montage photoshoot

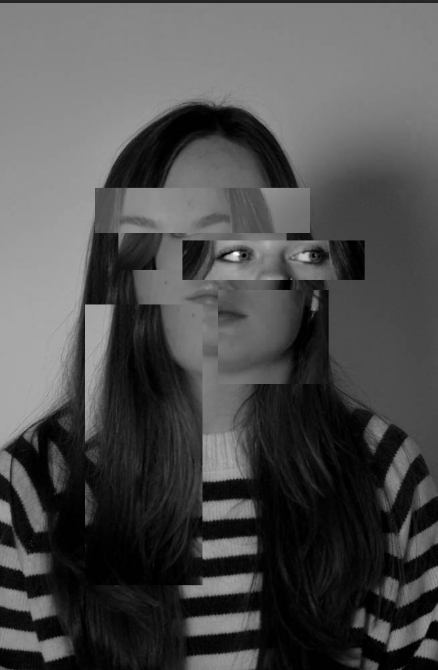
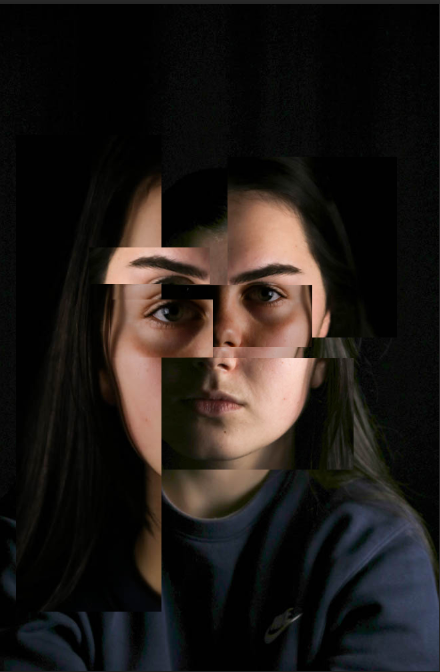
I chose to do photo montage as I enjoy making the image and being able to use my creativity. There’s also no main rules on how you should create the montage.

Research/ information about Photomontage

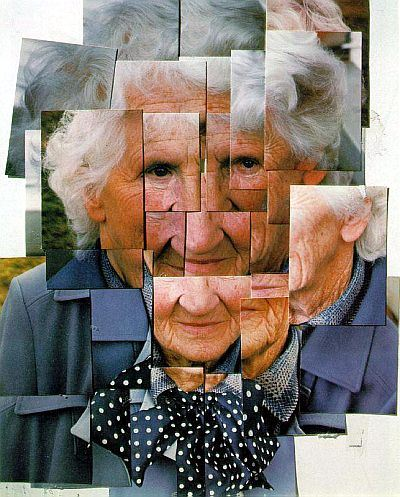
It is the process and the result of making a composite photograph by cutting, gluing, rearranging and overlapping two or more photographs into a new image. Artists who demonstrate photomontage: John Stezaker, Thomas Sauvin and Kensuke Koike. These artists were not my inspiration as I mainly used photoshop instead of physically cutting and sticking.

My take on photo montage:

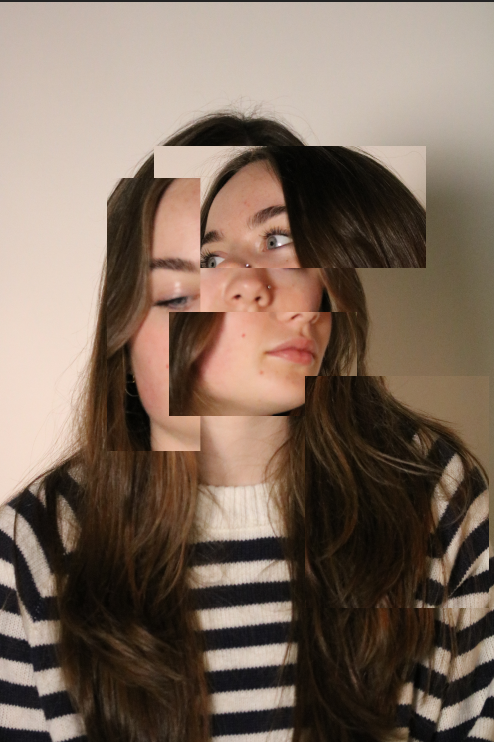
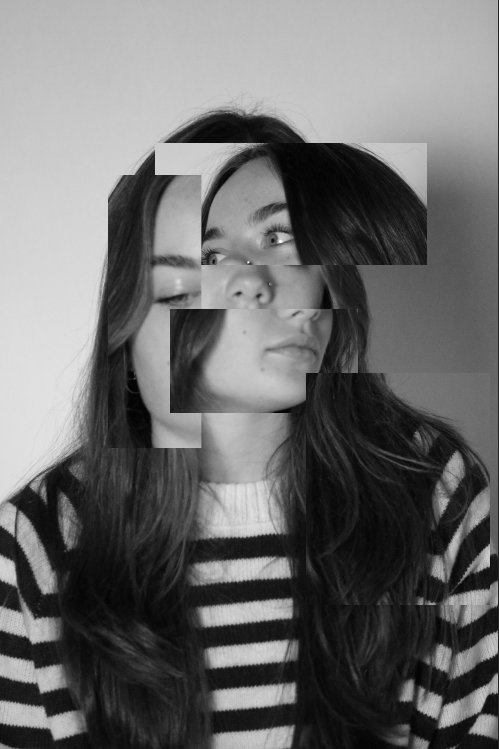
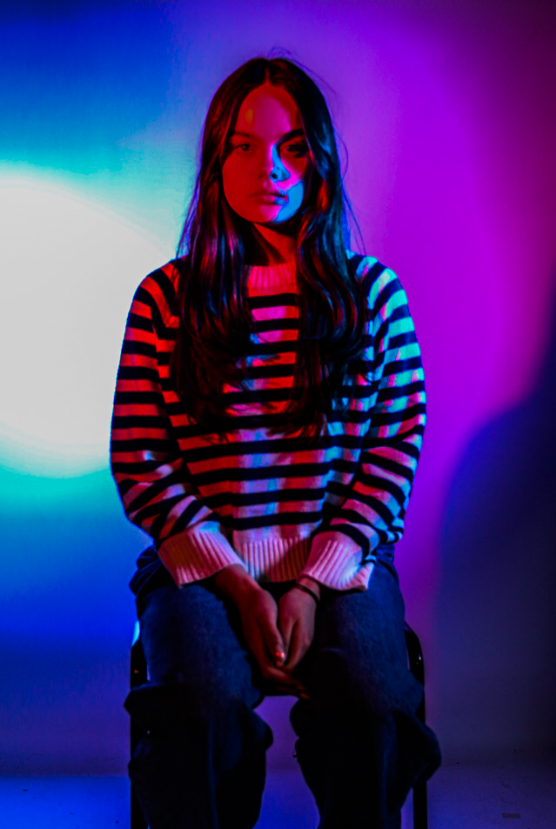
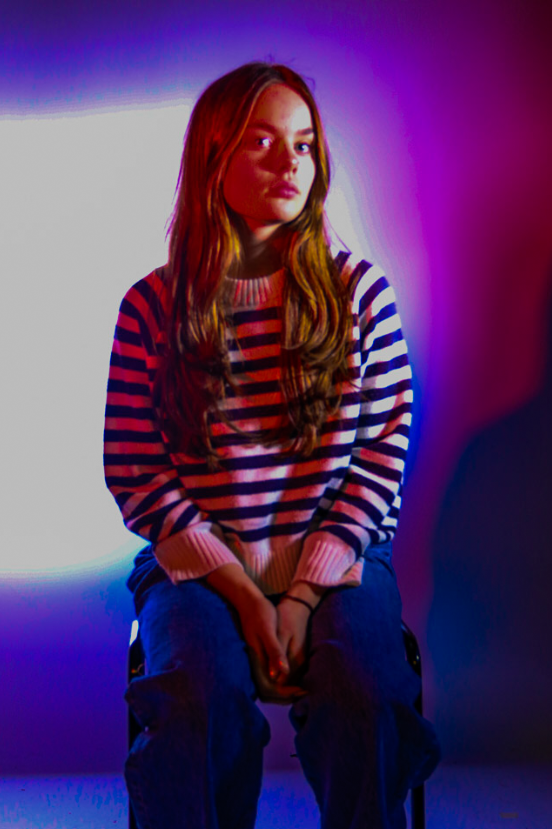
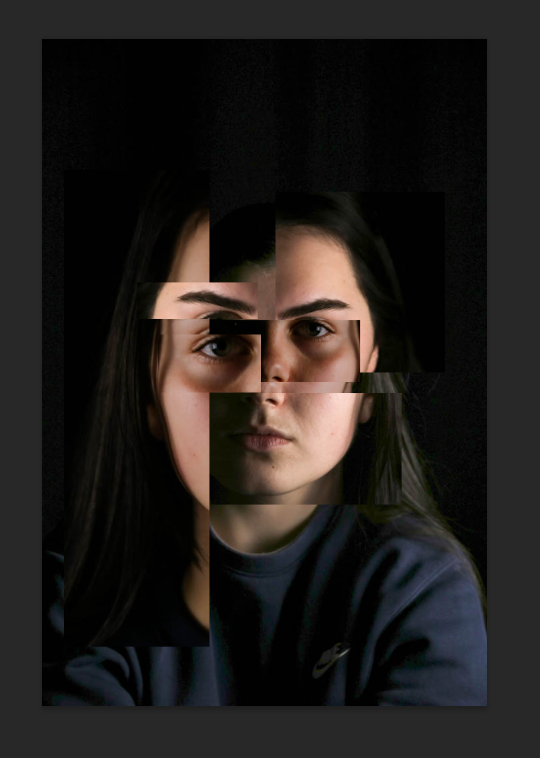
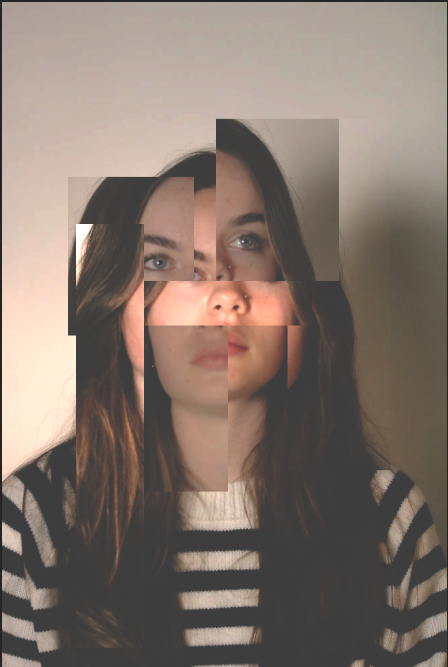
Using photoshop I snipped certain squares out of portraits and overlapped/ re-arranged them onto an image.

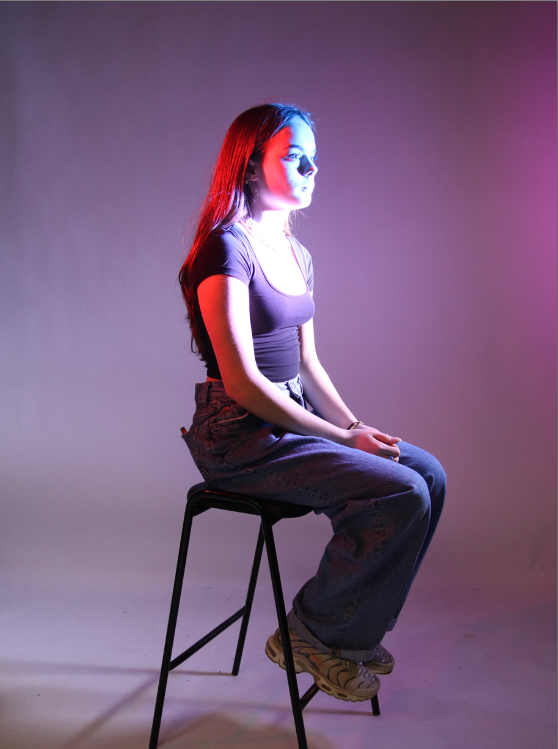
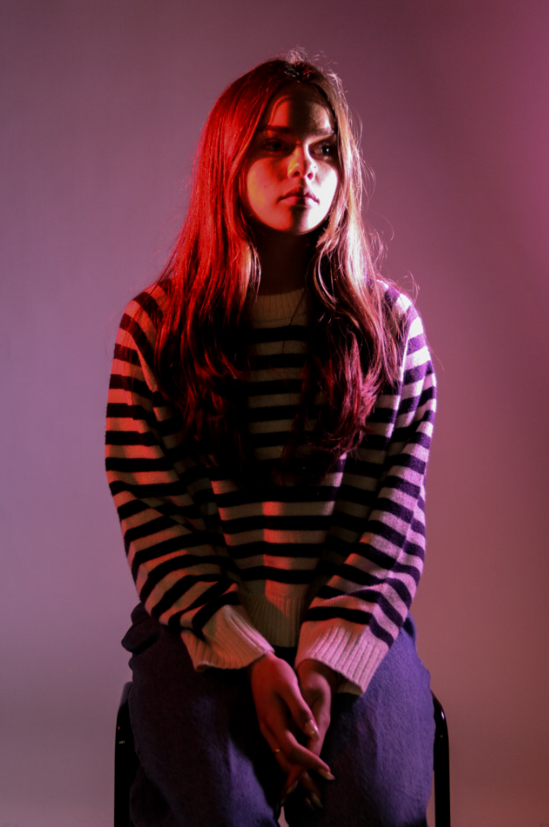
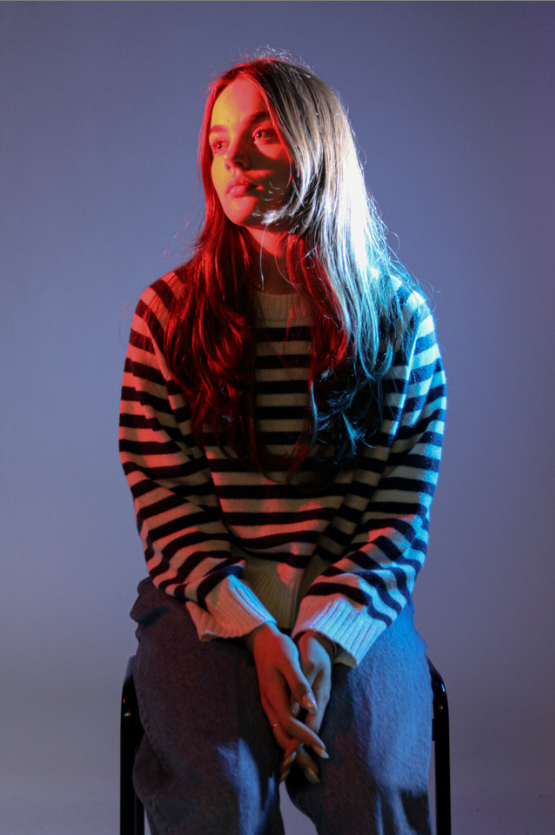
I started by taking a range of simple portraits and different angles.

Edit one:

Edit two:

Edit three:

Edit four:

Edit five (black and white version of edit four):

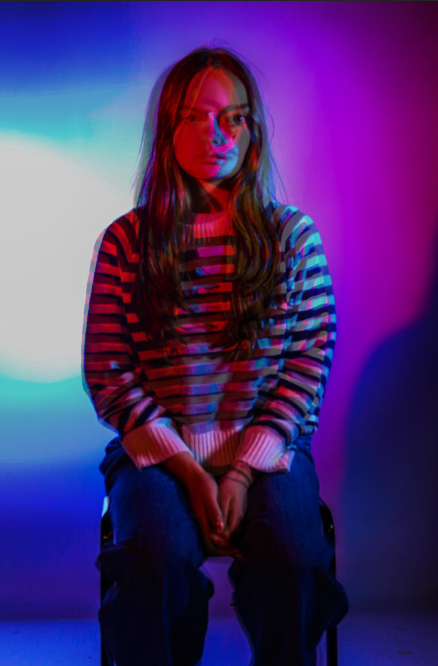
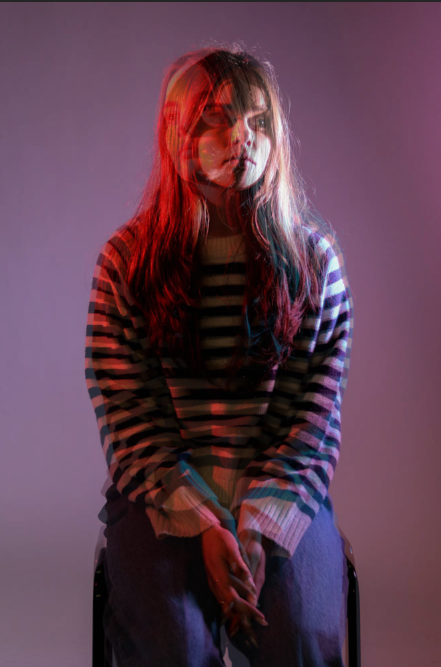
Double/multi-exposure photoshoot

I chose to do this style of portraiture as I wanted to challenge myself by being able to create multi-exposure on a camera and on Photoshop.

Research/ information on Double/ multi-exposure:

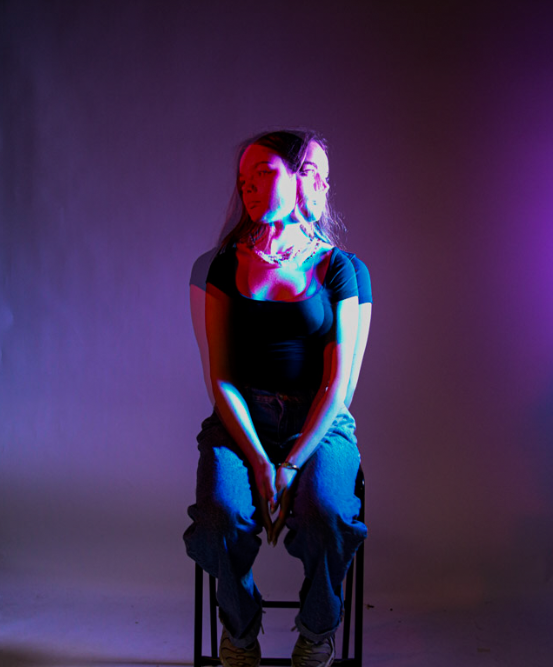
Double or multiple exposures are an illusion created by layering images (or portions of images) over the top of each other. This can be achieved in the camera settings, or on Adobe Photoshop by creating LAYERS and then using BLENDING OPTIONS and OPACITY CONTROL. 

Artists explore these techniques to dive into  Surrealist ideas, ‘dream-like imagery’. The blur and sense that the image was taken twice creates the affect that it explores time. Artists that explore Double/multi-exposure: Man Ray, Alexander Rodchenko and Claude Cahun.

My take on Double/ multi-exposure:

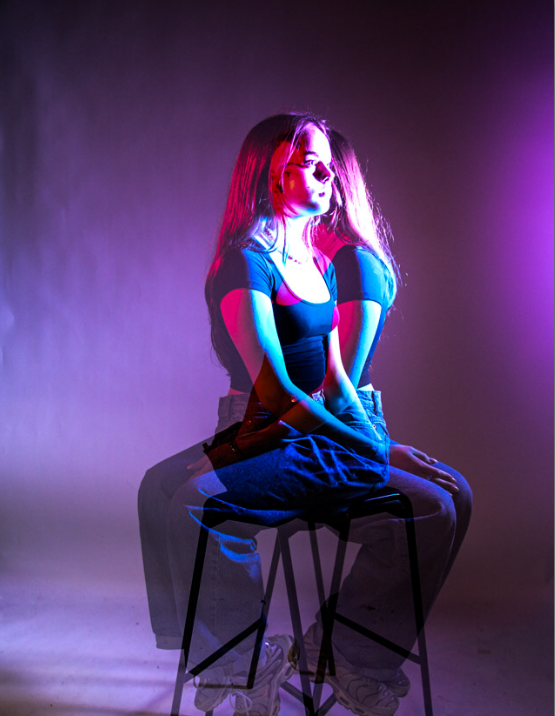
The following edits were made using the camera and having it on multi exposure setting.

Edit one:

Edit two:

Edit three:

The next following edits are made using photoshop and merging images together and changing the opacity:

Edit one:

Edit two:

headshots plan

1st photoshoot- DIAMOND CAMEO

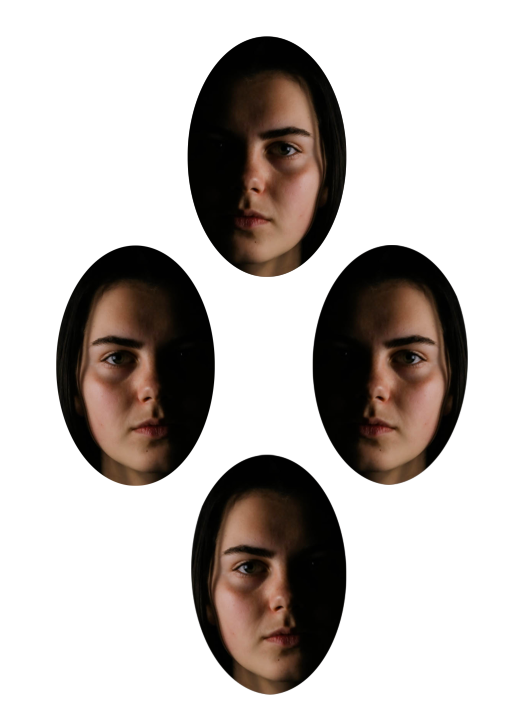
 Four small oval portraits (1″ x 3/4“) were placed on a carte de visite in the shape of a diamond, each portrait being of the same person photographed in a different position.

Experimenting/ attempting to create a diamond cameo with other portraits from previous photoshoots:

Using the Elliptical marquee tool I was able to cut out these shapes, on two of them I just rotated and flipped them to create a different angle/perspective.

2nd photoshoot- MONTAGE

The process and the result of making a composite photograph by cutting, gluing, rearranging and overlapping two or more photographs into a new image

Experimenting/ attempting to create a montage with pictures from previous photoshoots:

3rd photoshoot- DOUBLE/MULTI-EXPOSURE

a technique where two or more exposures are made on the same piece of film or digital media. By overlaying different images, double – or multiple exposure can create unique and unexpected results.

THE ORIGIN OF PHOTOGRAPHY:

Where it all started…

Camera obscura & pinhole photography

Maybe the only thing each of us can see is our own shadow. Carl Jung called this his shadow work. He said we never see others.

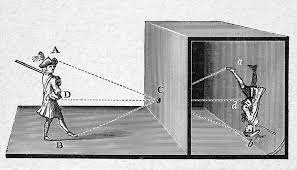
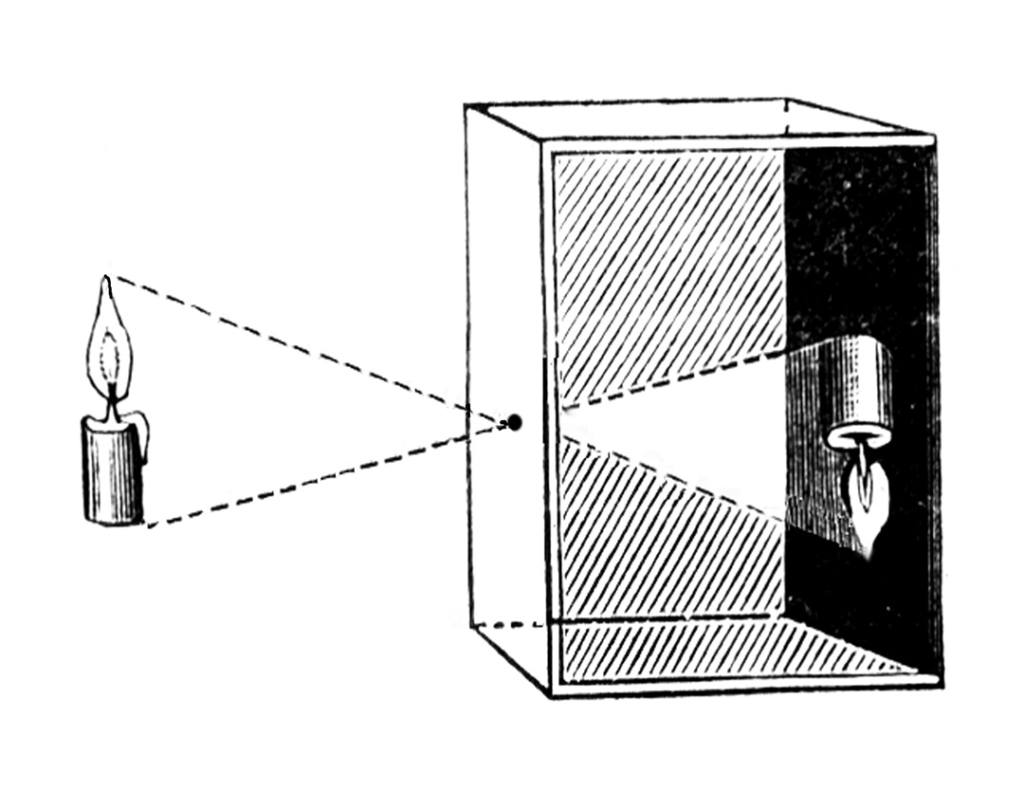
A camera Obsucra is a darkened room with a small hole or lens at one side through which an image is projected onto a wall or table opposite the hole.

Camera obscura can also refer to analogous constructions such as a box or tent in which an exterior image is projected inside. Camera obscuras with a lens in the opening have been used since the second half of the 16th century and became popular as aids for drawing and painting. The concept was developed further into the photographic camera in the first half of the 19th century, when camera obscura boxes were used to expose light-sensitive materials to the projected image.

Rays of light travel in straight lines and change when they are reflected and partly absorbed by an object, retaining information about the color and brightness of the surface of that object.

Lighted objects reflect rays of light in all directions. A small enough opening in a barrier admits only the rays that travel directly from different points in the scene on the other side, and these rays form an image of that scene where they reach a surface opposite from the opening. The human eye (and those of animals such as birds, fish, reptiles etc.) works much like a camera obscura with an opening (pupil), a convex lens, and a surface where the image is formed (retina). Some cameras obscura use a concave mirror for a focusing effect similar to a convex lens.

Pinhole photography

A pinhole camera is a simple camera without a lens but with a tiny aperture —effectively a light-proof box with a small hole in one side. Light from a scene passes through the aperture and projects an inverted image on the opposite side of the box, which is known as the camera obscura effect. It is similar to camera Obsucra in the way that the camera is re-enacting the concept that an image is produced by light coming through a small hole projecting the image onto a dark area. same concept different perspectives.

Nicephore Niepce and Heliography

Joseph Nicephore Niepce was a French photographer (1765- 1833). He was one of the most important figures in the invention of photography, in 1807, together with his brother, Claude, he invented the world’s first internal combustion engine, which they called the pyreolophore.

Letters to his sister-in-law around 1816 indicate that Niépce had managed to capture small camera images on paper coated with silver chloride, making him apparently the first to have any success at all in such an attempt, but the results were negatives, dark where they should be light and vice versa, and he could find no way to stop them from darkening all over when brought into the light for viewing.

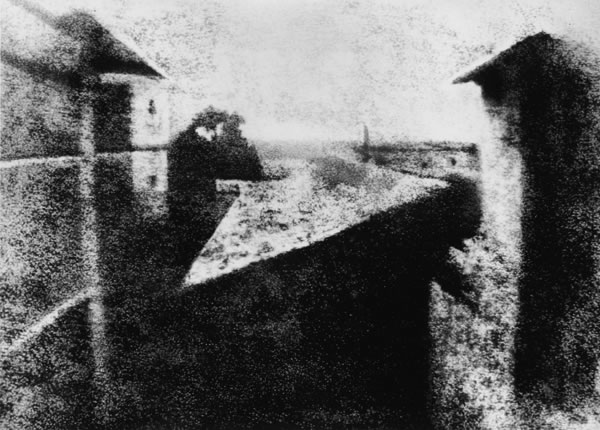
Niépce’s correspondence with his brother Claude has preserved the fact that his first real success in using bitumen to create a permanent photograph of the image in a camera obscura came in 1824. That photograph, made on the surface of a lithographic stone, was later effaced. In 1826 or 1827 he again photographed the same scene, the view from a window in his house, on a sheet of bitumen-coated pewter. The result has survived and is now the oldest known camera photograph still in existence. The historic image had seemingly been lost early in the 20th century, but photography historians Helmut and Alison Gernsheim succeeded in tracking it down in 1952. The exposure time required to make it is usually said to have been eight or nine hours, but that is a mid-20th century assumption based largely on the fact that the sun lights the buildings on opposite sides, as if from an arc across the sky, indicating an essentially day-long exposure. A later researcher who used Niépce’s notes and historically correct materials to recreate his processes found that in fact several days of exposure in the camera were needed to adequately capture such an image on a bitumen-coated plate.

Heliography is this process Joseph had made, it is still used today mainlt for photo engraving.

Louis Daguerre & Daguerreotype

Key facts:

  • French artist and photographer
  • invention of the daguerreotype process of photography
  • worked closely with Joseph Niepce
  • an accomplished painter
  • developer of the diorama theatre.

What is the process daguerreotype?

The daguerreotype is a direct-positive process, creating a highly detailed image on a sheet of copper plated with a thin coat of silver without the use of a negative. The process required great care. The silver-plated copper plate had first to be cleaned and polished until the surface looked like a mirror.

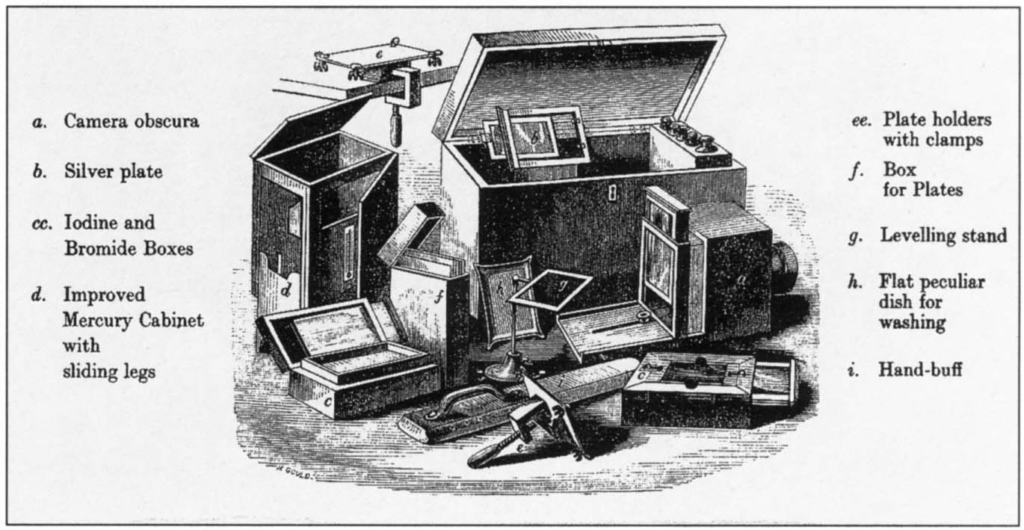
The earliest cameras used in the daguerreotype process were made by opticians and instrument makers, or sometimes even by the photographers themselves. The most popular cameras utilized a sliding-box design. The lens was placed in the front box. A second, slightly smaller box, slid into the back of the larger box. The focus was controlled by sliding the rear box forward or backwards. A laterally reversed image would be obtained unless the camera was fitted with a mirror or prism to correct this effect. When the sensitized plate was placed in the camera, the lens cap would be removed to start the exposure.

Henry Fox Talbot & Calotype

Henry fox developed three primary elements of photography:

  • developing
  • fixing
  • printing

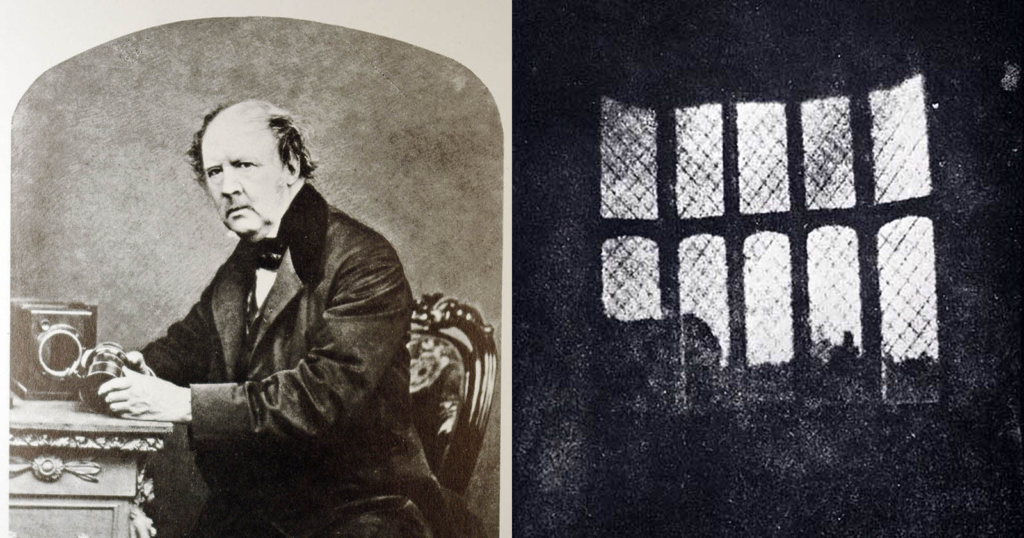
He learnt that creating an image would require extremely long exposure times. he continued to accidently discover that there was an image after a shirt exposure time, although, it wasn’t visible he learned that chemically develop it into a useful negative.

With the negative image, Fox Talbot realised he could repeat the process of printing from the negative. Consequently, his process could make any number of positive prints, unlike the Daguerreotypes. He called this the ‘calotype’ and patented the process in 1841.

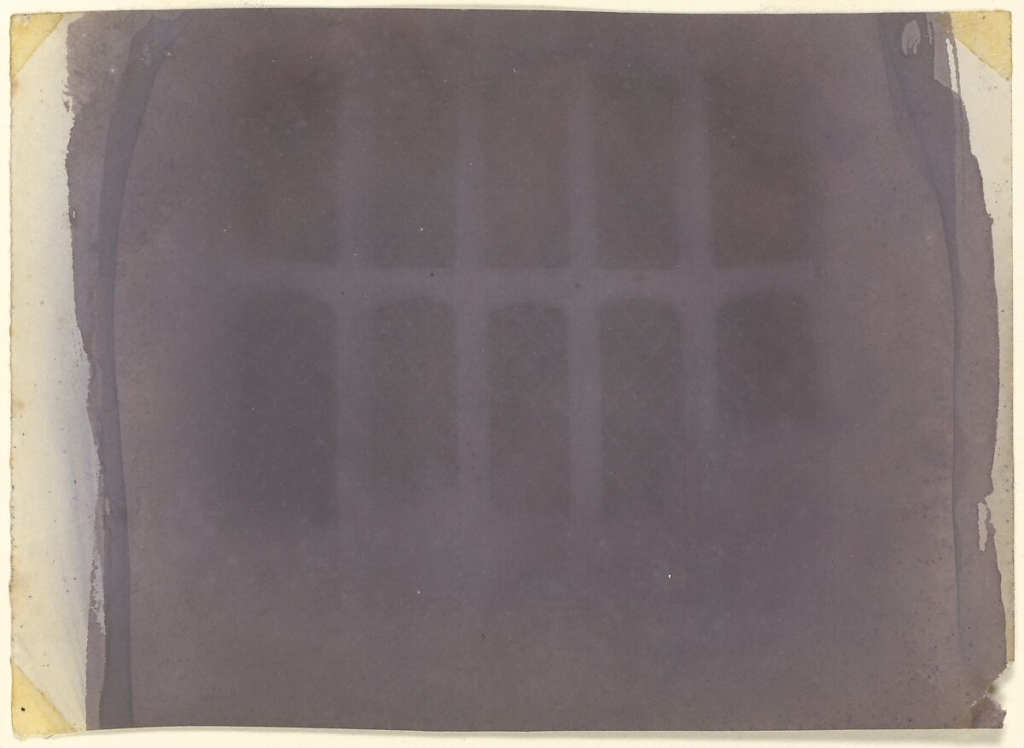
This mysterious view through the diamond-paned oriel window of Talbot’s home is one of the earliest photographs in existence—a remarkable relic of the inventor’s earliest attempts to make pictures solely through the action of light and chemicals. He brushed a piece of writing paper with salt and silver nitrate and placed it in a small wooden camera stationed on a mantel opposite the window for an exposure that may have lasted hours. The image is tonally reversed—a negative, though the term did not yet exist—as the paper darkened most where it recorded the bright light of the windows.

Robert Cornelius & self-portraiture

“Taking a self-portrait is a whole next level up from that. That portrait is incredibly significant.” 

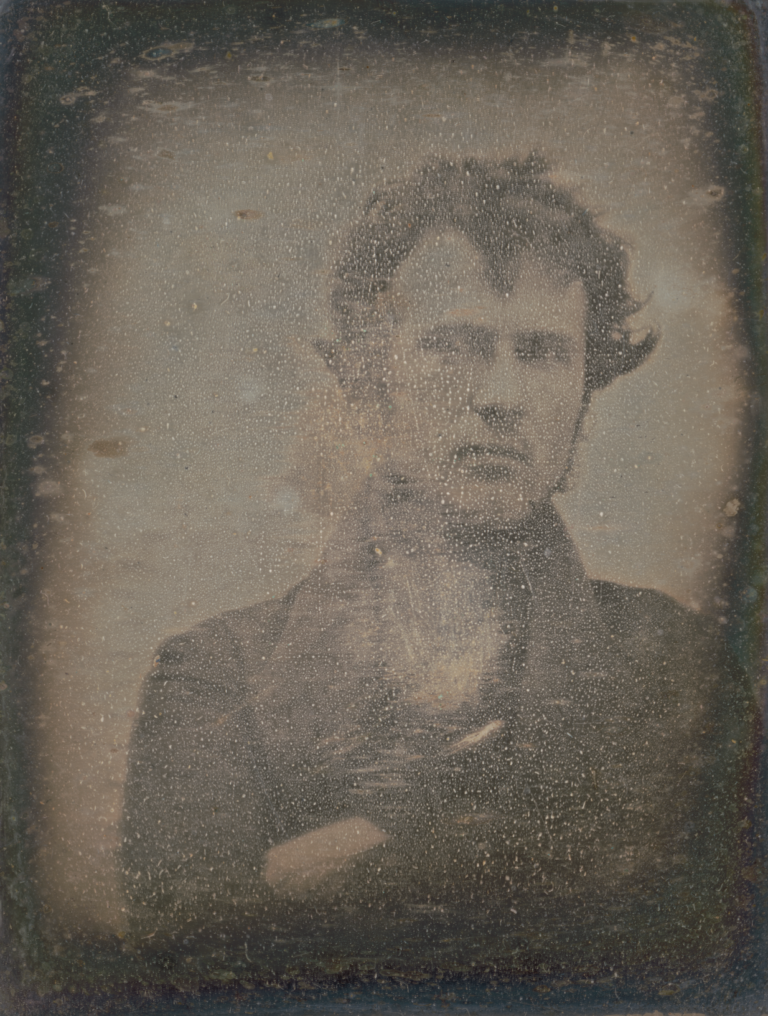
In February 2014 a daguerreotype self-portrait taken by the American photography pioneer Robert Cornelius of Philadelphia was considered the first American photographic portrait of a human ever produced, and since this was a self-portrait, it was also possibly the first “selfie .” This was a major change in photography, later on enabling how advanced our photography is now.

Julia Margeret Cameron & Pictorialism

Julia had a different take on portraits and is known for her soft focus close ups of famous Victorian men. Working around mythology, Christianity, and literature.

Cameron included imperfections in her photographs – streaks, swirls and even fingerprints – that other photographers would have rejected as technical flaws. Although criticised at the time, these imperfections can now be appreciated as ahead of their time. In her work Iolande and Floss, for example, swirls of collodion used during the photographic process merge with the swirls of drapery, enhancing the dreamy, ethereal quality of the image.

We don’t know if Cameron herself embraced these ‘flaws’ or if she simply tolerated them. We do know, however, that she sometimes scratched into her negatives to make corrections; printed from broken or damaged negatives and occasionally used multiple negatives to form a single picture, which tells us that she didn’t mind a certain level of visible imperfection, at the very least.

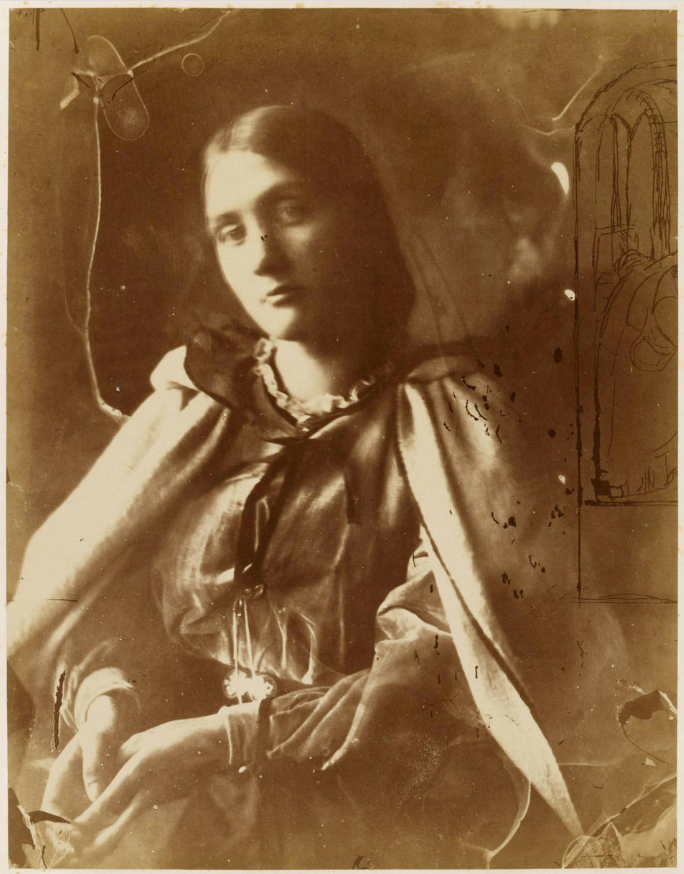
One of her most extreme examples of manipulating a negative can be seen in a portrait of Julia Jackson. Cameron scratched a picture into the background of this pious portrait of her niece, to create a hybrid photograph-drawing. The drawing of a draped figure in an architectural setting evokes religious art.

Henry Mullins & Carte-de-Visit

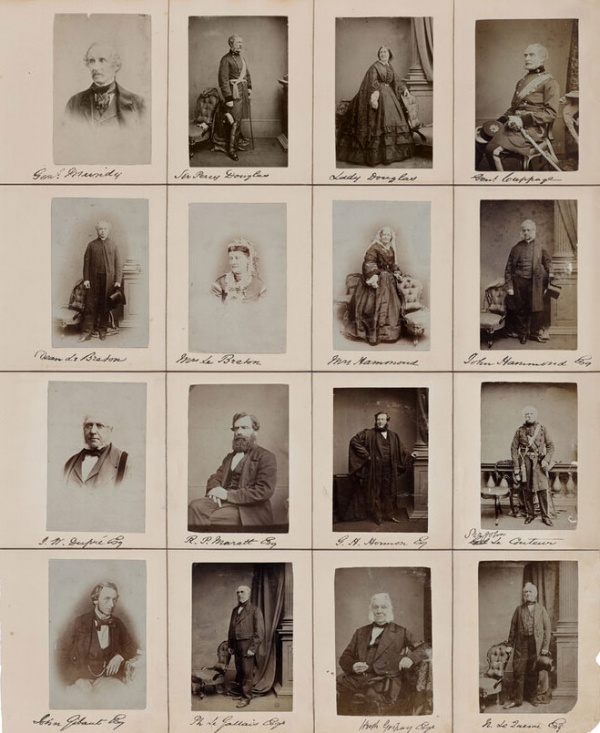
Henry Mullins made over 9000 carte de visite portraits of Jersey’s ruling elite and wealthy upper classes.

Henry Mullins – Michelle Sank – on the social matrix

Henry Mullins / Michelle Sank on the social matrix, a juxtaposition is created by the editors between the historical photographs of Henry Mullins that date to the 1860’s, with the recent portraits by Michelle Sank. At first blush this book appears to highlight the differences of the passing of 160 years in photography; warm toned black and white photographs created by wet collodion on glass with that of contemporary color. The stilted poses required for the longer colloidal exposures versus the fluidity of the current instant moment.
CHIARASCURO lighting

Chiaroscuro is a high-contrast lighting technique. Chiaroscuro uses a low key lighting setup, where a key light is used as the sole light source to achieve dark backgrounds with starkly lit subjects.

7 Chiaroscuro Lighting Tips

  • Spot Meter for Accurate Exposure
  • Use an Artificial Lighting Setup to Create a Chiaroscuro Effect
  • Use Available Light for a Simple Chiaroscuro Image
  • Use Multiple Light Sources to Vary Your Lighting Effects
  • Take Self-Portraits for Practice
  • Use Rembrandt Lighting to Take Striking Portraits
  • Shoot in RAW to Make the Most of Your Highlights

How will you describe chiaroscuro techniques?

This is an Italian term which literally means ‘light-dark’. In paintings the description refers to clear tonal contrasts which are often used to suggest the volume and modelling of the subjects depicted. Artists who are famed for the use of chiaroscuro include Leonardo da Vinci and Caravaggio.

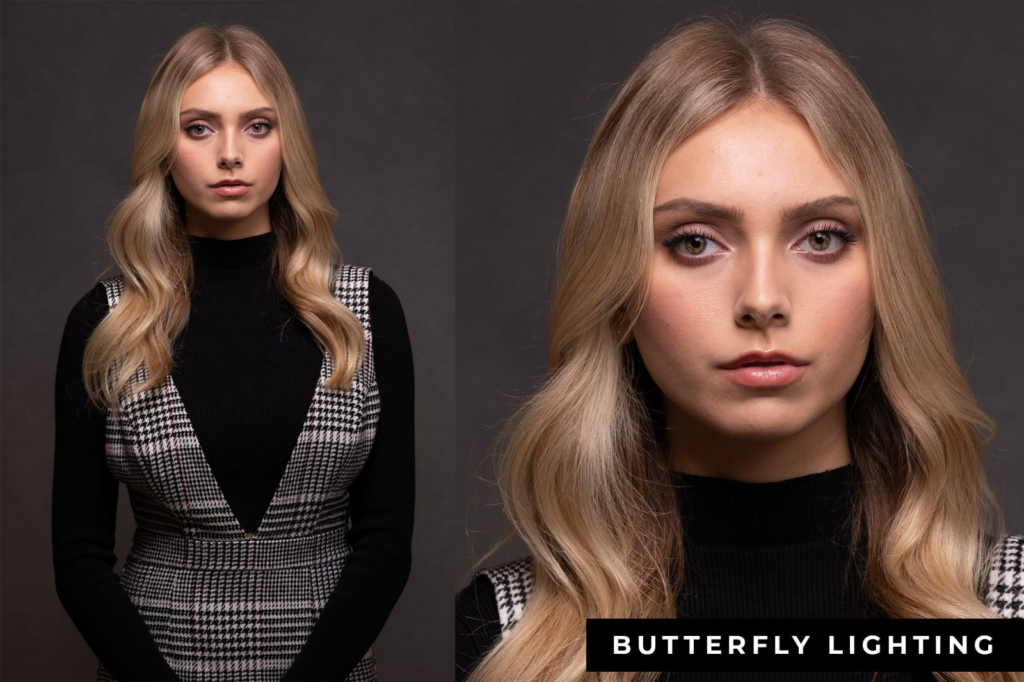
Butterfly lighting

Butterfly lighting is a lighting pattern used in portrait photography where the key light is placed above and pointing down on the subject’s face. This creates a dramatic shadow under the nose and chin that looks like a butterfly.

Whys is called butterfly lighting?

Butterfly lighting is a simple lighting pattern used in portrait photography. It’s named for the shadows that’s formed underneath the nose. Not seeing the butterfly? Picture a butterfly flying toward you, wings spread out…that’s the shadows it creates!

Butterfly lighting is a technique where the light source is placed directly above and slightly in front of the subject’s face, creating a small butterfly-shaped shadow under the nose. The technique is achieved by placing a light source at a 45-degree angle to the subject, slightly above eye level. The result is a soft and flattering effect that adds depth and dimension to the subject’s face.

To achieve butterfly lighting, you will need a light source, such as a studio light or natural light source. You can use a three-point lighting system, consisting of a key light, fill light, and hair light, to achieve butterfly lighting. The key light is positioned directly above and slightly in front of the subject’s face, while the fill light is placed on the opposite side to fill in any shadows. The hair light is placed behind the subject to separate them from the background.

Butterfly lighting is a popular lighting technique that can create soft and flattering portraits. Understanding the key elements and techniques involved in achieving butterfly lighting can help you create stunning portraits that stand out. With the right equipment and techniques, you can master butterfly lighting and create portraits that capture the mood and emotion of your subject. Experiment with butterfly lighting to create soft, flattering, and memorable portraits.

Rembrandt lighting

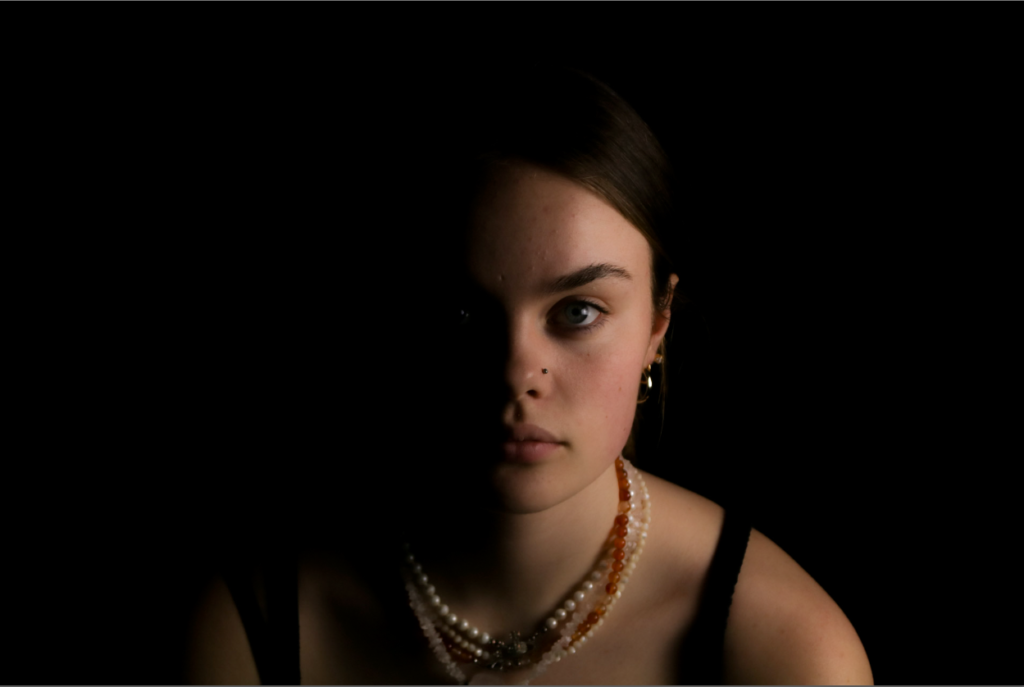
Rembrandt lighting is characterized by an illuminated triangle (also called “Rembrandt patch”) under the eye of the subject on the less illuminated side of the face. It is named for the Dutch painter Rembrandt, who occasionally used this type of lighting.

Rembrandt lighting takes its name after Rembrandt Harmenszoon van Rijn, a 17th-century Dutch painter who was known for using earthy tones and golden highlights to frame the faces of his portraiture subjects.

Set-up for Rembrandt lighting

What is the effect of Rembrandt lighting?

Rembrandt lighting will draw the viewer’s attention where the light triangle is from. This is because of the contrast between the dark and the light. It also adds a mysterious feel to the image. On top of this, it’s a simple setup to master.

Why use Rembrandt lighting?

Rembrandt lighting technique is considered one of the go-to photography lighting setups because it produces a dramatic visual effect without requiring a lot of setup. A more sophisticated version of this setup includes a reflector, which brings detail back into the shadows on the subject’s face, but even this setup requires minimal tools and associated costs. In this way, all renditions of the Rembrandt method are considered low-effort while producing high-impact photographs.

Chiaroscuro effect linking with Rembrandt lighting

Secondly, one of the reasons professional photographers go with Rembrandt lighting is to achieve a dramatic visual effect called the chiaroscuro effect. Favored in types of still life, street, and landscape photography, the chiaroscuro effect is one with the presence of shadows on parts of the subject matter with sharp contracts of lighting in others. For portraiture, this often means that the shape of the sitter’s face defines light, and the dark side of the face is defined in silhouette against a lighter background.

When they come together, light and dark can create tension. One of the things that make the chiaroscuro effect—and in turn, Rembrandt lighting—sought after is its ability to create an atmosphere and single out the individual and their character in a captivating way.

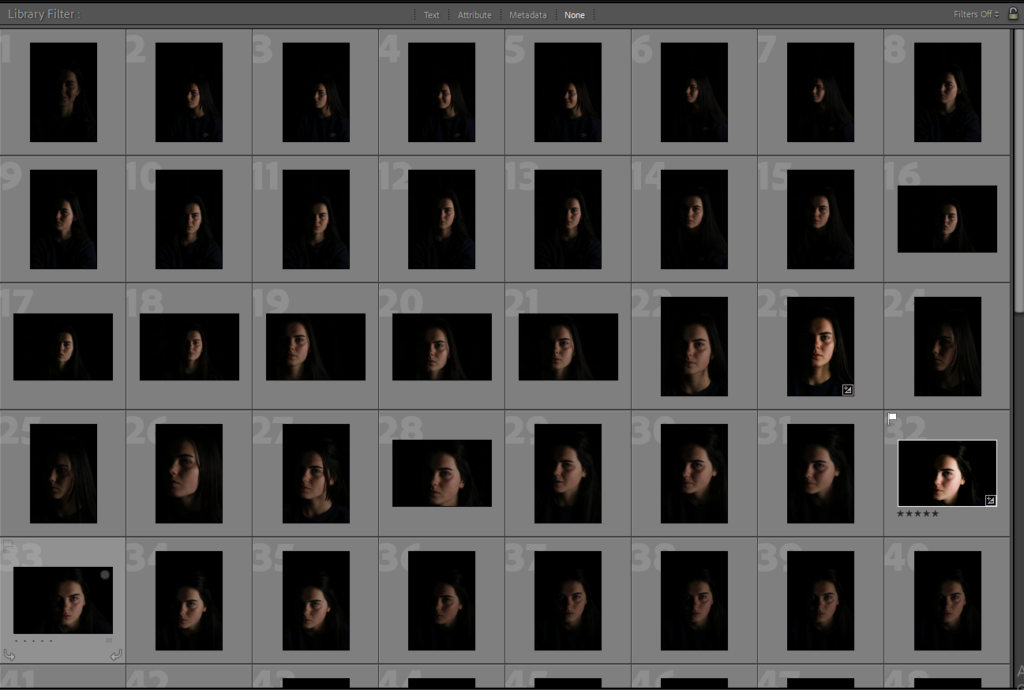
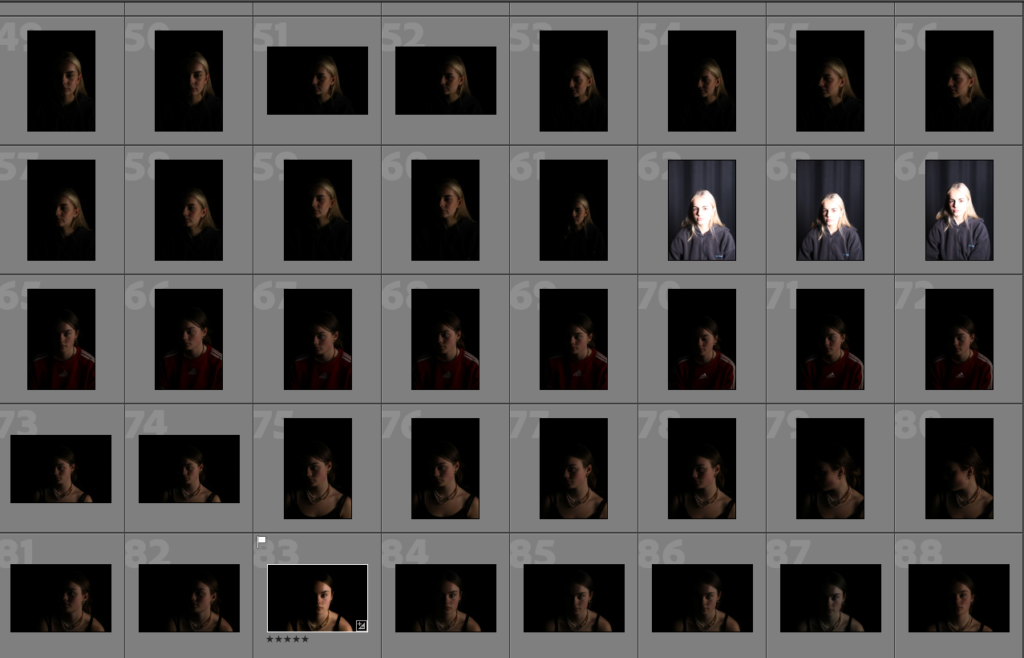
Response to Rembrandt lighting

ENVIRONMENTAL PORTRAITS

What is environmental portraits?

An environmental portrait is a photographed portrait that captures subjects in their natural surroundings instead of in a studio or other artificial setup.

Usually, the portrait is executed in the subjects usual environment for example, their home or work place.

What makes a good environmental portrait?

Good environmental portraits will tell strong stories of their subjects. Their immediate surroundings will give the viewer insight into where these people are, what they do, and who they are. Locations that help to tell a person’s story could be places where they relax, work, or play: Their home.

MOODBOARD/ MINDMAP:

Image analysis- Arnold Newman

“As a Jew, it’s my own little moment of revenge.” “It was my impression of a Nazi who managed to survive yet killed millions of people” – Arnold

This image is an environmental portrait as it shows the connection between the person and the place. The emotions this image gives off is intimidating, powerful and scary. This is due to the lighting mainly, its under-exposed, dark and manipulated. You can see only his head and hands being mainly highlighted and then the back with the lights leading down into the far back creating the dimensions on the image to be different. The white balance is more cold to give off the eerie feeling that this image has created. You can also see the texture in the large panels places on each side of him almost symmetrically to frame him more as the main focus. Once again the spacing of the image being that Alfred is in front of everything demonstrating its to do with him and has value to him, the eye contact he’s making by looking down through the lens to show authority has an impact on the emotion the audience can get from this picture. The contextual meaning in this image is that the background is a train station, this is where Alfred worked, he would help make trains and train tracks which would lead Jews to concentration camps during WW2 his positioning in this image almost hints that its where he works. The concept of this photo is that the photographer Arnold Newman was a Jew himself and had aimed to be able to capture, Newman had a platform specifically erected in order to place Krupp against an industrial backdrop and he knew exactly what kind of image he had in mind. Alfred assumed he was getting a normal portrait but instead the very powerful image demonstrated how arrogant and evil the man was. He sent off several Jews onto trains for them to then get killed.