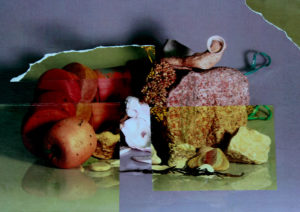
I started by printing my edited images out to experiment how i could change them by ripping them, cutting and sticking:
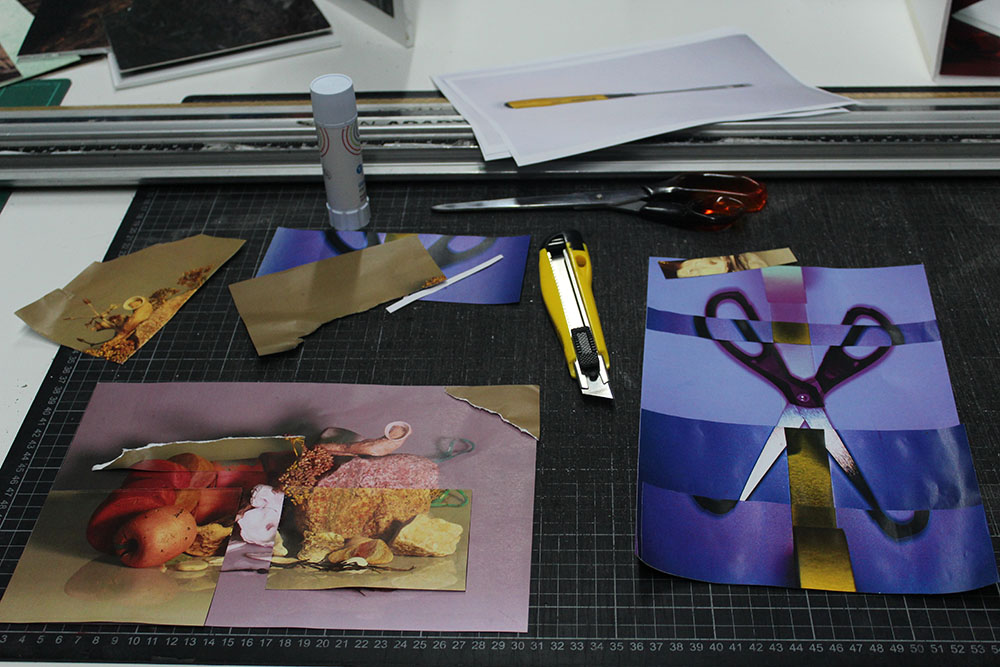
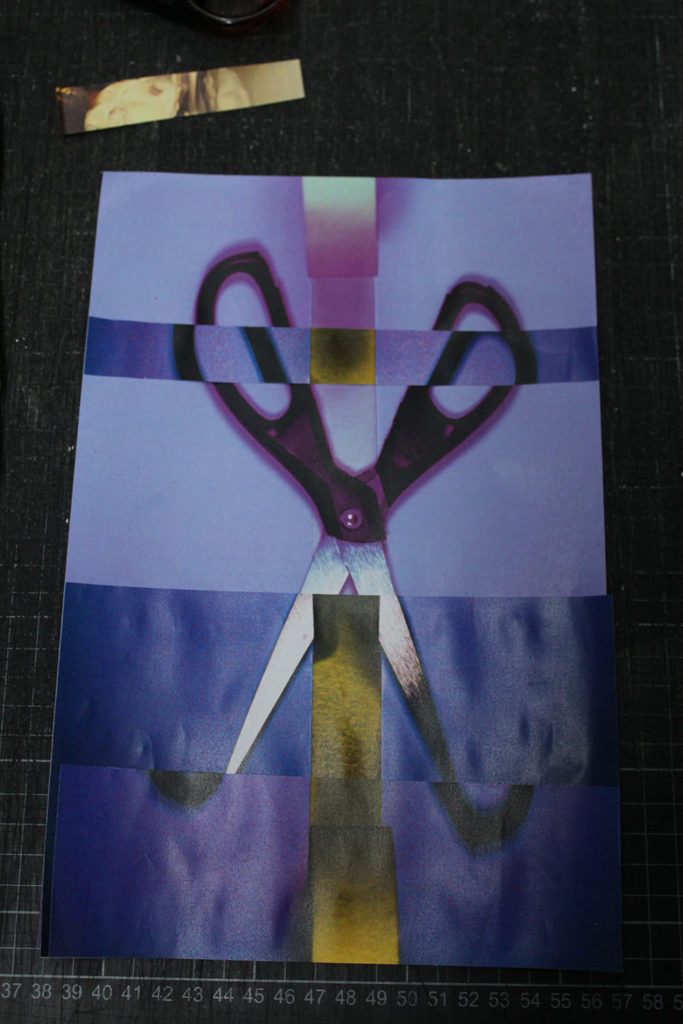
The right picture with the scissors ended up being my final image which i stuck onto a black background in physical form to display my edit.
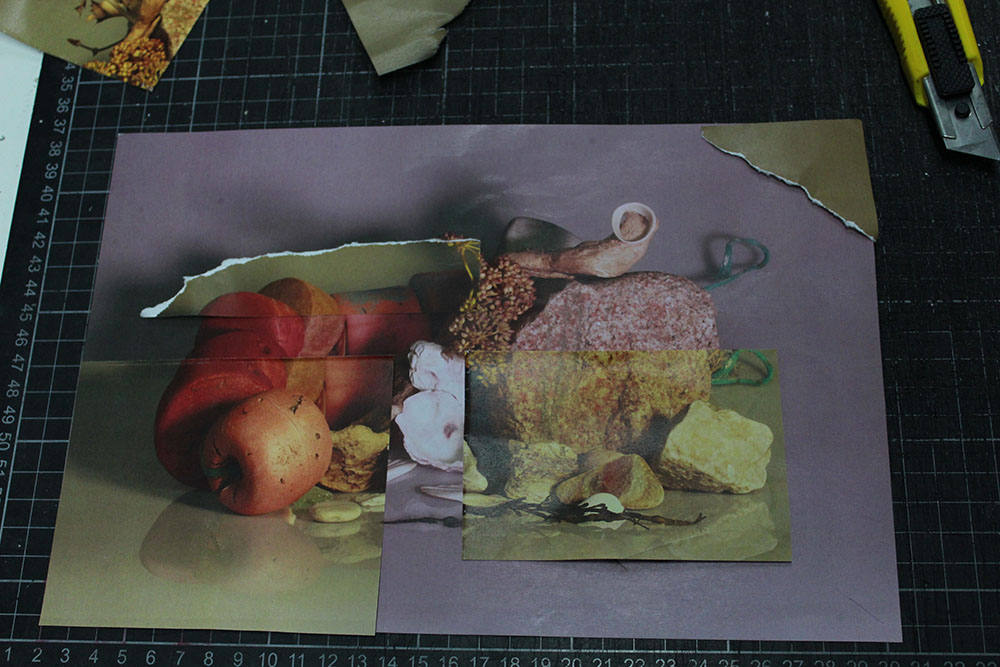
In this image I hadn’t stuck the other parts onto it yet I was still experimenting, I ripped and carefully cut some of the pieces to vary how I was sticking them down. I did end up doing this one and also sticking it onto a black card to create a photomontage with my other image:
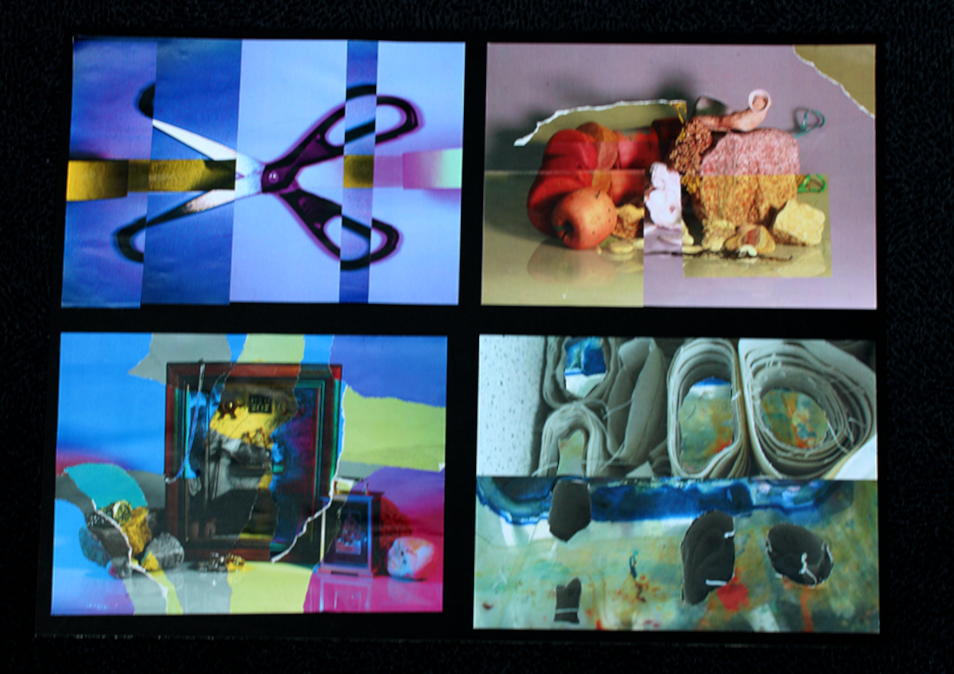
The top two were my final images I continued to then edit image size for both of them on photoshop so i could import them into the print folder. As I’m wanting them to be printed A3 I changed the width to 29.7, pixels: centimetres, and made sure I flattened the image if I’ve been editing the images.
Final images to print (A3):

