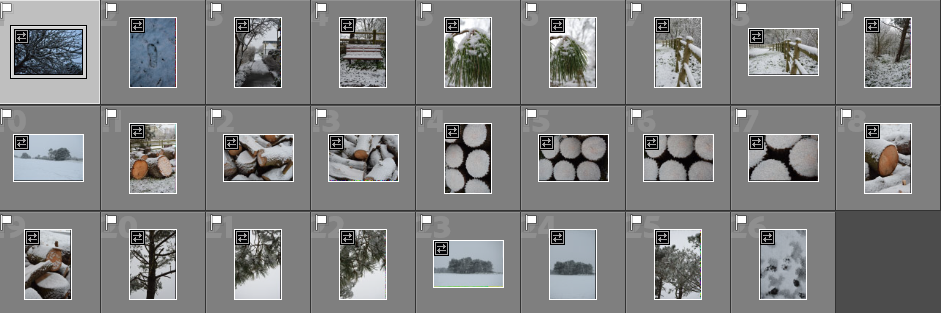
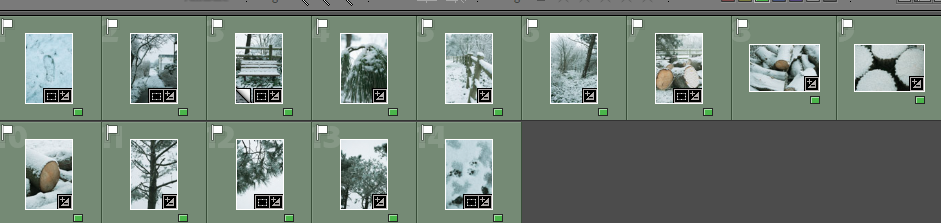
Contact Sheet
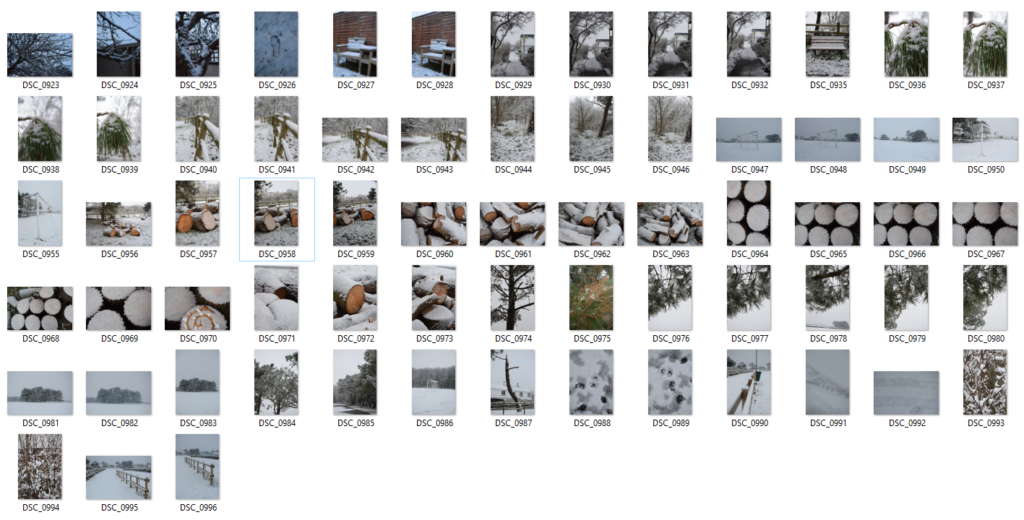
Selecting – I flagged all the images I wanted to choose to edit using ‘X’ and ‘P’
These are the photos I am going to edit from shoot 2:
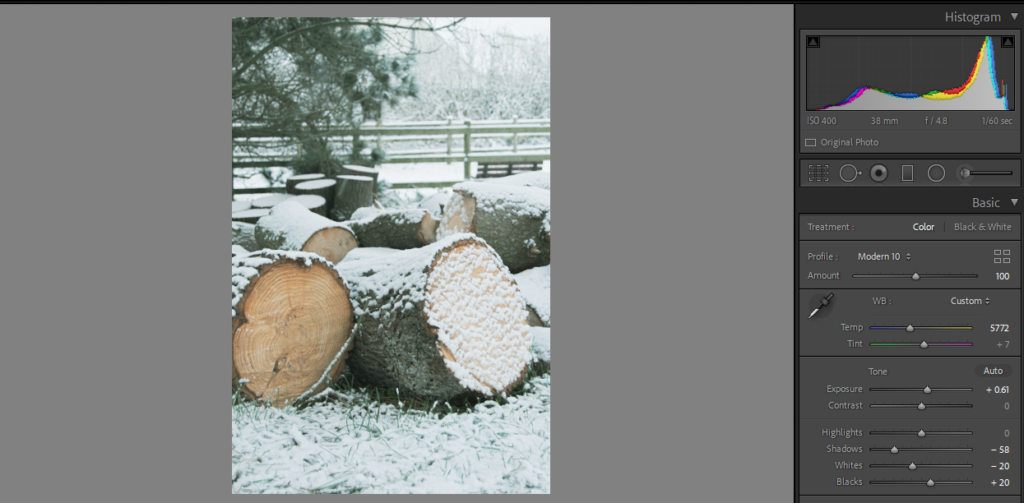
Basic Editing
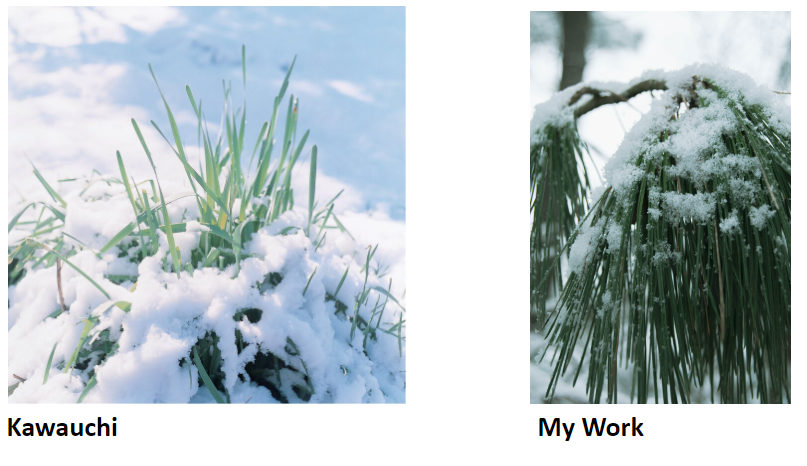
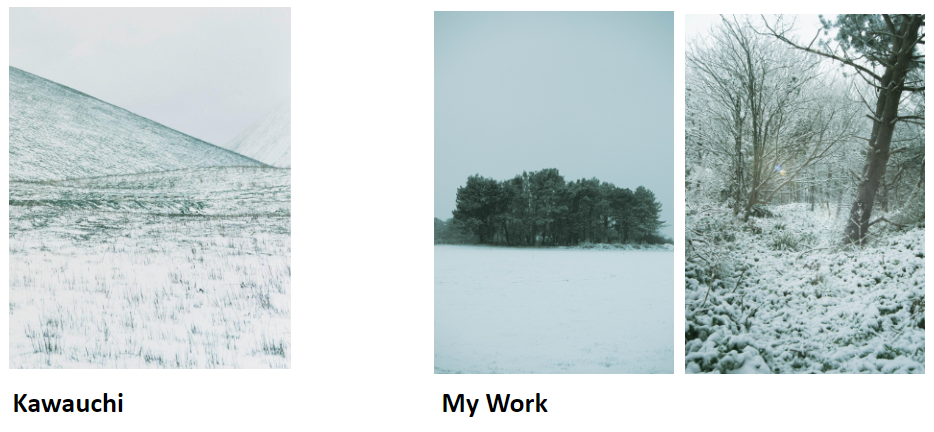
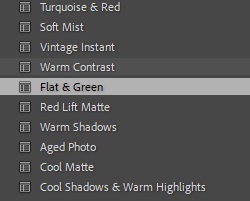
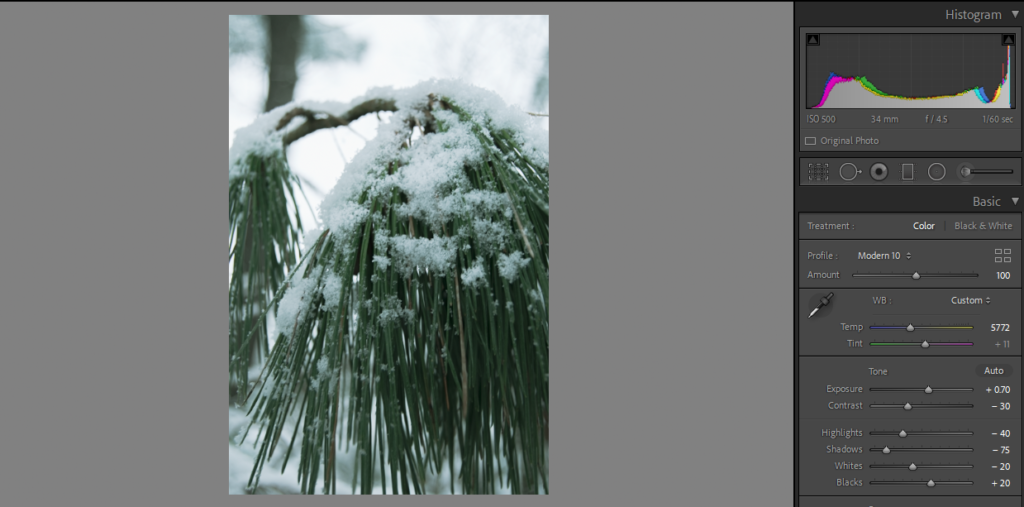
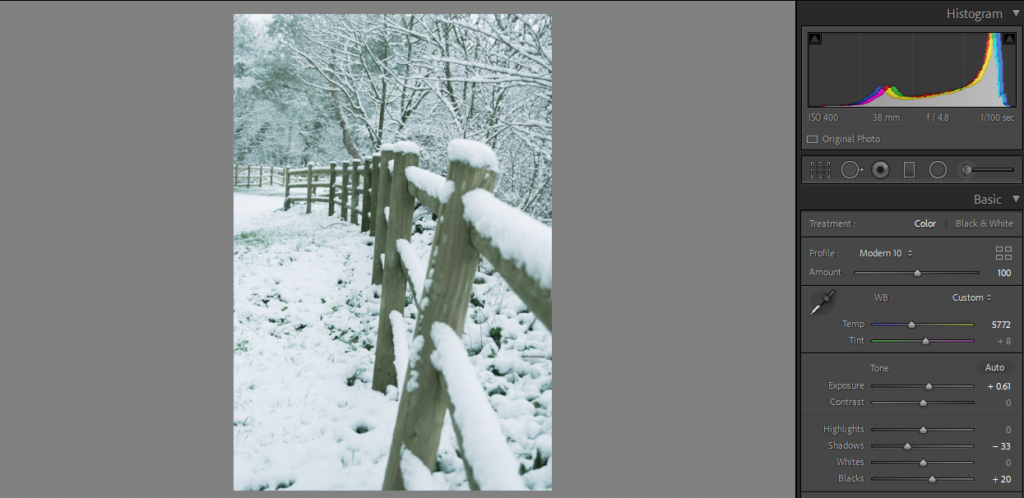
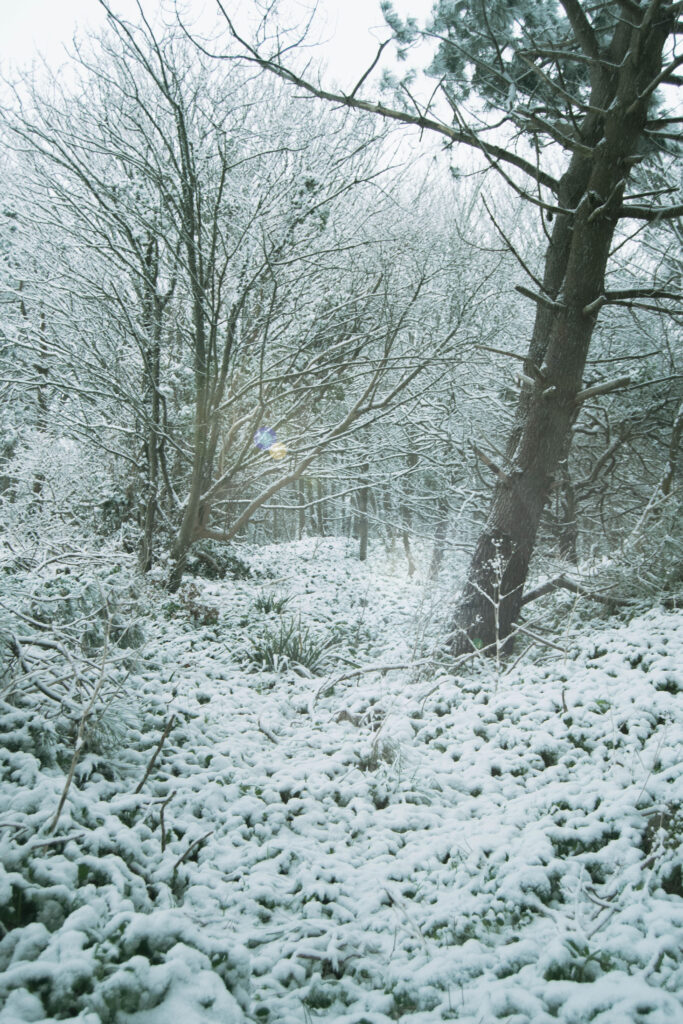
I used the preset ‘Flat and Green’ for these images because it means I can start with a basic edit. Each image will have the same colour and hues to start with, keeping a consistency throughout my images. I don’t want any to look as if they have been edited drastically different to each other. Kawauchi’s snow images are very white and exposed, I attempted to do this but less intense because I want to keep my editing style included.
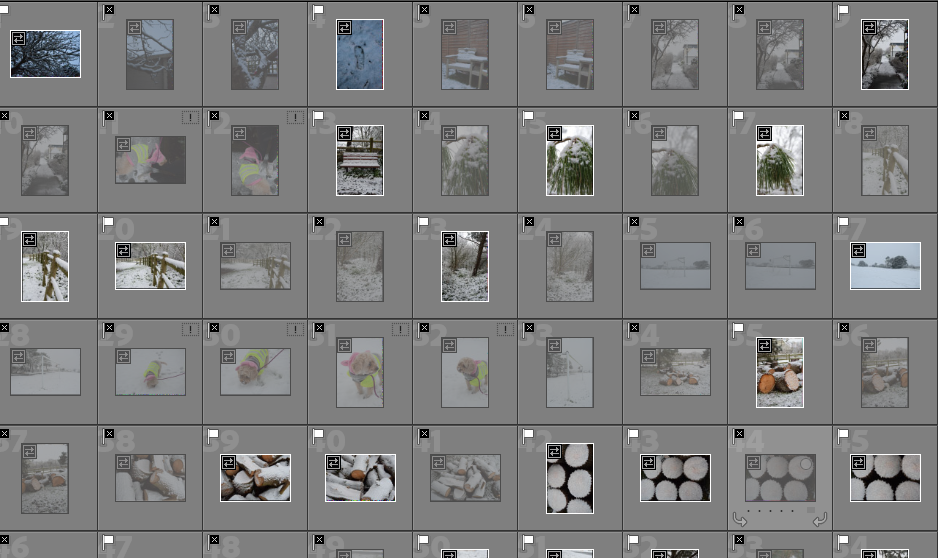
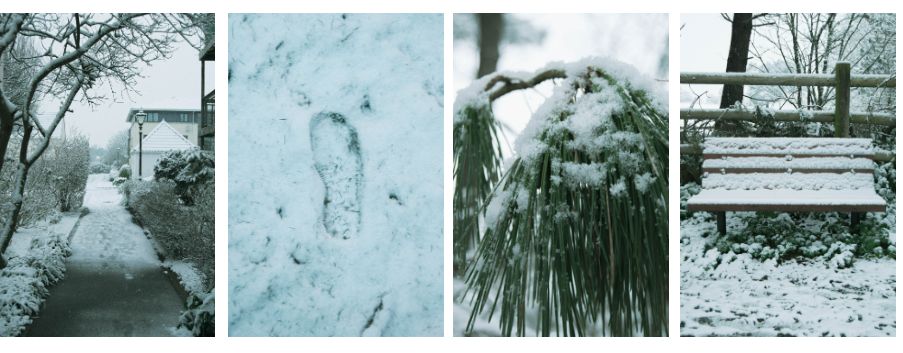
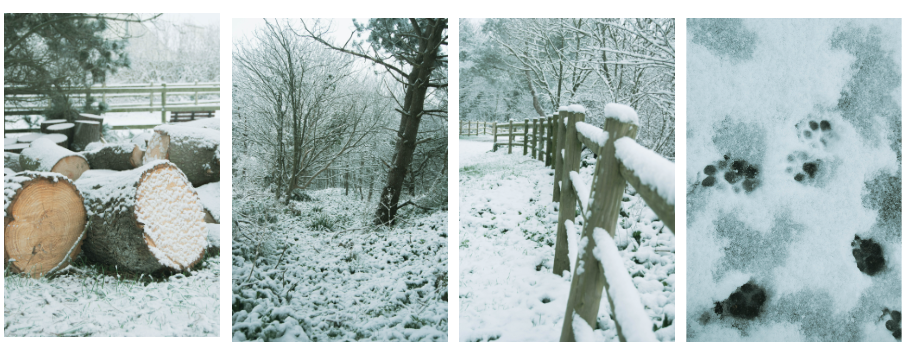
I rated the images from this shoot with red, yellow and green so I can choose which images are the best.
Red Images (unedited or images I won’t use)

Yellow Images (ones that I might use but I don’t think are the best)

Green Images (photos that I will use in my photobook)
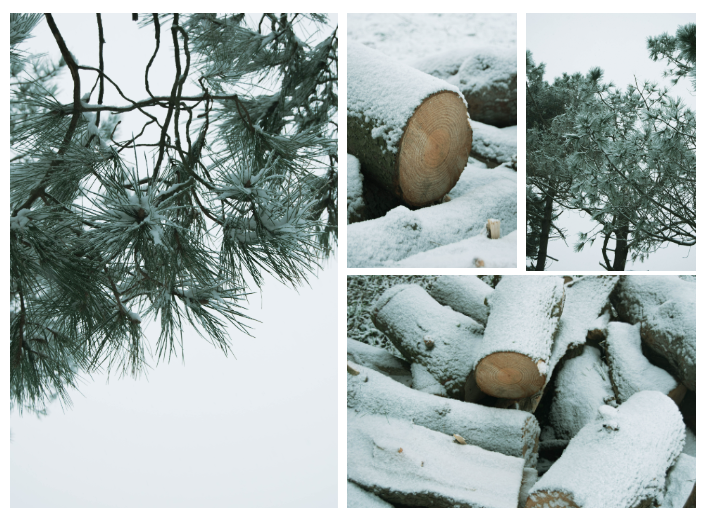
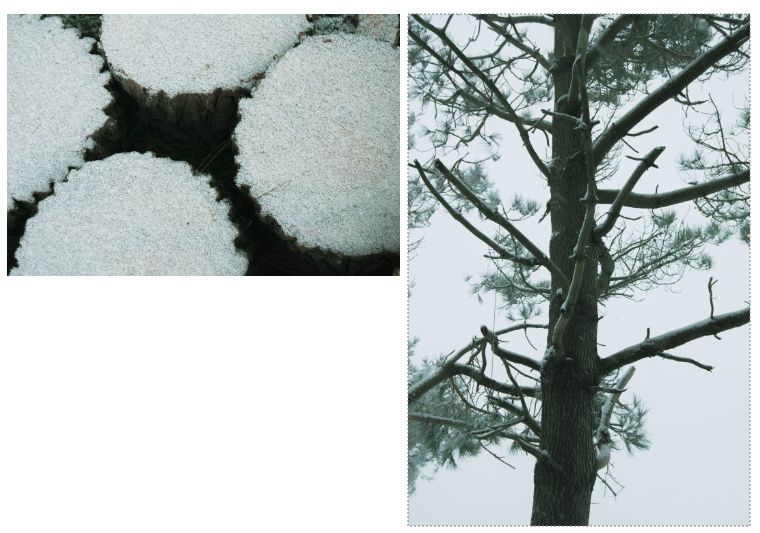
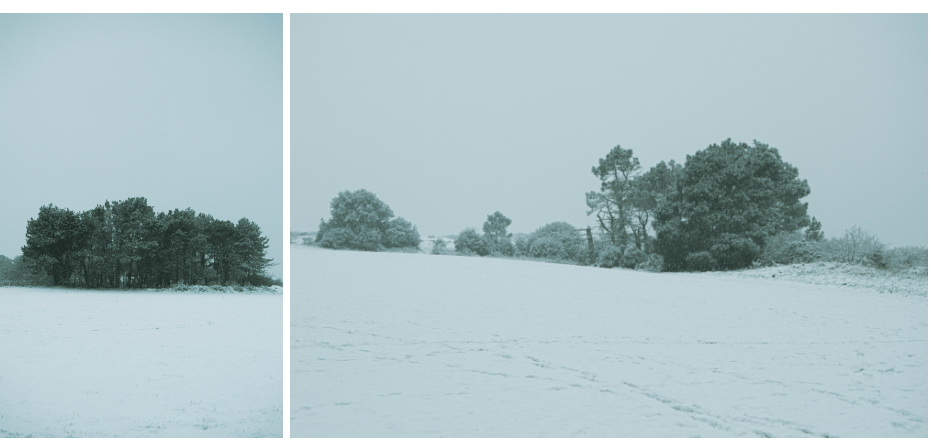
Moodboard of my final basic edited images
Further Editing in Photoshop
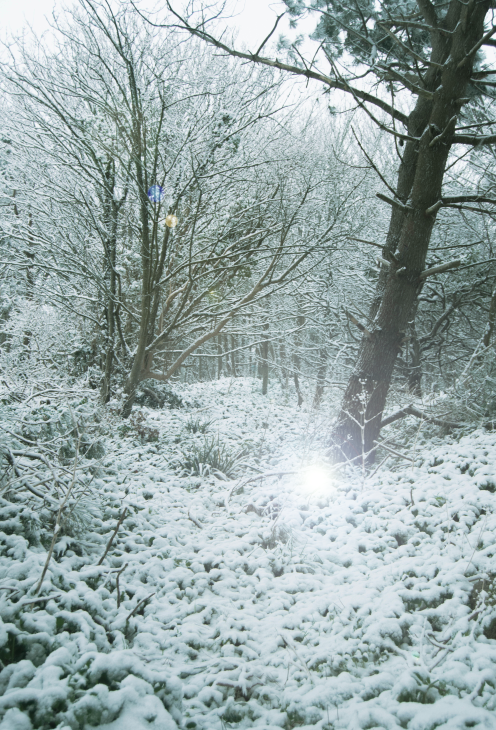
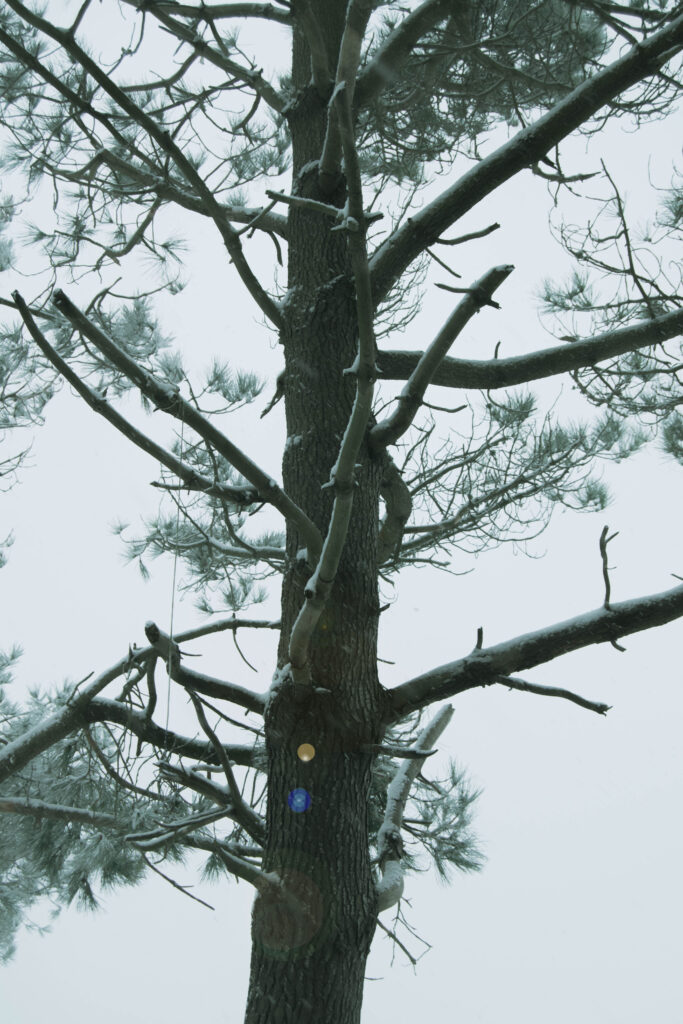
I want to do further editing on some of these images, adding light orbs and sun beams because when I took this shoot the lighting was not the best.
I experimented with ‘Filters > Render > Lens Flare…’ to add a light orb.
For this edit I duplicated the layer, added the light in a place where orbs were ‘created ‘reflected’ at another point on the image. I then used the Polygon Lasso Tool to select half the image. I then created a layer via copy. I hid the duplicated layer, and blended the seam with a low opacity eraser. This leaves some small orbs in the corner, subtly adding to the nostalgic sense.
I have done the same with this image
My Images compares with Kawauchi