Except from adjusting the aperture after getting the camera setting right for the objects and lighting I have also rearranged some objects and used different coloured papers to put over the light so the images would also have interesting tones to them, this was so I could produce different photographs.
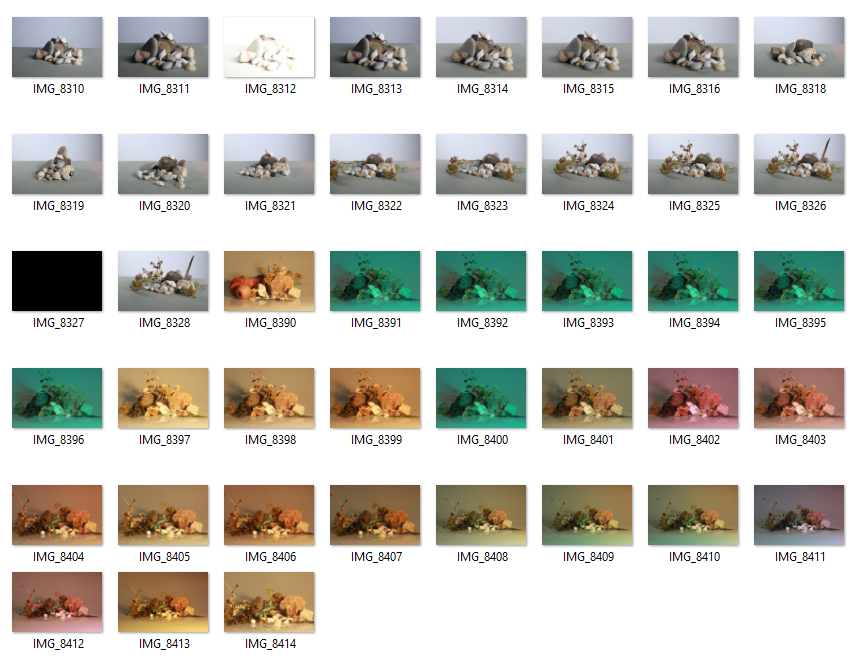
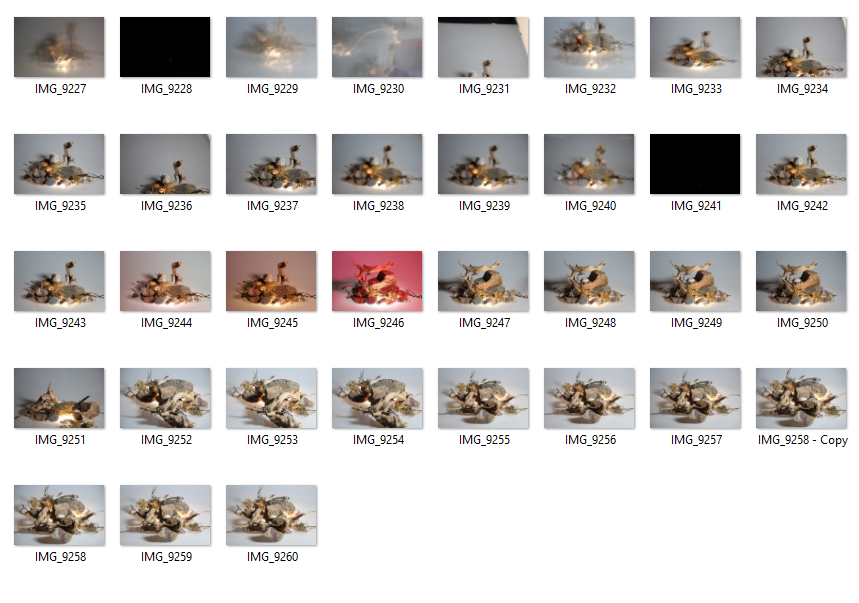
In a different blog post I have explained how through the photoshoot I have also experimented with different aperture and shutter speed.
My favourite images from the photoshoots :

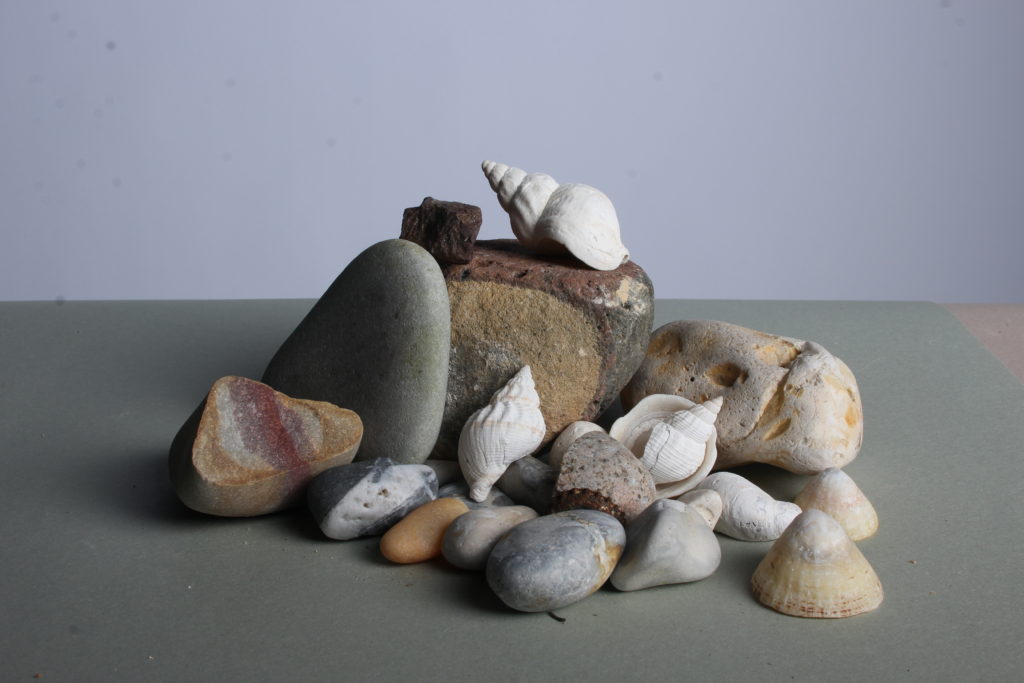
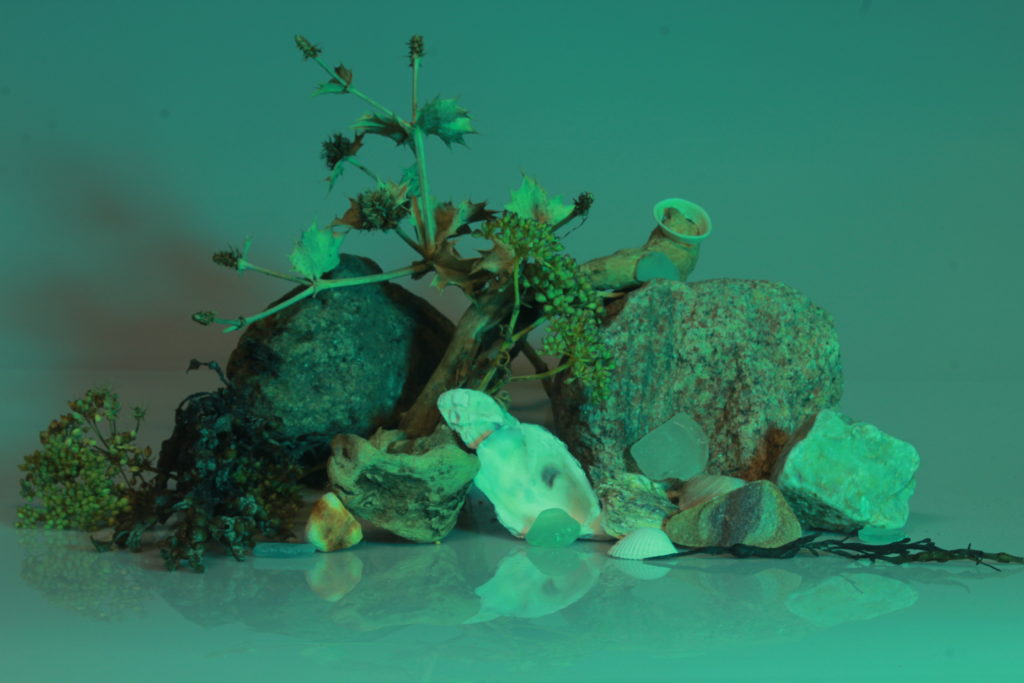
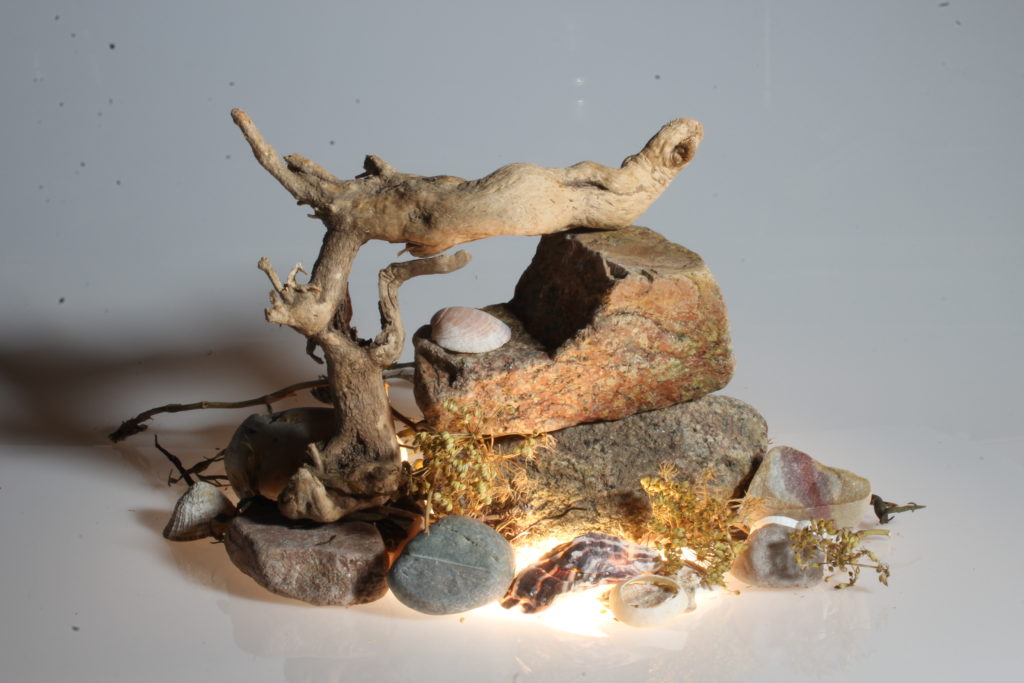
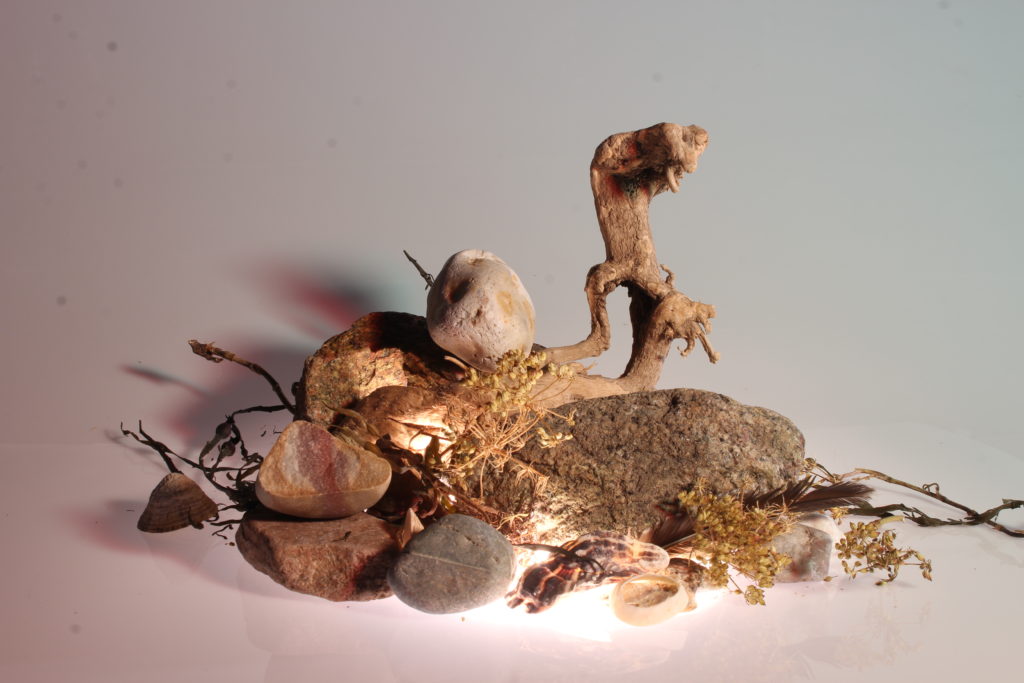
The images I have selected are “raw” images, meaning these photographs are not yet edited and are images of what the camera has seen them as.
Still Life Edits
Once I was able to select my favourite images I could then edit these in adobe Lightroom. I have mainly edited them in the develop mode as then I was able to play around with the tones, exposure, lights and darks and texture. for most of my edits I have increased the texture to make the photographs more sharp and show more detail. I have also in come cases increased the saturation or tones and to make the pictures darker, decreased the exposure. Depending on the picture and how much exposed it is , I have individually increased lights and darks, but this was depending on a specific photograph.
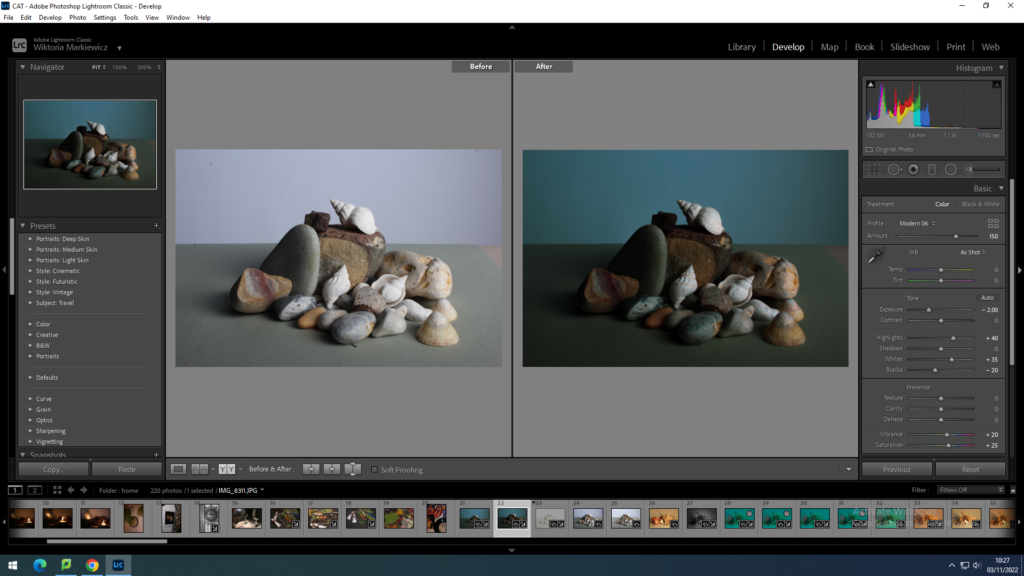
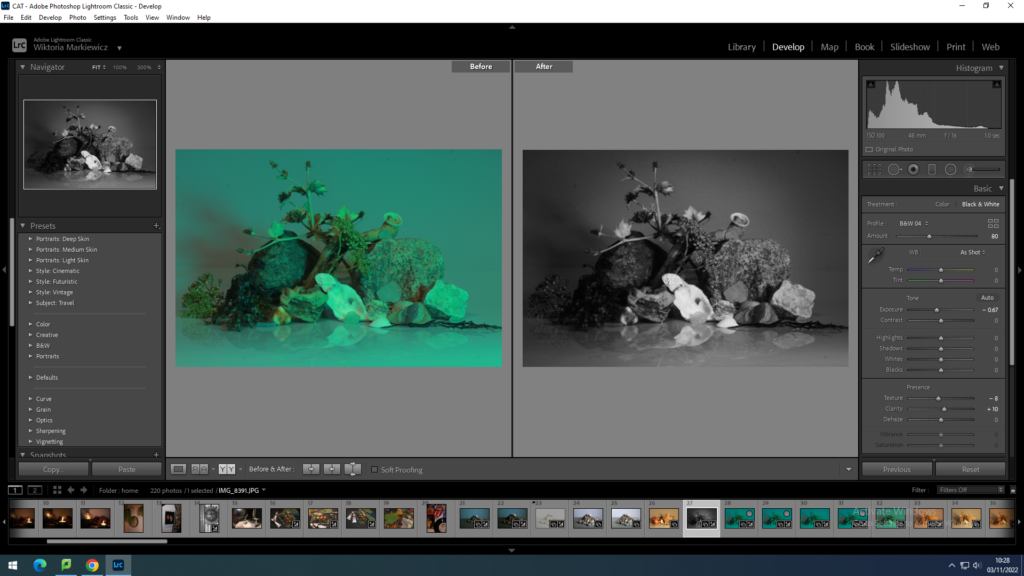
with other photographs I changed them to black and white and adjusted them from there, usually playing with how light and dark I would want the objects in the photograph to appear.
Apart from making them black&white, in the library mode I selected for some photographs a filter which then similarly to black and white images, I played with how strong I would want the filter to be visible on the objects.
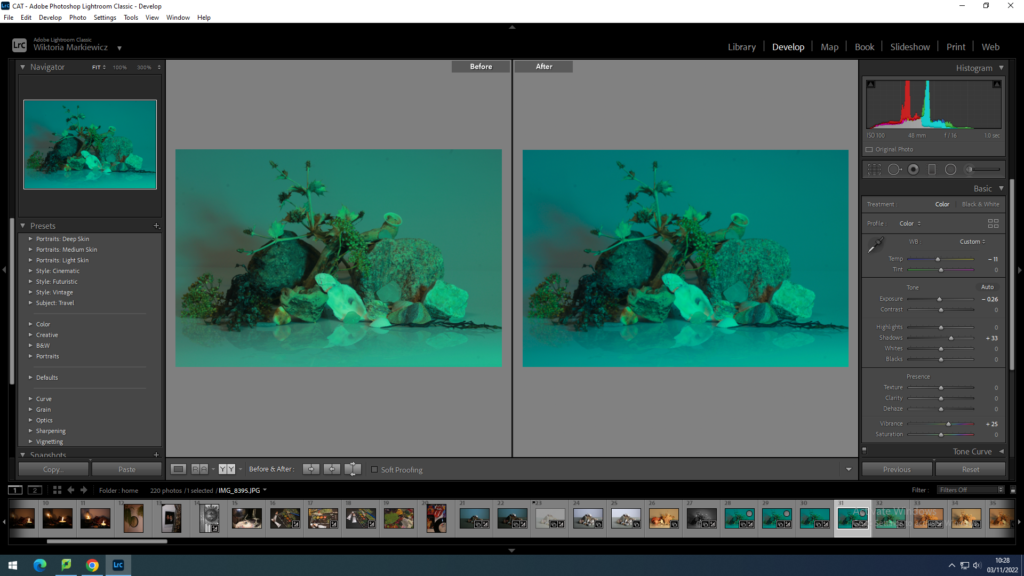
What was very useful was to copy what I have done to one image and paste it onto another , meaning the edits that I did to one would be the same on another. I was able to do this in develop mode where I would press copy in the left bottom corner and selecting a different image and pressing paste which is found in the same place as copy.
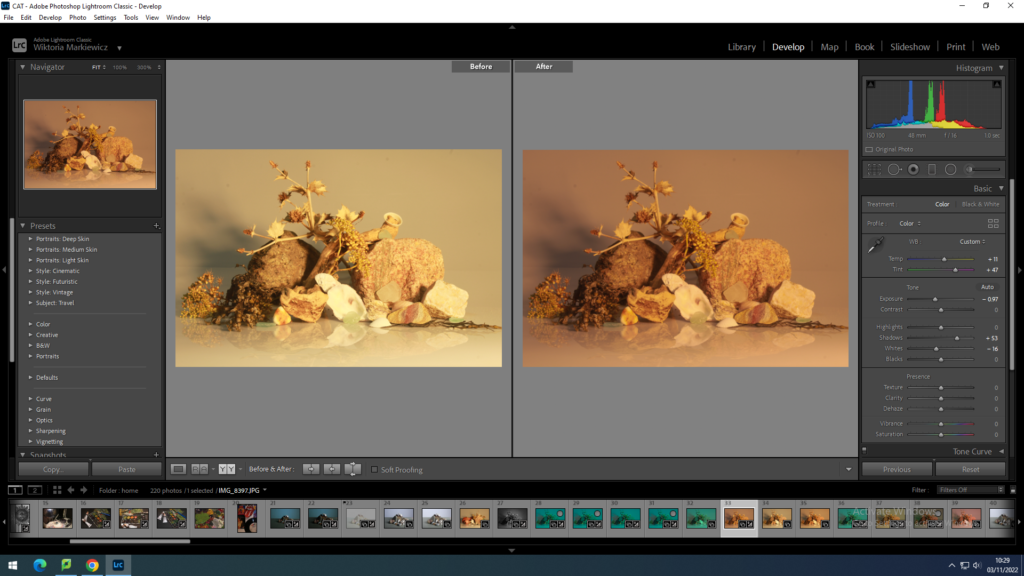
With copying the edit setting for one image and layering them onto another , I could see how the same setting would effect a completely different image. which made the process of editing a couple of the images quicker and easier. However this doesn’t mean I didn’t focus on the image by itself long enough, as I would check how the settings compliment the objects and on top of that what else I may add to make the photograph it’s best quality.
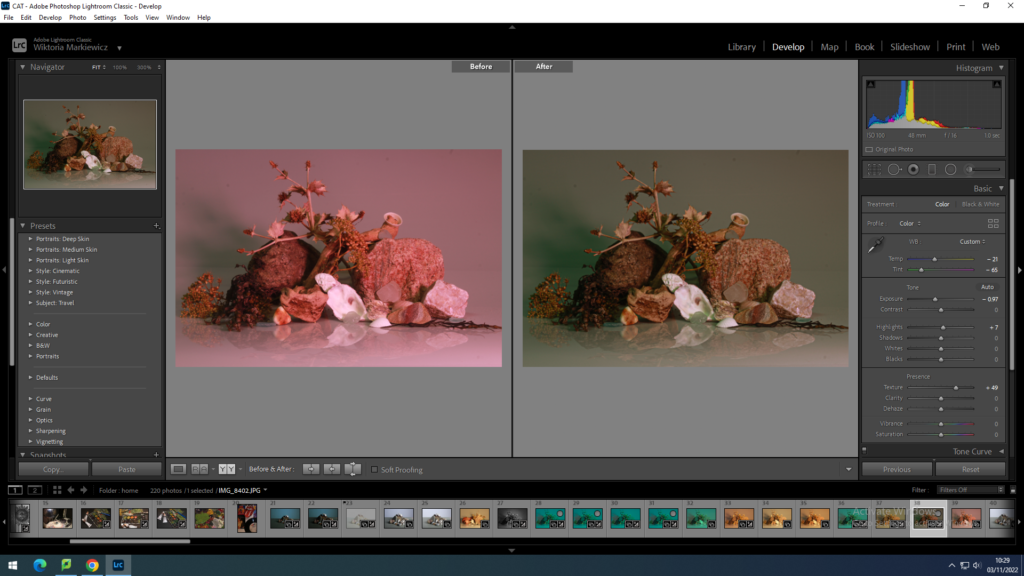
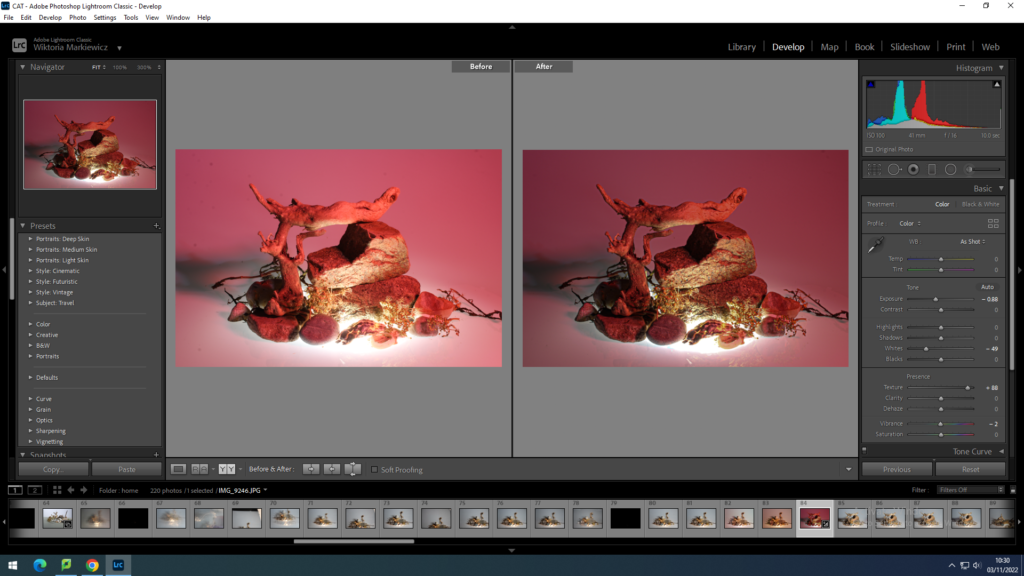
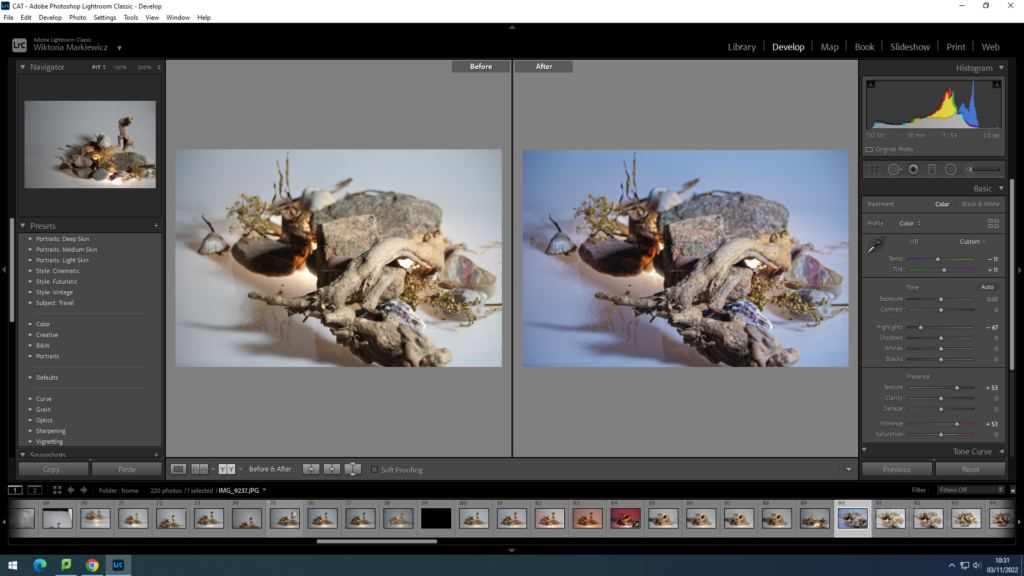
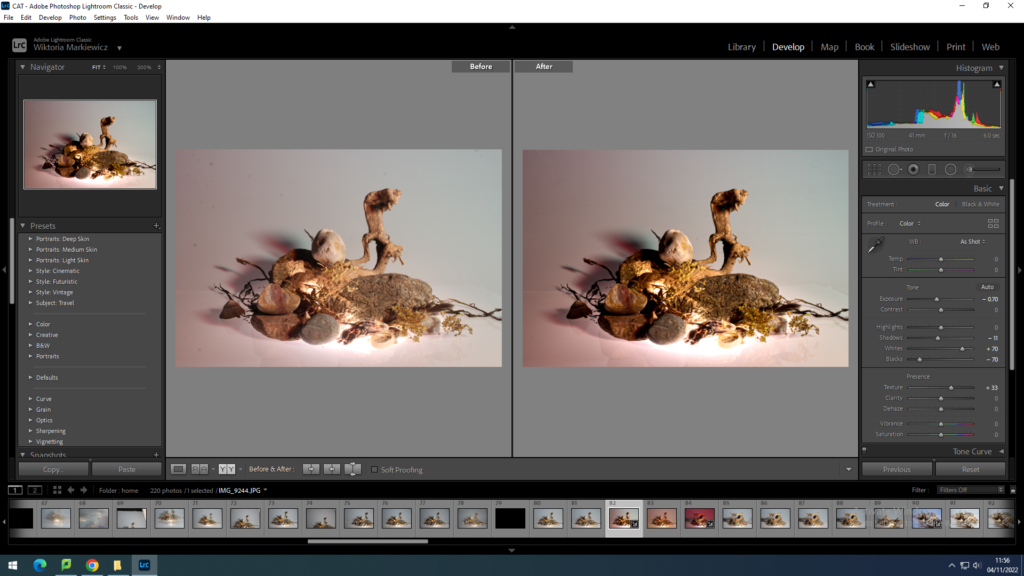
with this and a couple more images I had to use the circle erase tool, found in the top right corner, below the histogram, in the develop mode. this tool was very useful to erase all the dots that were on the camera lens, usually little bits of dirt. however by using that tool and selecting the flaws in the photograph I quickly got rid of them, making the photograph look more clean.
Still Life best images
After having a great amount of images that look to their best quality, with the help of Lightroom to meat them to this standard I could do final checks and look more for the faults in the image , like dirt or unwanted bits. After this if I was satisfied with the images I put them in a separate folder which would make them easier to find later if its needed to print them.
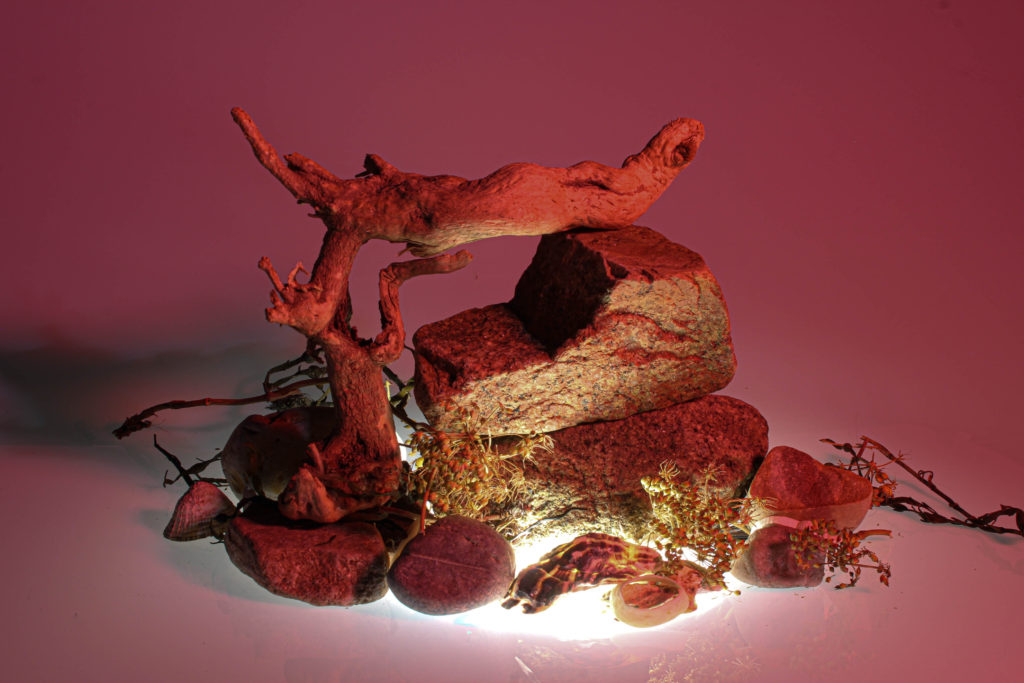
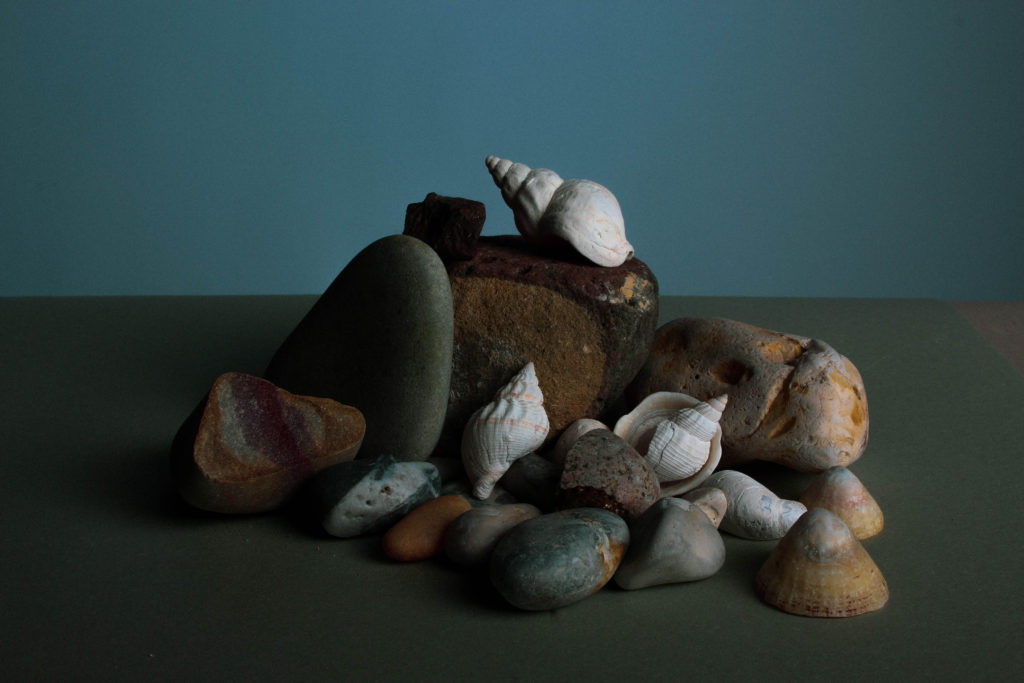
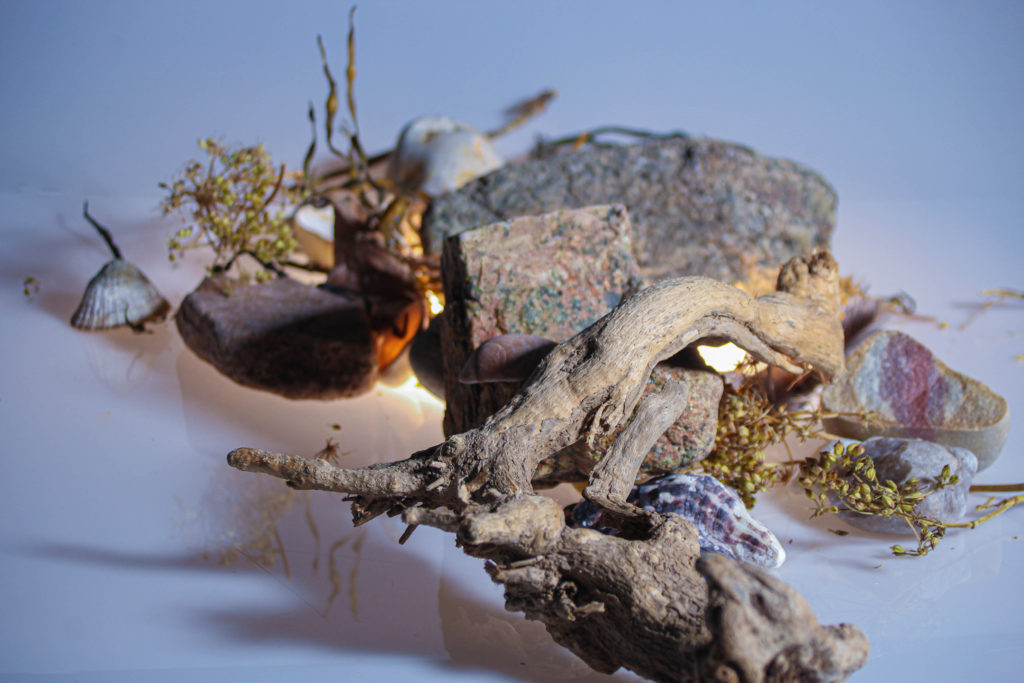
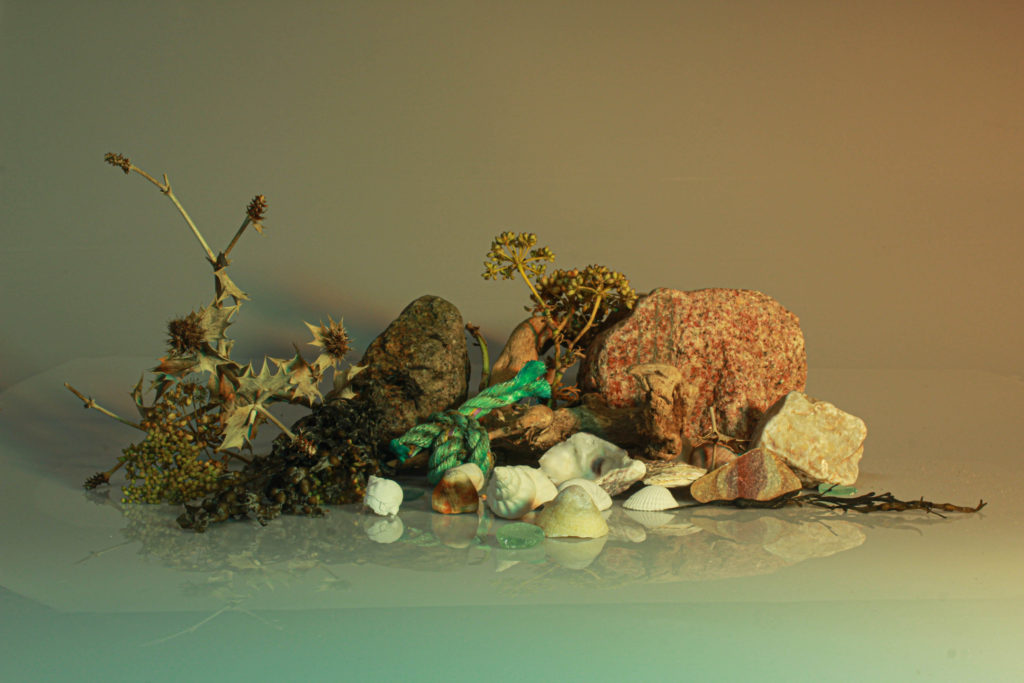
My response to the still life photoshoot is that for my first ever photoshoot in the studio to editing the photographs and selecting my final ones, the images are to their best quality and I have demonstrated as well as enhanced the objects beauty, if its by highlights and shadows but as well as tones. the images when put together or next to each other could be grouped as colourful yet this is what in my opinion makes the photographs interesting. When shooting the pictures with the camera, I had fun rearranging the objects as I had to creatively think ahead of how they would look from a different angle. As well as with aperture and shutter speed, I have learned how changing certain settings affect the camera, which was useful not only when taking these images but in the future , when it comes to other photoshoots. This was one of my first times using Lightroom which also was a lesson for the future and getting used to the program in order to know how to make other photos in the future to their best state and how to know what to do to achieve the effect I want on them quicker.
