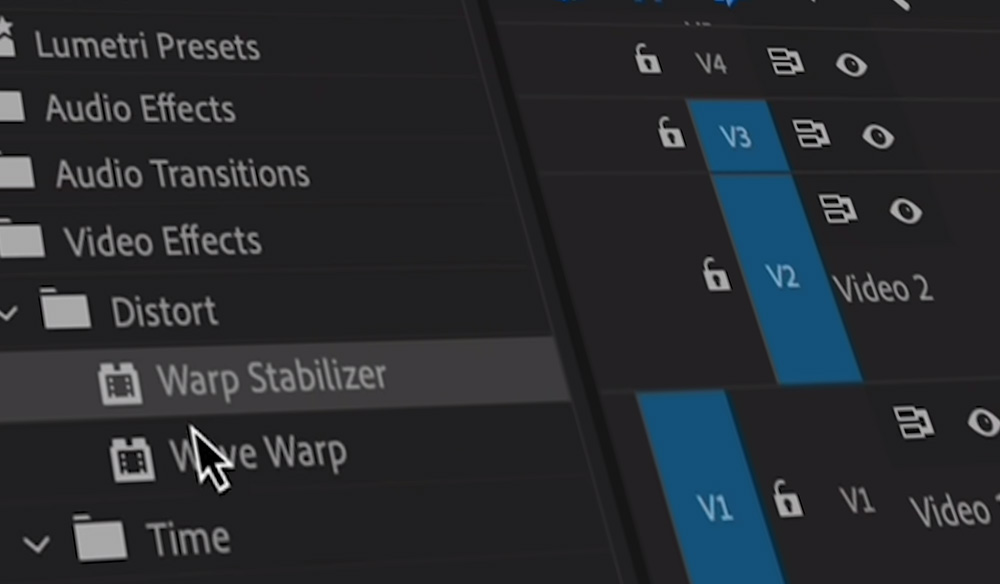
Megan was in charge of the editing process of the film as I was editing the sound. “The process for editing the film and putting the clips in order so they could tell a story took quite a long time. I had never used Adobe Premier Pro before so it was a challenge to get to know the basics of editing. However, once I understood how the app worked, it became easier”. We started off by selecting our best clips and images that we wanted to feature in our film. When selecting the images, we considered the composition, mise-en-scene, lighting, focus, and stability of the image. Before putting the still images into the Adobe Premier Pro Megan had to size them in Lightroom Classic to fit the film size that Premiere requires. Once we had both agreed on the order we wanted the clips and images, Megan edited the lighting and colour. Some of the clips were shaky because they weren’t filmed on a tripod. To fix this Megan had to use a tool called ‘warp stabiliser’ which analysed the video and made it more stable. When doing this, Megan had to be careful with how much was on the clip, because too much would cause an unrealistic movement.
She then moved onto putting the letter we chose from the Jersey Archives over the film which was a challenging process.
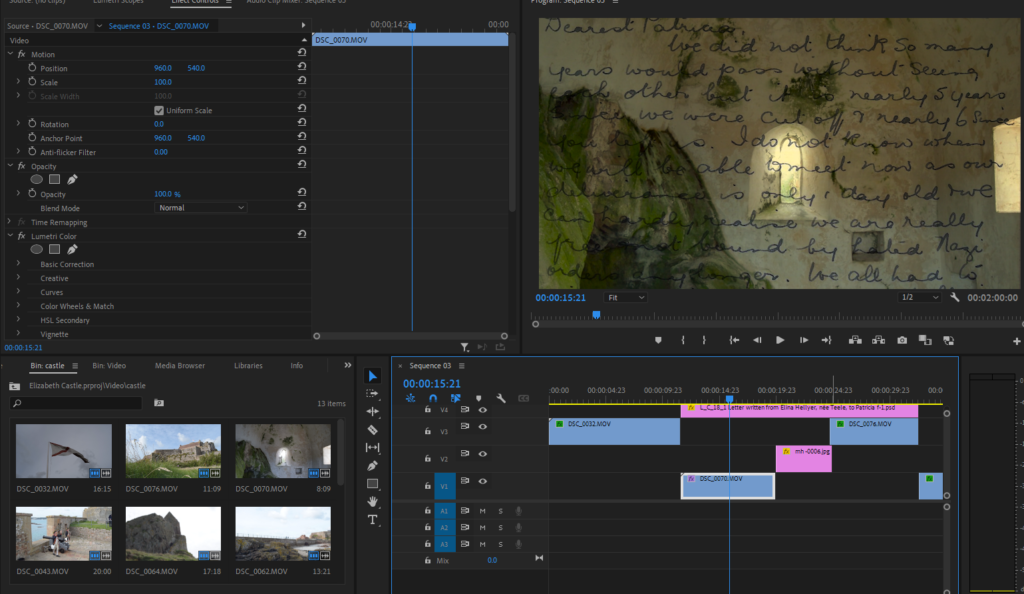

Megan chose the starting point and marked it, then the finishing point on the ‘positioning’ section. She selected this for the amount of time I wanted the image on the screen, the shorter it was on the faster it would scroll so she lengthened the clip to make it scroll slower. We had someone read the letter out so Megan had to have the letter scroll at reading pace.
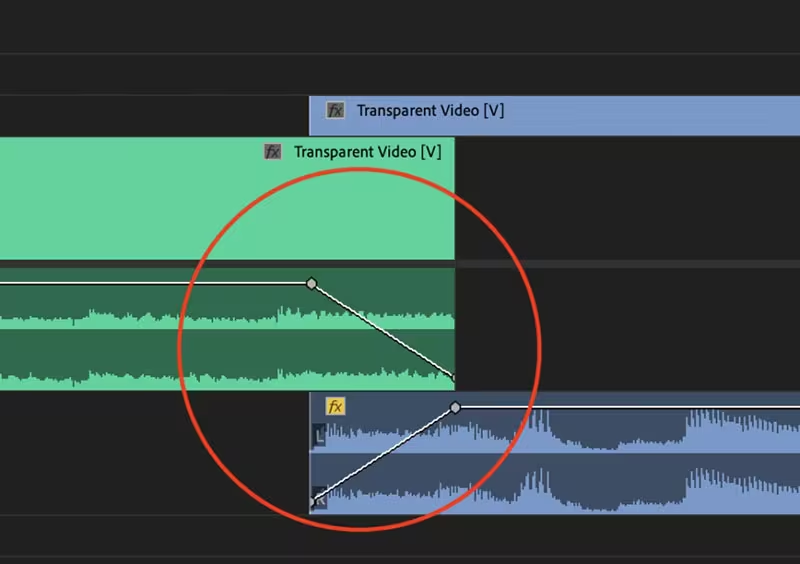
Once she had got the speed right, and the first two pages of the letter that we chose in, she moved onto fading each clip into each other. Megan chose to do this after inserting the letter because the fades could effect how the opacity is presented. She used the basic fade by enlarging the clip, marking two points, and dragging the fade down.
To get the Title of the film Megan used Photoshop. She cropped the letter to get ‘Dearest Patricia’ and then added it in to Premier. Once it was in Premier she could blend it in, she did this by putting Blend Mode as ‘Multiply’ which removed the yellow background. Finally she used ‘dip to white/ black’ to fade it in and out.
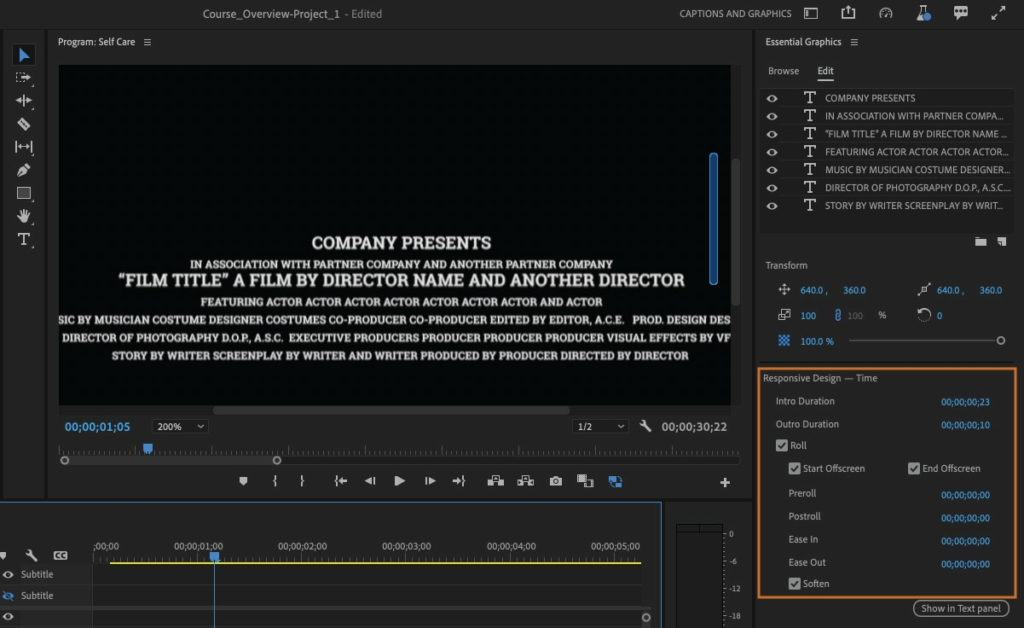
For the end credits Megan used one of Premier’s premade designs to credit who directed, filmed sound, edited clips, sound and who was the voice of the letter.
