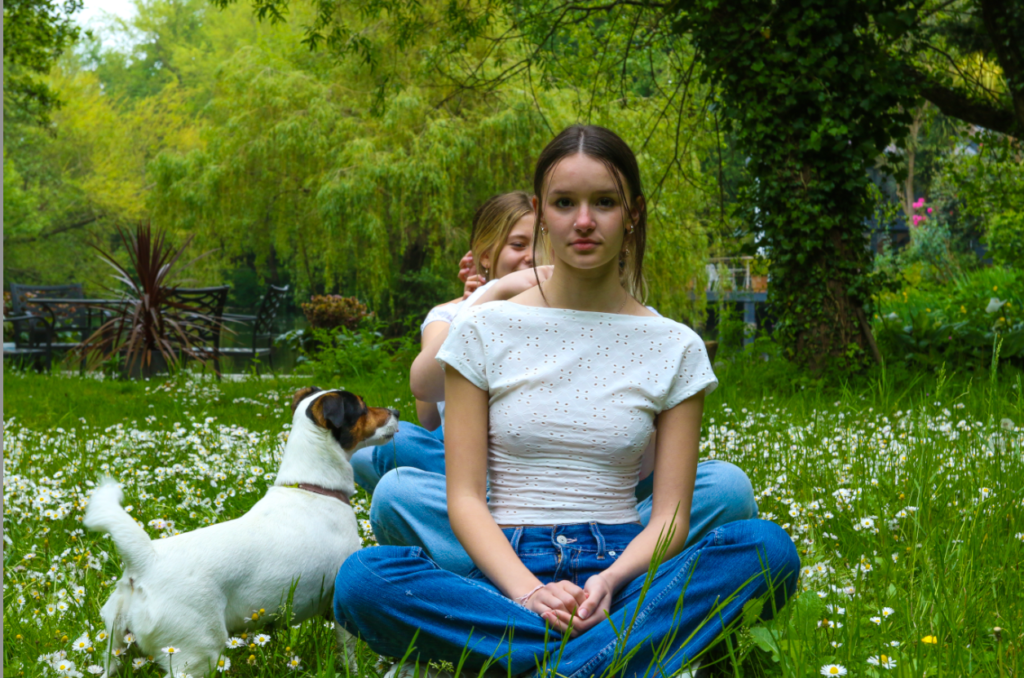
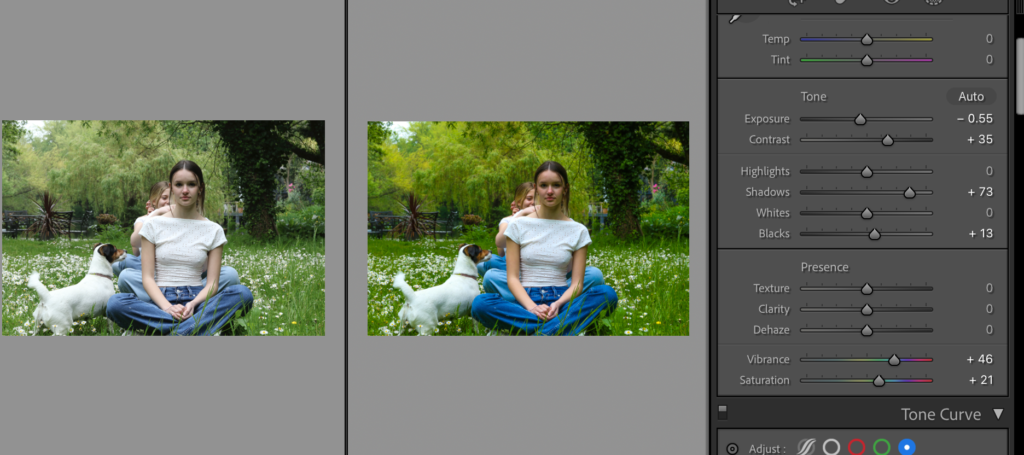
I edited this photo by using Lightroom classic my aim when i was editing this photo was to make it look more vibrant, brighter and to add more depth due to the weather conditions of the day i took the photos it was cloudy making everything look a lot more dull, there for i turned the shadows up to add the depth and then turned the vibrance and the saturation up to give it a more brighter and vibrant look.
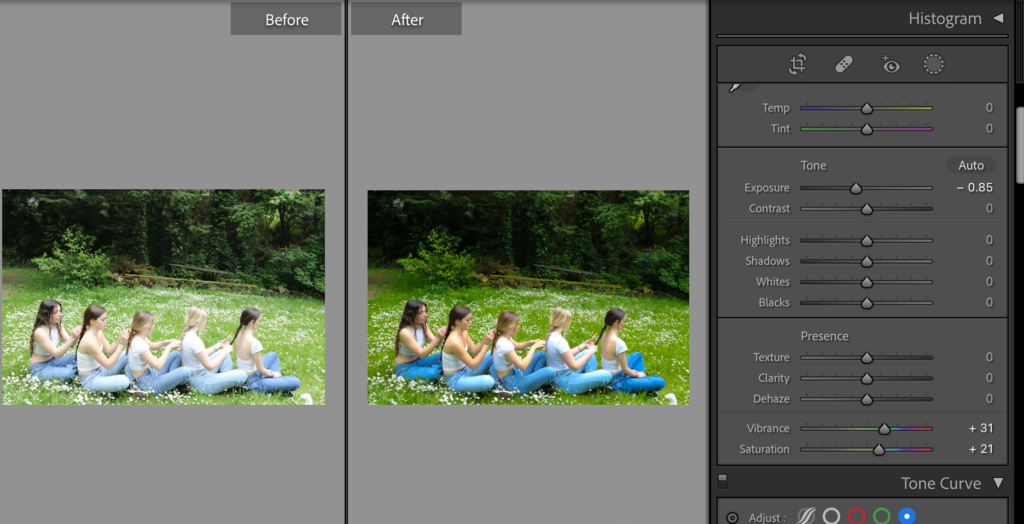
With this image i didn’t like how bright it was there for i turned the exposure down to eliminate the white cast as much as i could and then turned the vibrance up to make the weather appear more sunny and vibrant.
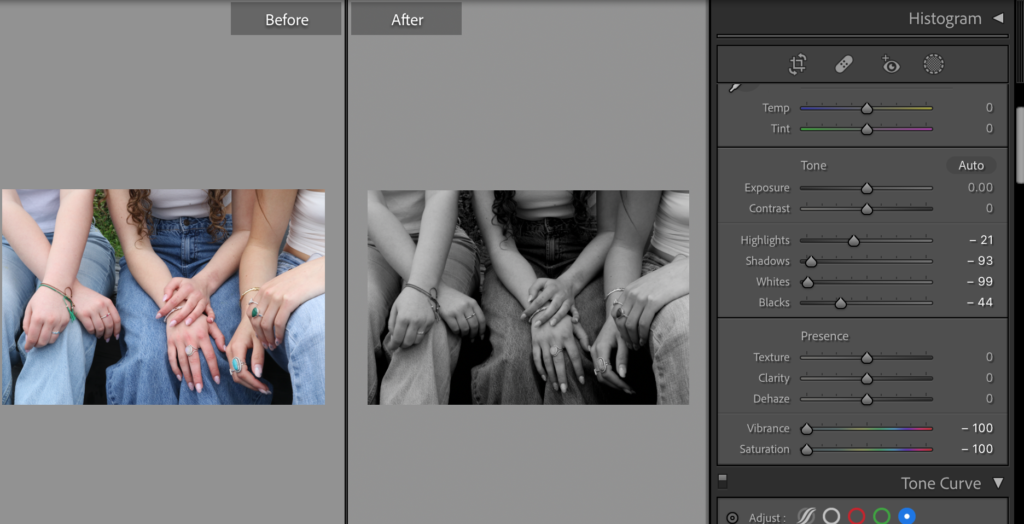
I chose to turn this photo into black and white to show off the texture of the jeans and emphasise the shadows and highlights on the hands and jewellery.
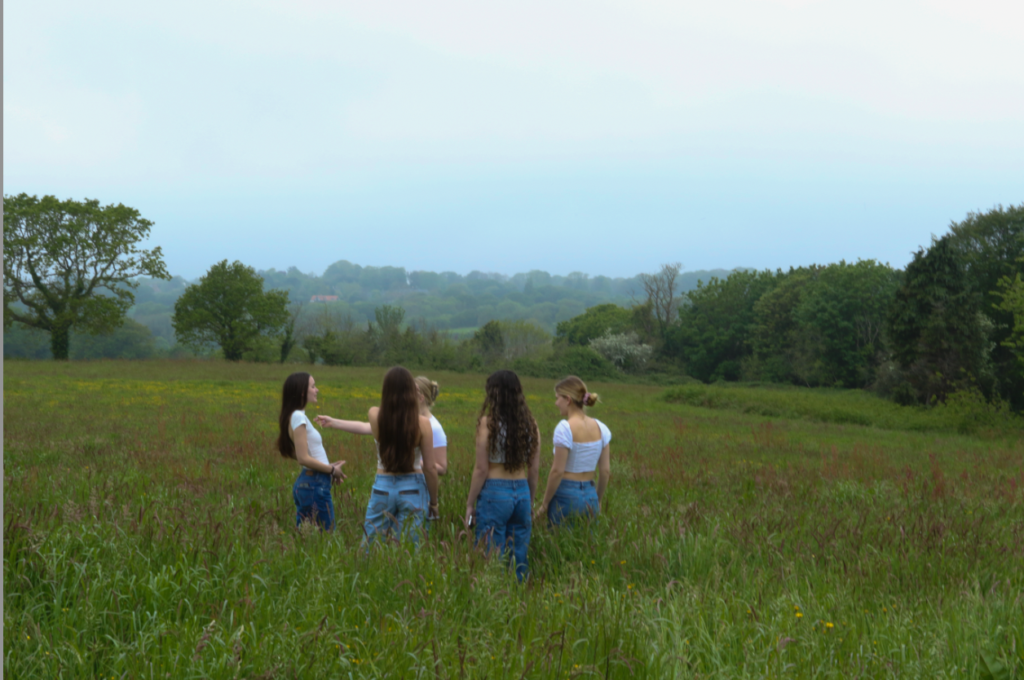
With this image when i was taking it i made it so the girls were slightly off centre there for making the viewer take in and look at the other surroundings of the image including the focal point.

Good progress…double check you have the following for each unit of work
Mood-board, definition and introduction (AO1)
Mind-map of ideas (AO1)
Artist References / Case Studies (must include image analysis) (AO1)
Photo-shoot Action Plan (AO3)
Multiple Photoshoots + contact sheets (AO3)
Image Selection, sub selection, review and refine ideas (AO2)
Image Editing/ manipulation / experimentation (AO2)
Presentation of final outcomes (AO4)
Compare and contrast your work to your artist reference(AO1)
Evaluation and Critique (AO1+AO4)