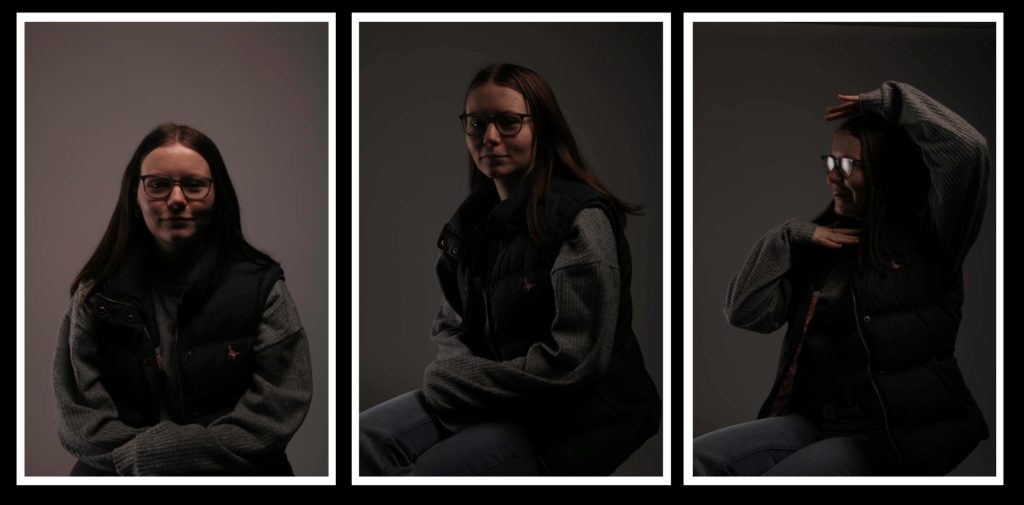
For my first final print I am going to print out three pictures from my studio portraits shoot, using different lighting techniques, on A5 on glossy photo paper. I am then going to use a piece of black card to make a window mount with the three images. I will take my card and measure out three cut outs, in the centre evenly, which it will cut so that I can stick my image on the back with tape so that the card will frame my images. I am going it use a tilted knife so that there will be a tiny white boarder on each of my images.

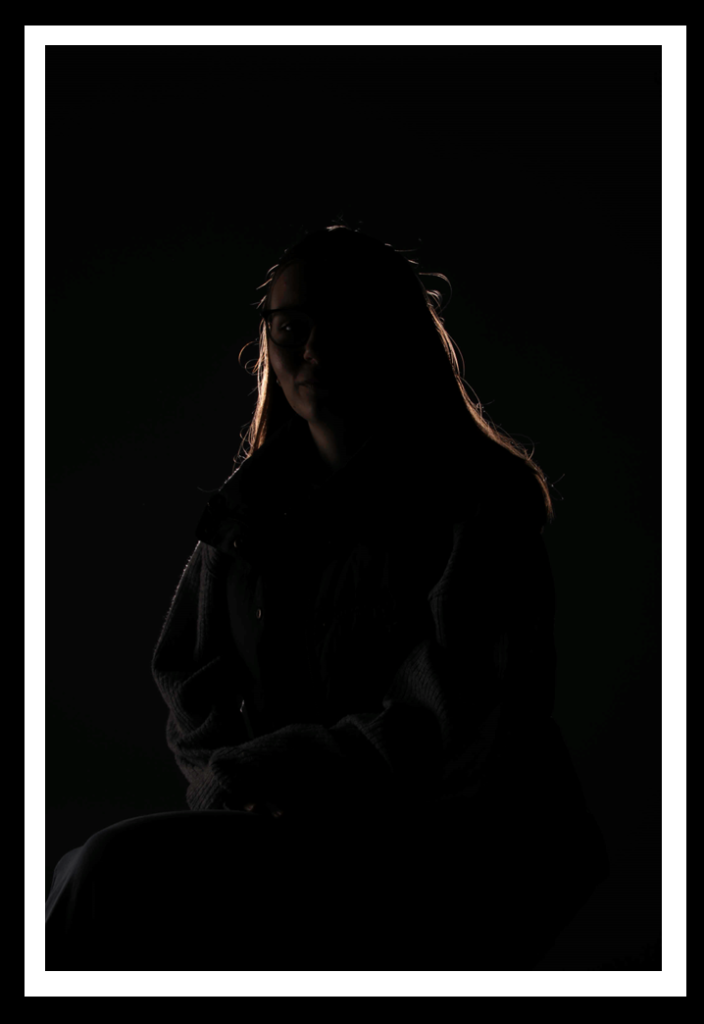
For my next final print I am also using one of my studio portrait images which uses chiaroscuro lighting. This time I am going to print it out on A4 glossy photo paper as I think it will look better bigger. With this final piece I am going to stick it onto white foam board and trim it leaving a white boarder. I am going to do this so that my image will be lifted off of the card which I am going to back my lifted image onto. The black card will my the image look finished and make it stand out more.

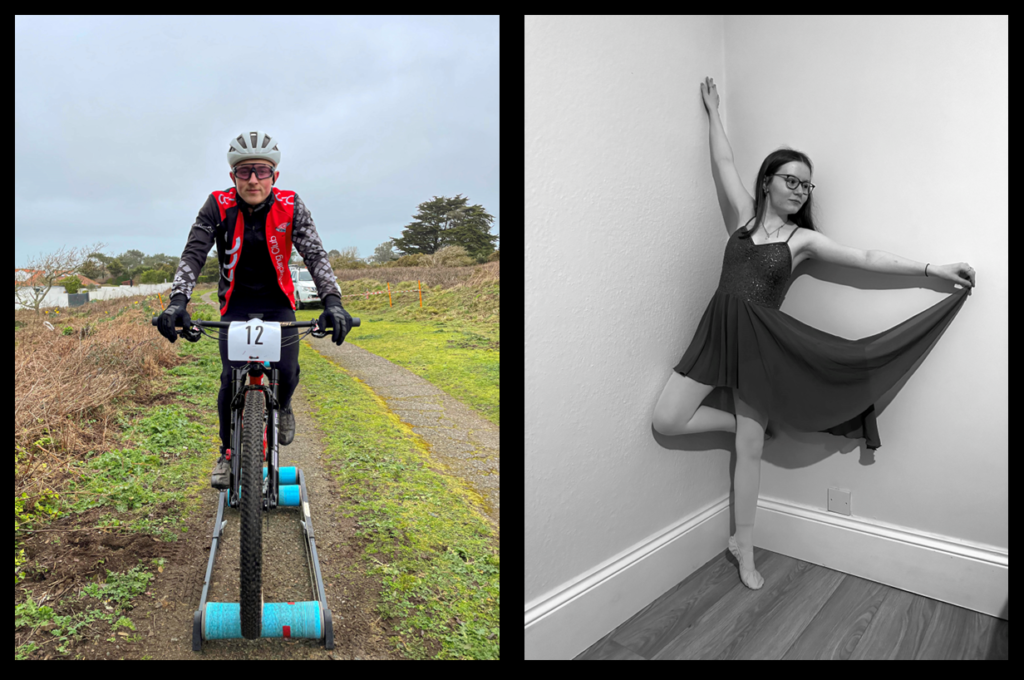
For my third final print I am going to used two of my environmental portraits. I am going to also print these two on A4 glossy photo paper so they the viewers can clearly see the detail and different tones. I am going to stick these two on foam board as well to lift them. However, when I trim them I am not going to leave any white boarder I am going to cut it right up to the edge of the image. Like my previous final piece, I am going to board them onto a piece of black card so that they are presented together.

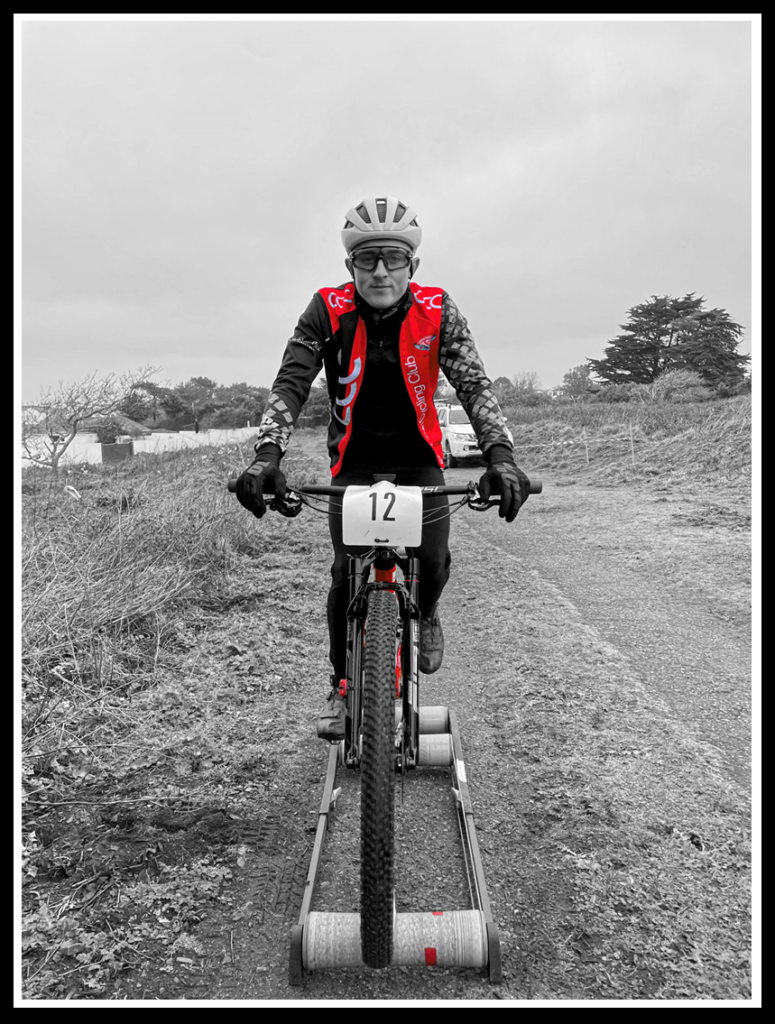
For my last final print I am going to use one of the environmental portraits that I used in my third one, however, I have edited this one so that the image is in black and white apart from any red that was in the image, for example on his jacket and his bike. I am going to print this image on A3 glossy photo paper as I think that the image will look best is it is bigger and it will make it stand out more. To present this image I am going to use a window mount like my first final piece. I will take a piece of black card and cut the centre out to make it a frame. I will tape the image onto the back of it facing forwards so that the card has framed my image.

Good progress…double check you have the following for each unit of work
Mood-board, definition and introduction (AO1)
Mind-map of ideas (AO1)
Artist References / Case Studies (must include image analysis) (AO1)
Photo-shoot Action Plan (AO3)
Multiple Photoshoots + contact sheets (AO3)
Image Selection, sub selection, review and refine ideas (AO2)
Image Editing/ manipulation / experimentation (AO2)
Presentation of final outcomes (AO4)
Compare and contrast your work to your artist reference(AO1)
Evaluation and Critique (AO1+AO4)