What is Aperture and what does it do?
The aperture is a hole located in the camera’s lens that decides how much light is let into the picture, thus controlling the exposure of the outcome. Photographers can manually control the aperture by switching to ‘A’ or ‘AV’ mode and then changing the f/number using the dial on their camera. The lower the f-number, the bigger the hole, meaning it lets more light into the picture and it is a larger aperture. A very large aperture (such as f/2.8) can result in an overexposed image. On the other hand, the higher the f-number, the smaller the hole, meaning less light is let into the photo and the aperture is lower. A very low aperture (for example f/22) can result in an underexposed image.
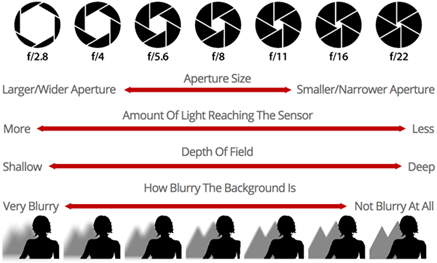
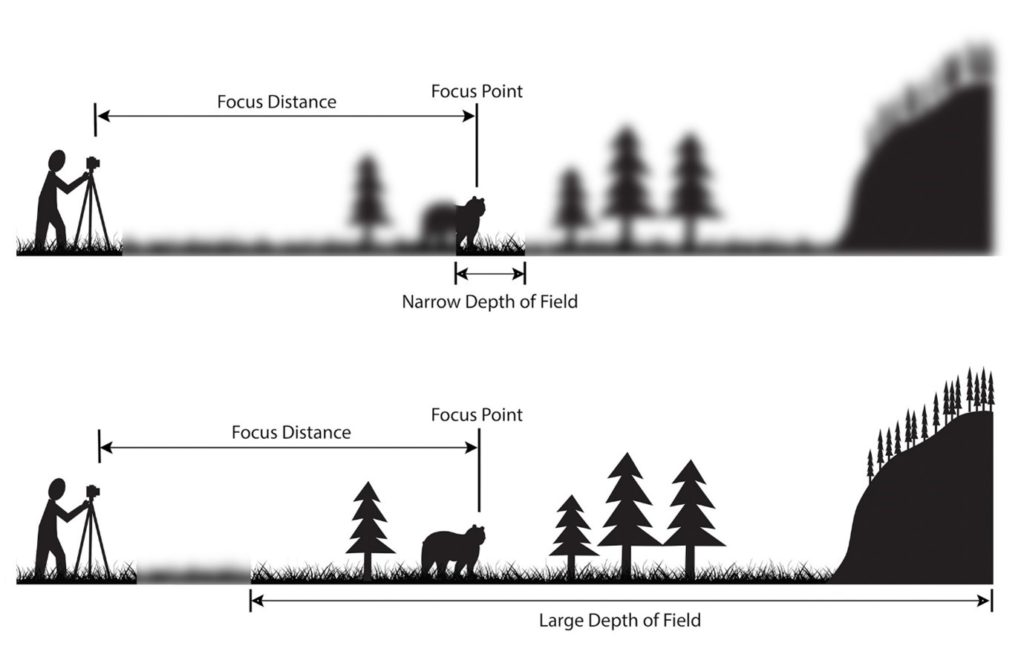
Aperture also effects the Depth of Field (DoF). A lower aperture (for example f/16) would create a deeper DoF which causes the background to not be blurry. A larger aperture (such as f/4) would cause the DoF to be shallower and result in a blurry background.
Experimenting with Aperture
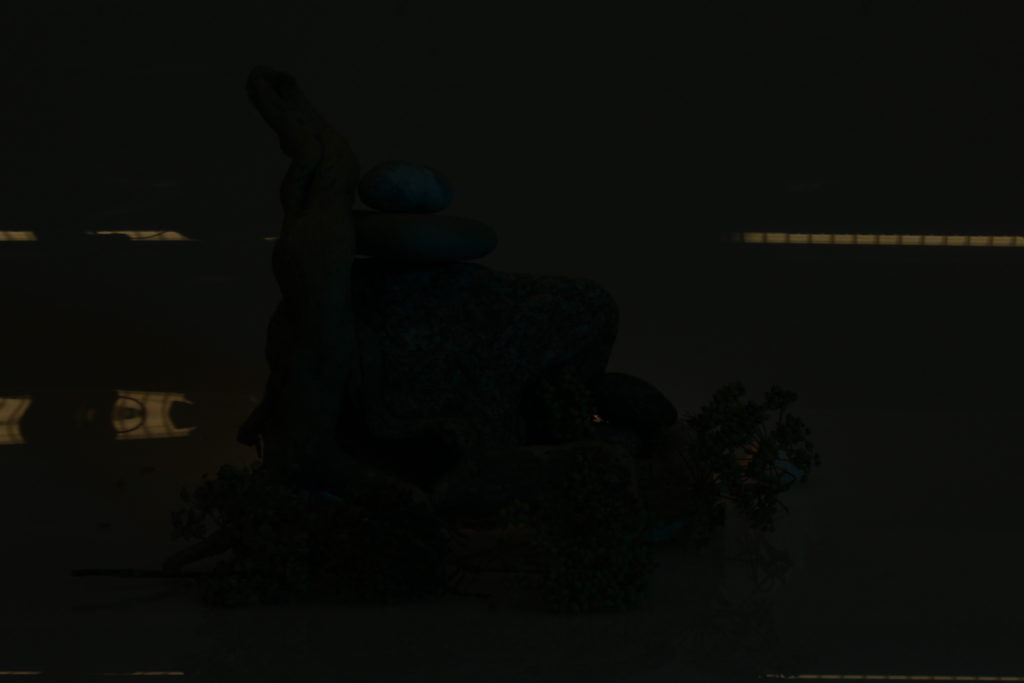
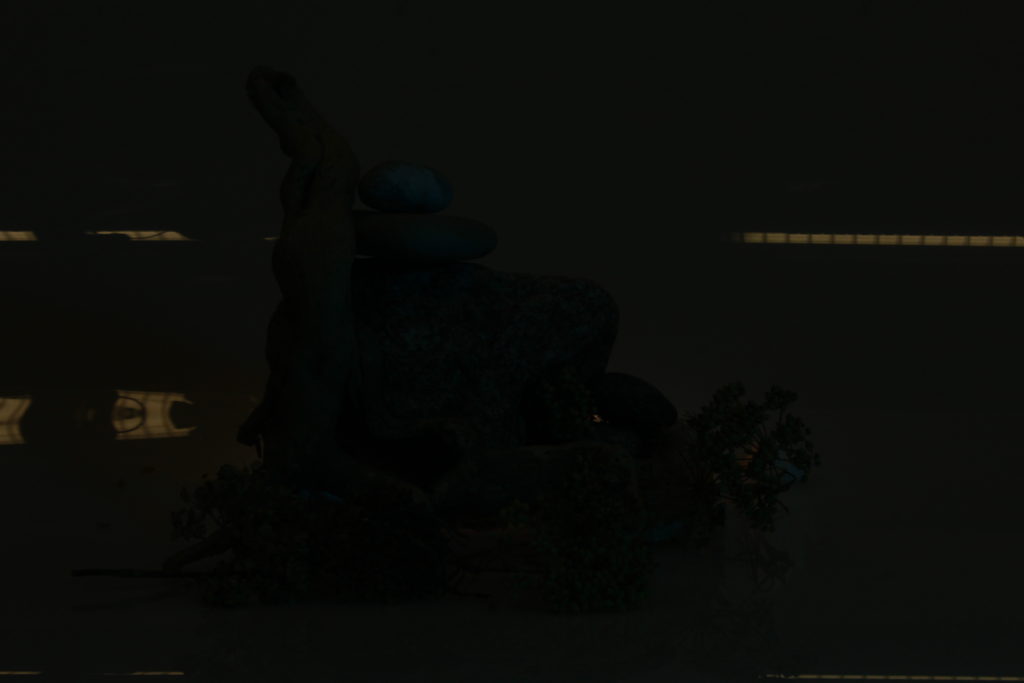
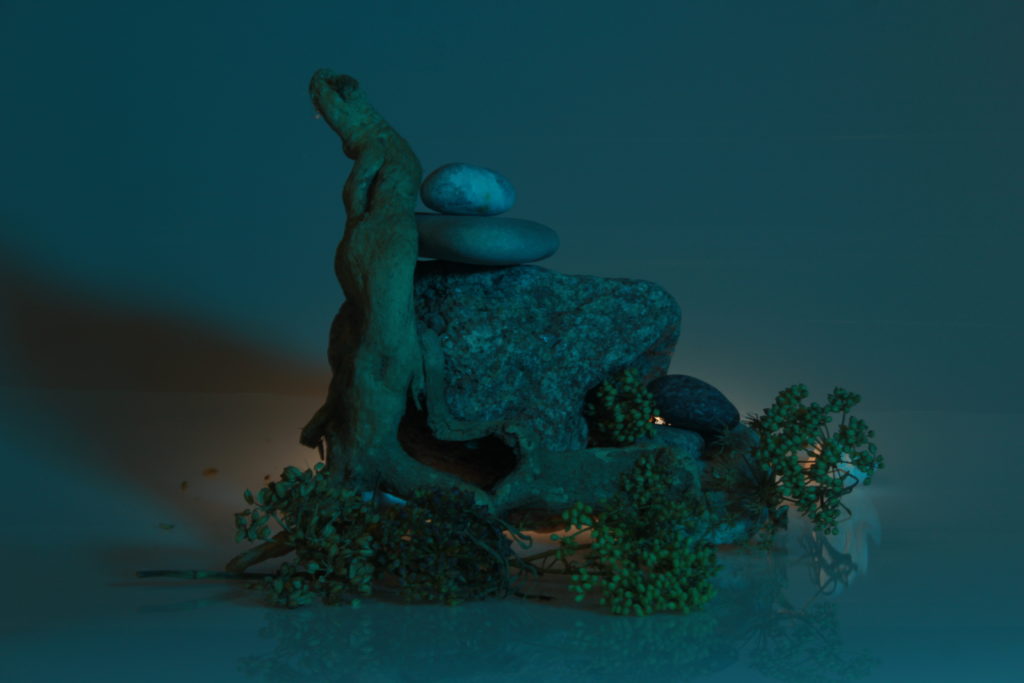
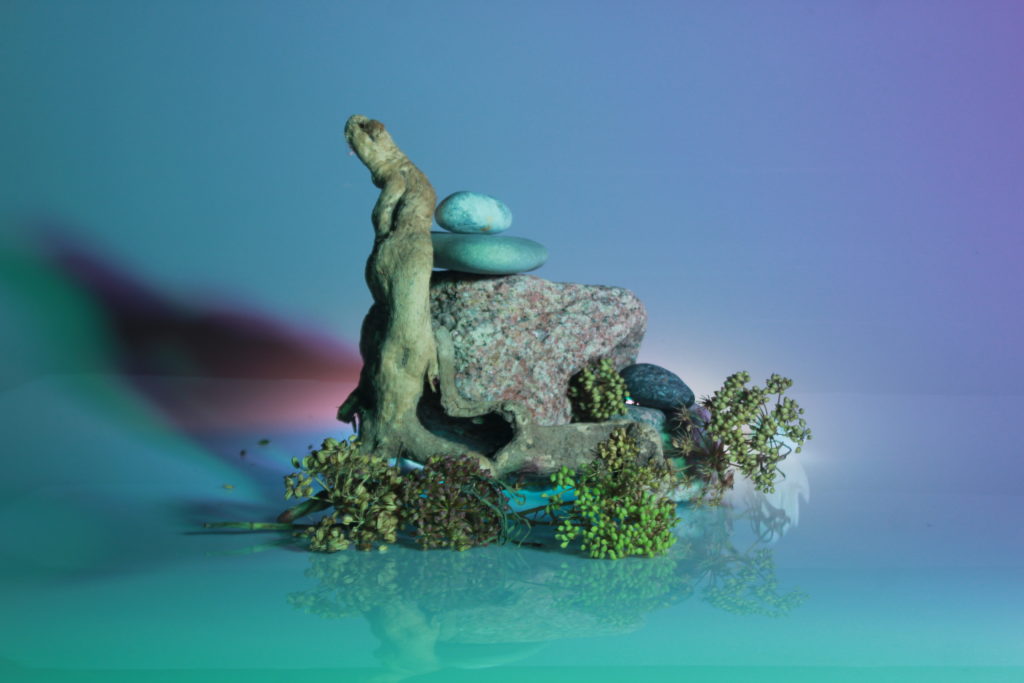
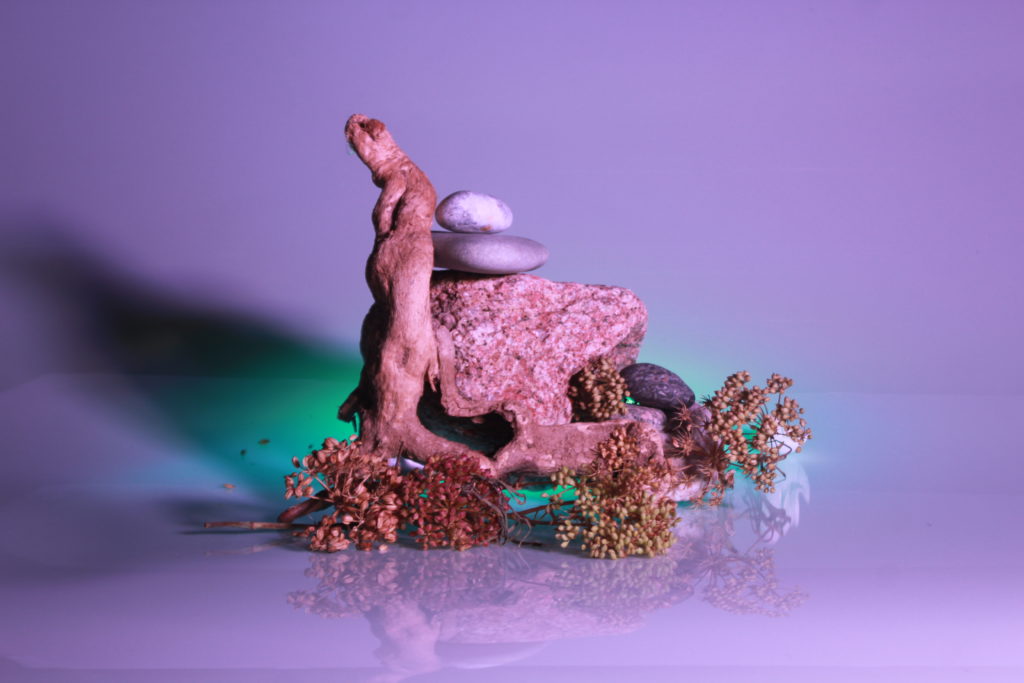
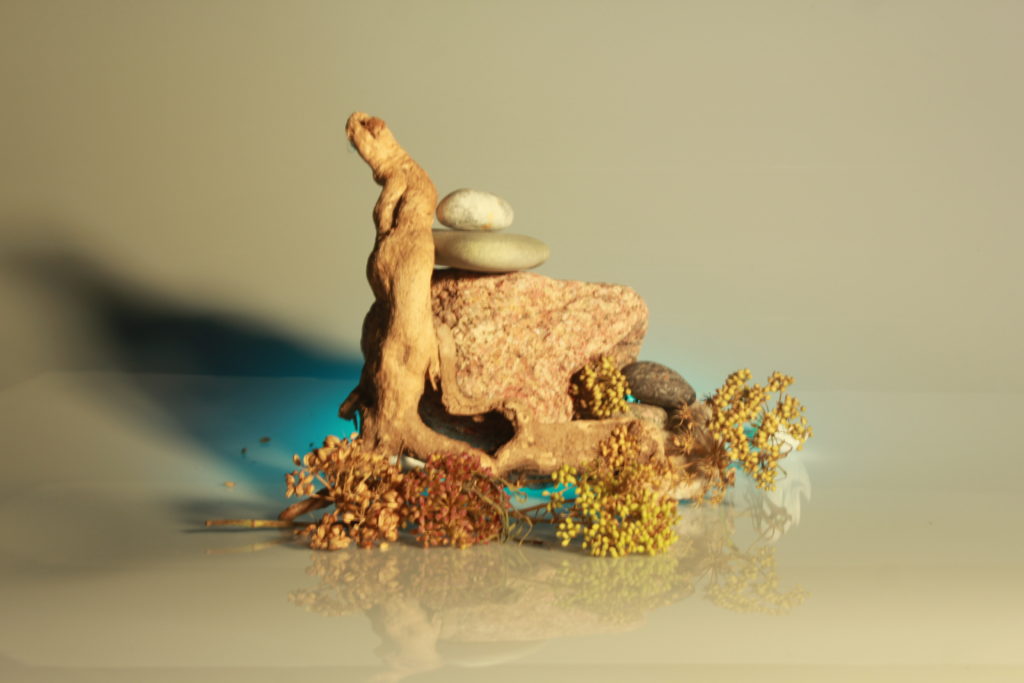
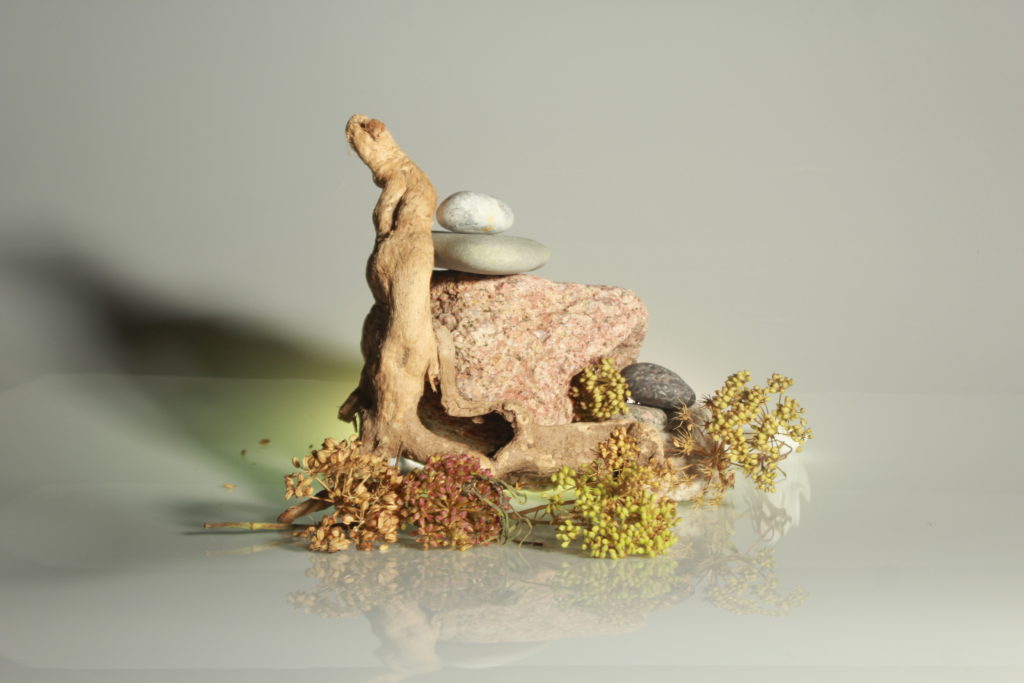
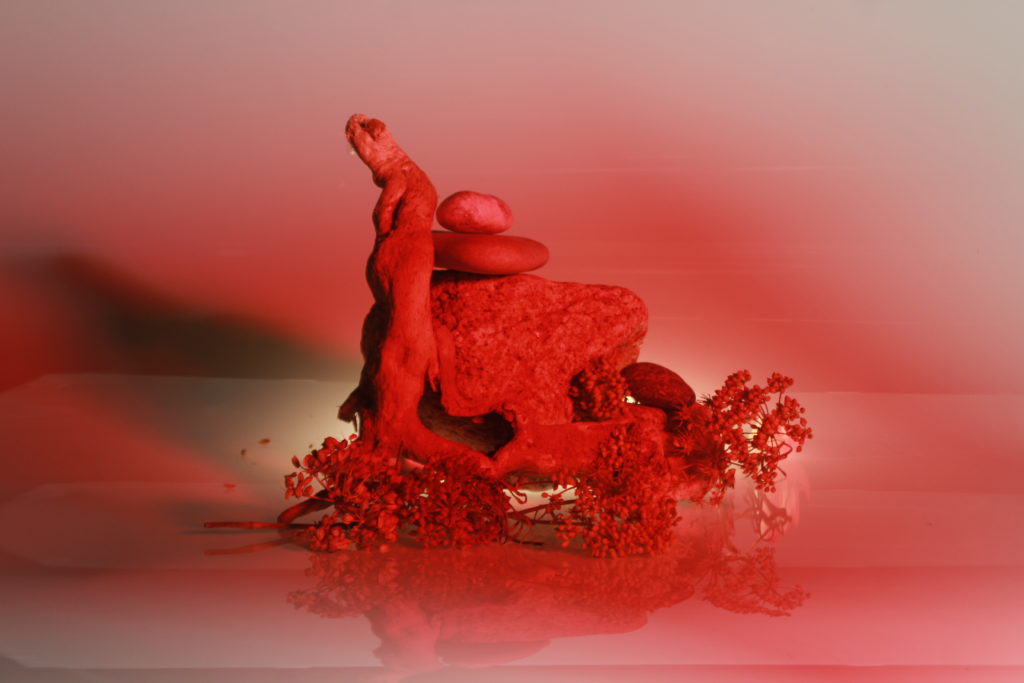
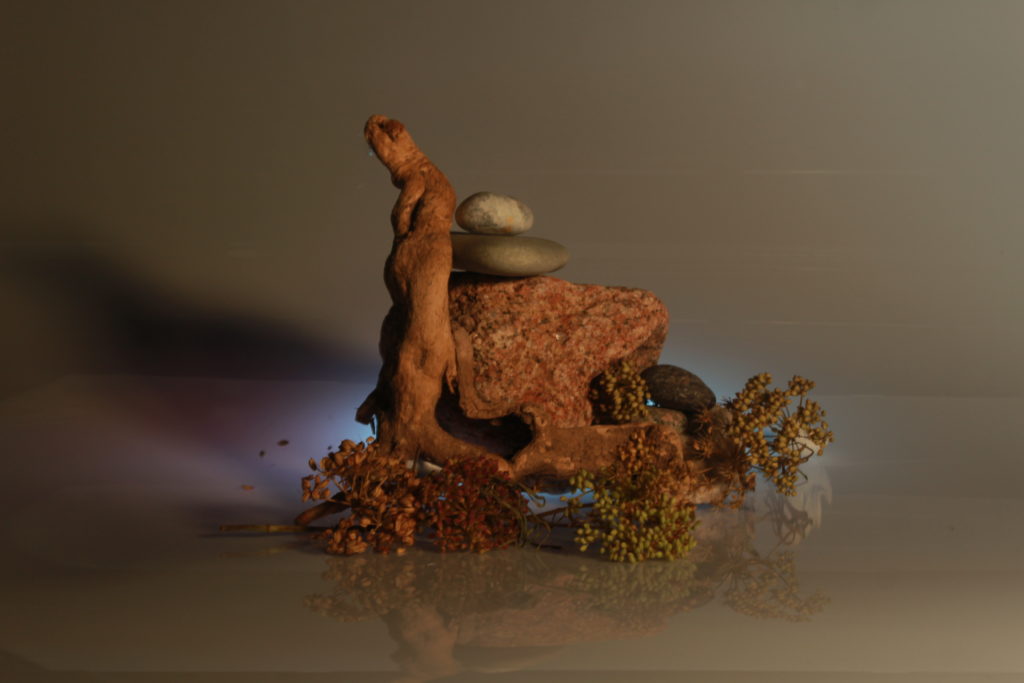
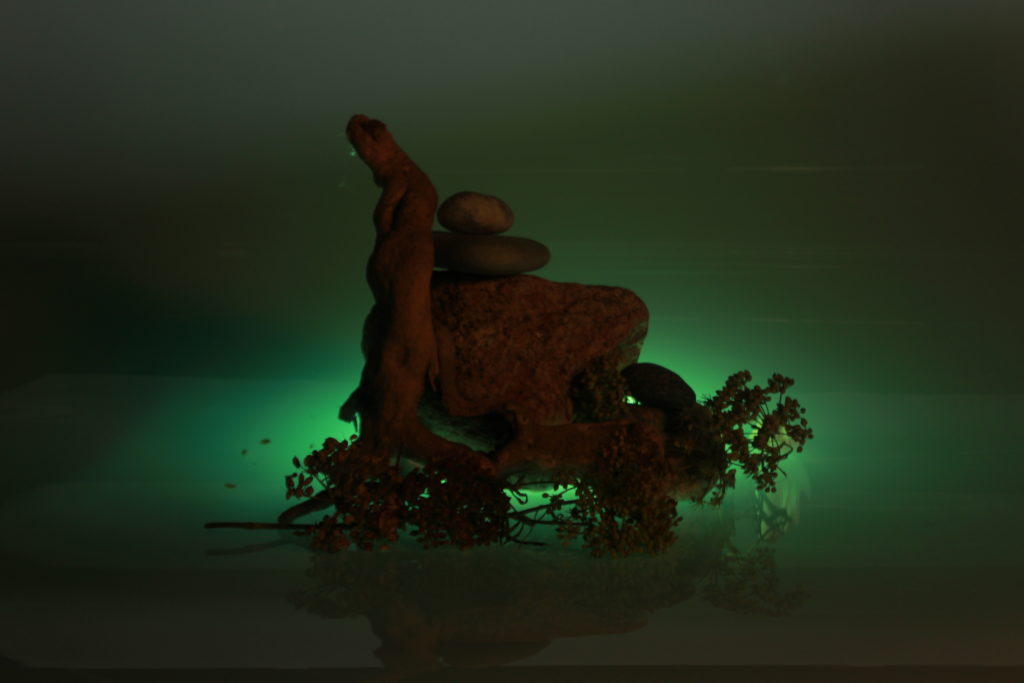
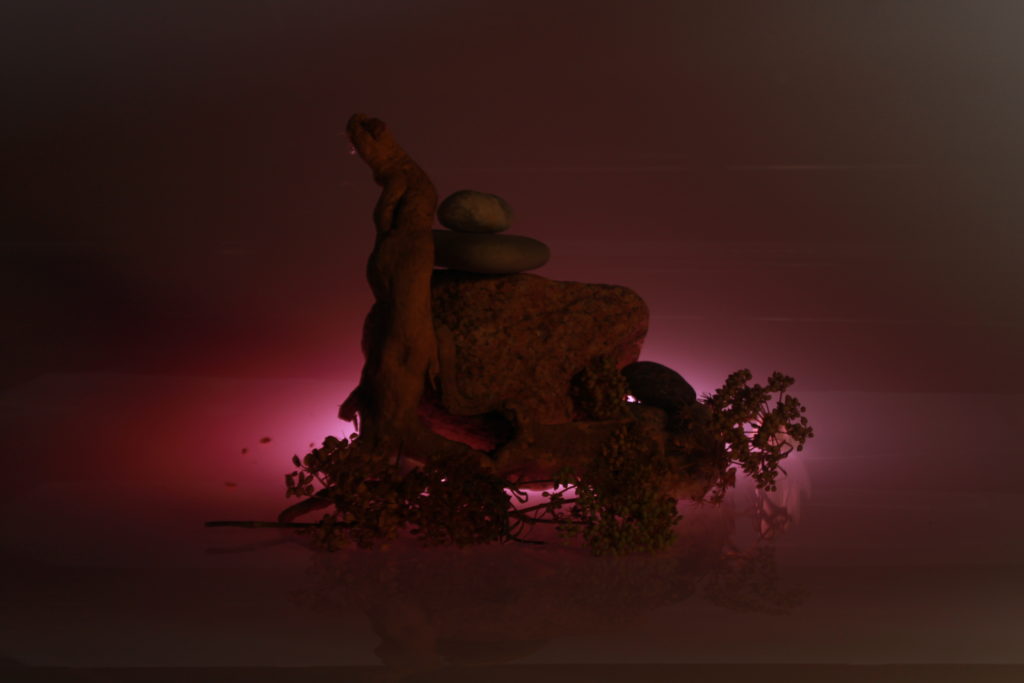
Throughout my photoshoot, I played around with the dial, trying out different apertures. This image was the result of a f/22 aperture, causing the image to be extremely underexposed. Barely any light was let into this picture, causing it to be very dark, despite having two lamps set up.
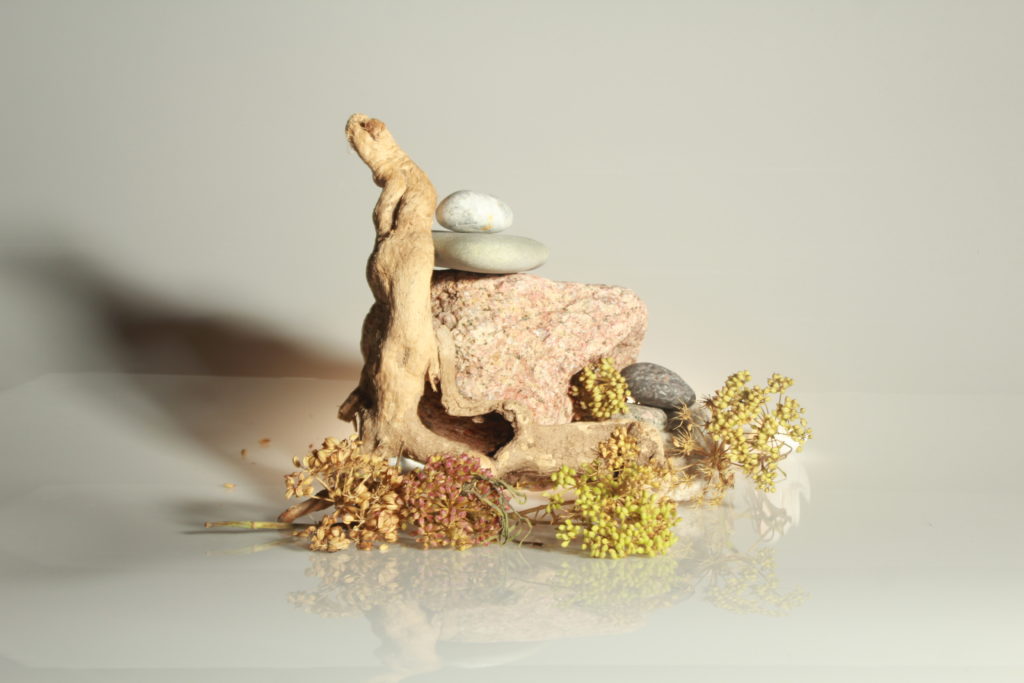
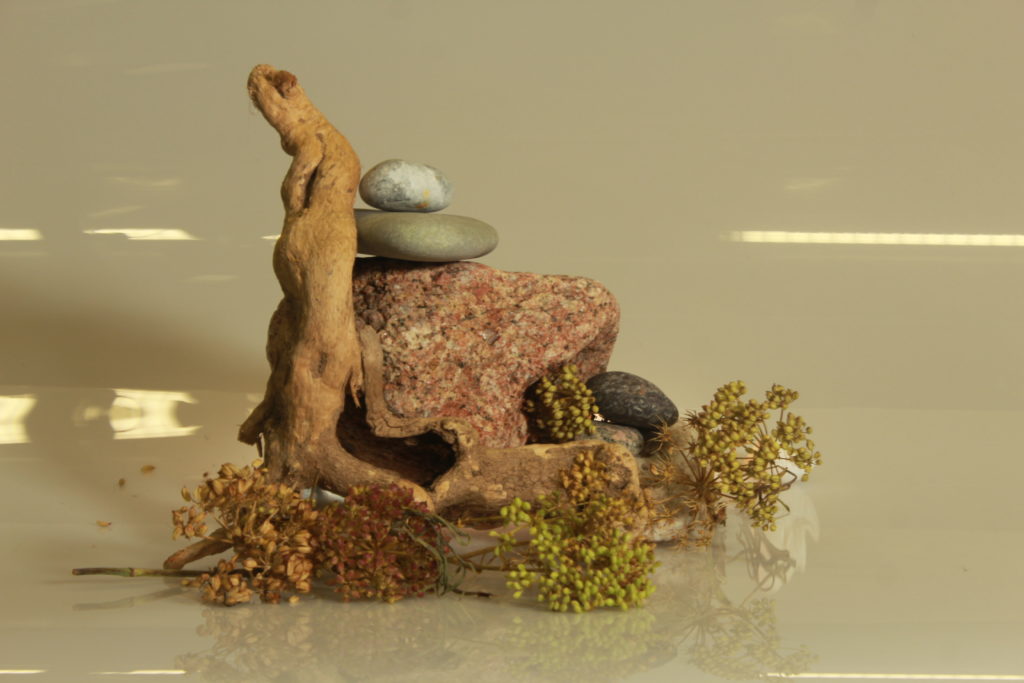
Furthermore, I also tried make the aperture larger and make it f/4, which isn’t the lowest f/number I could make it but still caused the image to be much brighter than the other ones I took as the hole is much bigger. I wouldn’t call this image overexposed however the exposure of it is quite high, causing it to look very white and bright.
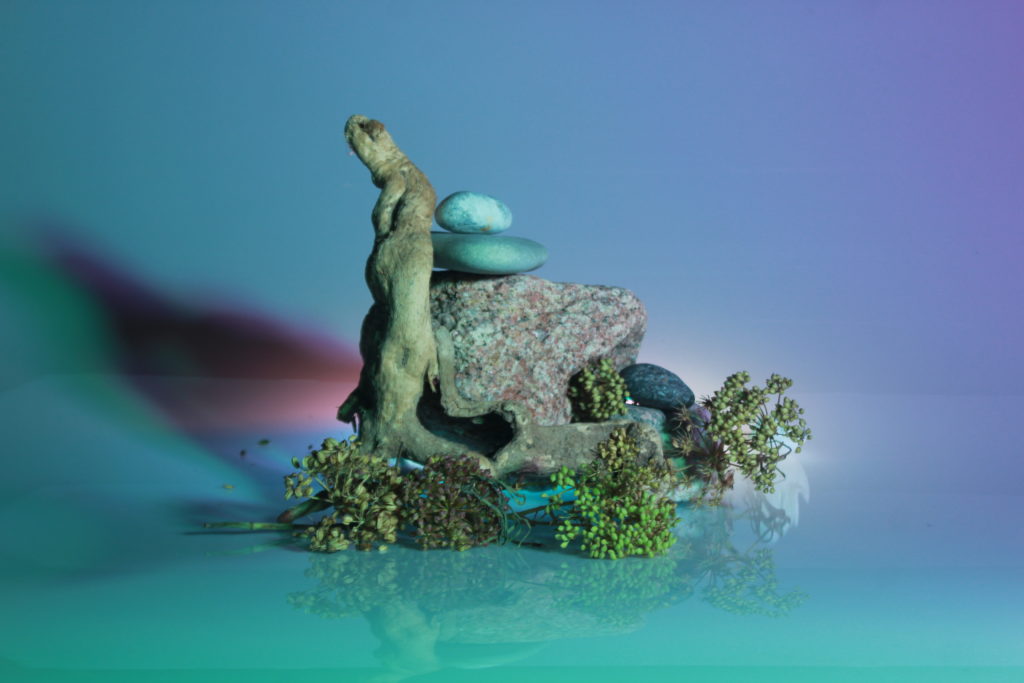
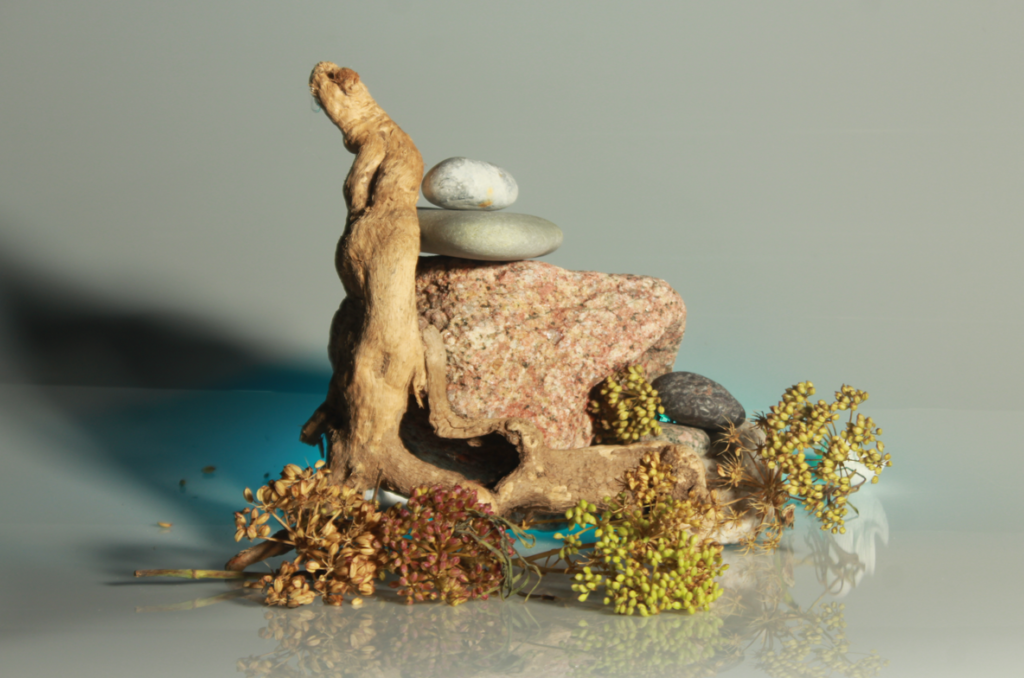
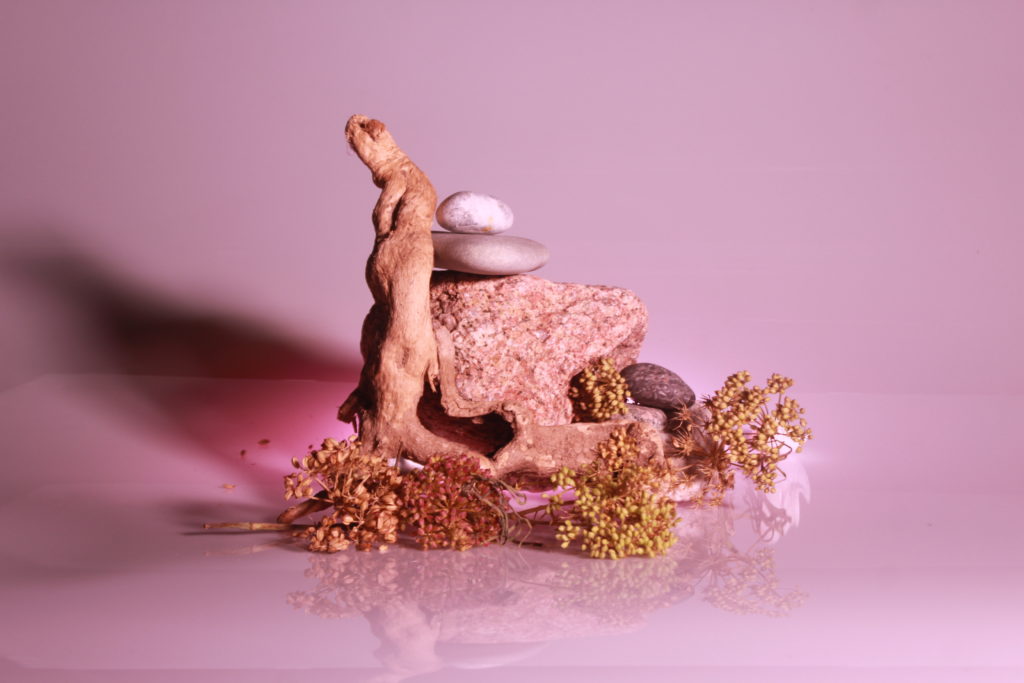
This is a picture with an aperture of f/8, resulting in neither an overexposed nor underexposed image. The lens brought enough light in to clearly show the colours and the details of still life in the middle.
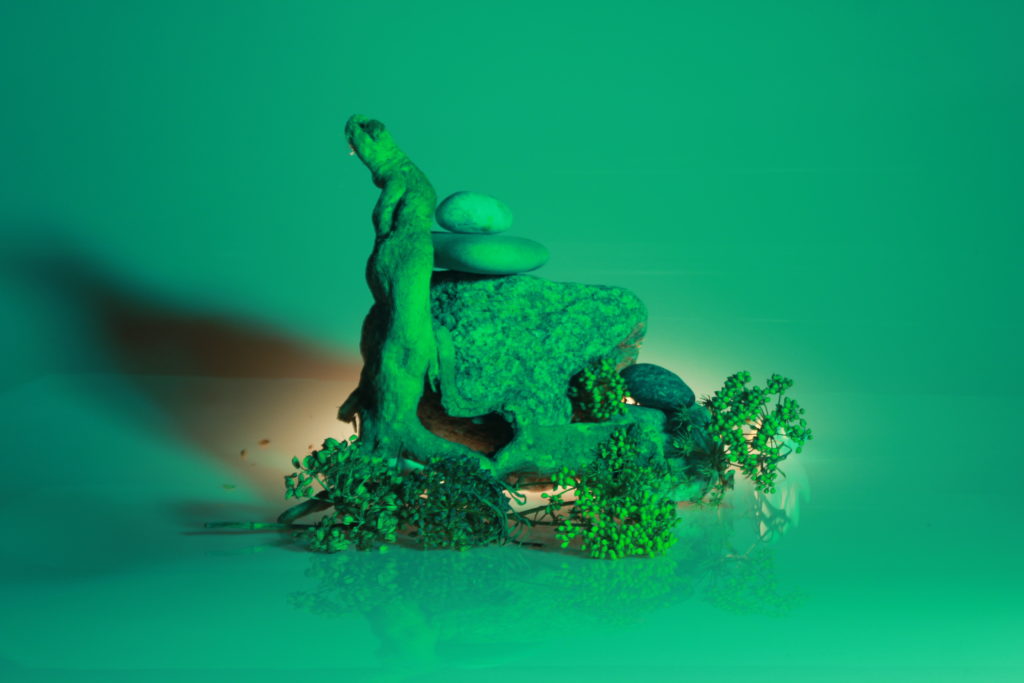
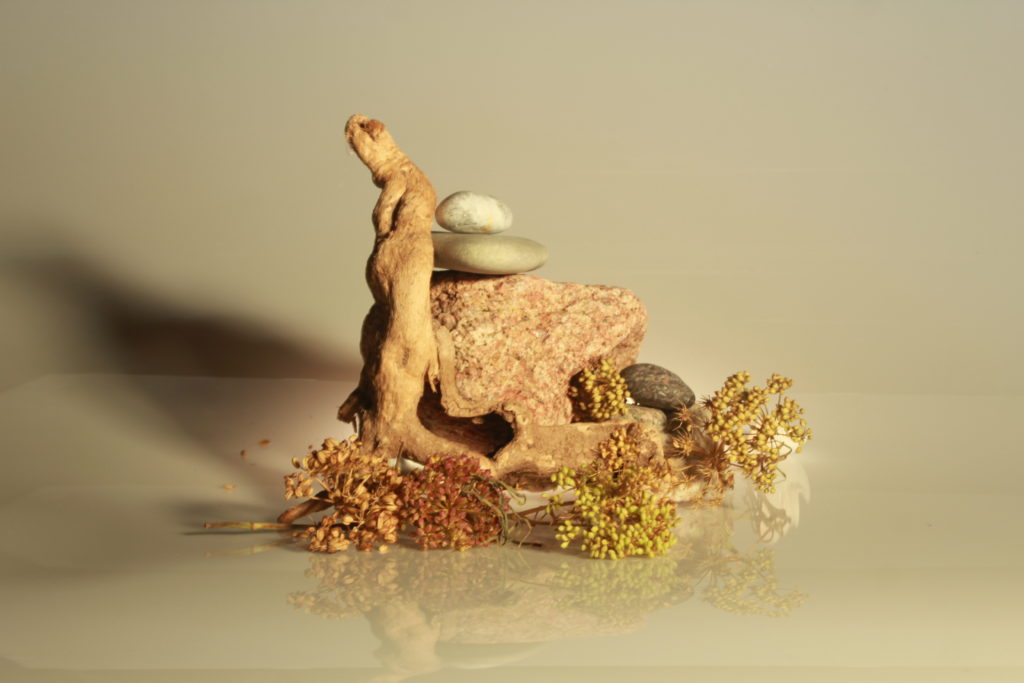
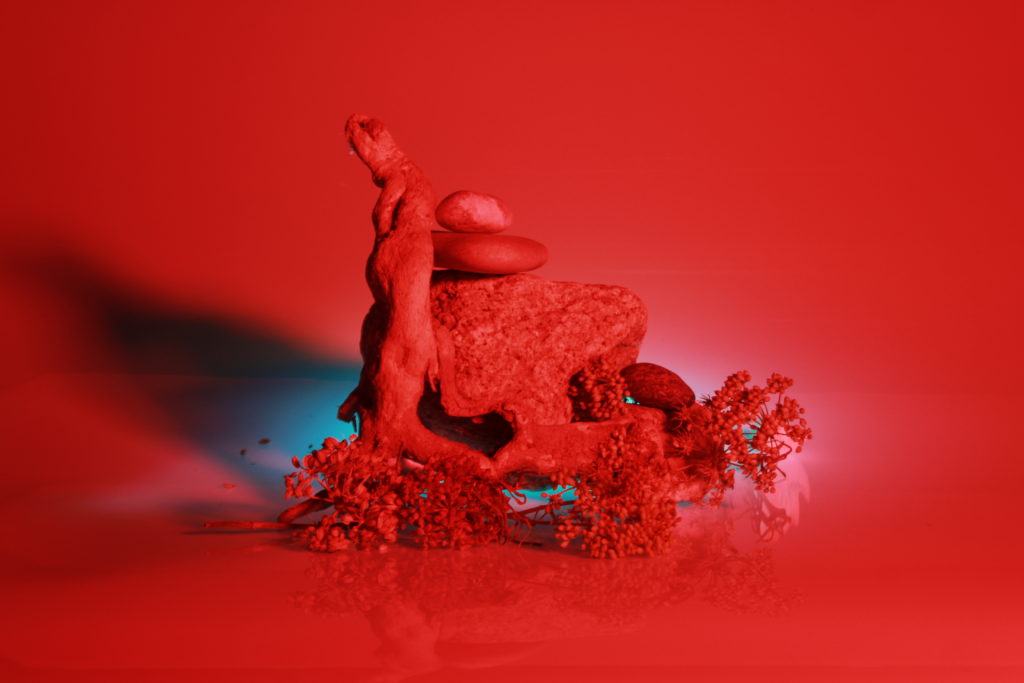
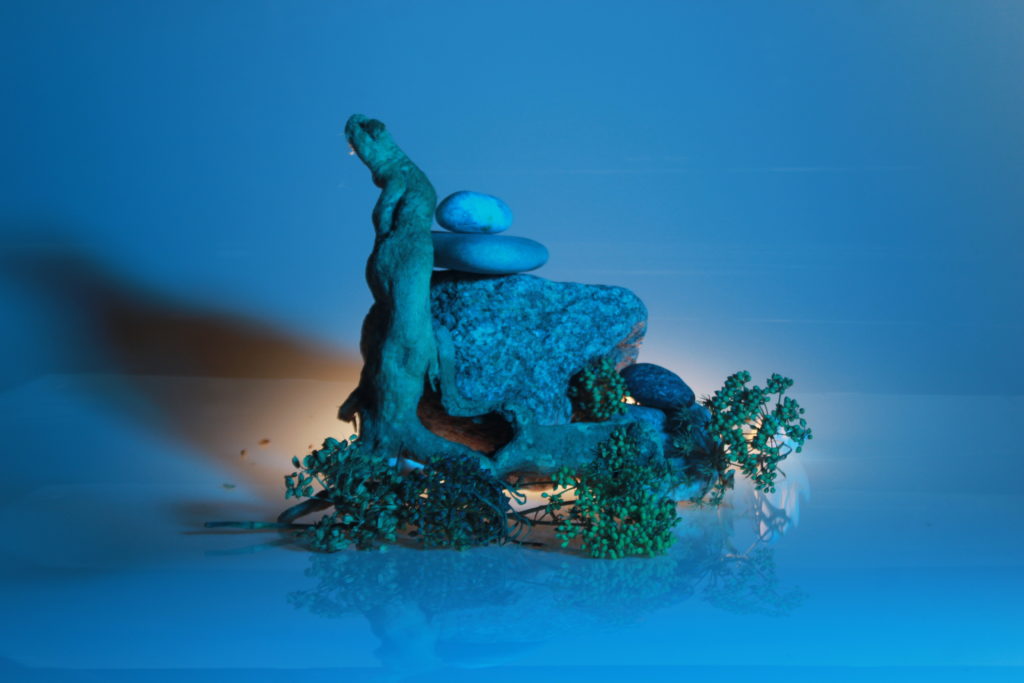
I decided this was a perfect aperture to work with as it captured the still life with the colourful lighting illuminated it the best, therefore that was the aperture for most of my images.

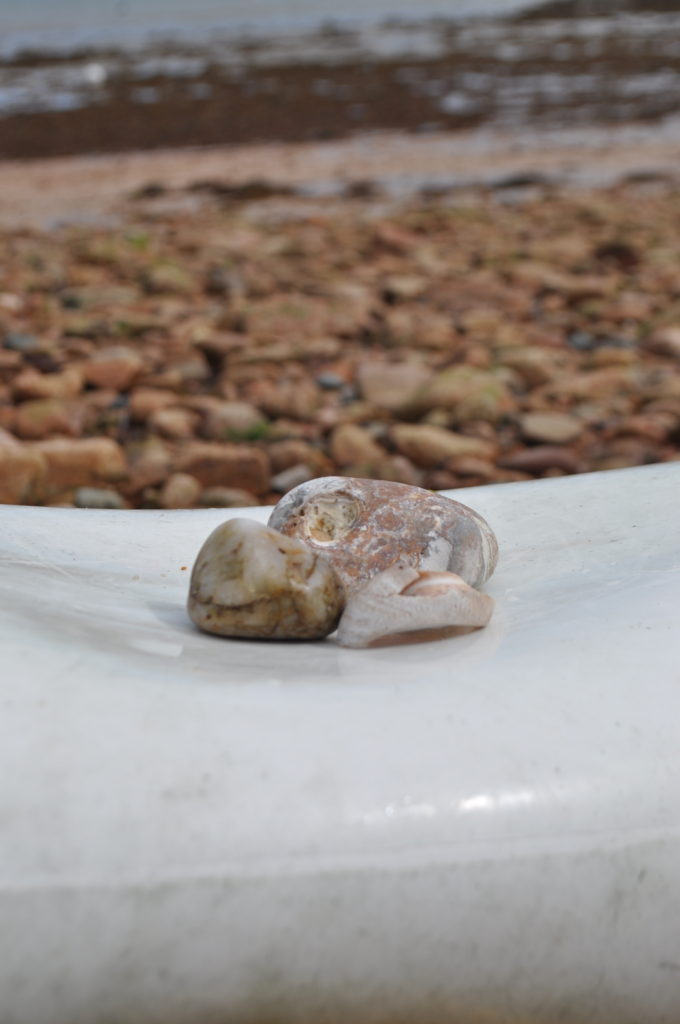
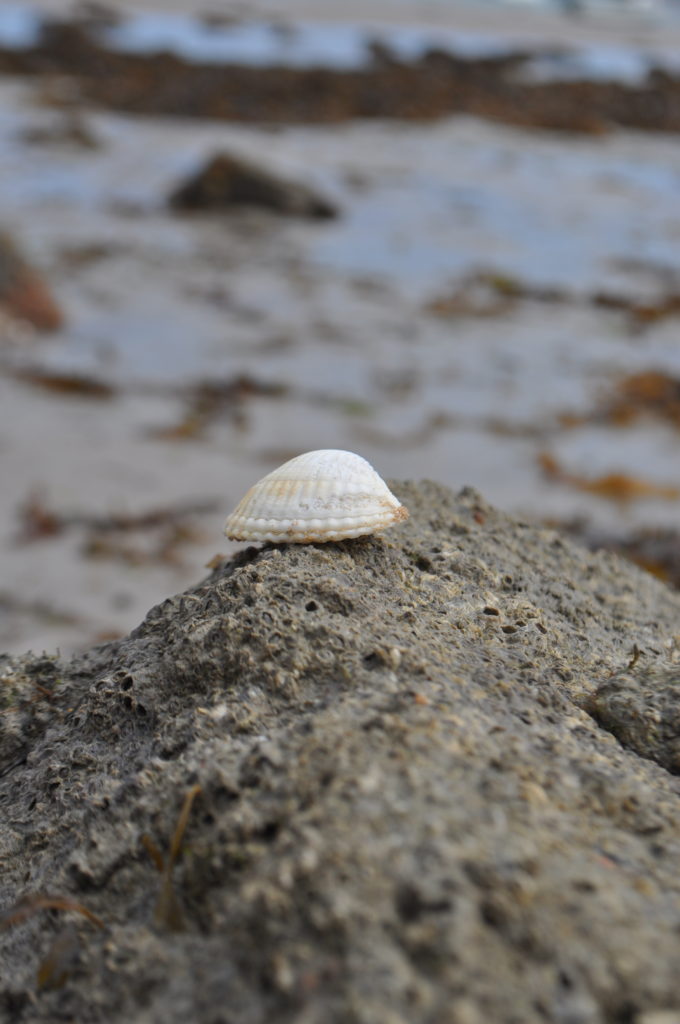
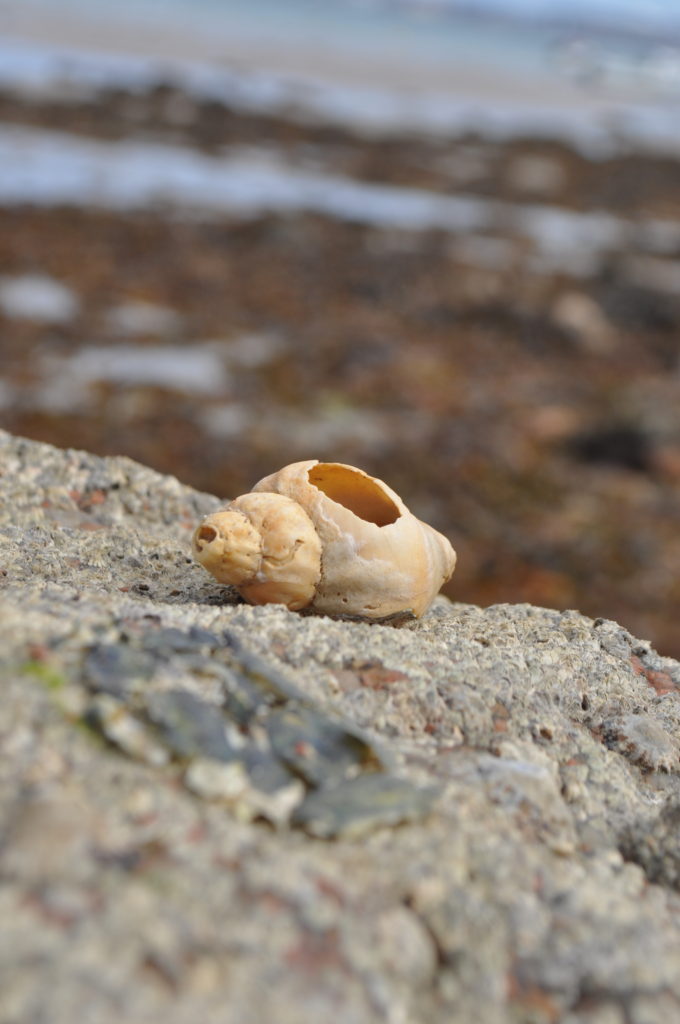
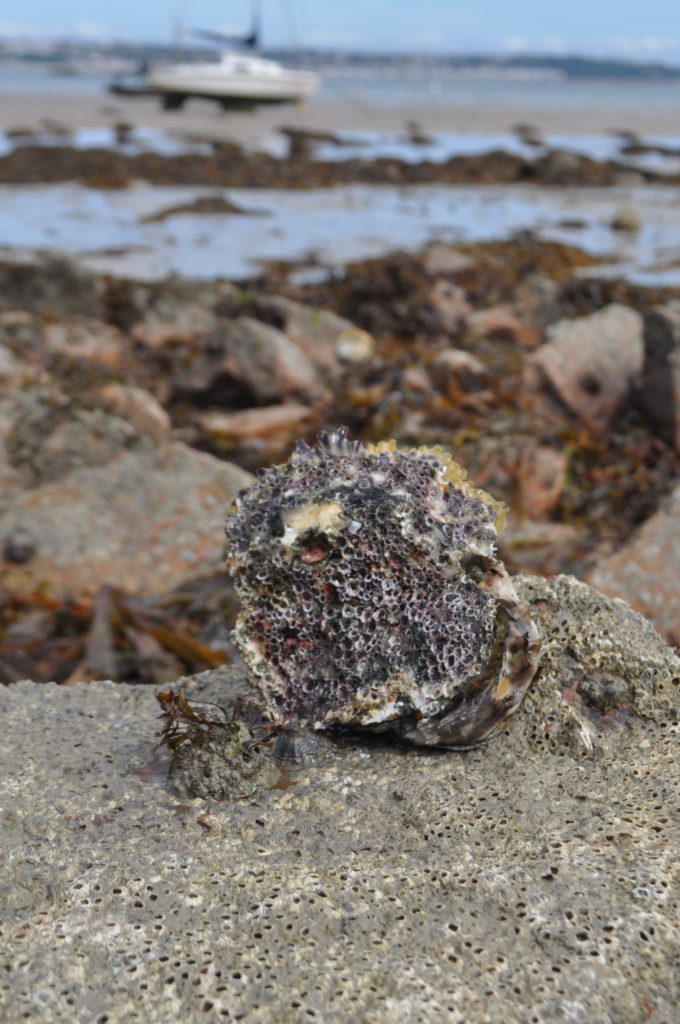
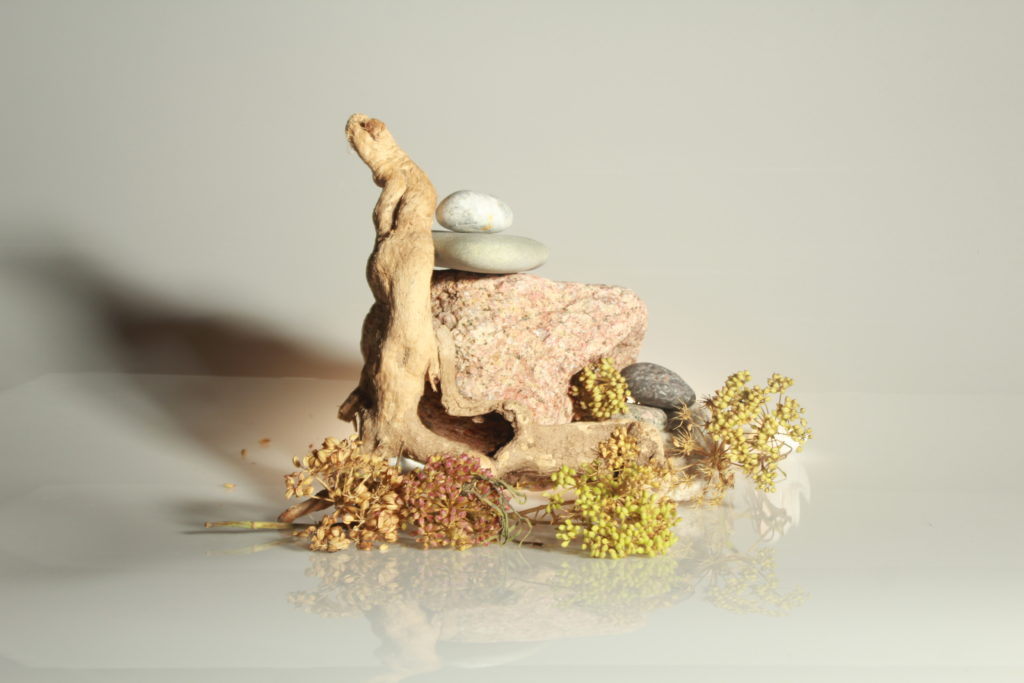
As aperture also effects the DoF, I used a larger aperture to take this image, causing the background to become very blurry and therefore only the object to be in focus as the DoF was shallower.
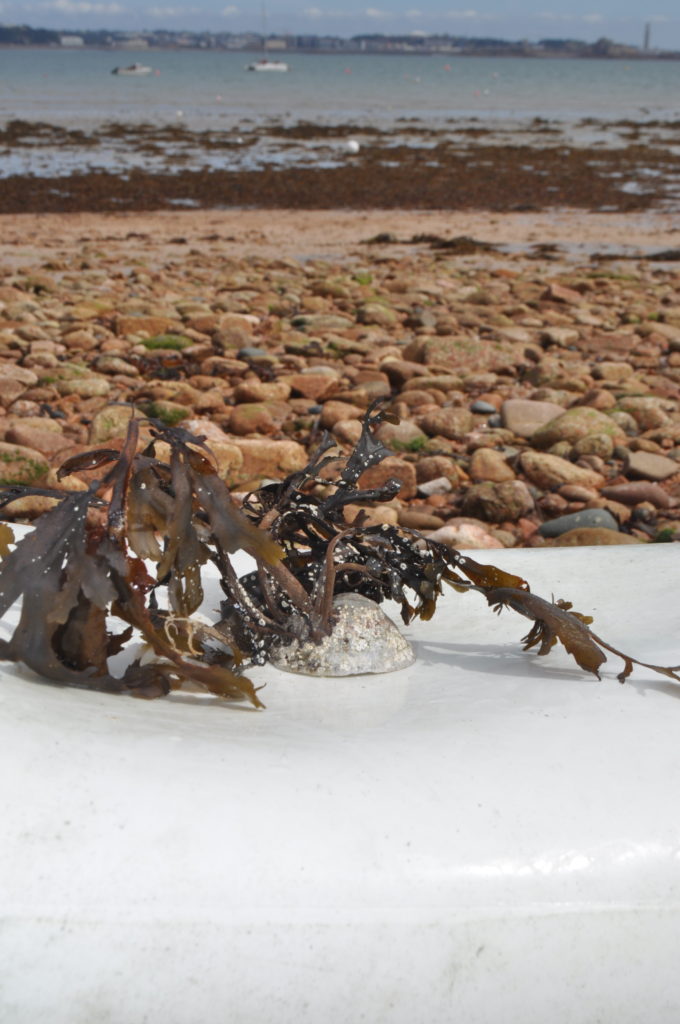
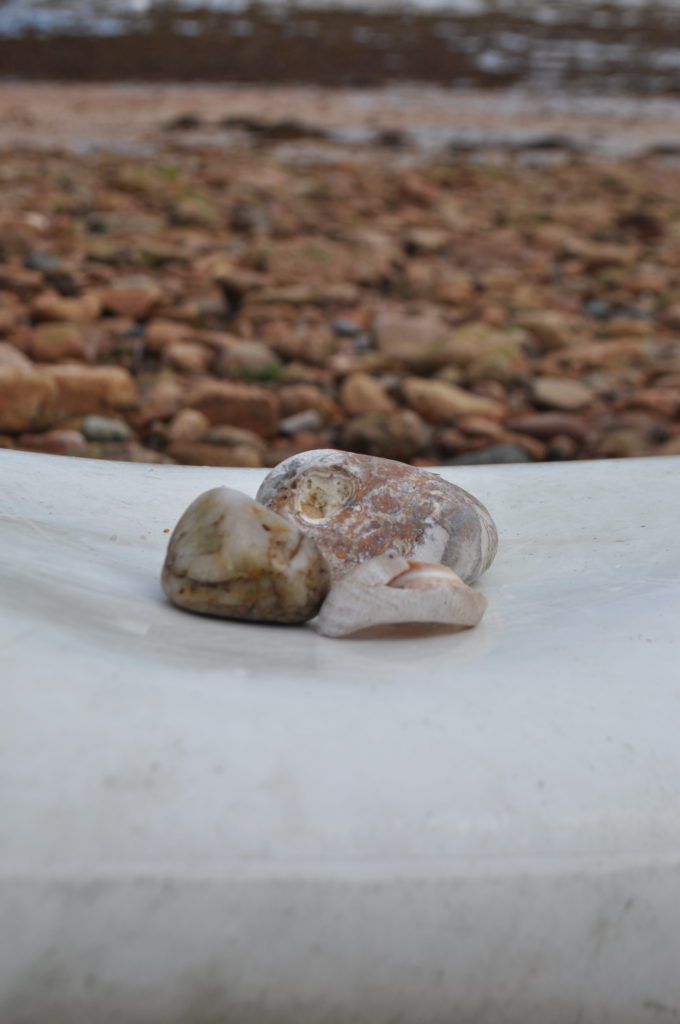
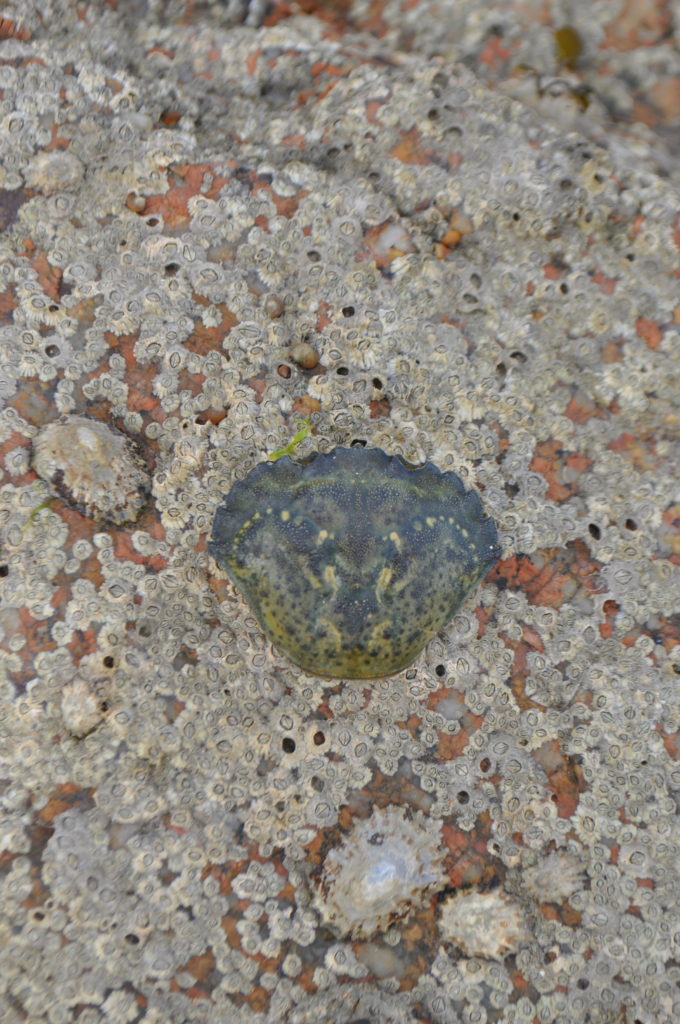
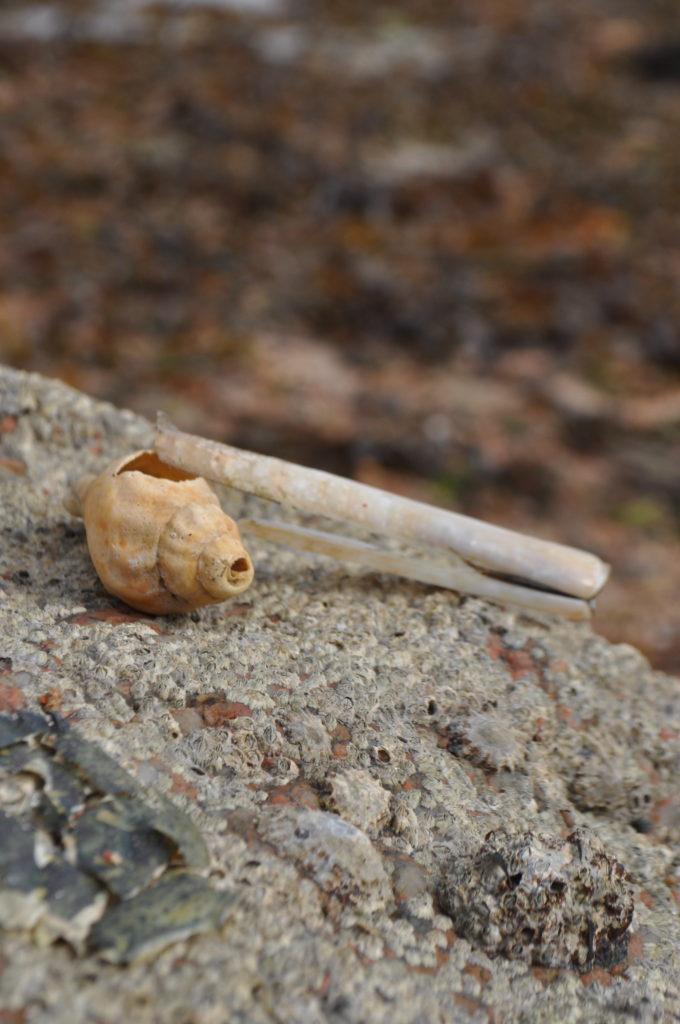
For this picture, I used a smaller aperture as I wanted everything to be in focus. The object is still slightly more in focus however the DoF is still clearly quite deep. I don’t think a deeper DoF was as effective for this photoshoot, as I prefer the look of a blurry background and sharp foreground/ midground.
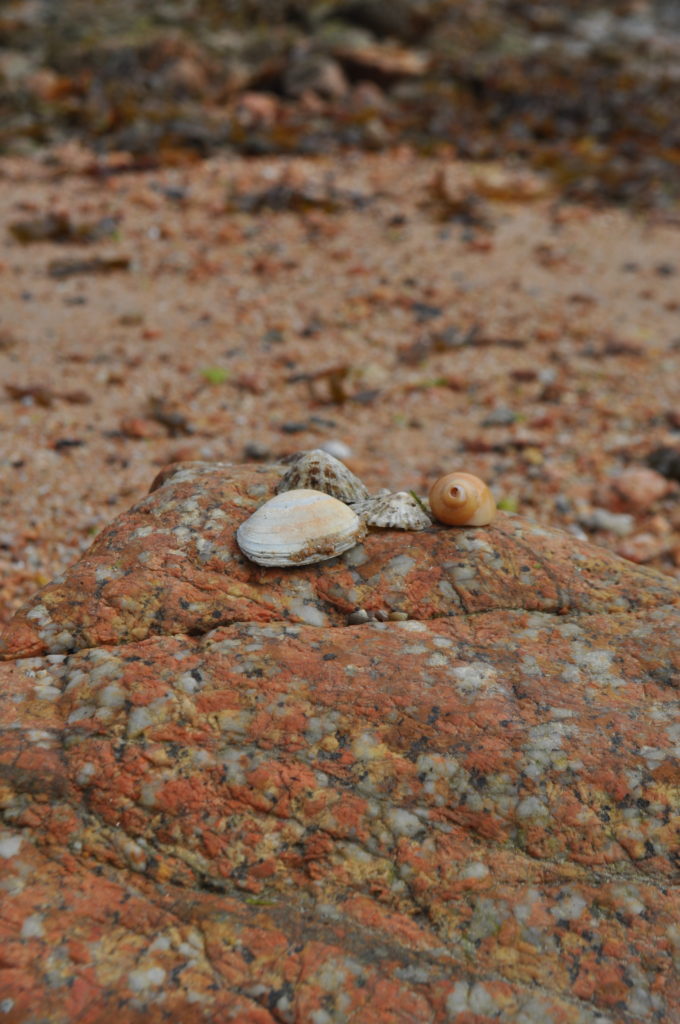
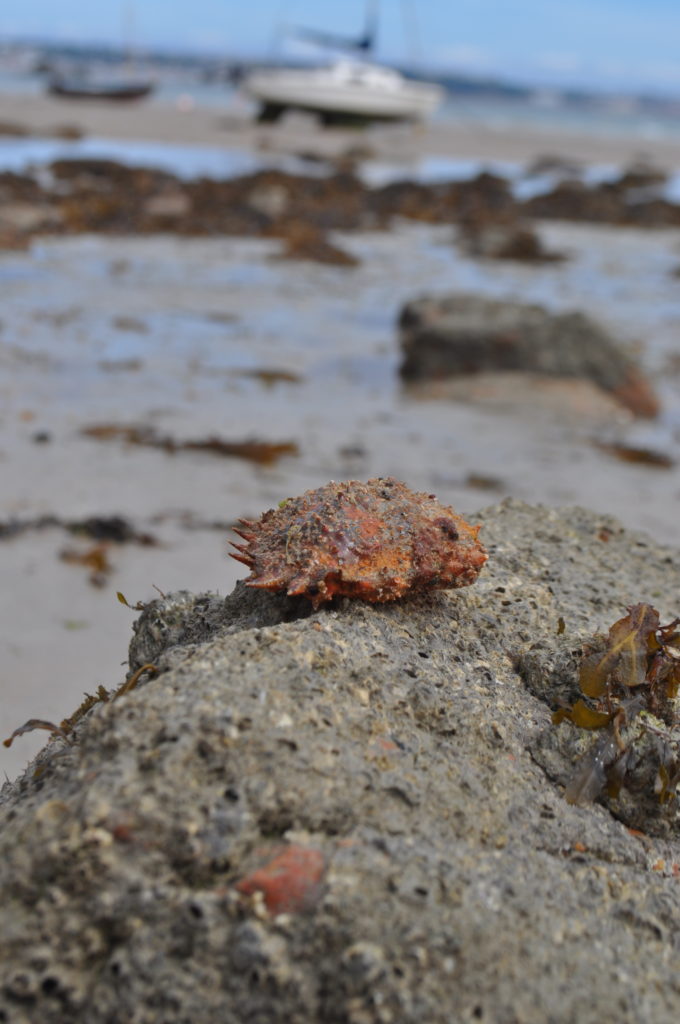
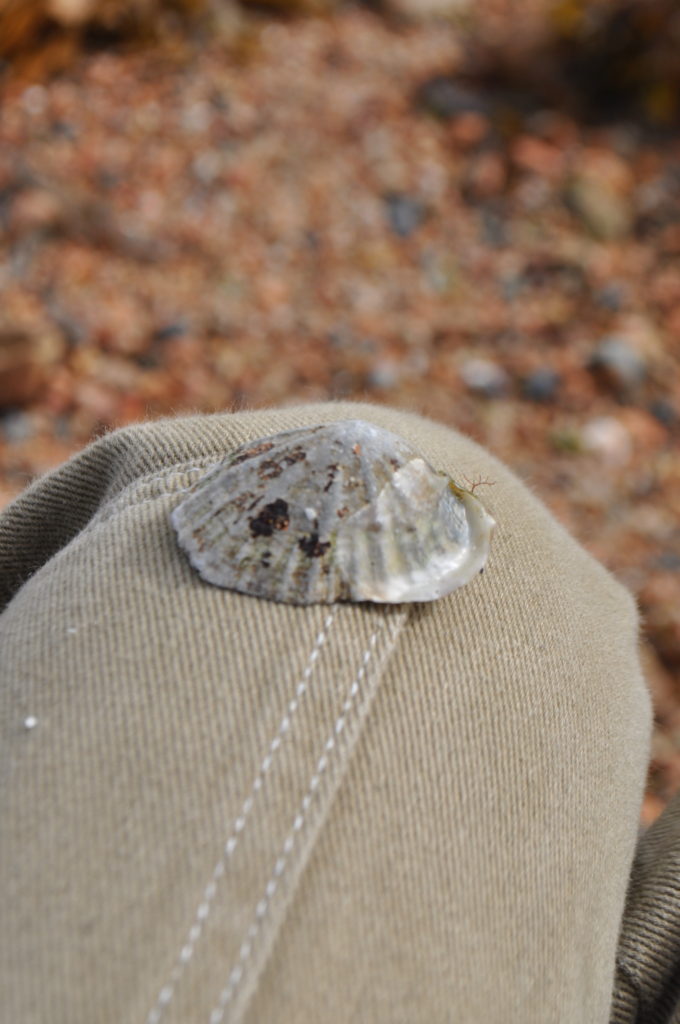
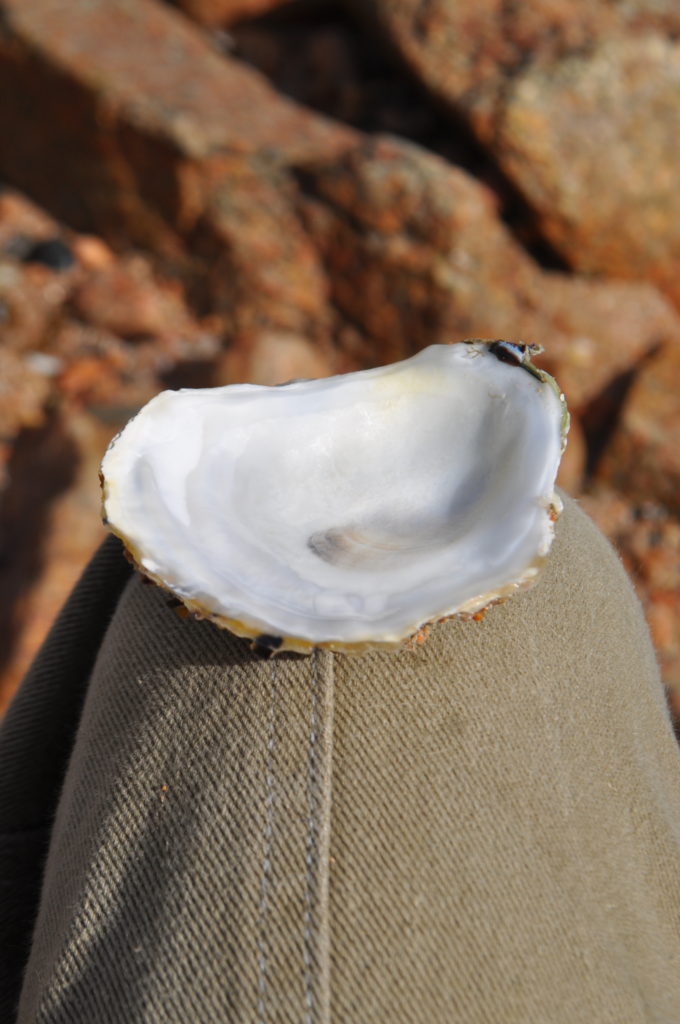
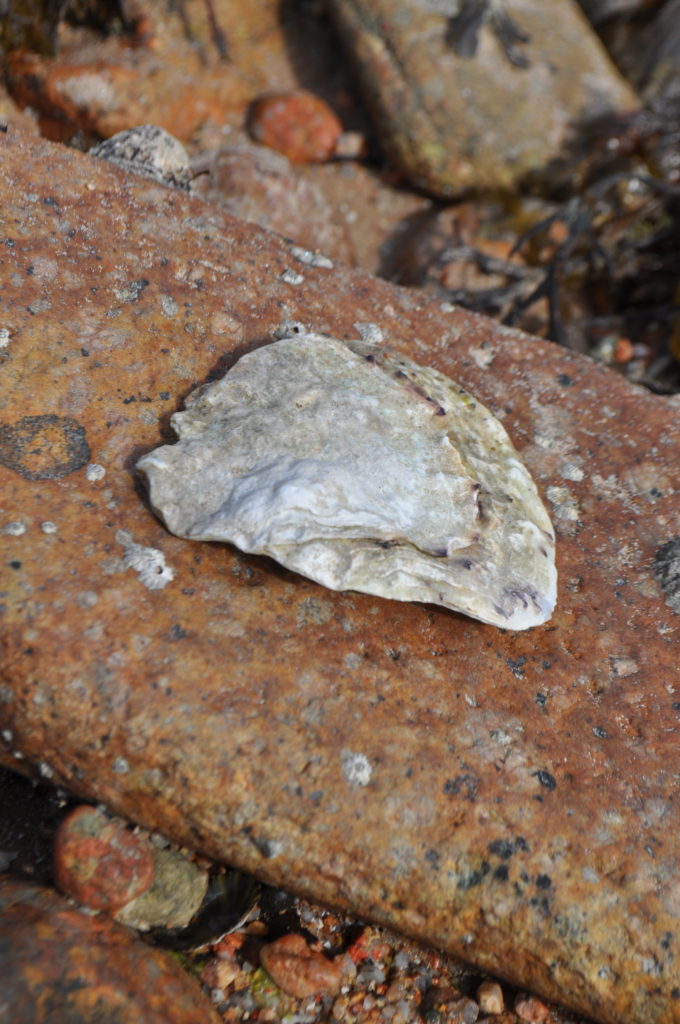
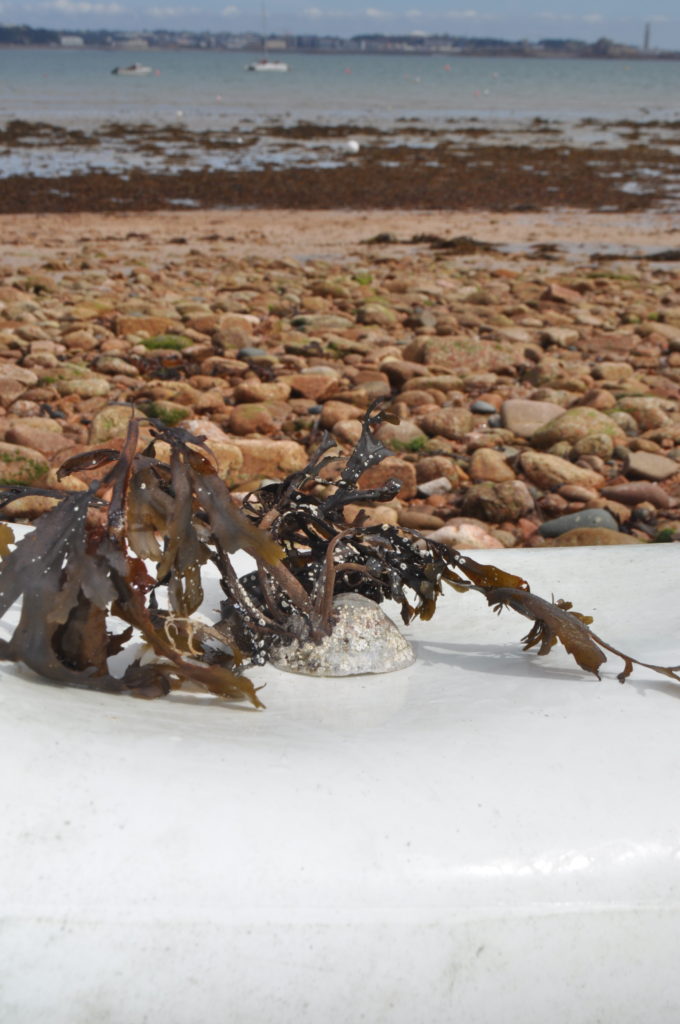
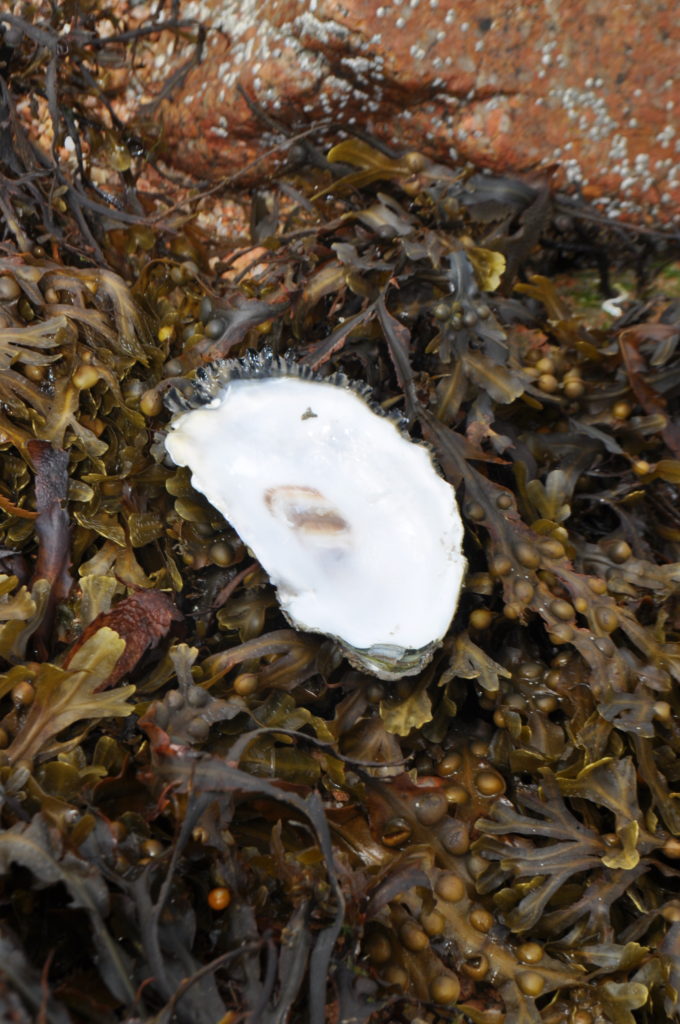
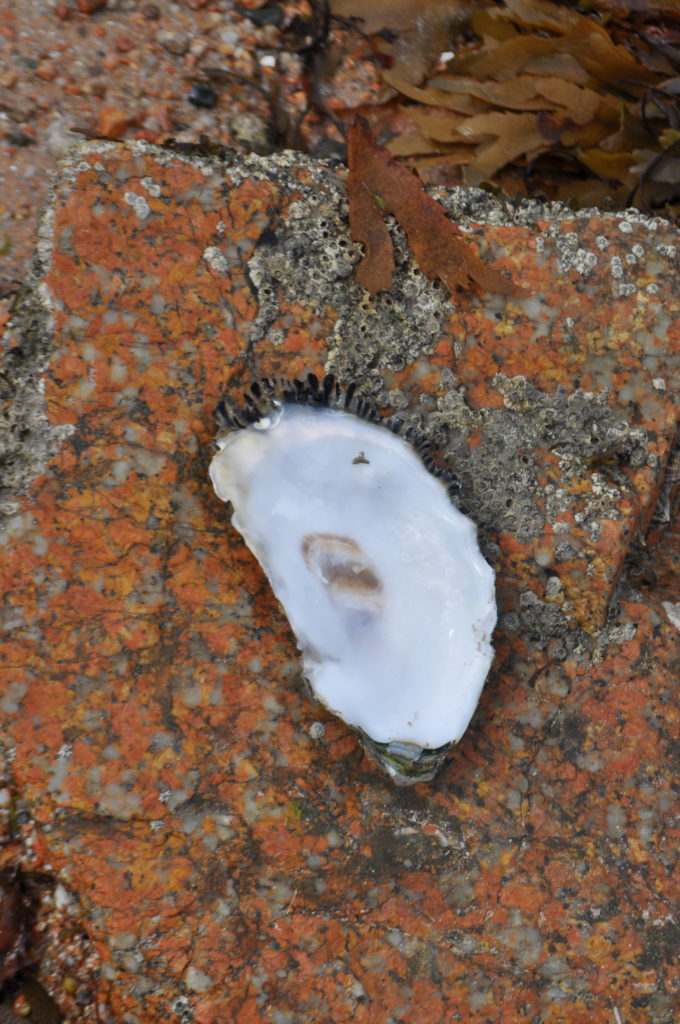
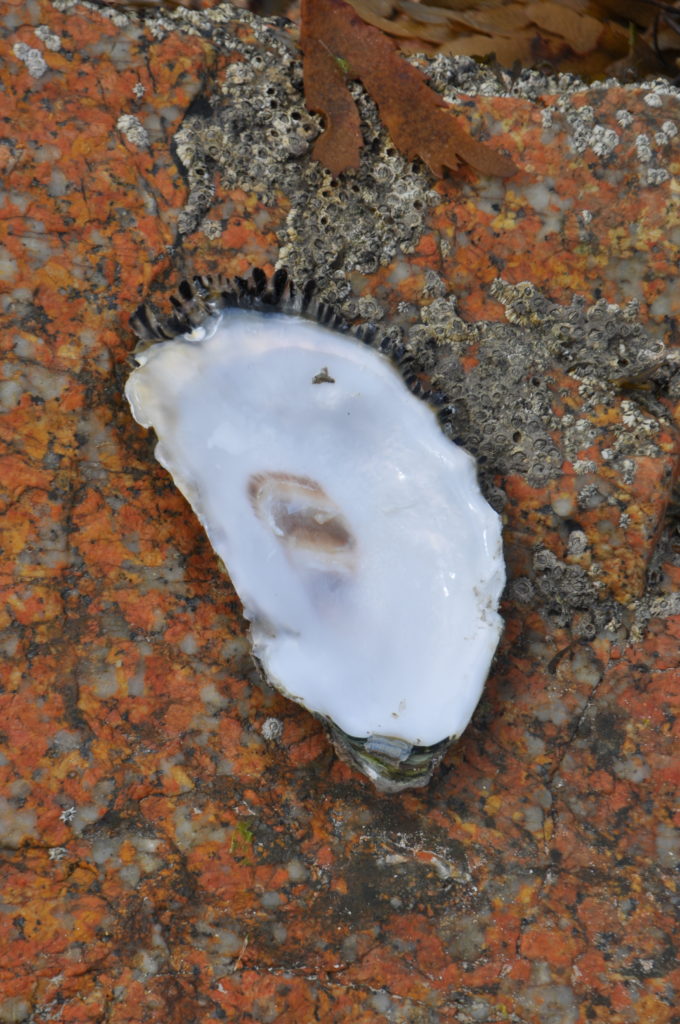
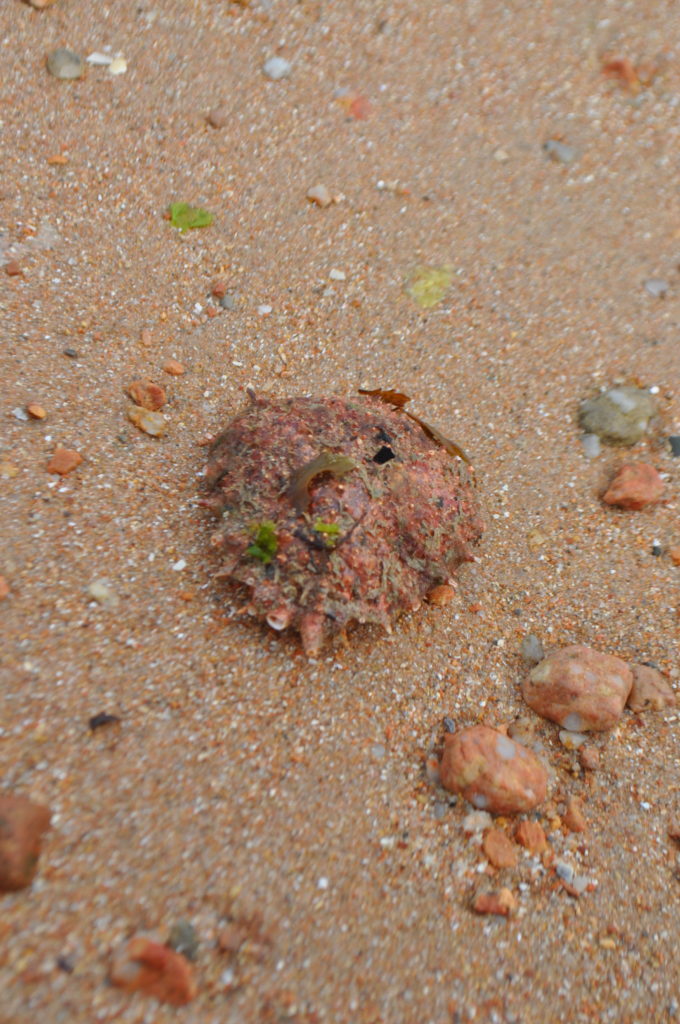
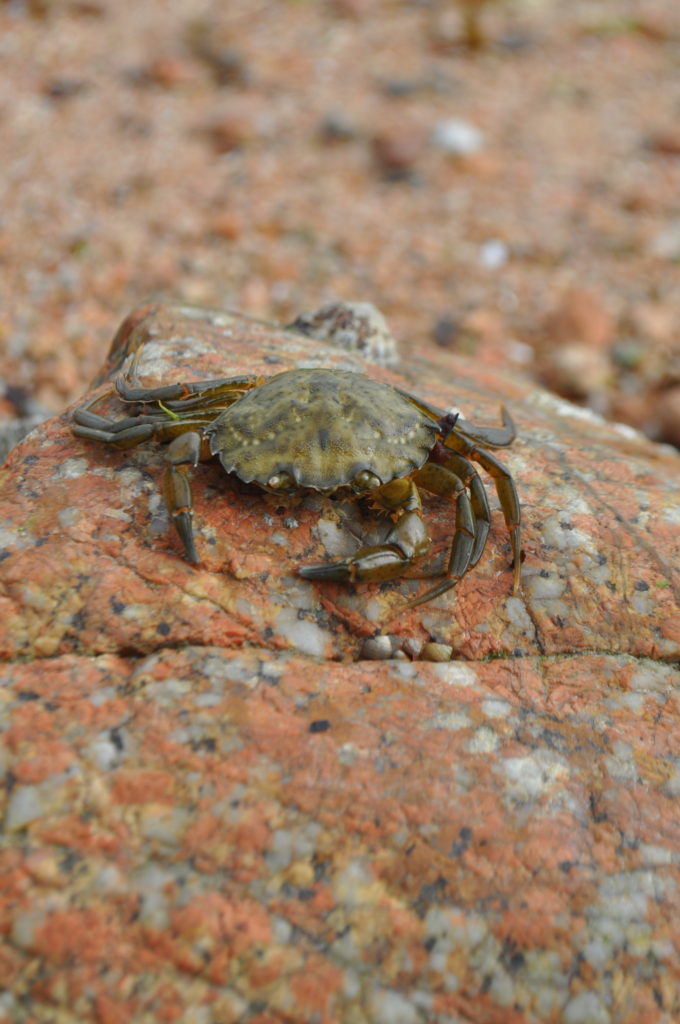
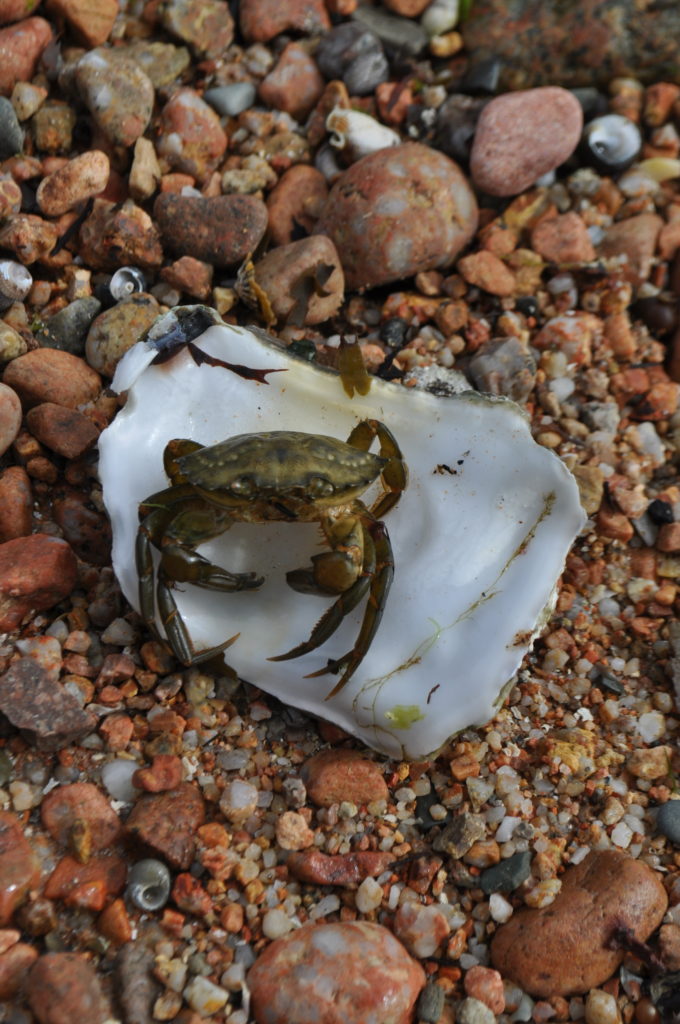
I used a variety of different apertures for the section of the photoshoot that I took on the beach, experimenting with shallow and deep DoFs.
My Still Life Photoshoot(s)
Beach Photoshoot:
Studio Photoshoot:
My Edits (Using Lightroom):
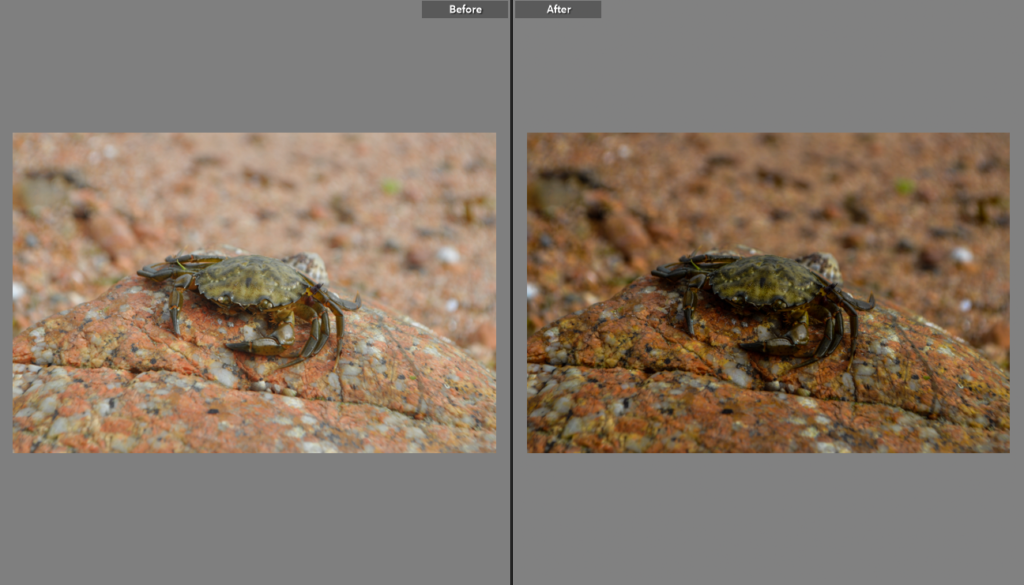
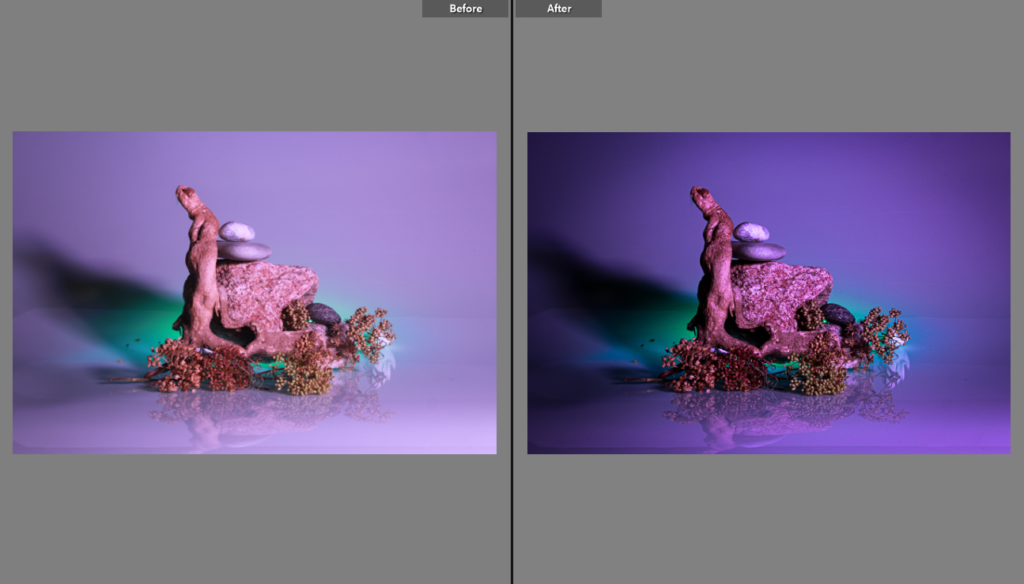
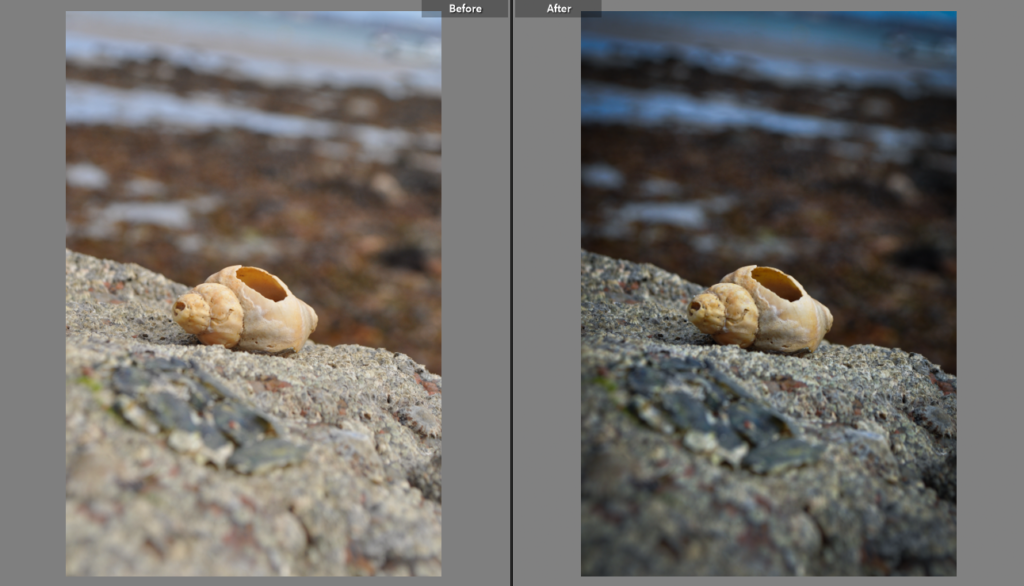
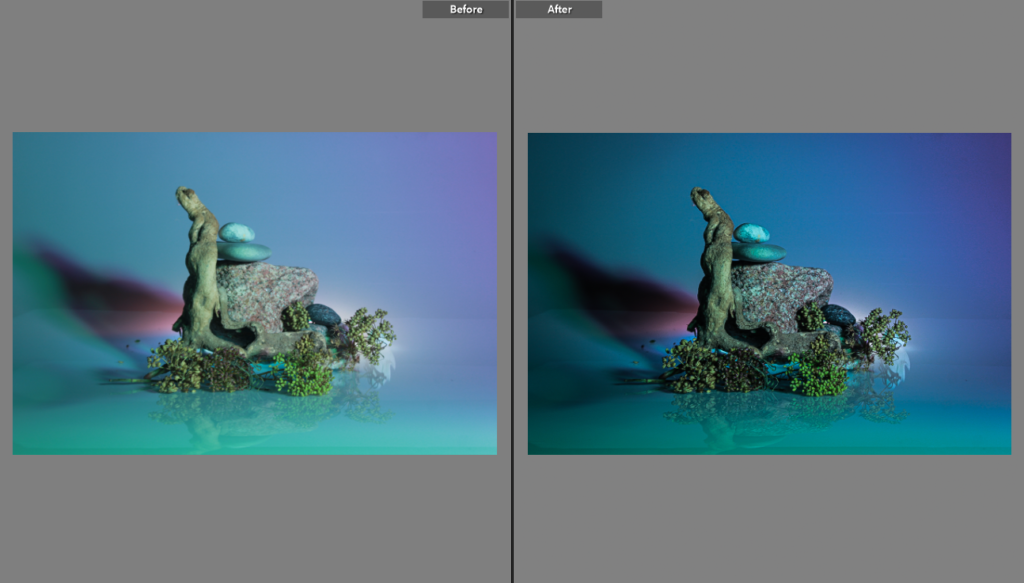
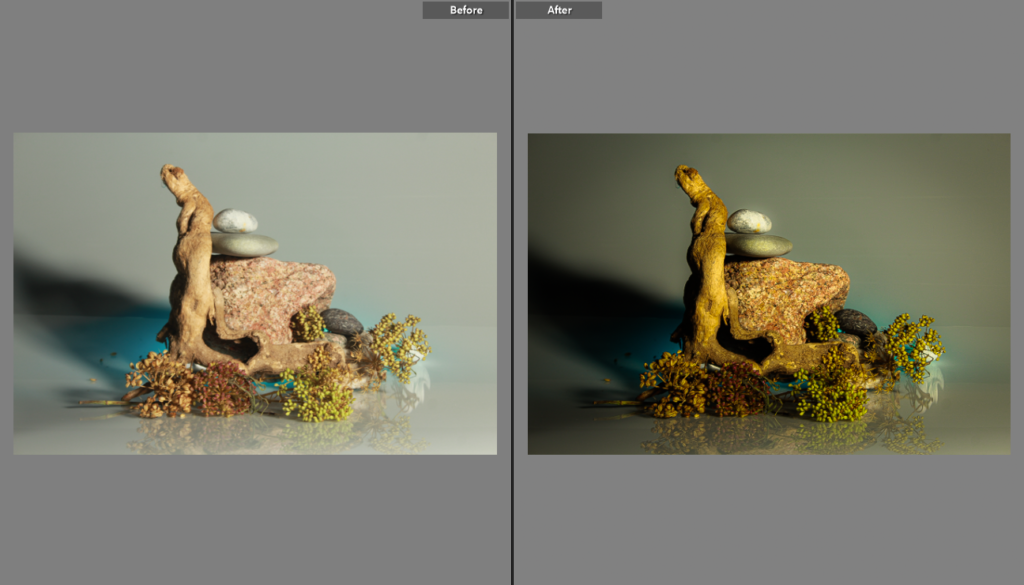
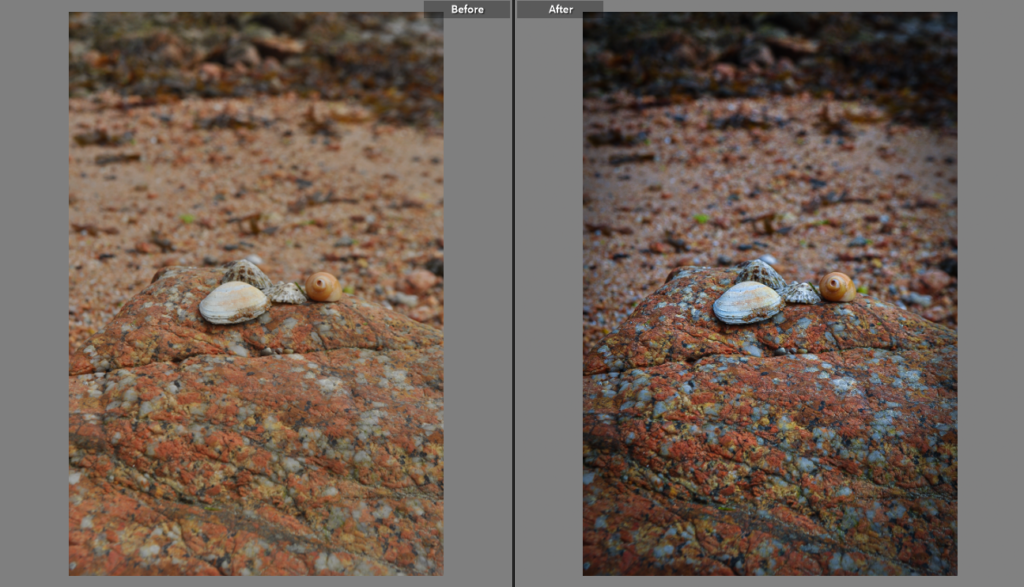
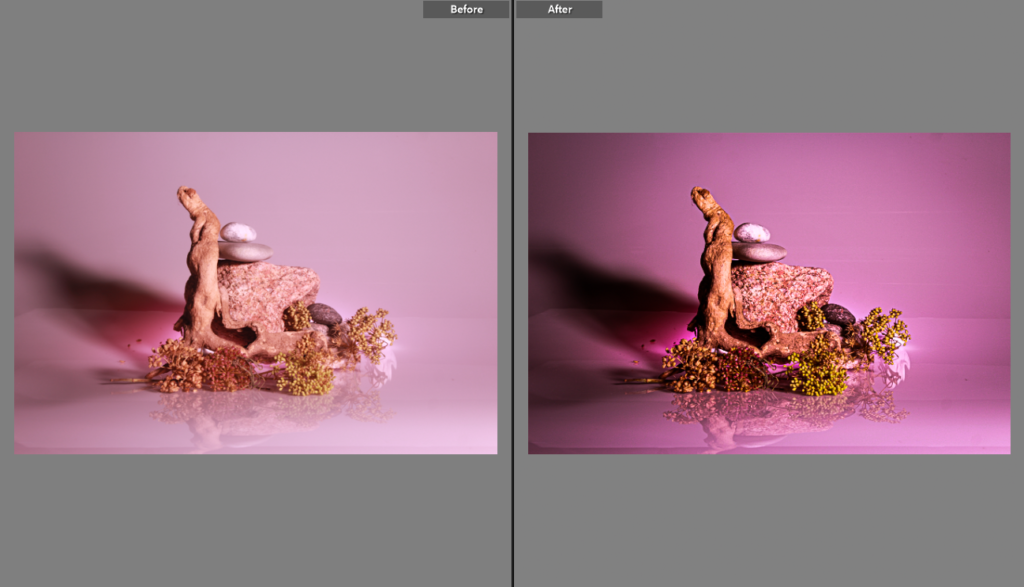
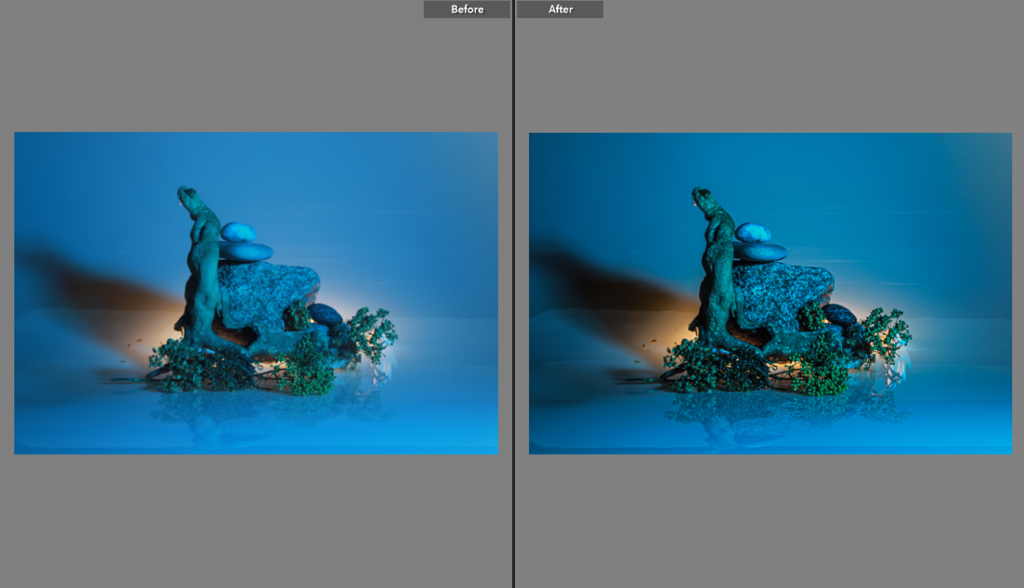
All of these images were edited in the ‘develop’ section in Lightroom. After I finished, I put them into the ‘before and after’ layout to clearly show the improvements I made.

