Importing Images
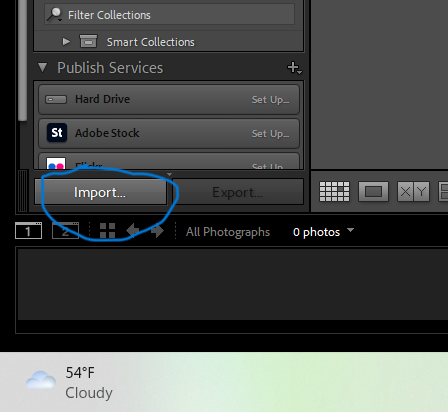
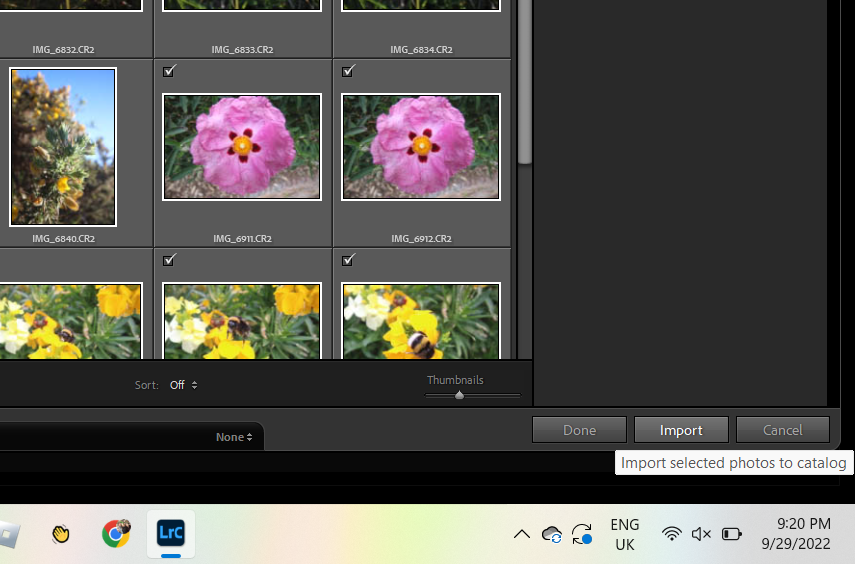
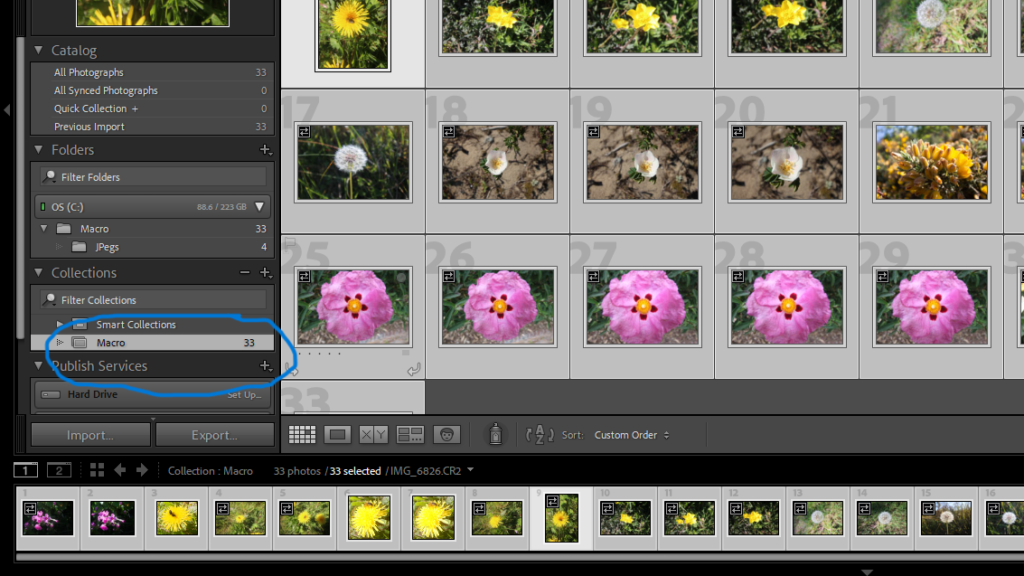
To import images to Adobe Lightroom Classic, first click import in the bottom left-hand corner of your screen. You can then select the photos that you wish to upload to the server. Once chosen click import and you can begin work on your photographs. But first, you should keep yourself organised by creating a collection to separate all your photos into categories.
Collections
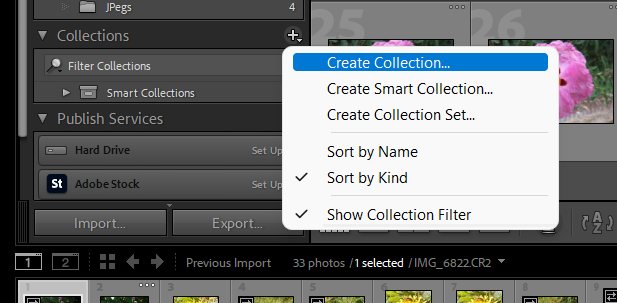
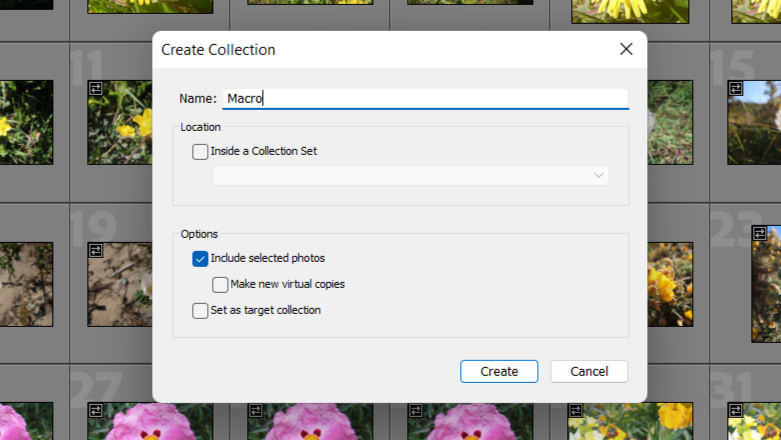
Click on the ‘+’ sign next to ‘Collections’ on the left of your screen, and choose ‘create collection’. Type in the name that you wish to call this and click create. From there, you can move your selected photos into the collection and know exactly where to find them in the future. If you want to transfer all of your photos to a collection, you can use ‘ctrl + A’ and drag them from there.
Library + Quick Develop
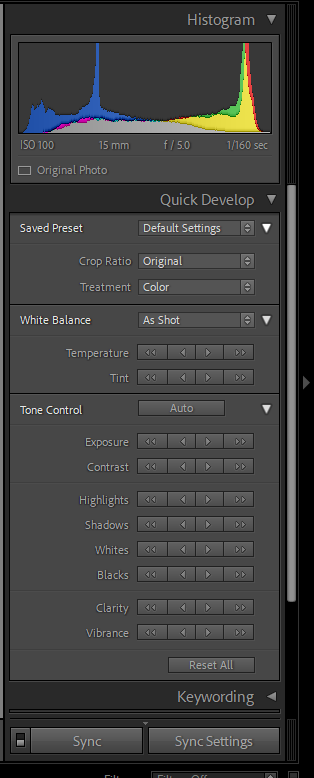
When you first begin to edit photos you can start in the library mode. Here you can click on the ‘Quick Develop’ menu and change the brightness of the photo, the white balance, and the tone; adapting the exposure, shadows, clarity etc. In the top right-hand corner you can see the levels of light intensity (ISO), focal length, aperture, and shutterspeed used to take the original photo. The Library is also where you can change which photo you are working on and decide on favourite photos in the gallery view.
Develop
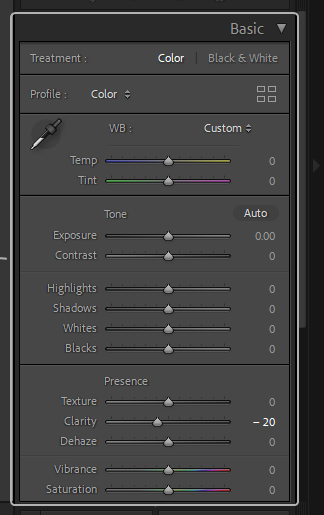
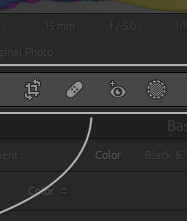
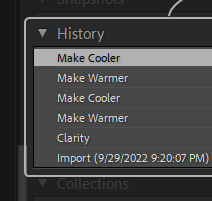
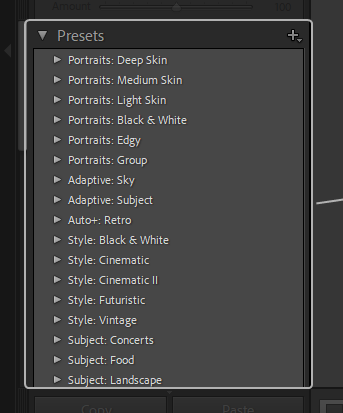
In the ‘Develop’ window, you can edit your photos with more detail. Again using sliders to adjust White Balance, Exposure, Contrast and other tone controls in the basic panel; however, you can also use refining tools such as Red Eye correction and Spot Healing. Using the history panel, you can review the adaptations you have made or revert to previous settings if you prefer other edits. You can also create presets as a way to quickly make adjustments or recreate your work with other images.
