SELECTING PHOTOS
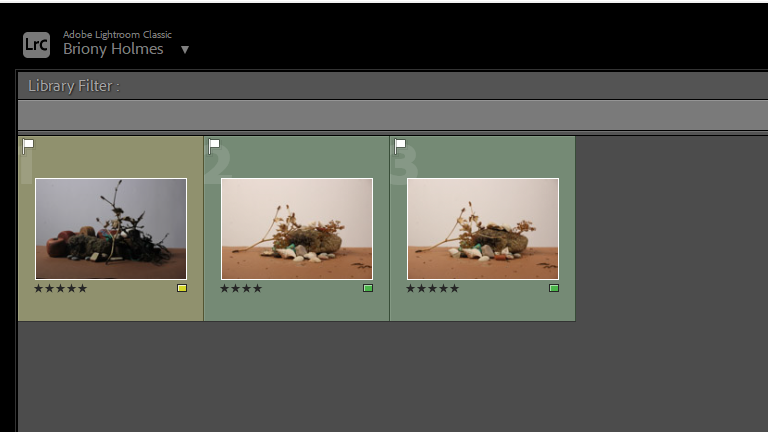
I held down the shift key while clicking the ‘P’ key on the pictures I like and the ‘X’ key on the ones I do not. Now, the ones that I liked have a white flag in the top left corner and black flag for the ones I do not.
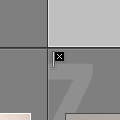
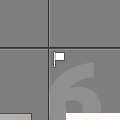
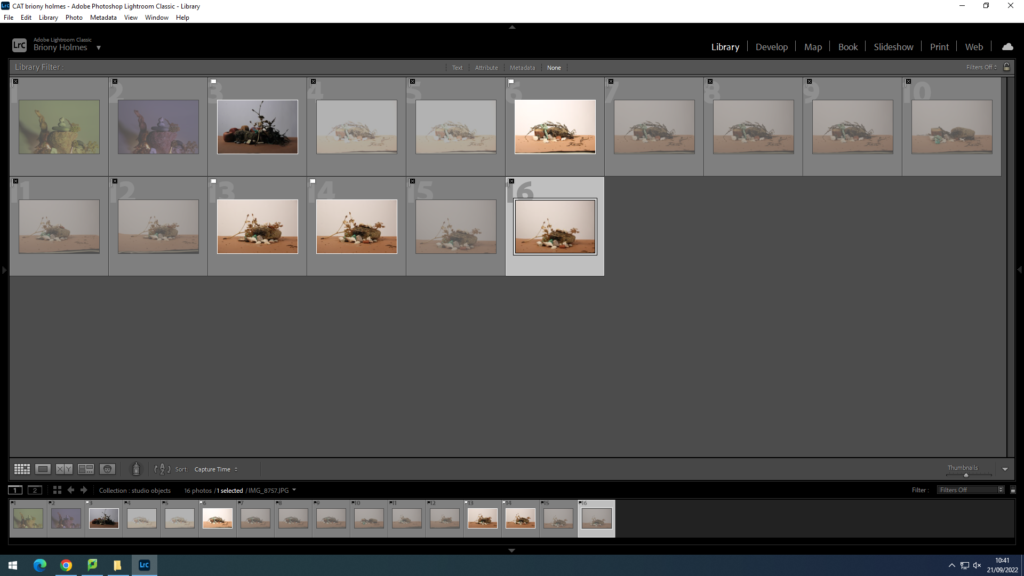
Next, in the bottom right hand corner, use the drop down to change the filter to flagged instead of filters off.
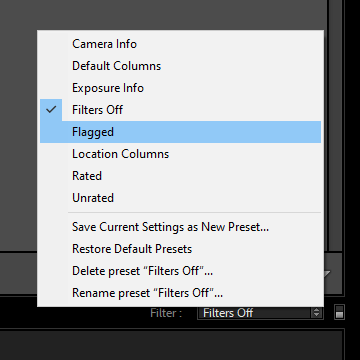
This gets removes the images that I don’t like from being seen.
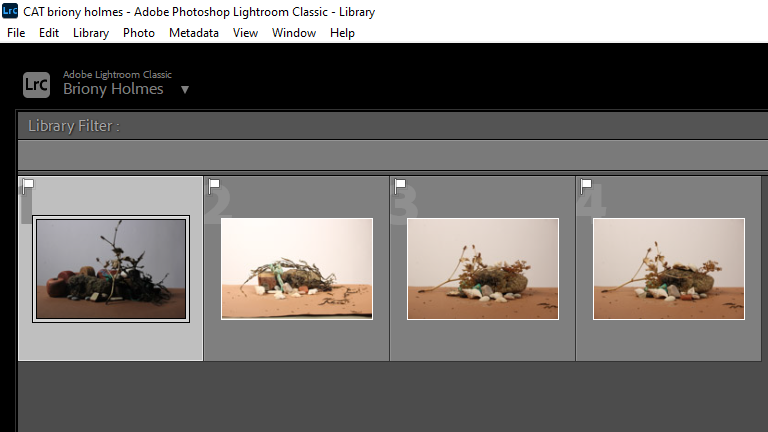
Now I will use the star rating in the bottom left hand corner.
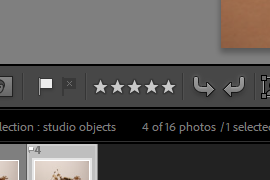
The ones I know I definitely want to use/edit I give 5 stars and the ones I like but are either very similar to others or there is just something slightly off I give 4 stars. Then no stars to my least favourite.
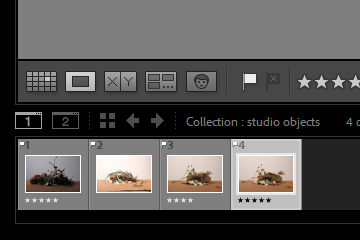
Then, using the drop down again, select the rated filter.
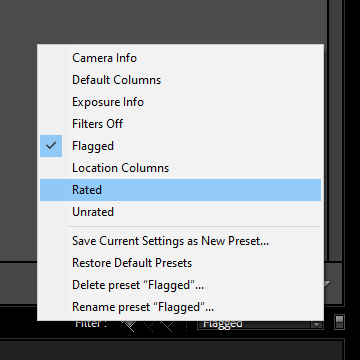
Now only the pictures with over 1 star will be shown.
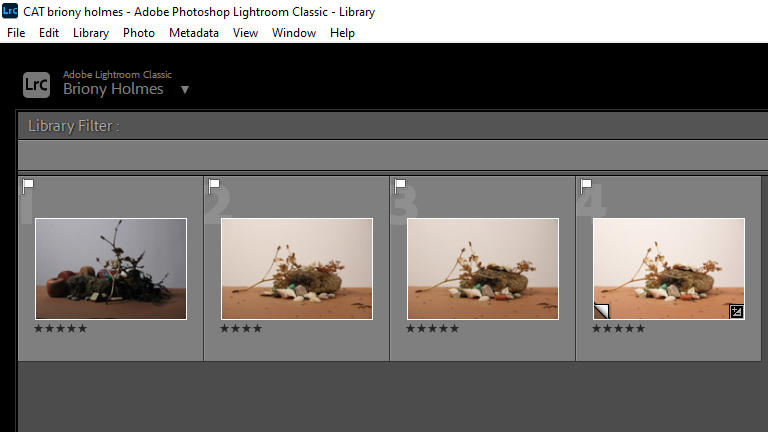
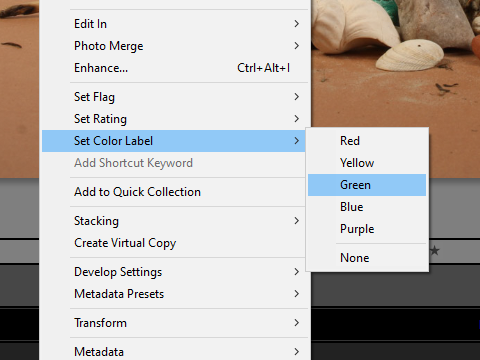
Then, after right clicking, you can colour label each picture, green being your favourite and yellow being your lesser favourites.
Now, when you select those certain colours.
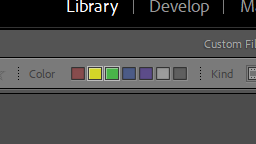
Only those pictures that are colour coded to those colours will show.
EDITING PHOTOS
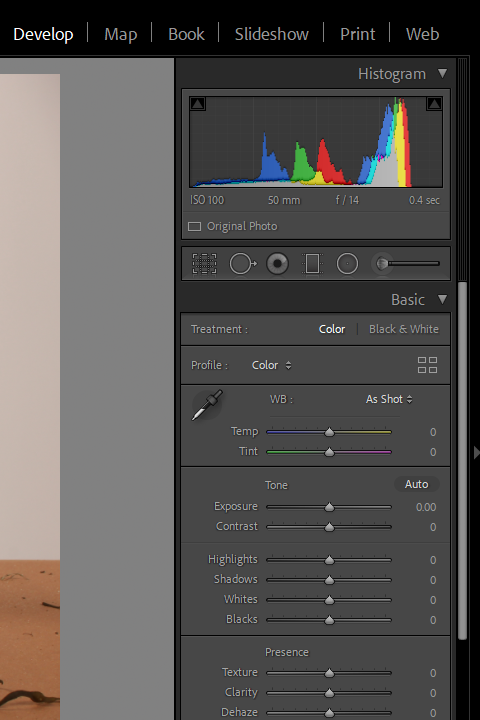
Then, you can go into the develop area (top left of screenshot) and use the tools on the right side to edit the pictures.
EXPORTING
EXPORT LOCATION: set the folder to the same folder as original photo, name it either print (or blog depending on where you want to use the picture).
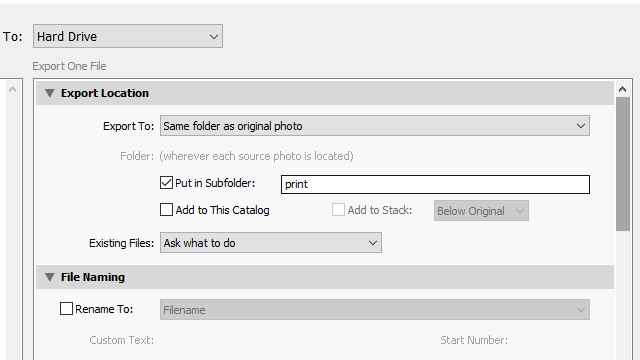
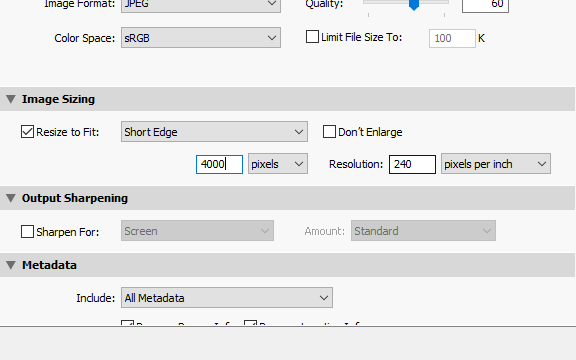
IMAGE SIZING: check resize to fit and select short edge, set pixel size to 4000 (or 1000 for the blog).
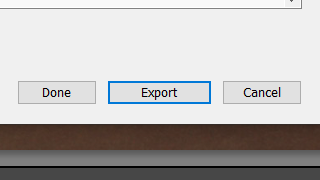
And finally, click export.
