
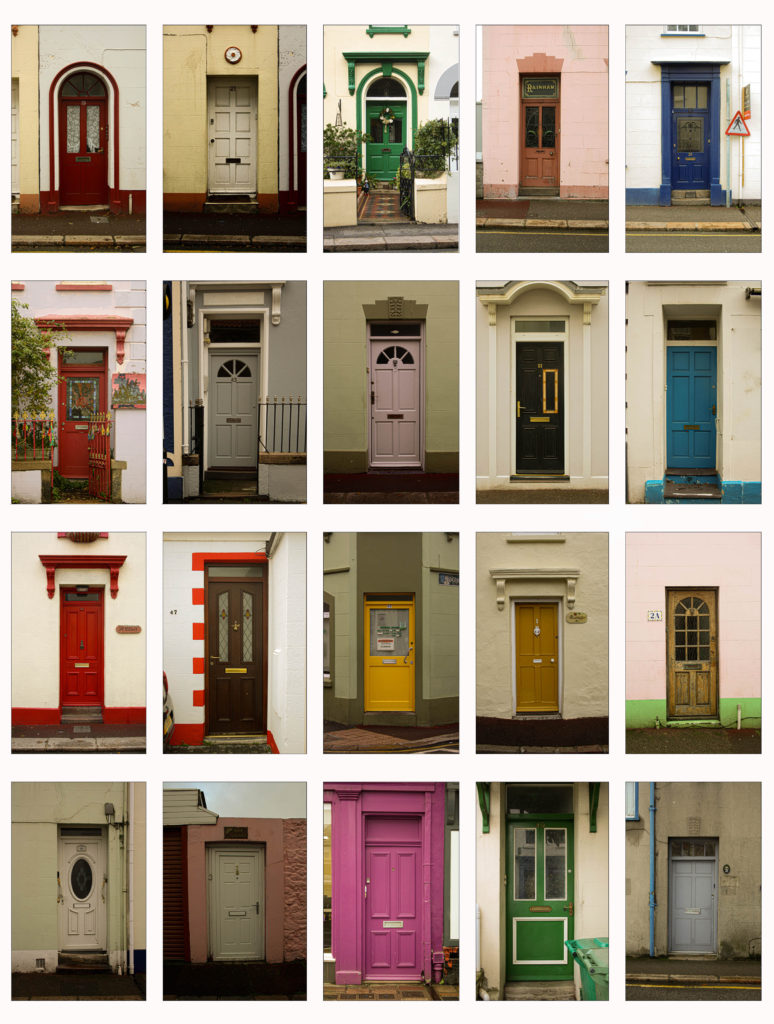
When the colours of the images where altered and similar to each other, I had a theme where they looked similar to each other. However some doors were still slightly not straight because of the angle I originally took them at. I had to align them and comparing one to another so that they were proportional to each other. This was done in Lightroom using crop tool where I changed the angle of some photographs and also cropped them to match the others.
A thing I wish to improve on or which didn’t go exactly to plan was that the sizes of the doors are not exactly the same on the photographs when compared next to each other. This is because some photographs are more zoomed in then others. sometimes it was because I couldn’t have the same distance from the camera to the door each time, but to improve that whenever I do a typology next time would be to get much more photographs or the object with more different length points.
once the images were ready I simply created my own grid in Photoshop by using the rectangle tool to create long white rectangles which were as lines between the photographs. I have then spaced them out evenly, both horizontally and vertically between the pictures. This ensured all images were of the same size.
Creating a GIF
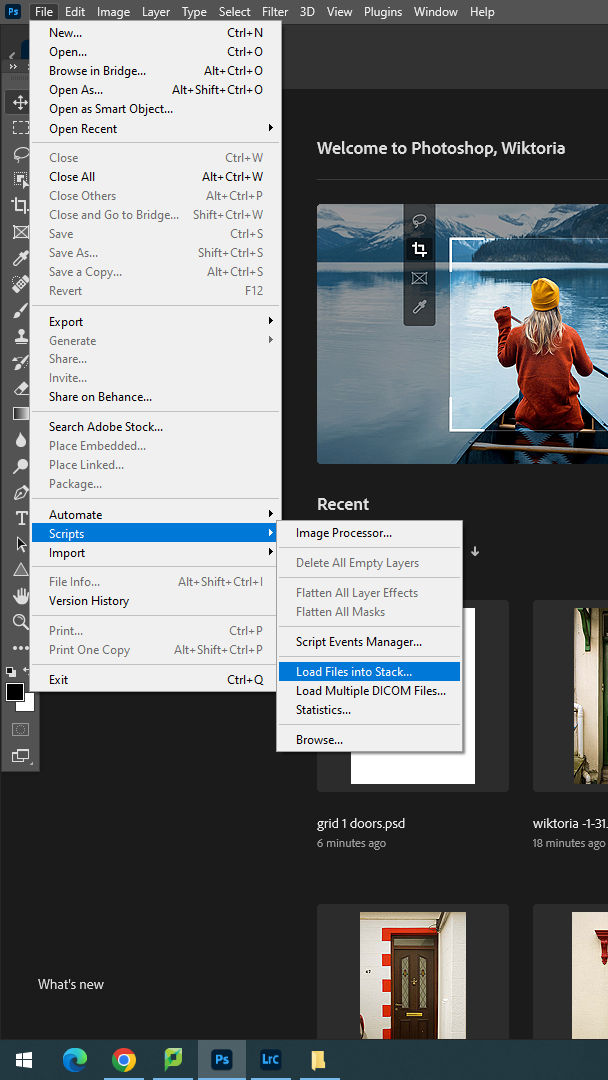
With a couple of the images I decided to have a go at creating a GIF. To do that I firstly in Photoshop selected File-Scripts-Load Filed Into Stock.
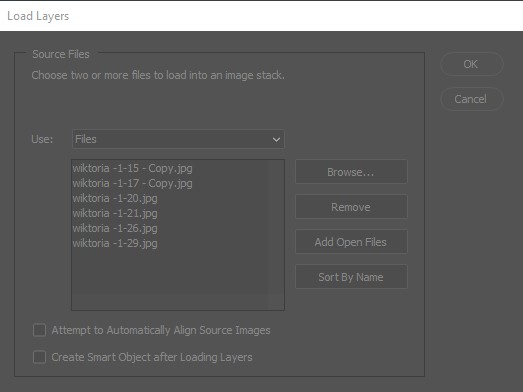
After I was able to select which images I wanted to include, this could of been done with more or less images but i have decide to pick 5.
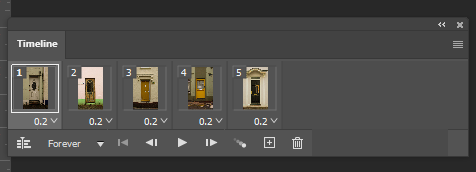
Once the images are uploaded, on the bottom of the screen there an option with an arrow pointing down, this out of all options was selected to Create Frame Animation, in the timeline box what can be edited about the GIF is how fast the images move, this could be very quick or slow, I decided to go with a close to the middle option which made them move fast but still visible to notice what each picture is.

What I had to do next is by clicking the lined box under the X, I made fames from layers.
Then I have changed the time of how quick the images move from one to another. This was because of the arrow below each image. originally it was to 0sec and I changed it to 0.2.
Due to the blog not being able to have larger files uploaded I had to shorten the image size which meant the loop playback was deleted. tTis is what I could upload: