
Lightroom:
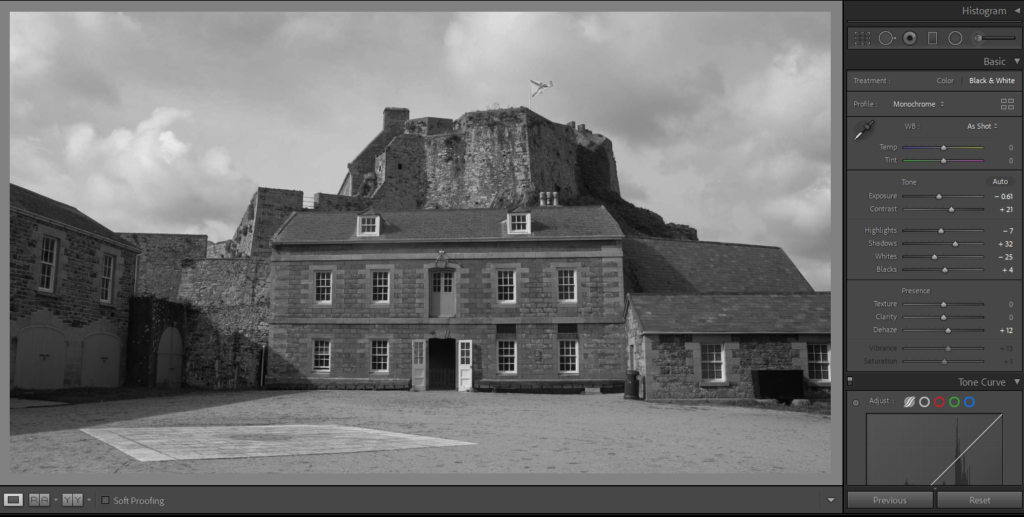
To edit all of our photos, we used Lightroom where we could enhance all of the features to create a mood within each image. We edited our images and decided that they would be more fitting to our short film in black and white. We also used Lightroom to resize the images for adobe premiere.
Adobe Premiere:

Premiere Pro is designed for a video editor’s post-production workflow. It’s equipped with a suite of powerful editing tools for content creators and filmmakers to organize and edit video files as well as to enhance and fine-tune audio and image quality.
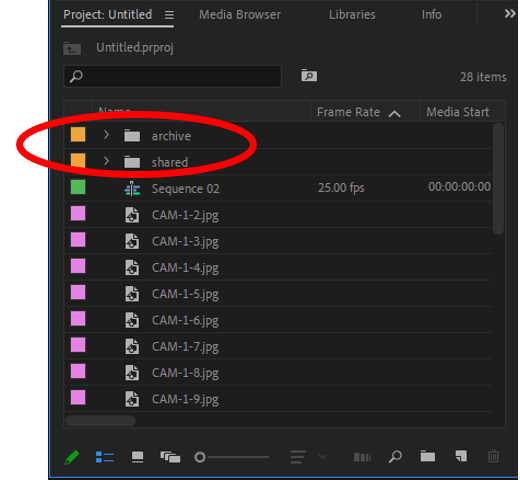
Due to out short film only being still images, I started by importing all of the final edits into Adobe Premiere Pro. II created sub folders for my images so it would be easier to find my images.
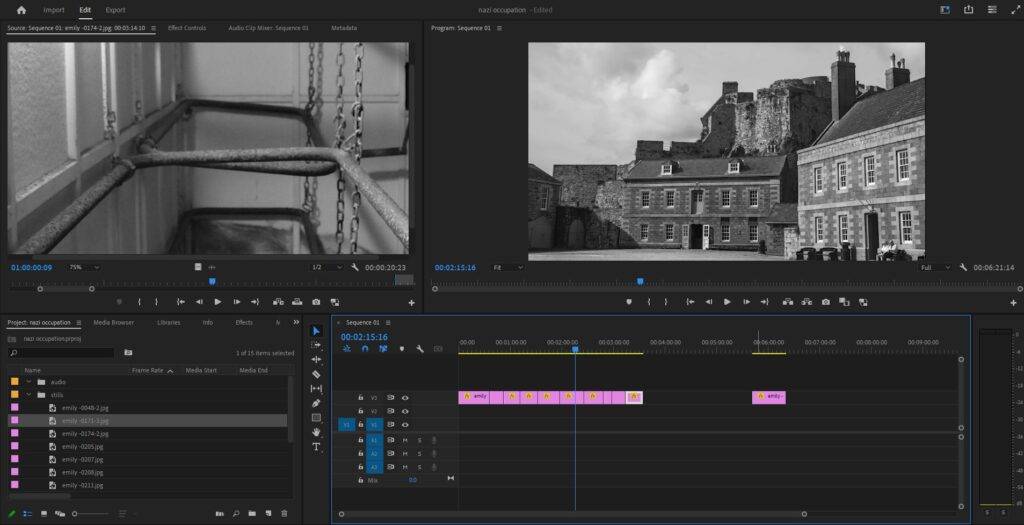
When importing all of the images into Adobe Premiere, each image was zoomed in, therefore we had to scale every image to the right size. we could also use the scale to crop out part of the image we do not want in the short film.
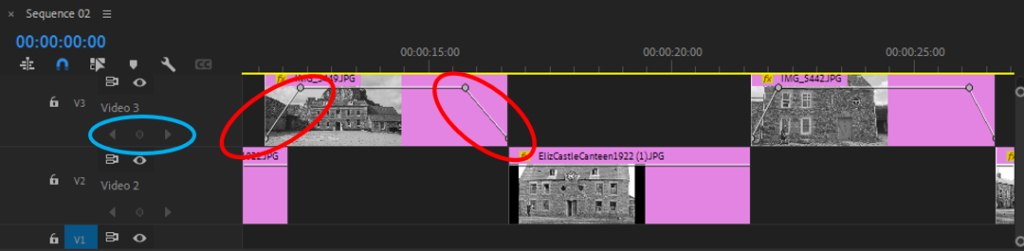
I created transitions between each image to allow all the photos to flow together. I did this by adding key frames. I opened up the top bar and on each image a would add four key frames. The first two would be on a inclining angle where as the last two would be on a declining angle, this creates a fade between each frame.
Adobe Audition:
On Adobe Audition we played around with sounds and started creating the audio for our short film.
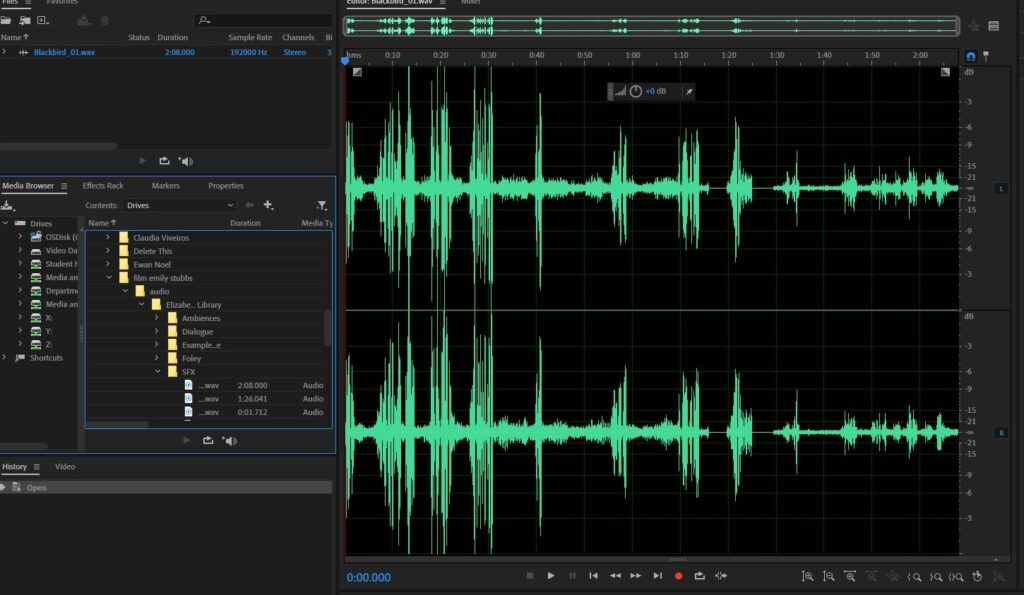
During the lesson where we were being taught how to use adobe audition, we learnt how to cancel out background noise and add in sound effects. the audio was collected from our visit to Elizabeth castle. My aim is to enhance the audio to make it clear while ensuring it fits in with the Nazi Occupation theme.
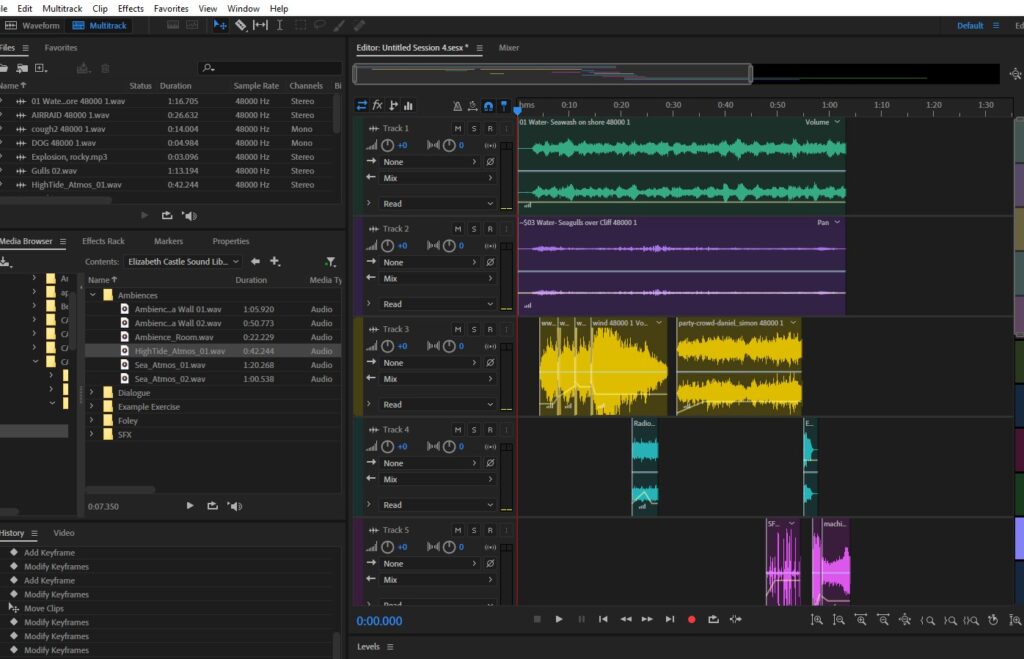
Using the ‘multitrack’ feature I began to layer different sounds including ambiances and SFX to create a suitable audio file for the short film.
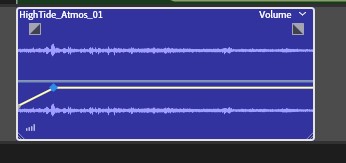
Using the sound bar I was able to adjust the volume of the clip allowing the sound to slowly get louder or quieter and could be faded in/out. This meant that there were no harsh transitions between sounds.
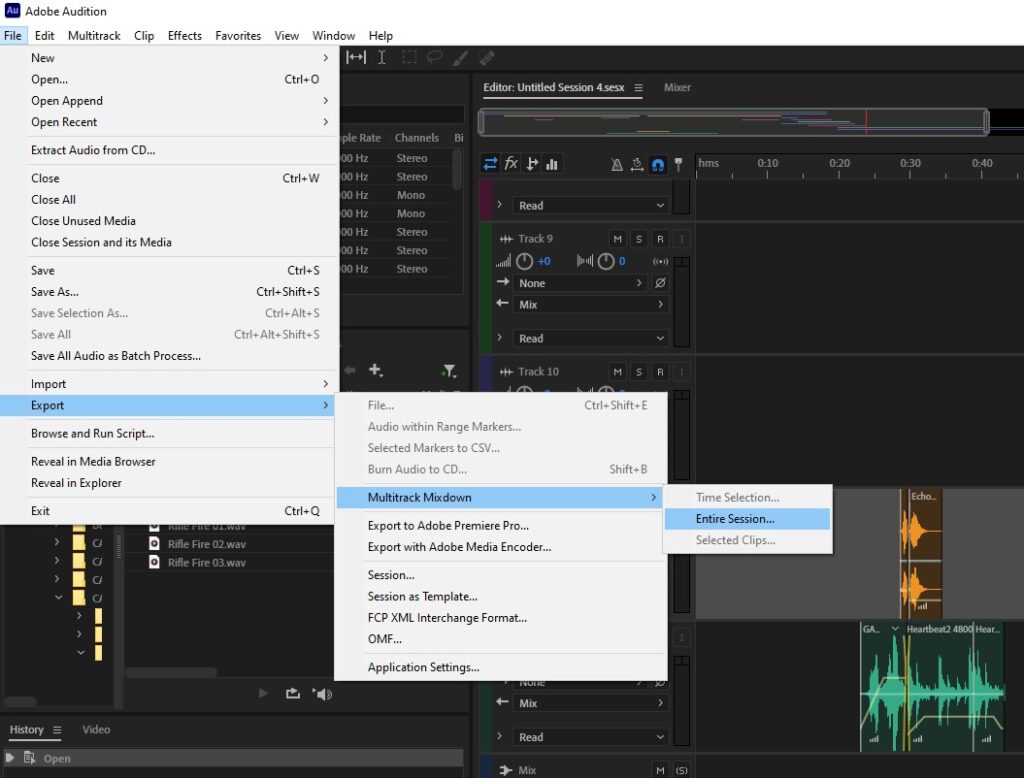
Once i was happy with the audio I had created I needed to import it for the film but first had to comprise all the sounds into one. I did this by going FILE>EXPORT>MULTITRACK MIXDOWN>ENTIRE SESSION and then save it as a file ready to export it onto the film.