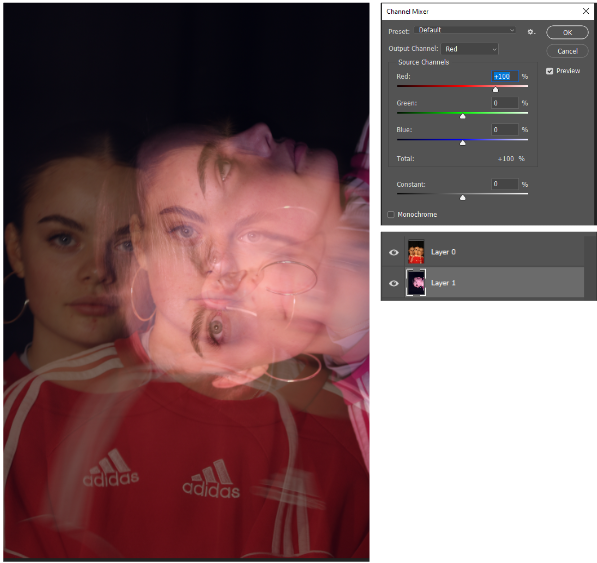
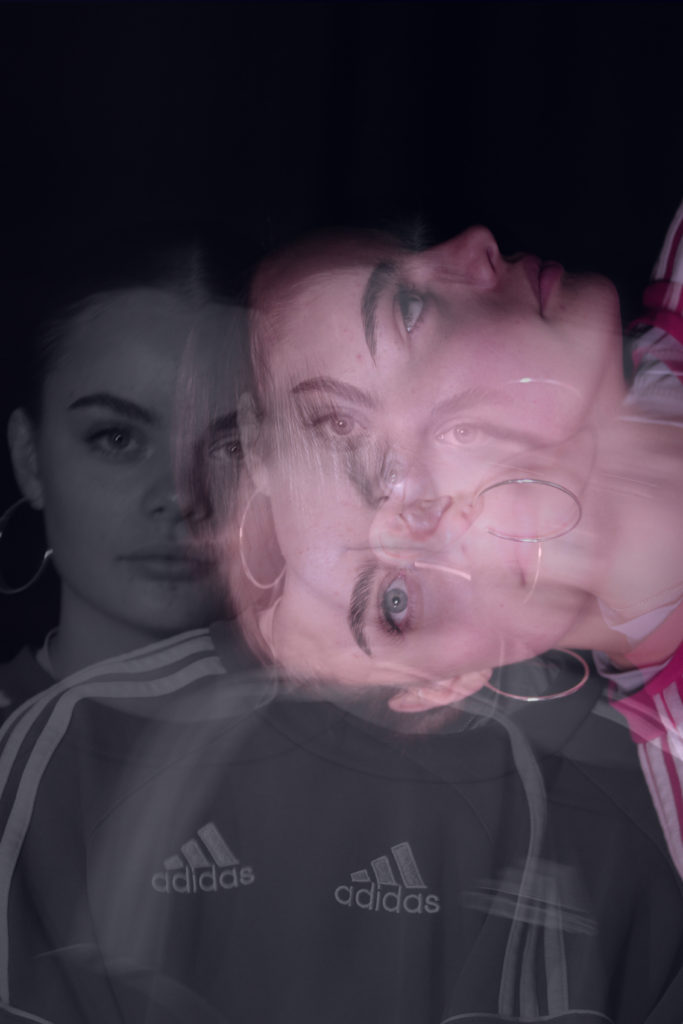
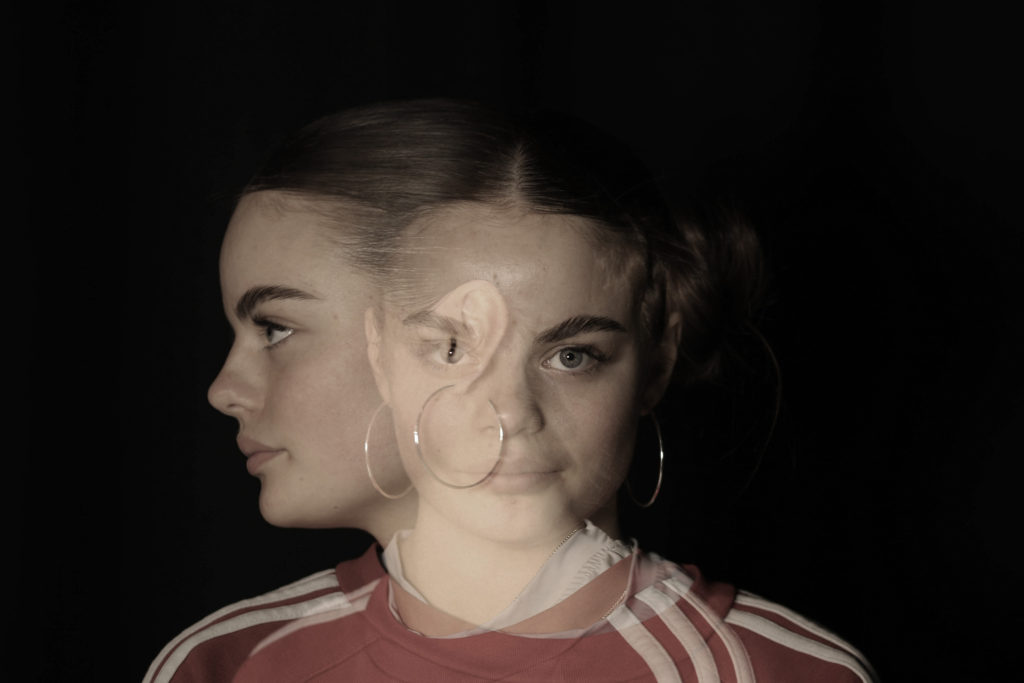
Diamond cameo

I chose to experiment and to diamond cameo as I wanted to practice and expand my knowledge on photoshop. Its also very different do any other styles of photography/portraiture I had seen, therefore, I wanted to research and explore.

Background on diamond cameo/ Henry Mullins:

Henry Mullins is one of the most prolific photographers represented in the Societe Jersiase Photo-Archive, producing over 9,000 portraits of islanders from 1852 to 1873 at a time when the population was around 55.000. The record we have of his work comes through his albums, in which he placed his clients in a social hierarchy. The arrangement of Mullins’ portraits of ‘who’s who’ in 19th century Jersey are highly politicised.
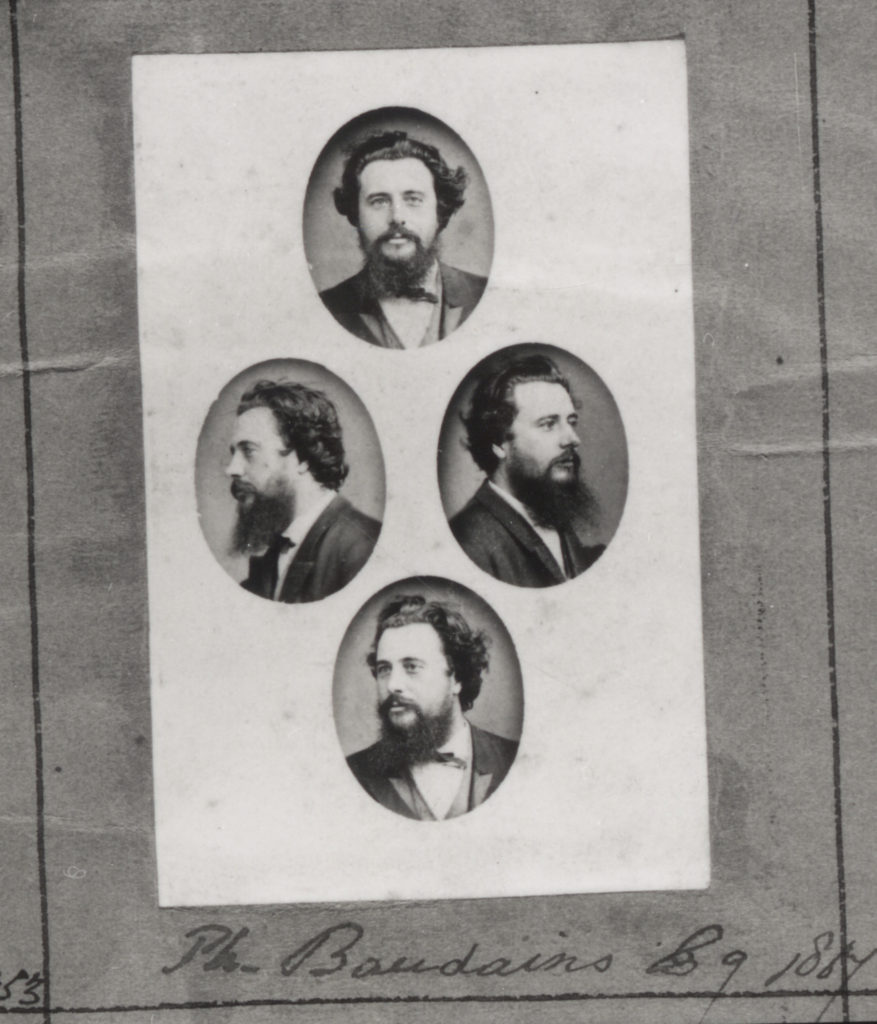
A photo zine was created by Société Jersiaise Photographic Archive that presents a selection of images from its historical collection. This link shows some spreads from ED.EM (photo zine):  ED.EM.03 Henry Mullins / Michelle Sank – on the social matrix

My take on diamond cameos:

By using the elliptical marquee tool on photoshop I could create the diamond shape onto my portraits, I experimented by firstly using a singular portrait and duplicating the shapes to allow me to flip/ rotate the other duplicates to create an almost symmetrical outcome. I then went on to choose four separate portraits and create a diamond cameo, I struggled slightly to make the shapes the same size for each portrait however to overcome that problem I figured a way to use the first shape as a template to ensure all diamonds were identical size.

Edit one: (using one portrait, continuing to flip and rotate)
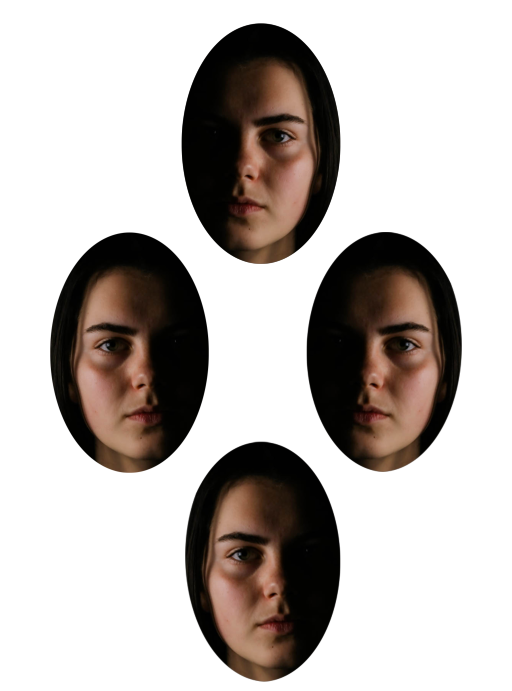
Edit two: (using four different portraits)
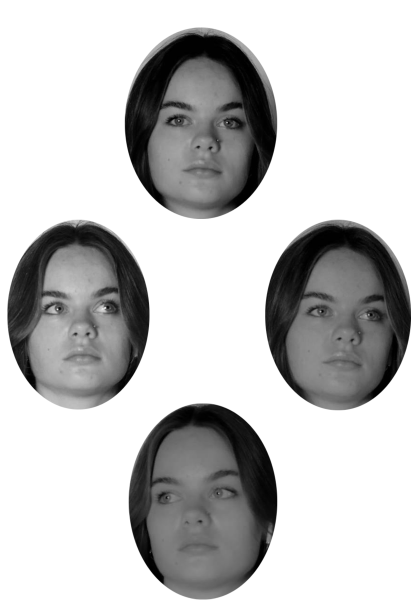
Edit three: ( using three portraits however flipping one)
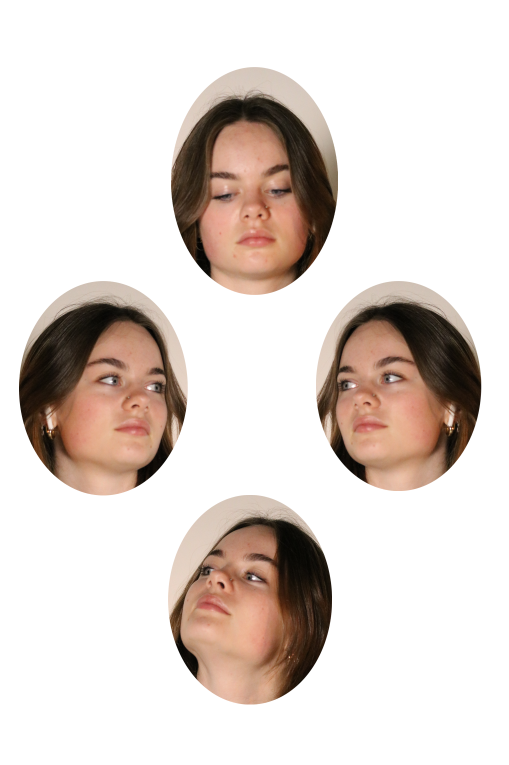
Edit four: (Black and white duplicate of edit three)
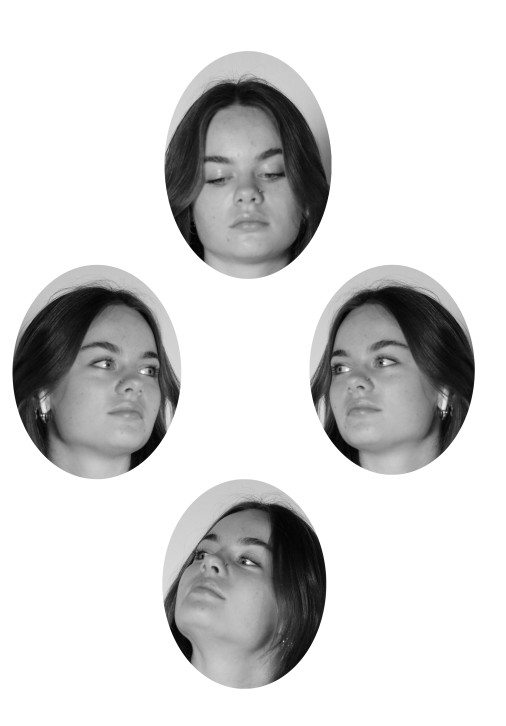
Montage photoshoot

I chose to do photo montage as I enjoy making the image and being able to use my creativity. There’s also no main rules on how you should create the montage.

Research/ information about Photomontage

It is the process and the result of making a composite photograph by cutting, gluing, rearranging and overlapping two or more photographs into a new image. Artists who demonstrate photomontage: John Stezaker, Thomas Sauvin and Kensuke Koike. These artists were not my inspiration as I mainly used photoshop instead of physically cutting and sticking.

My take on photo montage:

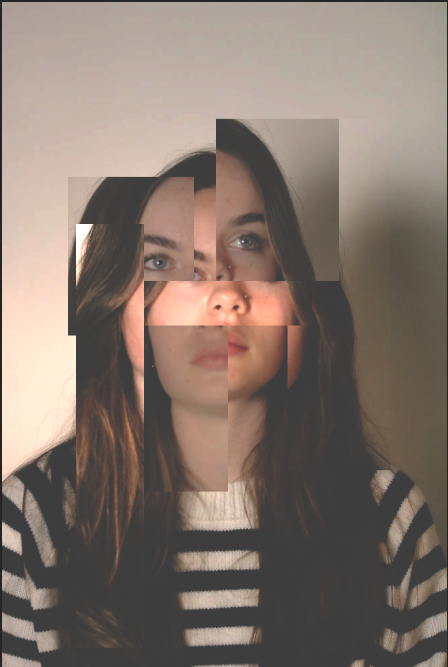
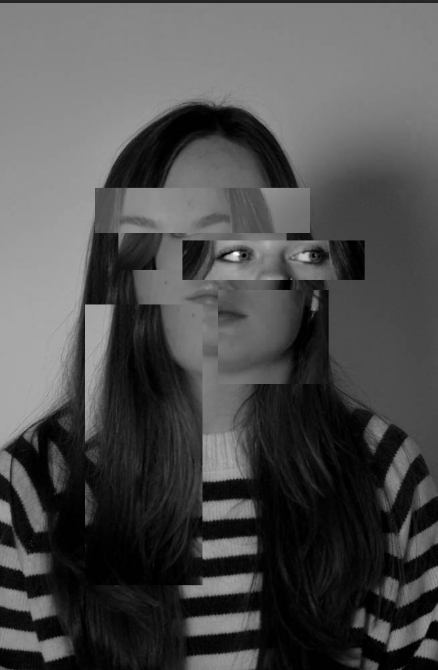
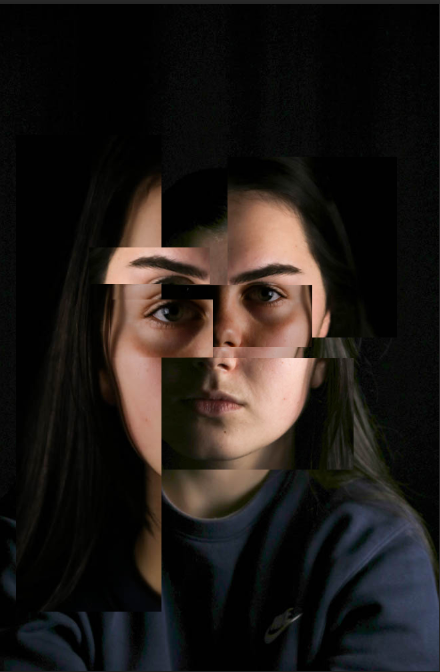
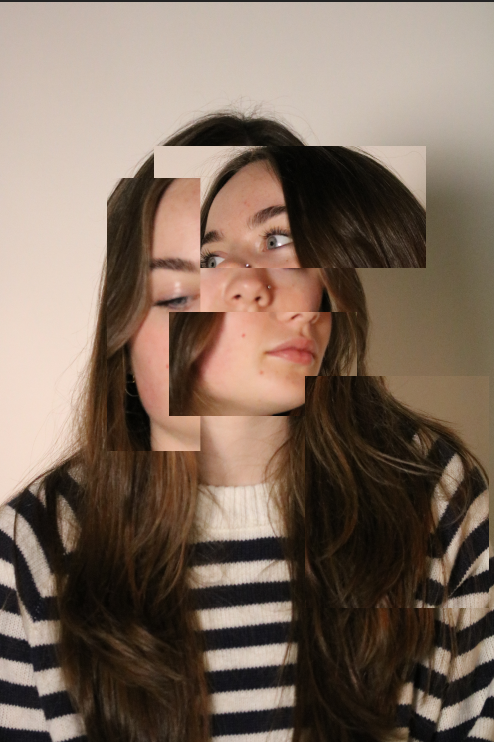
Using photoshop I snipped certain squares out of portraits and overlapped/ re-arranged them onto an image.

I started by taking a range of simple portraits and different angles.

Edit one:

Edit two:

Edit three:

Edit four:

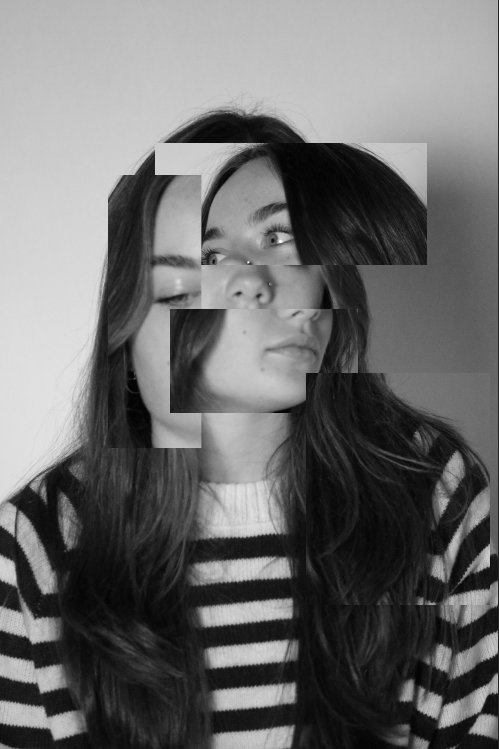
Edit five (black and white version of edit four):

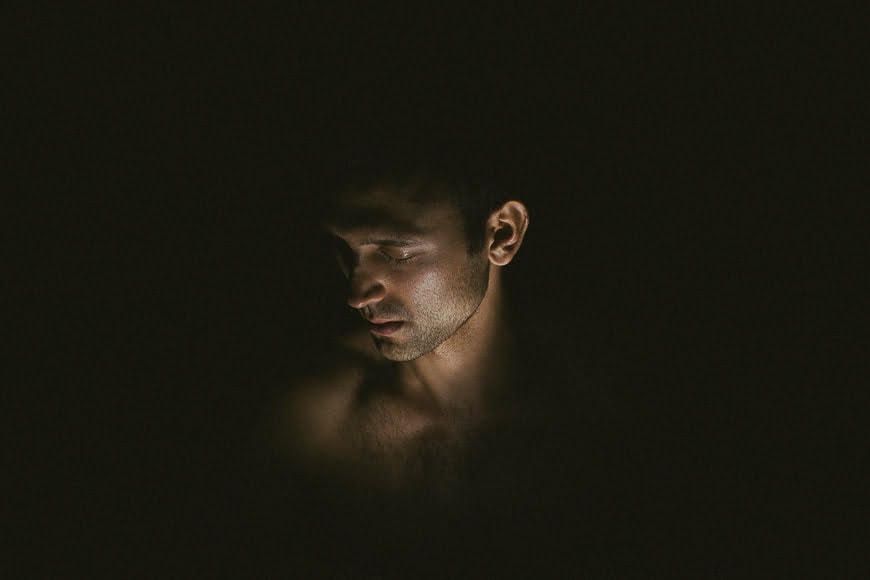
Back light / rim light

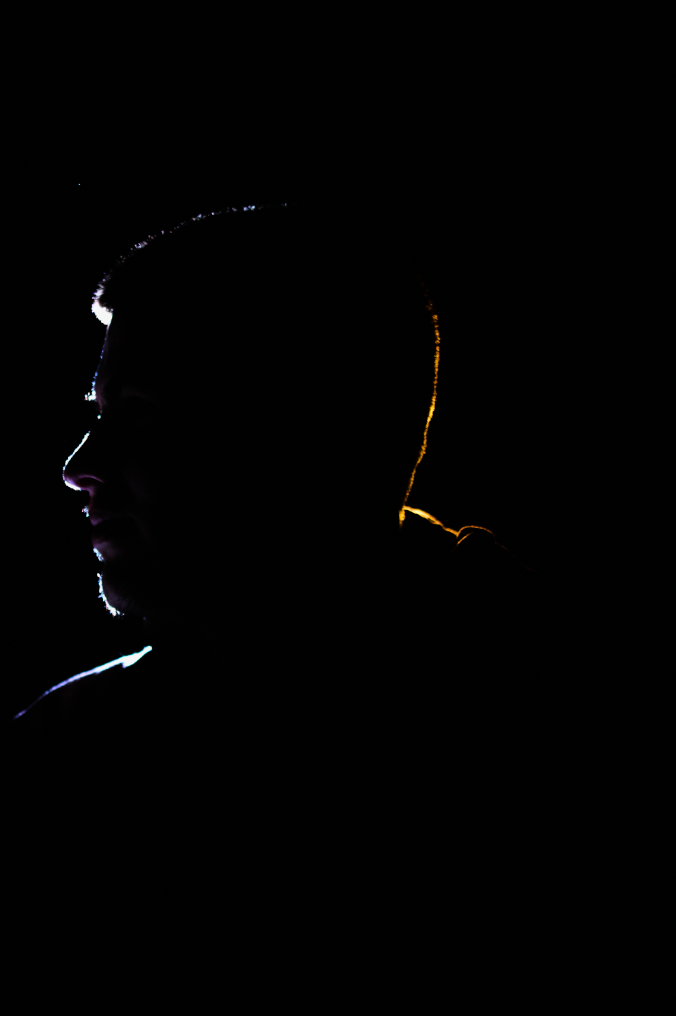
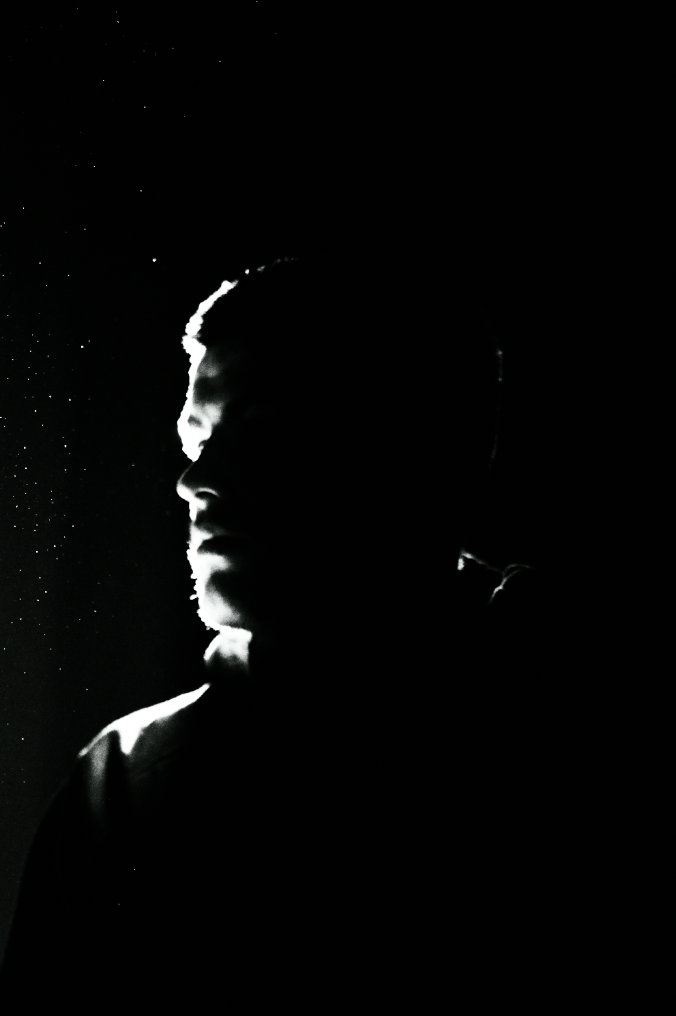
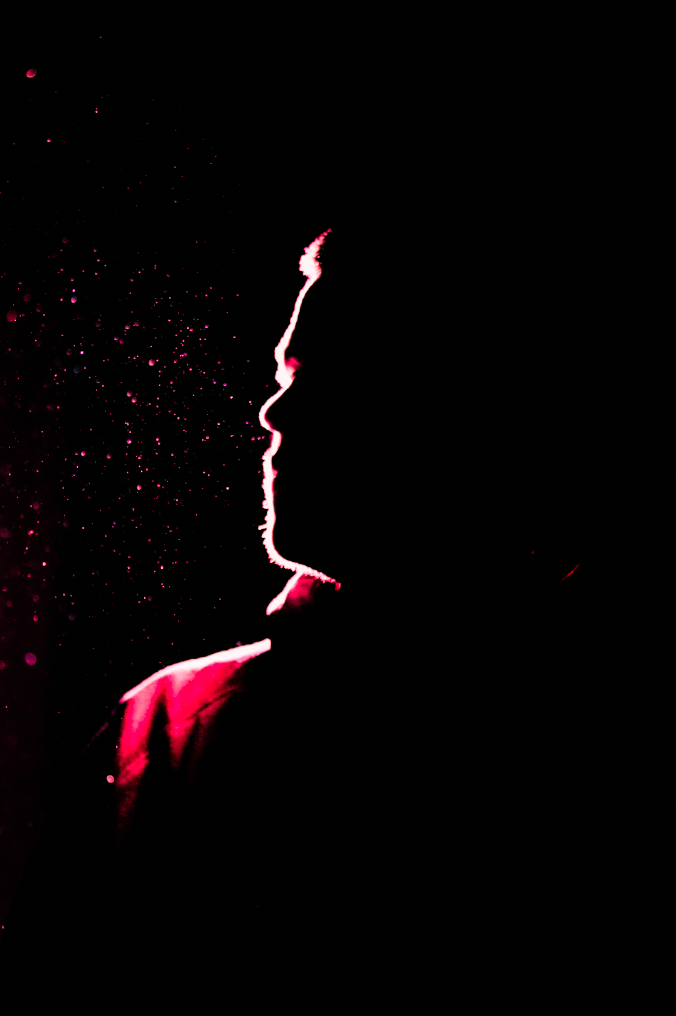
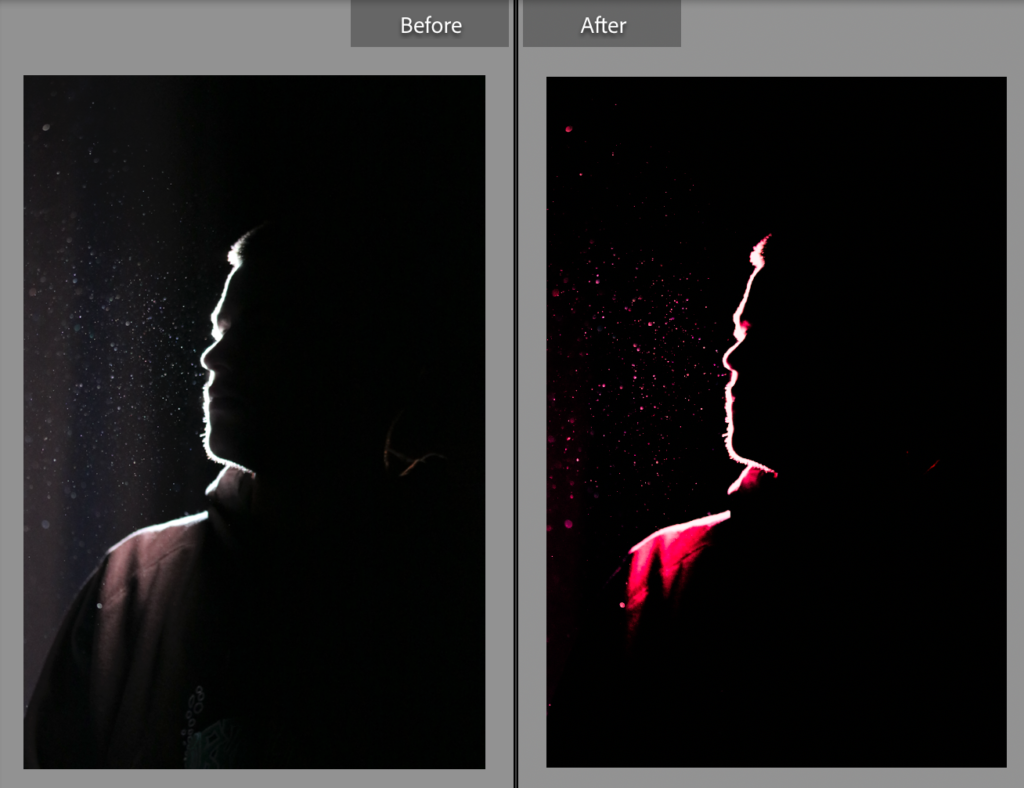
I created these photos by placing a continuous light behind the model in a dark setting to create a outline around the outskirts of his face, i’m happy with the outcome of the photos however if i was to do this again i would get a larger and brighter light highlight the whole upper body as on the first image you cant se the whole head as the light isn’t powerful enough.

Chiaroscuro Lighting

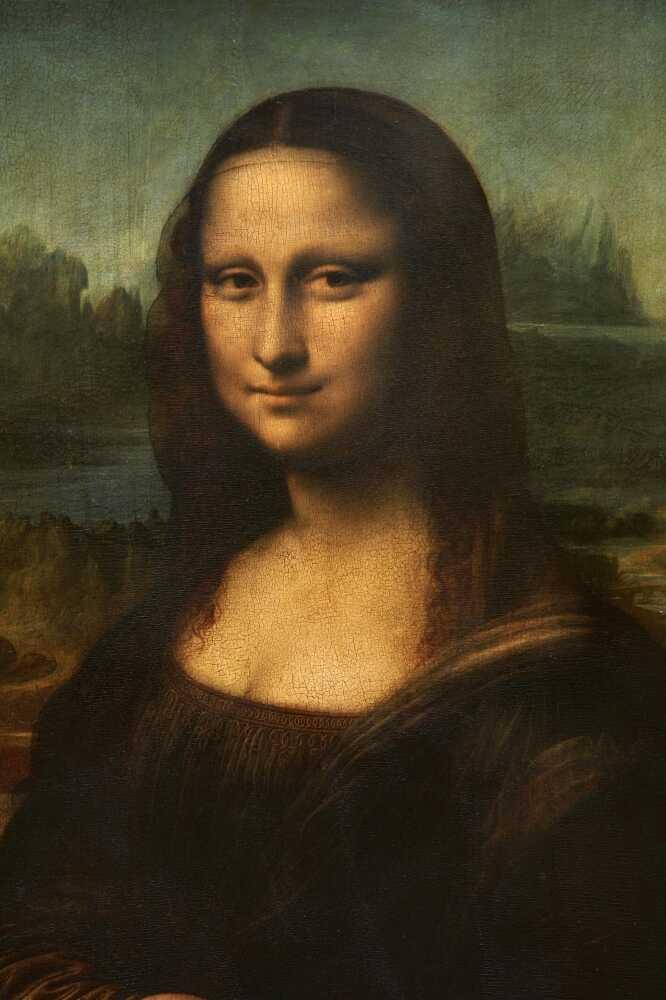
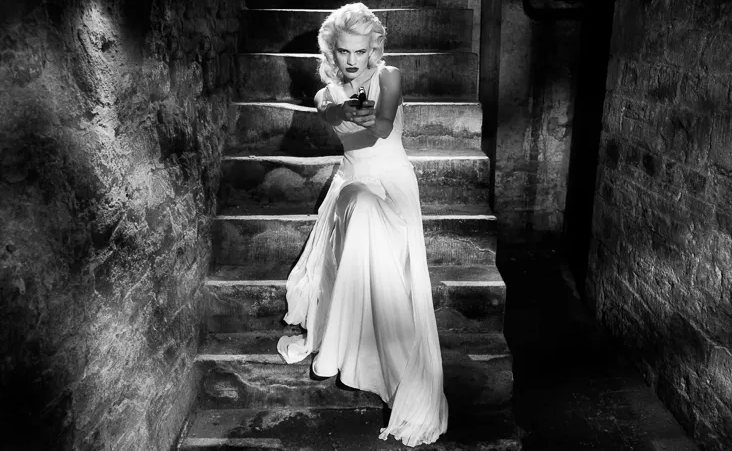
Chiaroscuro is a high-contrast lighting technique that uses a key light to achieve dark backgrounds with starkly lit subjects.

Leonardo da Vinci is among the old master artists who developed the chiaroscuro technique. The world famous painting The Mona Lisa is an excellent example of this.

The opposite of chiaroscuro lighting is: Flat lighting. Flat lighting is: Highly diffused, slow falloff, highly transparent shadows.

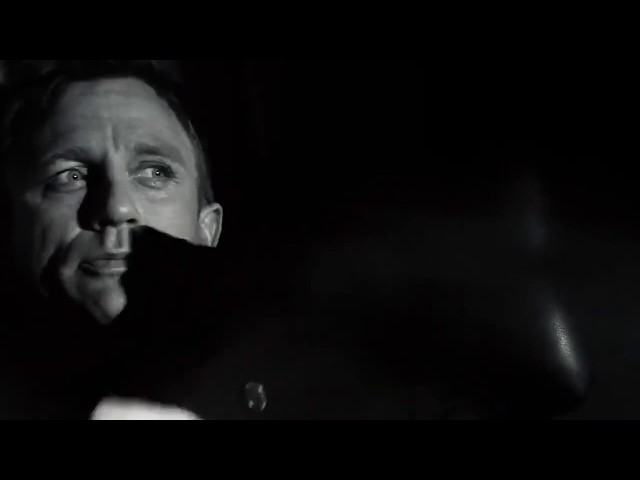
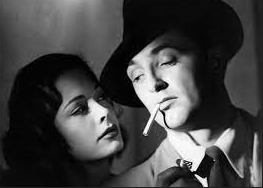
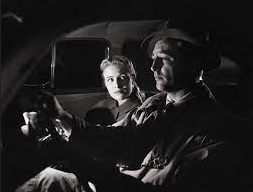
Chiaroscuro lighting can be seen in Film Noir, which is a style or genre of cinematographic film marked by a mood of pessimism, fatalism, and menace. The term was originally applied to American thriller or detective films made in the period 1944–54.

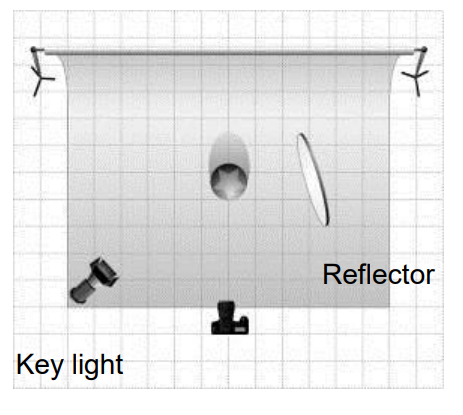
The set up to achieve chiaroscuro lighting, is quite similar to Rembrandt lighting, however this light source would be much sharper and the image produced would have to be quite dark and defined, meaning a diffused box wouldn’t specifically be used.

Environmental Photoshoot

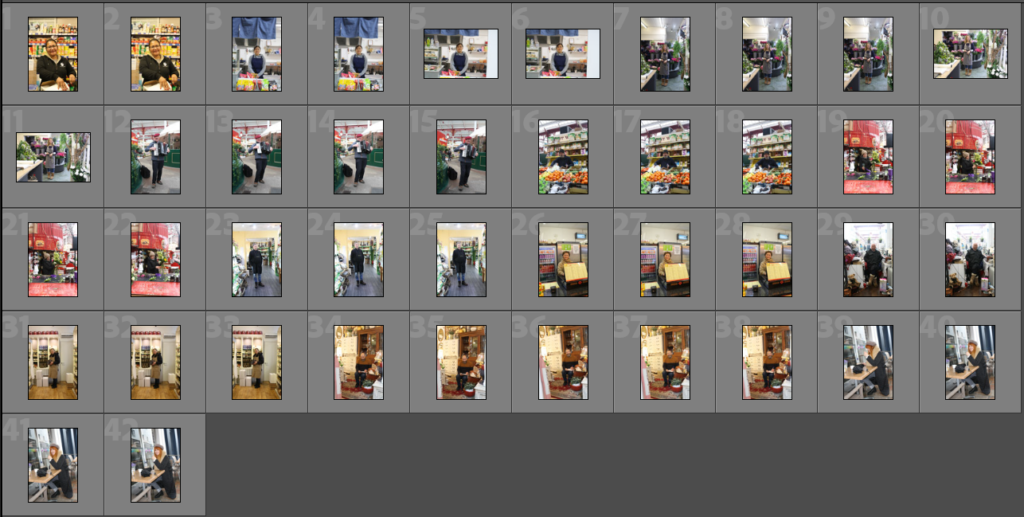
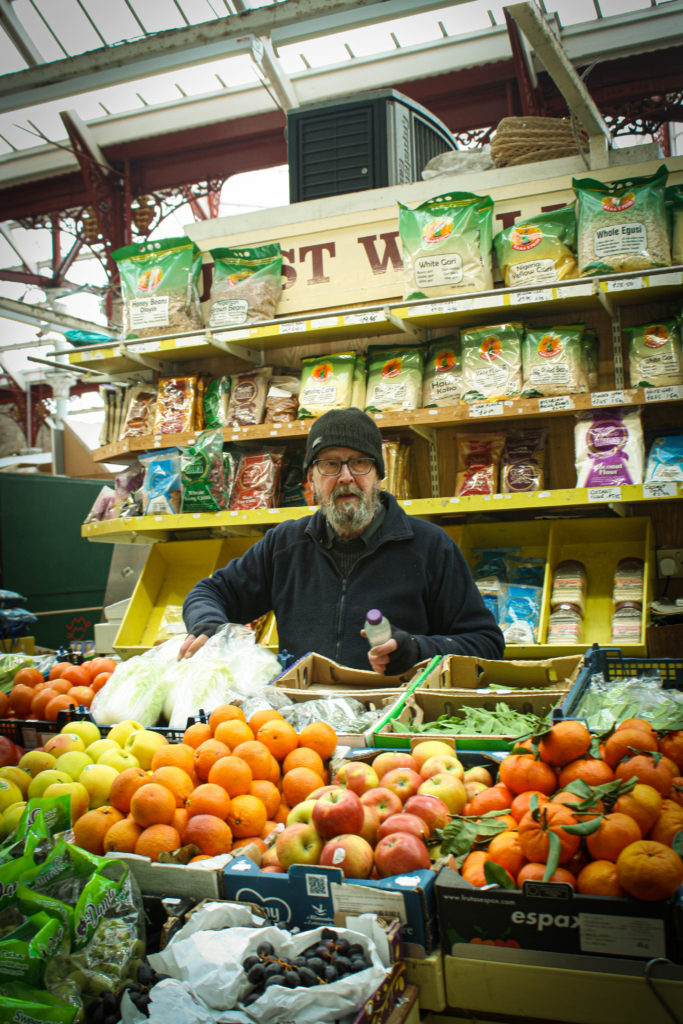
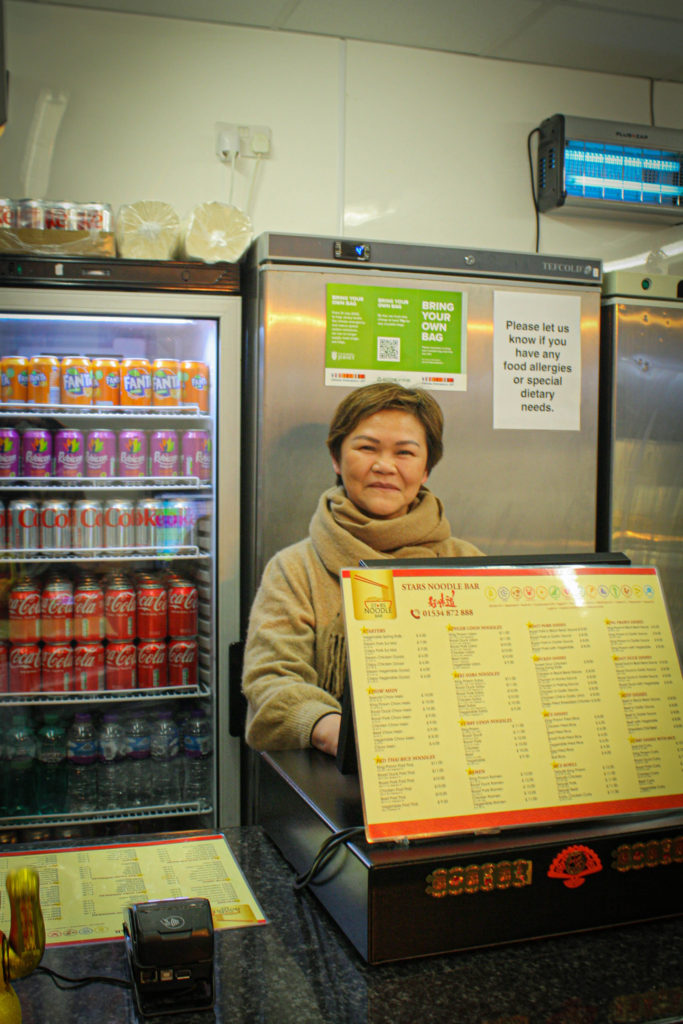
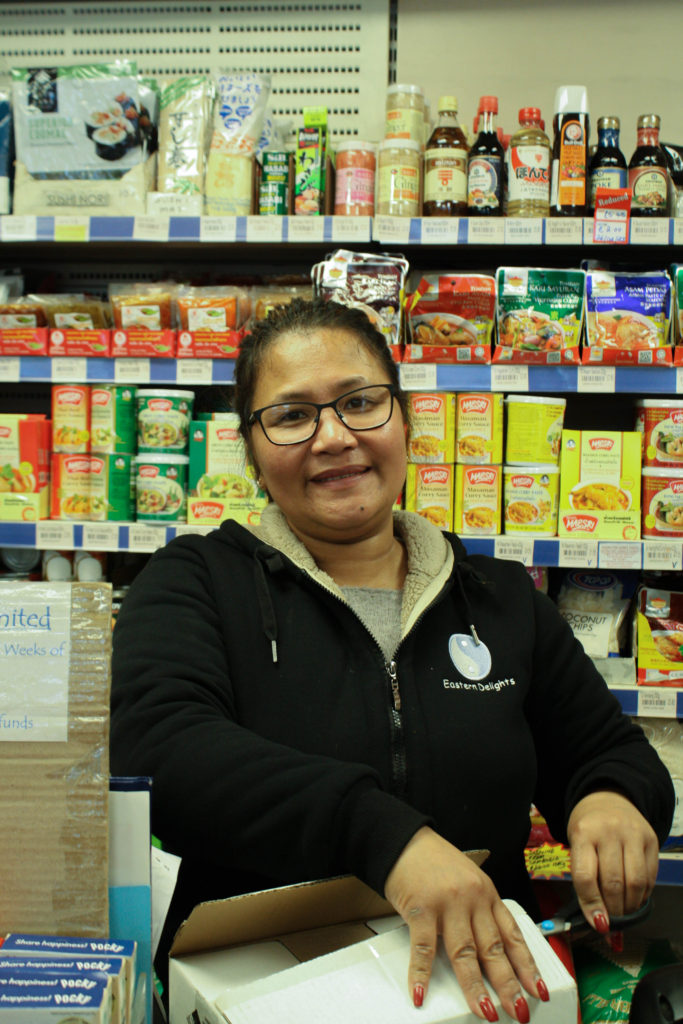
I have decided to go to “the market” which is an area of a collection of different little businesses, in the centre of town. I have gone past midday, where I knew people would still be working, and the shops would be open, but so it wouldn’t be extremely packed. Since I had a huge variety of places to chose to photograph, I decided to only engage in photographing places that looked unique and interesting as well as looking at people, to pick a person that suits their environment, for example, the clothing.

Sub-Selection

I have looked at the quality and framing of each photograph and picked the best ones to edit.

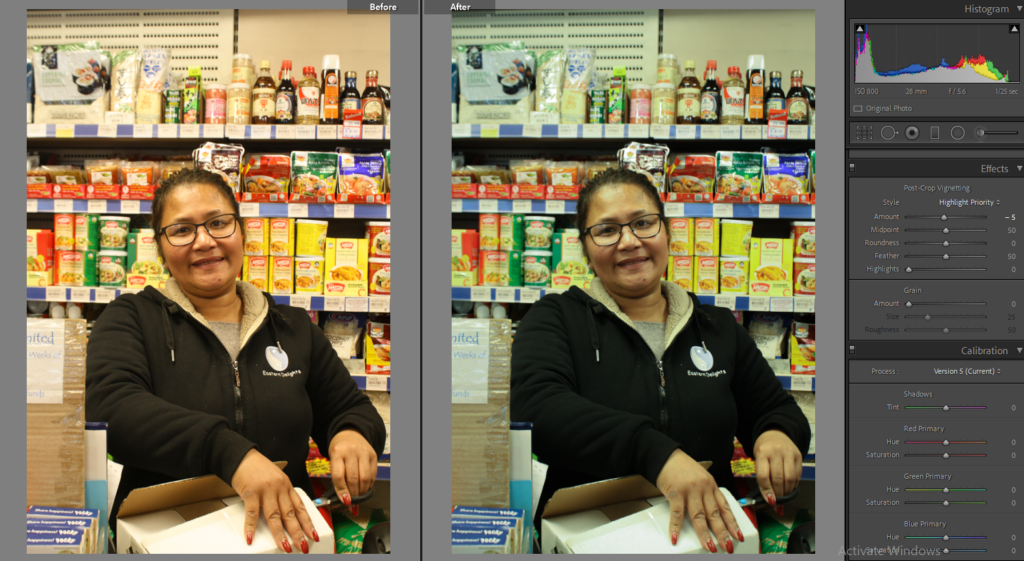
Editing

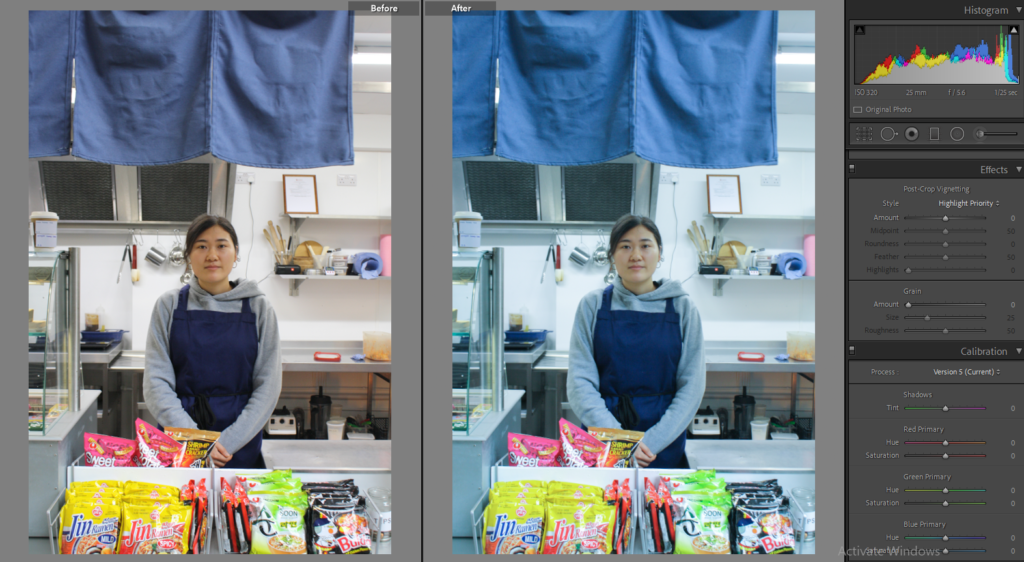
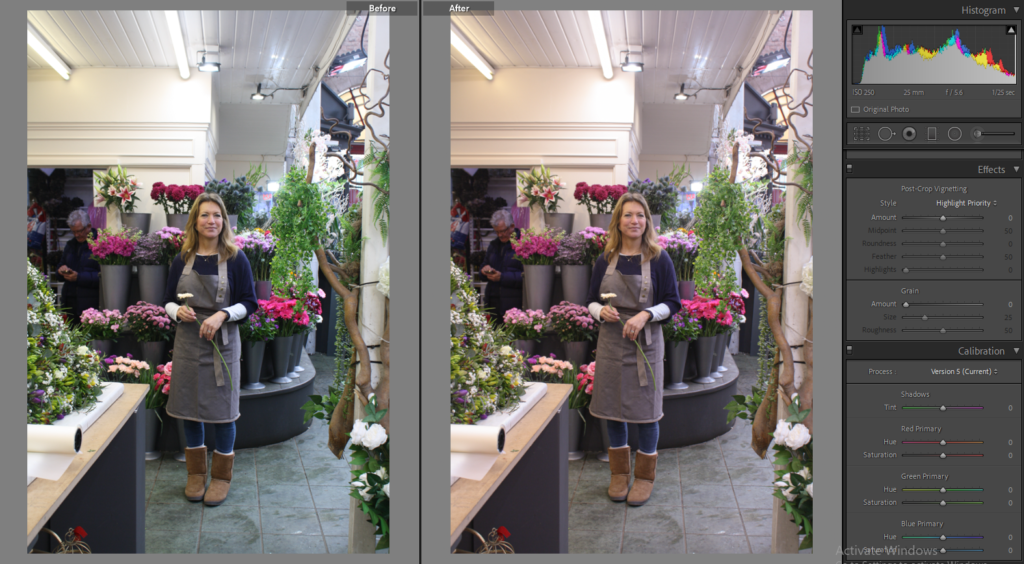
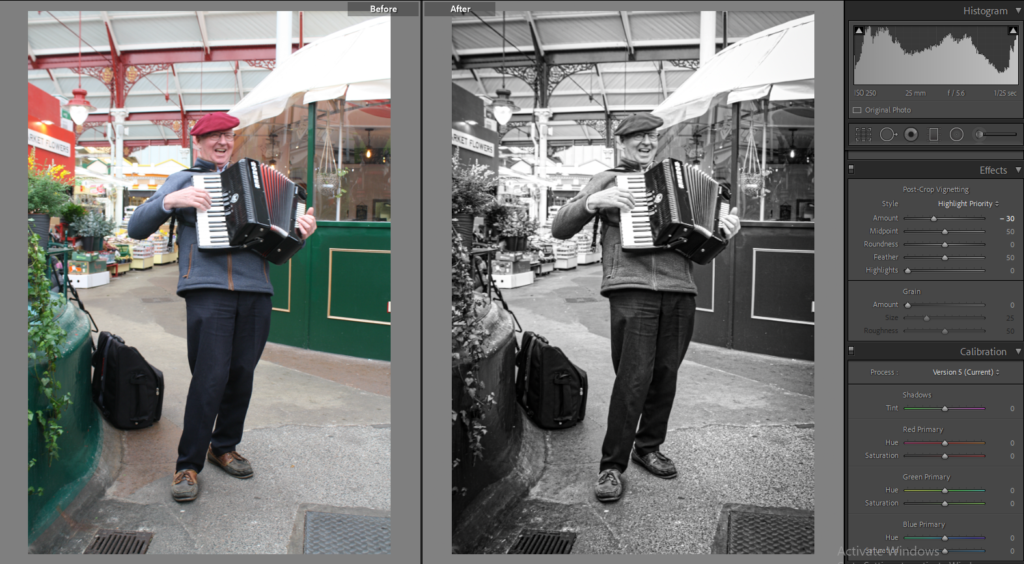
I have chosen different filters and editing methods to transform my images, this was because I didn’t want to have similar looking results and wanted the photographs to differ from one another. The different tones were also influenced by the background or person. For example the image bellow had a lot of yellow tones in it therefore I had picked a similar colour but also to tone it down a little. The image bellow that one had many blue tones therefore I exaggerated that effect.

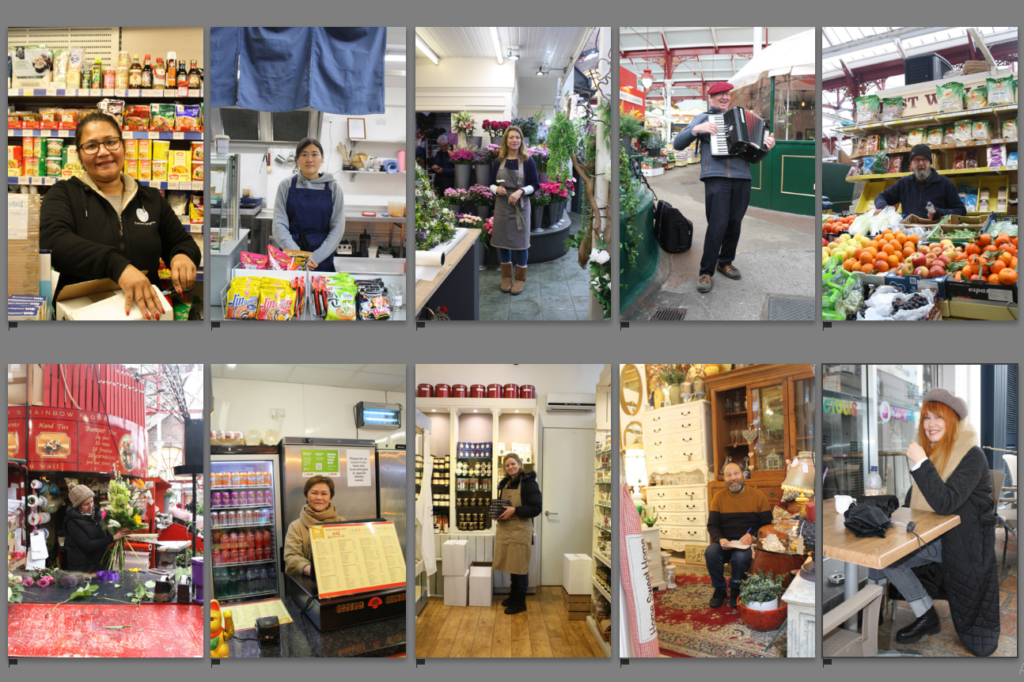
Final Images

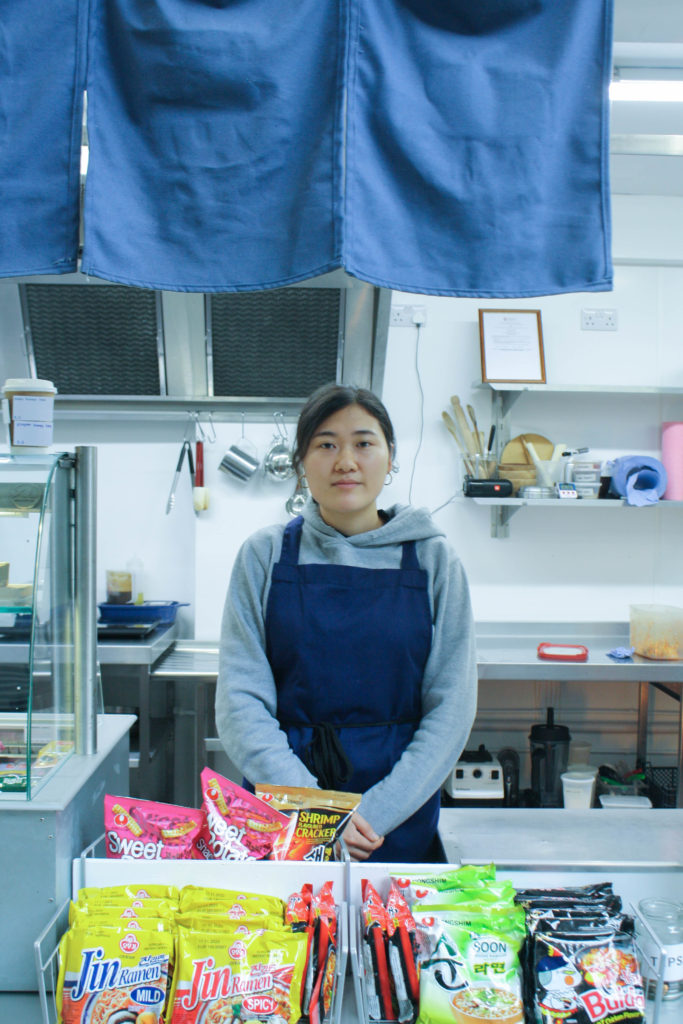
To me these are the beast looking images from this photoshoot, and are successful environmental portraits, due to their framing, next time I should aim to get a full body portraits as all my successful final images were of 1/3 of the body or 1/2.

Regarding to the editing, I wanted to turn the images from ordinary to extraordinary by adding more dramatic, unsteady feel to them.

Multi Exposure

In photography and cinematography, a multiple exposure is the superimposition of two or more exposures to create a single image, and double exposure has a corresponding meaning in respect of two images. The exposure values may or may not be identical to each other.

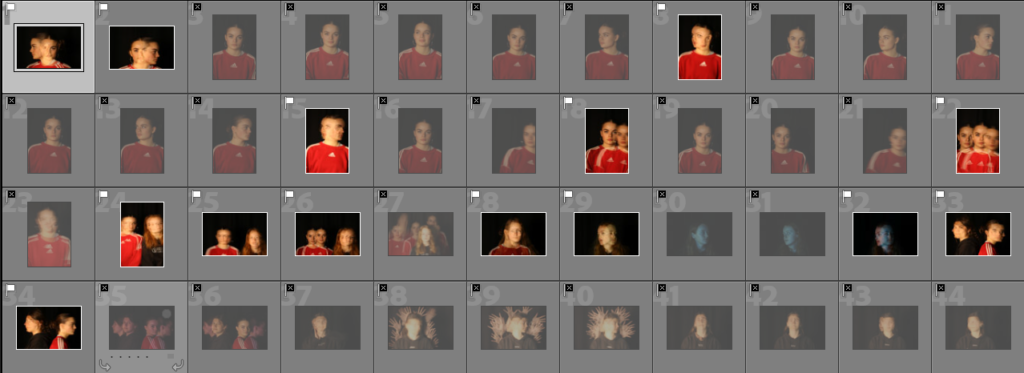
By enabling the multi-exposure setting on the camera and setting the pictures to either 2-9 we can create a multi exposure image. This is created by the model or camera moving with every picture that is being taken