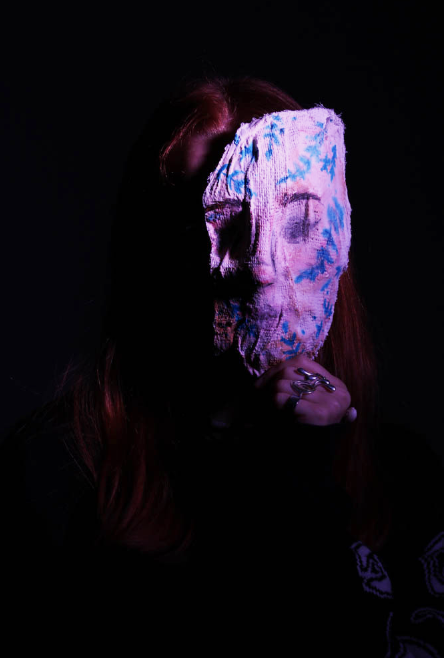
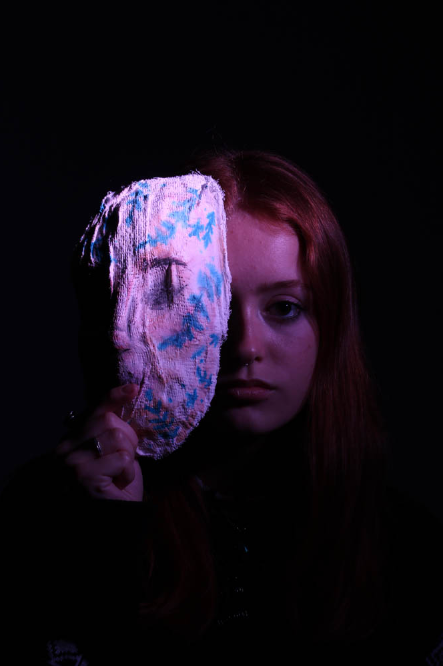
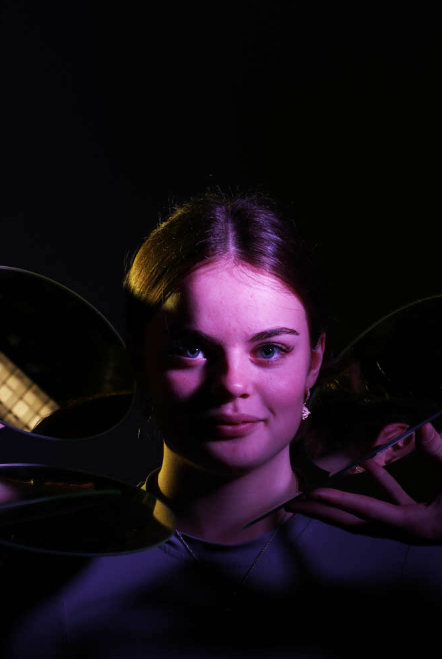
For all of my images below I used the honey comb attachment on the light and placed different coloured gels.
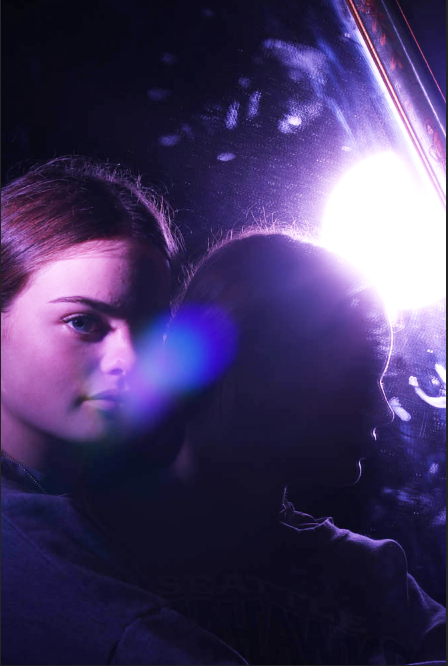
First of all I edited the exposure and brightness of the images on Lightroom and turned one of the images black and white to create more of a contrast between the pair. Then on Photoshop I layered these two images together to create a double exposure by changing the opacity.
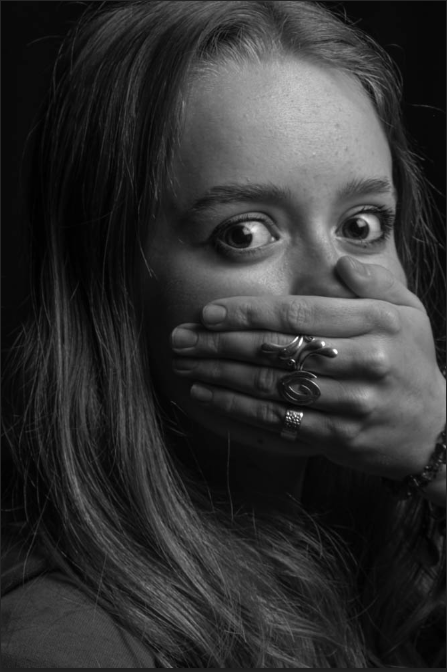
![](https://hautlieucreative.co.uk/photo24al/wp-content/uploads/sites/62/2023/03/image-1047.png)
![](https://hautlieucreative.co.uk/photo24al/wp-content/uploads/sites/62/2023/03/image-1049.png)
My final image
![](https://hautlieucreative.co.uk/photo24al/wp-content/uploads/sites/62/2023/03/image-1187.png)
For my next Image I repeated the same steps But I duplicated one of the images and then flipped it so they mirror each other.
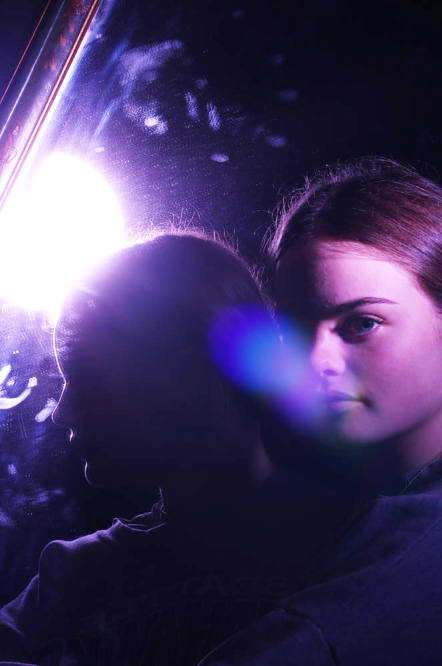
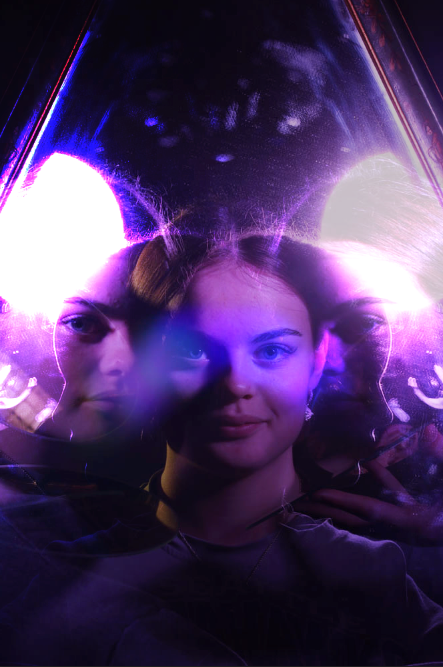
![](https://hautlieucreative.co.uk/photo24al/wp-content/uploads/sites/62/2023/03/image-1188.png)
![](https://hautlieucreative.co.uk/photo24al/wp-content/uploads/sites/62/2023/03/image-1189.png)
![](https://hautlieucreative.co.uk/photo24al/wp-content/uploads/sites/62/2023/03/image-1190.png)
![](https://hautlieucreative.co.uk/photo24al/wp-content/uploads/sites/62/2023/03/image-1050.png)
My final image
![](https://hautlieucreative.co.uk/photo24al/wp-content/uploads/sites/62/2023/03/image-1054.png)
![](https://hautlieucreative.co.uk/photo24al/wp-content/uploads/sites/62/2023/03/image-1055.png)
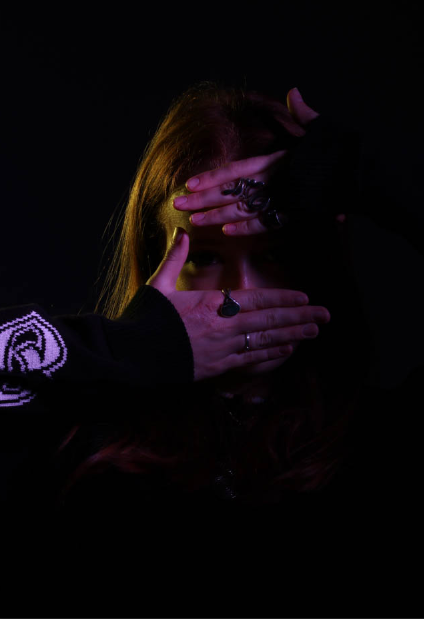
For my last two sets of images I played around with the exposure and colours on Lightroom
![](https://hautlieucreative.co.uk/photo24al/wp-content/uploads/sites/62/2023/03/image-1056.png)
![](https://hautlieucreative.co.uk/photo24al/wp-content/uploads/sites/62/2023/03/image-1057.png)