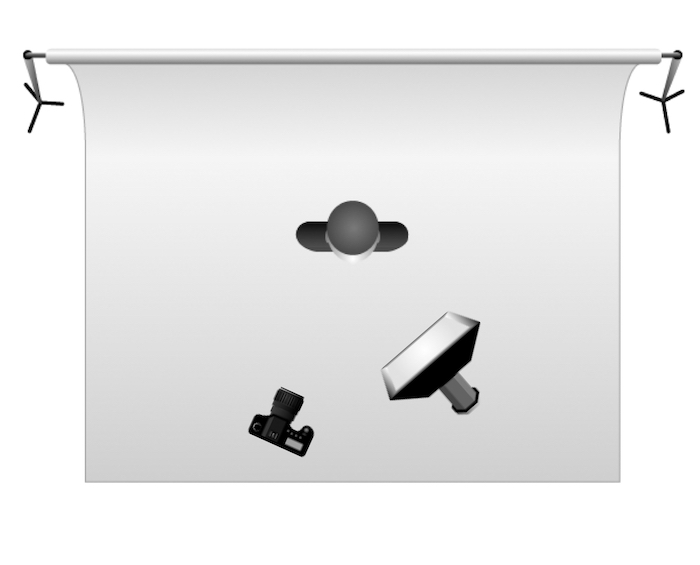
Rembrandt lighting
This technique is named after Rembrandt Harmenszoon van Rijn who was a well known Dutch painter. It refers to a way of lighting a face so that an upside-down light triangle appears under the eyes of the subject.

It gets used often in hollywood portraits as it became widely used in promotional photographs of film stars showing them in a dramatic and eye-catching way.
how to set it up:

My attempts:


I used the set up with the light positioned to the right of the sitter allowing the light to hit one side of their faces and create the triangle that is the key element of Rembrandt lighting.
Butterfly lighting
This lighting technique is used primarily in a studio setting and gets its name from the butterfly-shaped shadow that forms under the nose due to the lights positionning.

The set up:

My attempts:


By positioning the light above the sitter it highlights their cheekbones and creates the butterfly shape under their nose.
Rim lighting
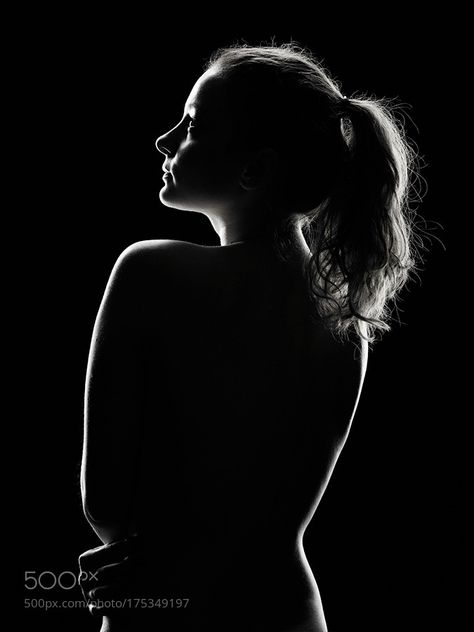
This technique displays the outline/silhouette of the model.

For the set up, the model is positioned in front of the light

Our attempt:

This was an attempt we made at using Rim lighting however as you can see it wasn’t the most successful. In future I think we need a bigger light source or to maybe position it higher to create a clearer silhouette.
