double/multi exposure

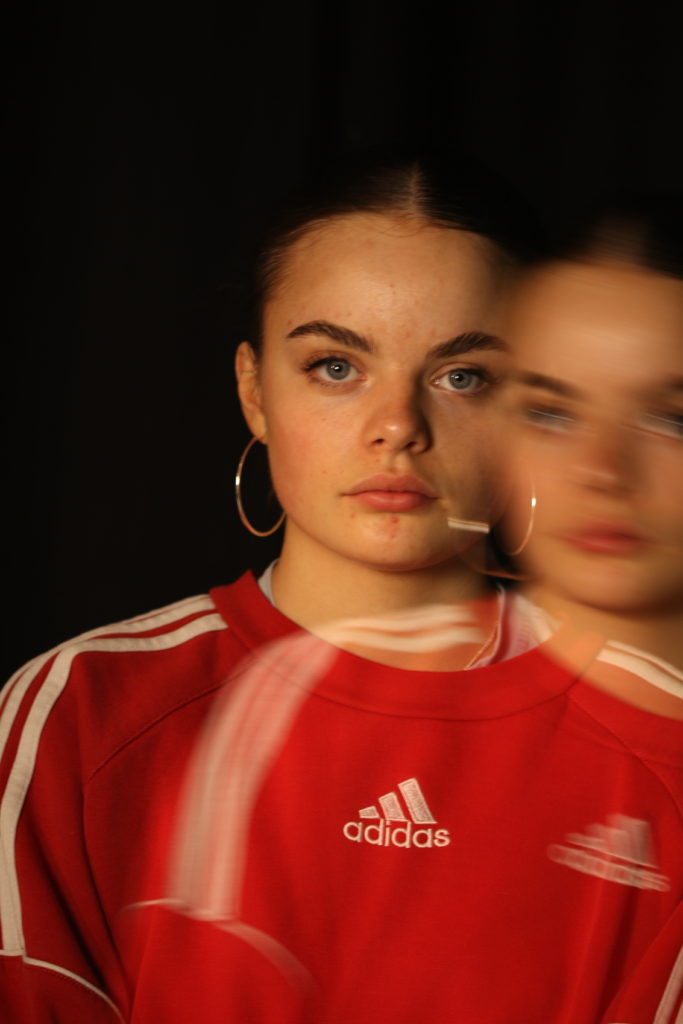
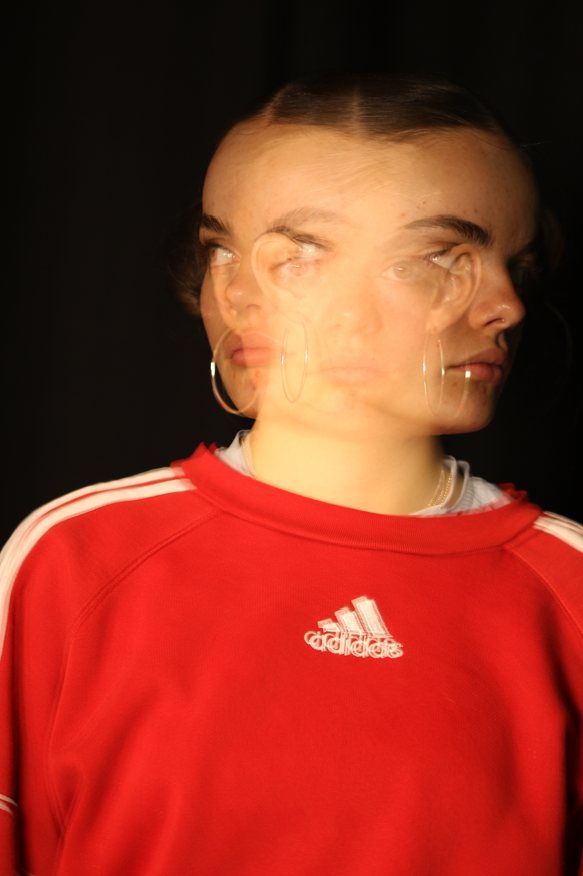
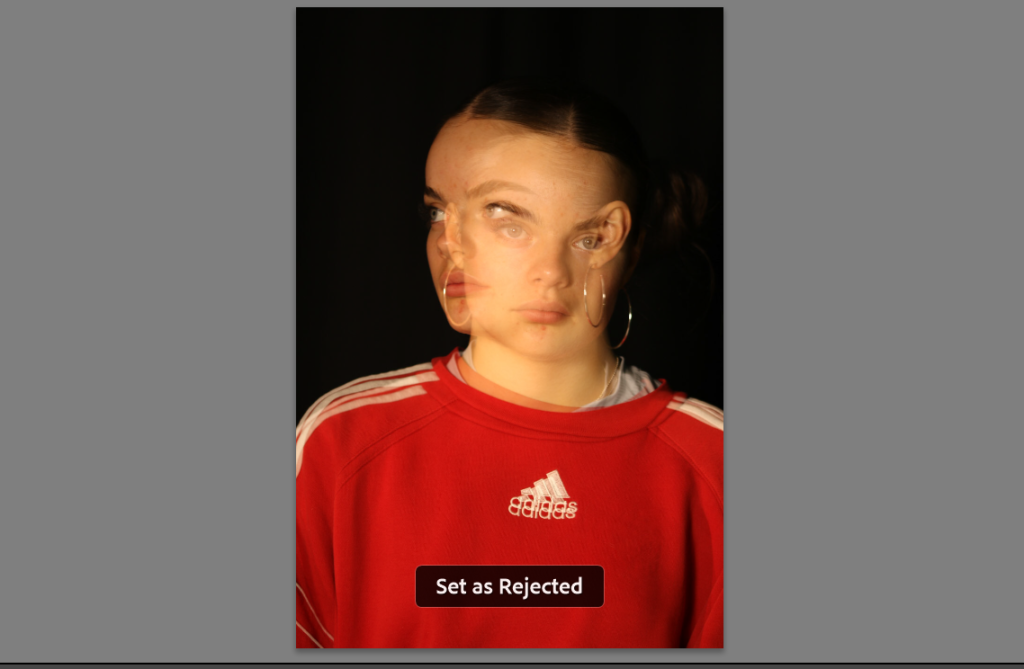
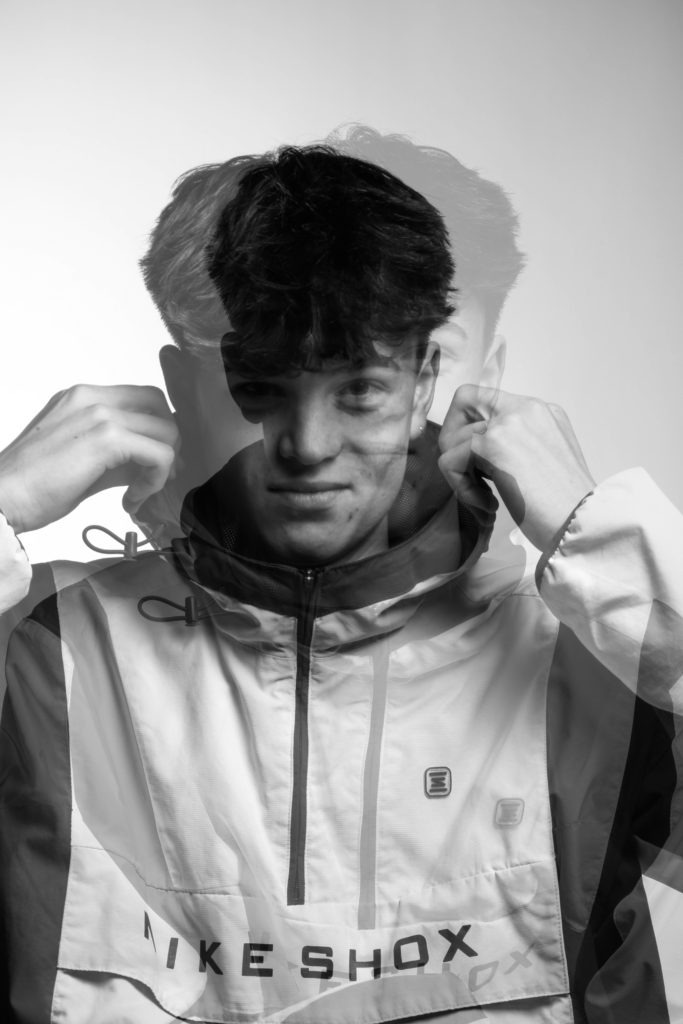
Double/multiple exposures are an illusion created by layering images (or portions of images) over the top of each other to create artistic looks, like a ghost effect, mirror images. This can be achieved in the camera settings, or when editing on Adobe Photoshop by creating LAYERS and then using BLENDING OPTIONS and OPACITY CONTROL. This technique has been used to explore Surrealist Ideas and produce dream-like imagery/imagery that explores time and time lapse whilst being a technique in which you combine at least two images into one to create artistic looks, like a ghost effect, mirror images.

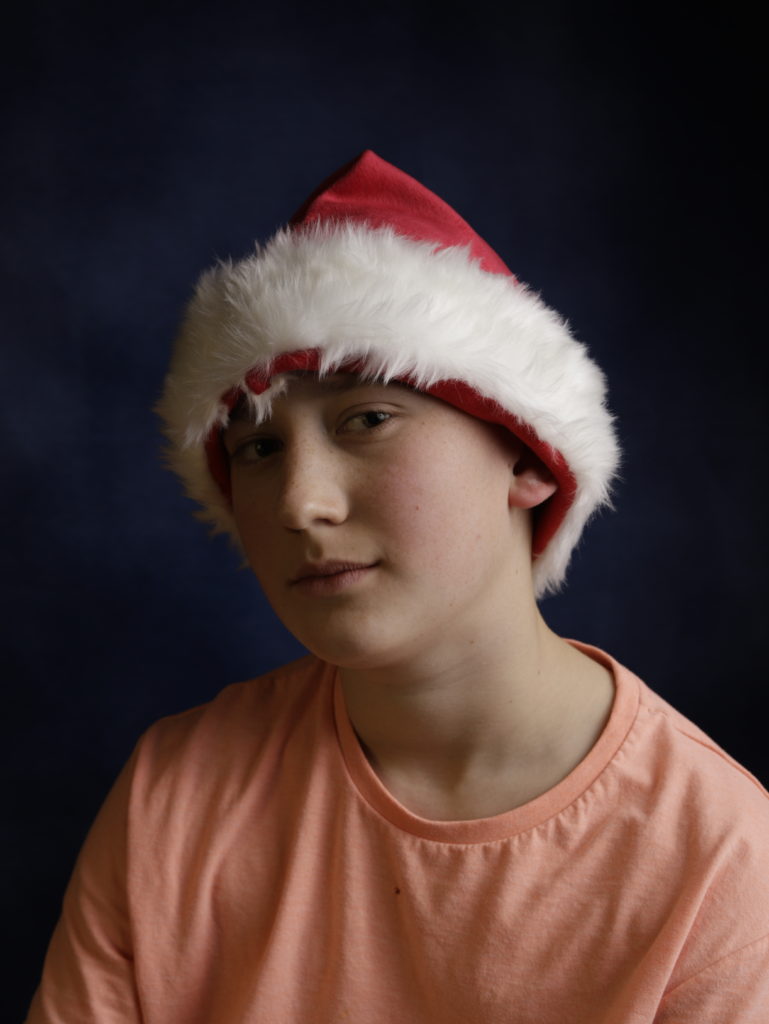
This effects can also be created by slowing down the shutter speed and some cameras also have a setting especially for creating multi-exposure images.

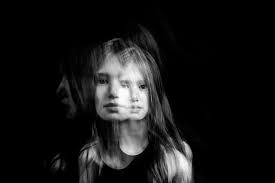
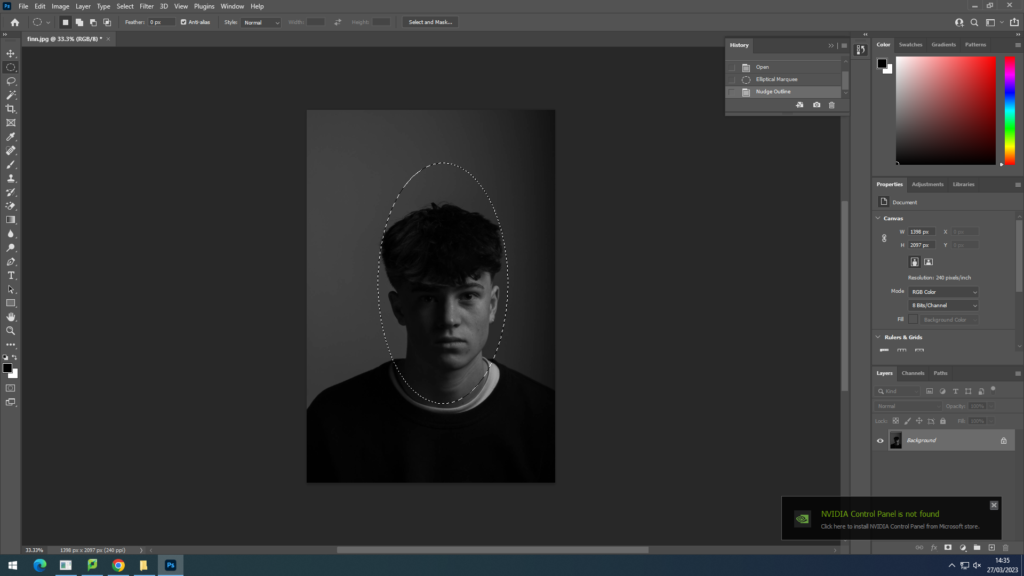
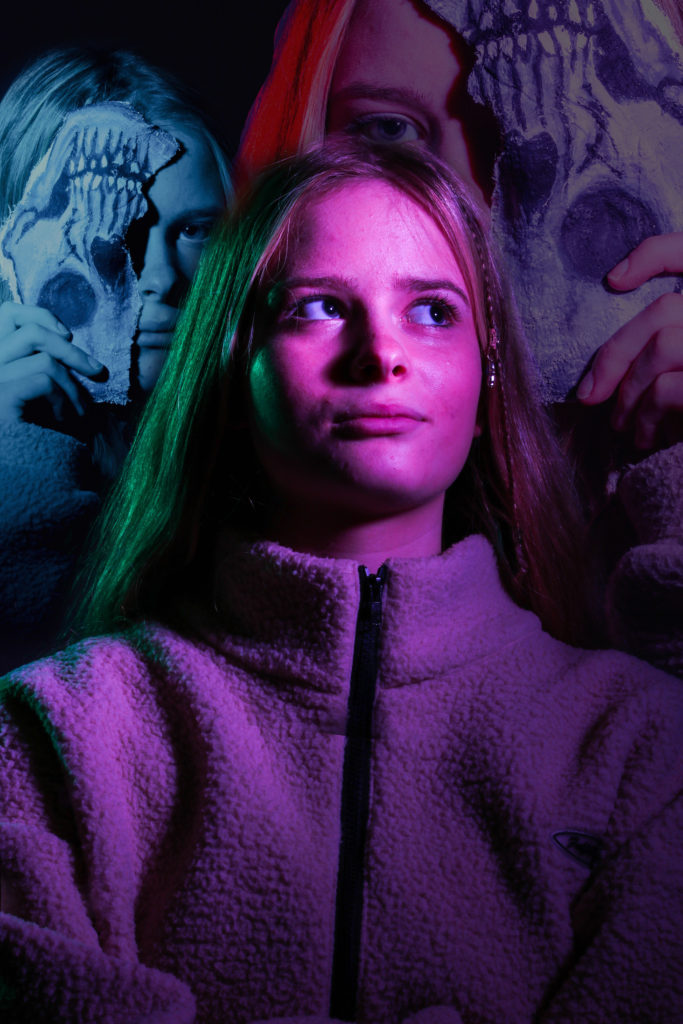
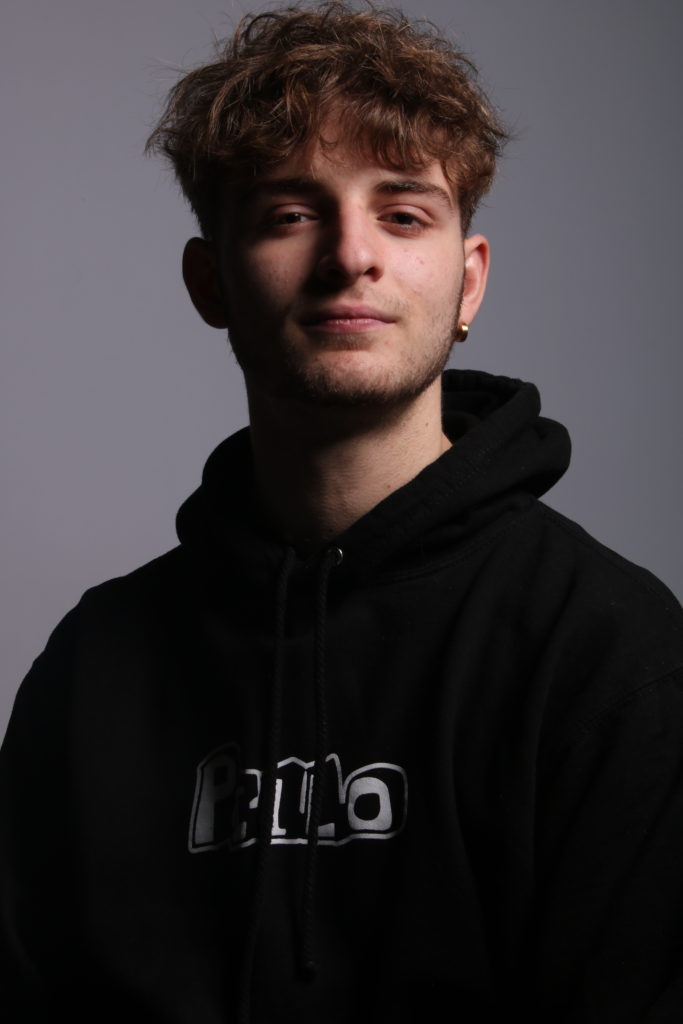
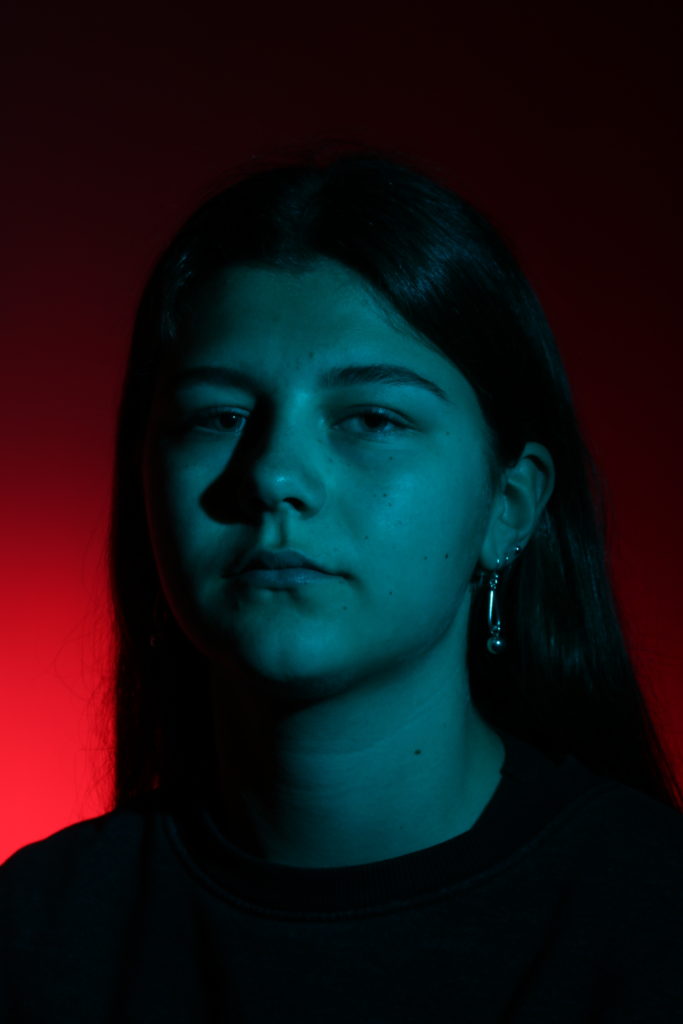
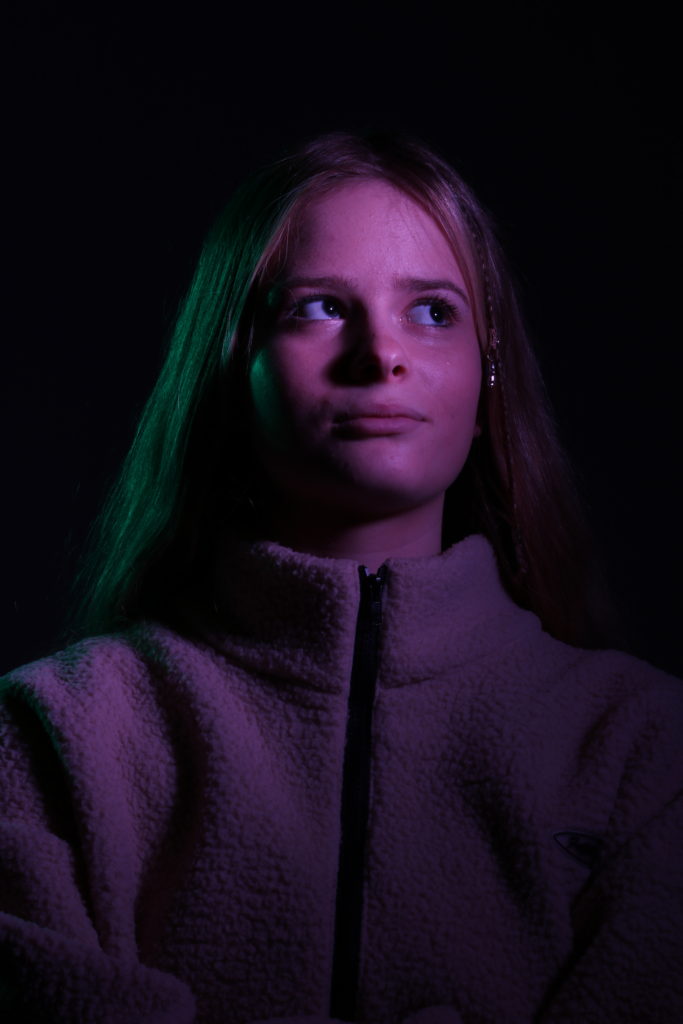
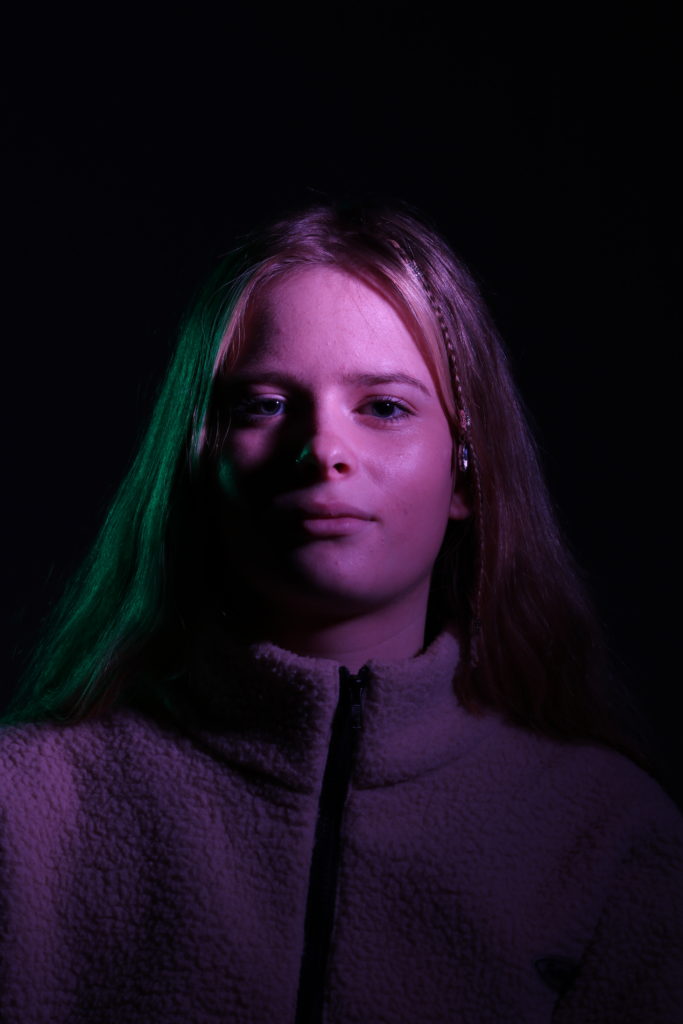
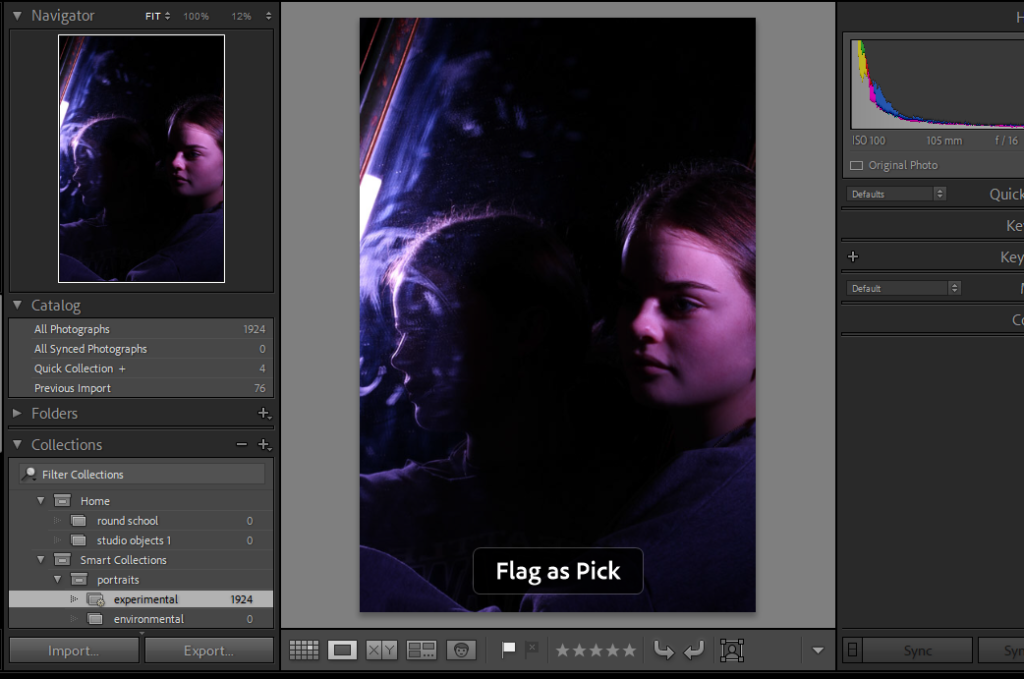
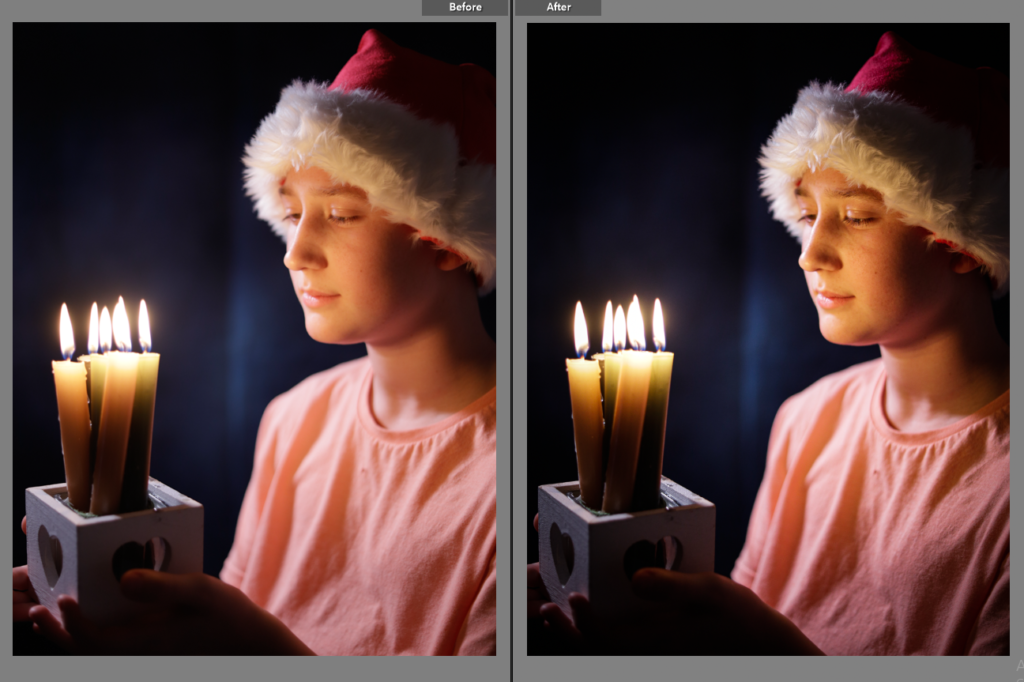
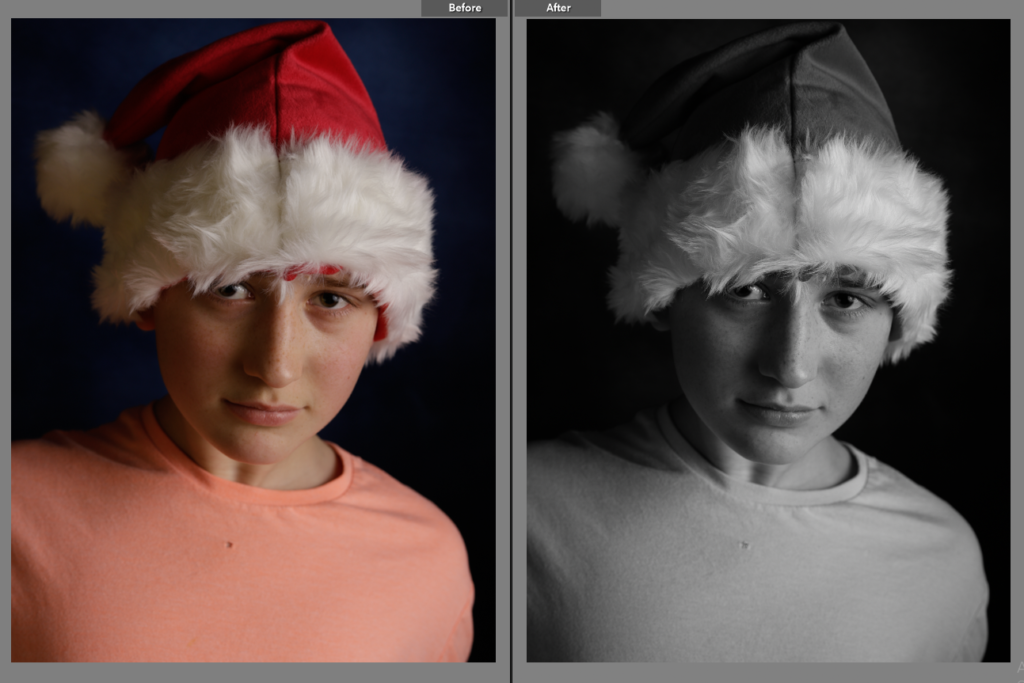
My attempts using photoshop:

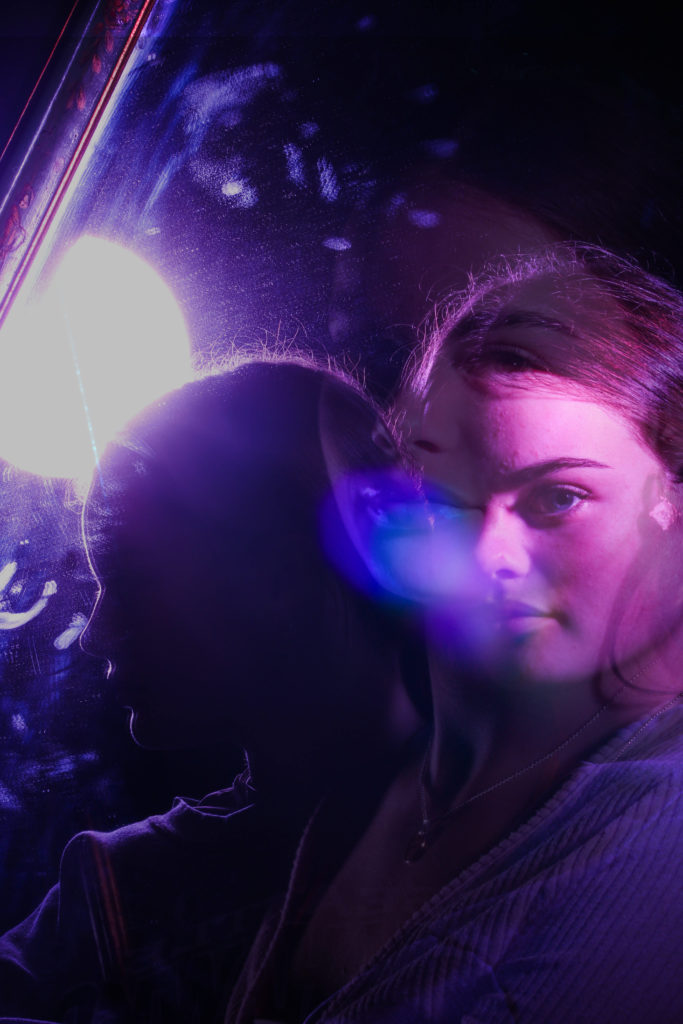
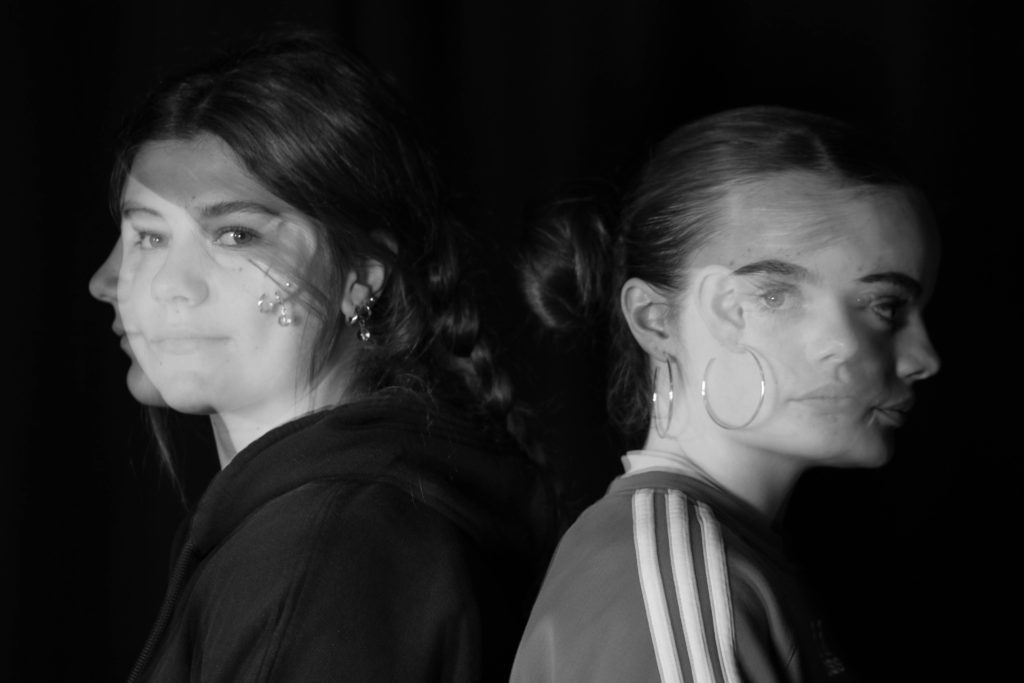
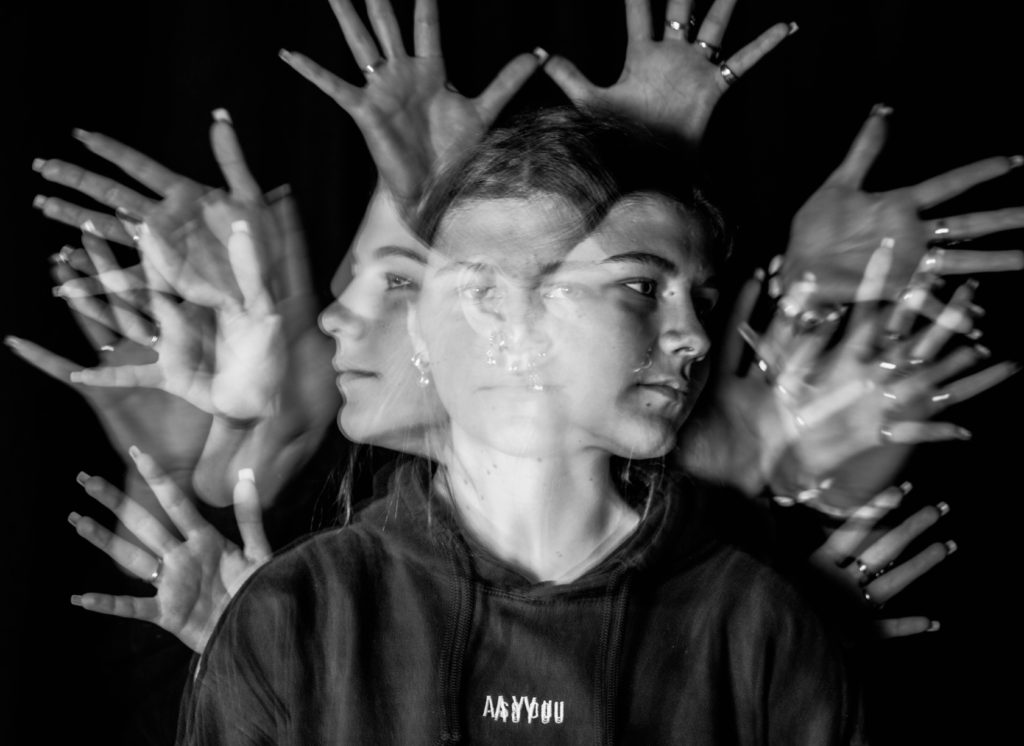
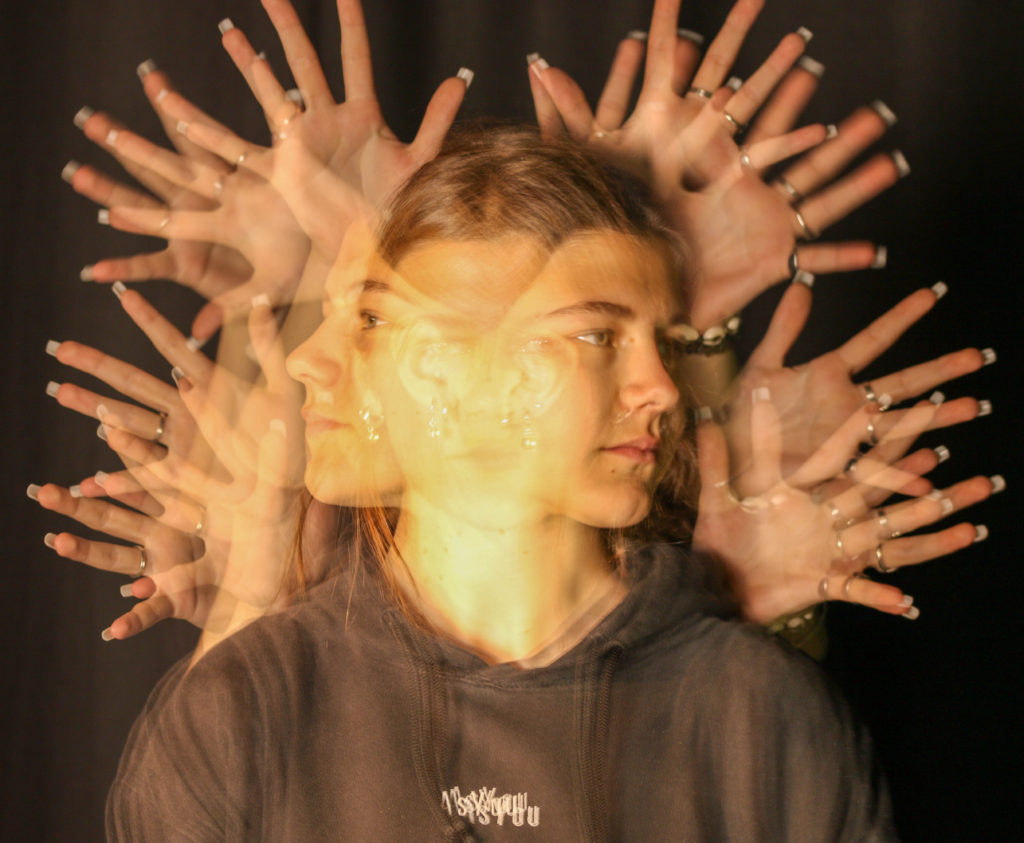
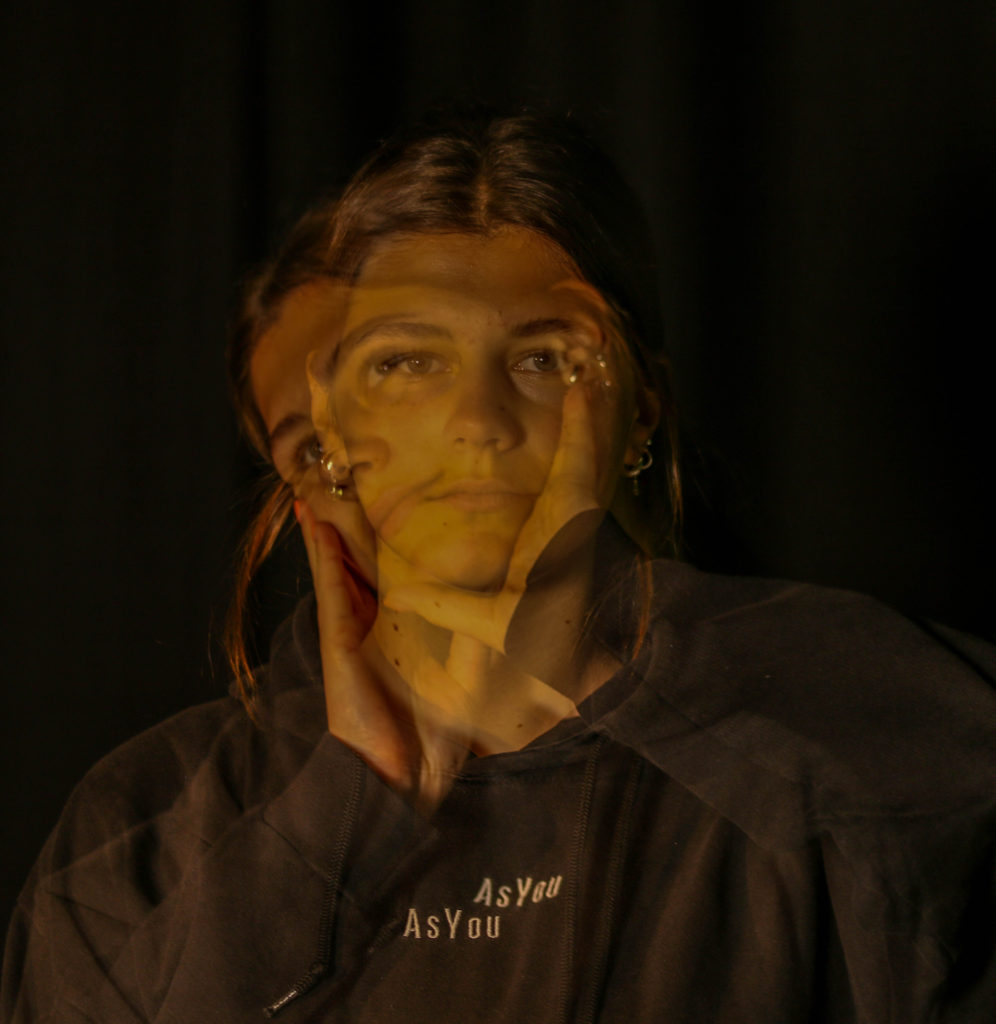
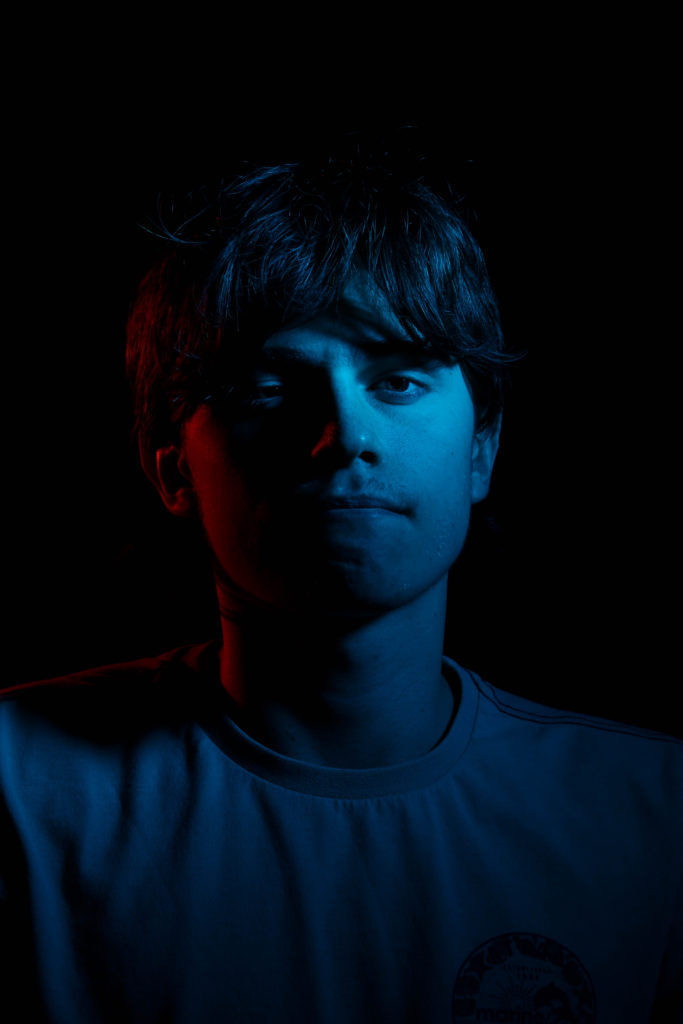
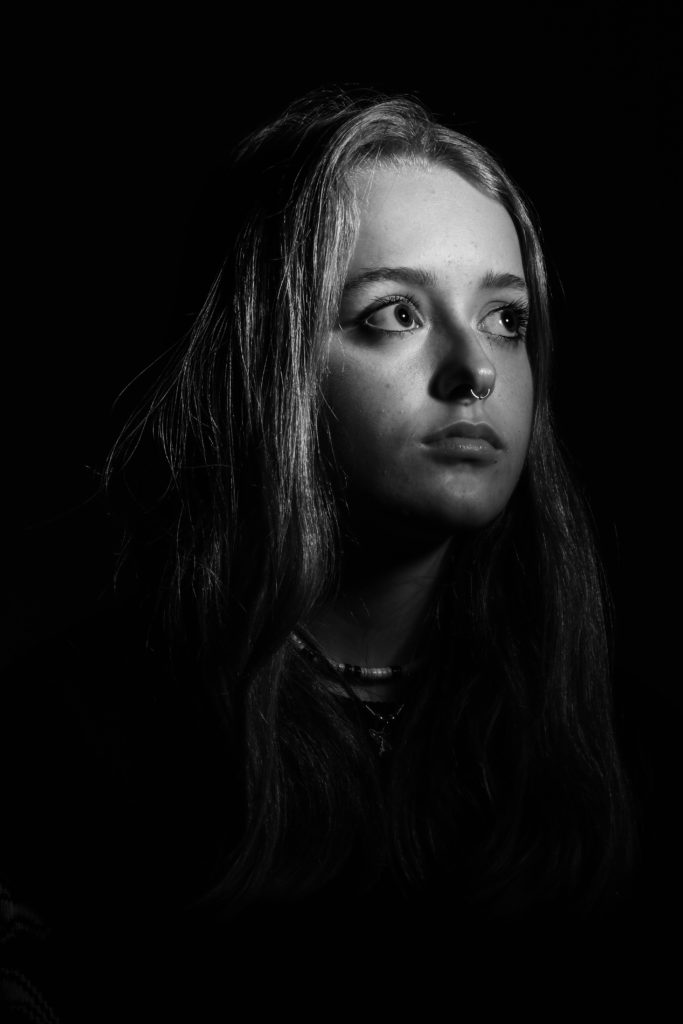
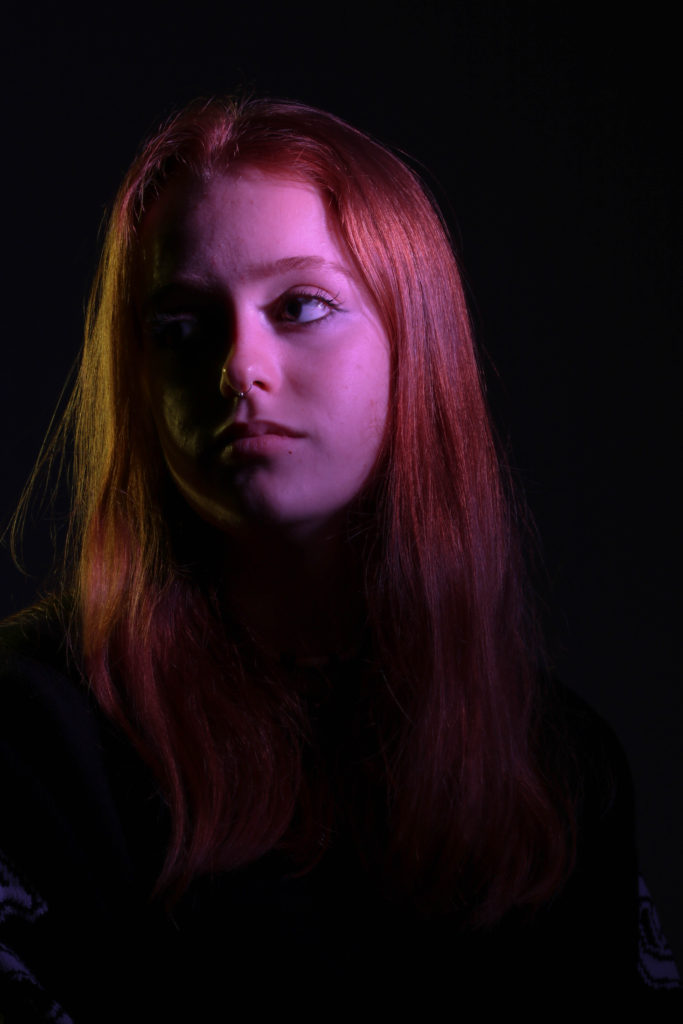
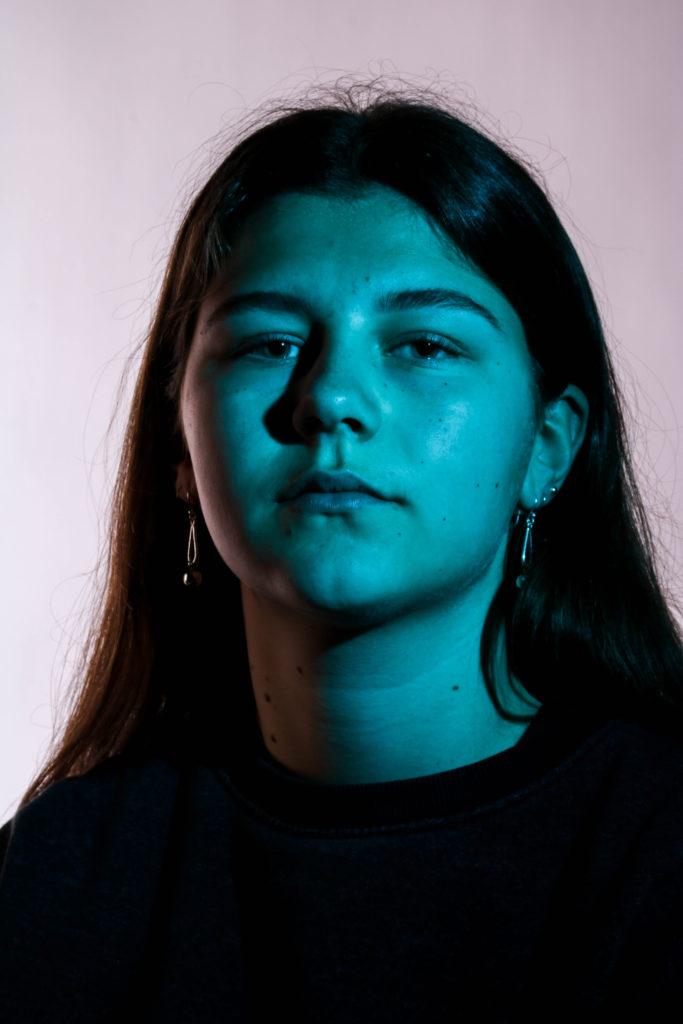
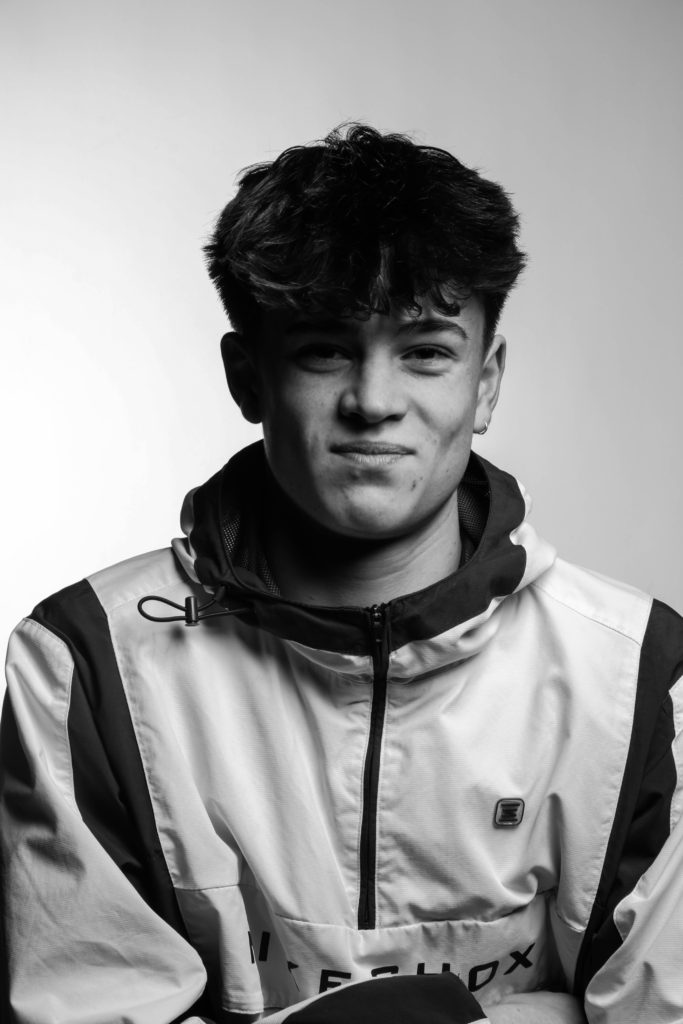
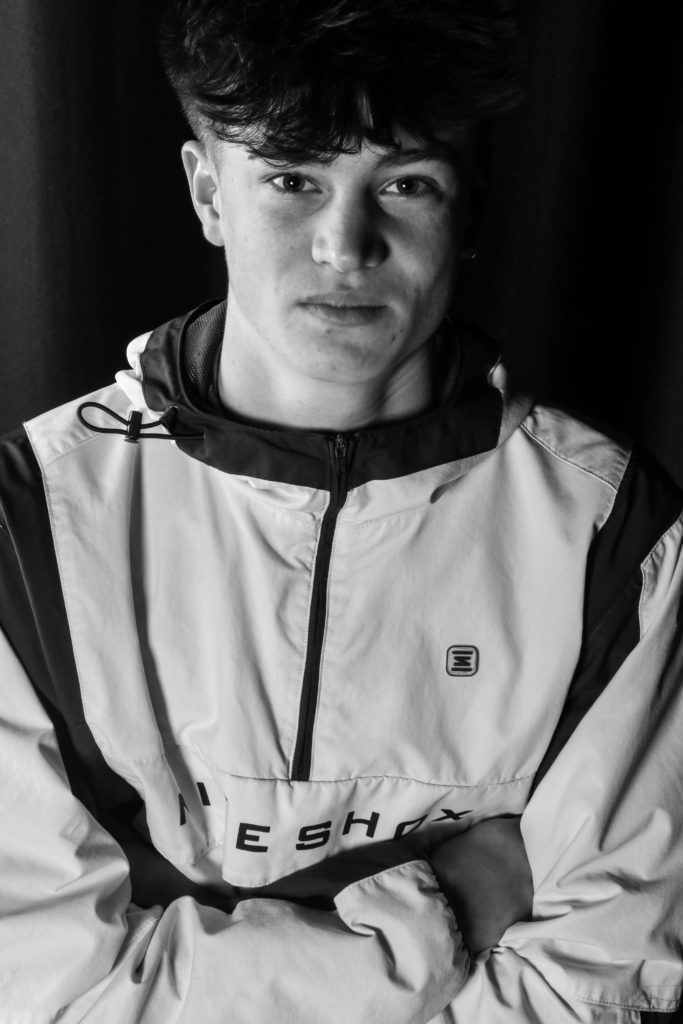
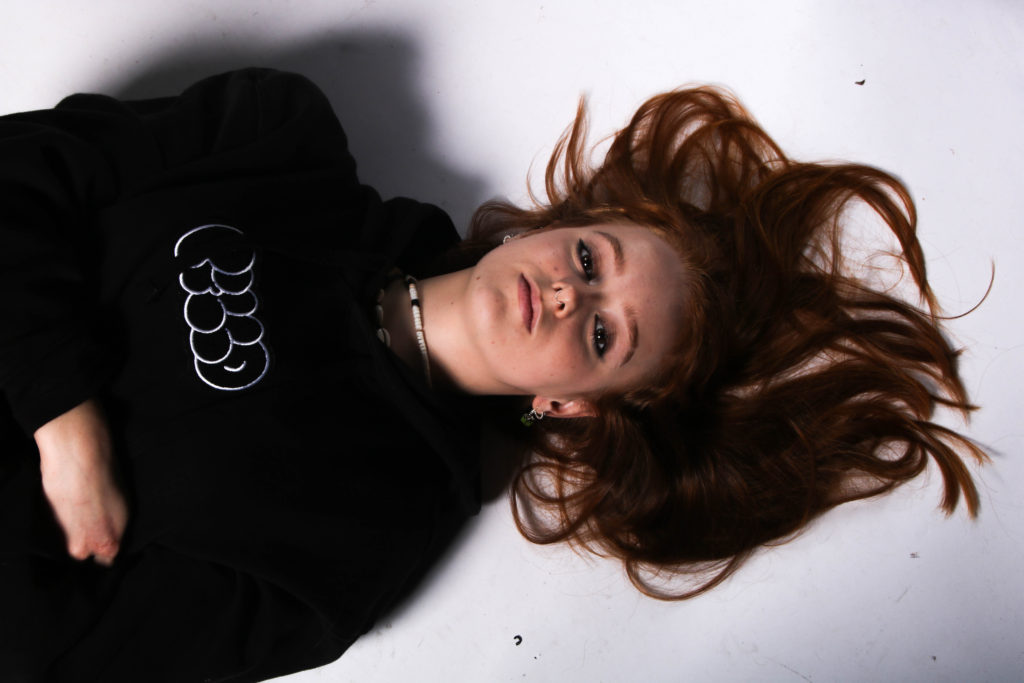
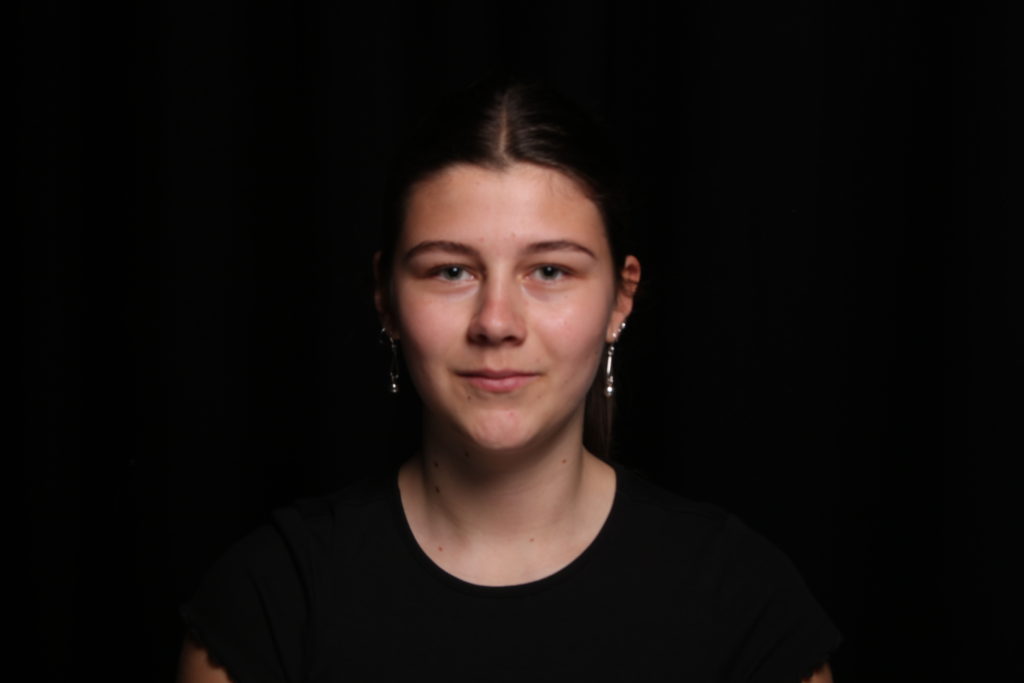
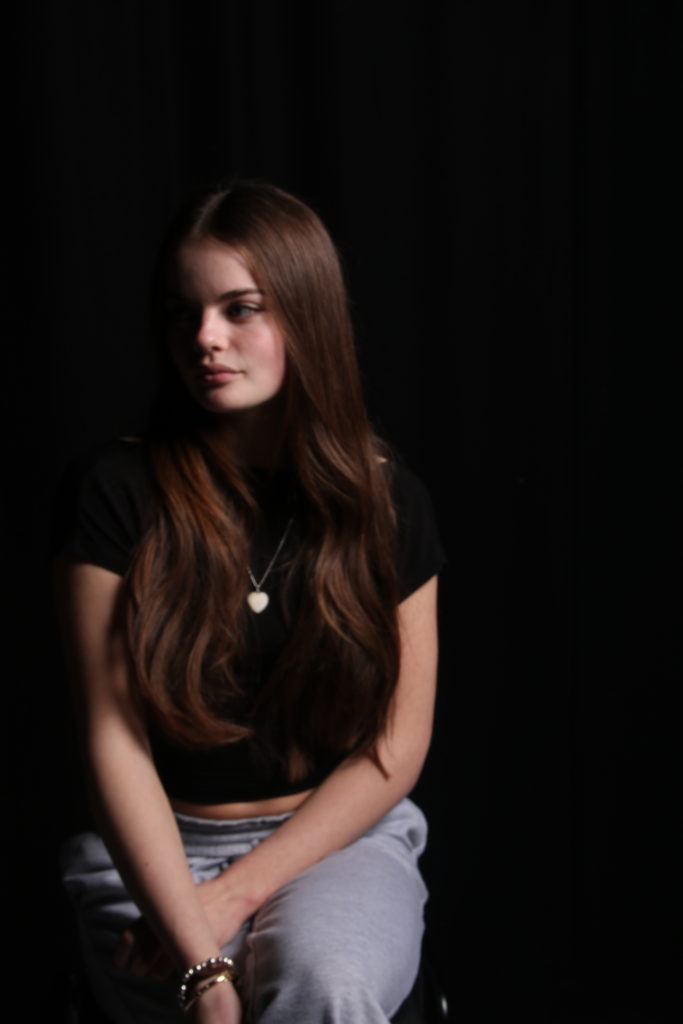
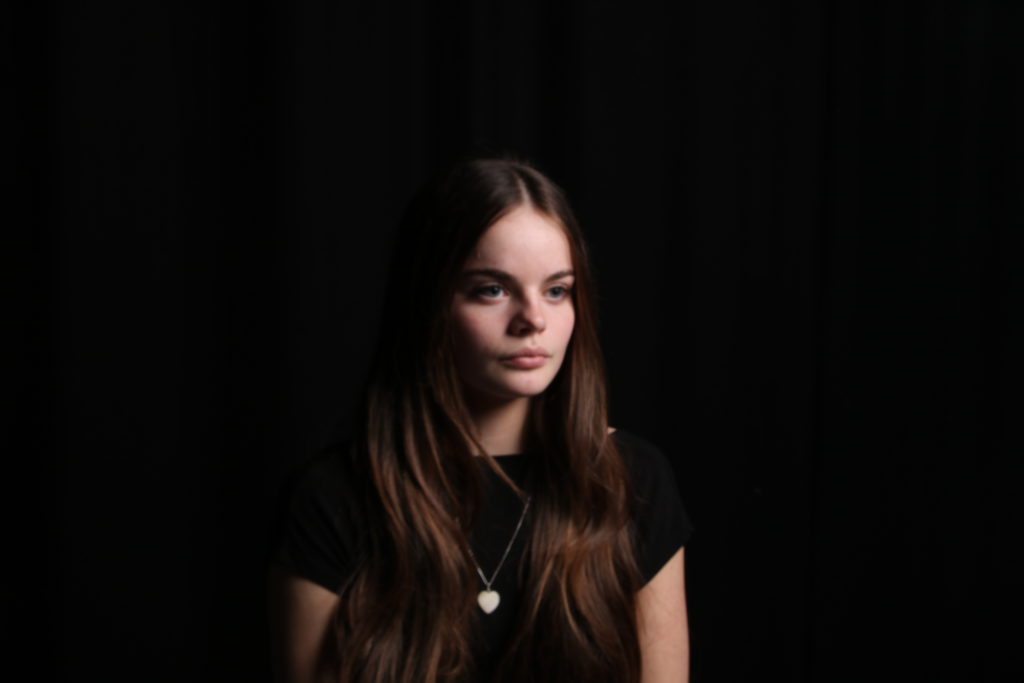
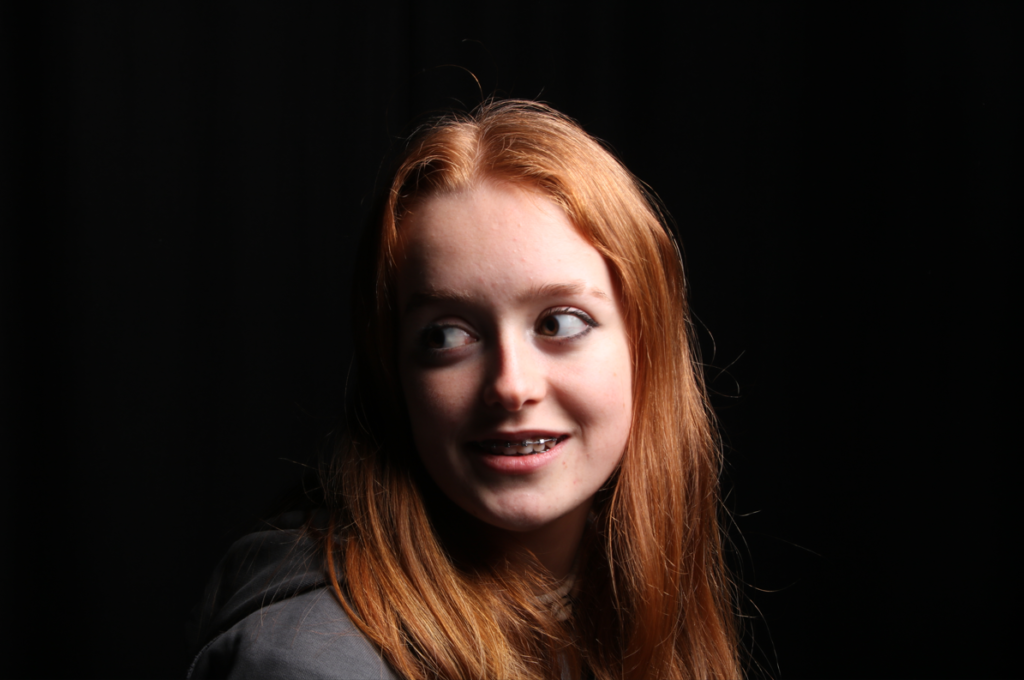
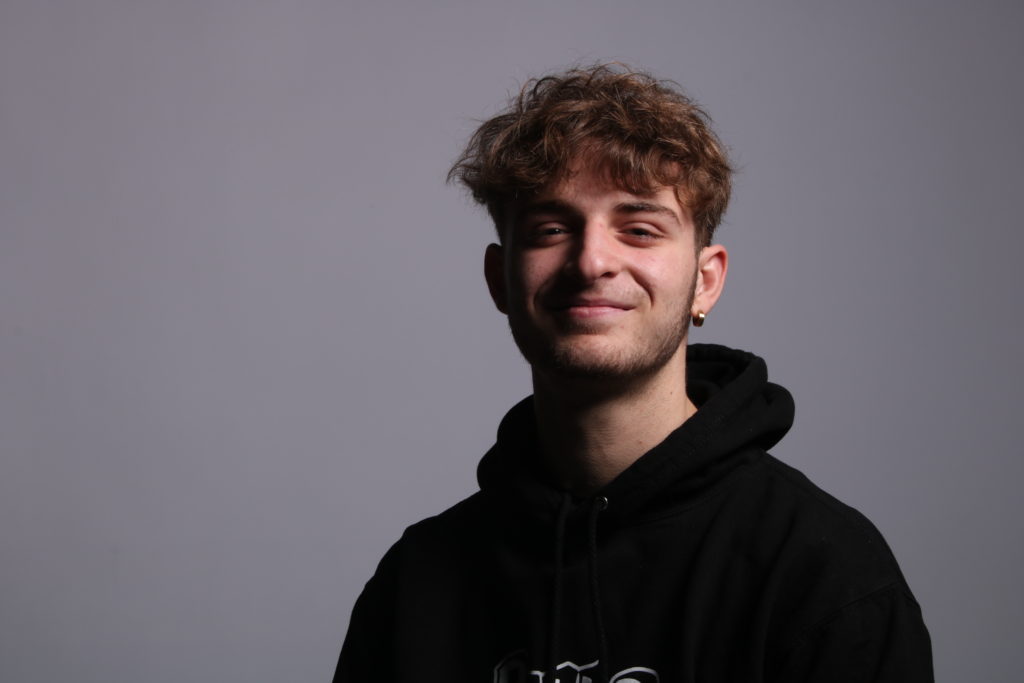
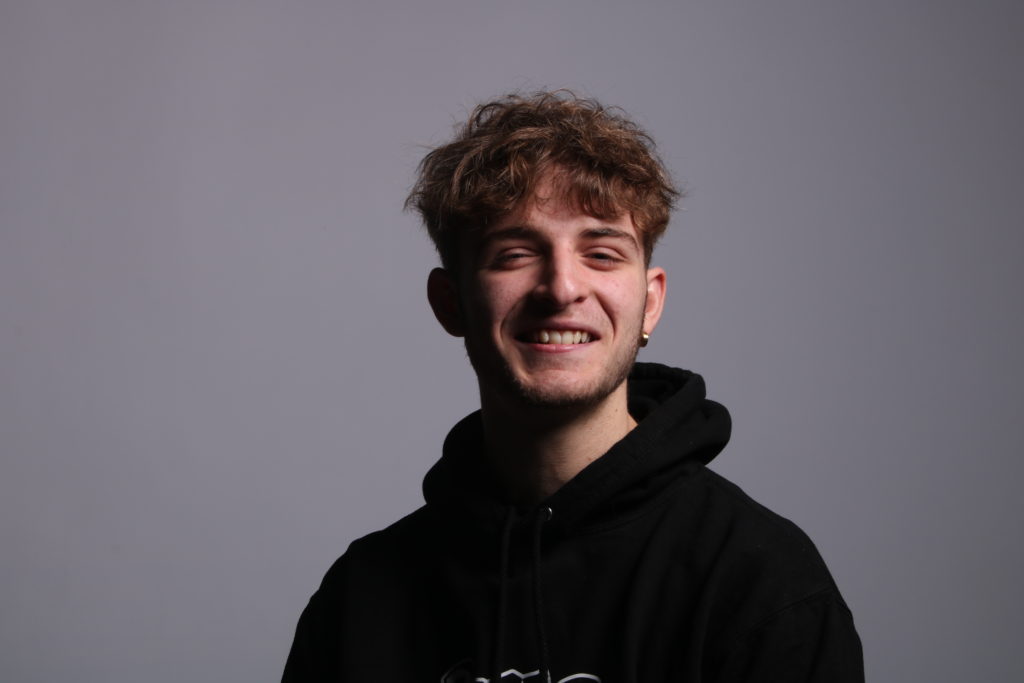
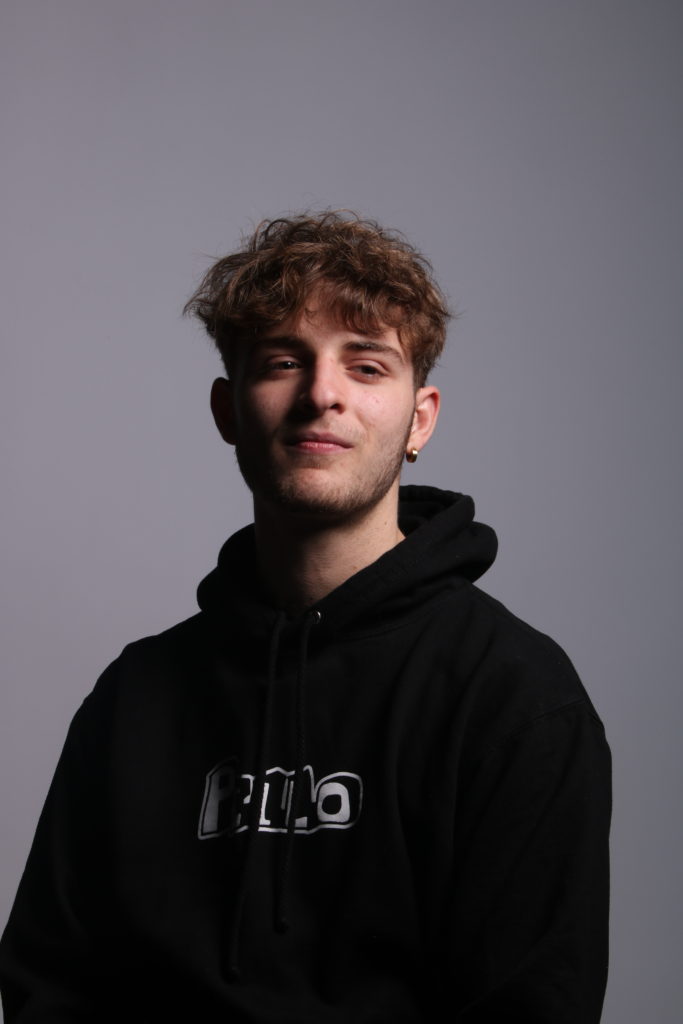
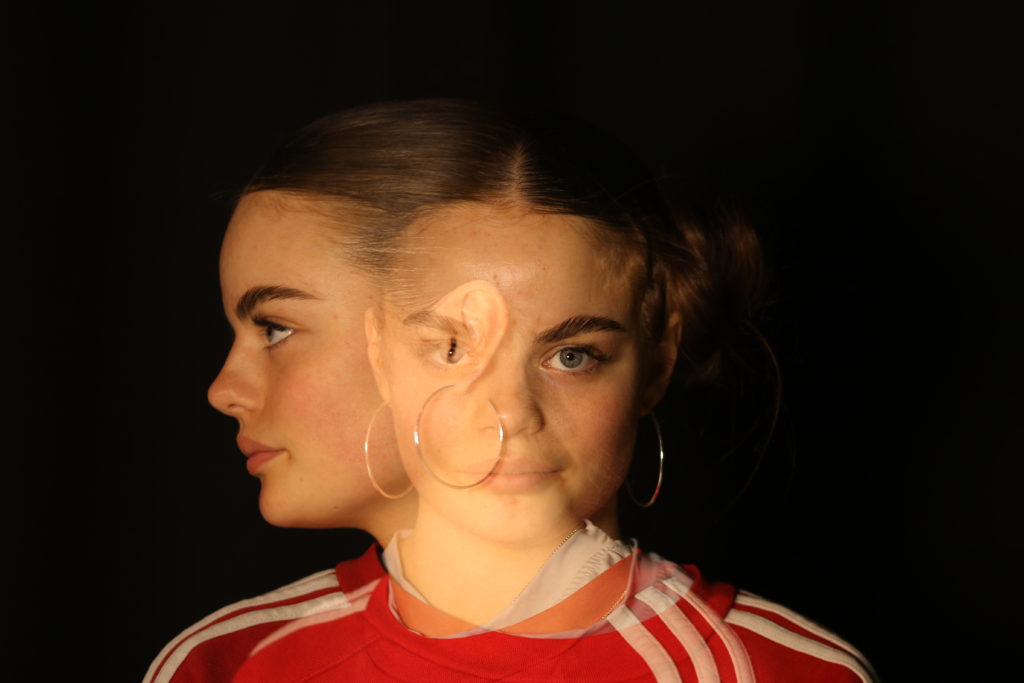
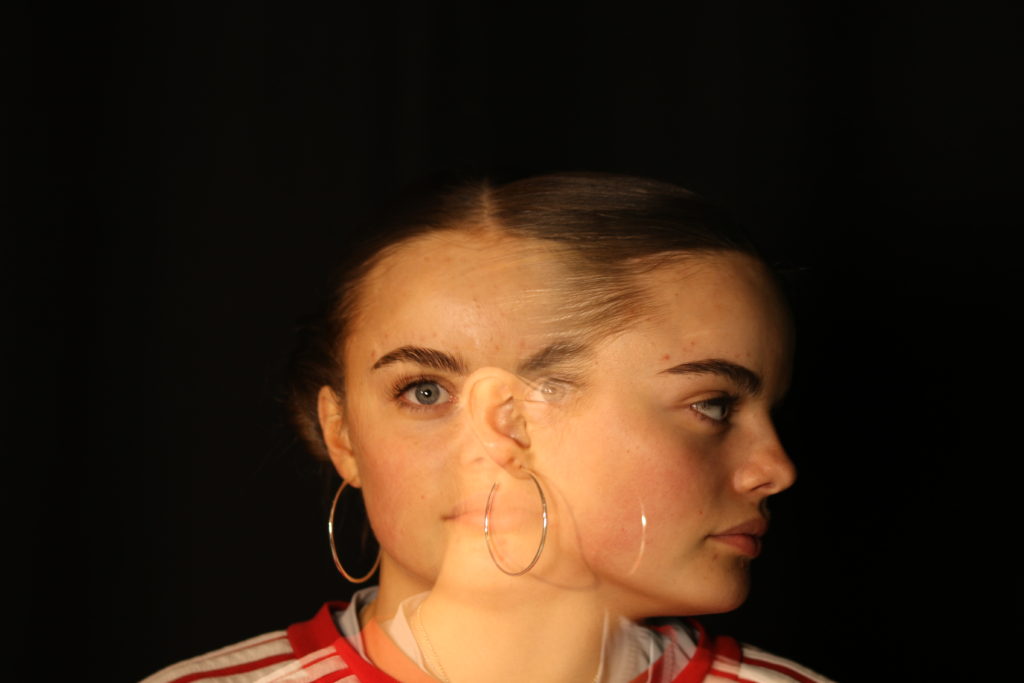
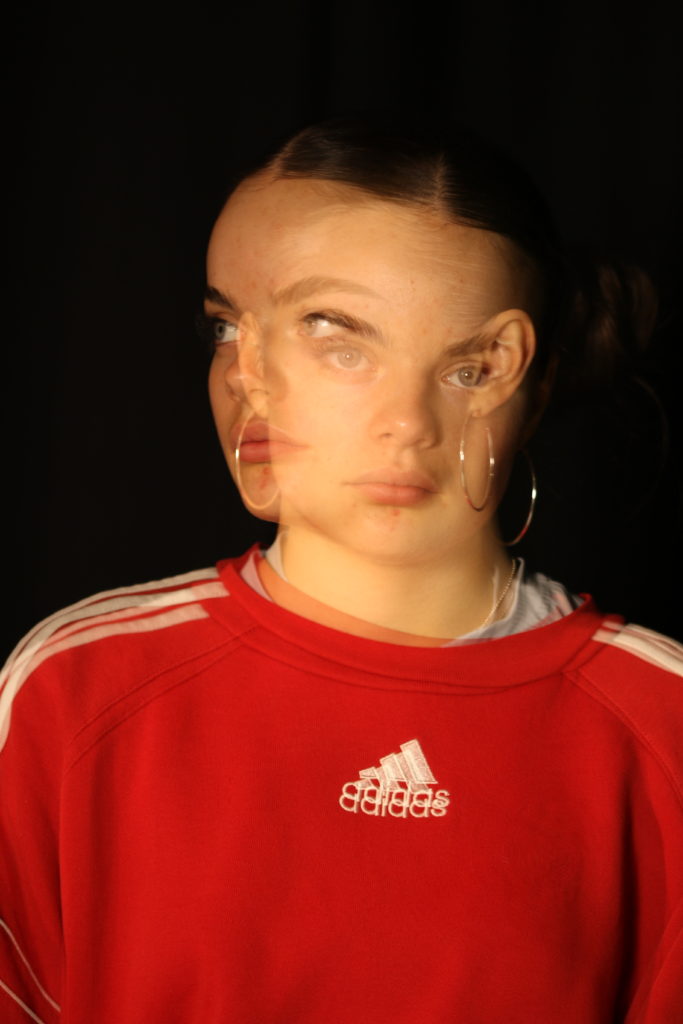
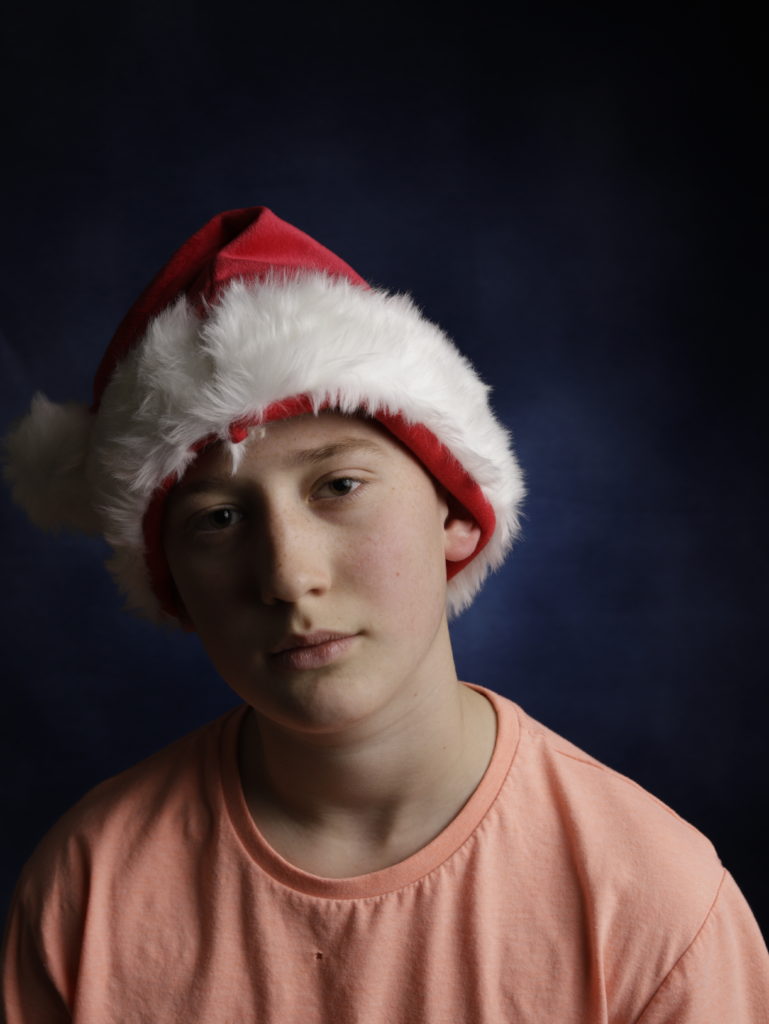
My attempts using camera settings:

DOUBLE/ MULTI-EXPOSURE

In photography, the term “double exposure” refers to a technique where two or more exposures are made on the same piece of film or digital media. By overlaying different images, double – or multiple exposure can create unique and unexpected results. While this technique can be used for any type of photography, it is often associated with experimental and impressionist styles. If you’re interested in trying out multiple exposure photography.

My attempt:

I created these triple exposure edits in photoshop by copying and pasting the same photo three times and moved each image slightly and changed the opacity of each photo to roughly around 86%.

You can also create multi exposure images on a camera by using a multi- exposure setting. by using tis setting you can adjust how many exposures you are wanting to create

Editing Headshots

In the studio I had experimented with various methods for headshots:

I used a blue and red lighting in the coloured images to give the portrait an affect and edited the images to how I liked it. For example where I wanted the lighting to be, how bright and shading. I then duplicated the image and created a black and white version of the image to create a 1900’s look.

I then done the same but used different lighting which would contrast each other, like the opposite colour to yellow is pink. this gave a colourful affect but also a newer look.

I had done the same but with a different person with different looks, and overall after editing they look very nice, clean, almost as if they where posing for a magazine but also a portrait.

During this I had used different lighting positions for a different look of the image, and still edited all the images the way I wanted them with a contrast of a black and white version.

diamond cameo

The Patent Diamond Cameo photograph was registered by F.R. Window of London in 1864. Four small oval portraits (1″ x 3/4“) were placed on a carte de visite in the shape of a diamond, each portrait being of the same person photographed in a different position. A special camera made by Dallmeyer was used in which the one glass negative was moved to a new position in the back of camera after each portrait had been taken, and when the paper print had been pasted on the card a special press was used to punch the four portraits up into a convex cameo shape.

my response:

I created these diamond cameos in photoshop by using the elliptical marquee tool to select the part of the image i wanted.

i then copied and pasted the image onto a blank document and repeated it four times and placed them in the shape of a diamond.

Diamond cameo

This is an example of a diamond cameo which is where multiple headshots are positioned in this diamond formation.

My attempt:

Using an example I found on the internet, I cut out and displayed my images on top of theirs to recreate the diamond cameo with my own images.

edited experimental images

Using Lightroom I did the initial editing, altering the exposure and contrast and changing the levels of highlights, darks, whites and blacks to enhance the colours in the image and make it stand out more. Then moving onto photoshop I used the lasso tool to cut images and layer the images on top of each other to give the effect of double exposure by lowering the opacity of the layers to give the translucent effect.

shoots

shoot 1:

For shoot 1, in a group, we shot portraits in the studio swapping models and photographers over.

shoot 2:

Shoot 3:

shoot 4:

Then on Lightroom I began filtering out the better outcomes from the ones I don’t want to use and began the editing process.

Multi-exposure shoot:

This shoot shows us experimenting with the multi-exposure setting on the camera:

the best outcomes and rejected the ones I didn’t want to use:

Then, still on Lightroom, I did the initial editing.

lighting

Rembrandt lighting

This technique is named after Rembrandt Harmenszoon van Rijn who was a well known Dutch painter. It refers to a way of lighting a face so that an upside-down light triangle appears under the eyes of the subject.

It gets used often in hollywood portraits as it became widely used in promotional photographs of film stars showing them in a dramatic and eye-catching way.

how to set it up:

This is the positioning of the light, camera and subject/model for rembrandt lighting.

My attempts:

I used the set up with the light positioned to the right of the sitter allowing the light to hit one side of their faces and create the triangle that is the key element of Rembrandt lighting.

Butterfly lighting

This lighting technique is used primarily in a studio setting and gets its name from the butterfly-shaped shadow that forms under the nose due to the lights positionning.

It can be used to highlight cheekbones creating shadows under them as well as under the neck, making the model look thinner. 

The set up:

My attempts:

By positioning the light above the sitter it highlights their cheekbones and creates the butterfly shape under their nose.

Rim lighting

This technique displays the outline/silhouette of the model.

For the set up, the model is positioned in front of the light

Our attempt:

This was an attempt we made at using Rim lighting however as you can see it wasn’t the most successful. In future I think we need a bigger light source or to maybe position it higher to create a clearer silhouette.