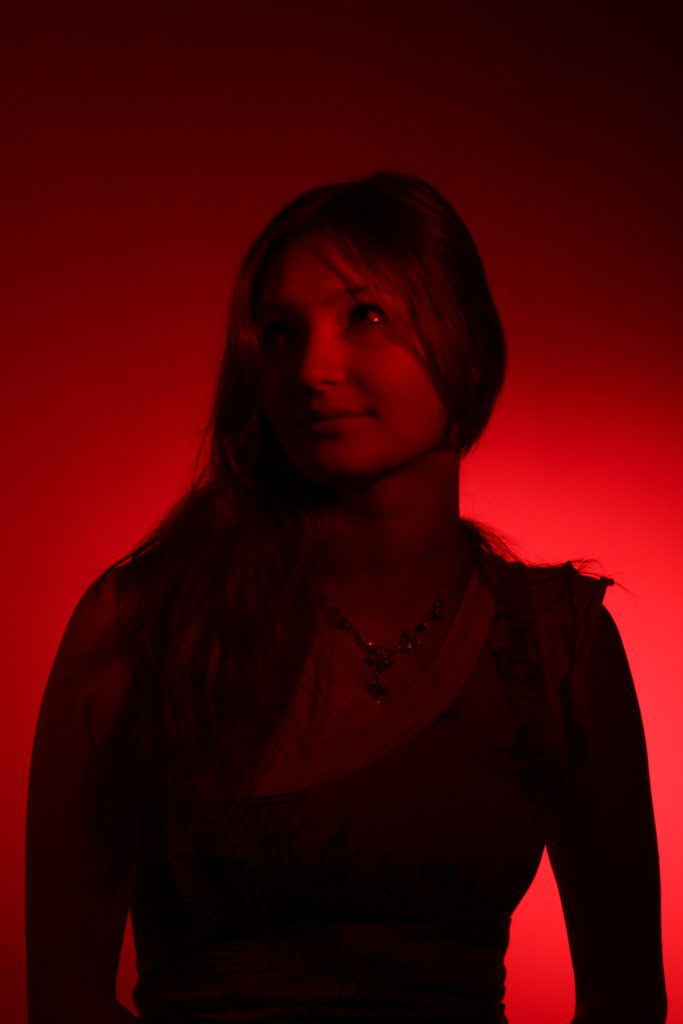
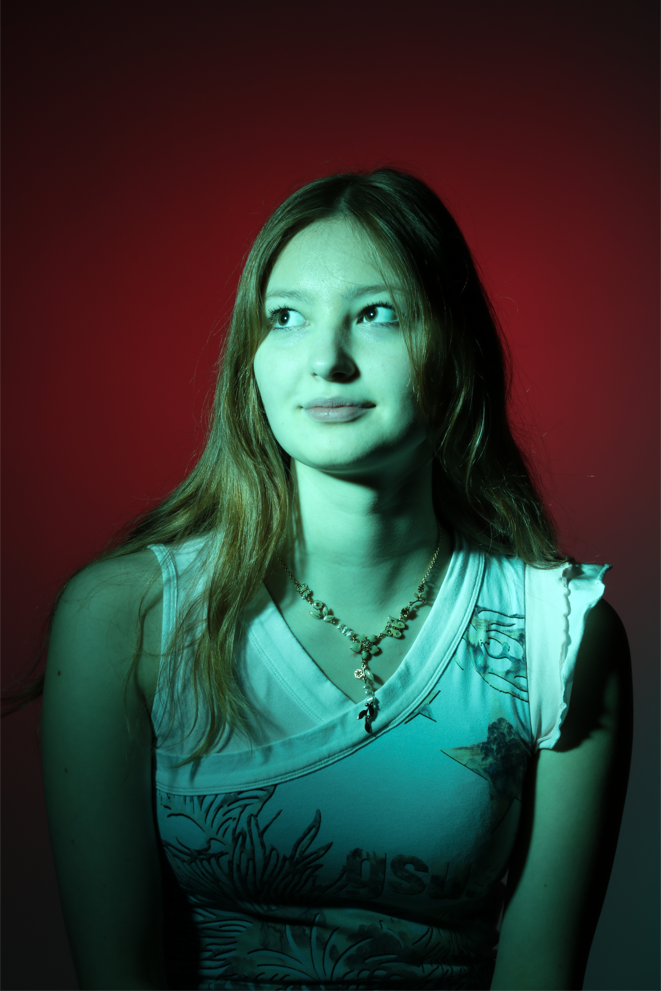
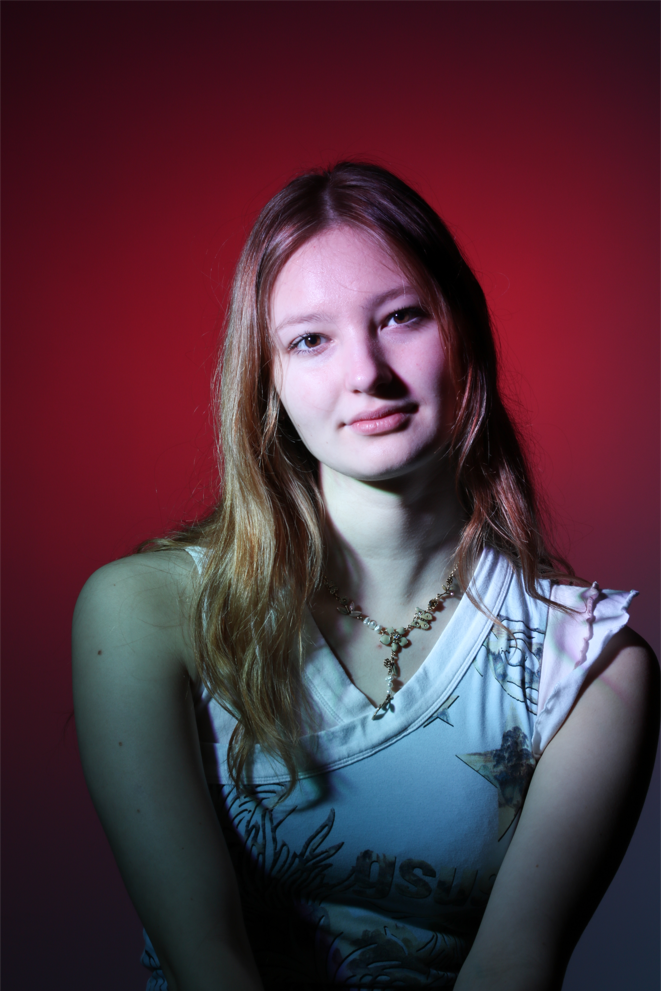
Lighting – snoot

In photography, a snoot is a tube that fits over a studio light and allows the photographer to control the direction and radius of the light beam.

In the studio I am going to experiment with a snoot and colour gels to light up from behind and in front of my subject with different colours.
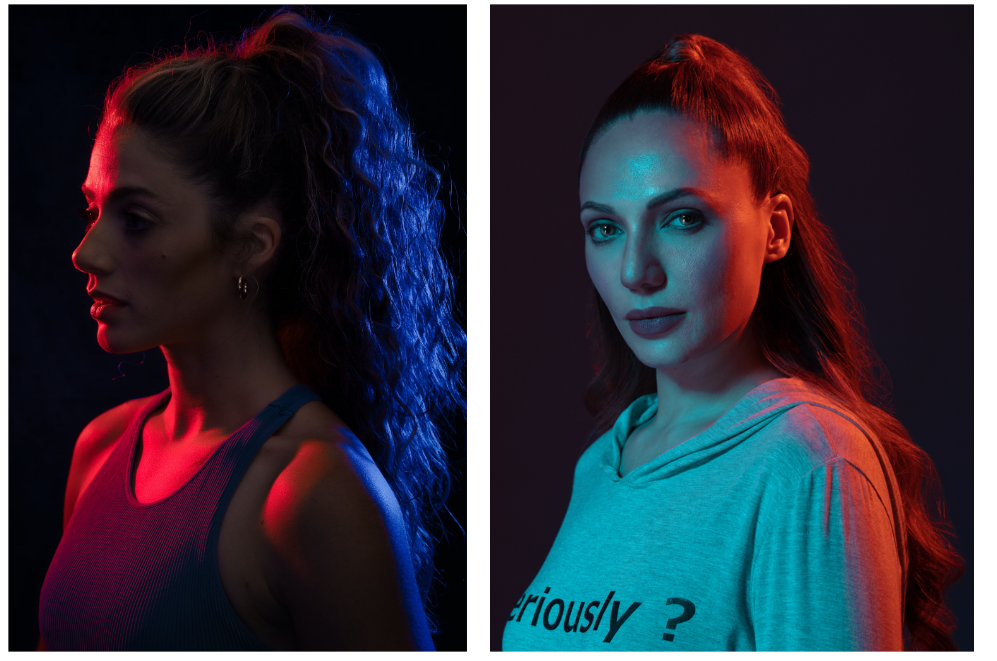
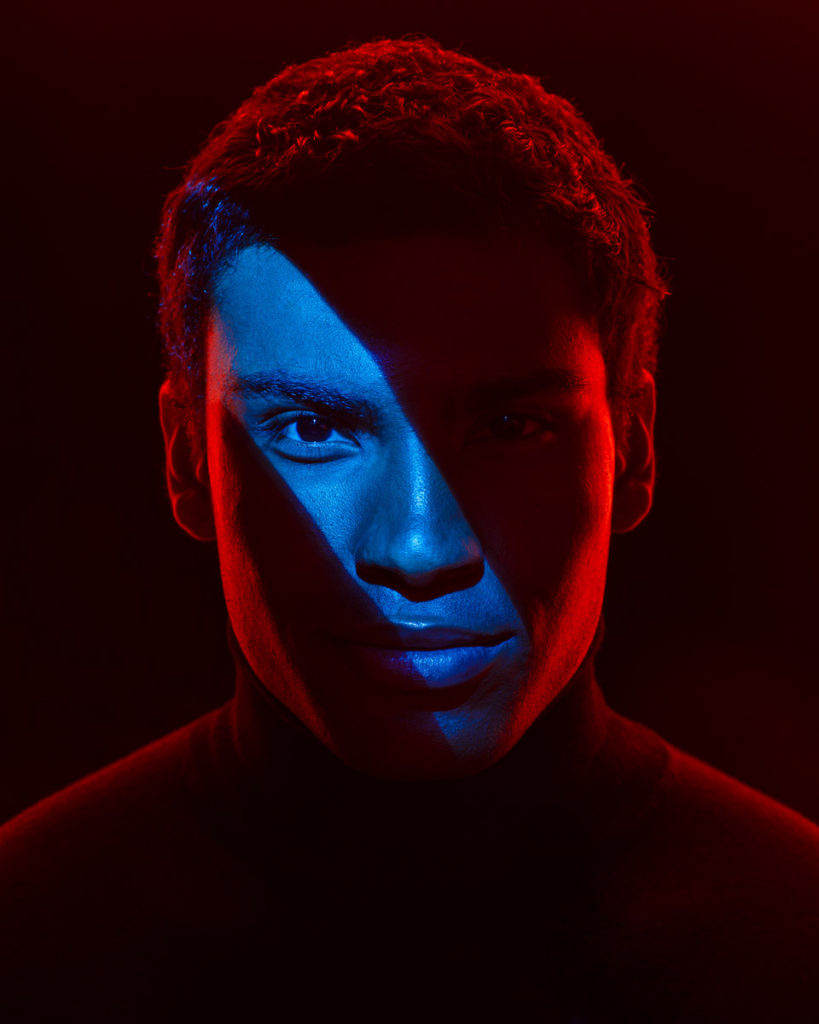
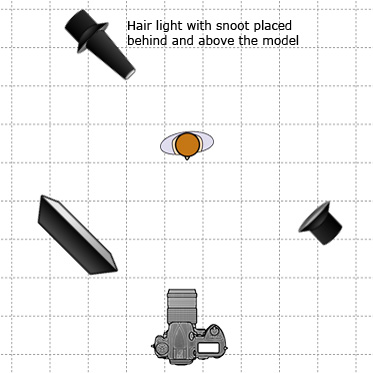
I want to create something like these images, also using mirrors and different shapes of cardboard to create different shadows. I will have one light in front with a colour gel sheet and the snoot behind with a different colour gel. I will switch them around and experiment with different angles.
Double Exposure
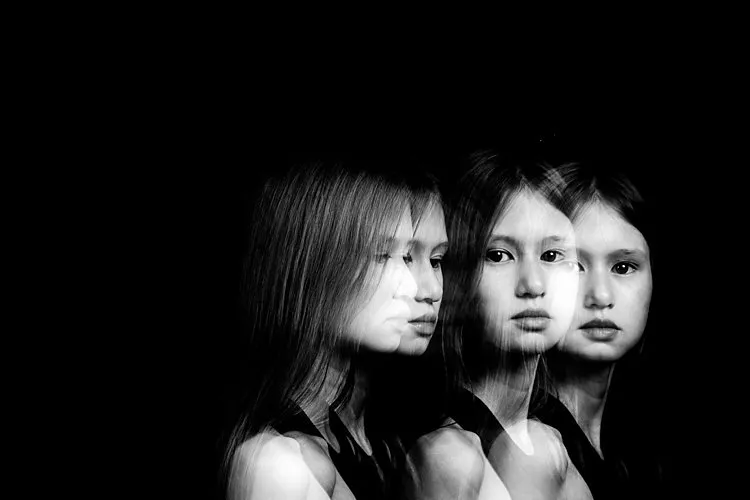
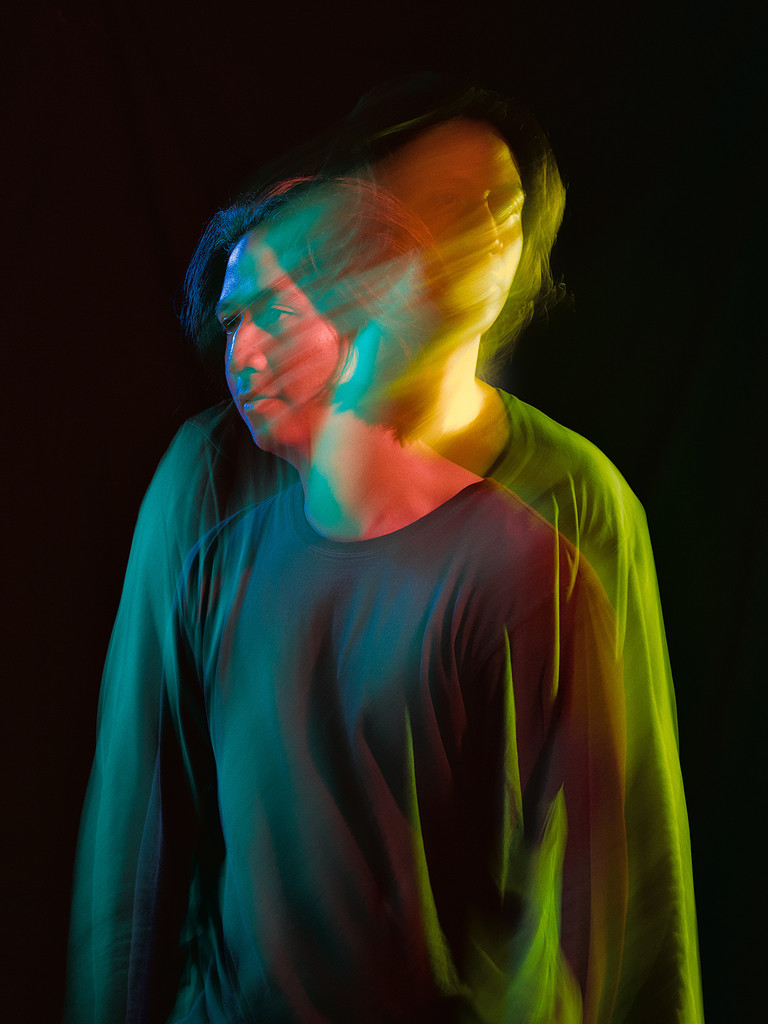
Double exposure is where the shutter speed is slowed down so that movement is caught in the image, and the subject is out of focus. I want to use this technique in the studio so that I can create double exposure portraits. The images will turn out darker than normal as only a small amount of light will be let in, so I will need to have a large aperture and a higher ISO. I will also need to use a tripod so the camera stays still and only the subject is moving.
portraits photoshoot – different lighting

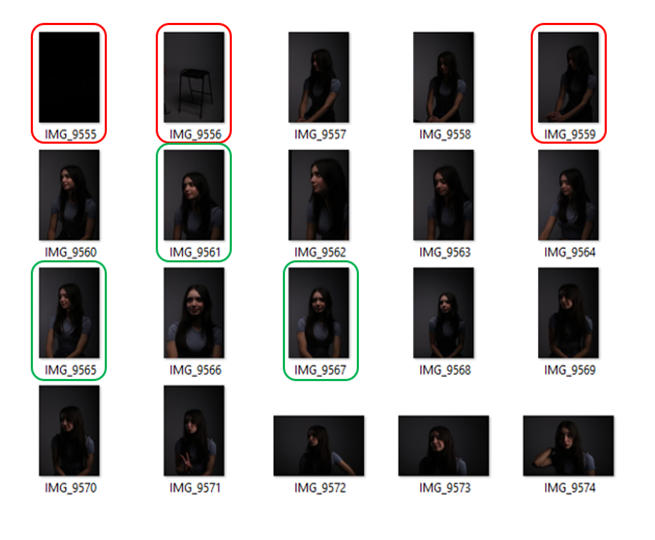
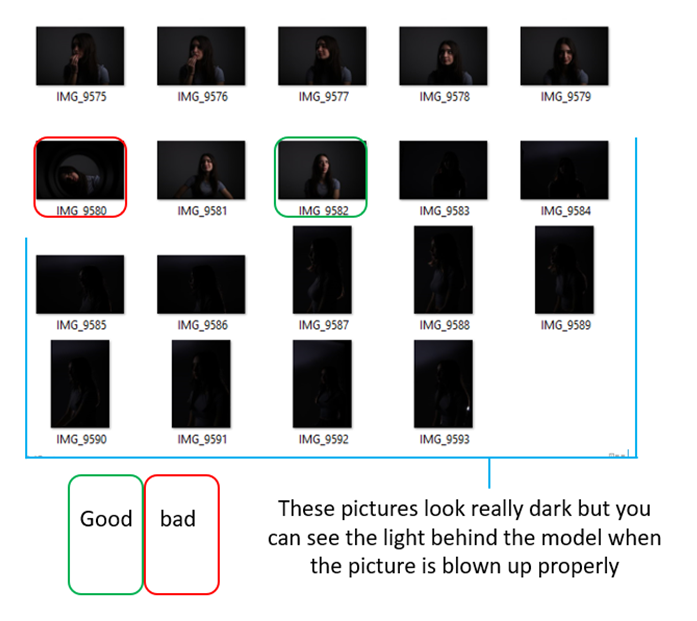
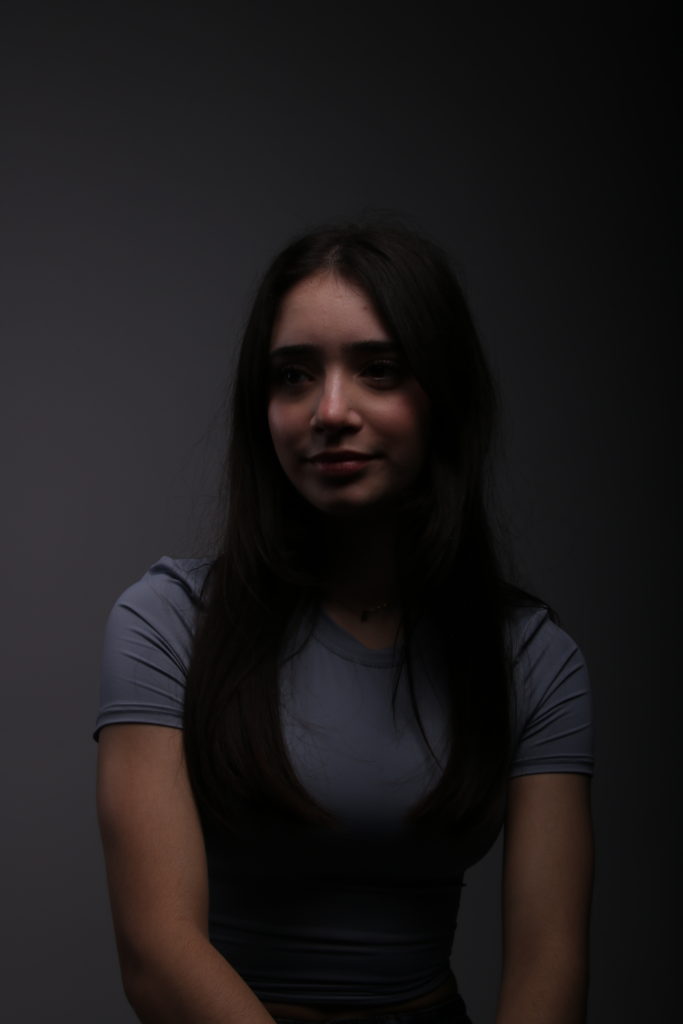
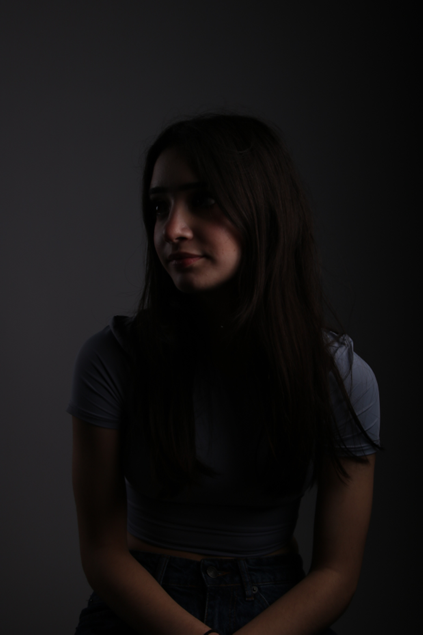
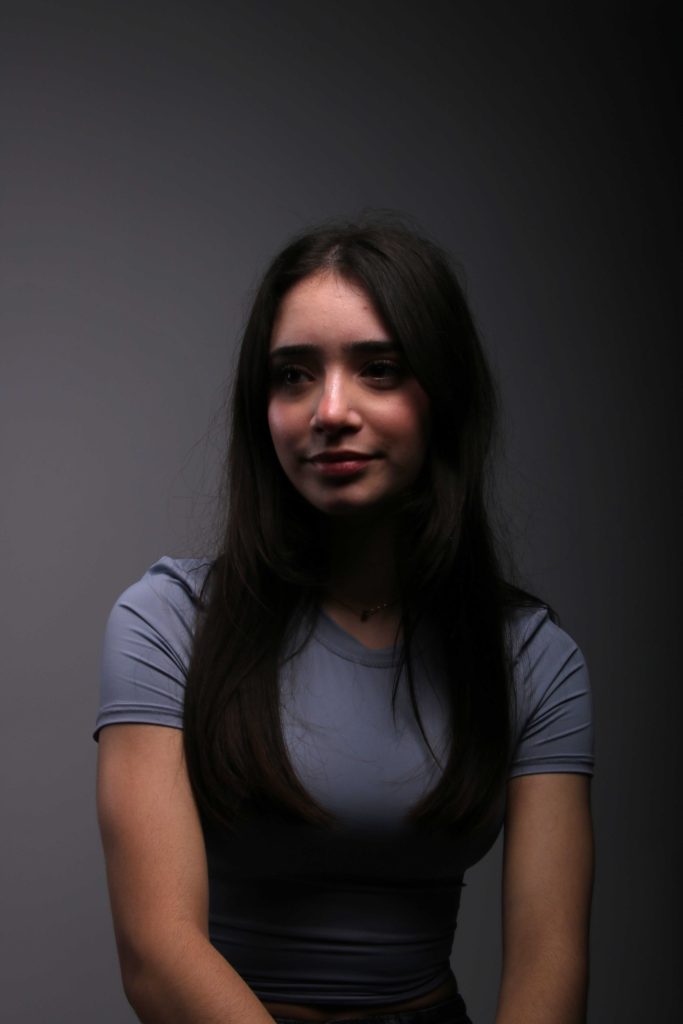
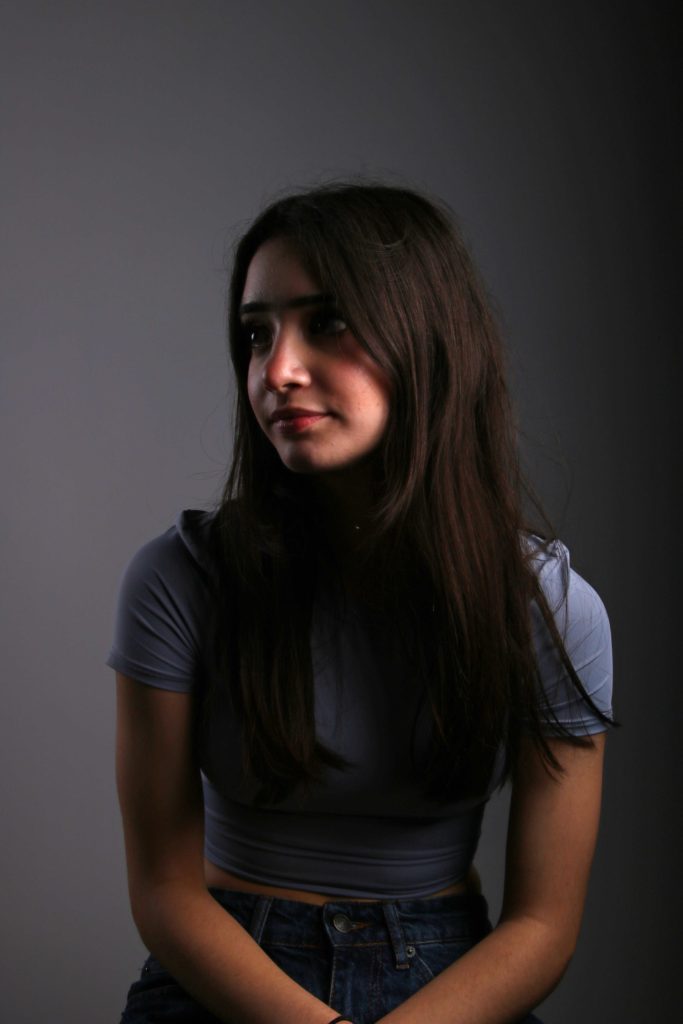
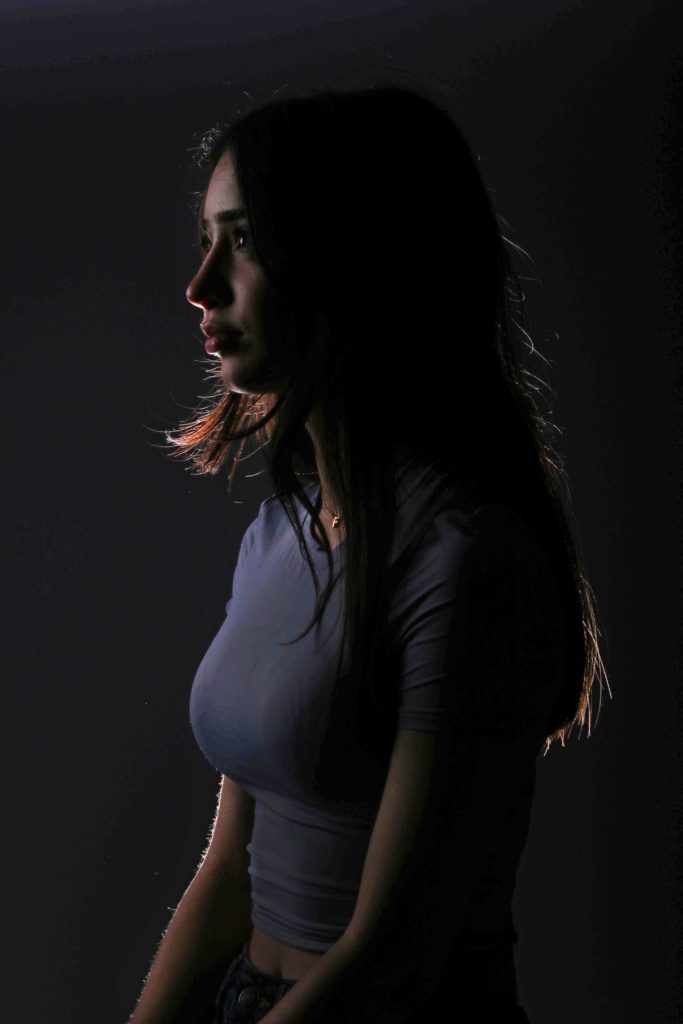
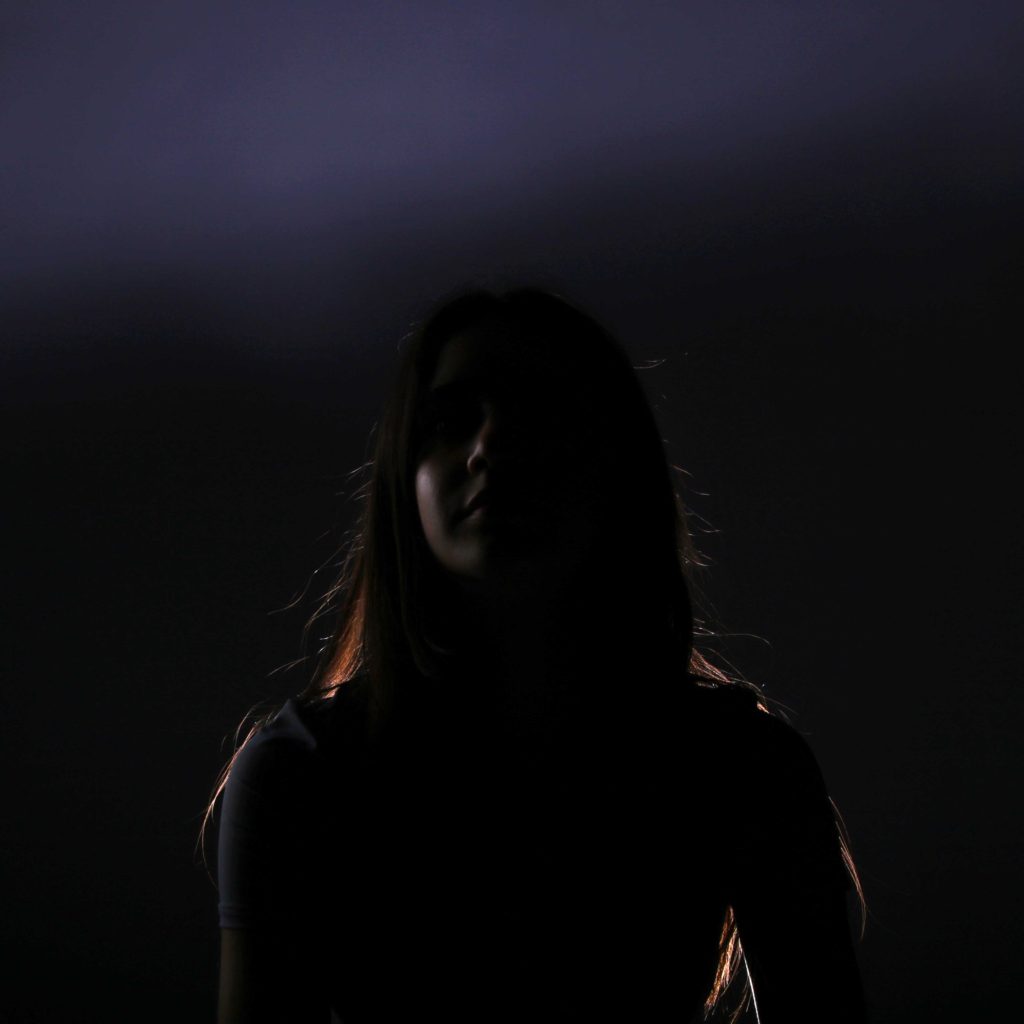
In this photoshoot, I experimented with Rembrandt, butterfly and back lighting

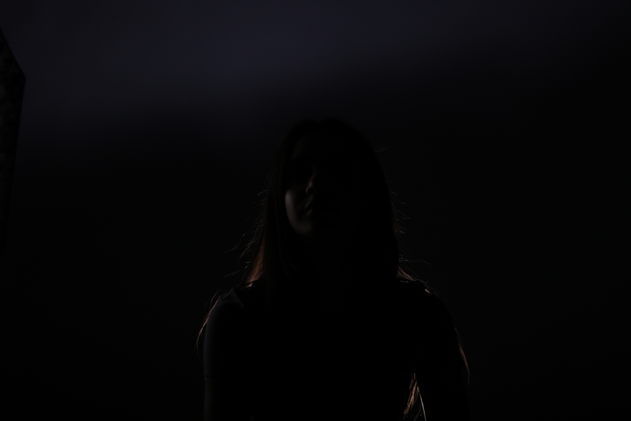
BEST SHOTS (unedited)

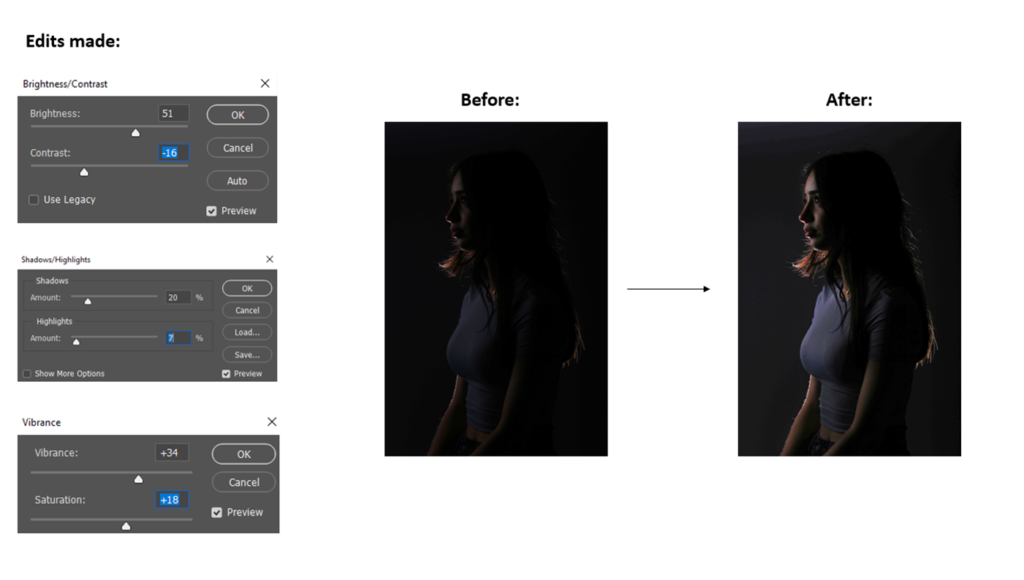
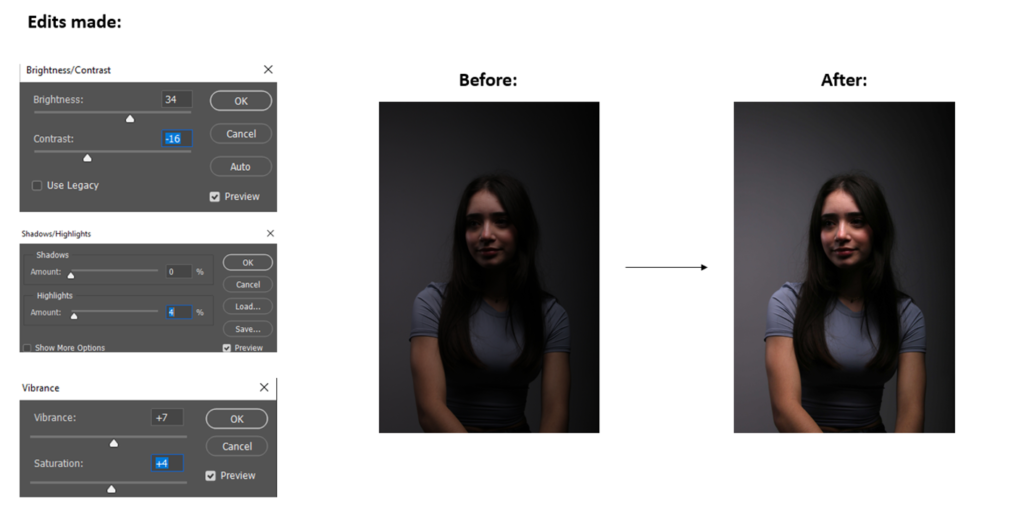
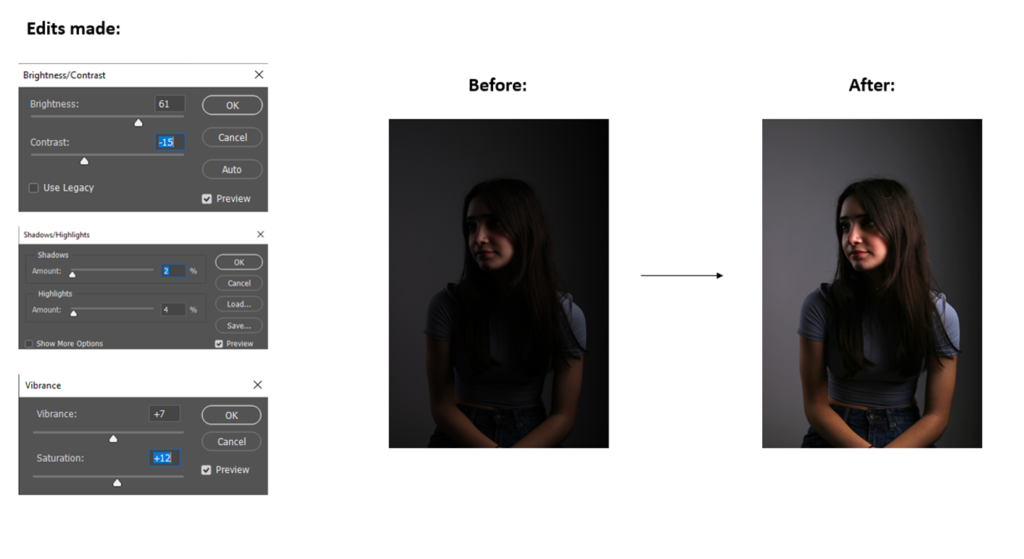
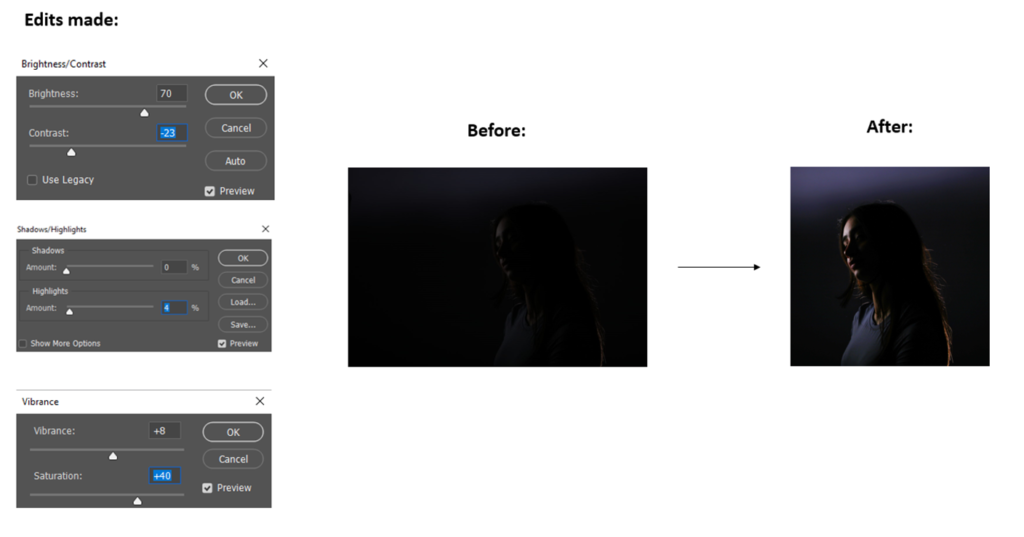
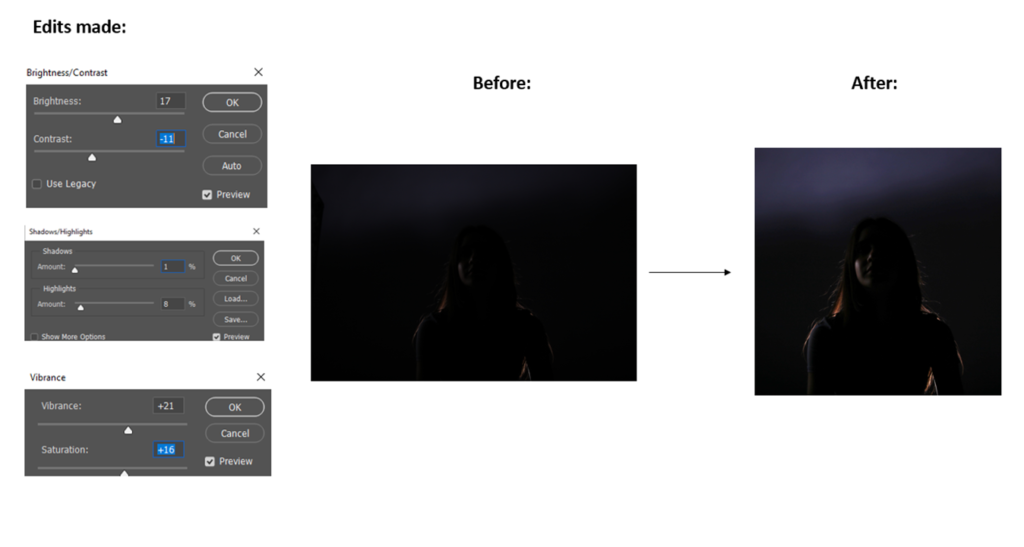
EDITING

BEST SHOTS (edited)

EVALUATION

What I really like about these pictures is how they all work together and how the light is used in multiple different ways while still looking simplistic and elegant. I especially like the last two with how the light hits the back of the model to we can only see her silhouette. I think I have effectively been able to show off all the different types of lighting and my standard portraiture skills. For my next photoshoot, I will make sure the photos are not as dark so I don’t need to edit them as much later on.

Headshots shoot 1

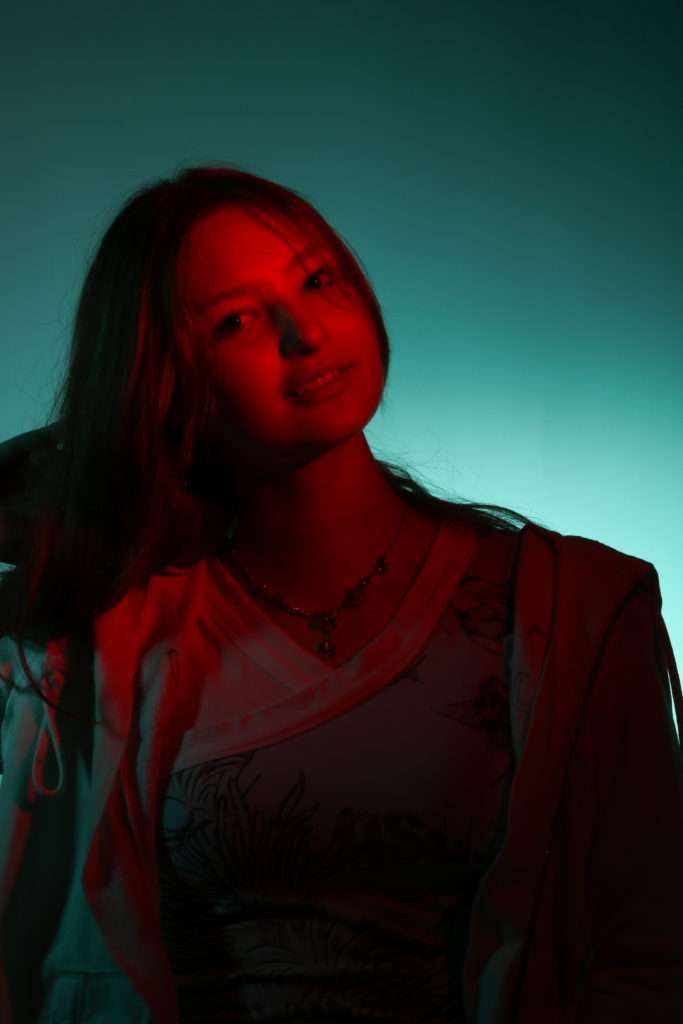
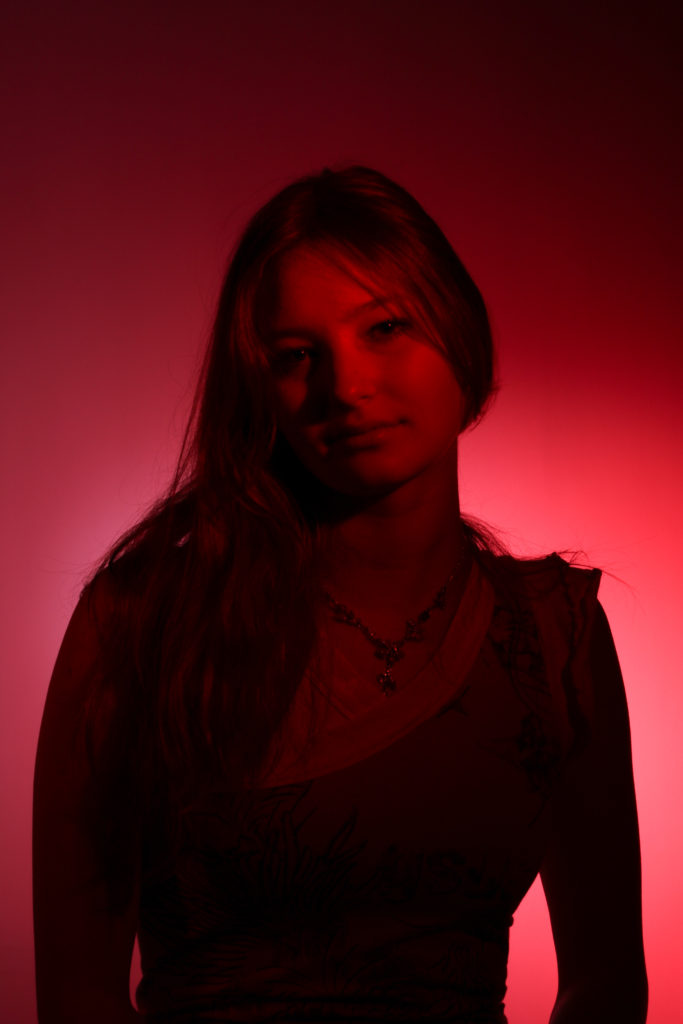
Here are the outcomes of my first instance of experimentation in the studio using a variety of coloured gels and a honeycomb mesh. The setup used a flash with a beauty dish attached, which the assistant covered with different coloured gels, as well as a continuous light that we attached a snoot (with a red gel and a honeycomb mesh) to. We experimented with placing the flash on the background and the continuous on the face, and then switching them around to see what effects the change created. I am happy with a lot of these outcomes however I will definitely be going back into the studio to experiment further as I don’t have many here.