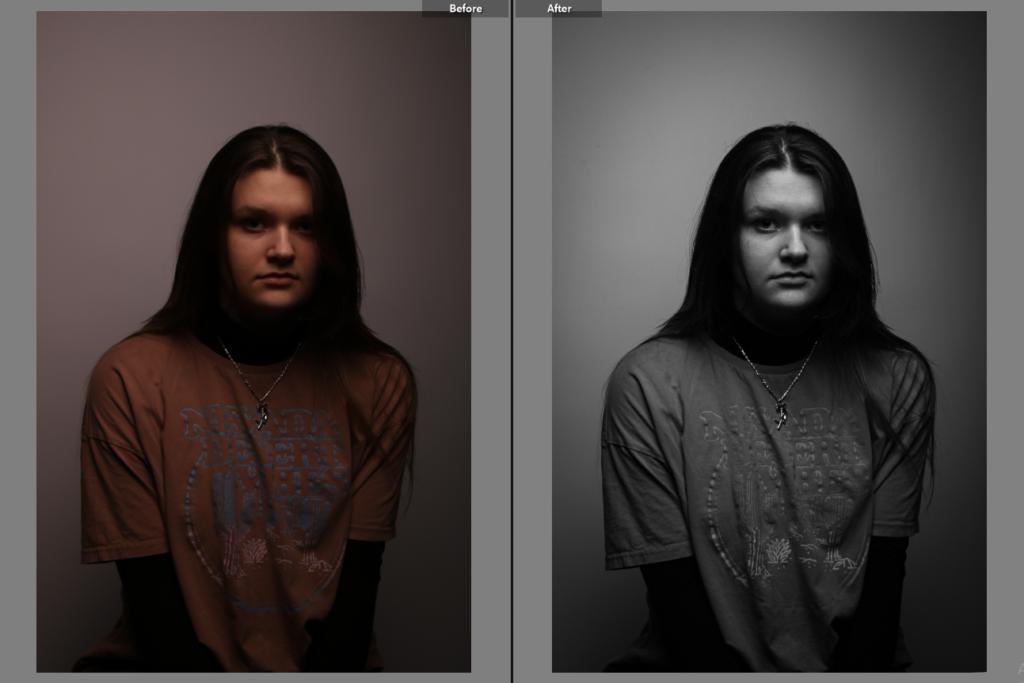
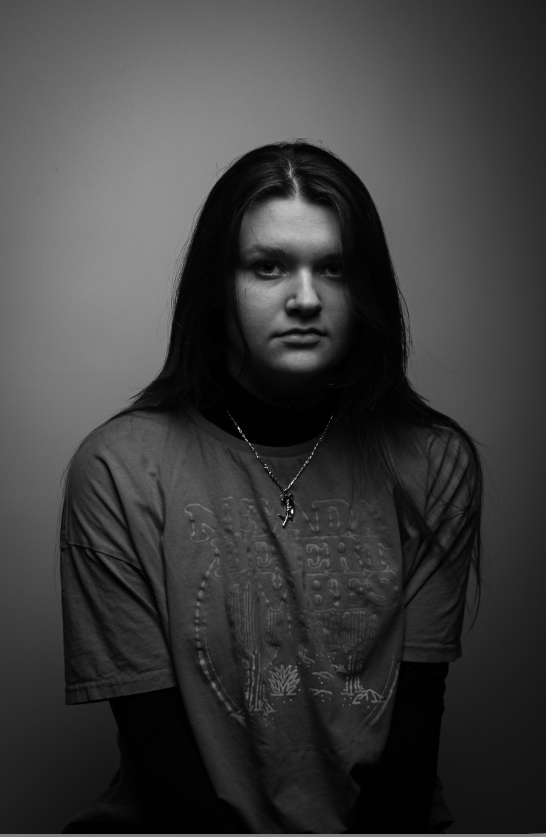
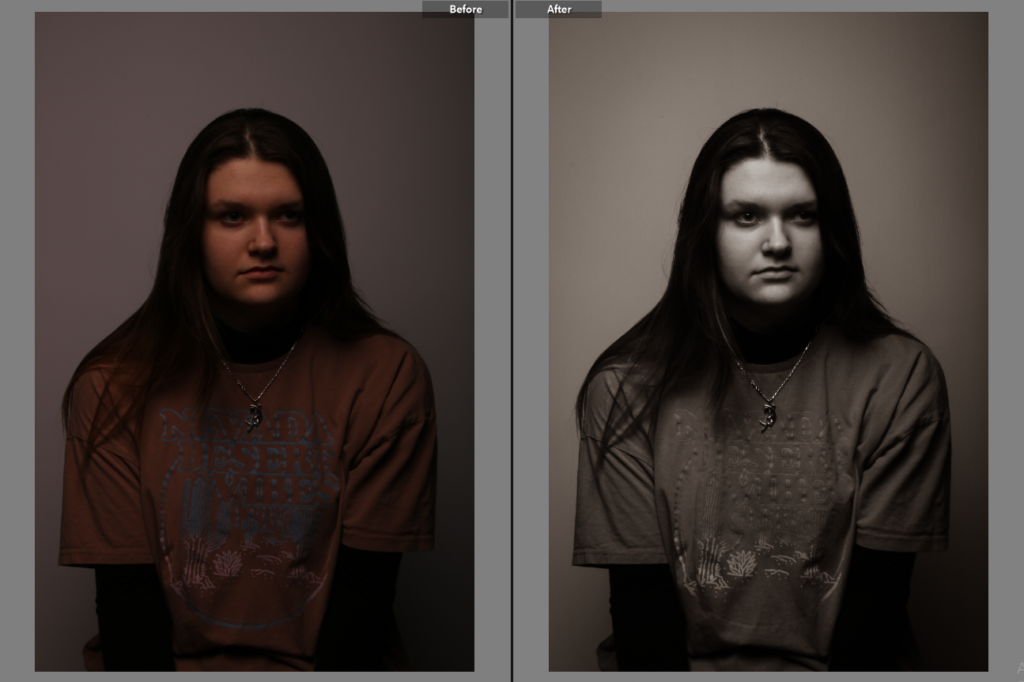
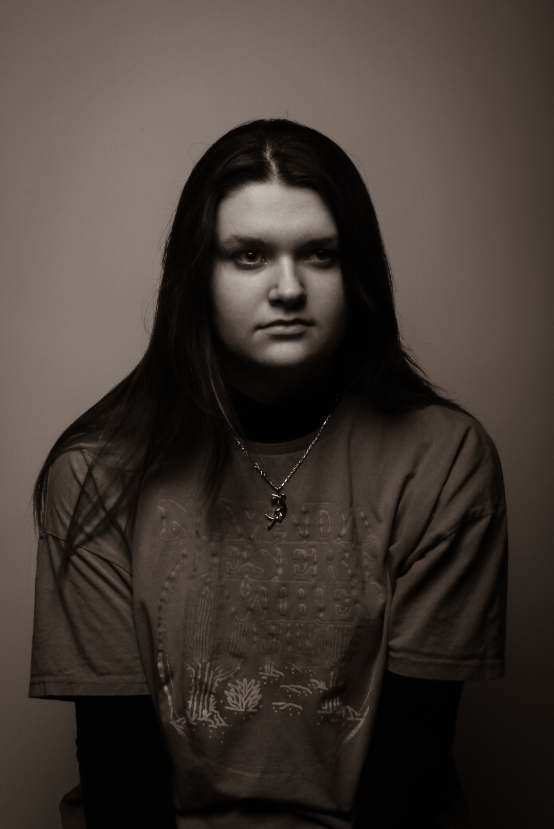
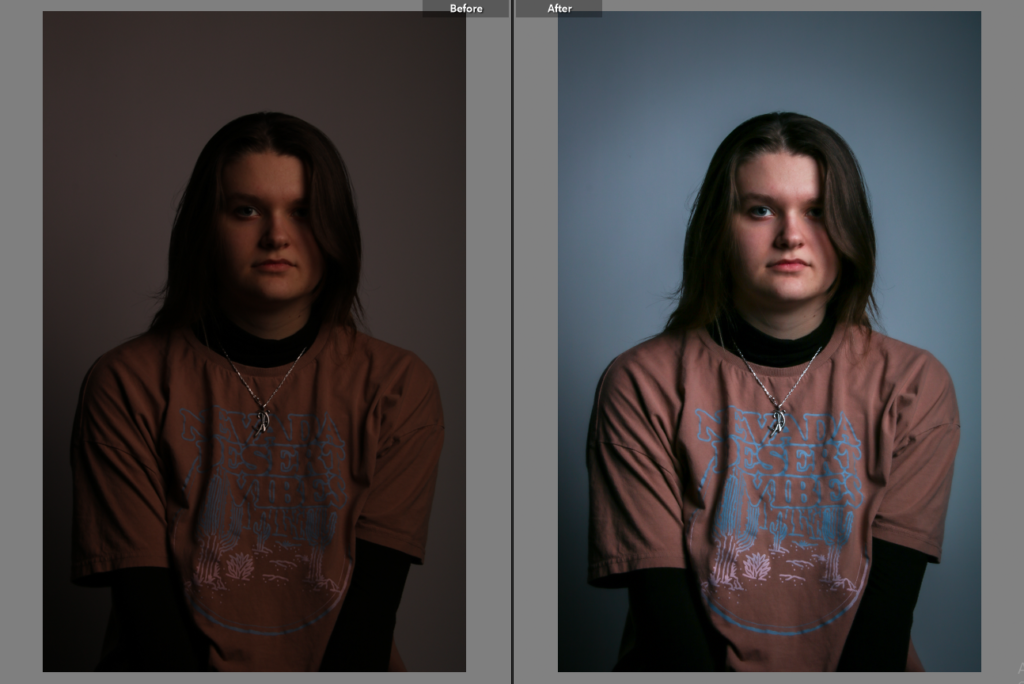
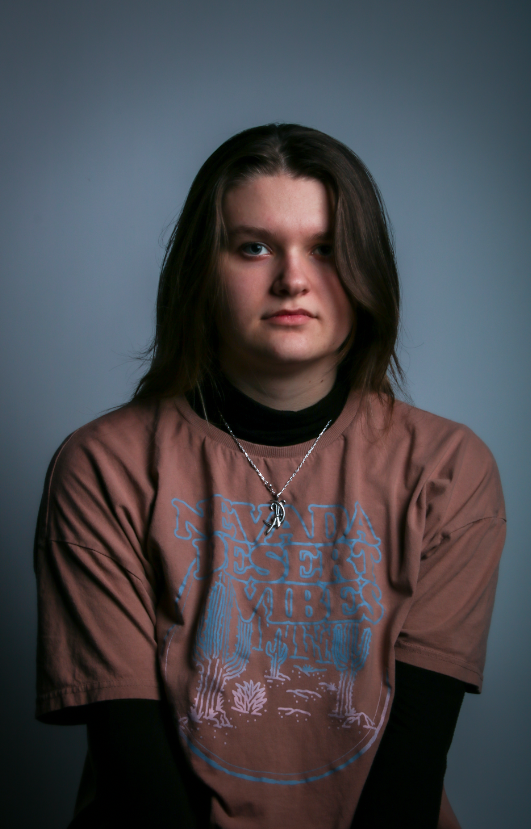
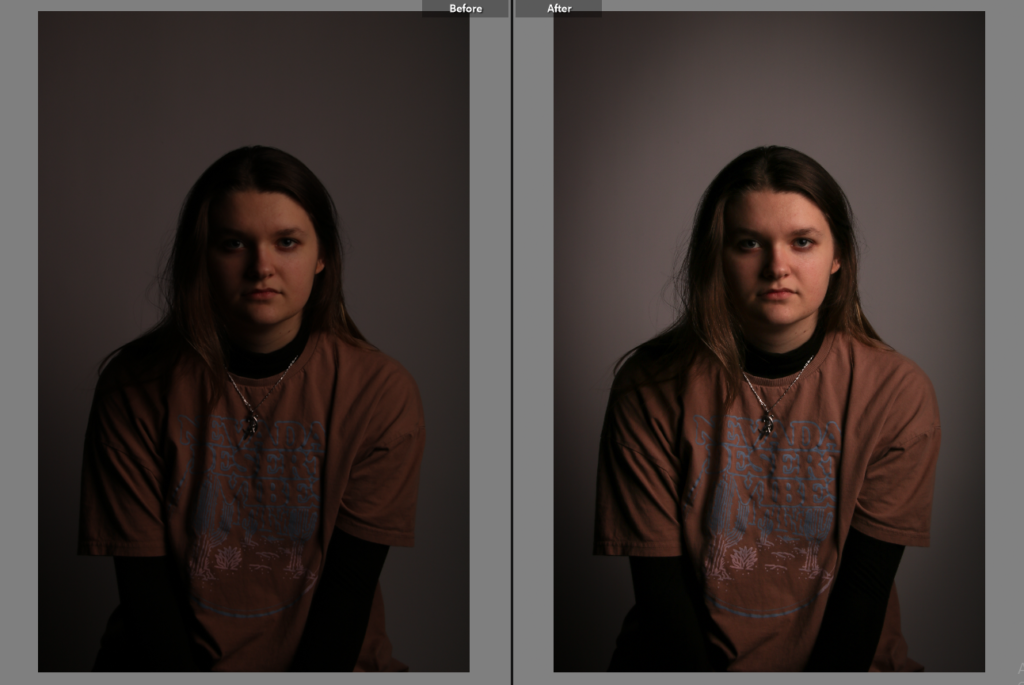
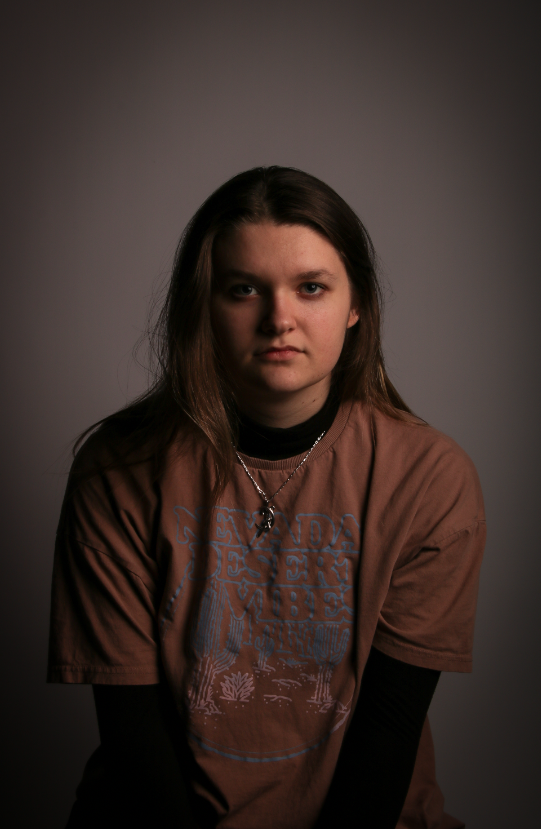
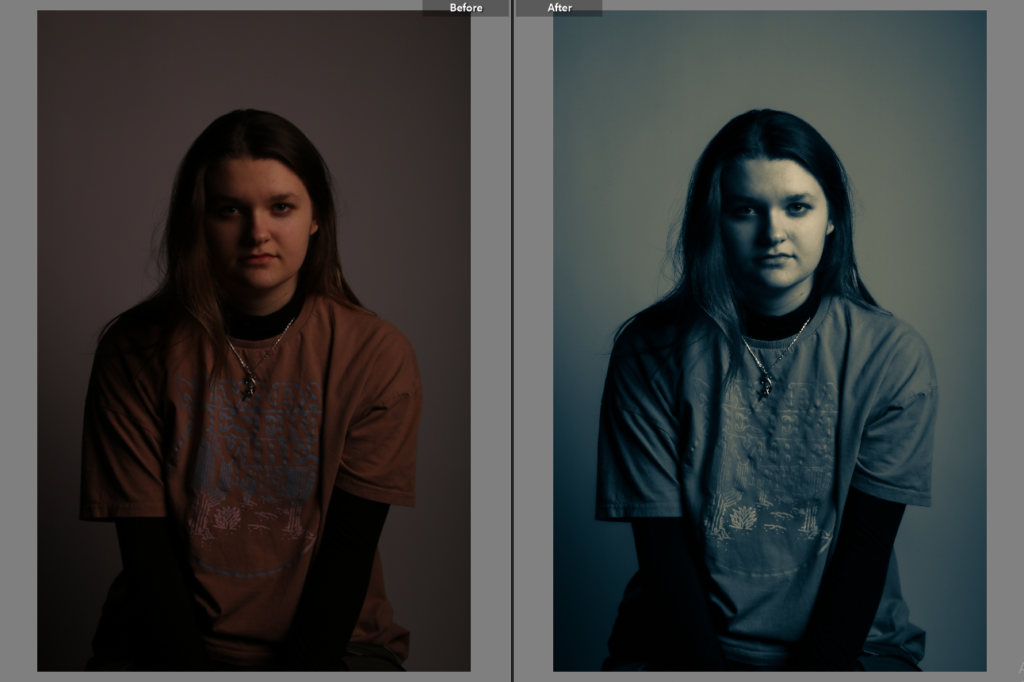
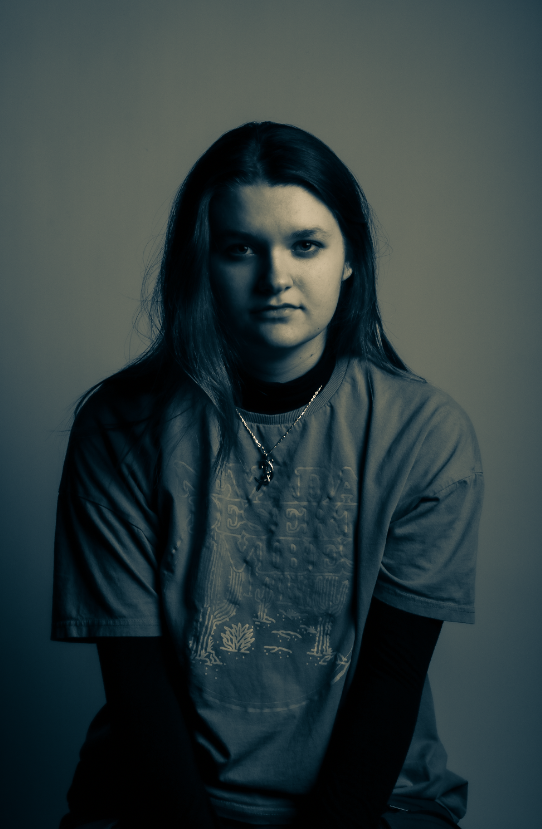
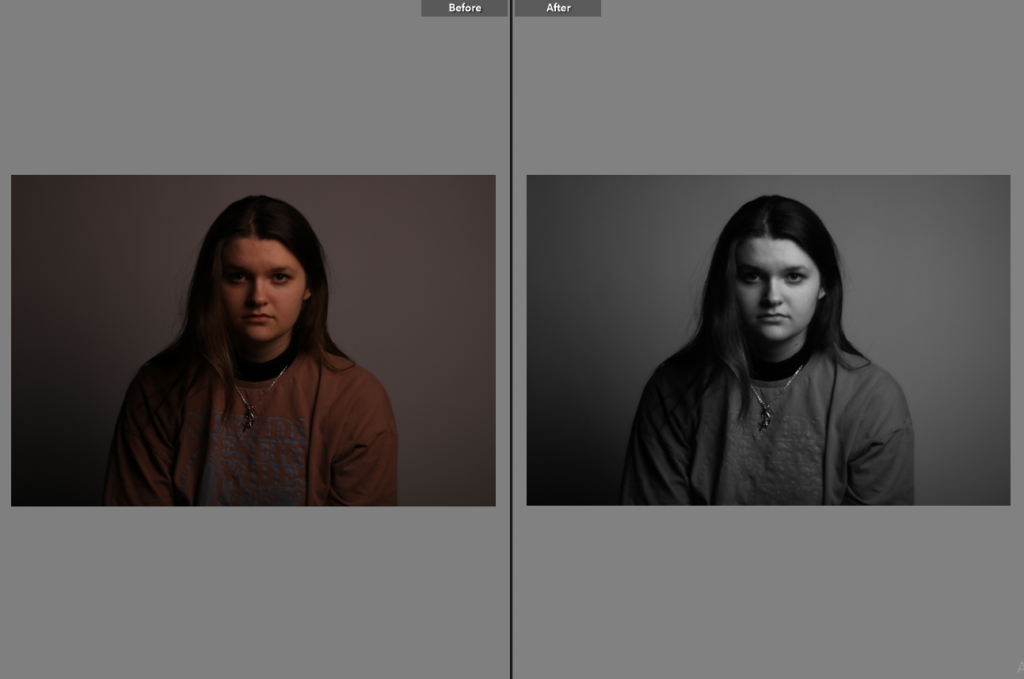
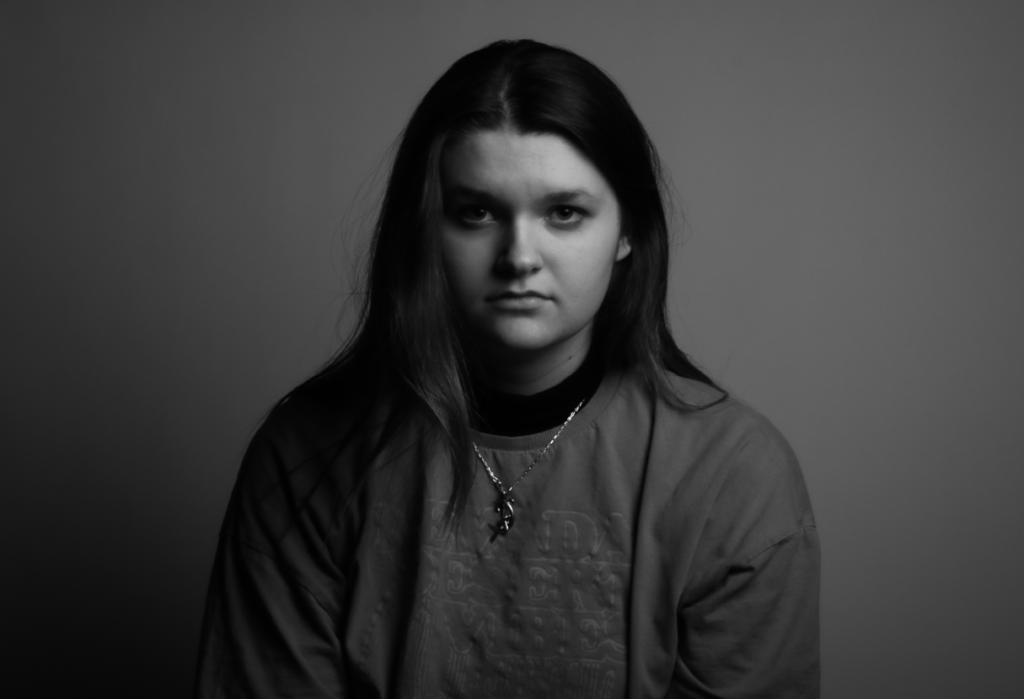
I enhanced the best features of each photo in Lightroom, using photos that used butterfly and Rembrandt lighting.


I enhanced the best features of each photo in Lightroom, using photos that used butterfly and Rembrandt lighting.
EXPERENTING WITH HEADSHOT PHOTOGRAPHY:
Diamond Cameo’s are four small oval portraits that are placed on a carte de visite in the shape of a diamond. Each portrait being of the same person photographed in a different position.
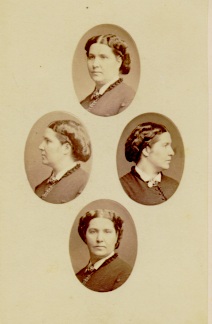
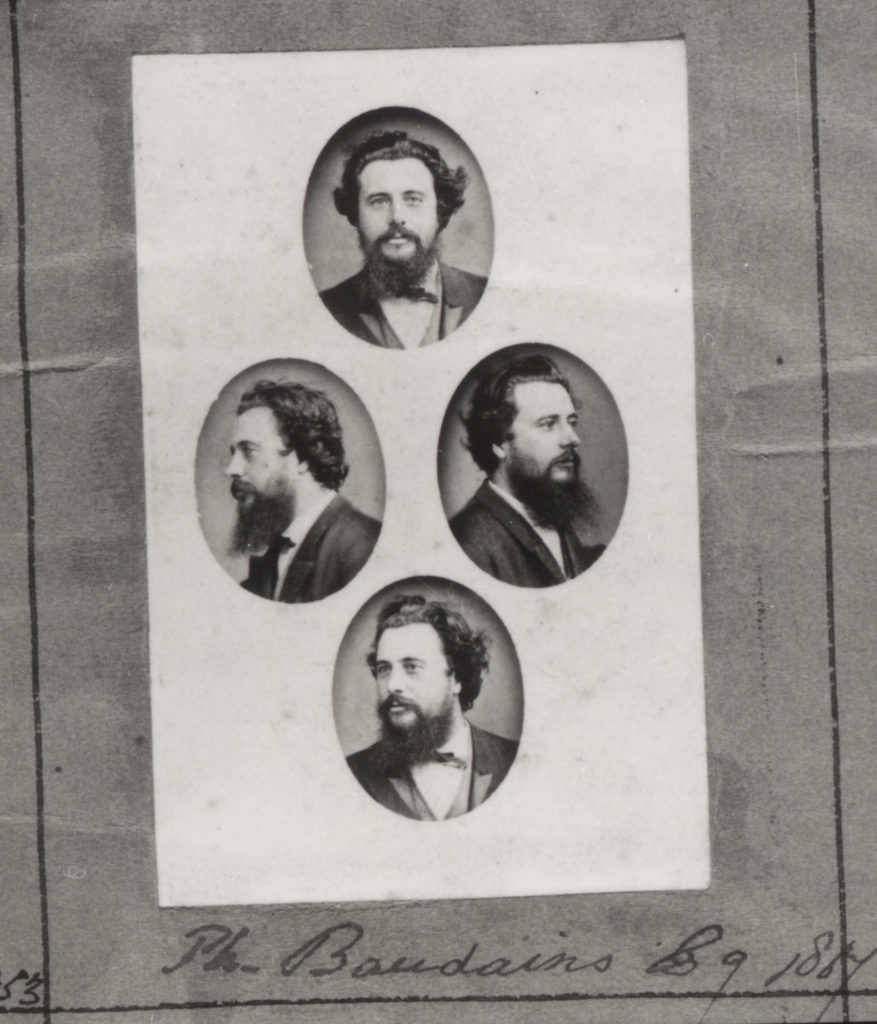
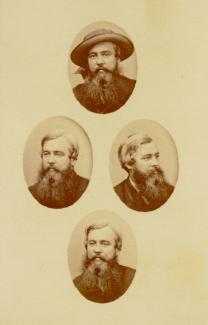
To make a diamond cameo start by creating headshots of the person. Personally I would use straight on lighting, or butterfly lighting, this is so the image is not too dark and you can see the face clearly.
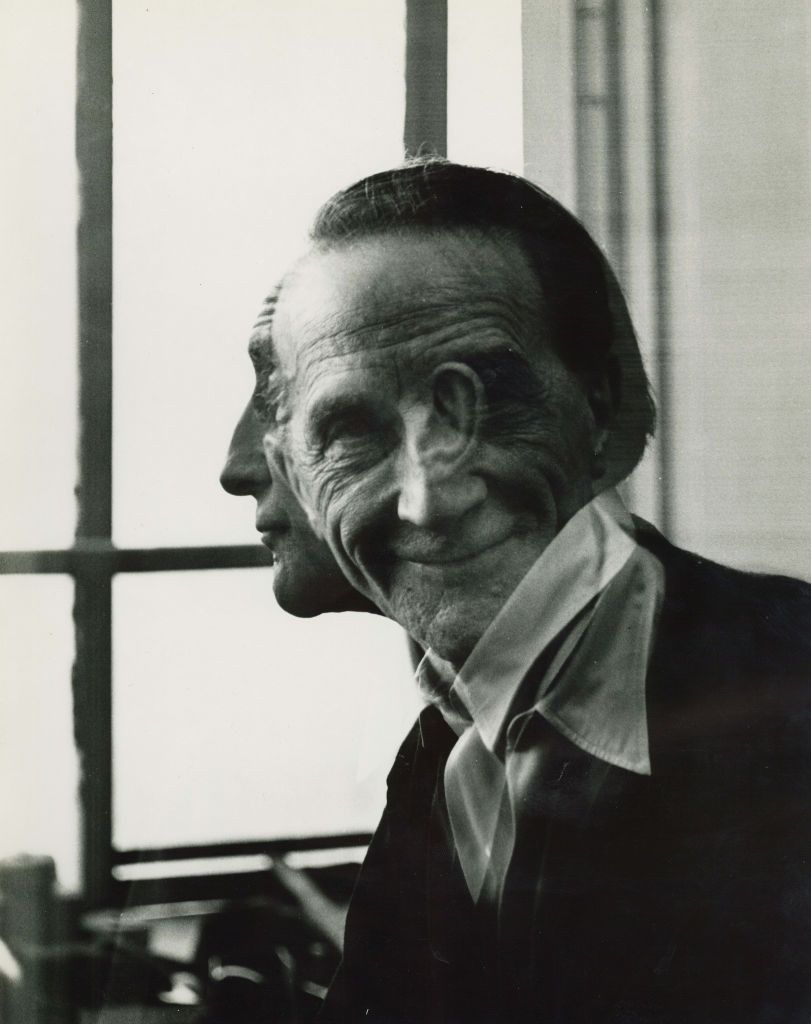
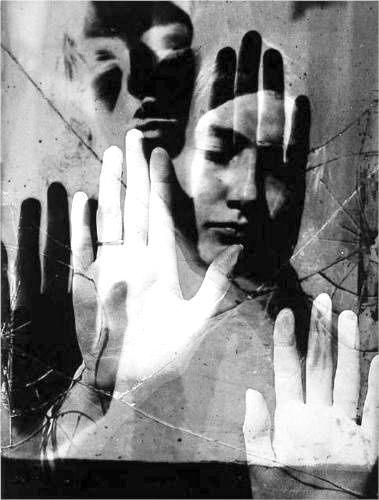
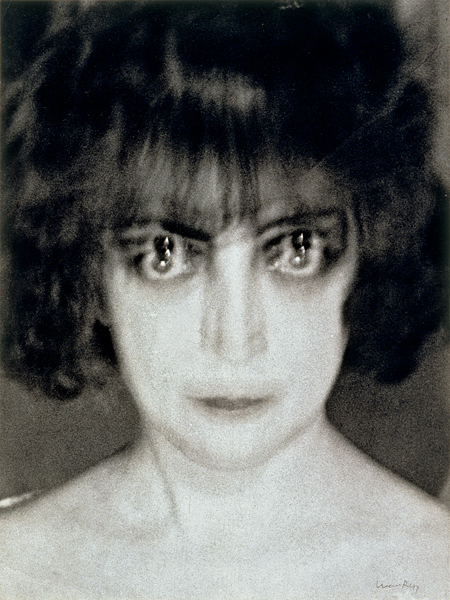
Multiple exposures are photographs in which two or more images are superimposed in a single frame.
IN ADOBE PHOTOSHOP
Photomontage is the process and the result of making a composite photograph by cutting, gluing, rearranging and overlapping two or more photographs into a new image.
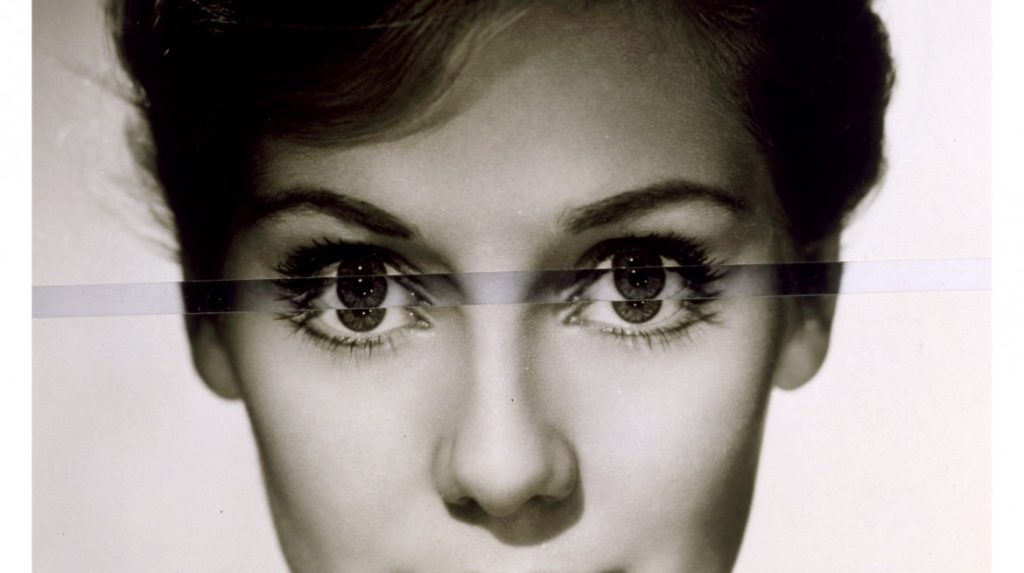
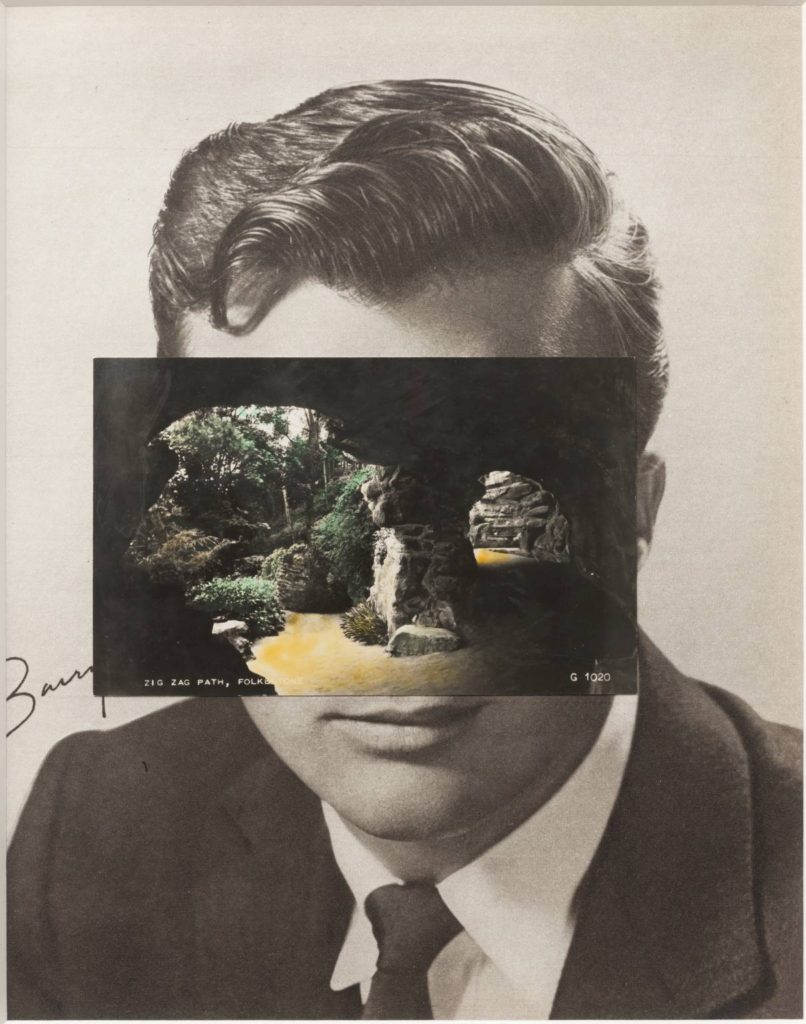
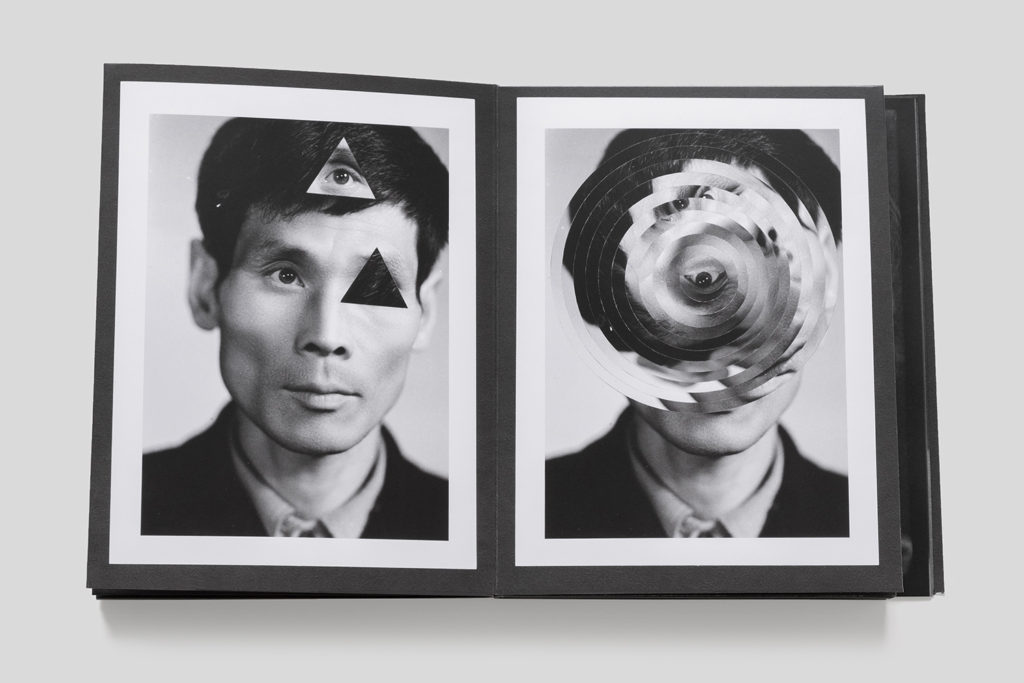
To create Grid images you can either do this digitally or hand-made. In photoshop you can open a background image and open a further image you wish to put in addition to the other image. You then cut out your image and add it wherever you wish on your background layer. You can also do this handmade by cutting out images and experimenting where you can place different shapes and sizes, you can then glue it to create your photomontage.
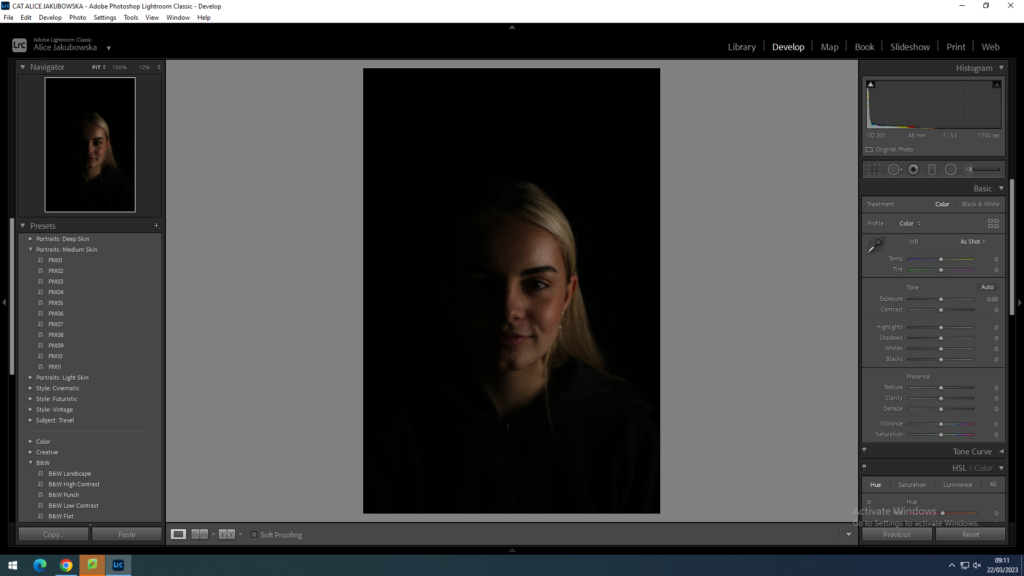
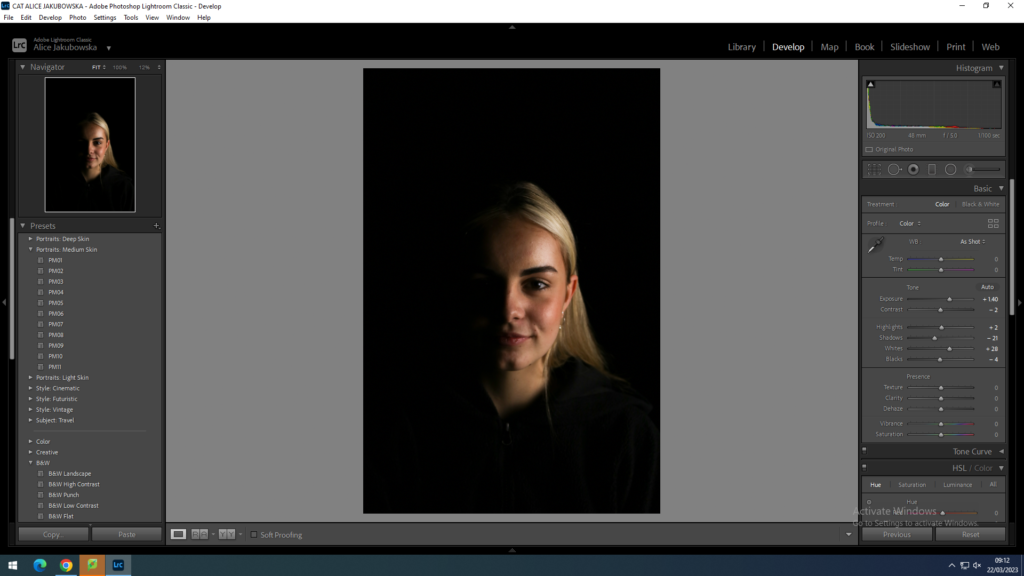
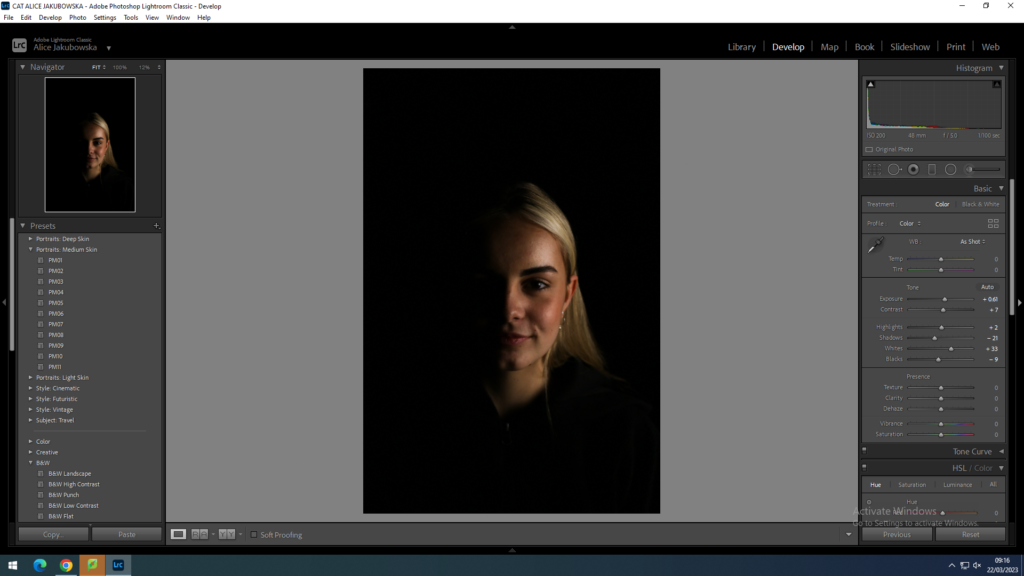
These images were used with Chiaroscuro Lighting. I photographed Phoebe on a black background to create more of a dramatic effect and a more darker sinister image, giving a sense of a horror movie poster. However in these images I want to create a sharper contrast between the two halves of her face to create more of a distinction between the bright and dark lighting on her face. In these images I will increase her exposure slightly, while also increasing the contrast to create that sharp lines on her face, yet I don’t want to overdramatise the image. Increasing the whites in her images will illuminate the natural highlight on her cheekbones which will give her a natural brighter complexion.
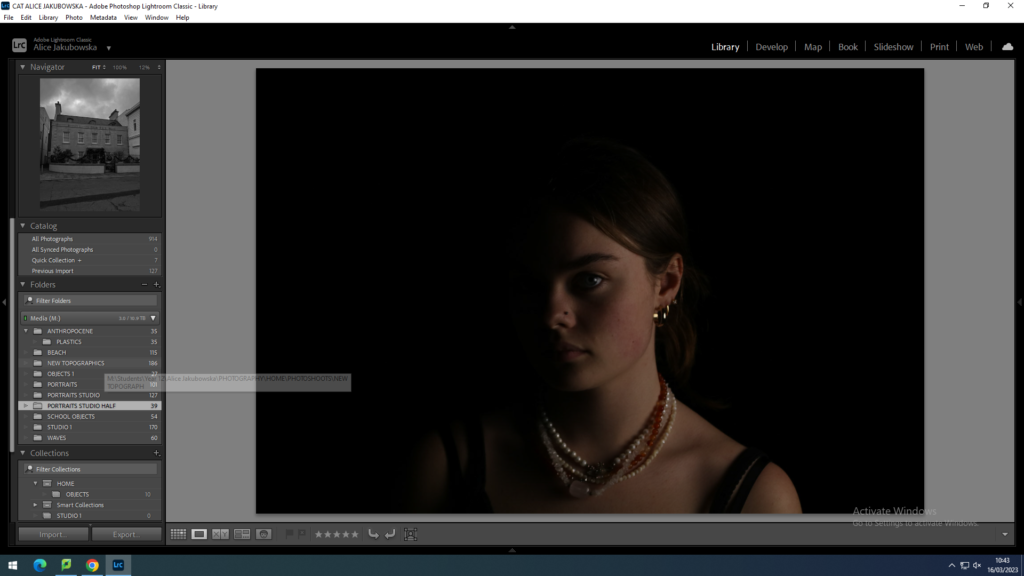
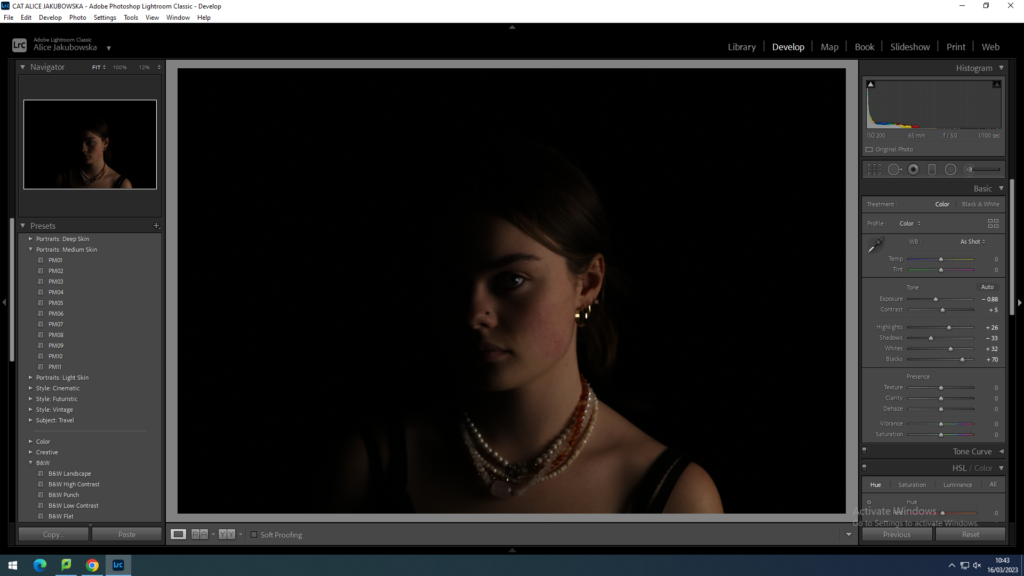
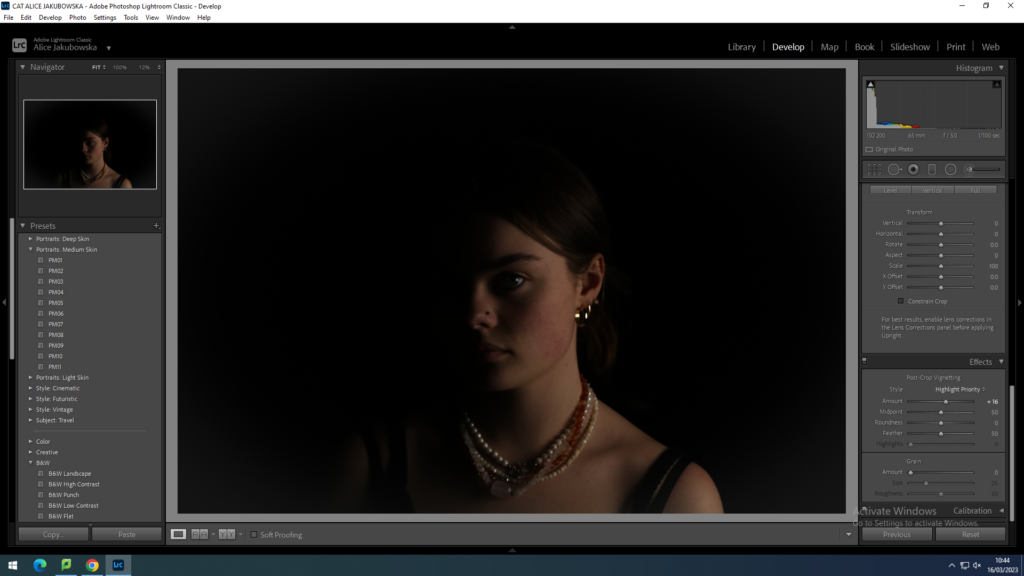
The lighting used in this image is slightly underexposed which has an affect on the whole photograph. While creating this image we had a dark background with minimal lighting which creates a flat image as there is no contrast between the two lightings. So in this image I will increase the exposure to make Phoebes right side of the face brighter which will results in a jarring distinction between the lighting. I also slightly increased the contrast so the exposure doesn’t wash out the features and colours in her face.
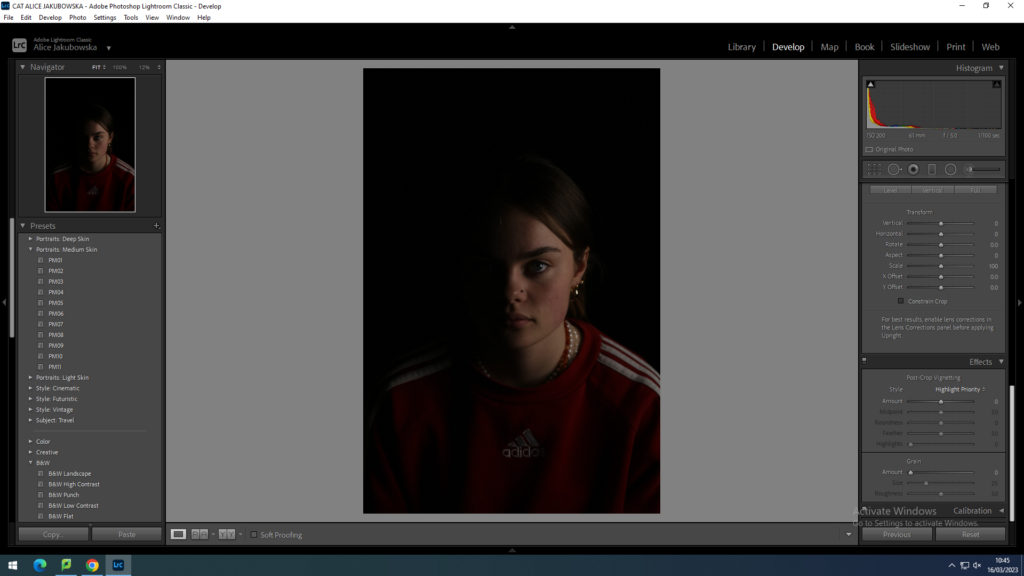
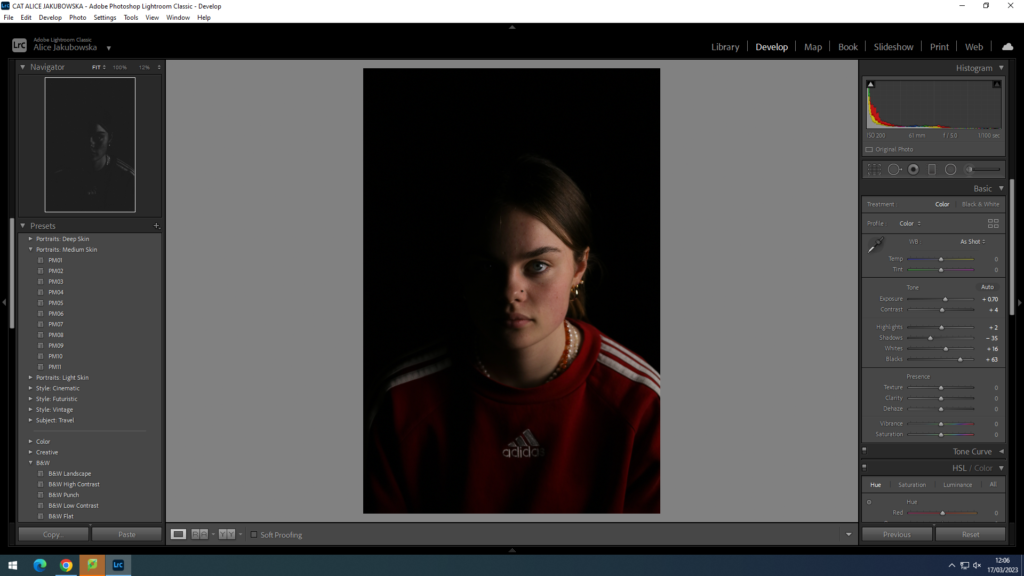
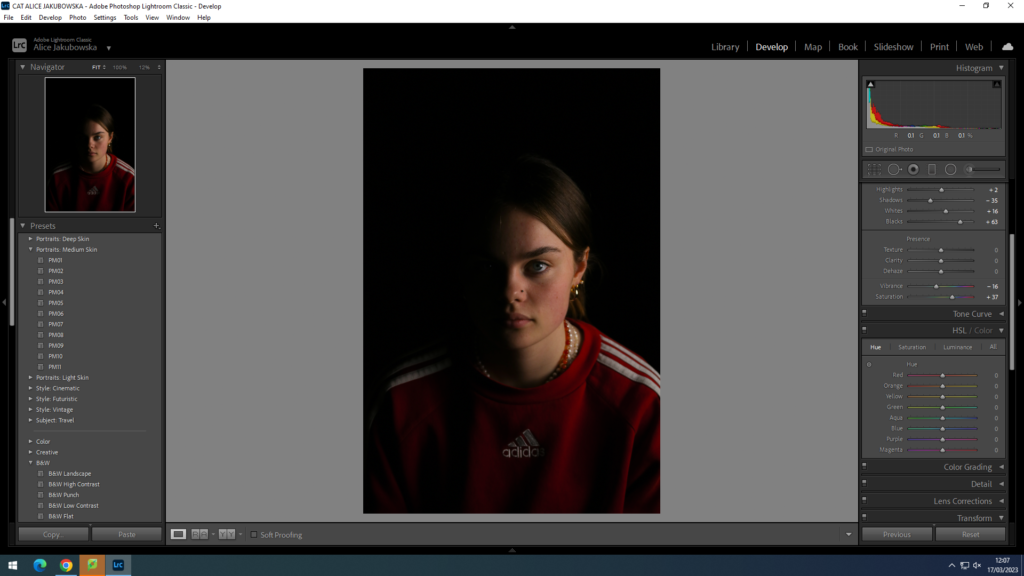
Due to the darkness of the image, it has created an ominous and sinister aura. The Chiaroscuro Lighting can be used to create film posters including the genres: horror, and drama, this is because eerie and mysterious mood. The position of the lighting has given a symmetrical shadow of her face, however due to the low lighting their is no depth in the image, so I will slightly increased the exposure to create some light on her face. Furthermore I will increase the highlights in order to show the natural highlight already seen on her face, enhancing the brighter features on her face.
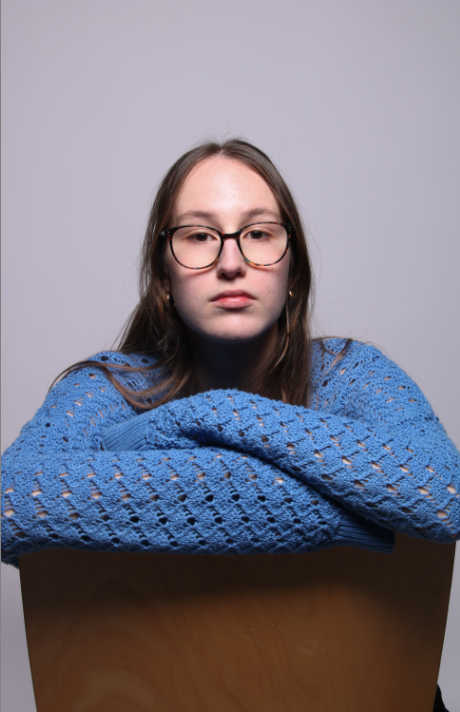
Butterfly lighting is a type of lighting which is used mainly in a studio setting. It comes from a butterfly shape shadowing under the nose because of the light coming from above. You only need one key light to create the butterfly lighting and also a reflector would help reflect some of the light onto the bottom of subjects face. It creates a soft and flattering effect on a subjects face.

What is butterfly lighting used for?
It is used for taking glamorous portrait photos. The soft lighting on the face creates a butterfly shaped shadow underneath the nose. This type of lighting is good for portraits as it highlights the main features like the nose and cheekbones.
It was also used to photograph a lot of famous people and because of the shadows onto the neck and the highlights of the cheekbones it made these people look thinner.
How butterfly lighting is set up.
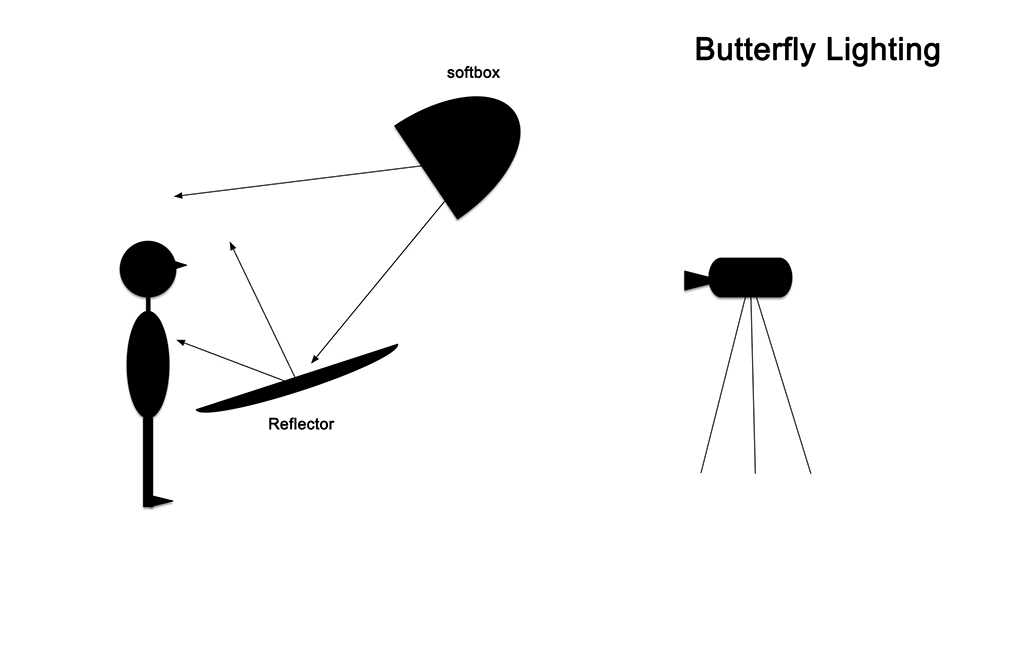
Butterfly lighting own images

