Exploring Lighting Techniques

Rembrandt Lighting:

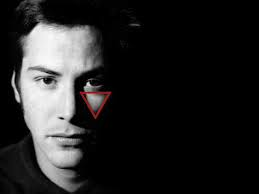
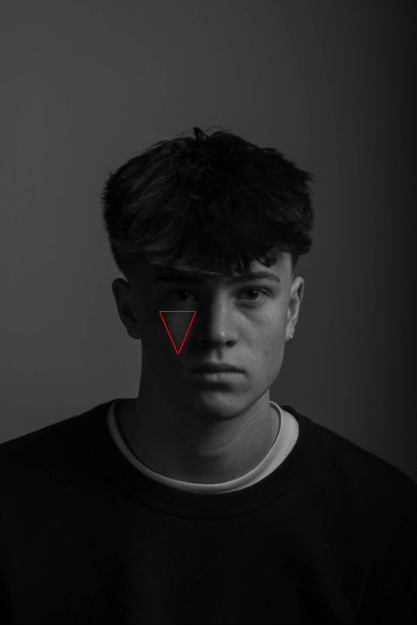
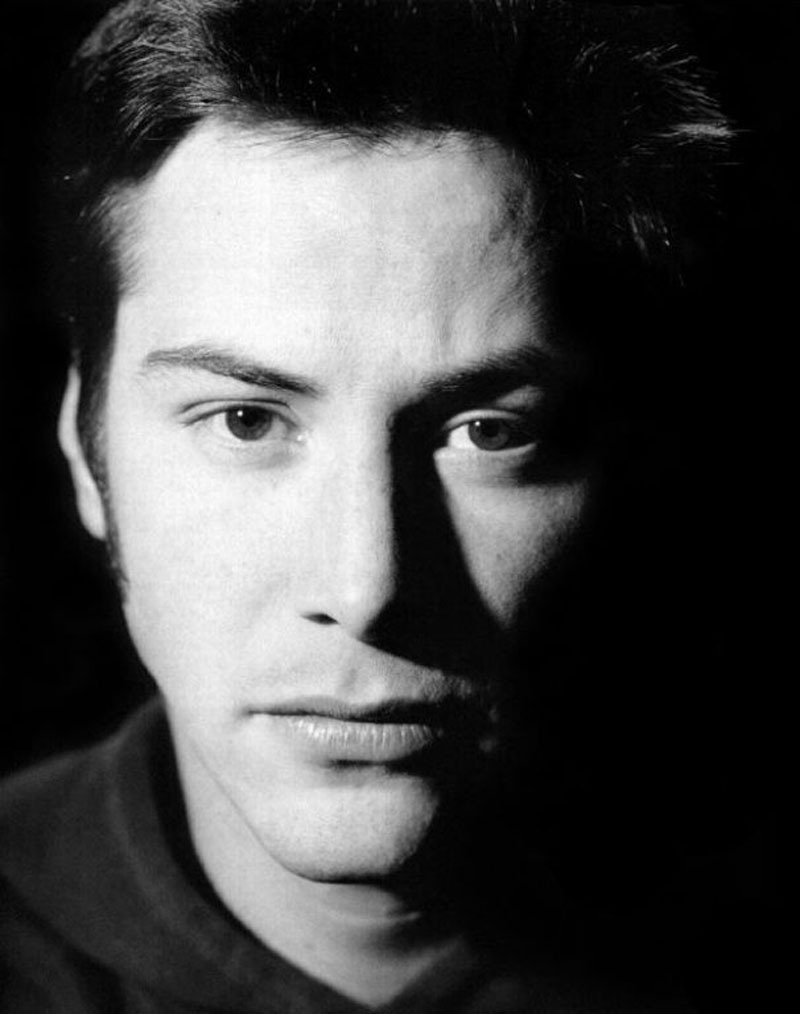
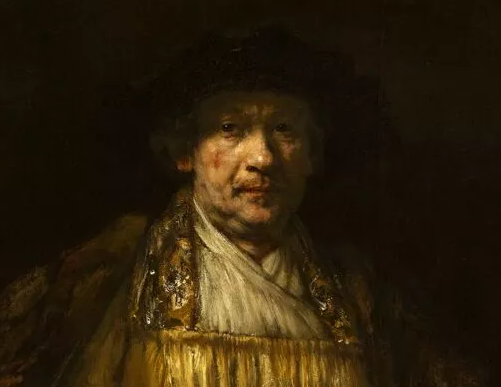
Rembrandt Lighting is a technique used in portrait photography, started by Rembrandt Harmenszoon van Rijn, a Dutch painter. The key factor of Rembrandt lighting is to brighten up a face so an upside down triangle is seen under the subjects eyes:
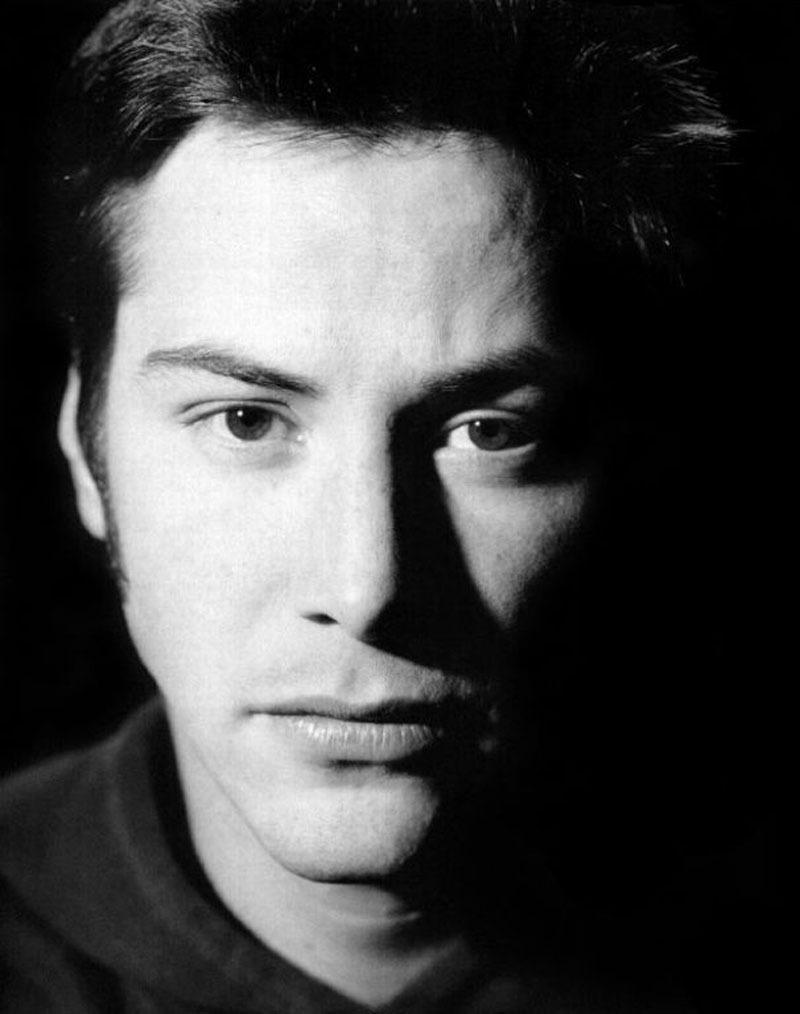
In the early 20th century, spotlights were introduced to Photography to create more realistic effects of lights and shadows. Rembrandt Lighting was one of the effects created by this and it became very popular in making promotional photographs of film stars:

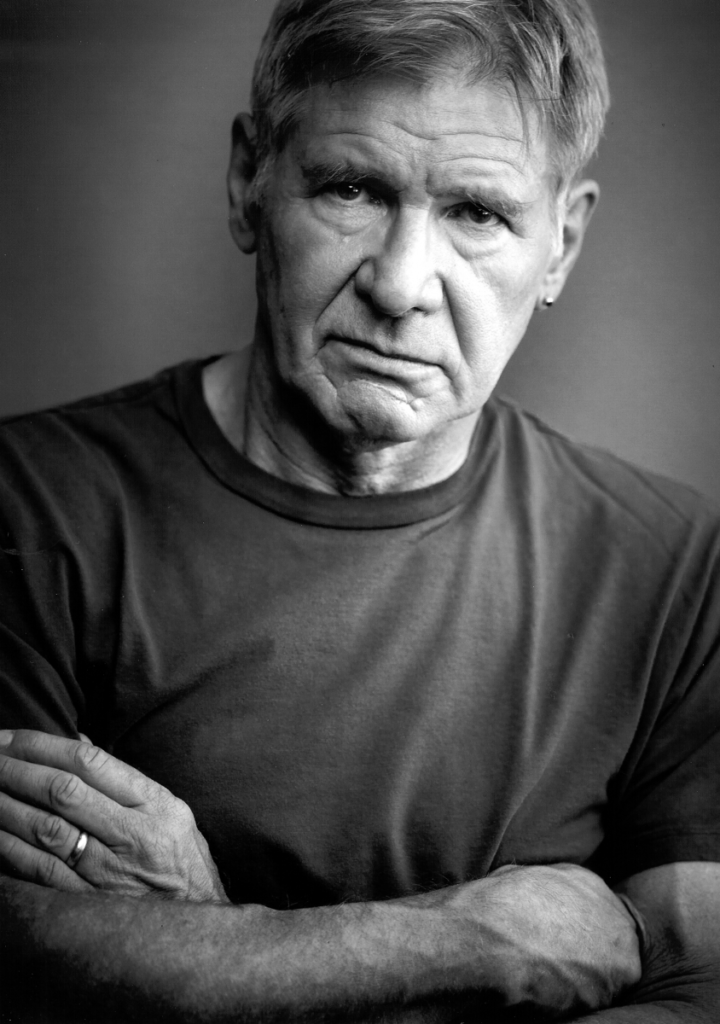
Keanu Revees
Harrison Ford

You can create photos like these by:

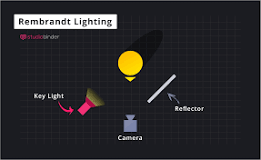
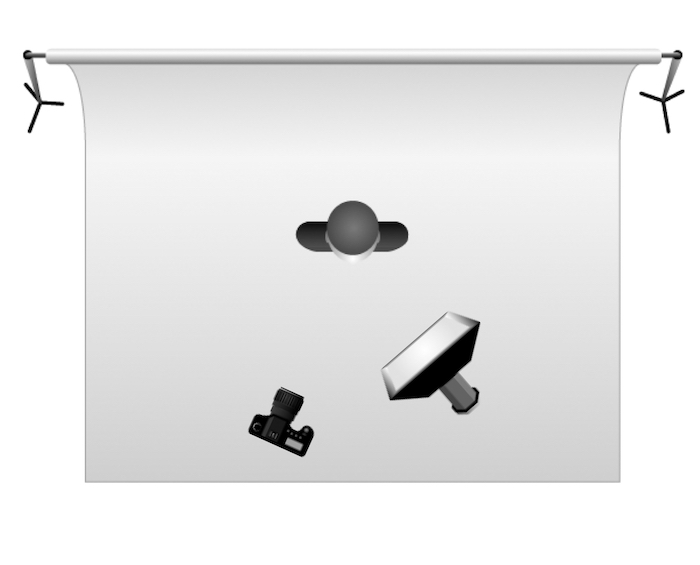
Having the subject positioned in front of the backdrop. Make sure the light is placed at a 40 – 45 degree angle, higher than the subject. The camera should be using a 35mm or 50mm lens, the 35mm will give a wider point of view and the 50mm will give more depth of field:
Butterfly Lighting:

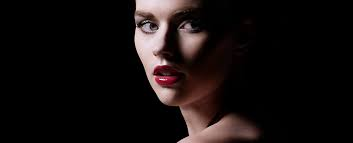
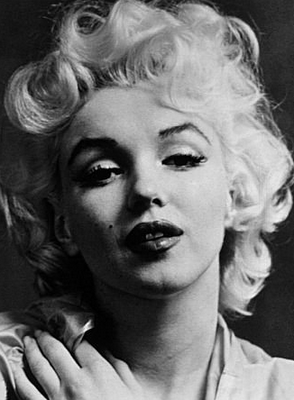
Butterfly Lighting is another technique in Lighting in Photography, usually used in a studio to make portraits. Other names used for this are “Paramount Lighting” and “Glamour Lighting”.

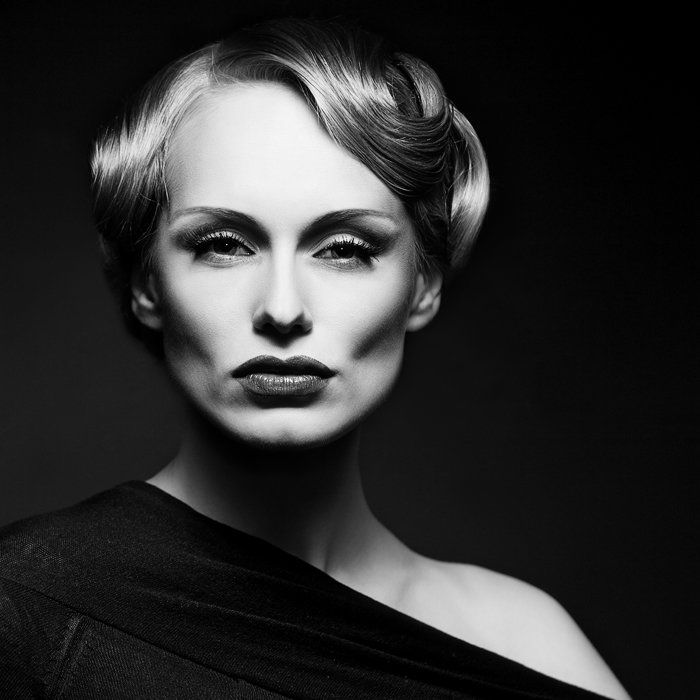
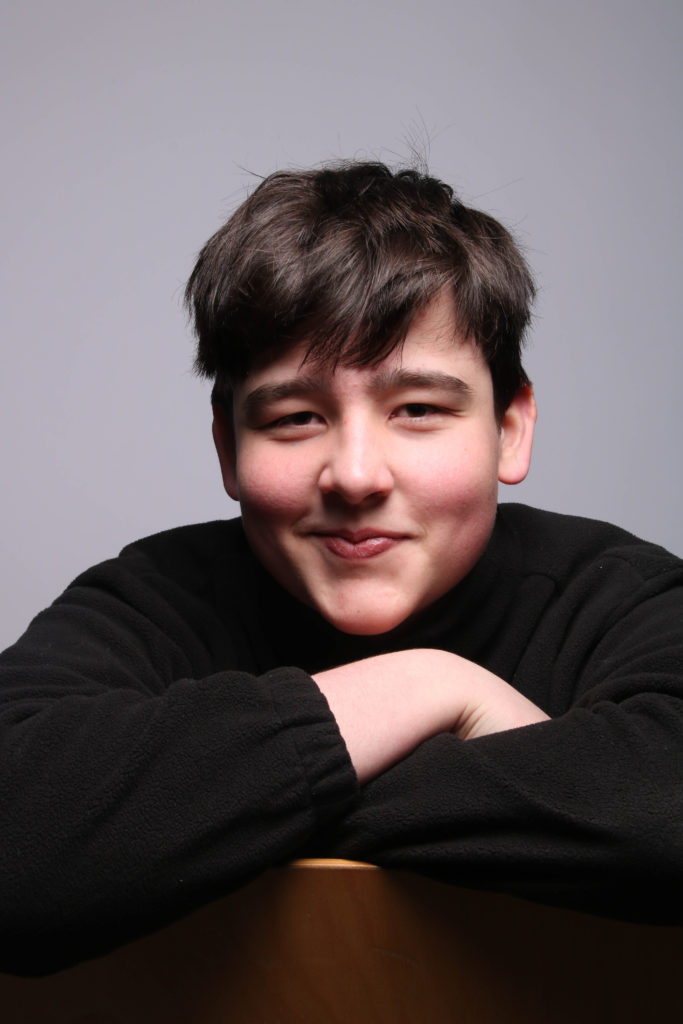
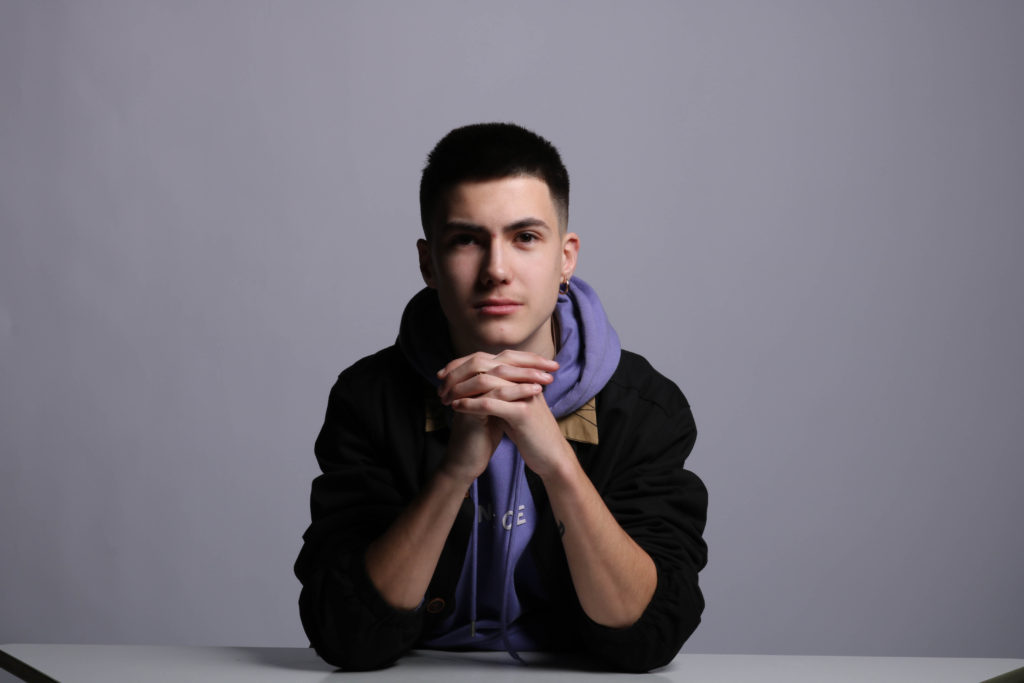
“Butterfly Lighting” gets it’s name from the butterfly-shaped shadow seen under the subjects nose. You can also see that this photo is quite sharp and very detailed in the subject’s face.

You can make these types of photos by:

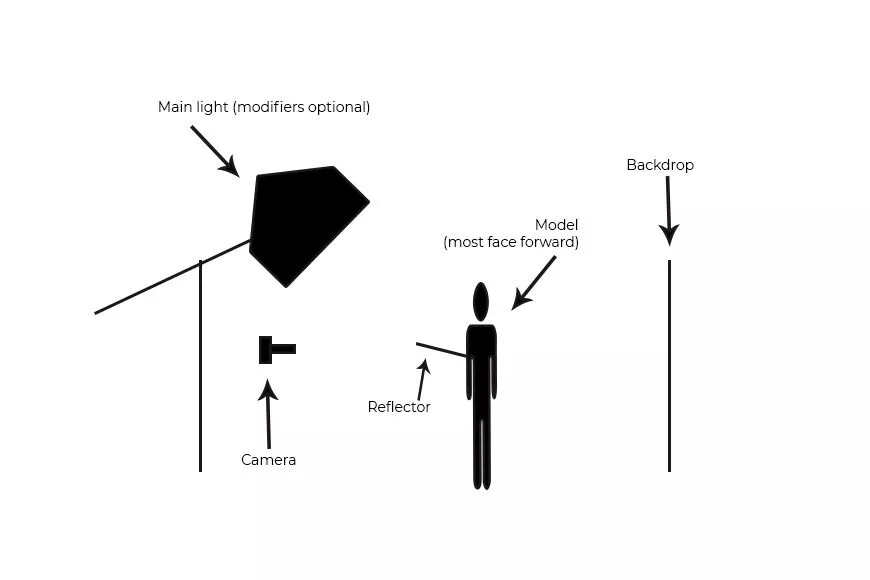
Placing the subject in front of the backdrop looking forward straight into the camera. Have the main light behind you and above, shining downwards onto the subject’s face. If the face is still not bright enough you can have them hold a reflector which will help the light shine on their face more.
Chiaruscuro Lighting:

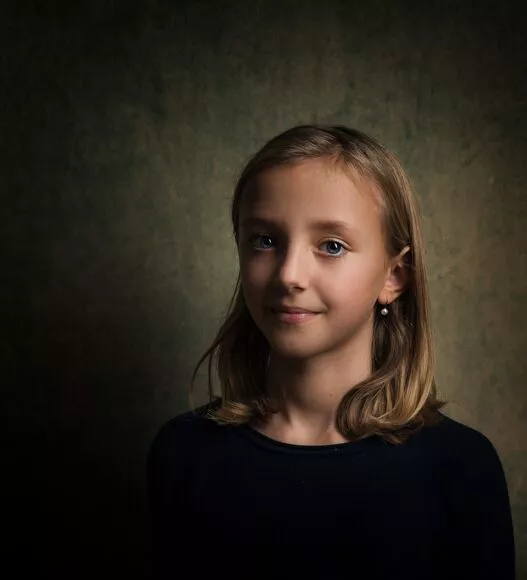
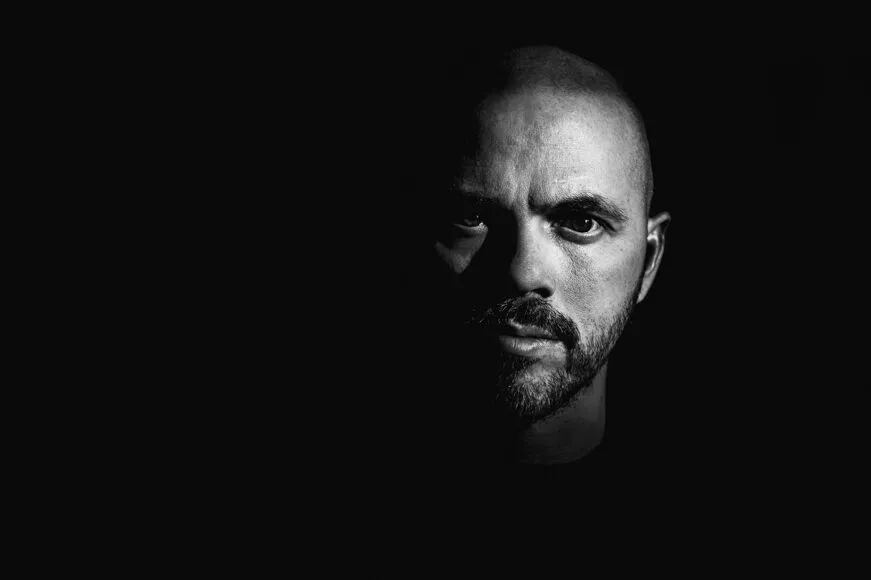
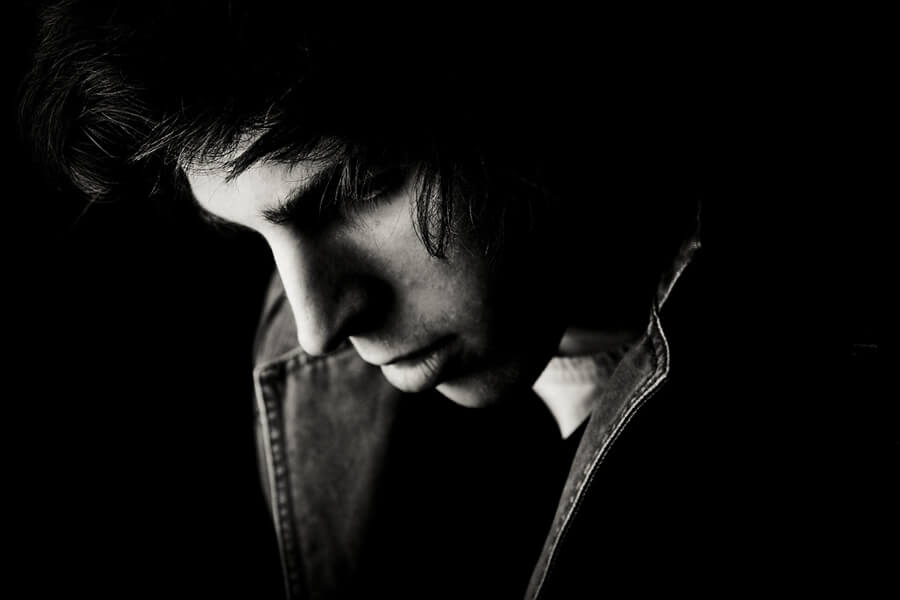
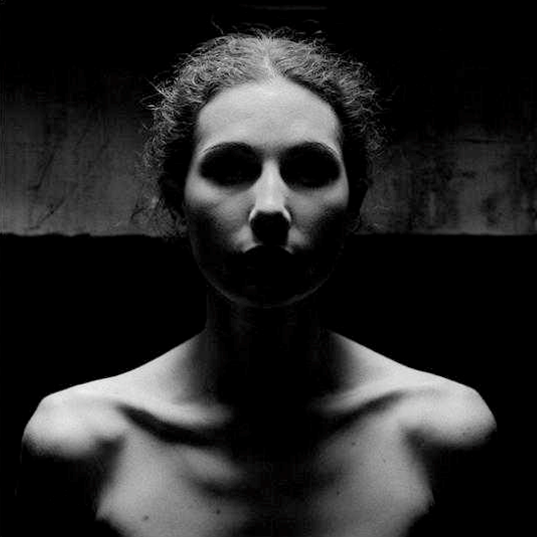
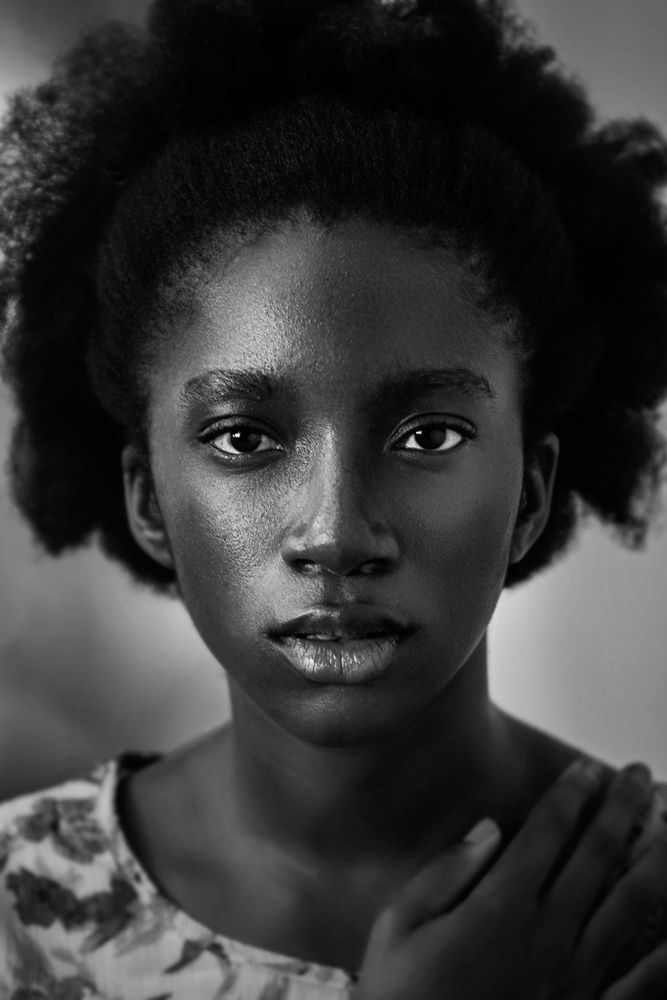
Chiaruscuro is another element in Lighting. Initially used in art in Italy during the 15th century, it’s used to create highlights and shadows:
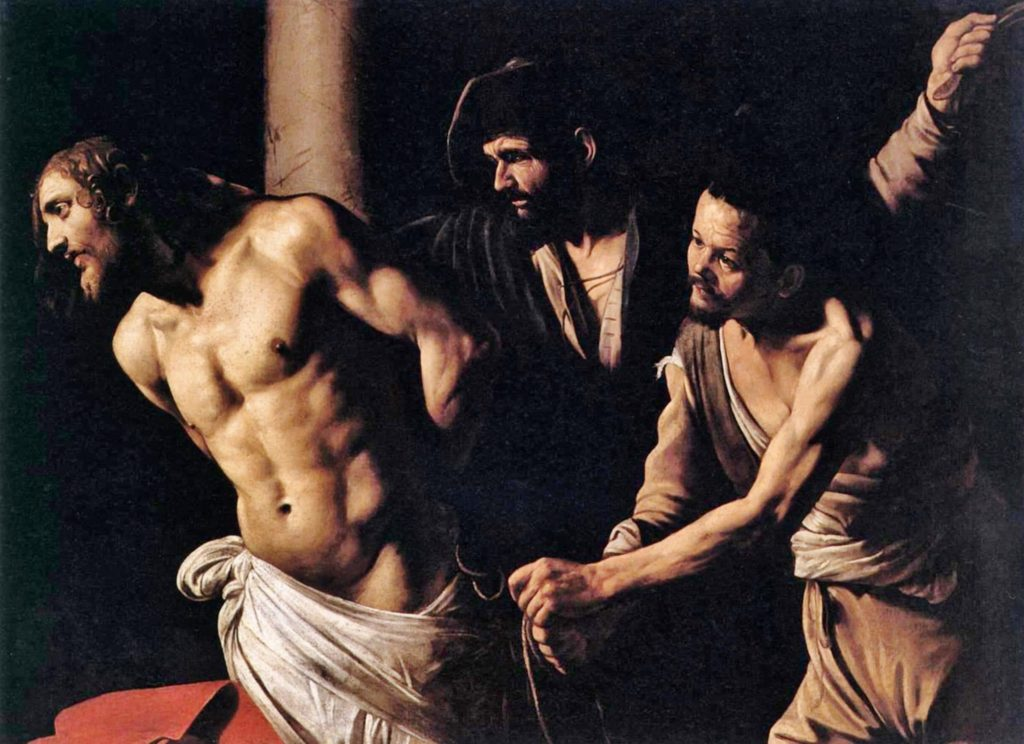
Dark subjects were dramatically lighted by a shaft of light from a single constricted and often unseen source was a compositional device seen in the paintings of old masters such as Caravaggio and Rembrandt.

Later on, Chiaruscuro was implemented into film (Film noir). Which would create dramatic black and white shots:
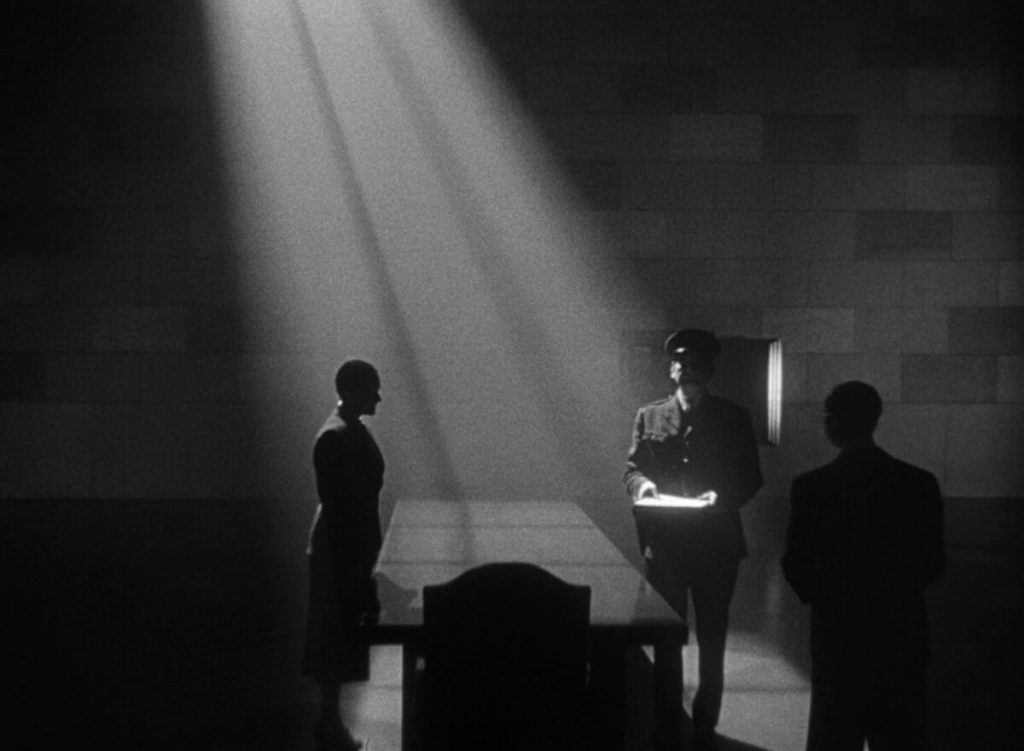
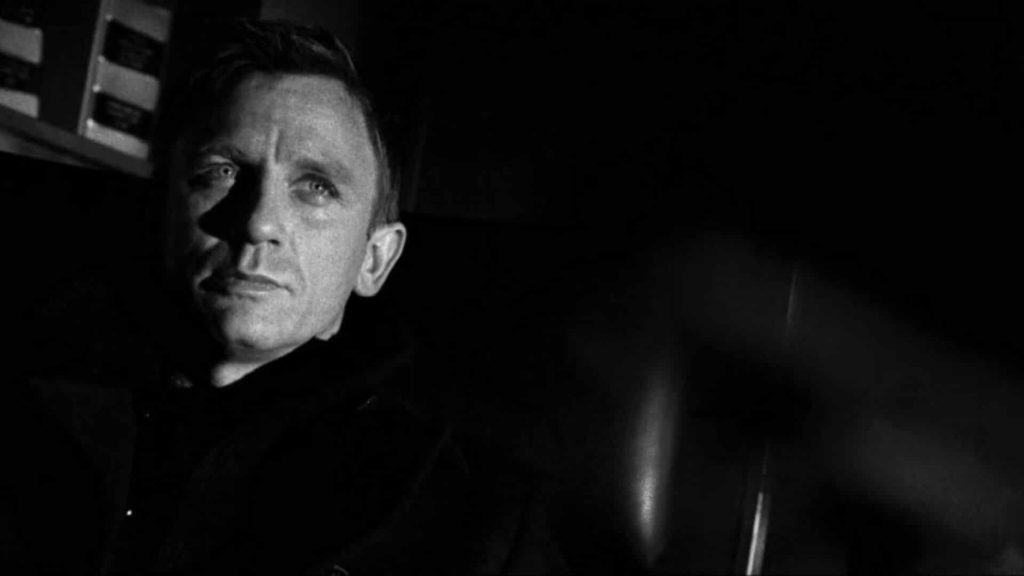
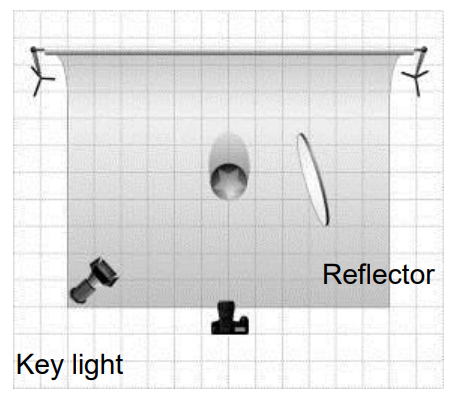
How to create these photos:

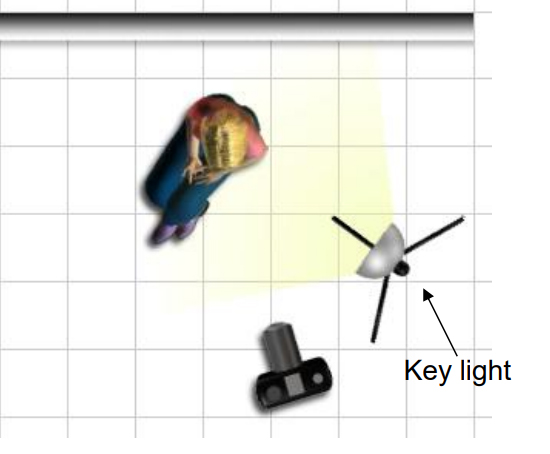
Have the subject in front of the backdrop while having a key light shining on them. Include a reflector if necessary:
REMBRANDT LIGHTING TECHNIQUE

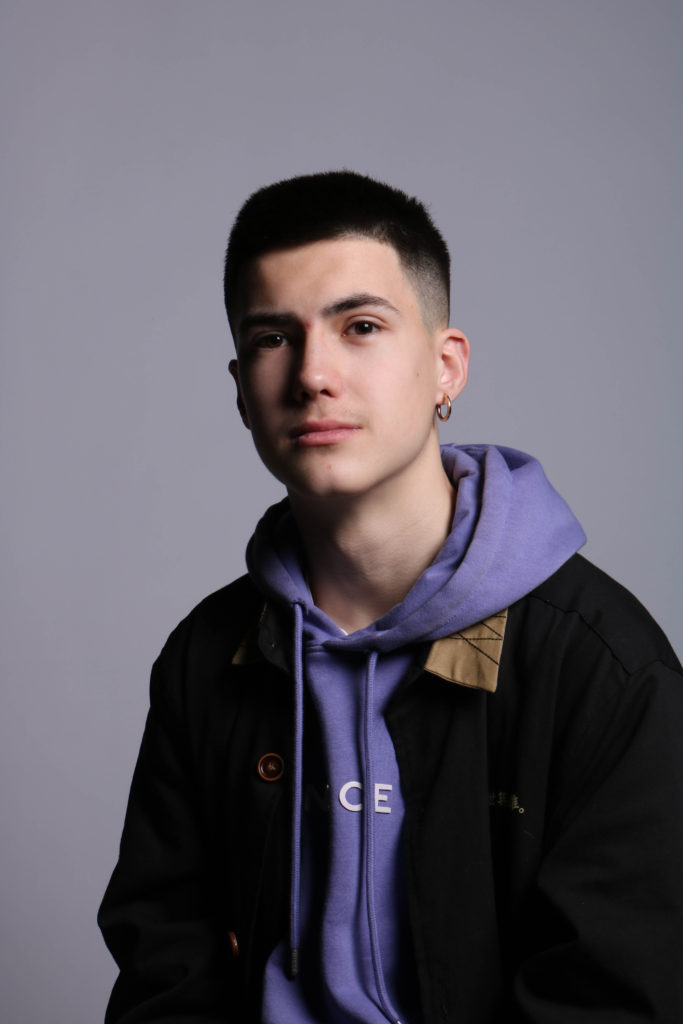
Rembrandt lighting is a technique utilizing one light and one reflector or two separate lights. It’s a popular technique because it creates images that look both dramatic yet natural. It’s predominantly characterized by a lit-up triangle underneath the subject’s eye on the less illuminated area of the face (fill side).

how is it set up?

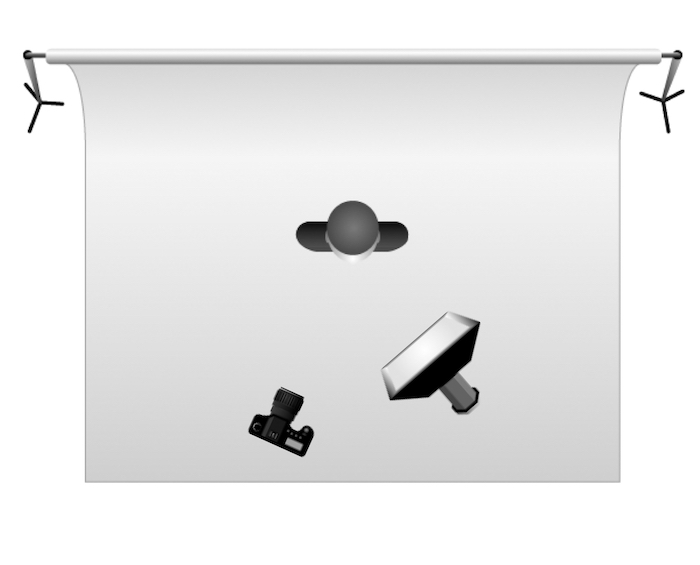
At its most basic, Rembrandt lighting consists of a single light source placed on a 45 degree offset from the subject, about 5 feet away. Positioned roughly two feet higher than eye level, the light source is angled slightly downward and hits the side of the face that is farthest away from the camera.

Rembrandt Lighting technique

This lighting technique refers to that employed by Dutch old master Rembrandt Harmenszoon van Rijn. This is characterised by the presence of a triangle of light under the model’s eye, created by the 45° angled placement of lighting to the model. Here it is demonstrated in one of Rembrandt’s self-portraits;

This technique became popularised in 20th Century Hollywood when creating promotional imagery of film stars;

The use of Rembrandt lighting can add contrast, psychological depth and a sense of drama to what may otherwise be a rather straightforward image. It can also draw the viewer’s attention to the eye as a focal point.

To create this setup, it is possible to use either continuous or flash lighting as well as a soft or hard quality.

It is important, as the only feature of this technique, that the light remains at a 40-45° angle to the model.

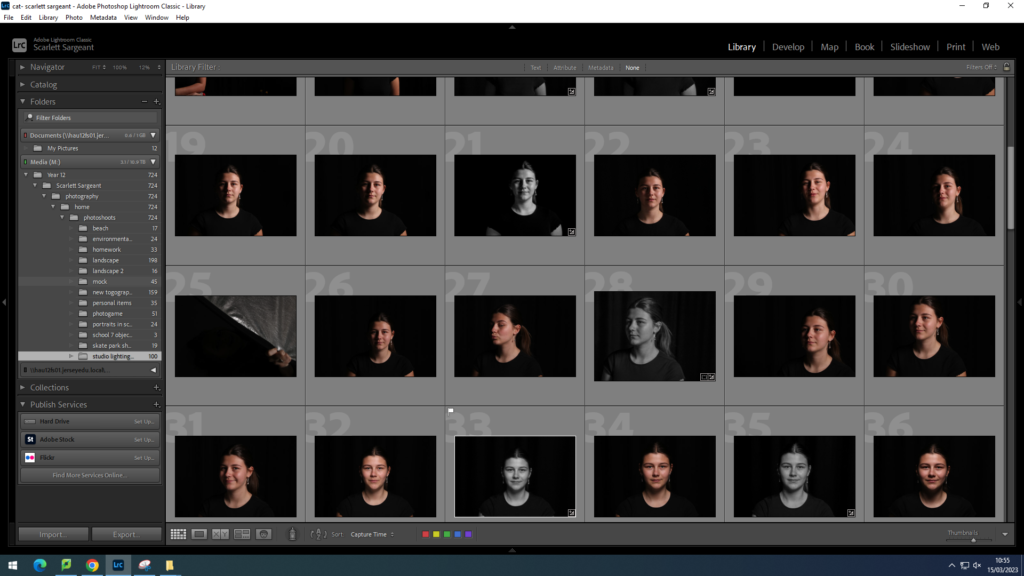
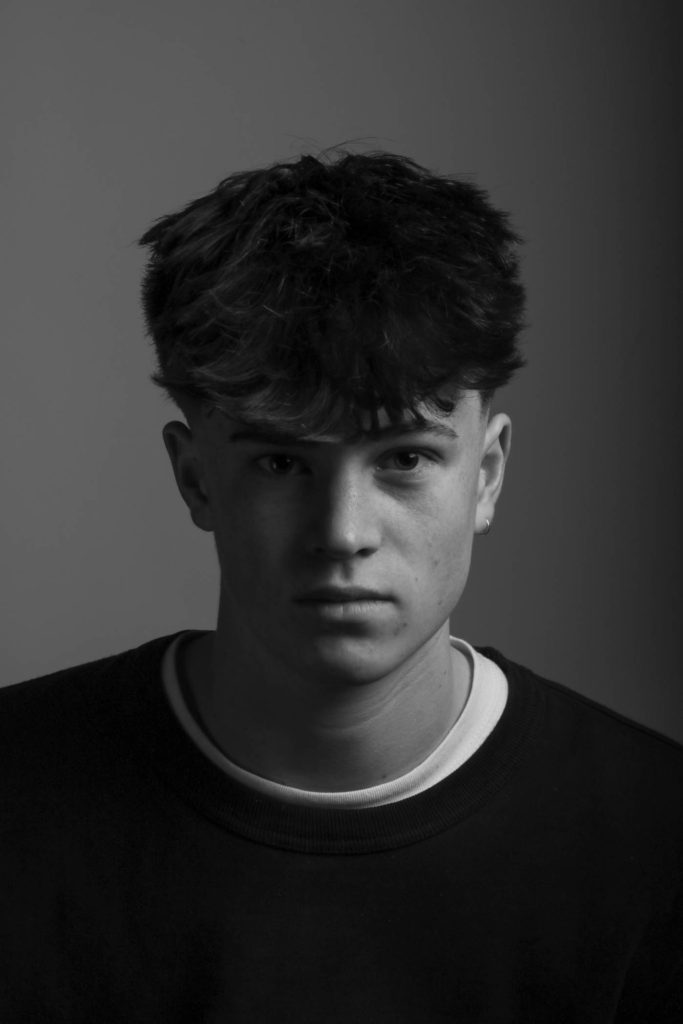
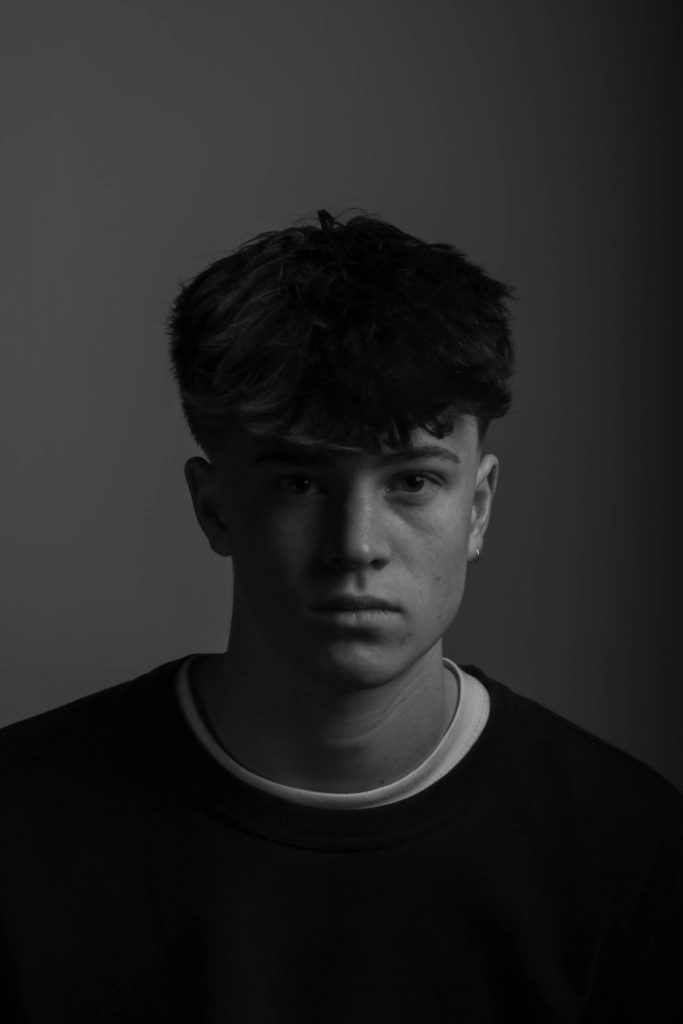
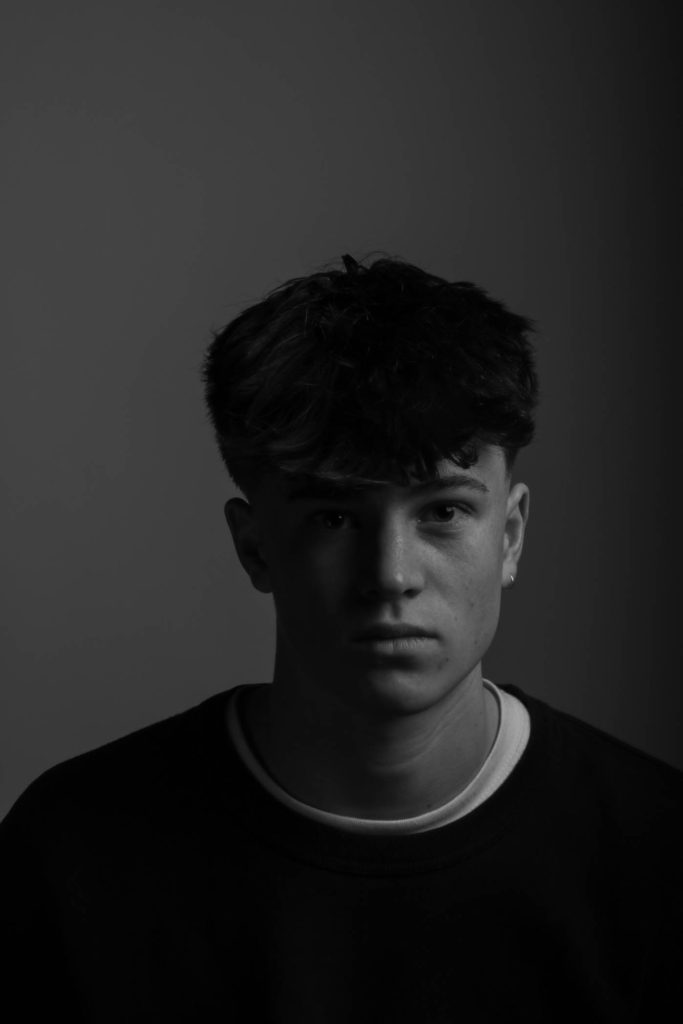
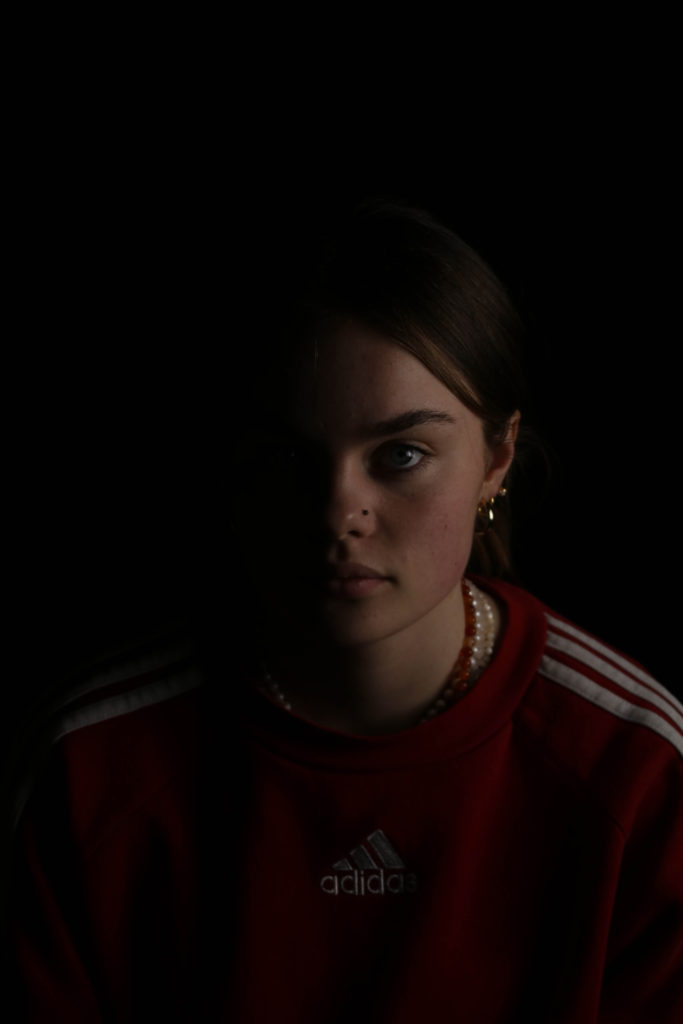
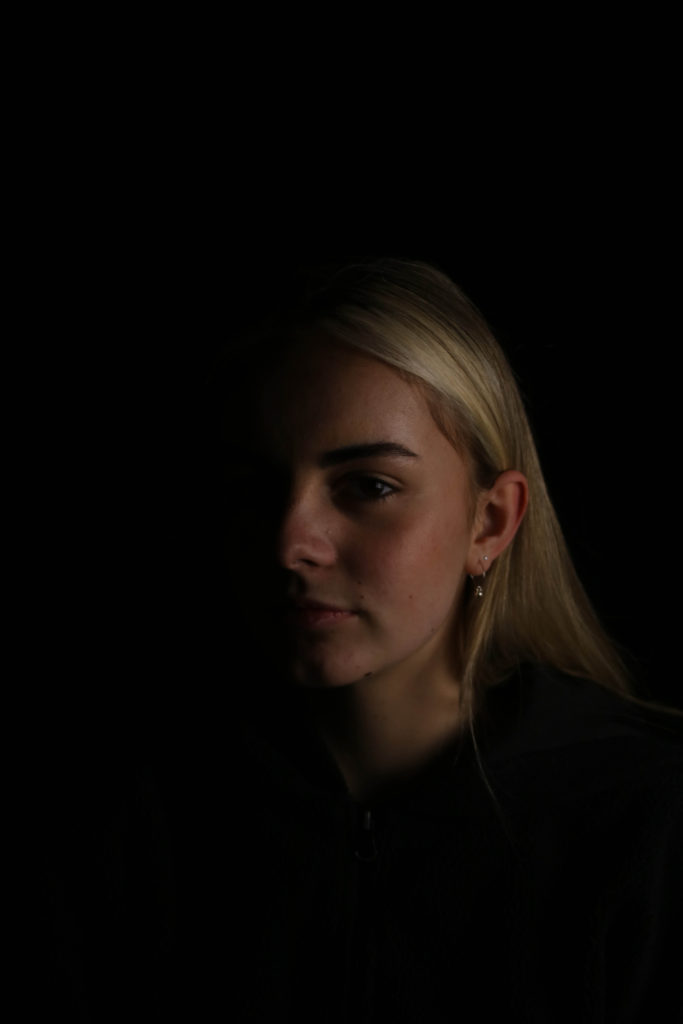
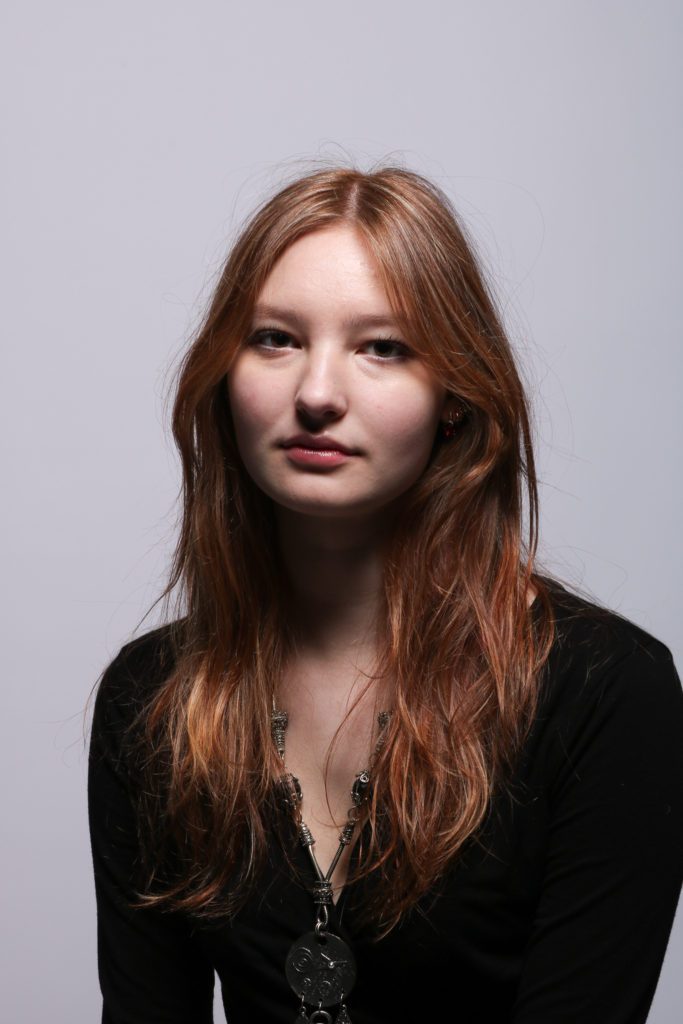
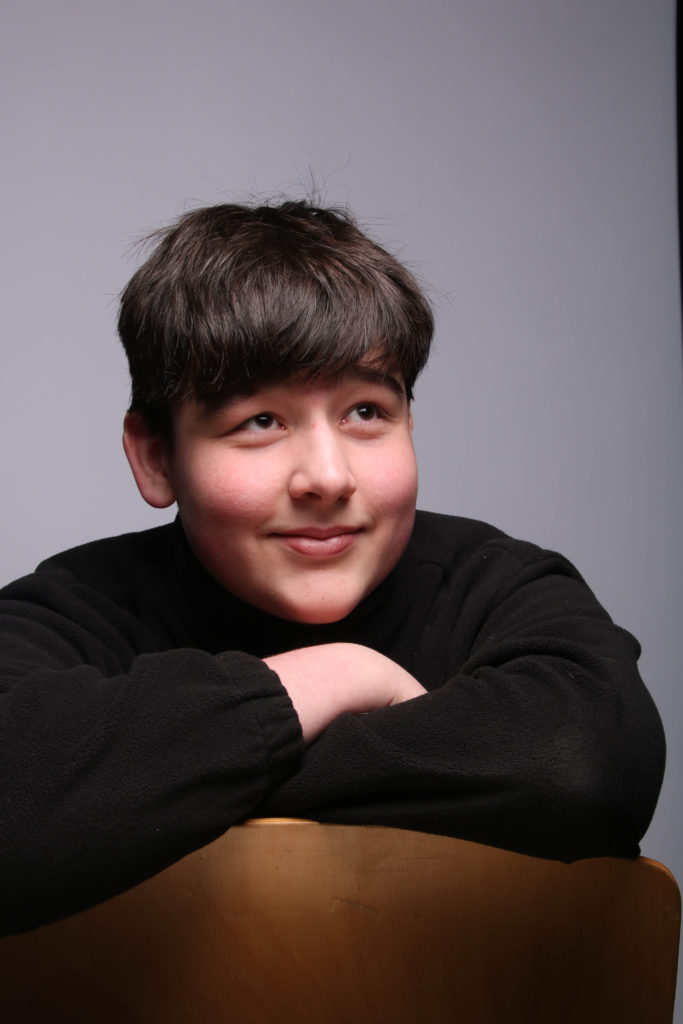
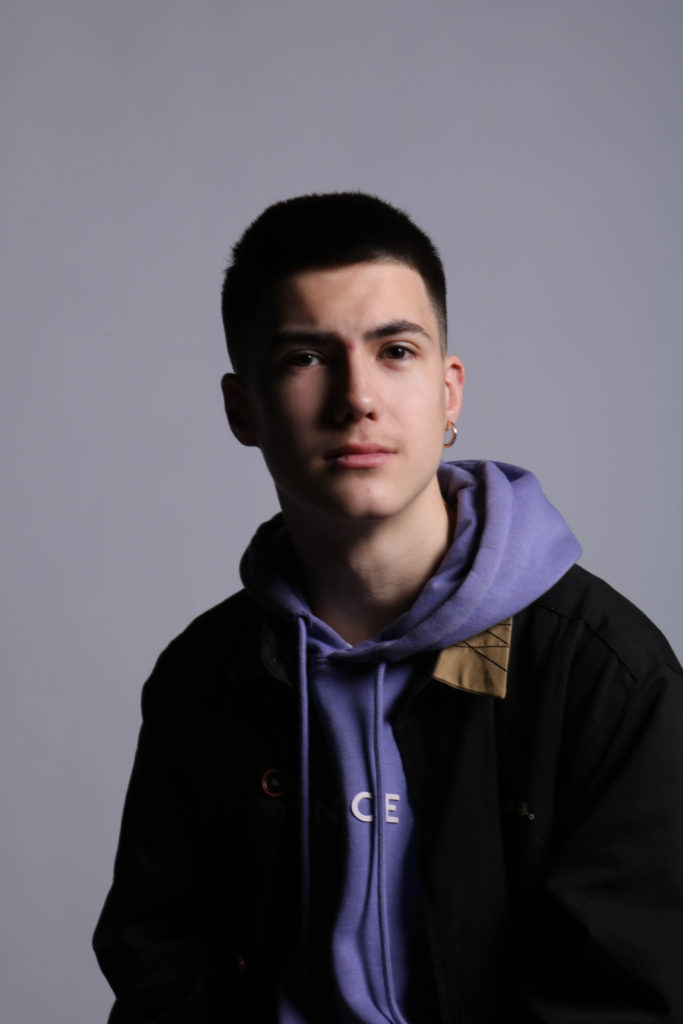
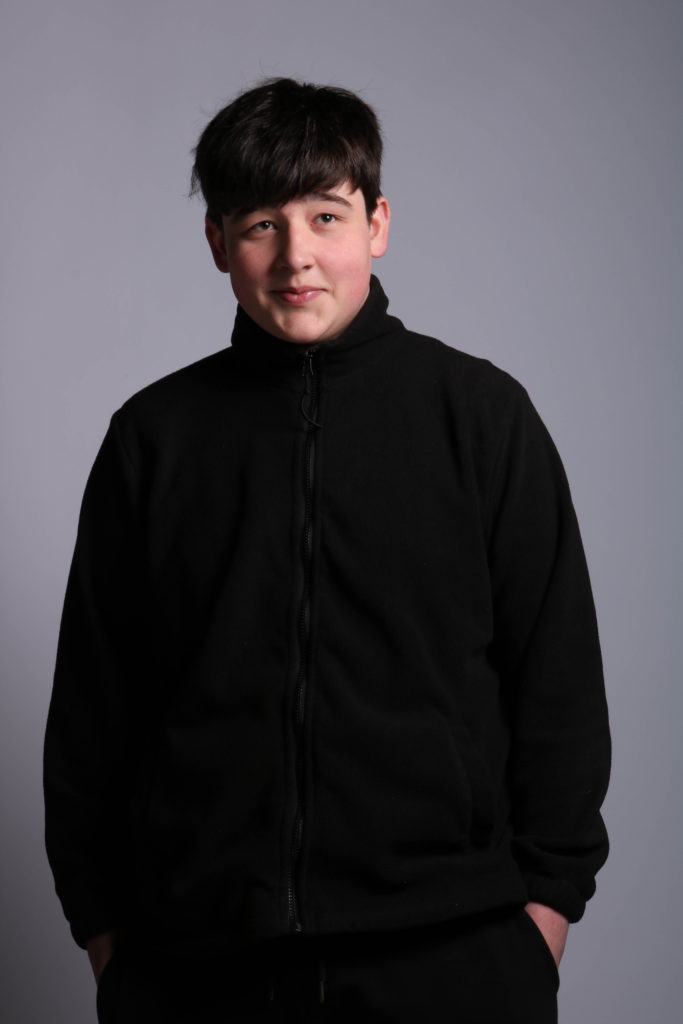
Above is an example of Rembrandt lighting in an image taken by me, again with soft lighting but clear in the triangular light under the left eye.

CHIAROSCURO LIGHTING TECHNIQUE

WHAT IS CHIAROSCURO LIGHTING?

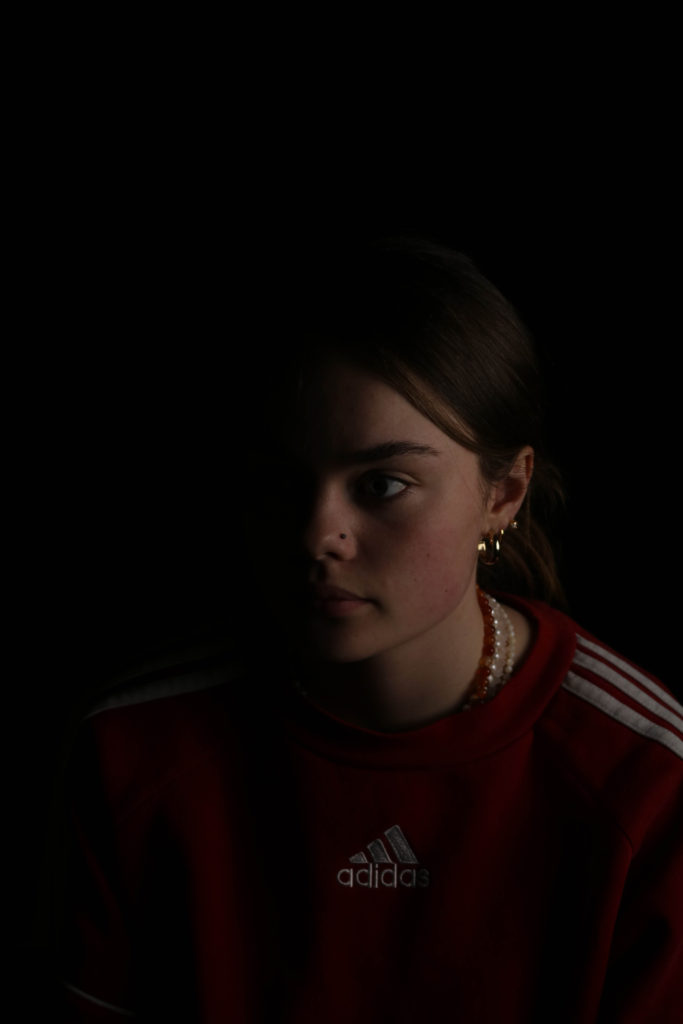
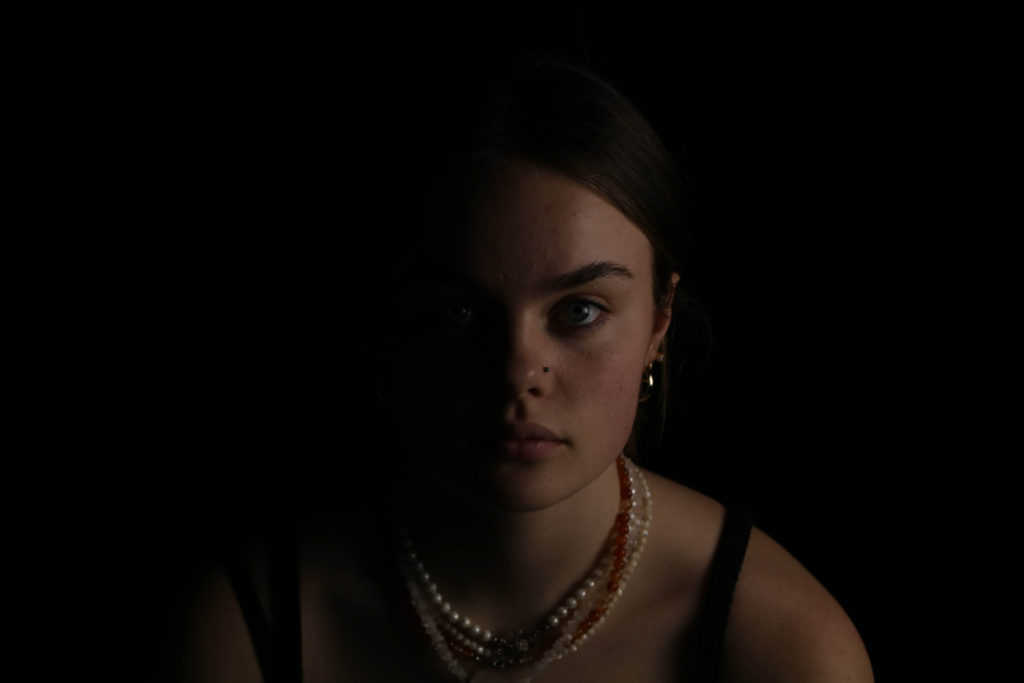
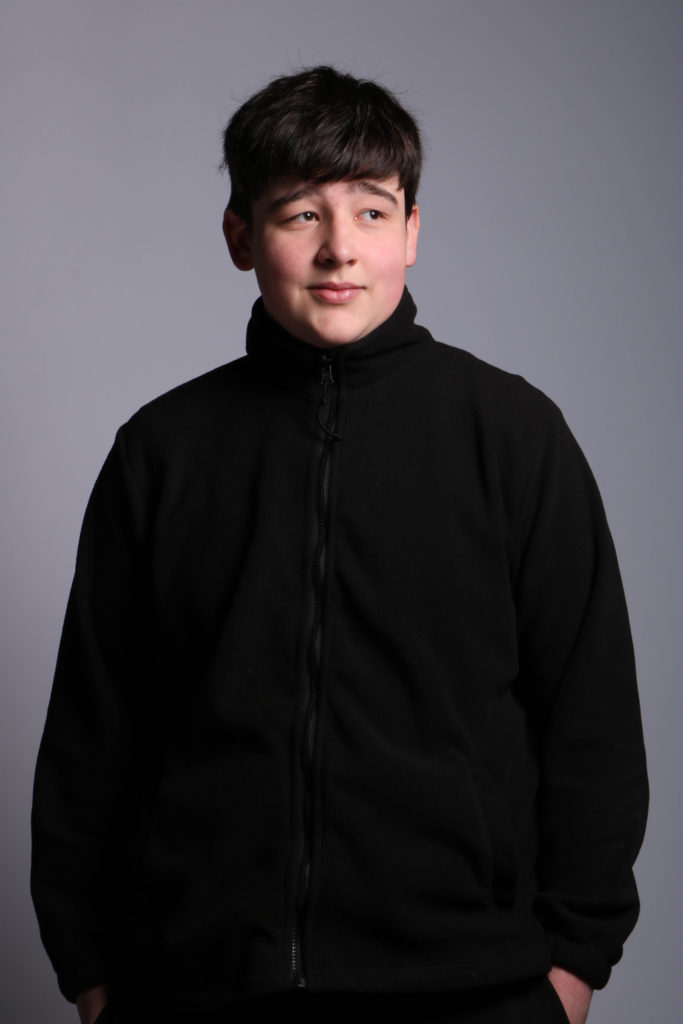
Chiaroscuro, deriving from the Italian describing the contrast between light and dark in imagery. Chiaroscuro lighting is a high-contrast lighting technique that uses a key light to achieve dark backgrounds with starkly lit subjects.

WHAT IS CHIAROSCURO LIGHTING USED FOR?

This type of lighting creates shadows and highlights on objects in your frame which help to bring out texture and shape.

HOW TO CREATE CHIAROSCURO LIGHTING

Set Up for Chiaroscuro Lighting

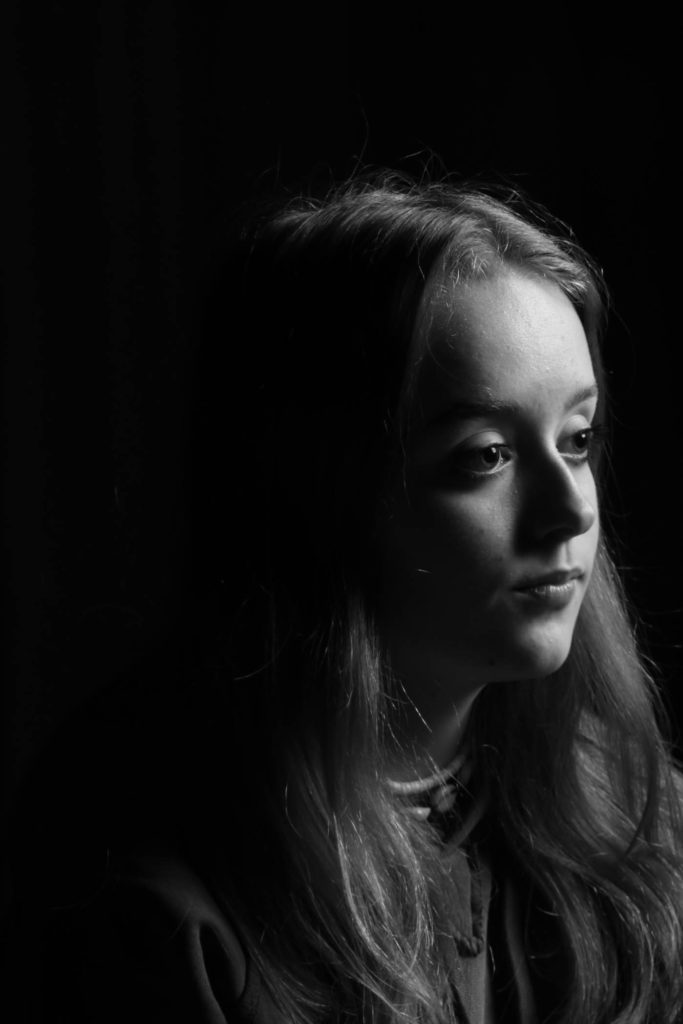
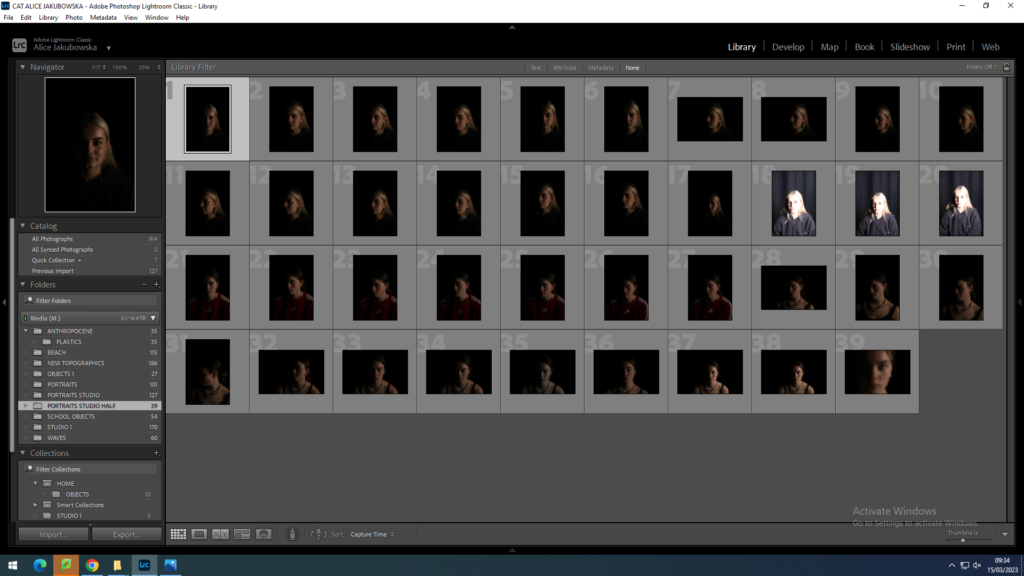
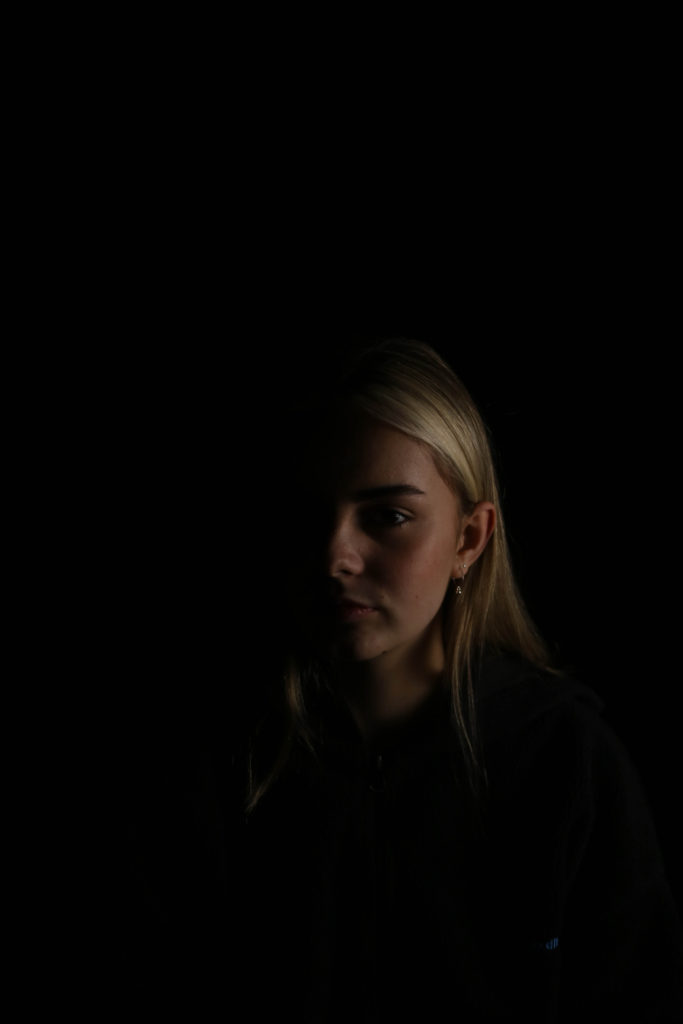
RESPONSE TO CHIAROSCURO LIGHTING:

Butterfly Lighting technique

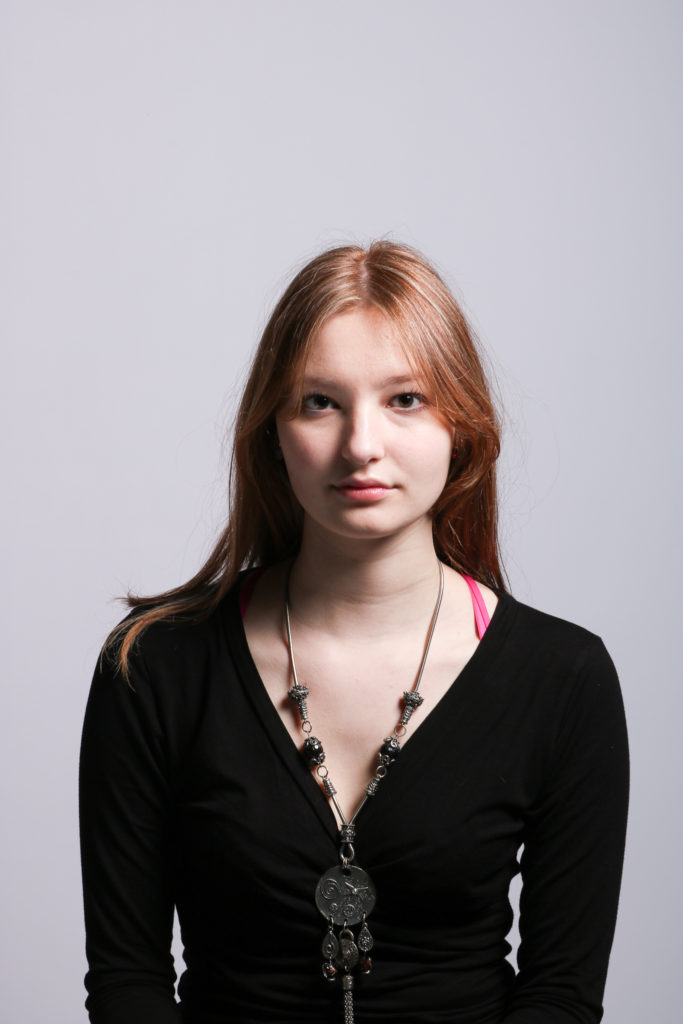
Butterfly lighting is a vertically overhead lighting setup which acts to emphasise the cheekbones of the model, so called because of the shadow it creates under the nose, which resembles a butterfly shape. It can also be known as ‘paramount lighting’ or ‘glamour lighting’.

It allows the photographer to create shadows under the cheekbones and make the model appear thinner.

It is possible to use either hard or soft key light with this technique depending on the effect you are looking for.

The difference between soft light and hard light is found in the distribution or concentration of light in a particular area. Therefore to soften the light, it is typical to use a softbox to diffuse, an umbrella to diperse or a beauty dish to smooth. To harden the light, you can either use the unmodified key light or attach a grid spot.

It is recommended to use a reflector under the model’s face to ensure that the shadows created in the eye sockets are not too severe and do not hide the eyes completely.

The colour of the reflector is important as a warm one will add a tan effect to the model’s face whereas a cold one will be more neutrally effective.

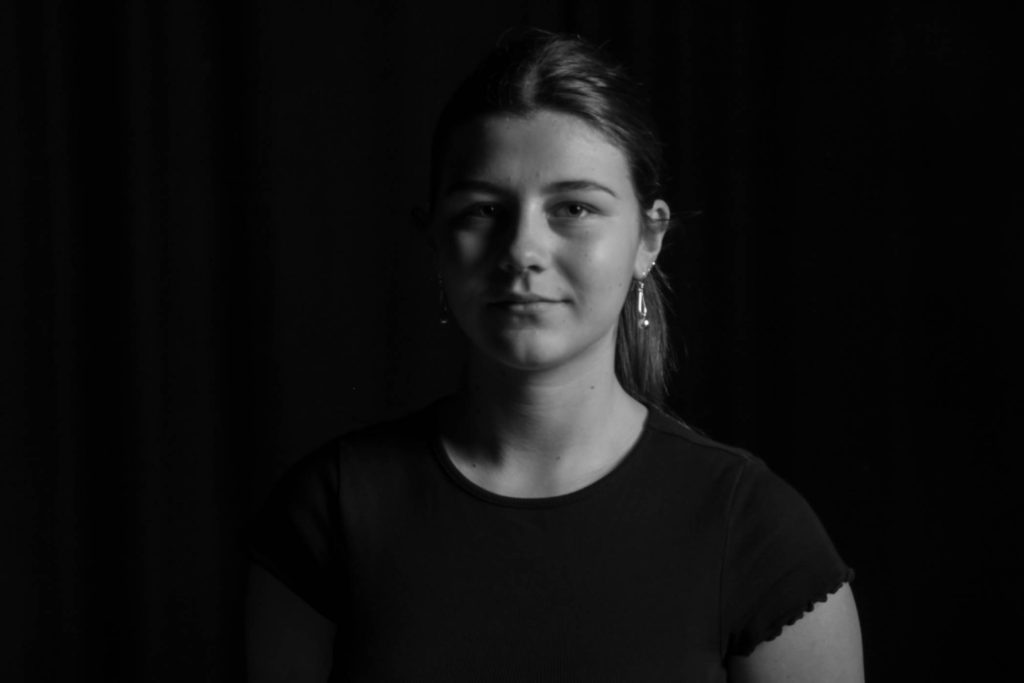
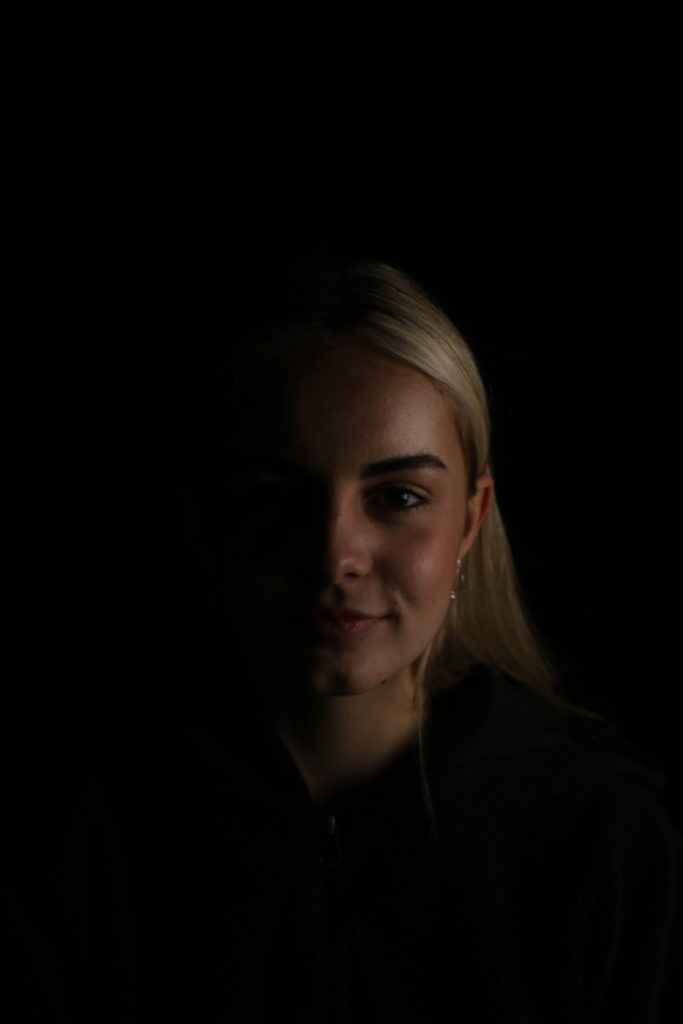
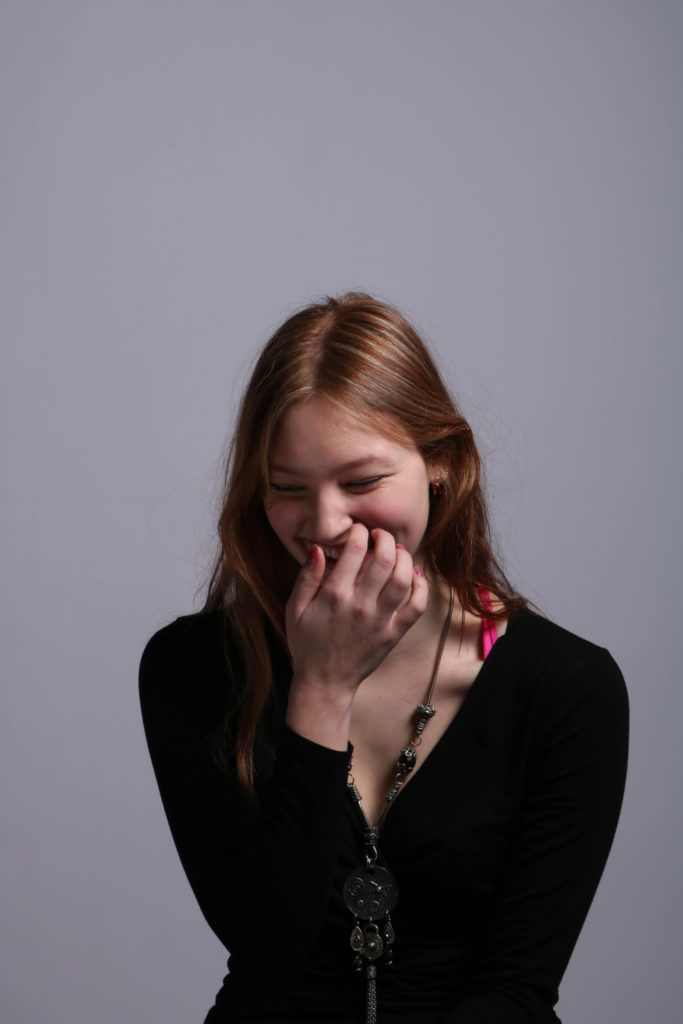
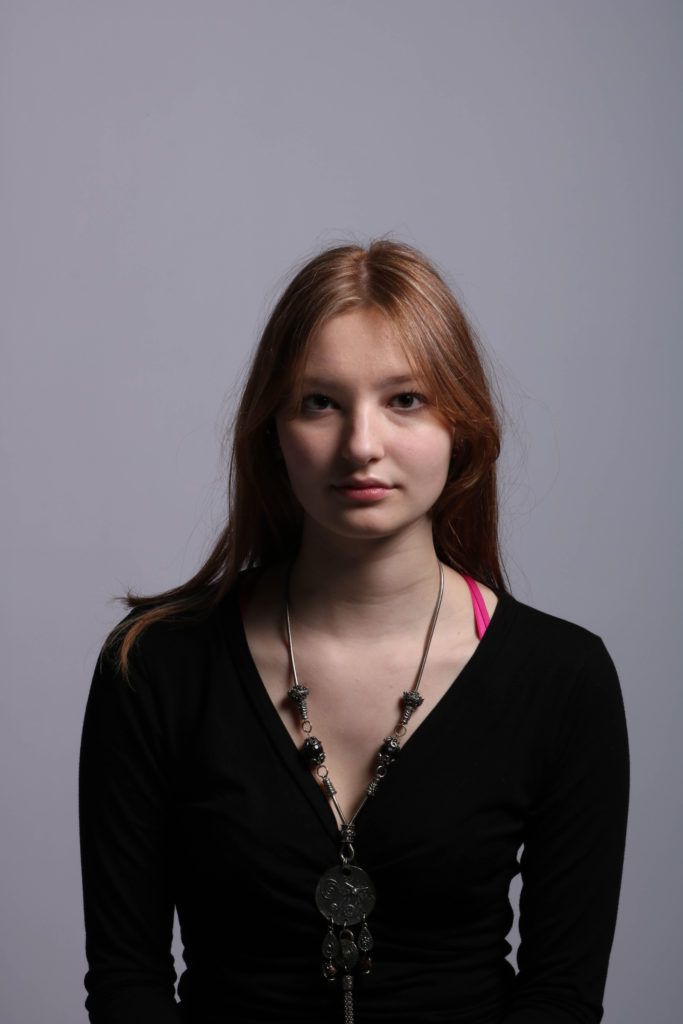
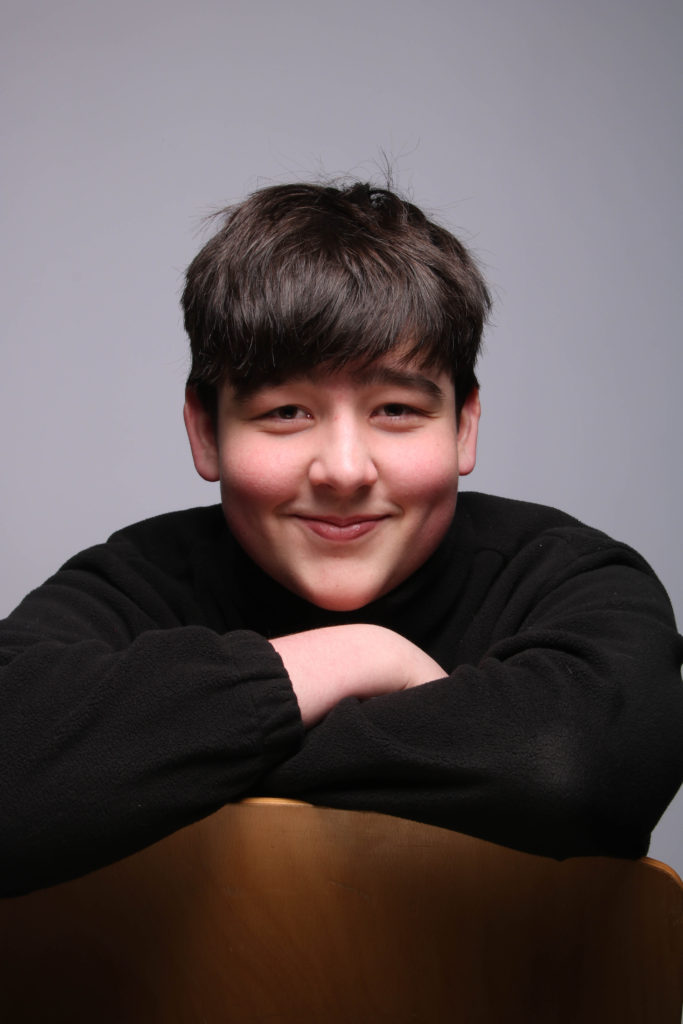
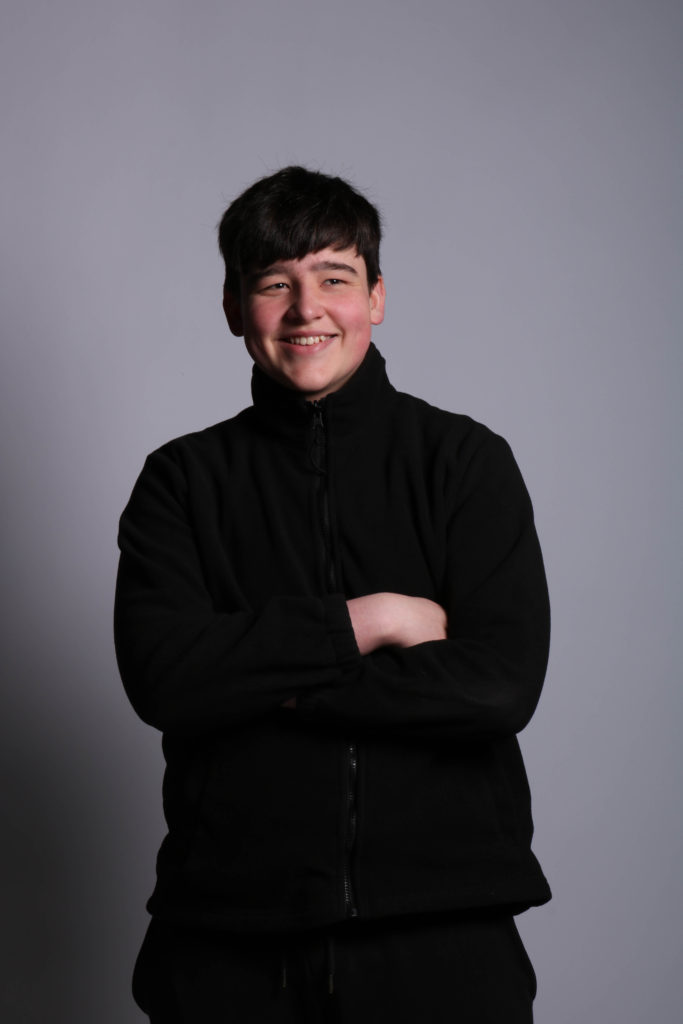
Above is an example of a soft butterfly effect in an image taken by me in the school studio. It is very subtle but you can see that the shadows are present below the nose, brow and cheekbones as is found with this technique.

BUTTERFLY LIGHTING

WHAT IS BUTTERFLY LIGHTING?

Butterfly lighting is a type of portrait lighting technique used primarily in a studio setting. Its name comes from the butterfly-shaped shadow that forms under the nose because the light comes from above the camera. You may also hear it called ‘paramount lighting’ or ‘glamour lighting’

WHAT IS BUTTERFLY LIGHTING USED FOR?

Butterfly lighting is a lighting pattern used in portrait photography where the key light is placed above and pointing down on the subject’s face. This creates a dramatic shadow under the nose and chin that looks like a butterfly. Butterfly lighting is usually used for modelling as is highlights the cheek bones by creating a shadow, this makes the model look skinner.

HOW TO CREATE BUTTERFLY LIGHTING:

RESPONSE TO BUTTERFLY LIGHTING:

REMBRANDT LIGHTING

WHAT IS REMBRANDT LIGHTING?

Rembrandt lighting is a standard lighting technique that is used in studio portrait photography and cinematography. Rembrandts lighting signature is to create a small triangle on the face.

WHY USE REMBRANDT LIGHTING?

Rembrandt lighting is used to create a mysterious or moody portrait. By using Rembrandt lighting you instantly create shadows and contrast – and of course, the characteristic ‘triangle of light’ beneath the subject’s eye, which draws the viewer’s attention should be drawn to the triangle of light on the subject’s cheek.

HOW TO CREATE REMBRANDT LIGHTING SET UP:

Light: Lighting styles are determined by the positioning of your light source.  Rembrandt lighting is created by the single light source being at a 40 to 45-degree angle and higher than the subject. Use cans use both flashlights and continuous lights.

Lens: Use a 35mm or 50mm if space is at a premium – or if you’re looking at including more of the subject than just the head and shoulders. A 50mm works really nicely for portraits and will give a nice depth of field if you’re shooting at a shallow aperture. But a 35mm will give you a wider point of view and is great to fit more of the body in of.

Lighting Set Up

RESPONSE TO REMBRANDT LIGHTING:

Environmental photoshoot plan

I gained inspiration from Martin Chambi’s work, specifically how he frames his images, although he is not a contemporary artist I wanted to test my knowledge on environmental portraits, and try out myself to create environmental portraits based on people in their work space this is why I am planning to visit areas in town. town is the biggest area in jersey of multiple and different businesses and employees, that hopefully I will be able to capture.

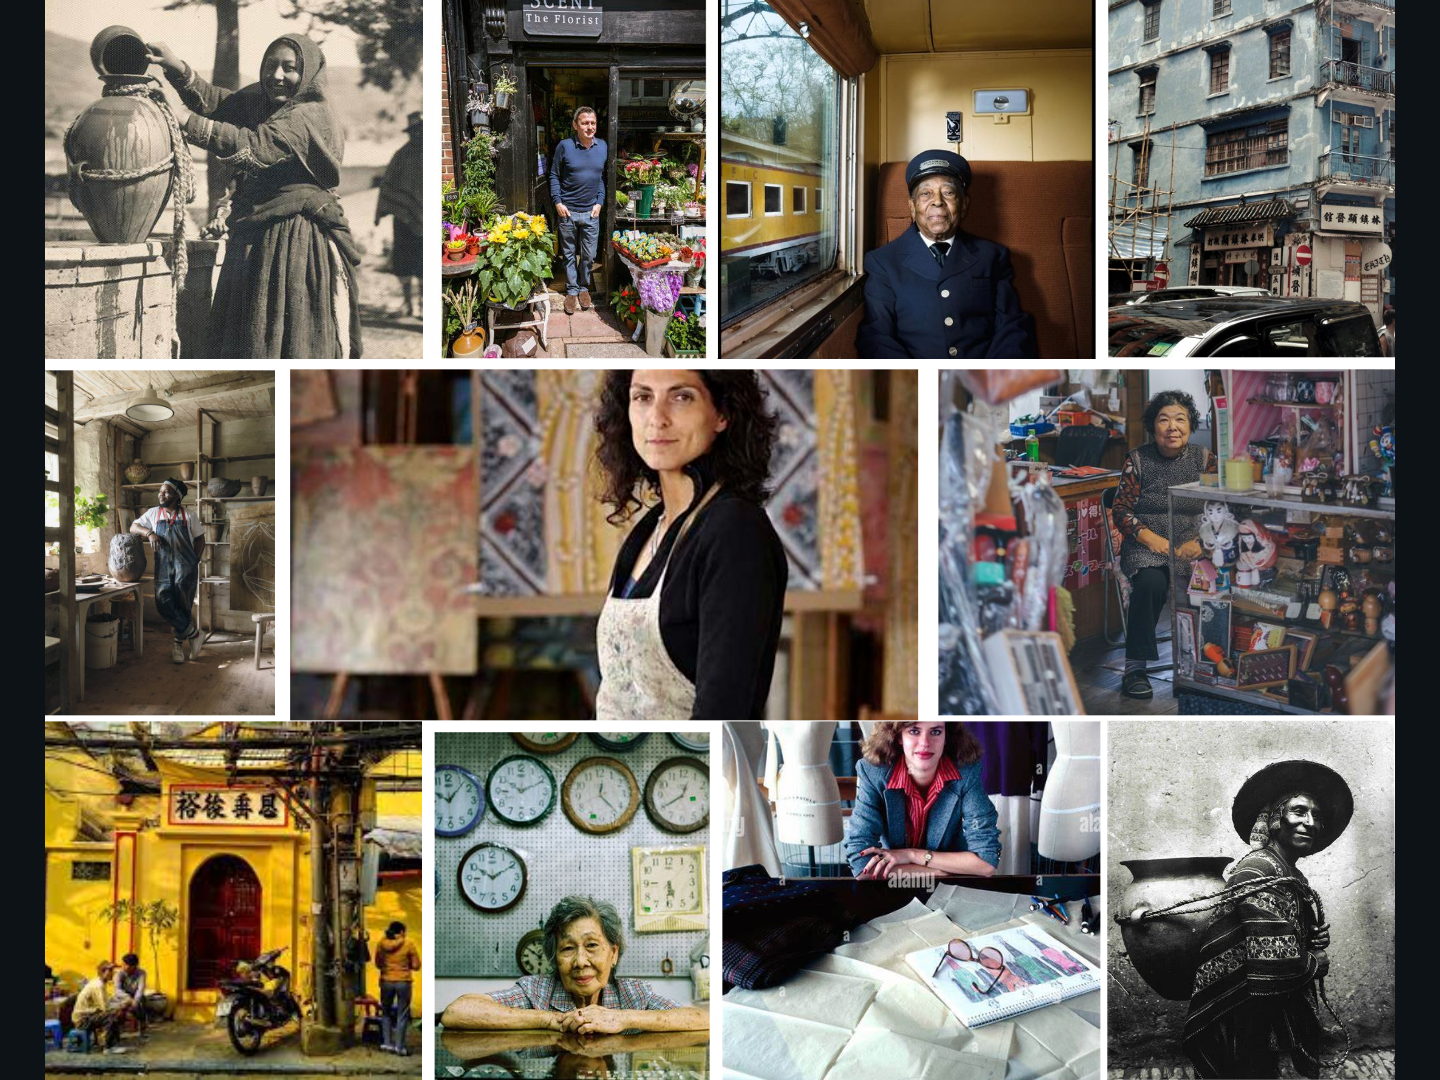
Mood board

The above mood board is what I inspire to either produce or take some tips from these photographs, I like portraits in a quite messy environment or an environment that has a lot going on, that’s why I’ll inspire to chose those types of environments. I would want to create images similarly to the ones above, experimenting with angles and different framings.

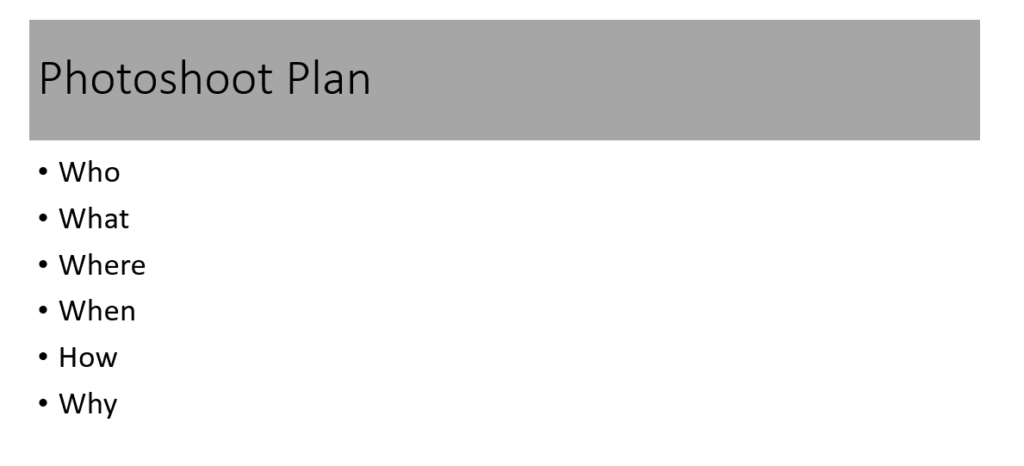
Who– I will ask random strangers that I find interesting looking as well as people who represent their environment very well. Mainly these will be people in their working environments.

What-There may be equipment that people hold in order to do their job, I will try to include them to represent them and their job. This adds also depth in the images, an insight of the profession. as well as the environment there may be many other items in the backroud.

Where– St Helier, Town, in many different businesses, shops which I’ll stumble across , these pictures will be inside based in peoples work instead of them being outdoor photographs.

When– One day during the week day, either during my free period or after school. Since I want to photograph people in their work I should pay attention to the usual working hours 9-5pm and know that during certain hours like 12pm-1pm it may get more busy, I should chose times where businesses/shops would be quiet and still open.

How– Doing my research on photographs and looking at how an environmental portrait should be taken, I will try to capture people in fast shutter speed as they may be moving a lot, and I don’t want to take up huge amounts of their time,.

Why– To get an understanding on how it not only is to take an environmental portrait but how it is to make connections with people while taking the photographs. As I have never done this before, I would have to also learn to get out of my comfort zone to speak and ask strangers to pose for me.