Rembrandt lighting is a standard lighting technique that is used in studio portrait photography and cinematography. This technique utilises one light and one reflector or two separate lights. The technique results in a lit-up triangle underneath the subject’s eye on the less illuminated area of the face.
How to create a Rembrandt lighting setup:
Light: Lighting styles are determined by the positioning of your light source. Rembrandt lighting is created by the single light source being at a 40 to 45-degree angle and higher than the subject. Use cans use both flashlights and continuous lights.
Lens: Use a 35mm or 50mm if space is at a premium – or if you’re looking at including more of the subject than just the head and shoulders. A 50mm works really nicely for portraits and will give a nice depth of field if you’re shooting at a shallow aperture. But a 35mm will give you a wider point of view and is great to fit more of the body in of your subject.
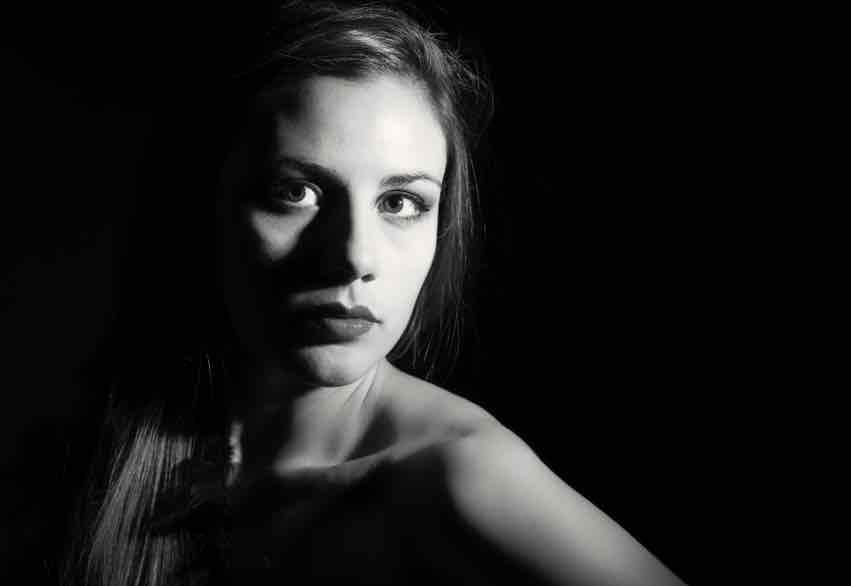
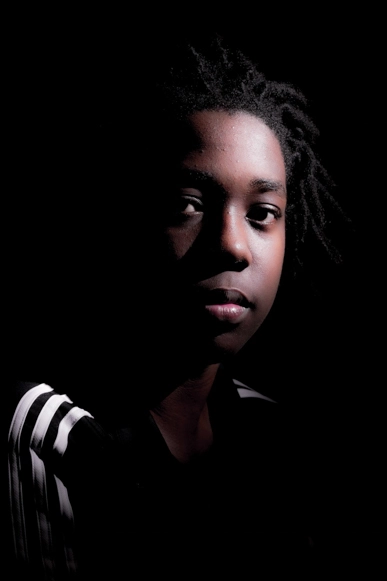
Here are some which I think are good examples:


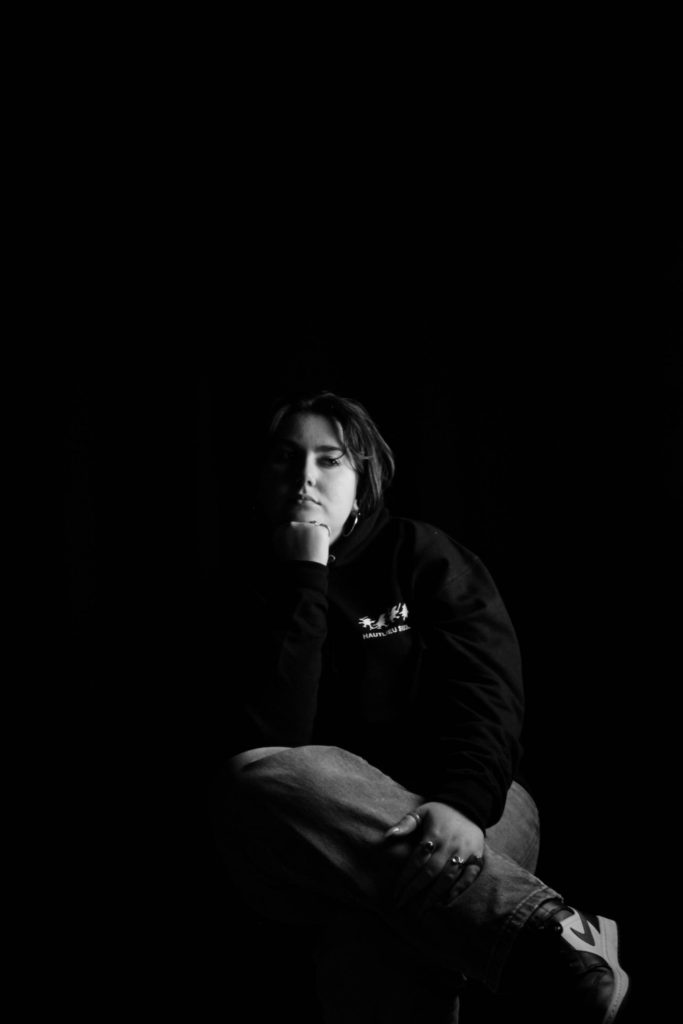
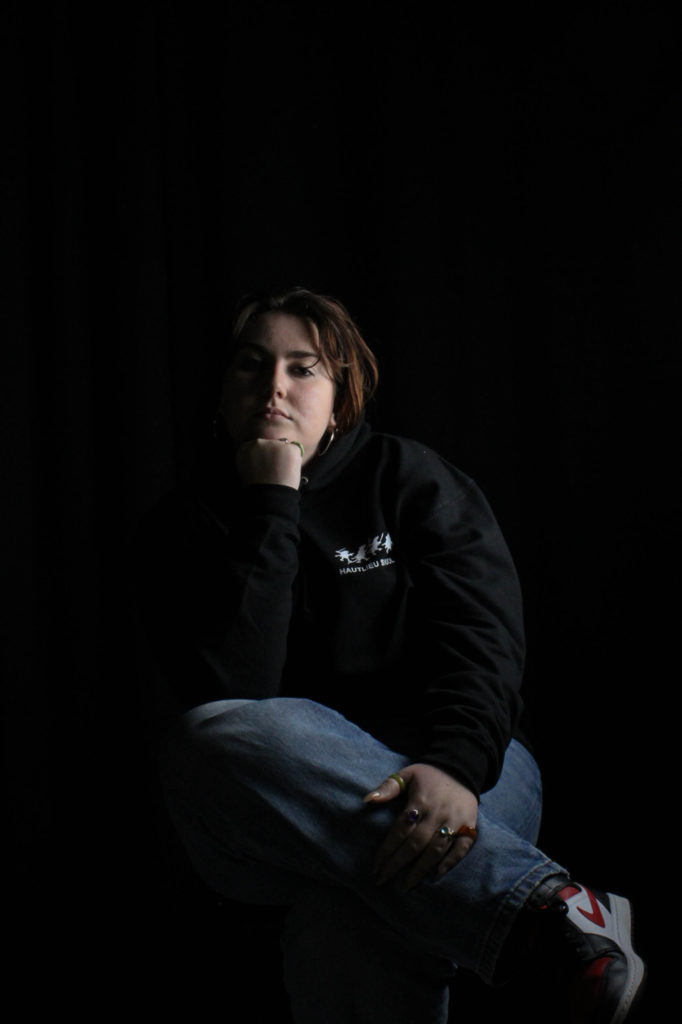
My experimentation with Rembrandt lighting
These are some photographs I have taken which I think you can see some undeveloped features of the Rembrandt lighting technique.