![](https://hautlieucreative.co.uk/photo24al/wp-content/uploads/sites/62/2023/01/image-1057.png)
![](https://hautlieucreative.co.uk/photo24al/wp-content/uploads/sites/62/2023/01/image-1063.png)
![](https://hautlieucreative.co.uk/photo24al/wp-content/uploads/sites/62/2023/01/image-1061.png)
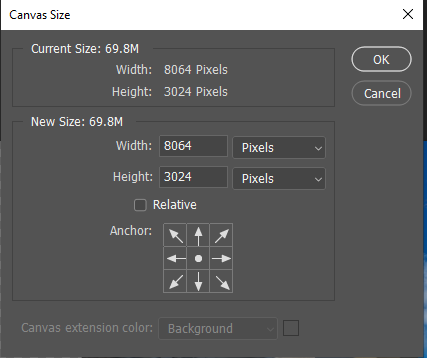
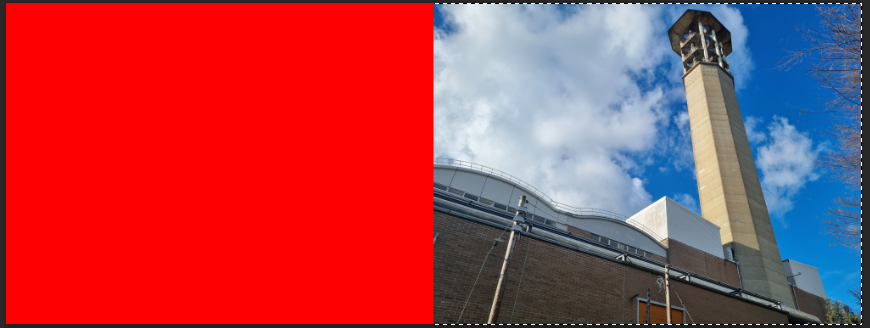
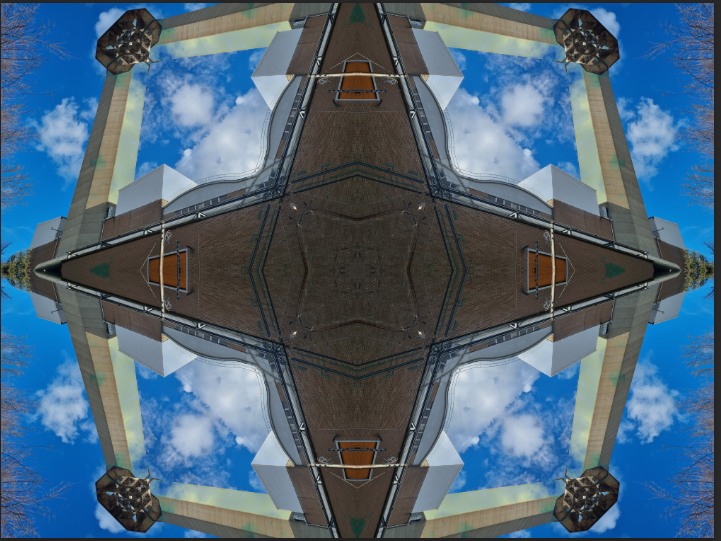
I doubled the width of the canvas.
![](https://hautlieucreative.co.uk/photo24al/wp-content/uploads/sites/62/2023/01/image-1066.png)
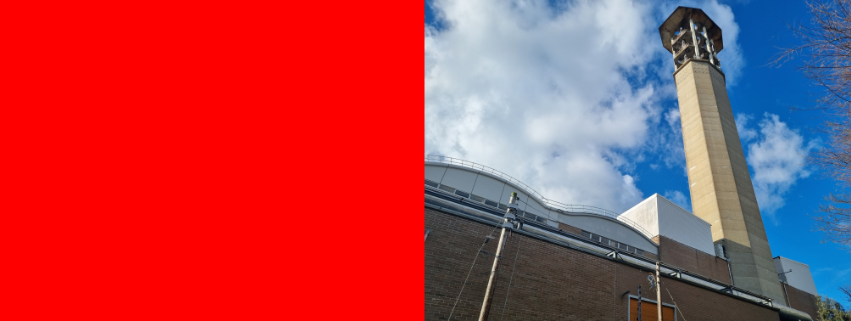
I filled the empty side in with red.
![](https://hautlieucreative.co.uk/photo24al/wp-content/uploads/sites/62/2023/01/image-1067.png)
I selected the red side with the magic wand tool and pressed on inverse select.
![](https://hautlieucreative.co.uk/photo24al/wp-content/uploads/sites/62/2023/01/image-1070.png)
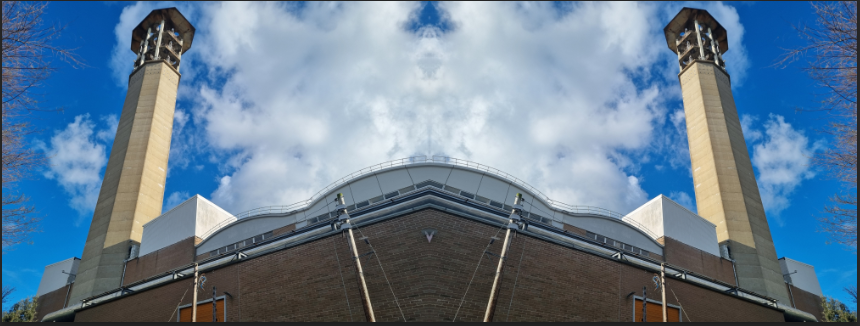
I duplicated the image and flipped it horizontally, I filled the empty with red so I could see if there where any gaps between images.
![](https://hautlieucreative.co.uk/photo24al/wp-content/uploads/sites/62/2023/01/image-1075.png)
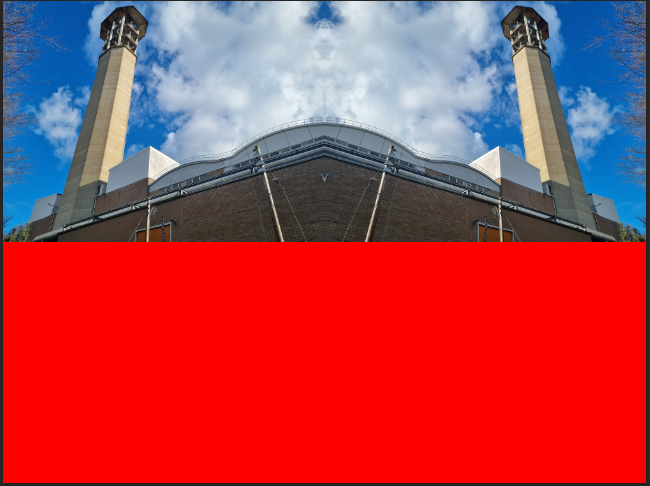
I repeated the 1st and 2nd step but with the height.
![](https://hautlieucreative.co.uk/photo24al/wp-content/uploads/sites/62/2023/01/image-1080.png)
![](https://hautlieucreative.co.uk/photo24al/wp-content/uploads/sites/62/2023/01/image-1083.png)
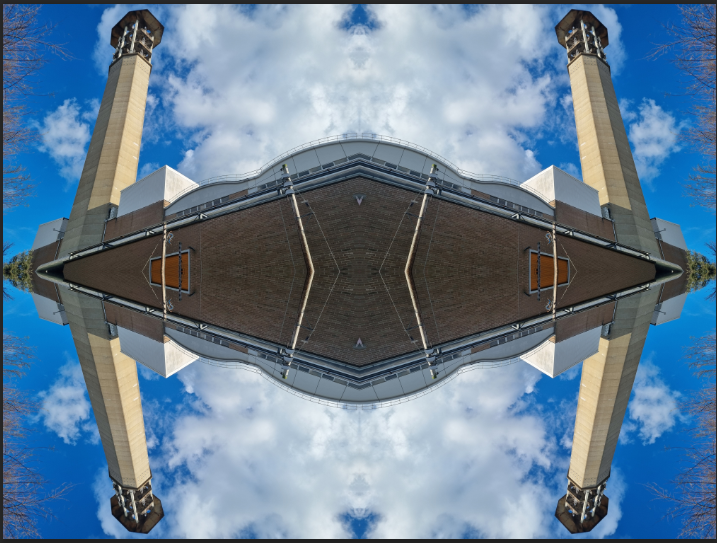
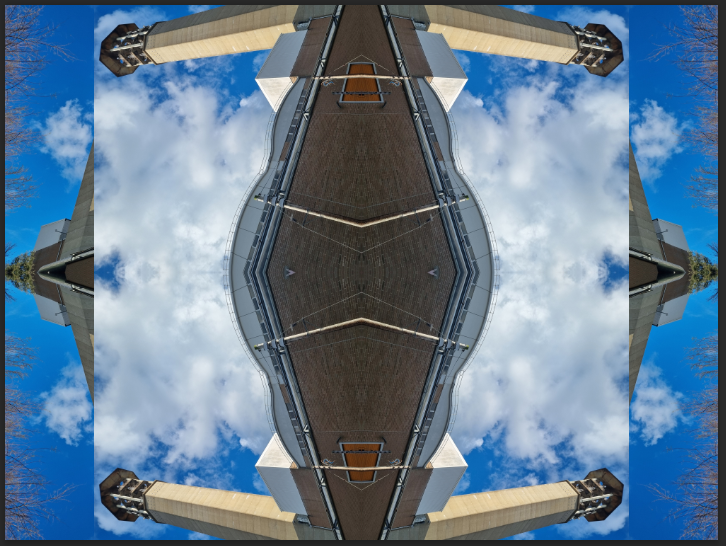
I duplicated the image and flipped it 90 degrees.
![](https://hautlieucreative.co.uk/photo24al/wp-content/uploads/sites/62/2023/01/image-1086.png)
I changed the blending mode of the second image until if found one that looked good.
![](https://hautlieucreative.co.uk/photo24al/wp-content/uploads/sites/62/2023/01/image-1105-1024x767.png)
![](https://hautlieucreative.co.uk/photo24al/wp-content/uploads/sites/62/2023/01/image-1107-1024x767.png)
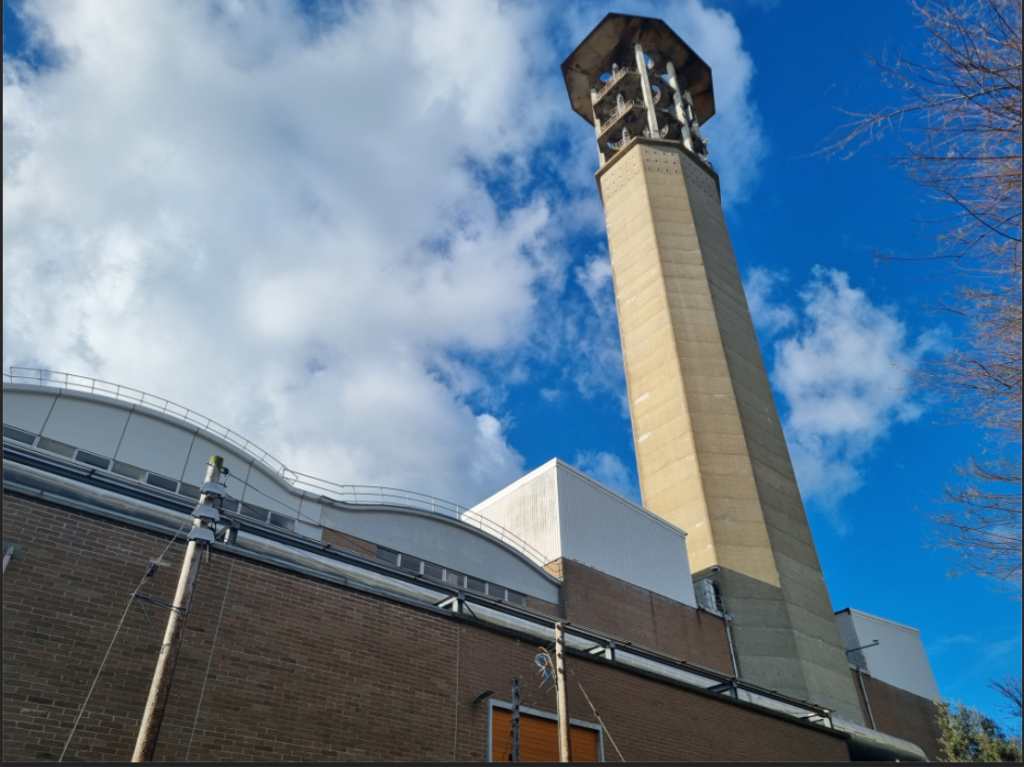
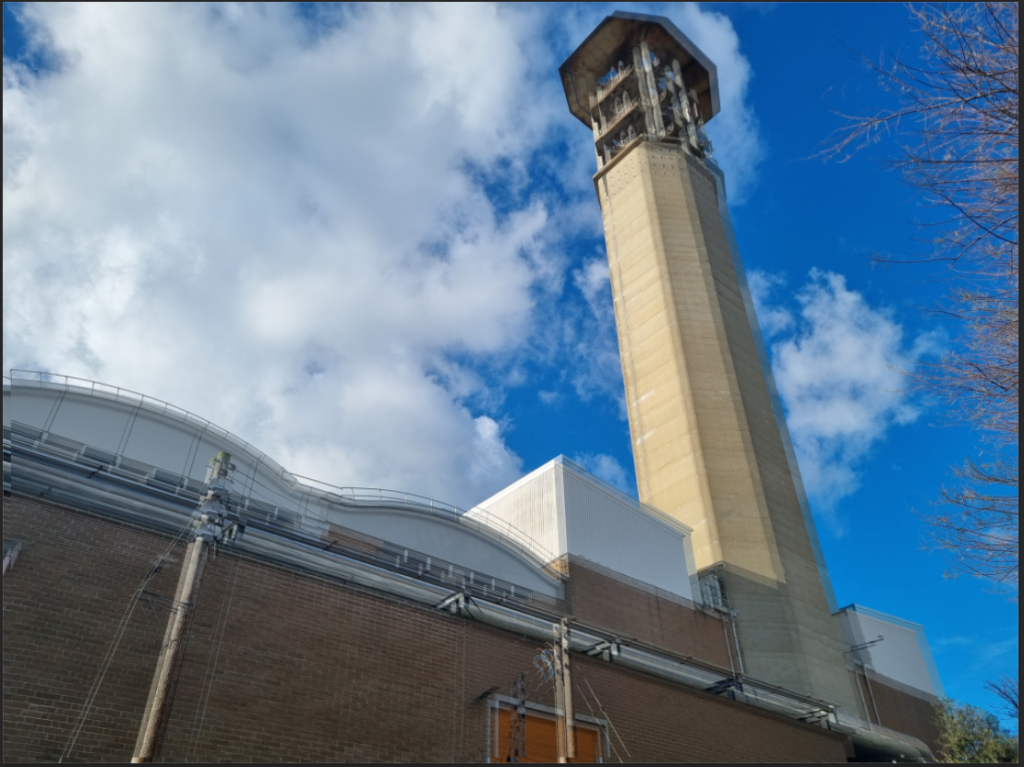
I duplicated the image and change the opacity and offsetting it a bit.
![](https://hautlieucreative.co.uk/photo24al/wp-content/uploads/sites/62/2023/01/image-1110-1024x773.png)
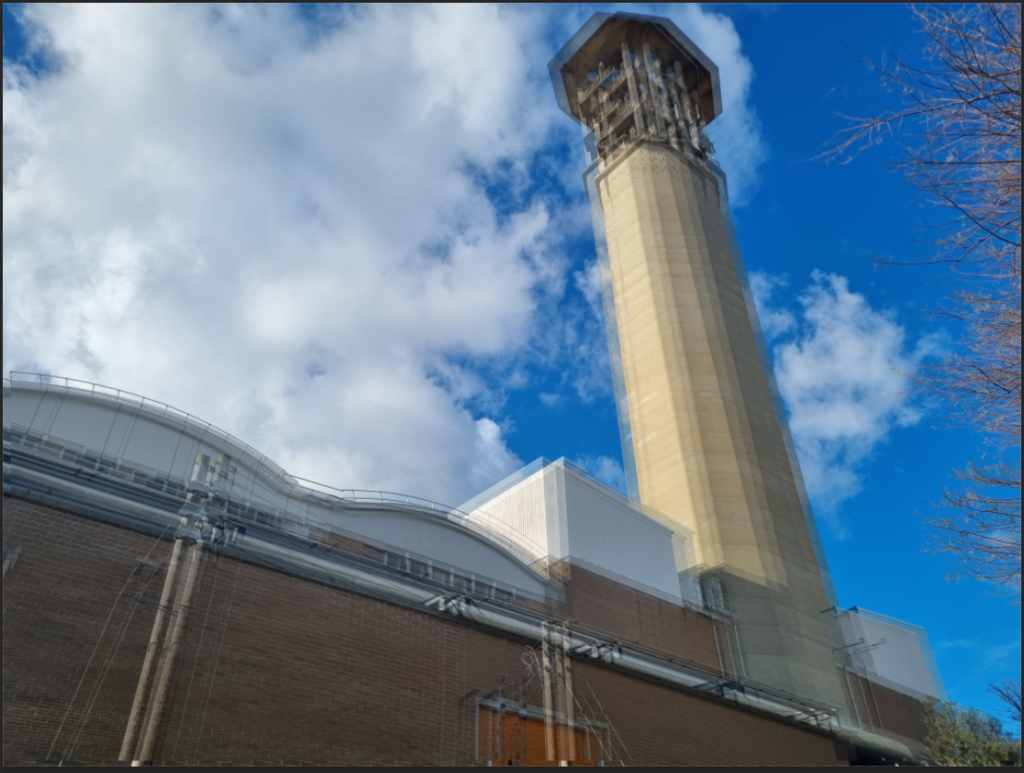
I repeated this a second time.
![](https://hautlieucreative.co.uk/photo24al/wp-content/uploads/sites/62/2023/01/image-1123-1024x768.png)
![](https://hautlieucreative.co.uk/photo24al/wp-content/uploads/sites/62/2023/01/image-1122.png)
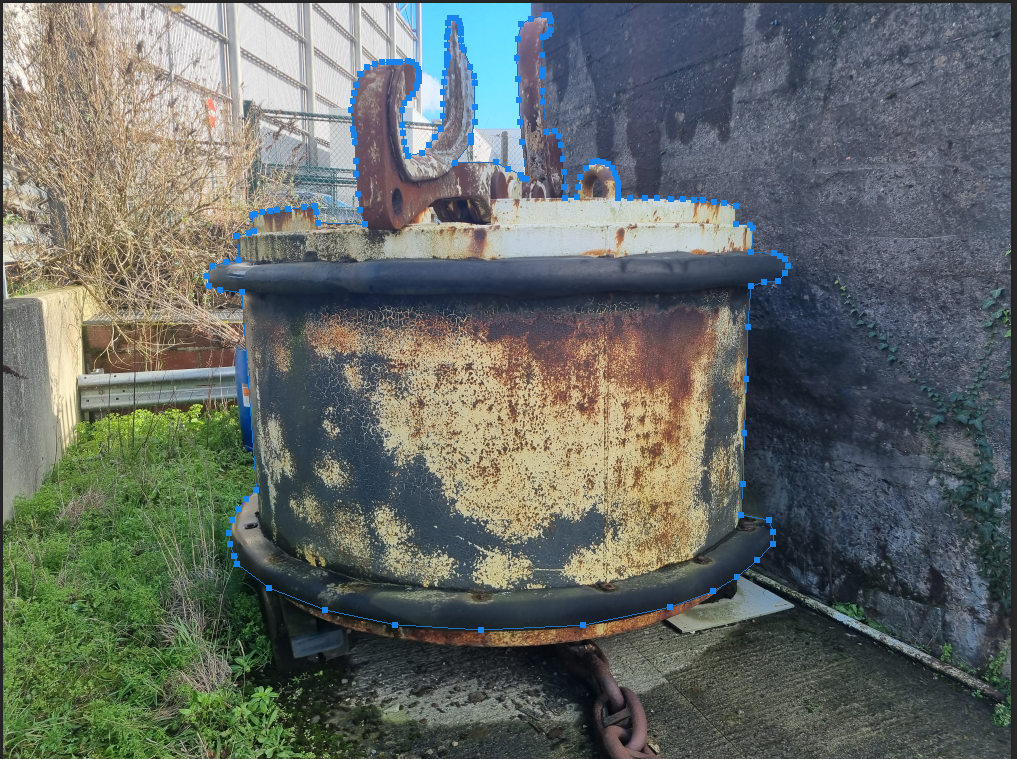
I used the pen tool and went around the image.
![](https://hautlieucreative.co.uk/photo24al/wp-content/uploads/sites/62/2023/01/image-1124.png)
I then clicked stroke path with a black brush.
![](https://hautlieucreative.co.uk/photo24al/wp-content/uploads/sites/62/2023/01/image-1144.png)
I repeated this process until I couldn’t outline anymore.
![](https://hautlieucreative.co.uk/photo24al/wp-content/uploads/sites/62/2023/01/image-1151.png)
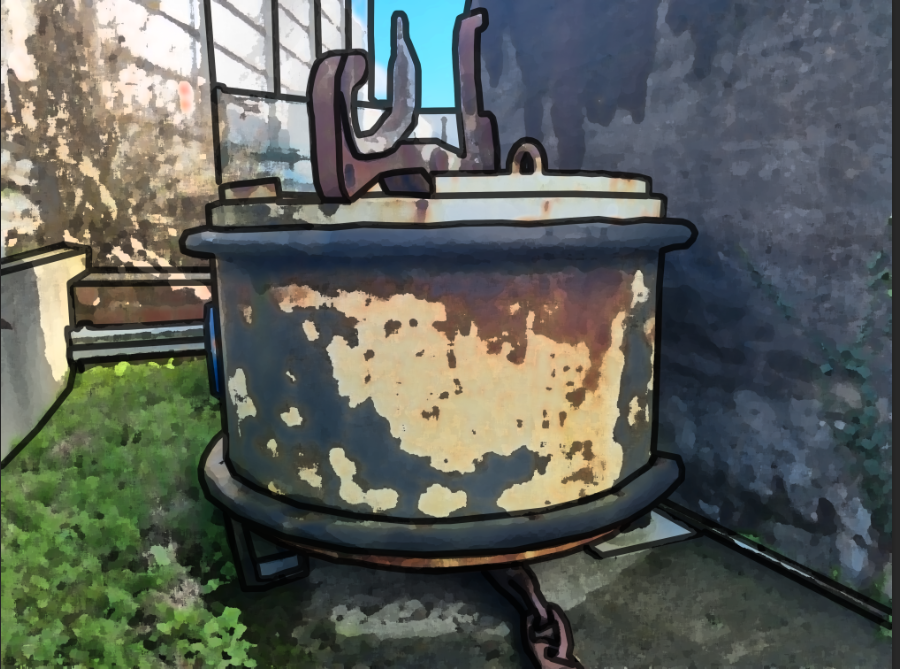
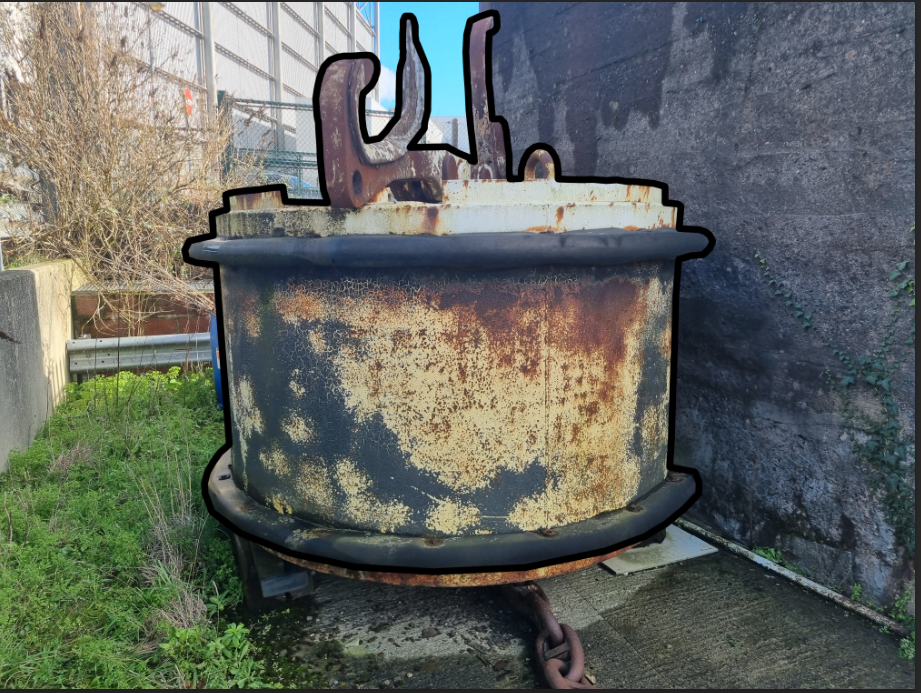
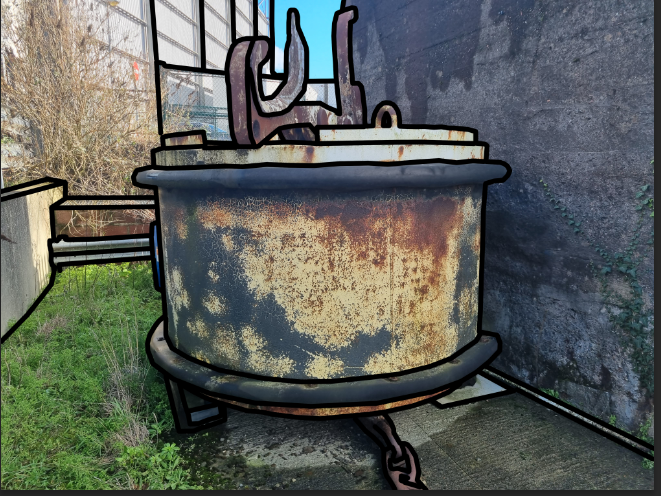
I applied a filter to reduce the realness of the image.
![](https://hautlieucreative.co.uk/photo24al/wp-content/uploads/sites/62/2023/01/image-1152.png)
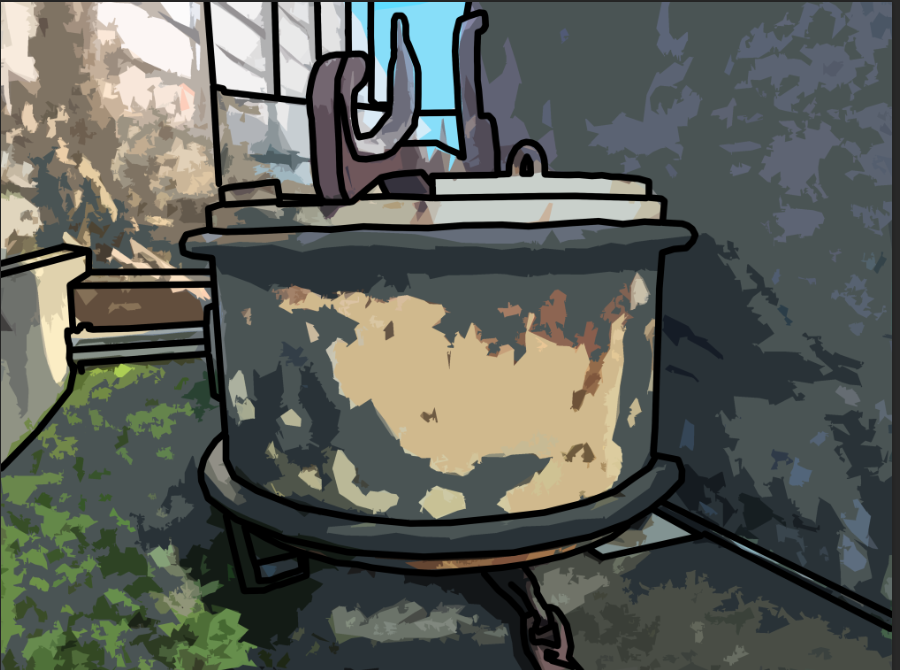
I then applied a second filter to give a cartoony look.
![](https://hautlieucreative.co.uk/photo24al/wp-content/uploads/sites/62/2023/01/image-1159.png)
![](https://hautlieucreative.co.uk/photo24al/wp-content/uploads/sites/62/2023/01/image-1162.png)
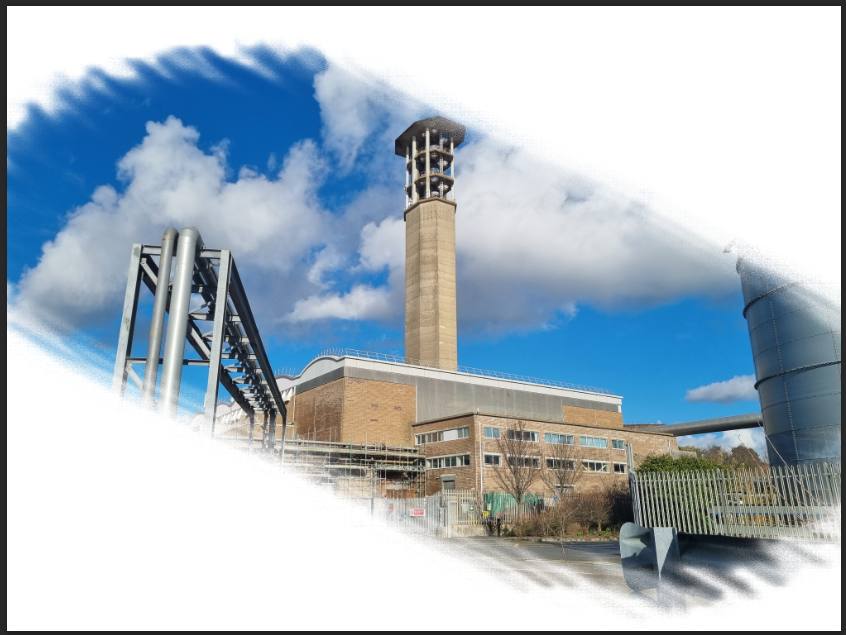
I applied a layer mask to the image.
![](https://hautlieucreative.co.uk/photo24al/wp-content/uploads/sites/62/2023/01/image-1164.png)
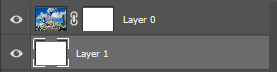
I then made a new layer, filled it in with white and put it bellow the image.
![](https://hautlieucreative.co.uk/photo24al/wp-content/uploads/sites/62/2023/01/image-1165.png)
![](https://hautlieucreative.co.uk/photo24al/wp-content/uploads/sites/62/2023/01/image-1166.png)
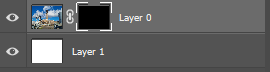
I filled the layer mask in with black to make the image disappear.
![](https://hautlieucreative.co.uk/photo24al/wp-content/uploads/sites/62/2023/01/image-1167.png)
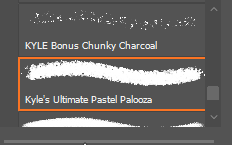
Then i found a brush that I liked.
![](https://hautlieucreative.co.uk/photo24al/wp-content/uploads/sites/62/2023/01/image-1169.png)
![](https://hautlieucreative.co.uk/photo24al/wp-content/uploads/sites/62/2023/01/image-1170.png)
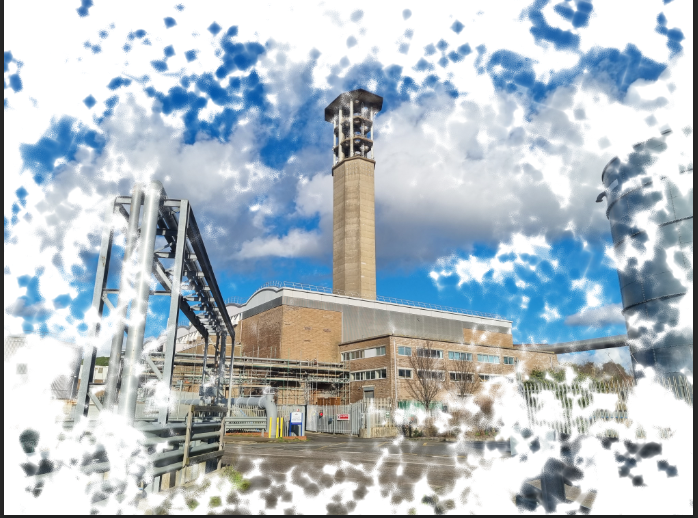
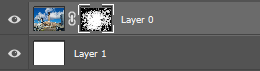
with the layer mask selected i painted, with white selected, around the image.
![](https://hautlieucreative.co.uk/photo24al/wp-content/uploads/sites/62/2023/01/image-1184.png)
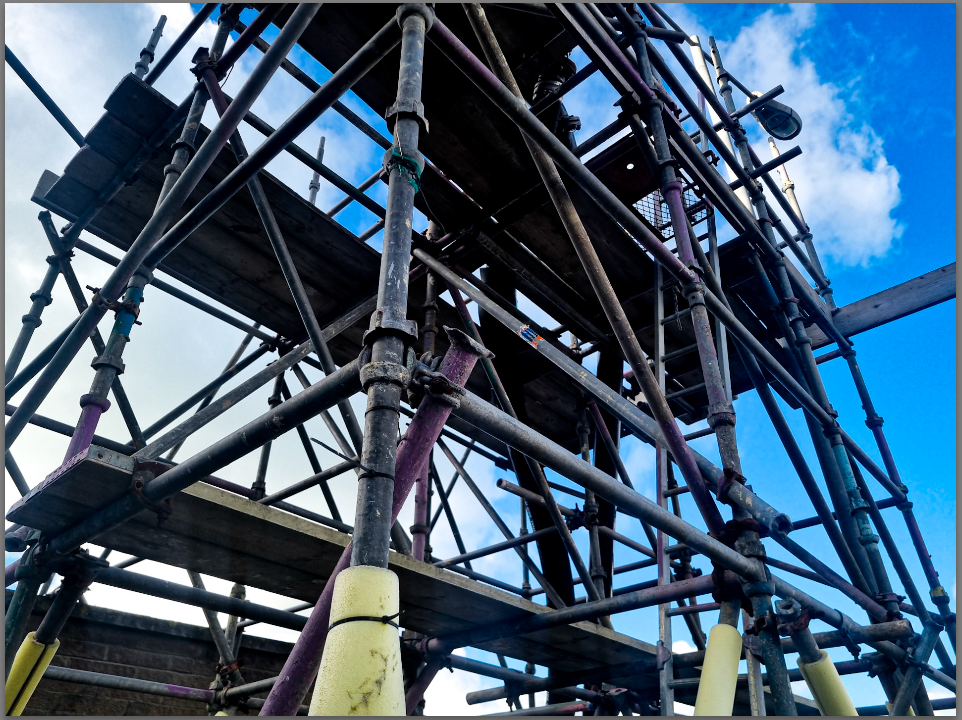
I used a different brush to give me this result.
![](https://hautlieucreative.co.uk/photo24al/wp-content/uploads/sites/62/2023/01/image-1193.png)
![](https://hautlieucreative.co.uk/photo24al/wp-content/uploads/sites/62/2023/01/image-1202.png)
![](https://hautlieucreative.co.uk/photo24al/wp-content/uploads/sites/62/2023/01/image-1200.png)
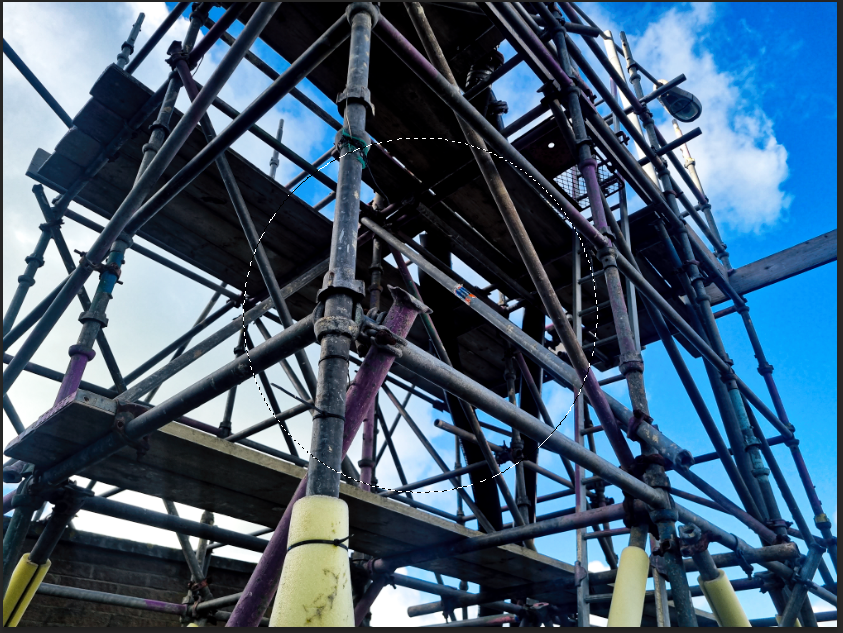
I used the ellipse marquee tool to make a selection of a circle
![](https://hautlieucreative.co.uk/photo24al/wp-content/uploads/sites/62/2023/01/image-1205.png)
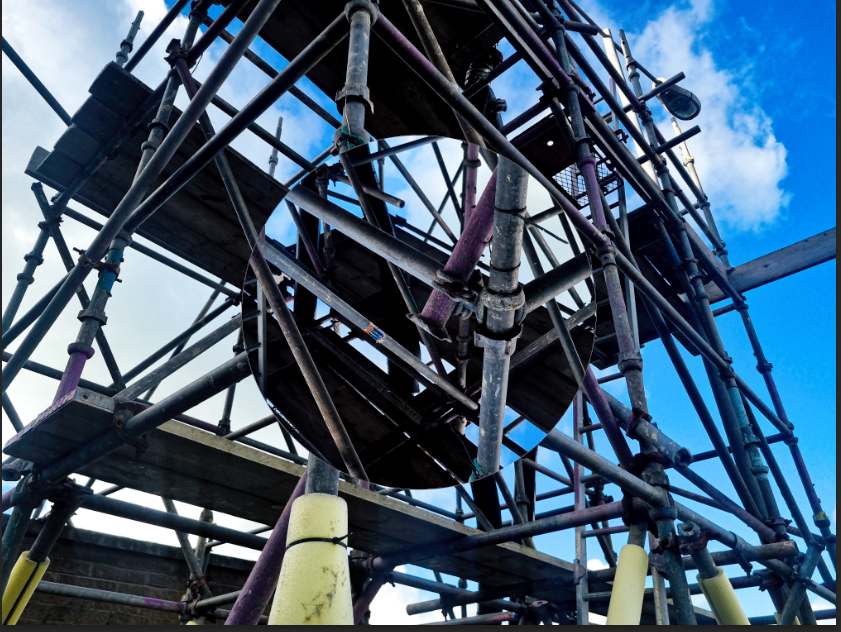
I then rotated the selected part 180 degrees
![](https://hautlieucreative.co.uk/photo24al/wp-content/uploads/sites/62/2023/01/image-1328-1024x725.png)
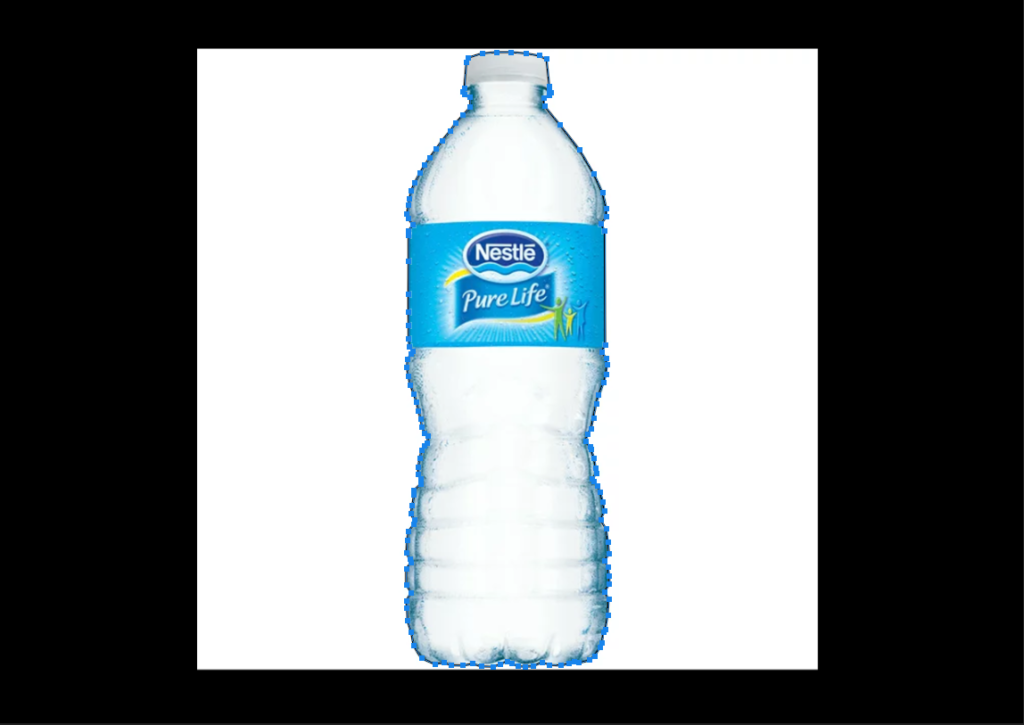
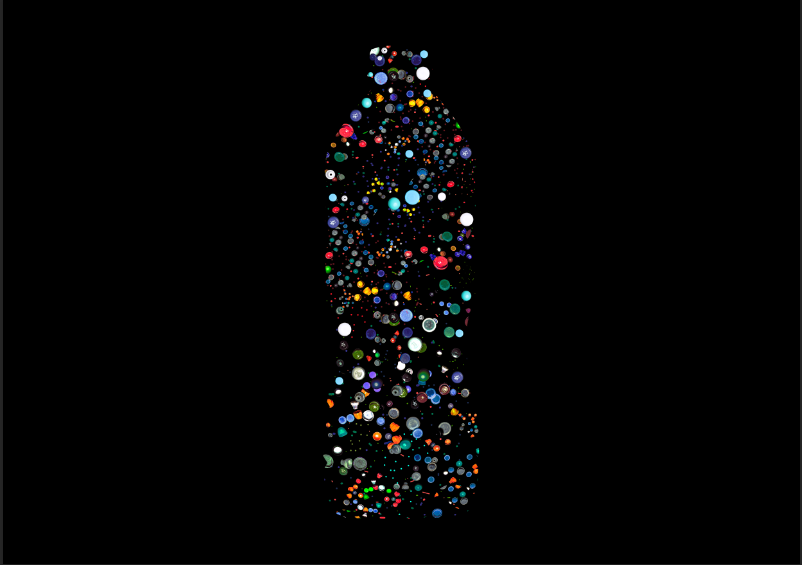
For this image i got a image of a bottle outlined it with the pen tool and clicked stroke path
![](https://hautlieucreative.co.uk/photo24al/wp-content/uploads/sites/62/2023/01/image-1329.png)
![](https://hautlieucreative.co.uk/photo24al/wp-content/uploads/sites/62/2023/01/image-1341.png)
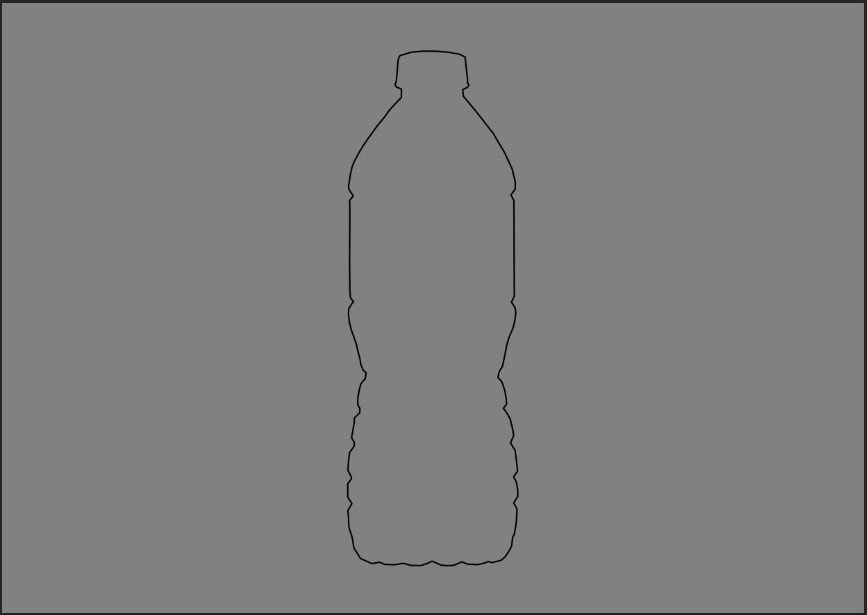
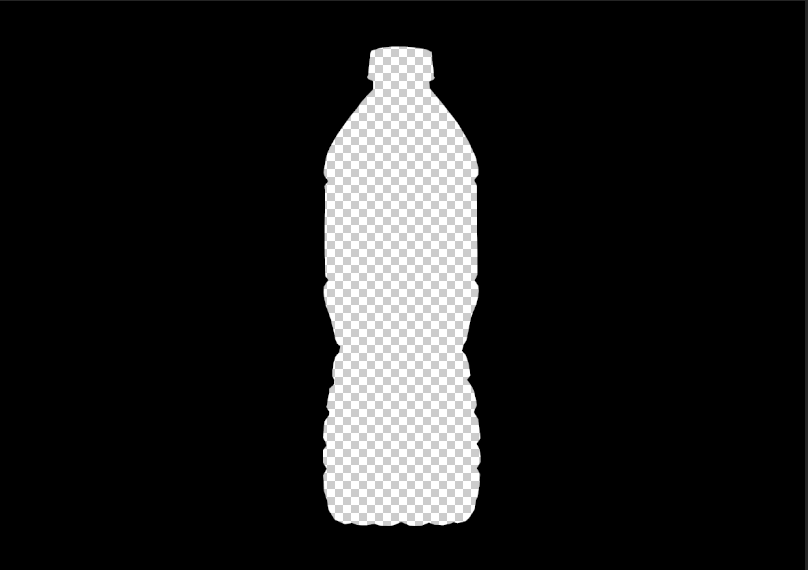
I then selected the outline and applied a layer mask and changed the background to black
![](https://hautlieucreative.co.uk/photo24al/wp-content/uploads/sites/62/2023/01/image-1343.png)
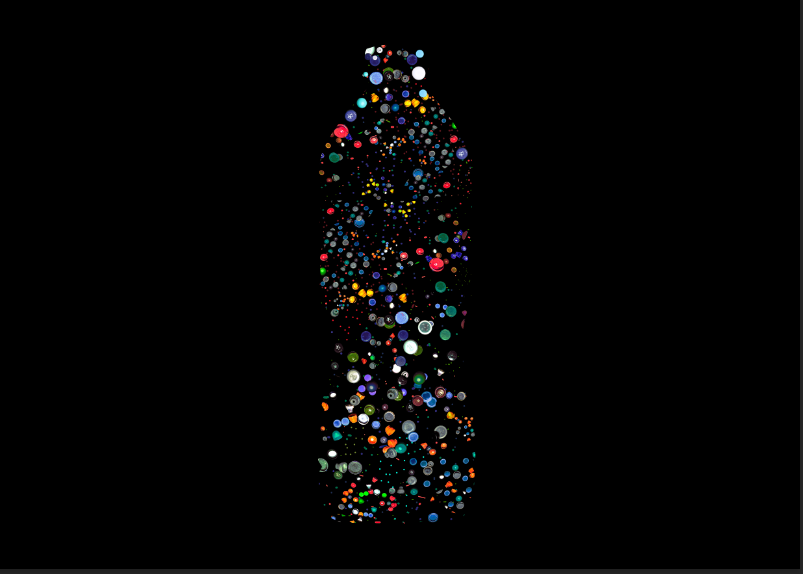
I then filled the outline with caps
![](https://hautlieucreative.co.uk/photo24al/wp-content/uploads/sites/62/2023/01/image-1346.png)