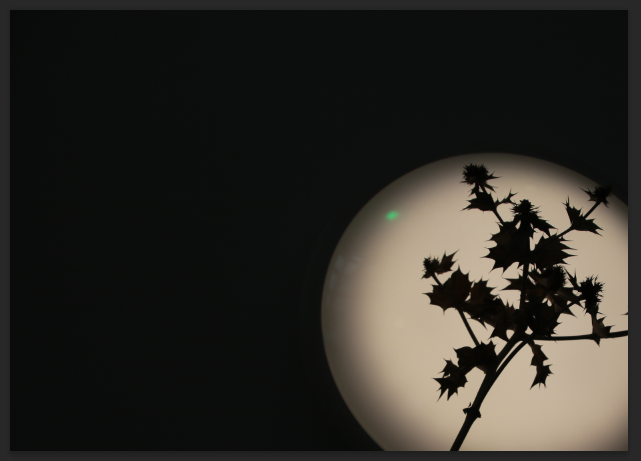
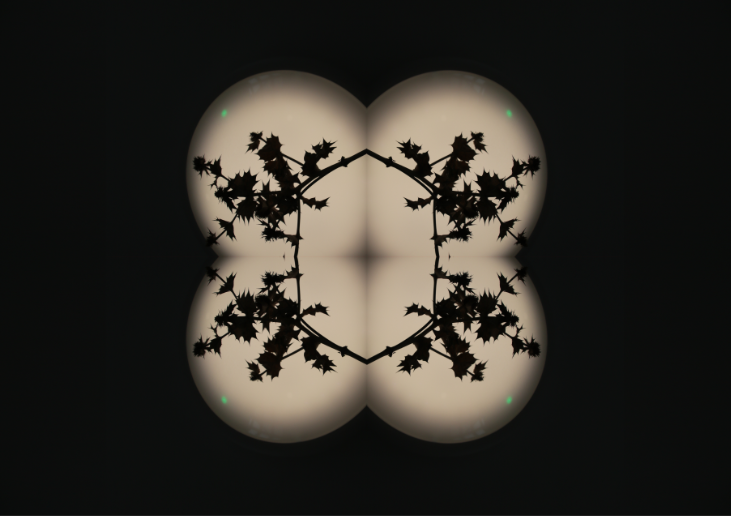
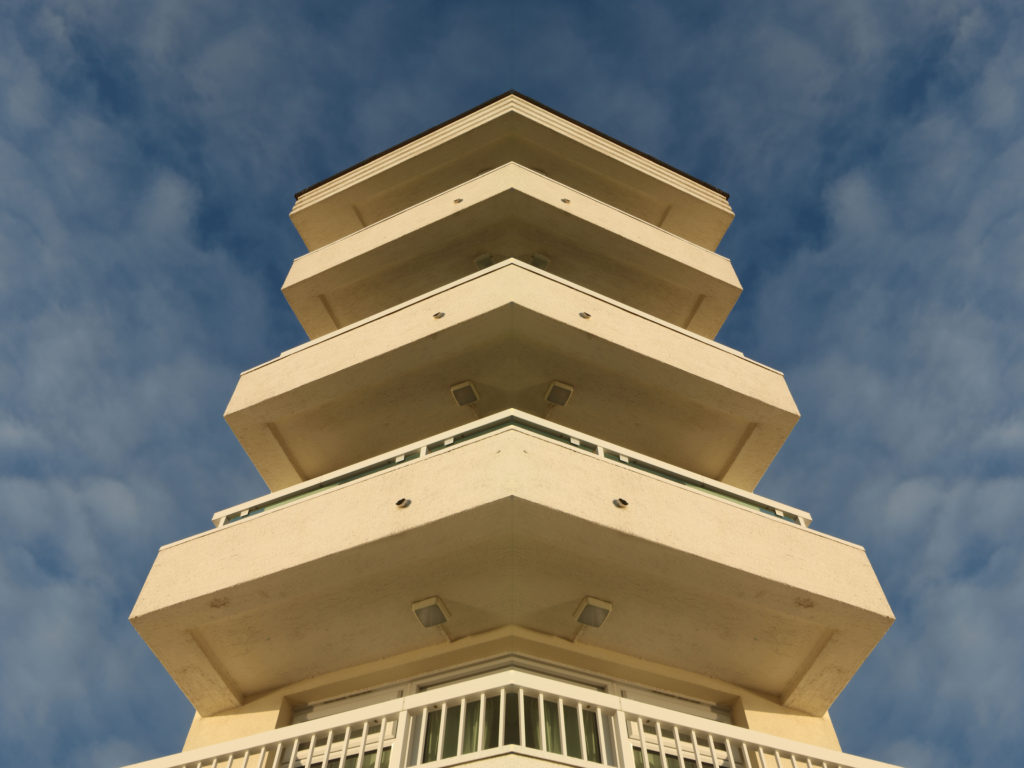
Toy Car Photoshoot

For this photoshoot it was inspired by Mandy Barker and her work with plastic objects which she finds washed up on the beaches, i used toy cars for this shoot and placed them randomly on the backdrop i used a black backdrop as i thought it would bring out the vibrancy of the cars more i am pleased that i did as i really like the outcomes of these photos.

Best Images

Photoshoot Plan

Plan 1

For the photoshoot I would collect bottle caps and place them on a black background and take a picture then I would change the position of the caps and take more picture then layer them onto each other to give the illusion of there being more. This is inspired by Mandy Barker.

Plan 2

For this photo shoot i plan to get some clear plastic bags and shine some lights on the outside and take pictures of the inside. This is inspired by Vilde Rolfsen

Plan 3

For this photoshoot I plan to go to La Collete and take photos of the factories and incinerator or i would got to construction sites and take photos of the construction work. This is inspired by Edward Burtynsky.

Anthropocene mock photoshoots plan

Where: Multiple locations in Jersey

(on different occasions as there are quite a few locations including Val de la Mare reservoir, Les Mielles nature reserve and L’etacq fields.)

When: Afternoon/evening

(If possible, I want to go out when the weather is stormy, which is quite likely this week, to respond to my plan)

What: For the more human landscapes, focusing on the industrial aspects; for the more natural landscapes, focusing on the beauty of fairly untouched wildlife

How: Using Aperture priority setting and possibly the flash if needed

(to ensure the entire photo/focal points are in focus)

Why: In order to get images responding to the brief of Anthropocene

My Photoshoot

Once my photoshoot was completed, I transferred all the images onto Lightroom.

I finished with 117 images, including the bad images, I then sorted through all of then, flagging all the ones I like. This narrowed it down to 59 images.

Kaleidoscope

Kaleidoscope Experimentation

Base Image

I cropped the image so when I duplicate it it will connect up

I then changed the canvas sizes’ width to be double

I filled in the blank space with red so I can see later if there is any gaps between the images

I selected the red area with the magic wand selection tool and did an inverse select so it would select the image instead

Then I duplicated the layer, moved it over the red space and flipped it horizontally and then flattened the image

Then I doubled the height of the canvas

There is a gap in the middle of the image because you can see a red line so we have to make the image overlap

Then i cropped the image so there is no more red showing

I duplicated the image and flipped it 90 degrees

Then I flicked through the blending mode until i found one that looks good

I repeated this process

Editing – Kaleidoscope

Step 1

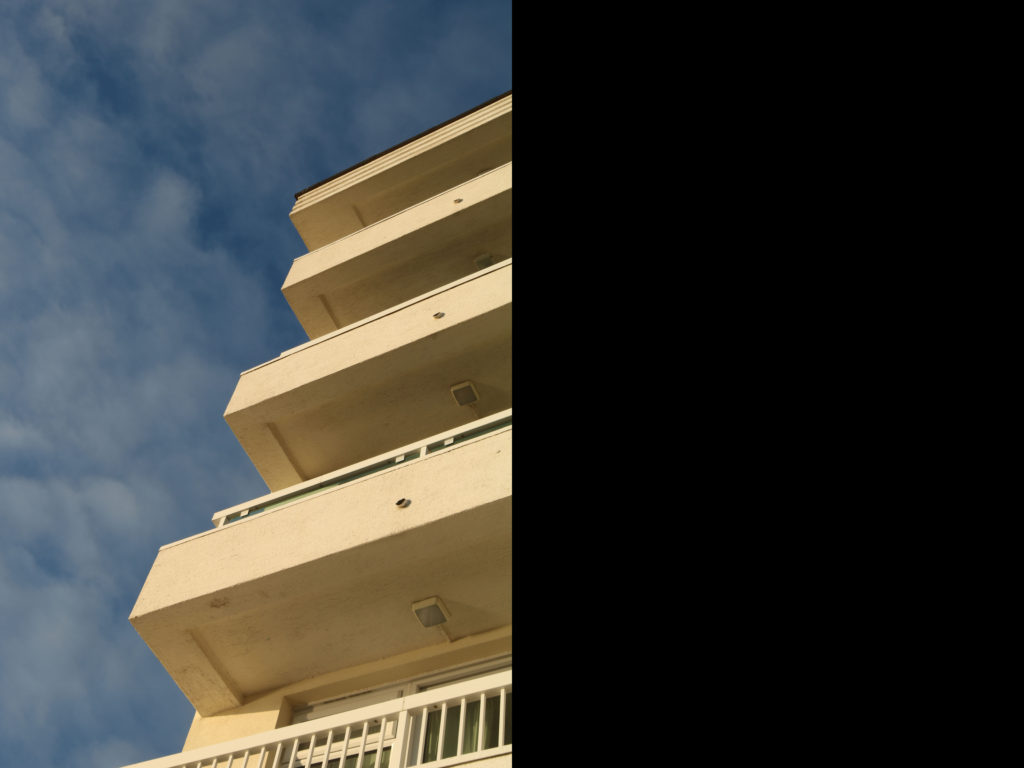
First, you pick an image and put it into photoshop.
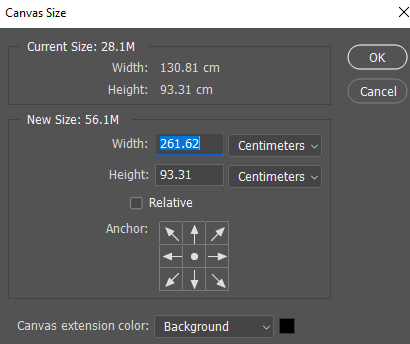
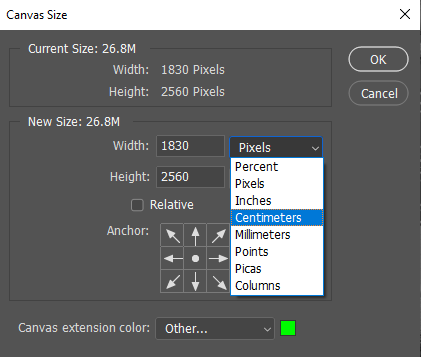
Step 2

Then, you follow these steps:

Image – Canvas size – Change size to cm – Double width
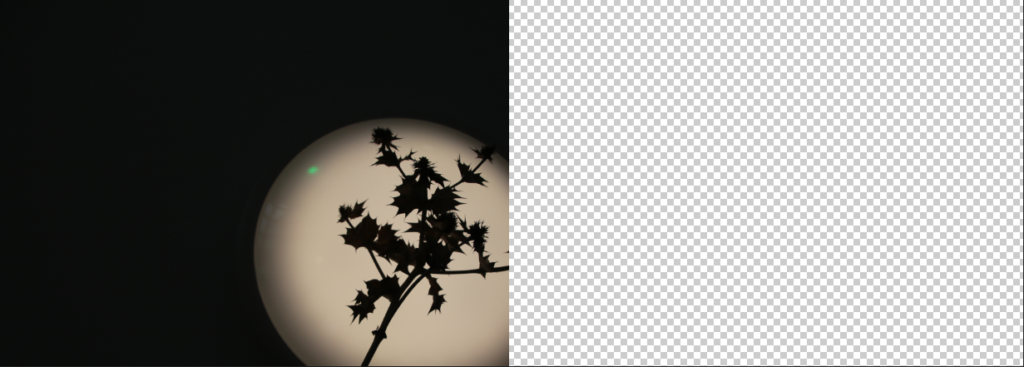
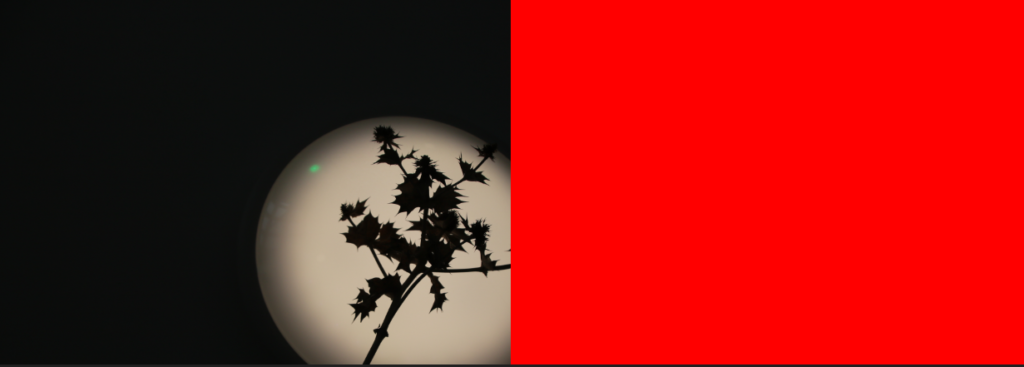
Step 3

  1. Use the magic wand tool (4 down) to select the blank colour.
  2. Right click and press select inverse.
  3. Right click your image and press layer via copy, this will create a new layer.
  4. Click Ctrl T (free transform)
  5. Right click and press flip horizontal
  6. Drag this to the other side

Step 4

Now repeat the process but instead of doubling the width in Step 2, double the height.

Then just fiddle around, rotate, blend your images until desired result.
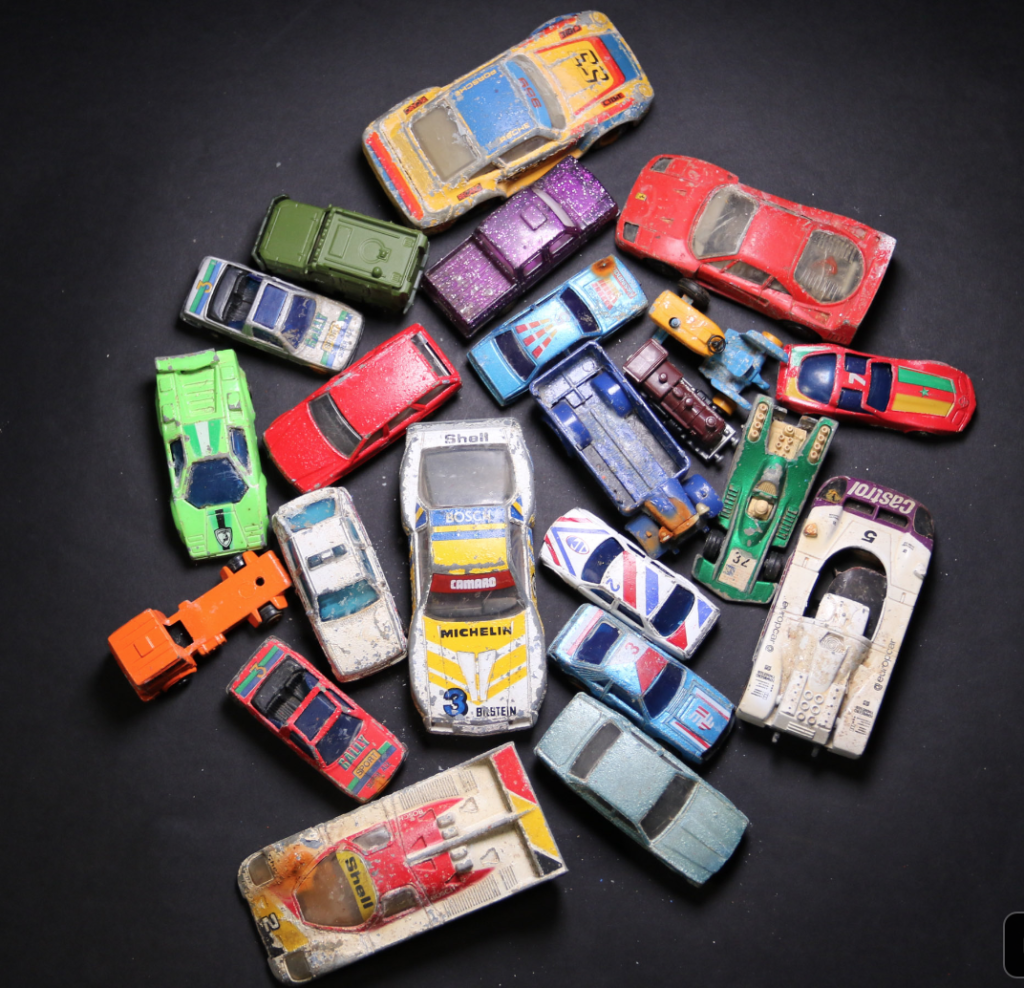
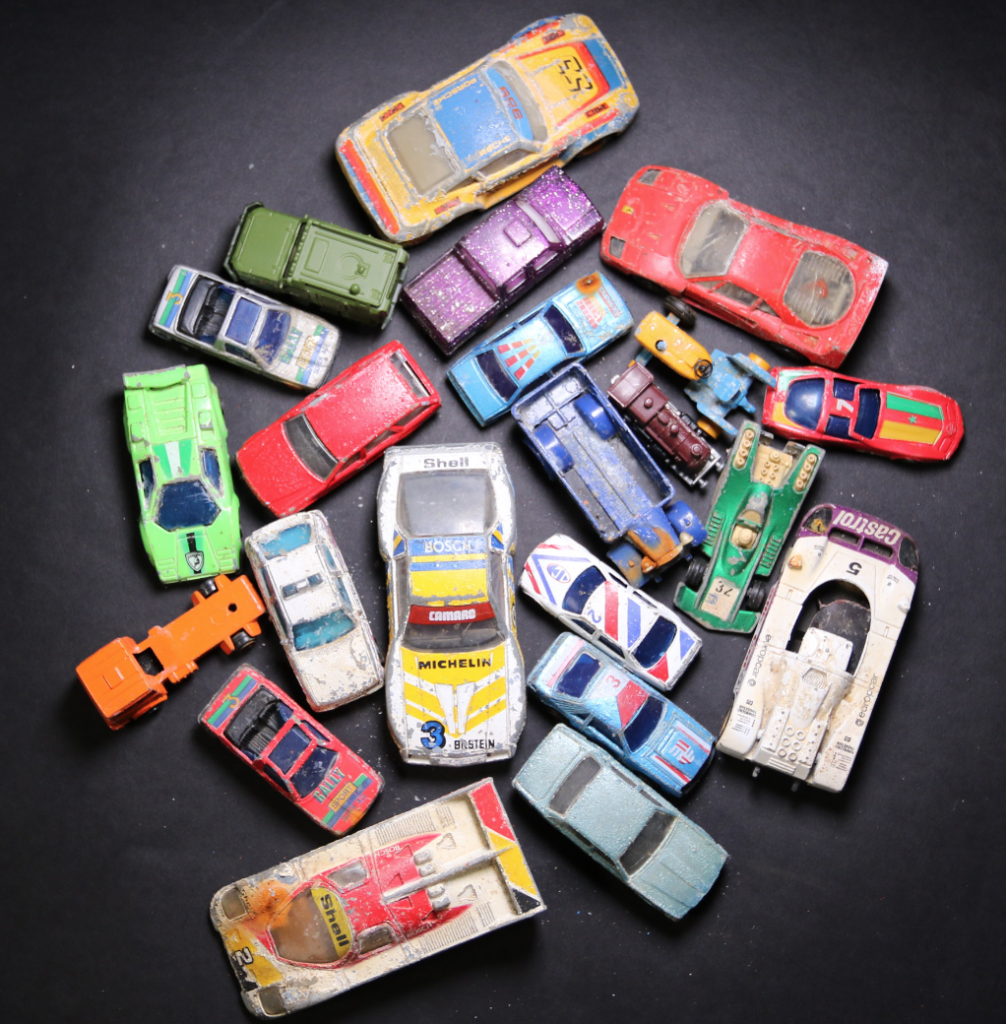
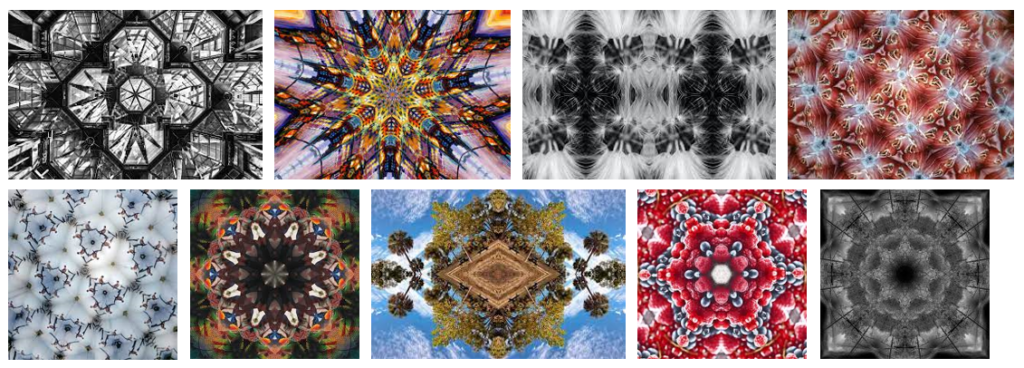
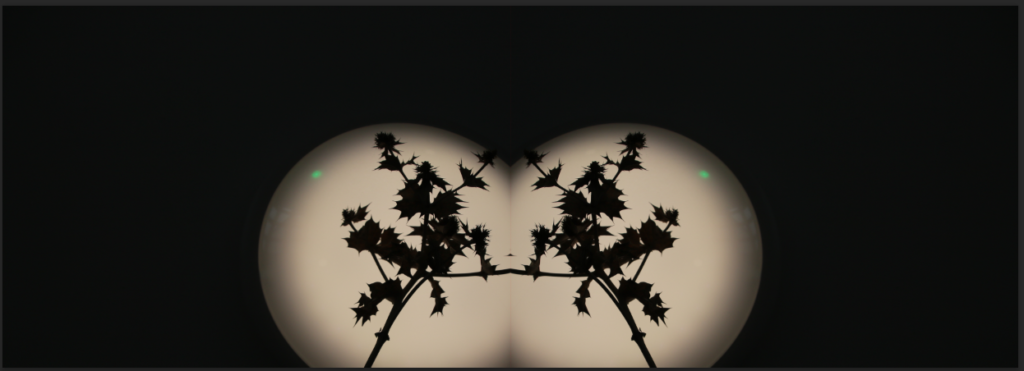
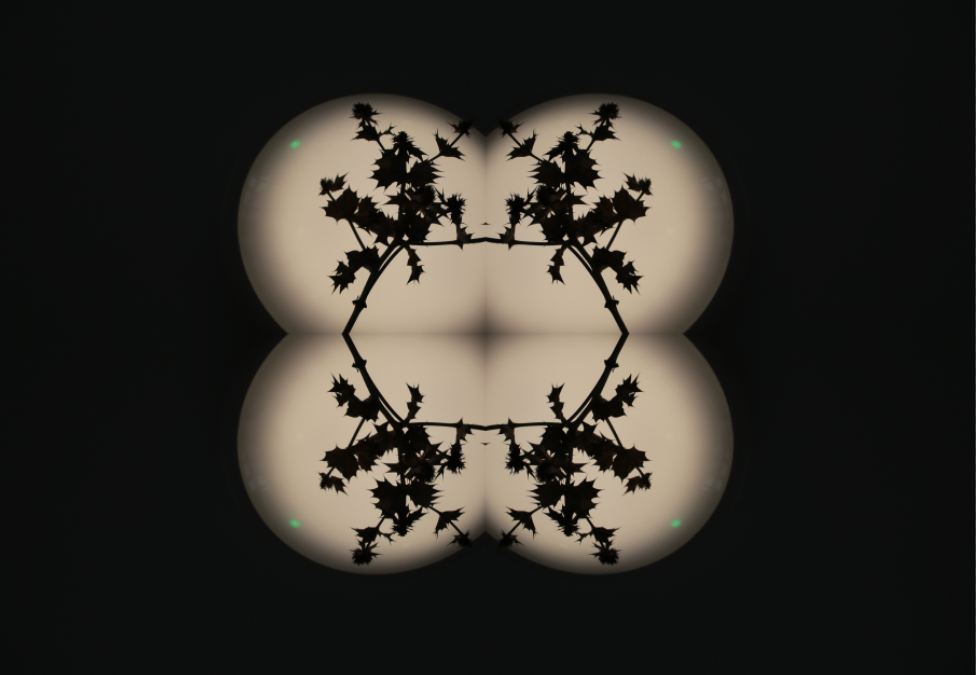
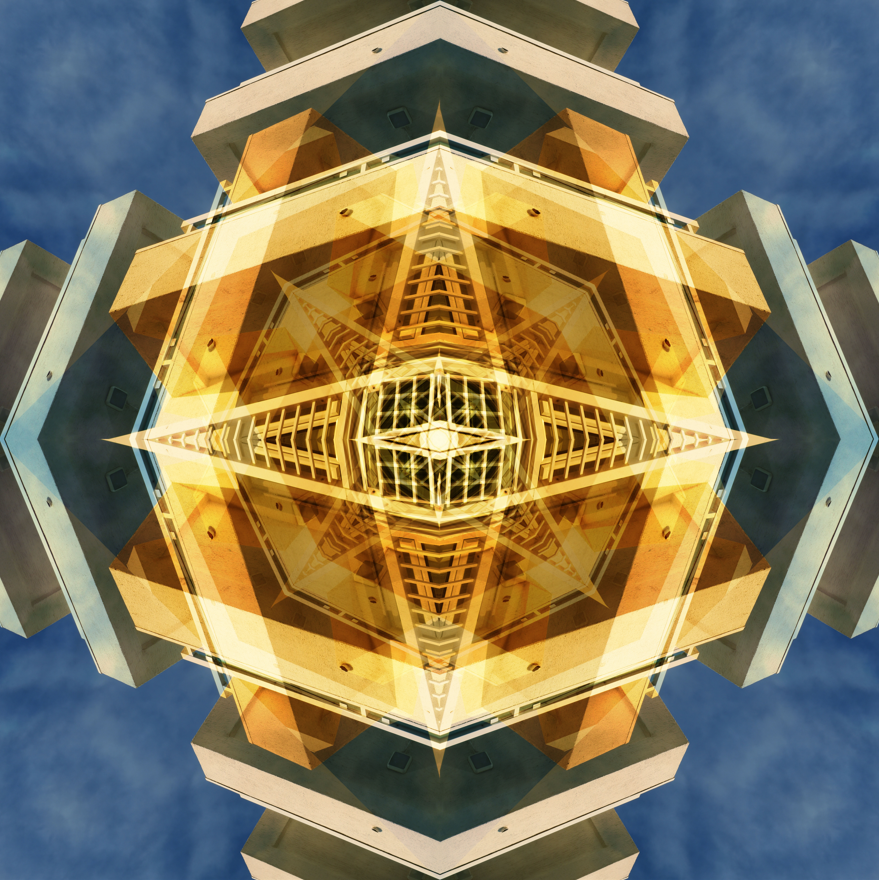
Final result

I quite like how this image turned out, however it isn’t my favourite editing method.

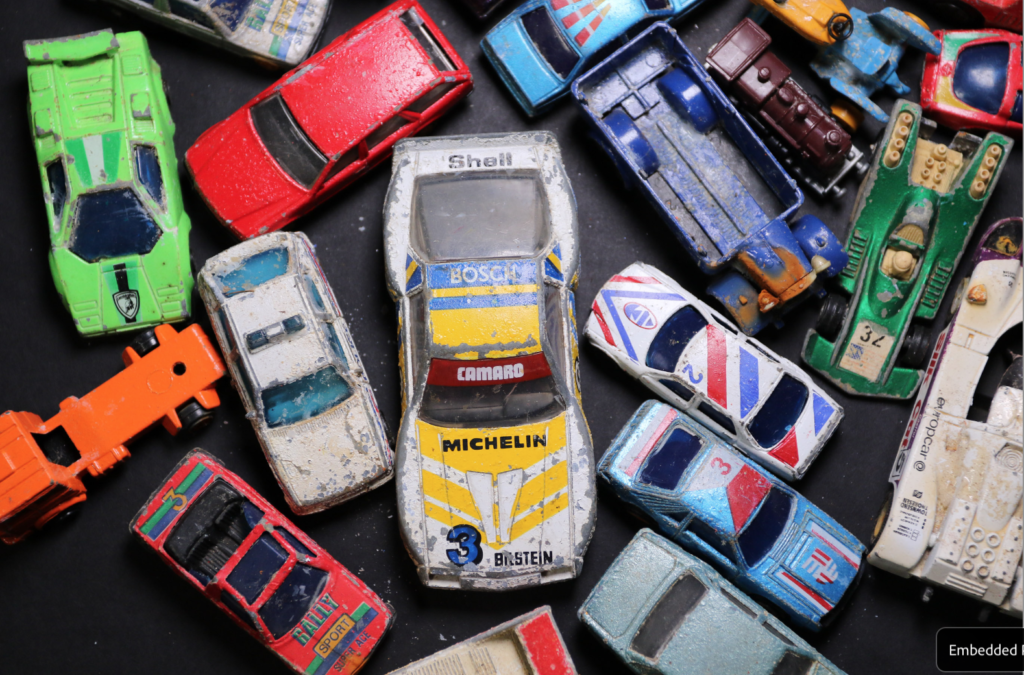
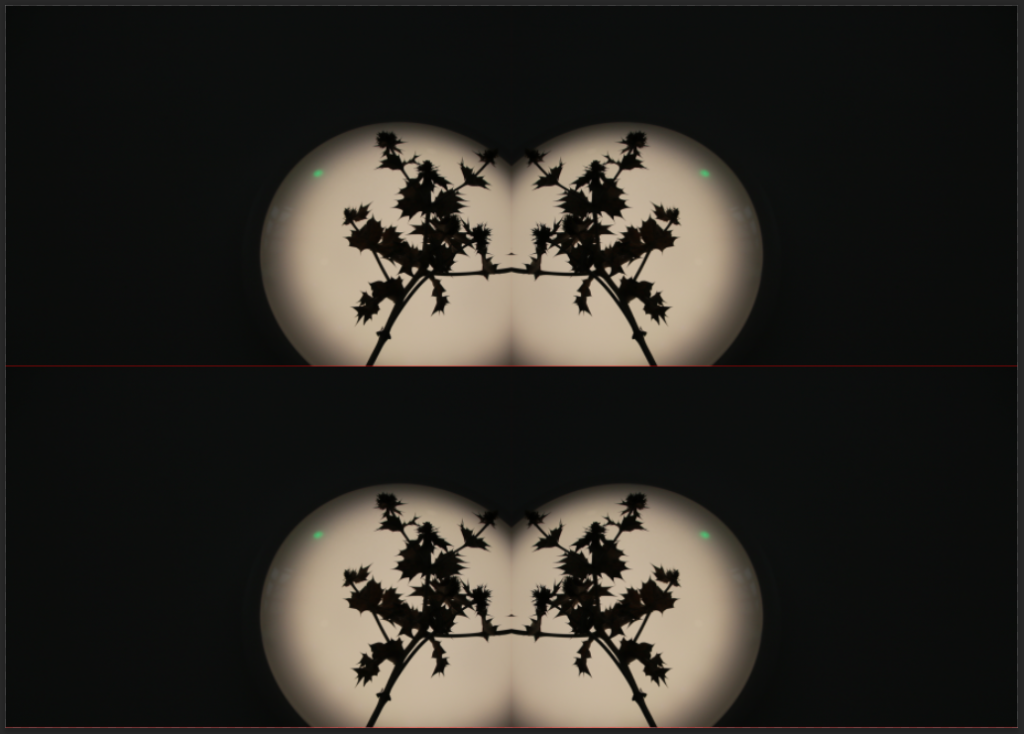
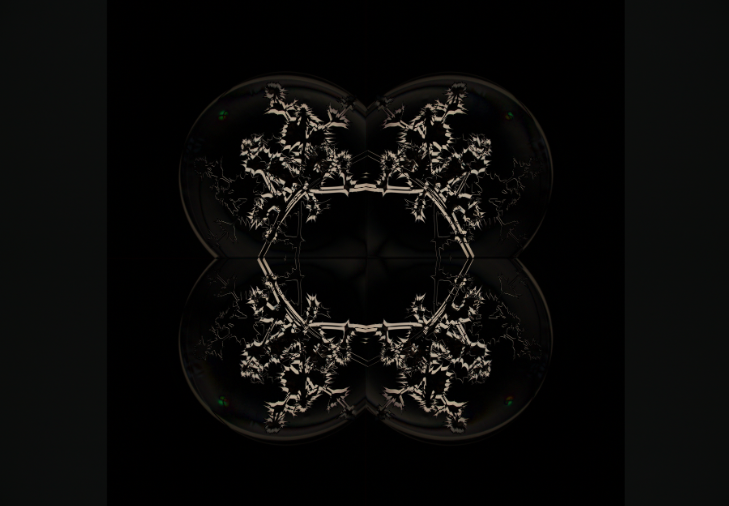
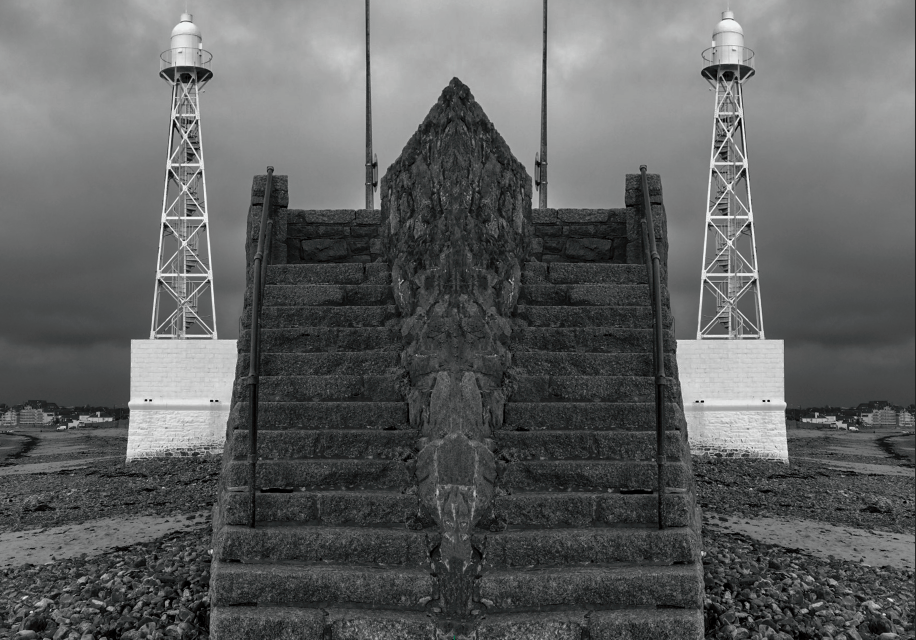
On the other hand, I do like the result of Step 3:

I really like how it turned out, its quite simple but still visually appealing. It looks like arrows pointing up towards the sky. The opposing colours of the building and the sky makes it stand out more, along with the sharp, straight lines.

kaleidoscope

the kaleidoscope effect is where you copy a image and then invert it and put it next to the original image and this is how you do it

first open up photoshop then select a imagine and then go to the image tab and go down to canvas size.
then click on pixels and then select centimetre
then times the original number by 2
then select the original image and copy it and invert the copy
then do the same as you did with the side one rotate the image down and your finished