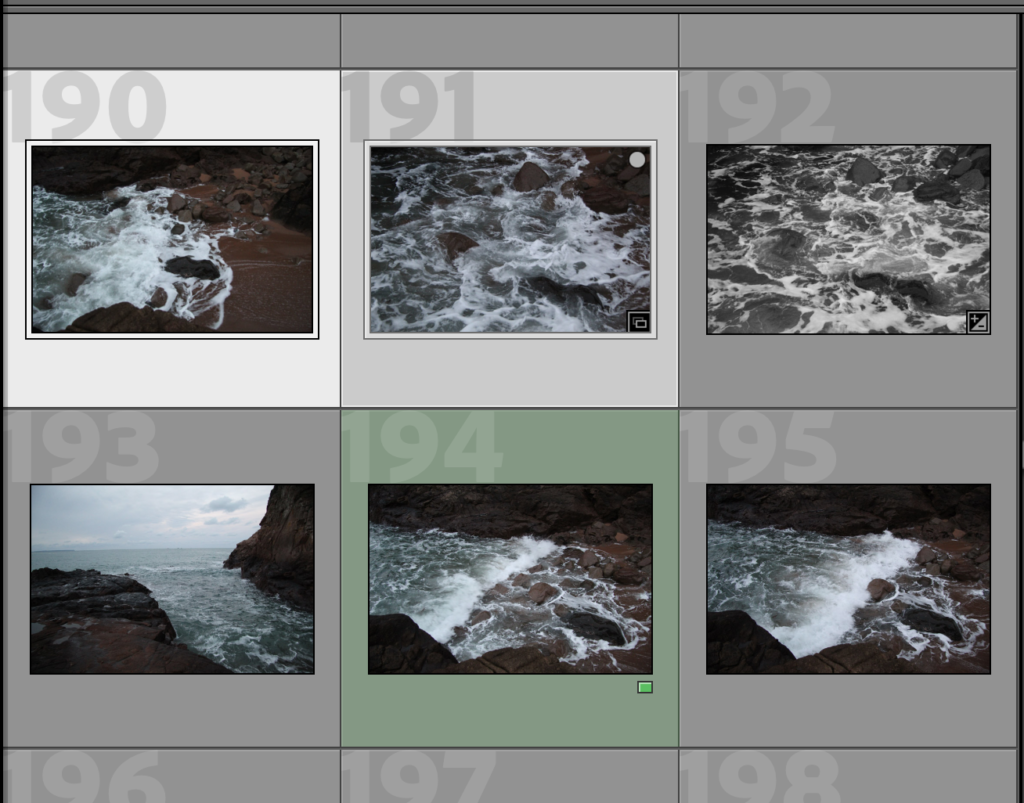
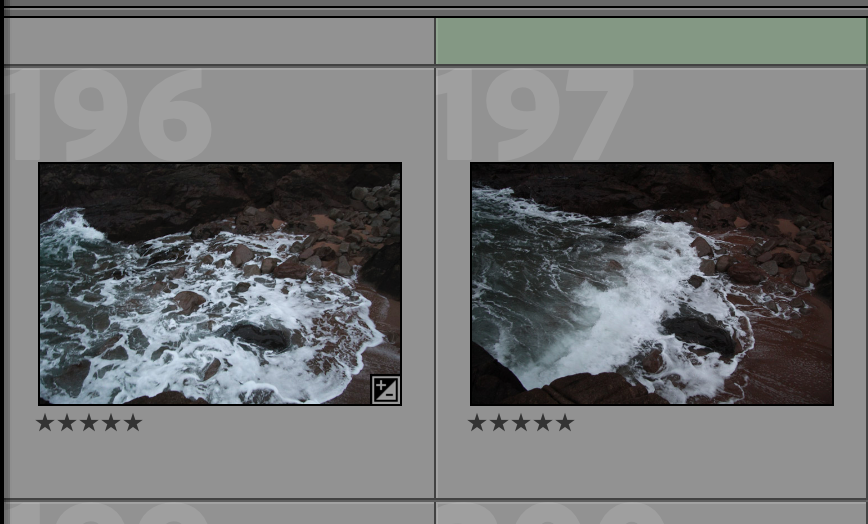
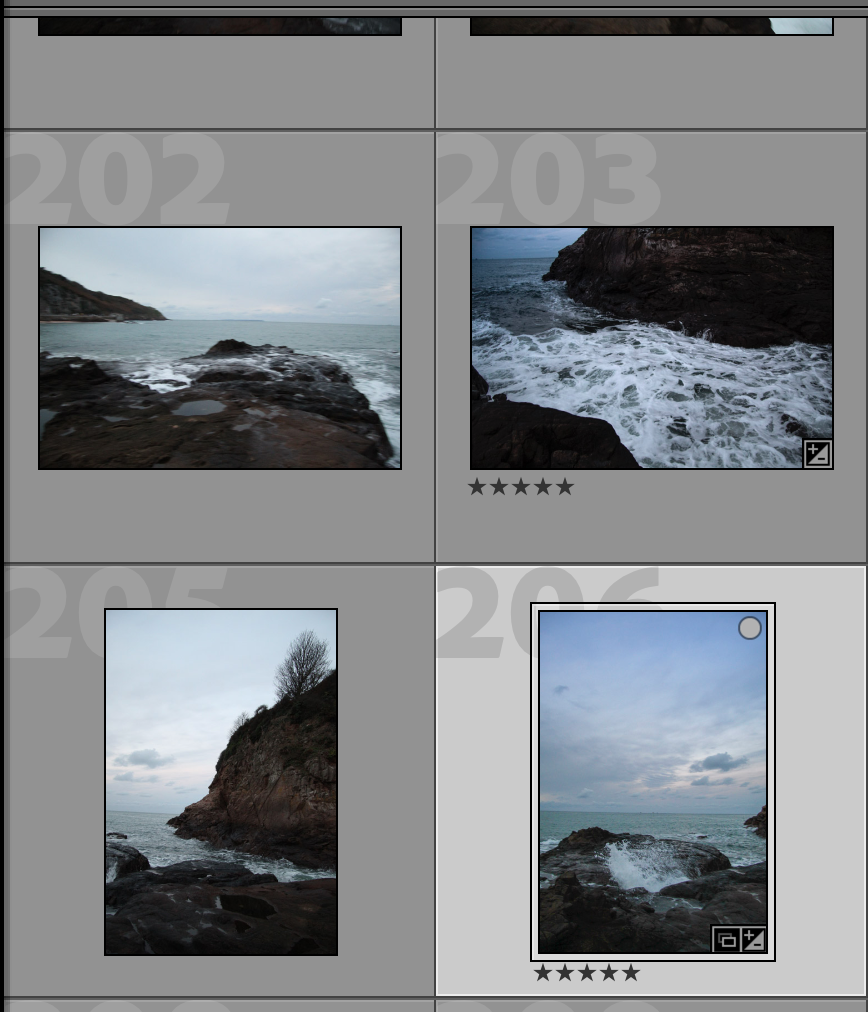
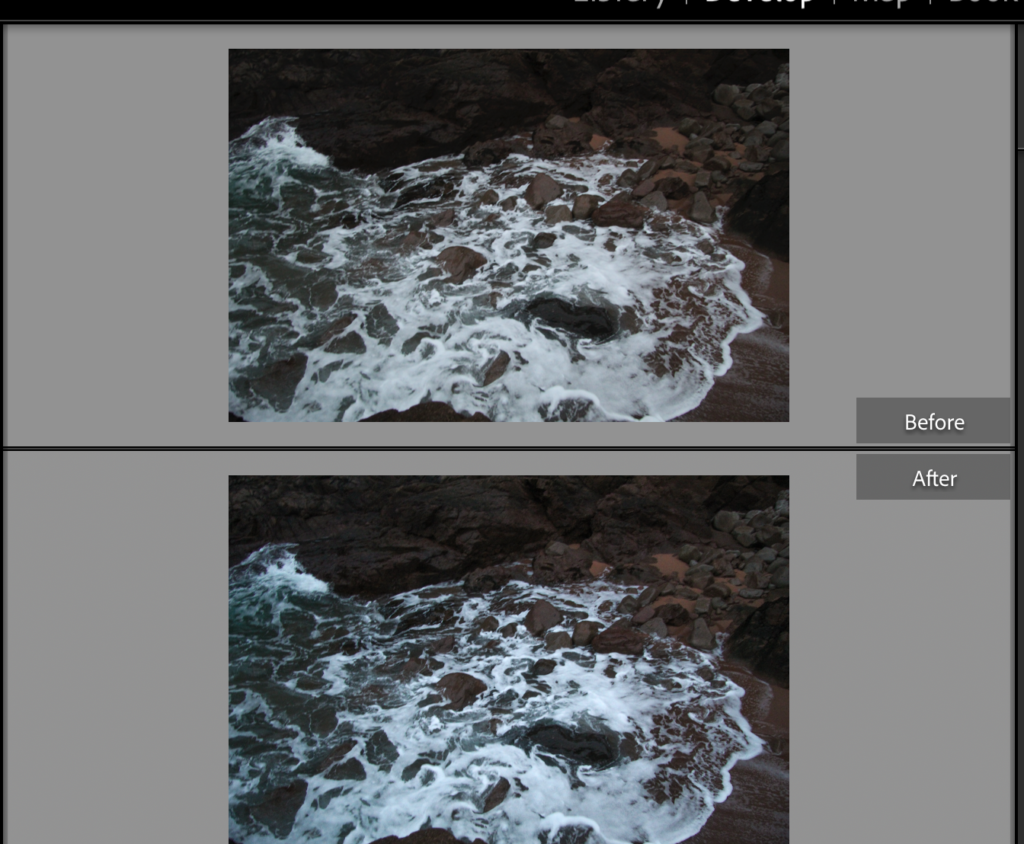
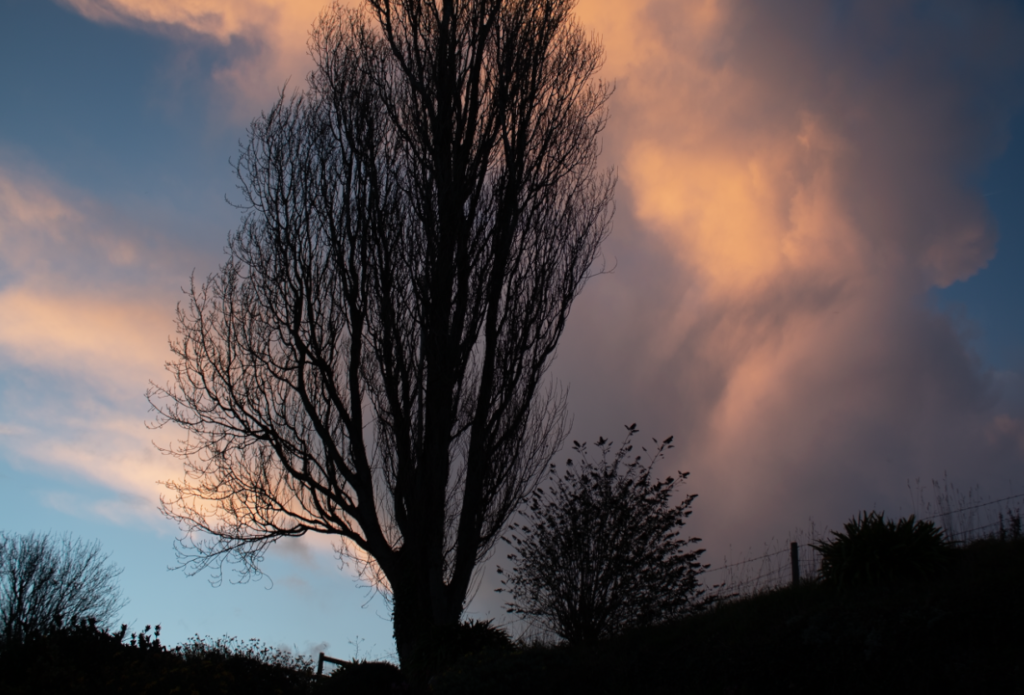
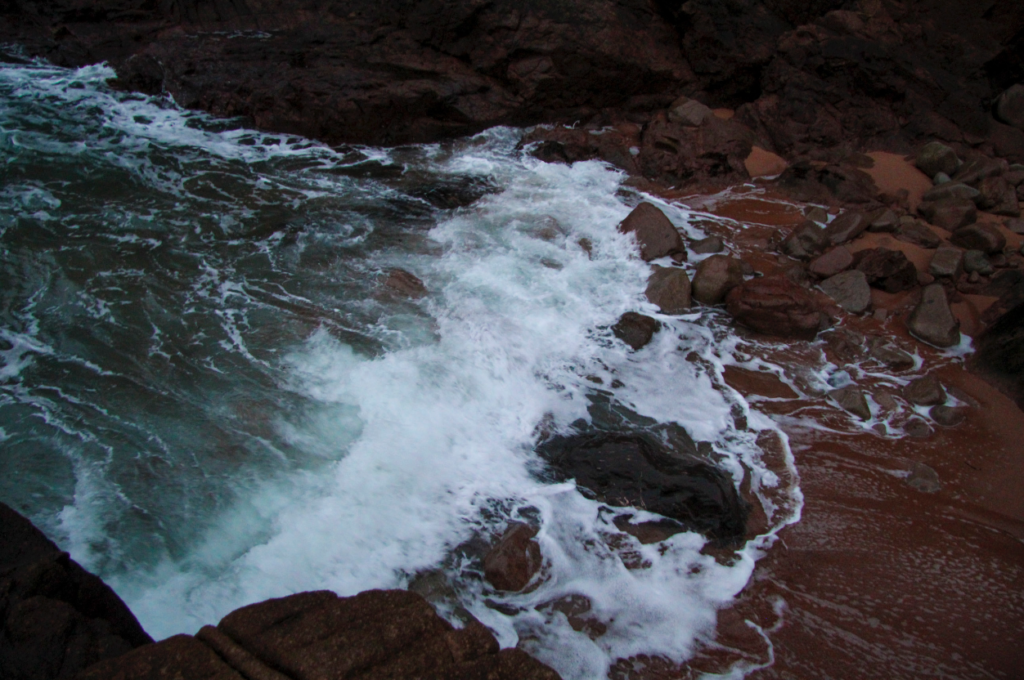
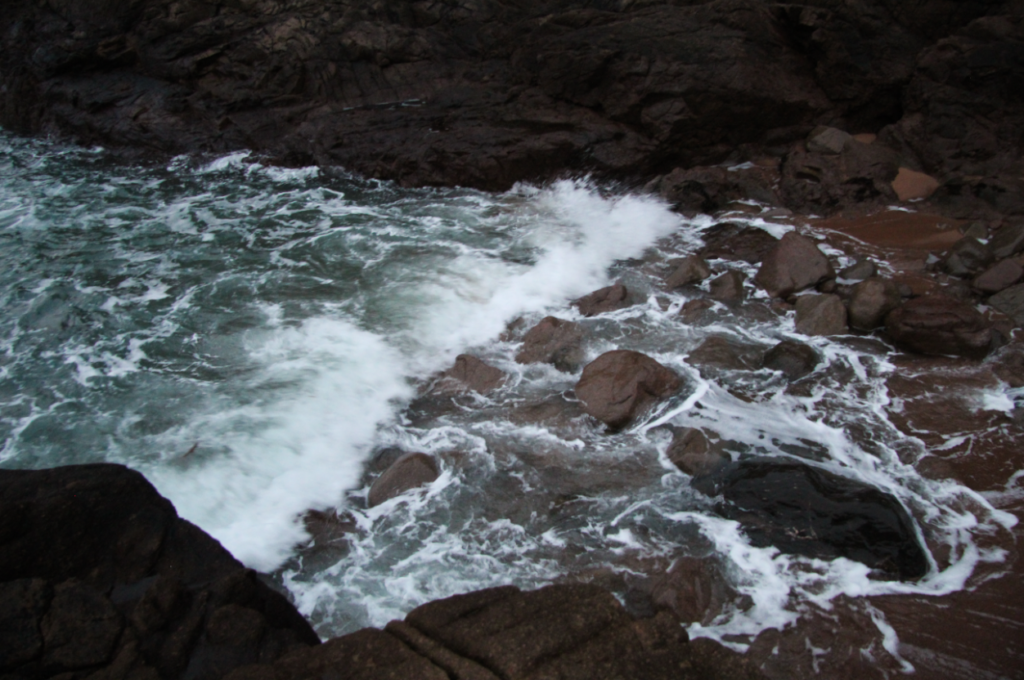
These photos were taken at Greve de Lecq on a cloudy day at high tide, i chose to go on a cloudy day to capture the mood they sky can create in photos which Ansel Adams captures, i also went on a high-tide to try to take photos of the water crashing against the rocks.
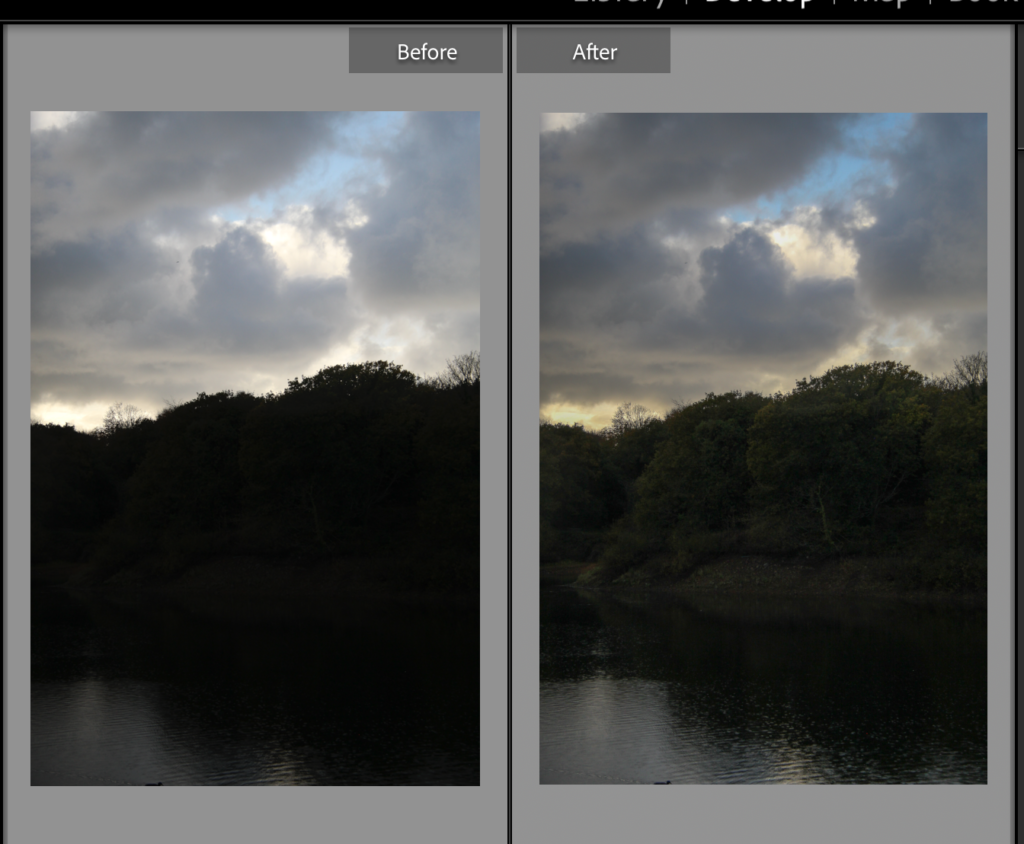
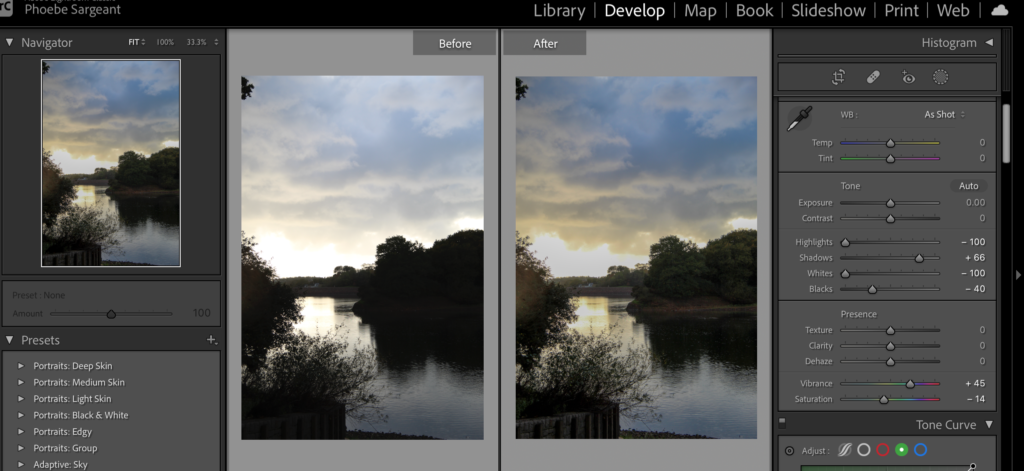
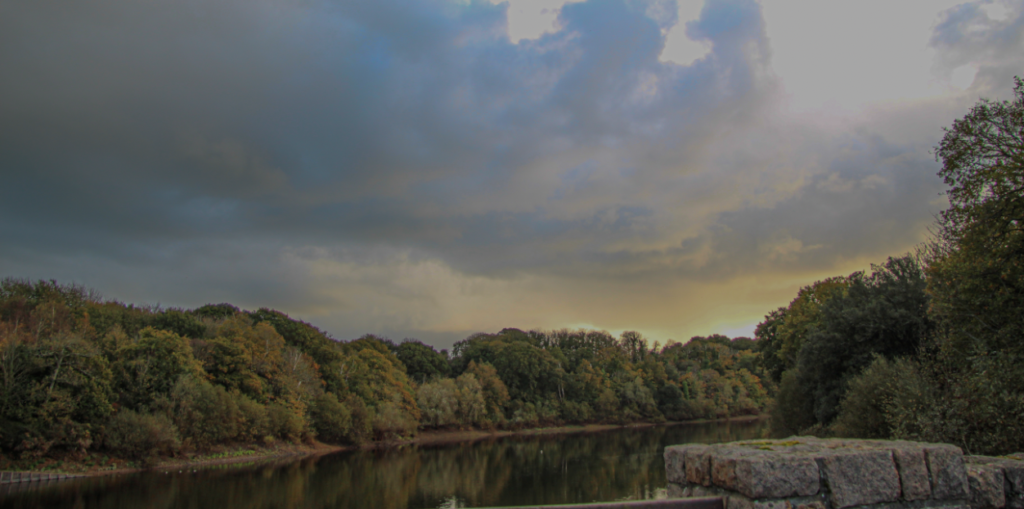
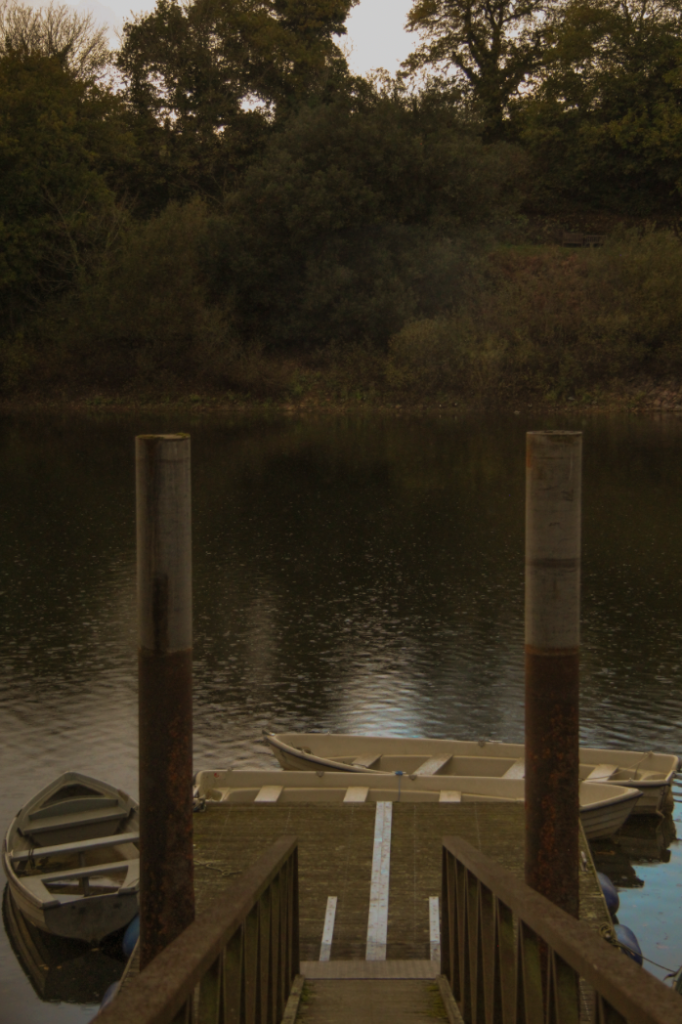
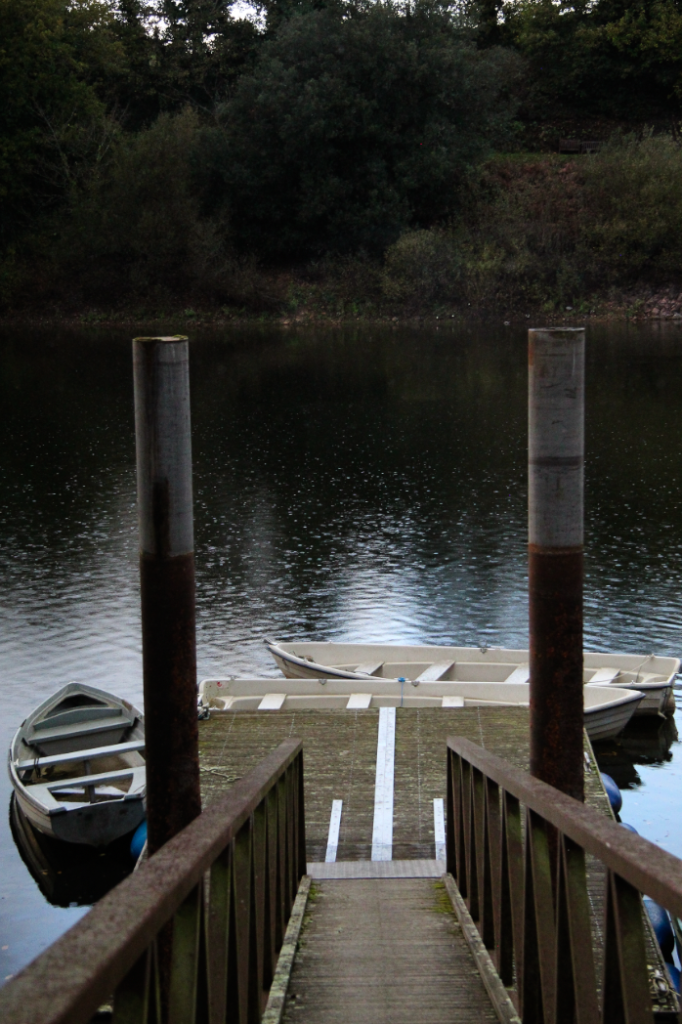
I also went to Queen’s Valley Reservoir to take photos however i am not pleased with the majority of these photos as the ISO was too high leaving the photos being too bright i tried to edit them darker on Light-room however it made the darker parts of the photo even darker and didn’t darken the parts which i wanted to be darken.
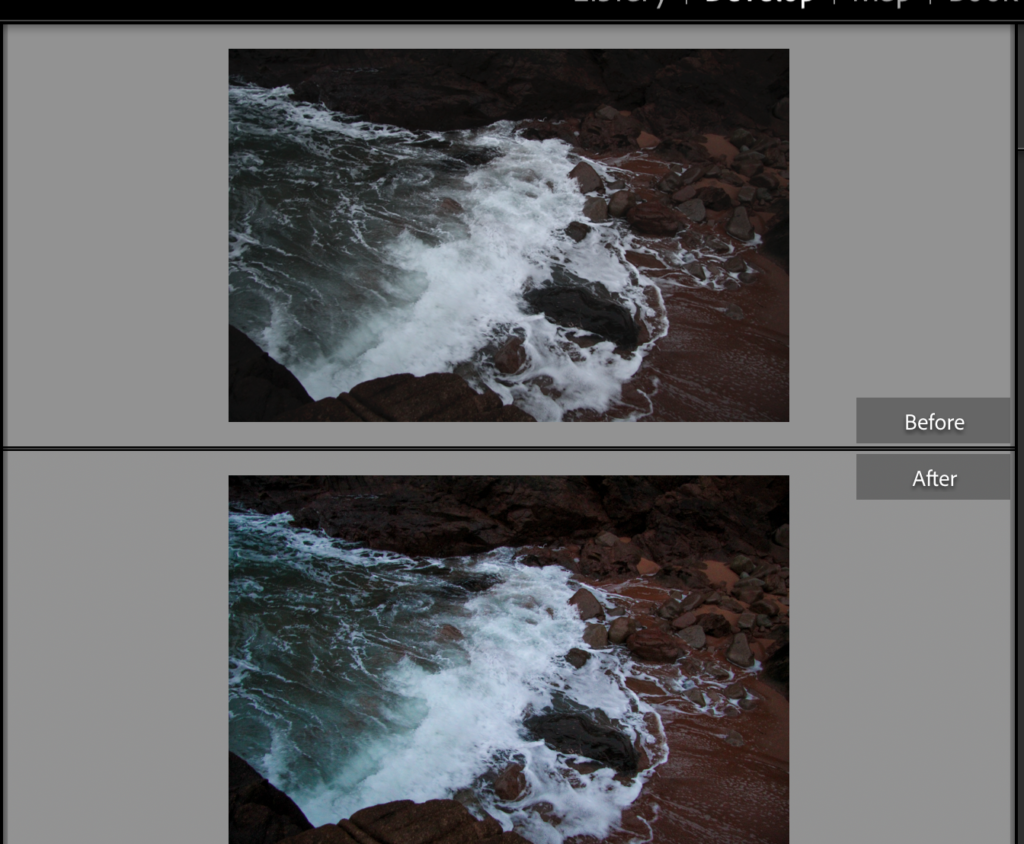
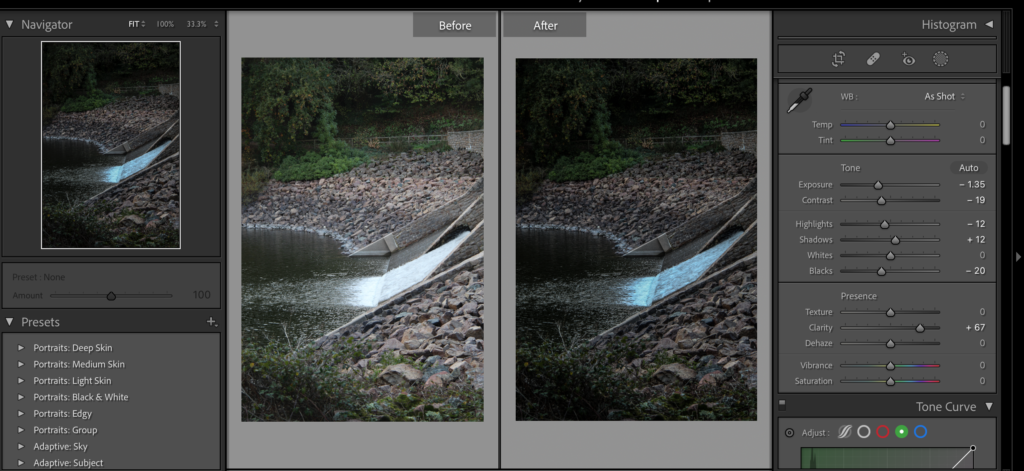
Before and after editing
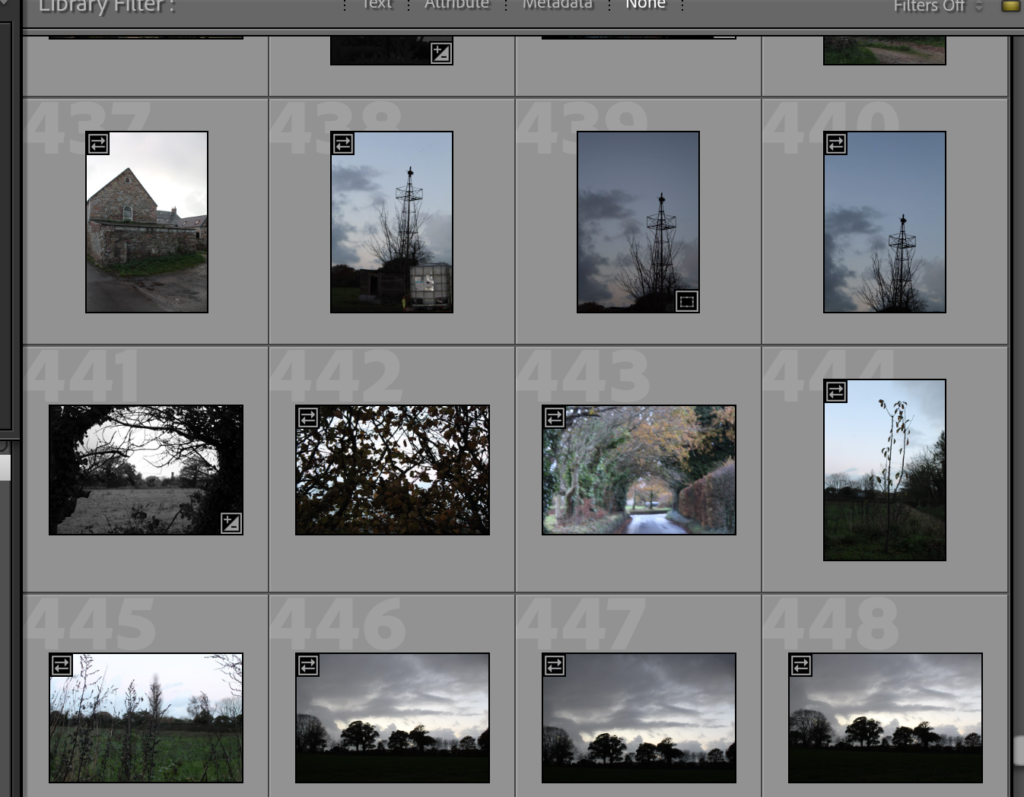
These photos were taken on the lanes in St.Saviours, i like the majority of the photos i have taken on this shoot i turned some of the photos into black and white, which i think make the photos look better because it shows all the high and low points of the image, it also highlights the shadows within the image.
I adjusted most of these photos by turning down the highlights and whites and turning up the shadows this made the images darker without turning the shadows black.
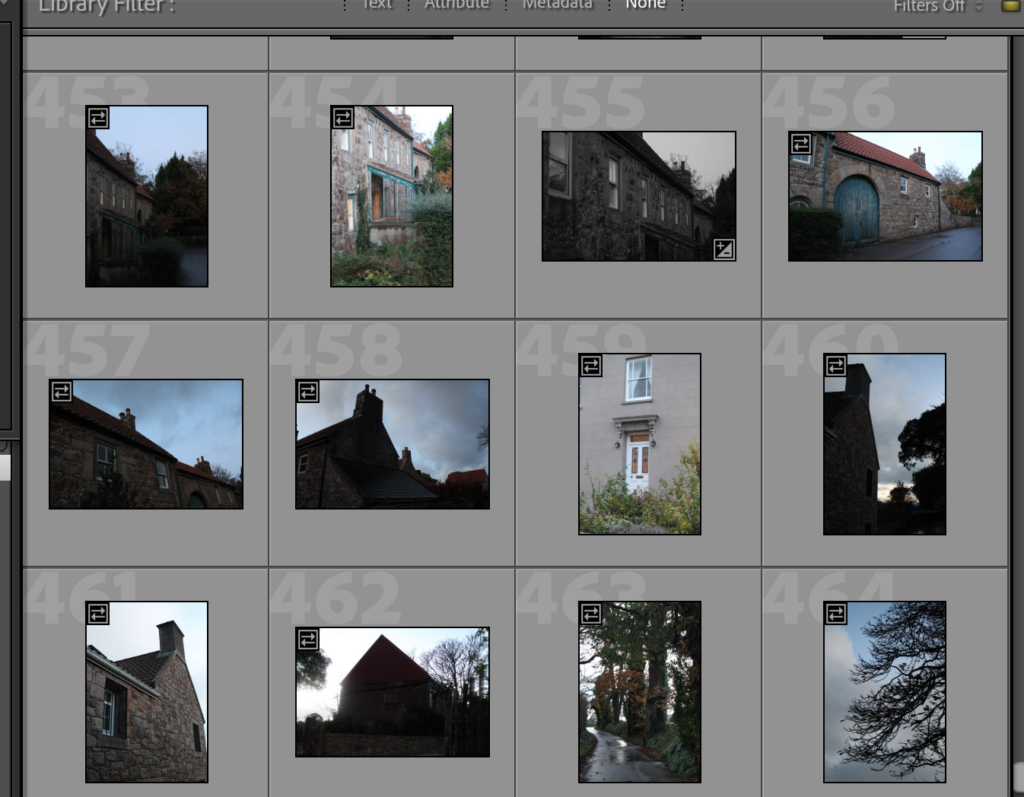
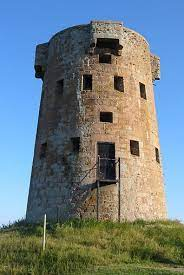
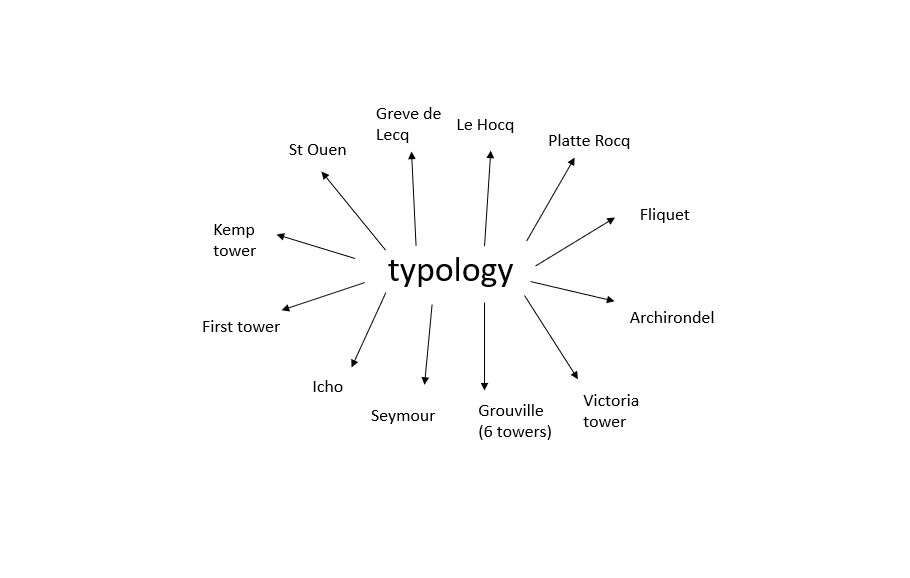
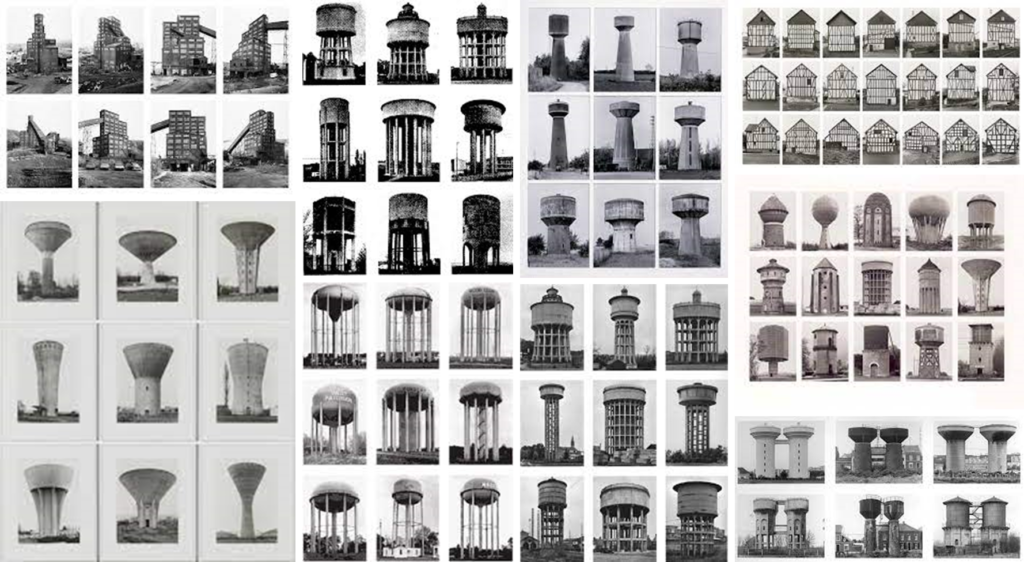
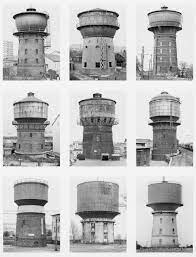
For this shoot I am going to focus on the towers in Jersey. I have chosen these because I think they fit in well with the typology theme and match the same style as some of Bernd and Hilla Becher’s images who are my artist inspiration for this shoot. When photographing the towers for this shoot I am going to ensure a few things. Firstly, that the tower is in the middle of the frame as my inspiration images are and I want to make them look as similar as possible, as well as making sure then the lighting and sky in all the image are the same so the the only thing that I change is the tower itself.
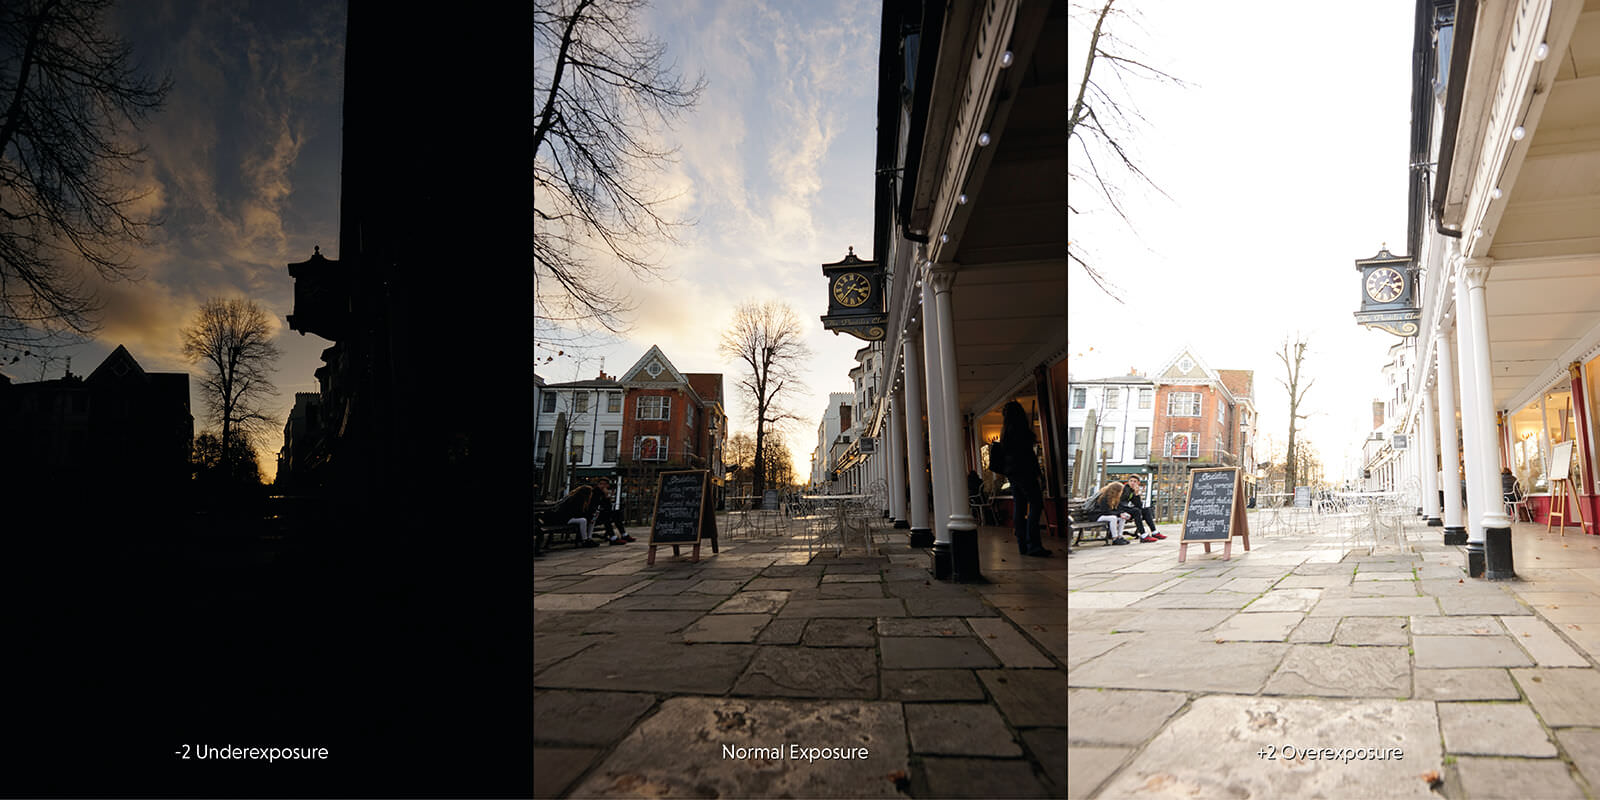
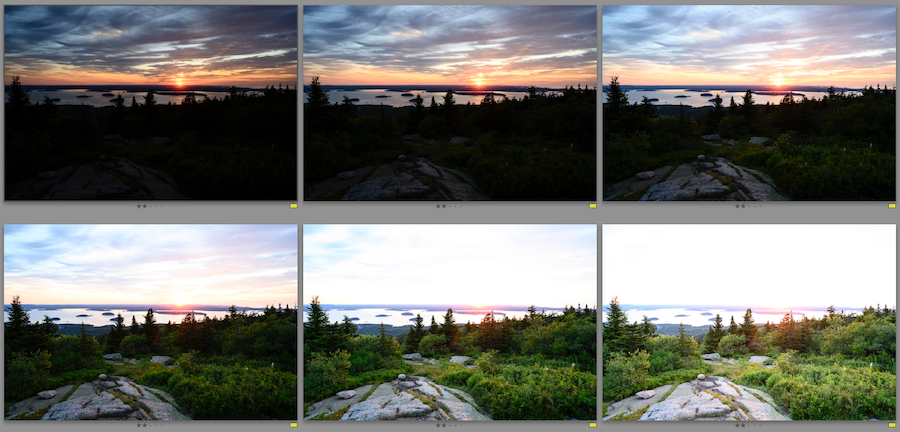
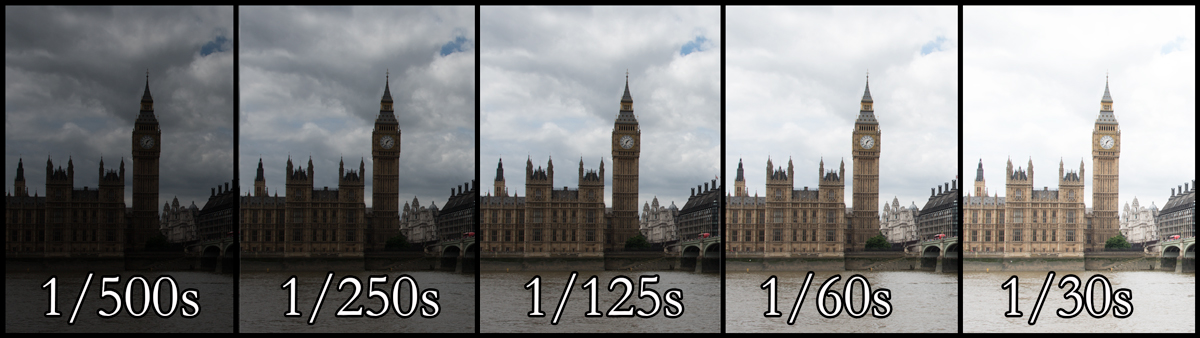
Exposure bracketing is the process of creating photographs with different exposure settings. Usually, you take 2 more photographs (therefore, a minimum of 3 photographs need to be taken). One is slightly underexposed, and another is slightly overexposed.
Examples of photographs that have been created using exposure bracketing
Exposure bracketing – Automatically
Here are the steps you need to take to do exposure bracketing automatically:
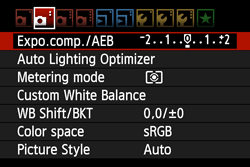
Press menu
Go to the AEB setting (Auto Exposure Bracketing)
Adjust with the dial
Press set
Exposure bracketing – Manually
Here are the steps you need to take to do exposure bracketing manually:
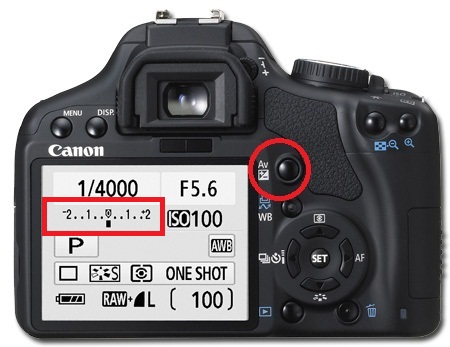
Put the camera into manual mode (M)
Press the AV button (Aperture Value)
Change the aperture to F16
Change the ISO to 100
Adjust the shutter speed after every photo; start in the middle exposure then adjust after every photo
Exposure bracketing is a technique where, instead of taking a single photo, you take three (or more) that are all exposed slightly differently; normally one is correctly exposed, one slightly underexposed, and one slightly overexposed. You can set up your camera both manually (changing the settings each time) and automatically (only choosing a step and the camera adjusting itself after each photo).
The purpose of this is to cover more of the dynamic range. Bracketed photos are used later to create an HDR (high dynamic range) photo. Some other bracketing techniques include white balance bracketing or focus bracketing.
example of exposure bracketing
How to exposure bracket (automatically):
Firstly, set up your camera on a tripod and select a bracketing mode in your settings. Next you have to decide an amount of brackets for your picture. This will be the amount of different exposure pictures that you will have. Then set up the camera so that there is a 2 seconds delayed shutter. If you have this timer set, the camera will take all the brackets automatically. This means you will not have to click the button over and over again which will prevent the camera moving and therefore not making perfectly identical pictures. Lastly, you click the shutter button once to start the process.
Exposure bracketing is when a photographer creates pictures with different exposure settings, photography bracketing can help you photograph high contrast scenes. Bracketing is an easy way to overcome technical limitations and create natural-looking images.
This technique is simply a way to ensure you’ve captured a scene with the “best” exposure possible by taking a series of three to seven photos with varying exposures. The purpose of this is to cover more of the dynamic range.
How to bracket photos
Set your camera on a tripod.
Select a bracketing mode in your camera settings. Most cameras have it somewhere; please refer to the user manual.
Select an appropriate number of brackets for the scene.
Set camera on 2 seconds delayed shutter. If you have this timer set, the camera will take all the brackets automatically. You won’t have to click the button many times. It prevents the slightest camera movements and makes the blending easier.
Rural landscape describes the diverse portion of the nation’s land area not densely populated or intensively developed, and not set aside for preservation in a natural state.
Rural means relating to the country, country people or life, or agriculture.
photograph by Steve Huff.
Rural Landscape Photographers
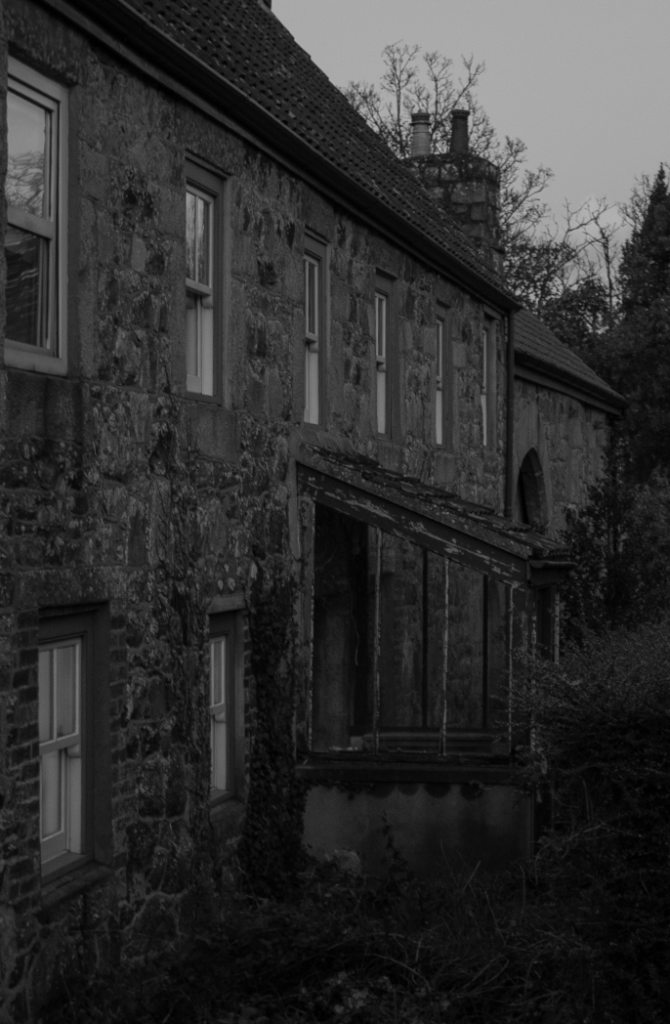
Steve Huff is a photographer who focused one of his projects on rural landscapes in 2009 and 2010, he photographed abandoned houses, factories and rural landscape. In my opinion his photos are eye-catching the derelict buildings give the photographs an eerie feeling, the dark points and shadows on the image below attracts the attention of the audience due to the cold feeling and the different shades shown.
Other photographers
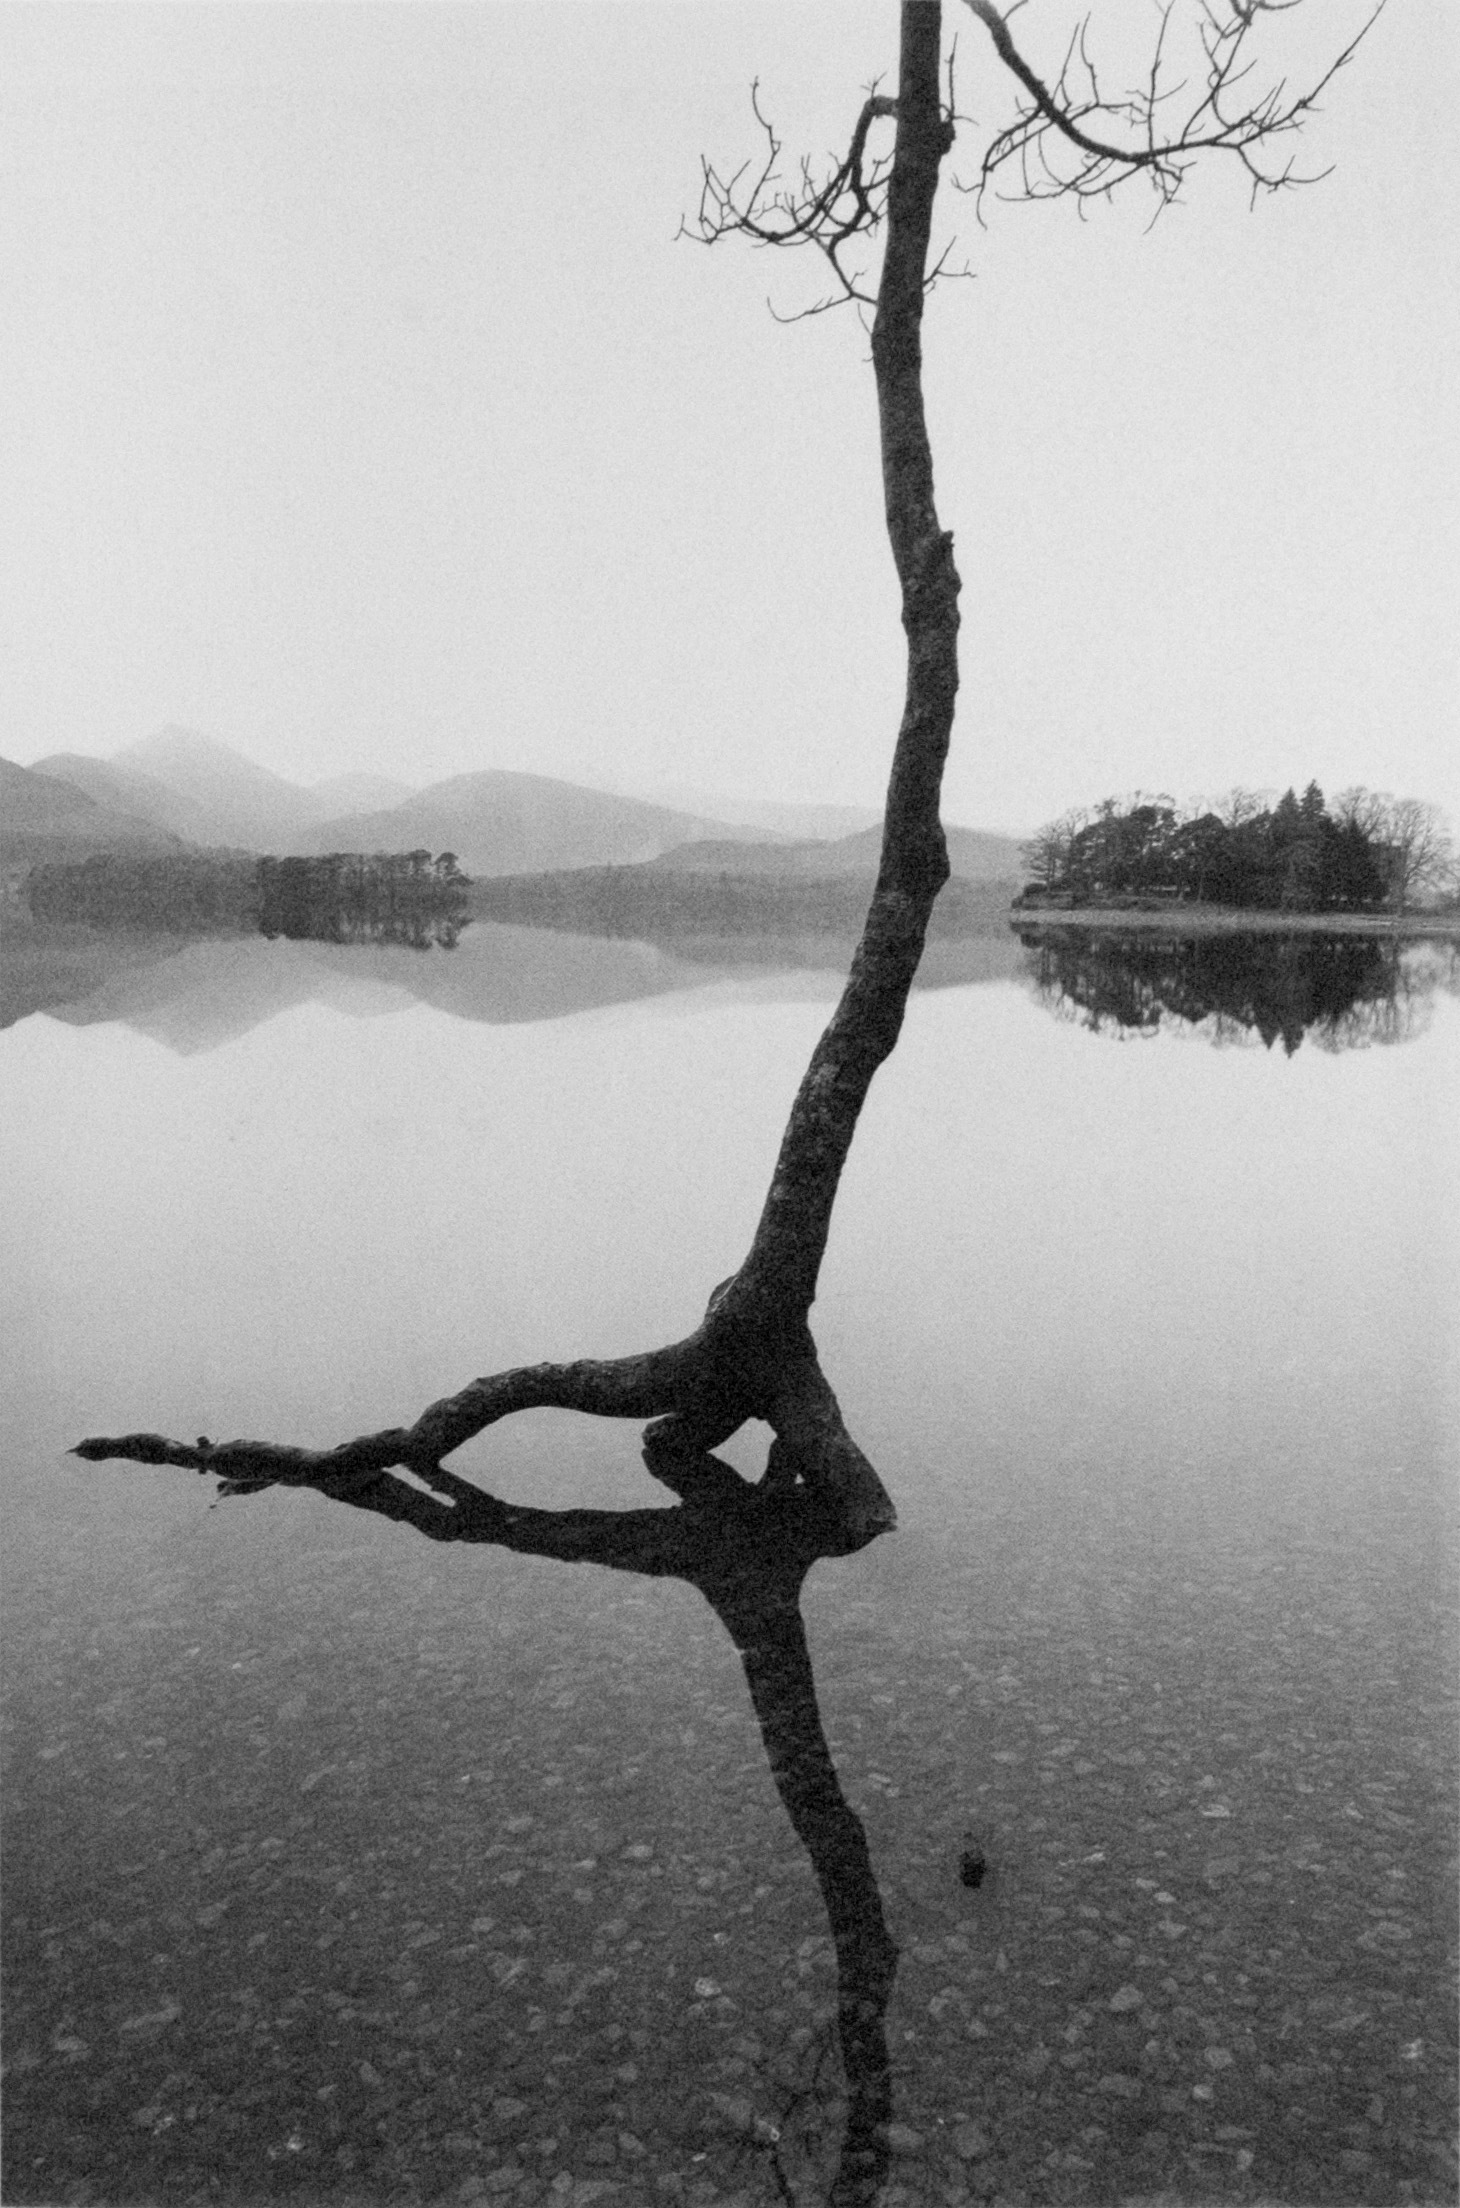
Fay Godwin, was a British photographer known for her black-and-white landscapes of the British countryside and coast born in Berlin in 1931, Fay grew up in various countries having a British diplomat father and an American artist mother (of Scottish ancestry). They were posted to various countries and this multi-cultural, upper class, artistic environment created a passion for the contemporary arts and literature that permeated her life.
Godwins way into photography was through family snaps in the mid-1960s. She had no formal training, but after the snaps came portraits, reportage, and finally, through my love of walking, landscape photography, all in black and white. A Fellowship with the National Museum of Photography in Bradford led her to urban landscape in colour, and very personal close-up work in colour has followed.
Fay Godwin was critical of her work, Godwin went on to reject the notion of beauty and landscape, even going so far as to stating that her photography did not fit anywhere in the ‘sublime’, romantic tradition.
Fay Godwins work
In my opinion Godwins work fits into the idea of the sublime and romanticism due to the moody sky and the natural beauty of the location being photographed, she captures the light in the photo which adds an act of dimension to the photo.
The photo above is one of my favourite photos from her collections, what makes it so eye-catching for me is the perfect reflection projected on the water of the mountains and the flooded tree.


![Exposure Bracketing Photography [COMPLETE GUIDE]](https://phlearn.com/wp-content/uploads/2019/05/Exposure-Bracketing-no-text.jpg?fit=1400%2C628&quality=99&strip=all)