Photoshop gallery:
For my first virtual gallery I used five of my images that I have used for my final prints
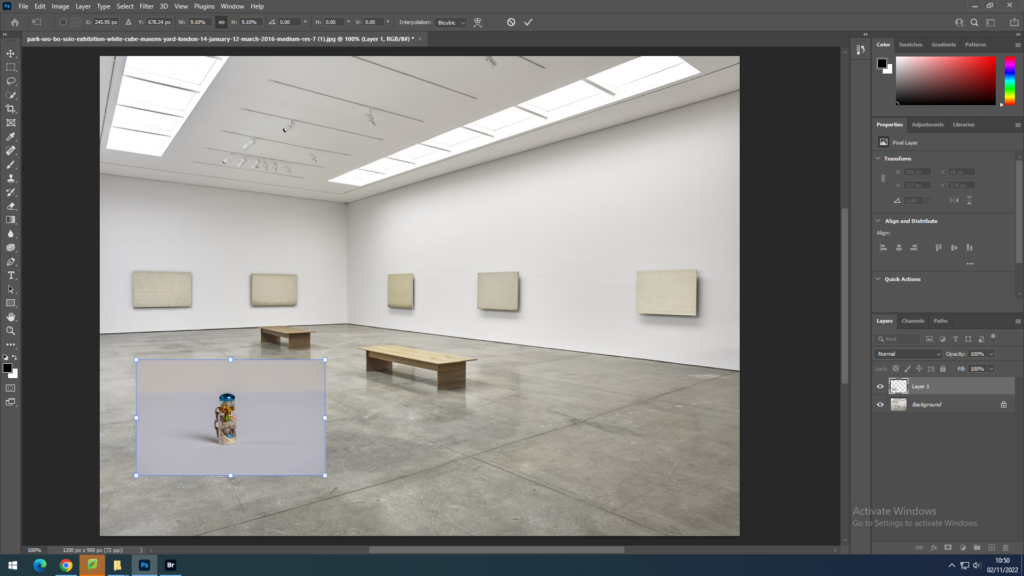
I dragged them onto an empty gallery image that I found on the internet and presses CTRL + T to select the image, I then adjusted it by right clicking and using ‘skew’ and ‘free transform’ to place the image on top of the empty canvas.
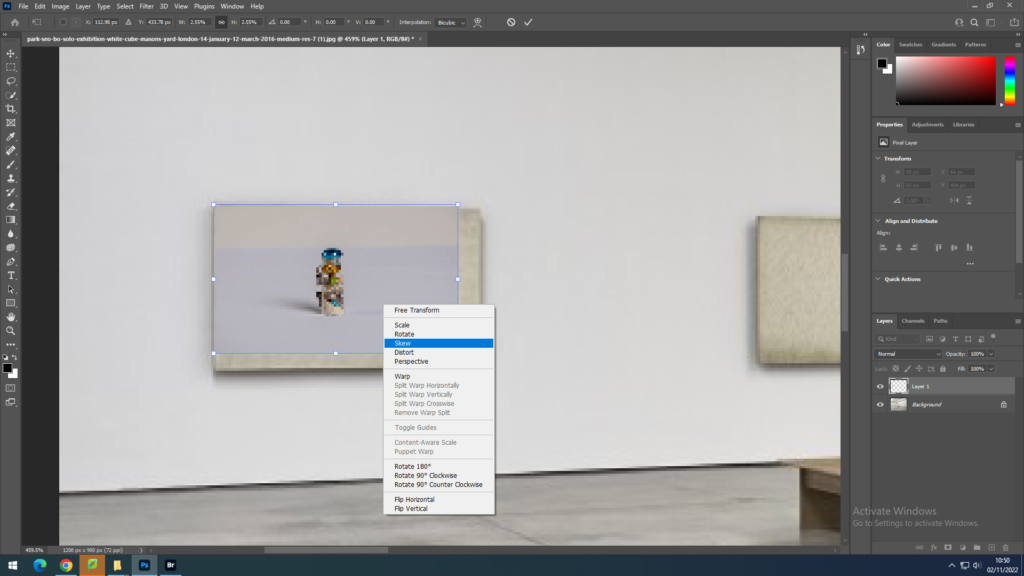
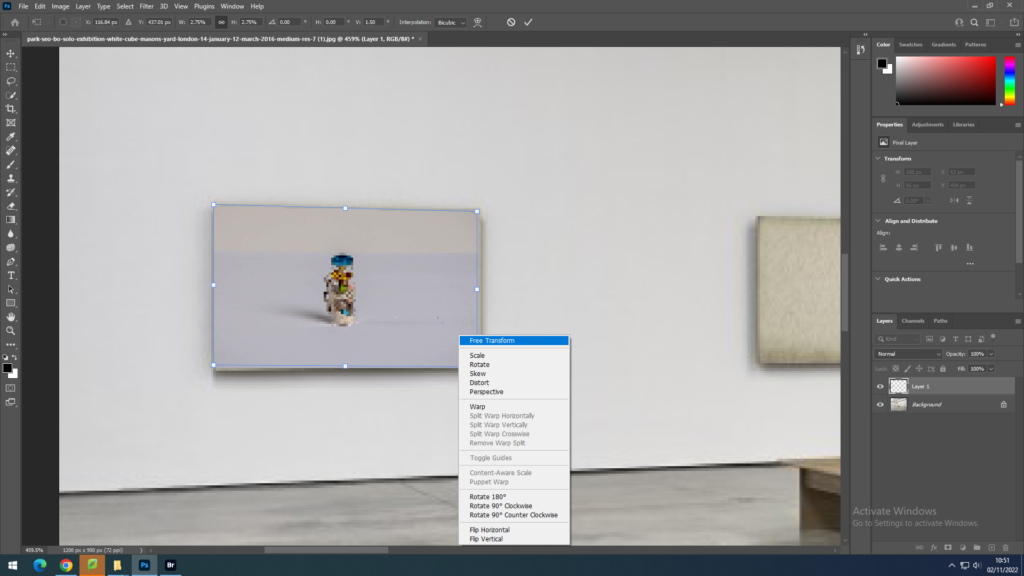
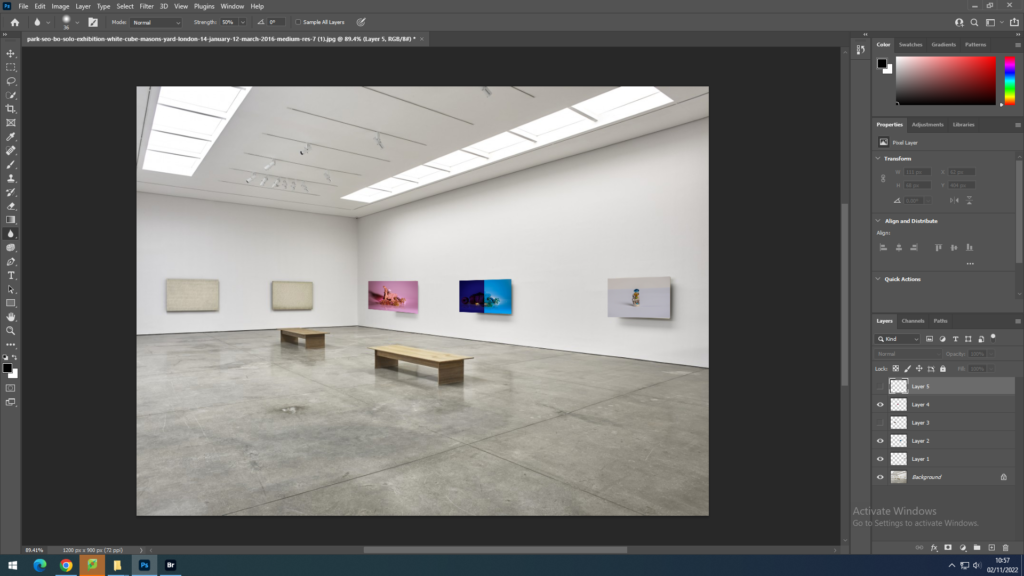
I repeated this process with four other image placing them over the empty canvases until the gallery was full.
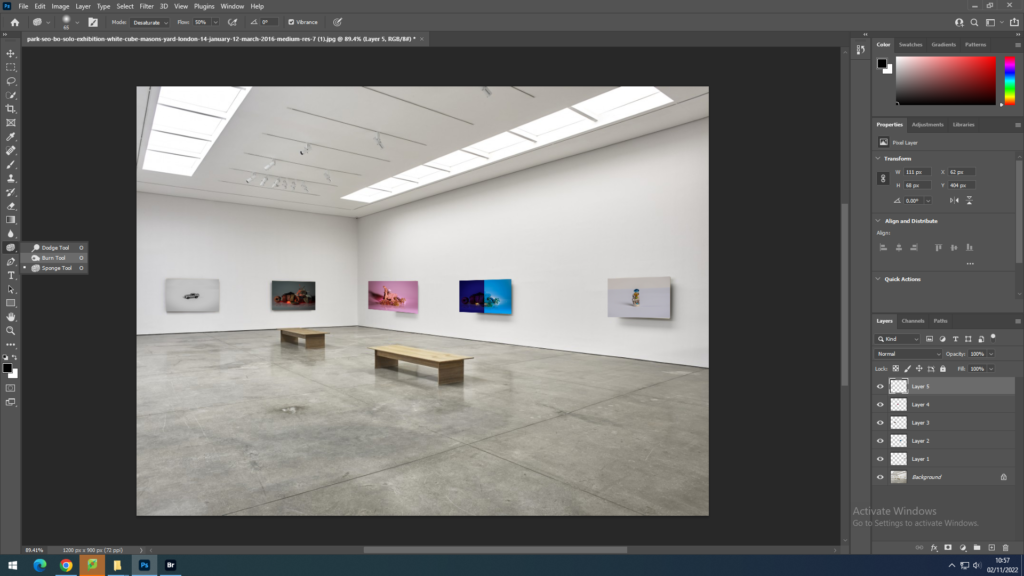
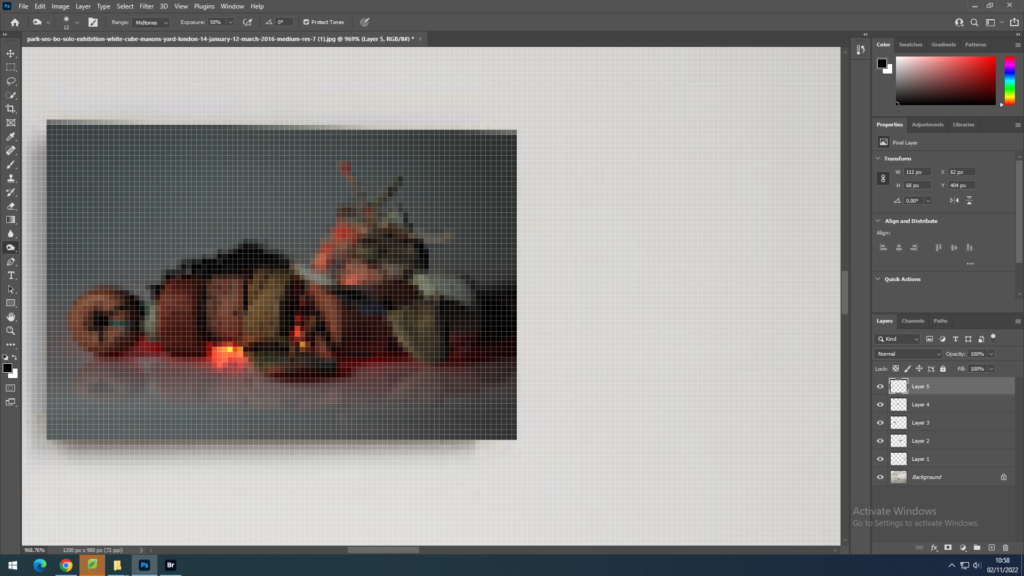
I added a shadow under some of my images to make it look more realistic and as id they were actually in a gallery by using the burn tool to darken the underneath of my images.
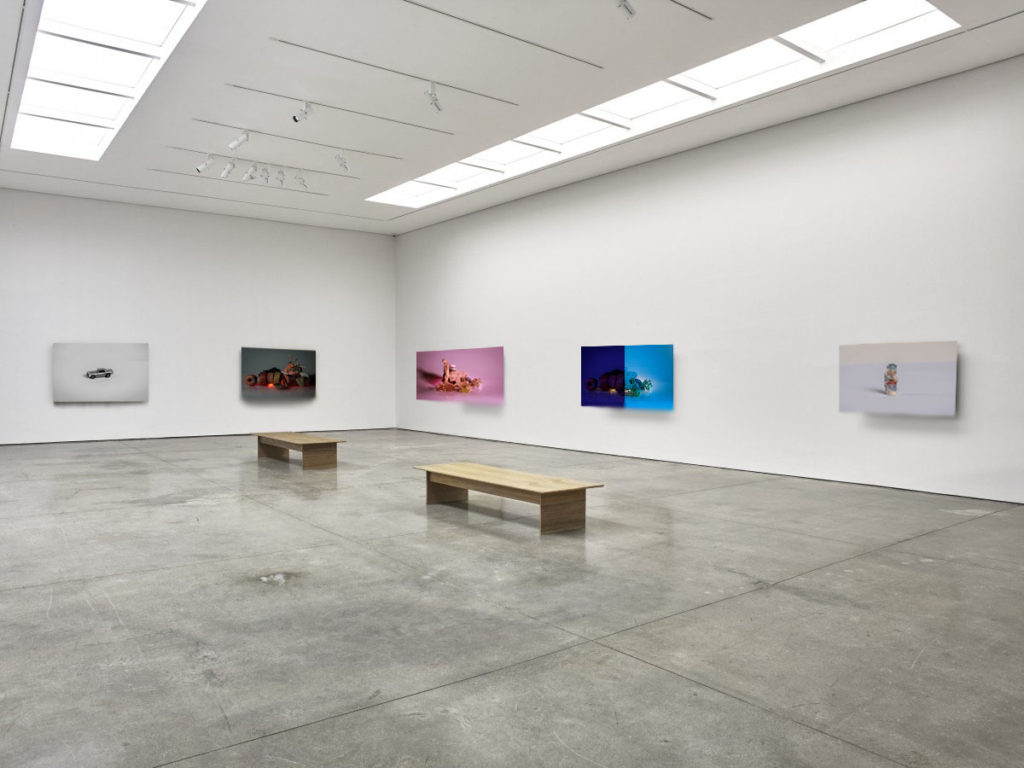
Overall I am happy with my edit and think is it very effective with the shadows making it look more realistic. however I think my images are a bit small therefore next time I would make my images slightly larger to make the more visible and engaging.
Artsteps gallery:
I also creative a second virtual gallery on on the website www.artsteps.com.
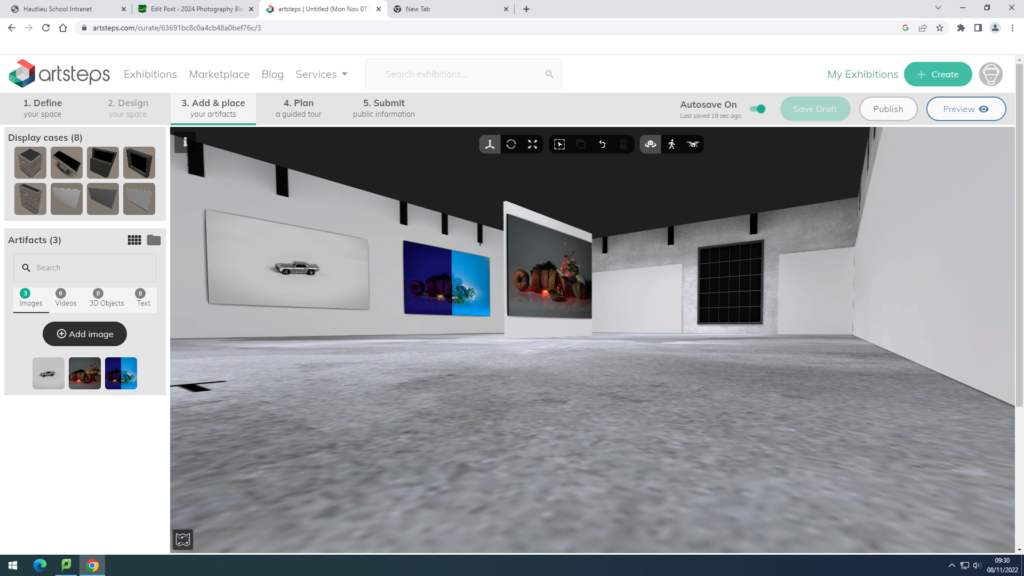
Firstly I picked the gallery space that I wanted to used and began adding my images onto the walls with other images that contrast well together.
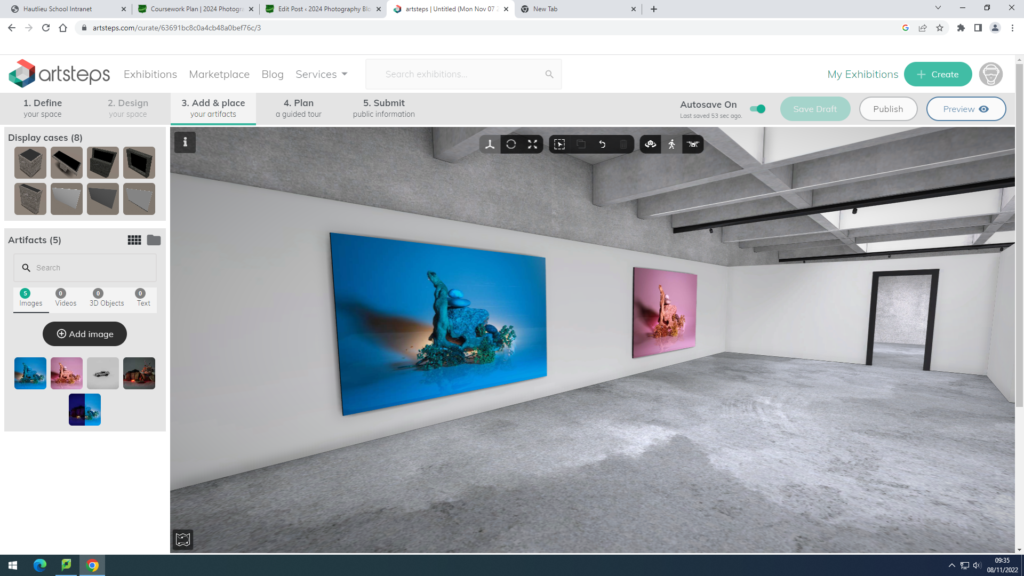
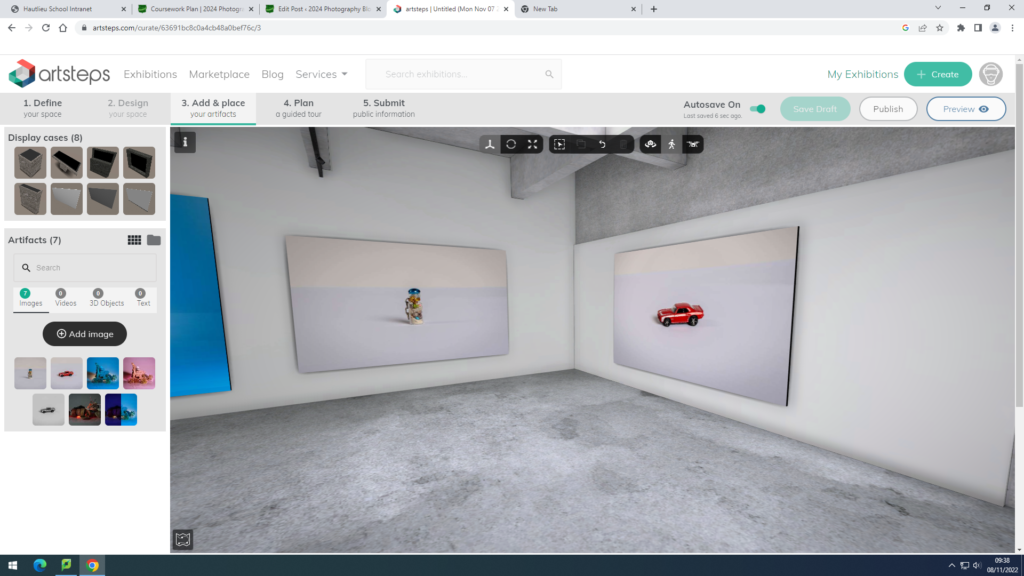
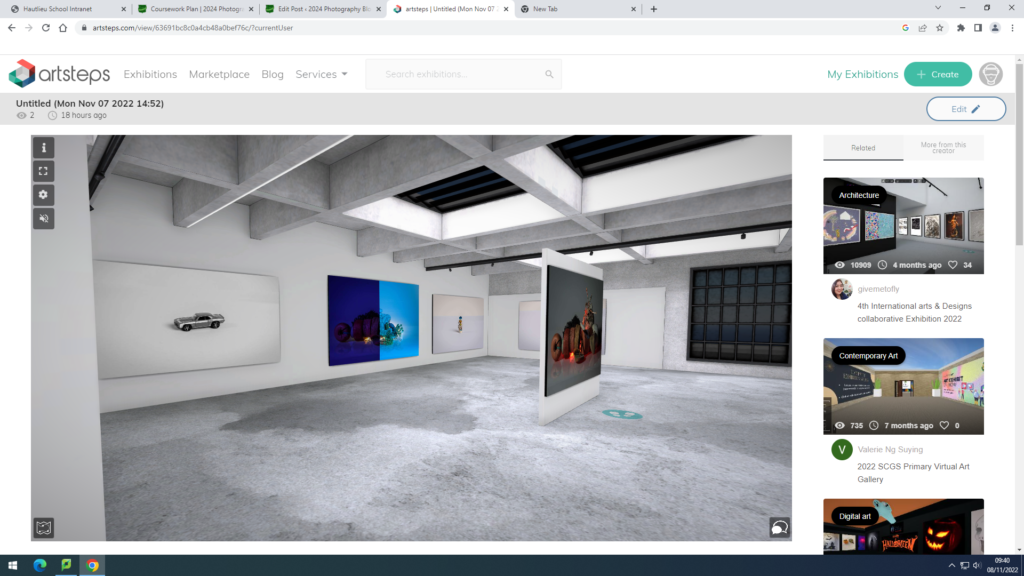
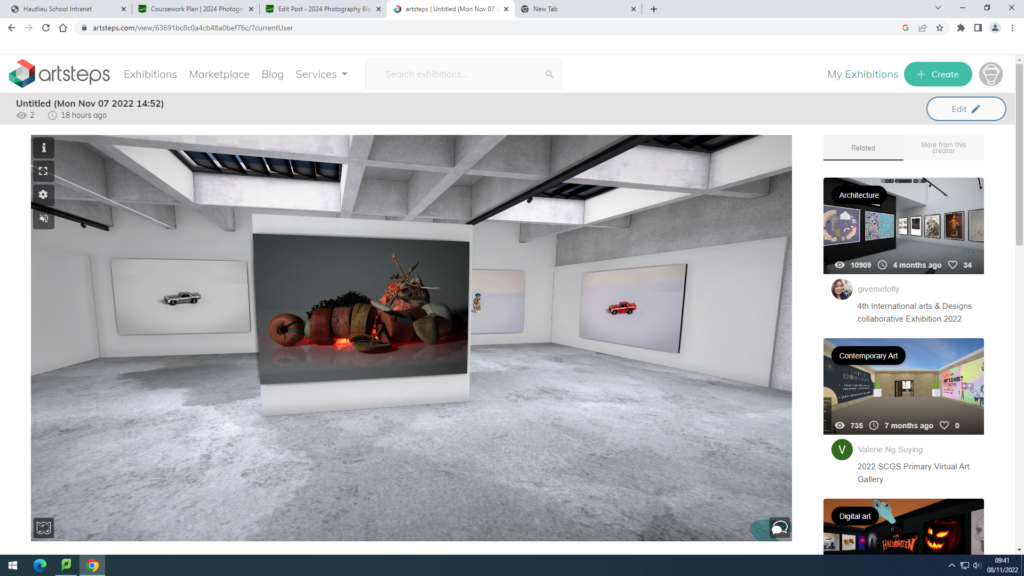
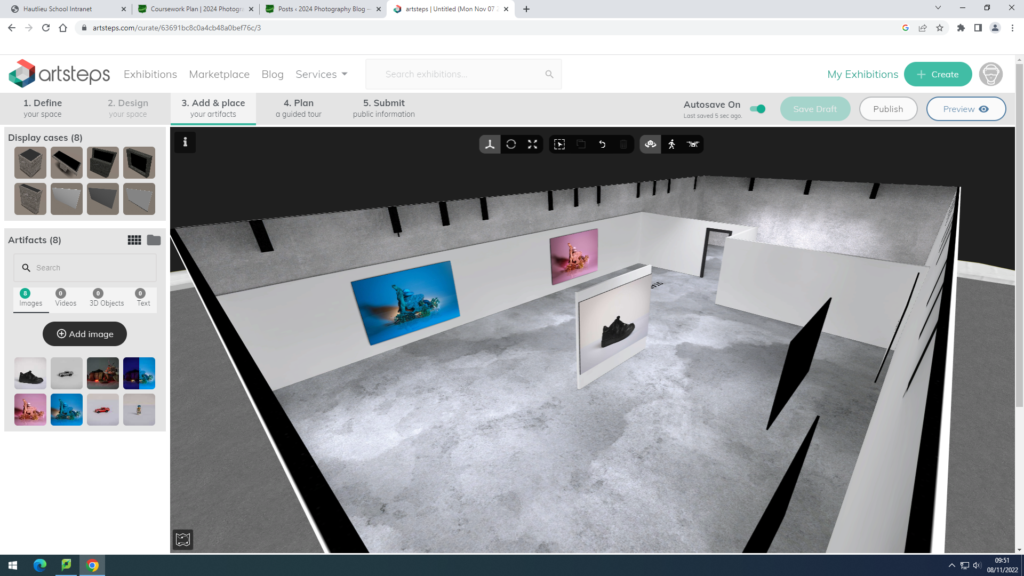
Overall I prefer my second gallery as it allows you to feel like you are actually in the building with your work up. I think it allows my pieces to stand out and lets the viewer focus on the detail within them.
